

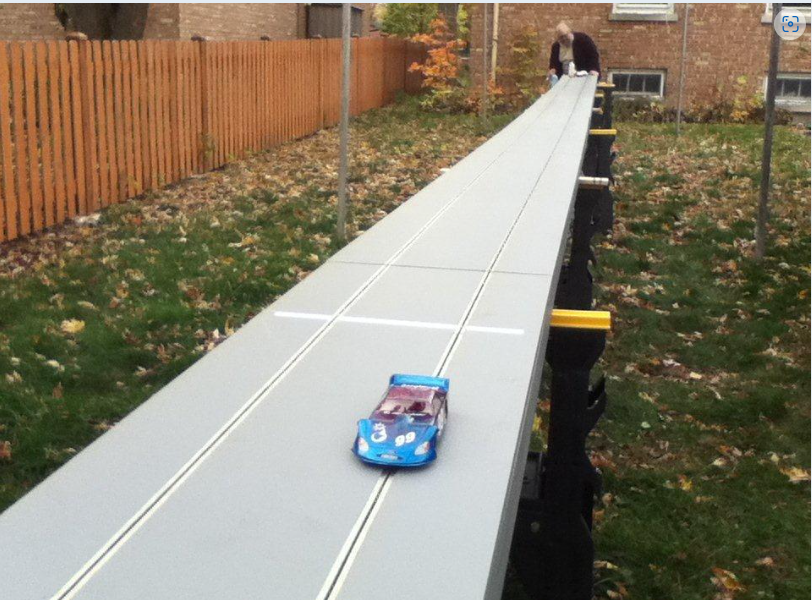
Like to start building a top notch 1/4 mile drag track...Any advice would be greatly appreciated..Anything i can do as i got along that can be avoided of added to that will make this track better would be great..another factor would be i want this thing to last a long time as ive seen other tracks buckled at the joints or get a hump or ruff places in them...If i can do something to avoid this down the road then im listening...lets talk...thanks

Advice on building a top-grade drag track
Started by
stickkman99
, Feb 27 2025 11:28 AM
4 replies to this topic
#1

stickkman99
-
- Full Member
-

- 76 posts Joined: 11-March 13
Backmarker
- Gender:Male
- Location:Pennington Gap, VA
#2
mreibman
-

- Full Member
-
- 655 posts Joined: 19-March 18
Race Leader
- Gender:Male
- Location:Merrick, NY
Posted 27 February 2025 - 12:04 PM
build it in sections so it could be moved at some point in the future.
Build it out of good quality materials, and don't skimp.
Leave a LONG shutdown area beyond the length of the racing lanes - this is a big complaint among some for their really fast cars.
Buy a whole trackmate drag system including tree.
I have more info on the power aspects, but I'll have to dig them out of my archives. (I worked on the track at Slots-A-Lot in NY before it was sold).
Get someone to work on it who has worked on drag tracks before.
There are 2 very important pieces of advice beyond the above:
- Think three times. Measure twice. Cut once.
- Good, Fast, Cheap. Pick any two.
- Sloter likes this
Mike Reibman
Alleged amateur racer.
Mostly just play with lots of cars.
Able to maintain slot cars with a single bound.
Faster than a speeding Womp.
More powerful than a 36D.
Alleged amateur racer.
Mostly just play with lots of cars.
Able to maintain slot cars with a single bound.
Faster than a speeding Womp.
More powerful than a 36D.
#3
Bill Seitz
-

- Subscriber
-
- 603 posts Joined: 20-February 21
Still Half-Fast After All These Years
- Gender:Male
- Location:Tucson, AZ
Posted 27 February 2025 - 10:37 PM
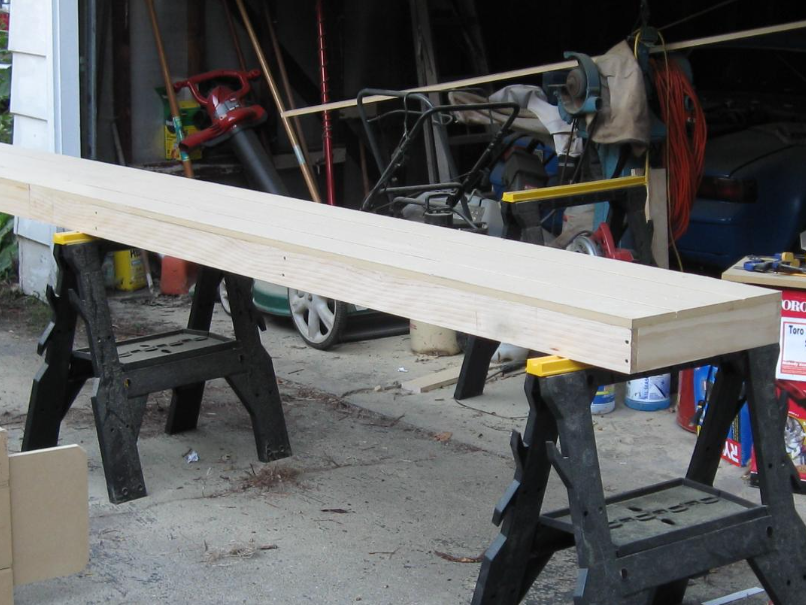
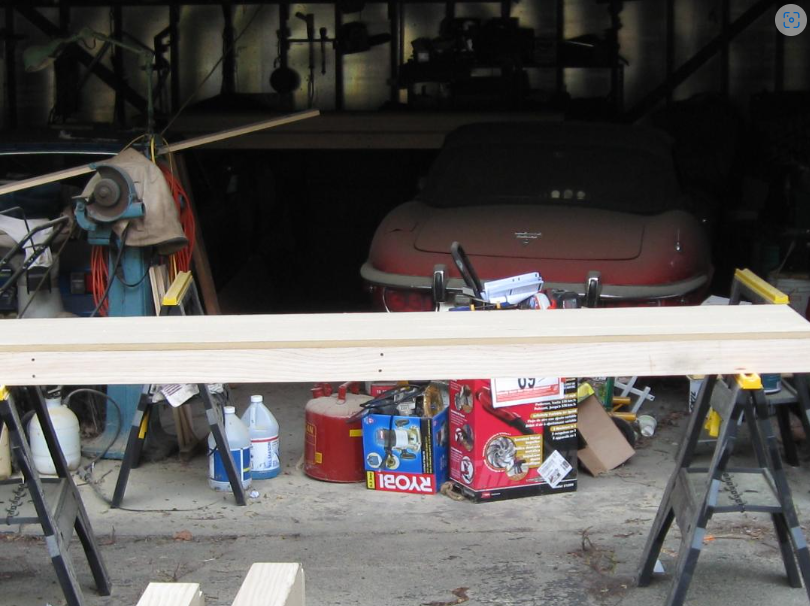
Keeping MDF flat requires sturdy under-framing and sides attached with plenty of screws, and sturdy, adjustable leg supports - usually 2 per roughly 8" section. If the track has joints, they need some provision for maintaining accurate alignment - some sort of tongue-and-groove or interlocking joint construction to assure the joint alignment. Just butting together sections with bolts won't do. Moisture tends to be the long-term undoing of MDF, so a good coating to seal out moisture is important. Most tracks today are using Rustoleum epoxy paint. If you don't have experience with MDF, precision carpentry or cabinetry, and especially routing MDF, I'd highly recommend not trying a DIY build and find yourself some experienced help.
Like others of us, the better known track builders have reached retirement age, and rumors abound whether they are still taking orders or not. I've heard Chris Dadds is still building, and out here in the West, Bob Scott, despite being in his seventh decade, is still cranking them out regularly.
#4
MSwiss
-

- IRRA National Director
-
- 25,955 posts Joined: 16-April 06
Grand Champion Poster
- Gender:Male
Posted 27 February 2025 - 11:16 PM
During the start of Covid, when I was forced to shut down, I came into the raceway every day with the doors locked and finished my drag strip.
Hearing stories of lumpy drag strips I did a lot of thinking and came up with a totally different way to build a drag strip.
Short (4') sections of 3/4" MDF, vertical, instead of horizontal bolts, holding the sections together, lots of PVC legs, using wedges/shims for fine adjustments, 3/4" dadoed walls, press-fit, not glued, and staggered, with long bolts loosely holding them and keeping them perpendicular.
The 102' long strip(40 ft. + of shutdown) is basically self leveling.
After a few minor adjustments the first month or two, I haven't adjusted/leveled the track in the last 4 1/2 years.
IMO, it's more level than when I left it, after that last adjustment.
While you might not want to go through all the work I did, as I have a lot of nice woodworking tools, the one piece of advice I would give someone after building my 2 road courses and now the drag strip, NEVER glue the walls to the roadbed.
While I hear about almost every old King track developing bumps, dips, etc., my 20 year old King with it's bolted on walls, has never had a problem.
My theory is the roadbed needs to expand and contract without glued on vertical walls, affecting it's mojo.
Think expansion joints on most sidewalks, every 5 feet.
Here's a link to some info and pics of the track.
http://slotblog.net/...ag-strip-at-cr/
- mreibman likes this
Mike Swiss
Inventor of the Low CG guide flag 4/20/18
IRRA® Components Committee Chairman
Five-time USRA National Champion (two G7, one G27, two G7 Senior)
Two-time G7 World Champion (1988, 1990), eight G7 main appearances
Eight-time G7 King track single lap world record holder
17B West Ogden Ave., Westmont, IL 60559, (708) 203-8003, mikeswiss86@hotmail.com (also my PayPal address)
Note: Send all USPS packages and mail to: 692 Citadel Drive, Westmont, Illinois 60559
#5
Dave Crevie
-

- Full Member
-
- 4,694 posts Joined: 16-February 09
Posting Leader
Posted 28 February 2025 - 11:38 AM
I can attest that the quality of Mike Swiss' drag strip is absolutely top of the mark. Follow his build procedures and you won't be disappointed.
If you want to build a sectional track, I built this one about 15 years ago.
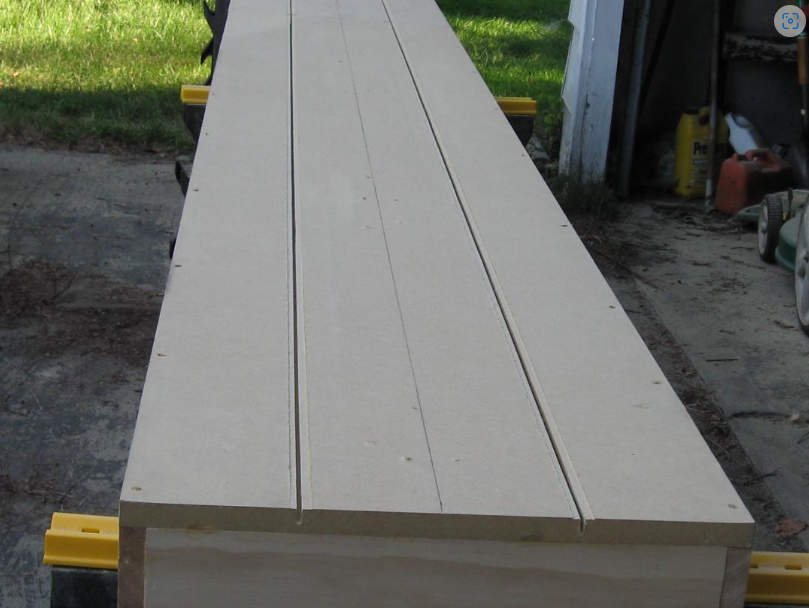
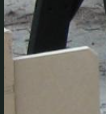
I neglected to take detail pictures of the tang and pocket system of aligning the sections. This is the tang.
This drawing might help explain how it is constructed.
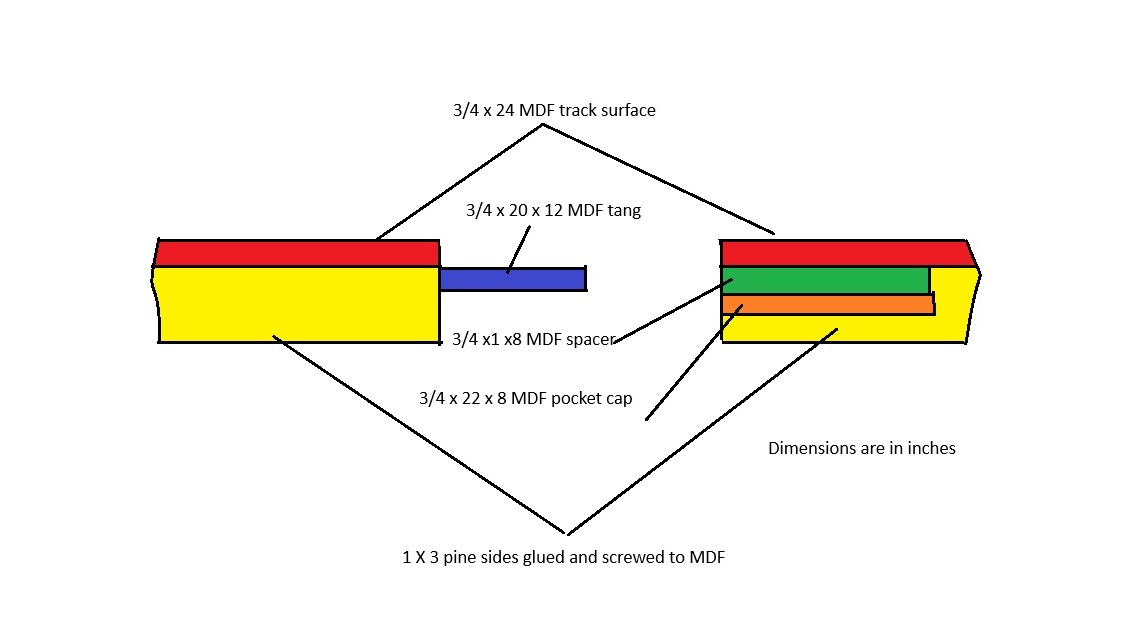
On one end of each section, there is a tang made of left over 3/4 MDF. It is centered on the underside of the track surface, with exactly the same space between the side of it and the 1 x 3 side bearers. On the other end, there is a pocket made of two 3/4 x 1 x 8 inch MDF spacers, and one 3/4 x 8 x 22 inch MDF cap plate. The spacers are glued and screwed to the underside of the track surface, 1 inch wide side against the bottom of the track surface. Use the adjoining track section to fit snug but not tight. Think of a light slip fit. The cap plate is glued and screwed to the two spacers so that it just fits between the 1 x 3 side bearers. Build the pocket so that it is about a 1/4 inch short of the end of the track section.
I actually cut the slots and braid recesses after all the sections were built. Using this system, our club set-up and broke down the track many times without any alignment issues. We used cheap plastic saw horses from Home Depot to support the track. Electrical was handled with trailer lighting connectors.
- MSwiss likes this


