First of all I must apologize for some of the crappy pictures; bad camera day!
This is my version of the Protoform Vacuum Machine. Blueprint plans provided by Doug Walsh.
While we are not going to see a slot car being vacuum formed today, but a 1/10th scale radio control car body. I'll try to make this interesting and hopes of showing you any one can do it.
Back in the day, year 1999, when everyone thought the world was gonna come to end, computers were gonna crash and burn. My spare time was gathering parts for this contraption. All my friends kept saying "You're building what?" My answer was always a vacuum machine that will heat plastic, suspended in a frame that can be lowered over the mold ,which sits on the platen, connected to this tank, which will have the air sucked out of it, that when you trip this valve, the air is trying to rush back into the tank, through all the little 1/16 inch holes drilled in a 1" grid, covering a useable platen space of 21"x33"! So instead of the plastic being sucked down from underneath, it's actually the outside atmosphere in which we live in pushing the plastic down over the mold. But then, because the plastic is soft and warm, it seals around the edges of the platen and around the mold, resulting in its new hardened shape.
The first of many pictures. Sorry dial-up connections, but stick with me, it's worth it!
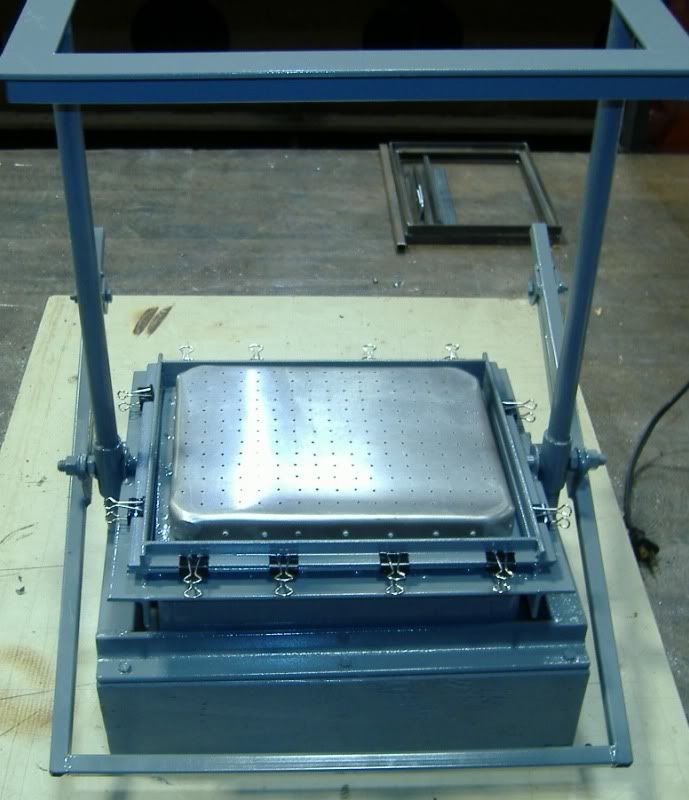
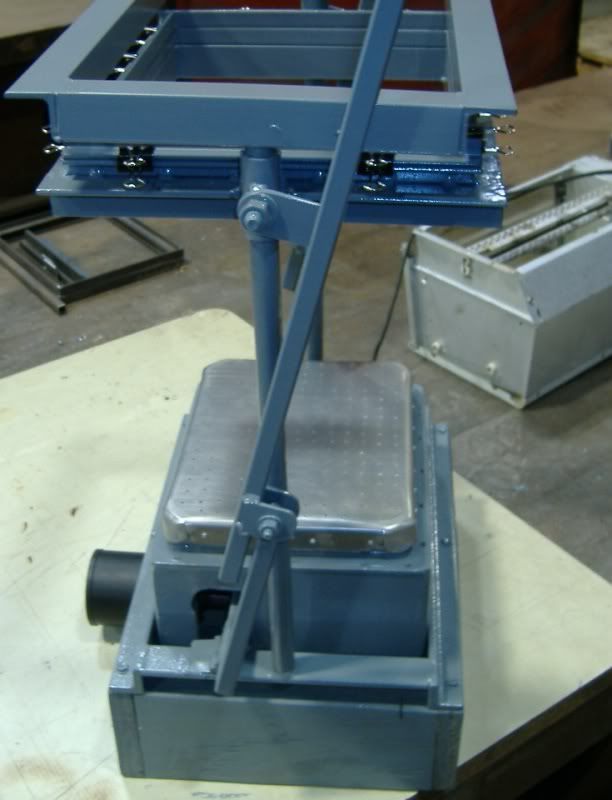
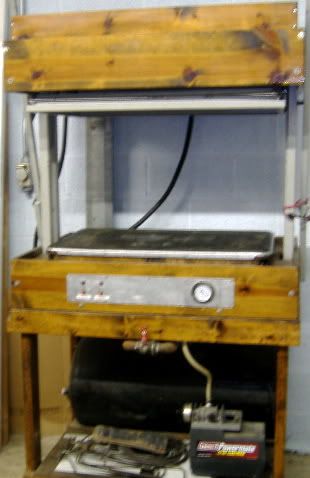
This starts off showing the front view of machine. The moveable clamp frame slides up and down in a track of tubes in the center.The handle is just a little over six feet in height, with the roller casters fastened to the bottom for mobility.
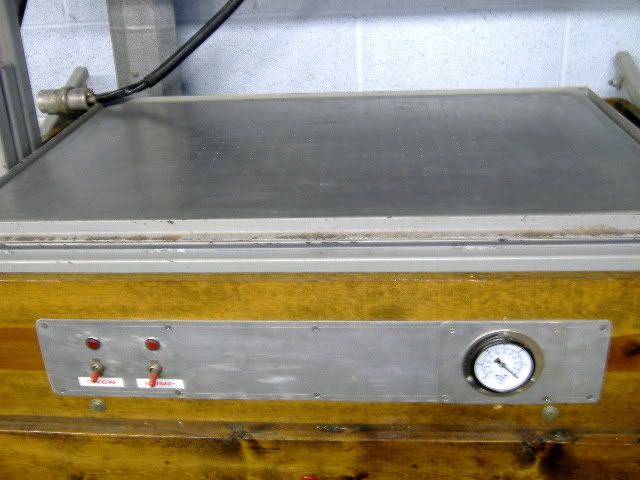
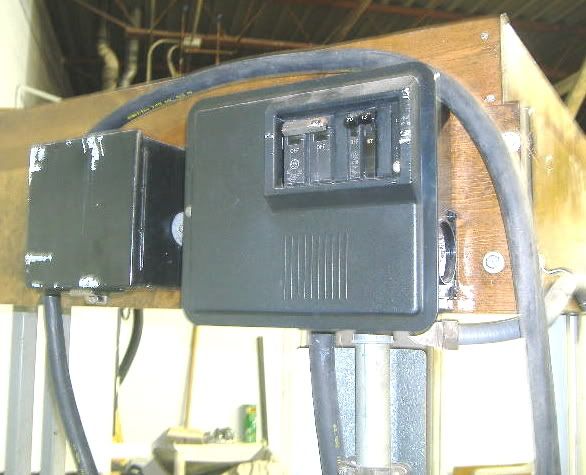
The platen close-up showing front panel controls for oven and pump, the lights are to notify me of being on or off.
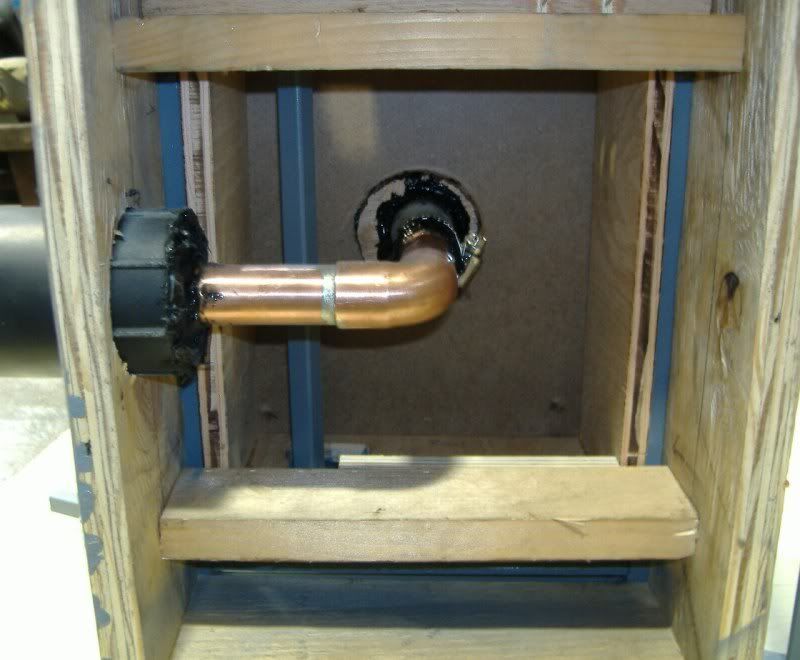
The tank is a forty gallon electric water heater, stripped down and painted, all the heater elements were removed and drains were either used or capped off. Coleman supplies the air evacuation of tank.
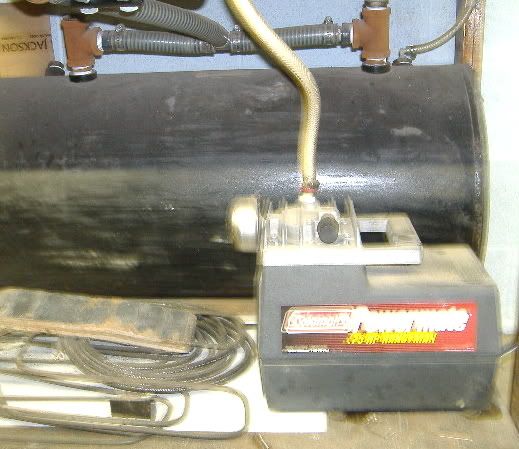
You must use a line capable of withstanding the vacuum or it will collapse.
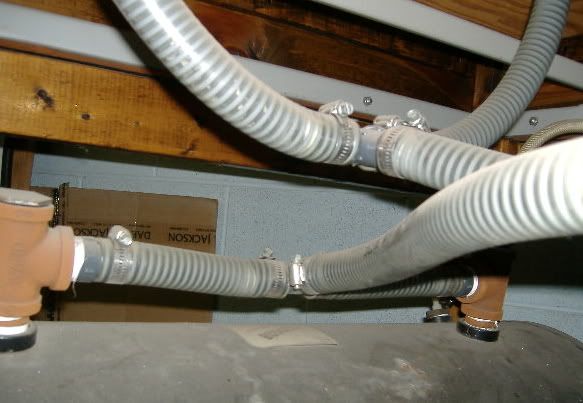
Dual connection to feed the large platen; notice the 110 volt box for Coleman power.

Power panel box with separate breakers. The box on the left houses the contactors to turn on the heaters, once the other two limits are met.
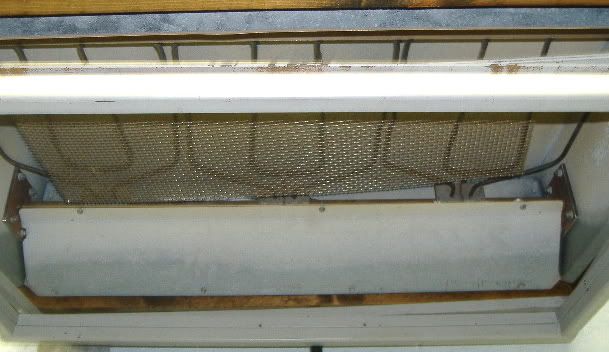
The 3000w commercial broiler heater elements. The stainless wire mesh was placed beneath the heaters to help try todeflect some of the direct heat onto the plastic as it was being warmed.
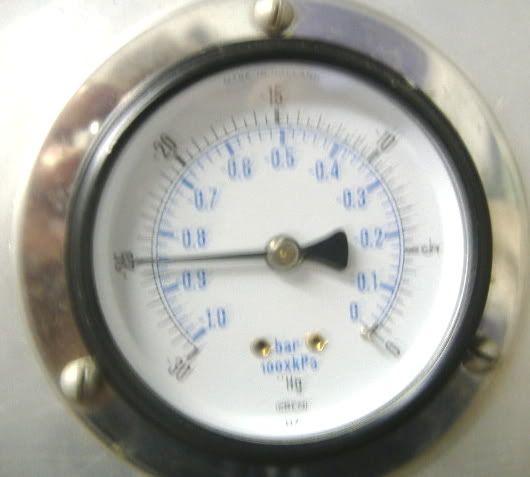
The vacuum gauge at full amount, ready to go
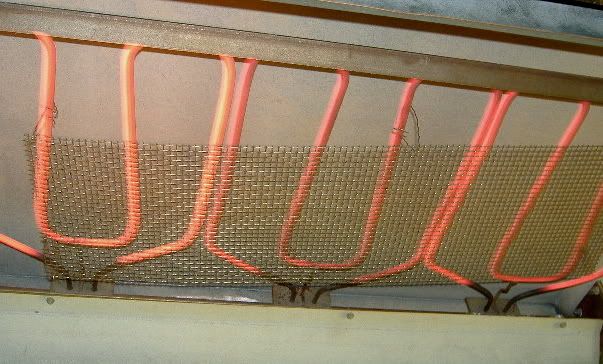
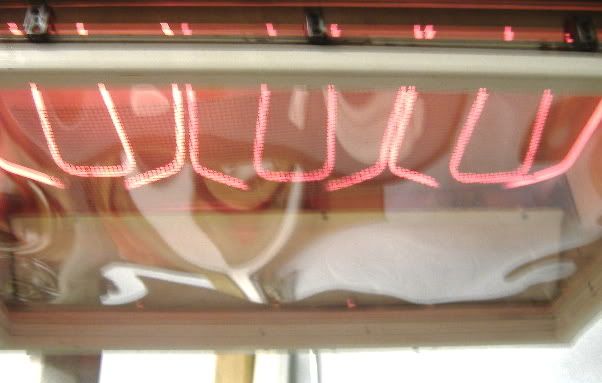
The glowing warmth of the heaters, this small amount of time is used in warming up the clamp frame, platen area, and mold.
Which one was it anyway?
Oh, yeah, this one:
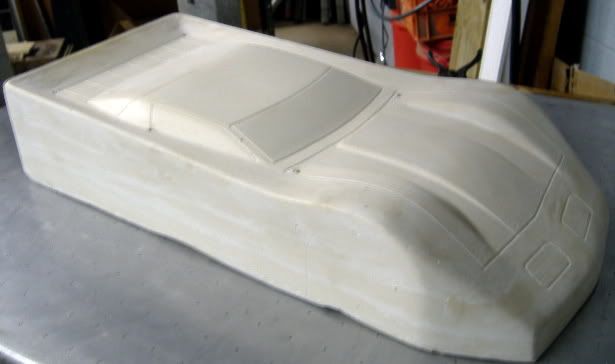
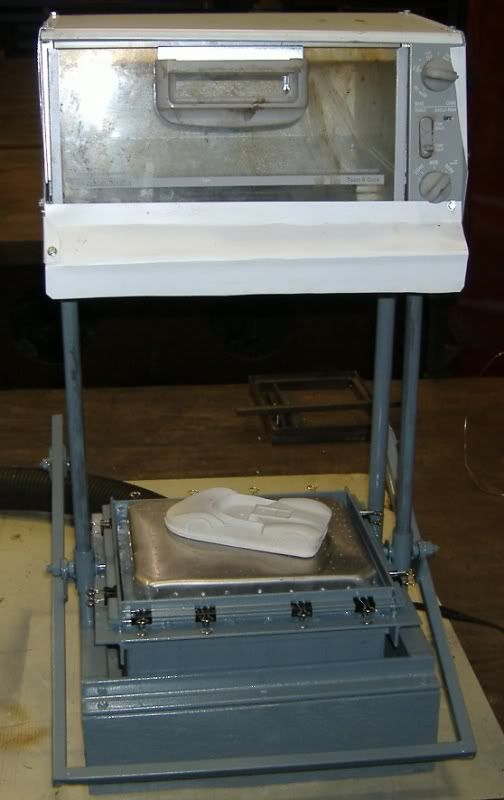
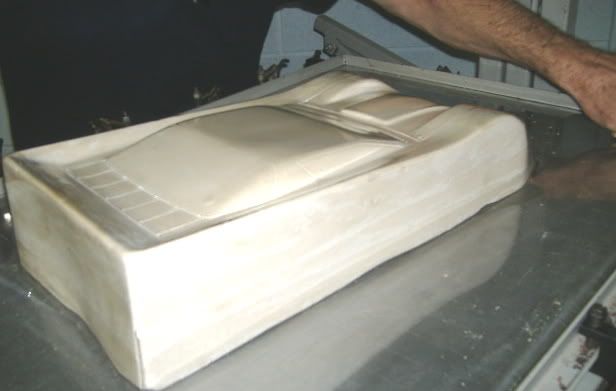
The GE .030 Lexan being warmed up
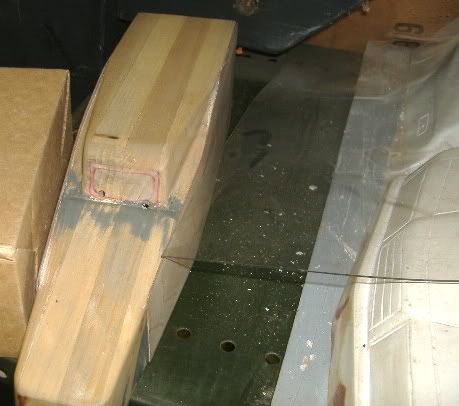
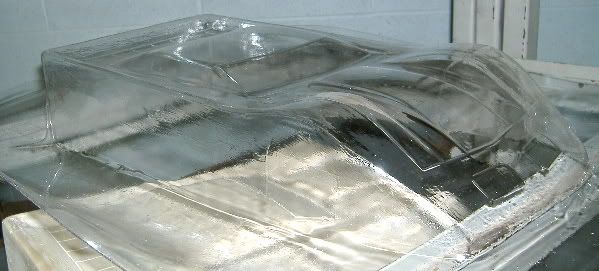
The formed plastic over the hydra-stone mold.
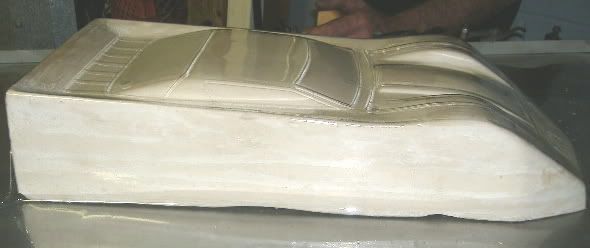
Hot off the mold!
Notice the thick webbing between the two tail sections? This is intended, as the stretching of the plastic over the molds has nowhere to go except stick to itself. This is very thick section of the plastic formed together.
Disclaimer: By no means the modifications that have been done to this machine should be taken lightly.There are 220 volts of power, and open heaters that can burn. Do Not Touch them at any time after they have been on!
So after a lot of work, reading, studying, planning, building, this is a lot of fun! It takes less then a second, blink of an eye, for the plastic to be drawn over the mold. I can only imagine how quick it would be on a smaller scale mold with thinner plastic. While I have never tried to clamp anything thinner than .030 it's flimsy enough trying to hold a 2 foot x 3 foot piece of that!
I have made another table top design that has a flip handle. It's not going so well as of yet. Going back to the drawing board on that!
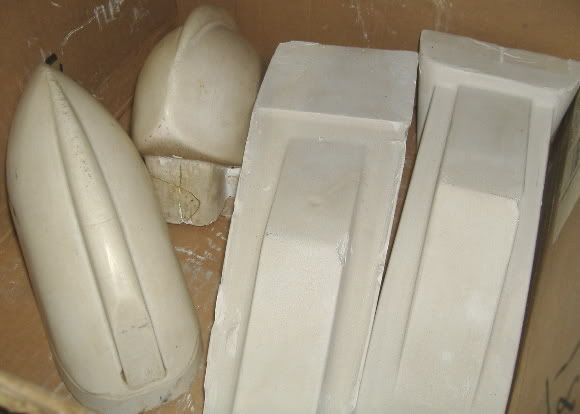
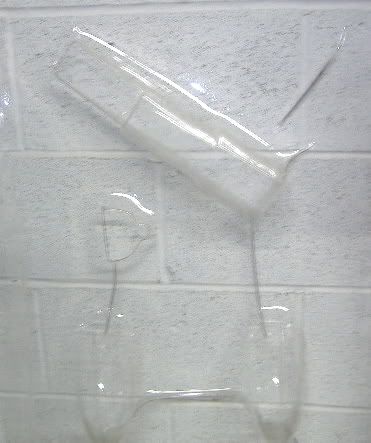
Here is a picture of the finished trimmed and painted sprint car body pieces.