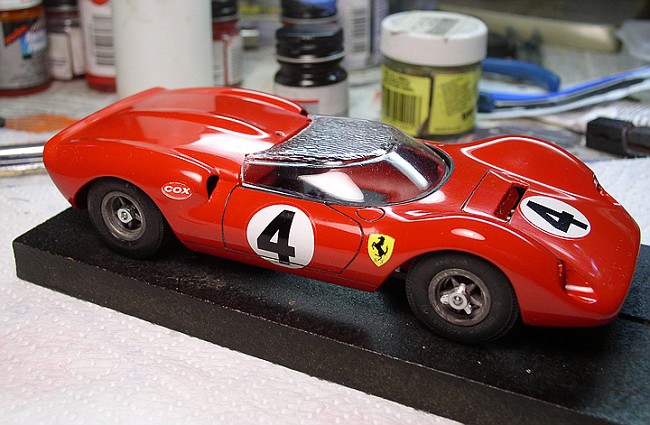
The first one turned out pretty okay. Front tires were dry but useable. Rears.... not so much but I ordered a new set by Orttman's through Electric Dreams. Had a bit of troubles getting them to fit so I sent them back. The rep at the E.D. was not very helpful but then he was really young. However since then I learned that they were actually CORRECT so I apologize for the previous rant. Al Penrose at BWA explained to me that the Ferrari tires ARE hard to install for some reason.
You see, I have purchased Orttman tires for the Ford GT 40 and they were tight but slipped on with little effort. Same with Monogram tires and Revell. I just could not understand why the Cox Ferrari tires had to be so difficult!
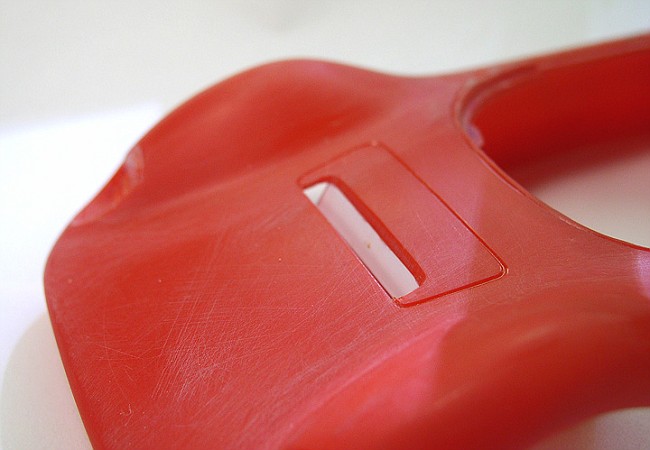
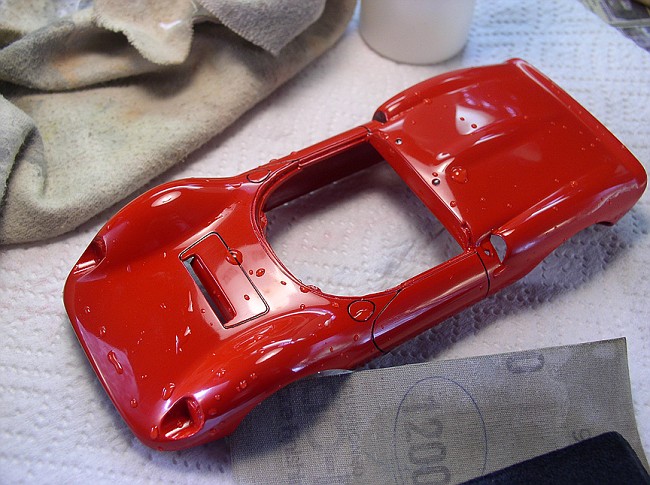
So anyway, now I pick up this Spyder project again months later. Body sanded smooth, mold lines cleaned up, almost ready for primer.
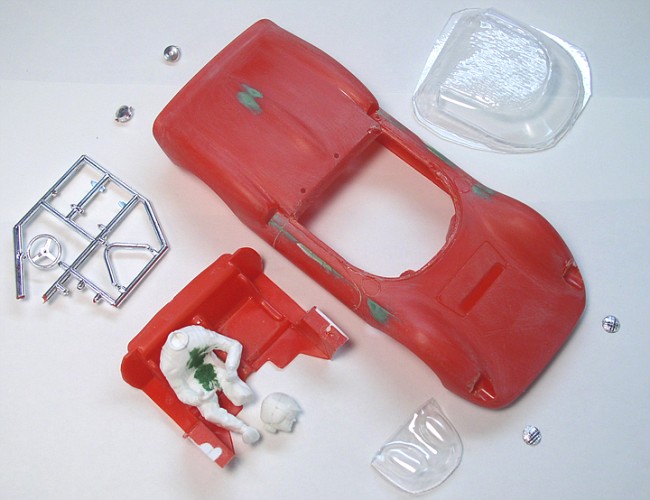
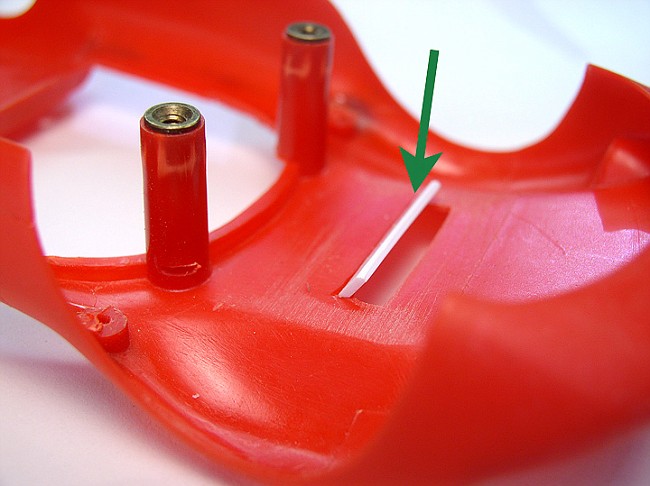
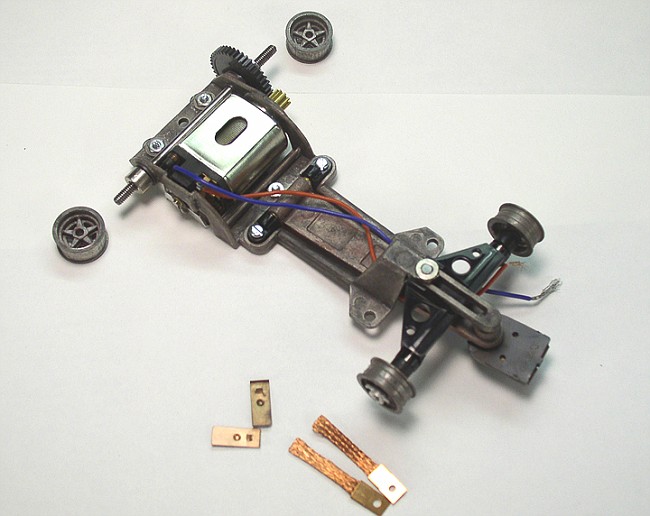
Still some assembly work left to do on the chassis.
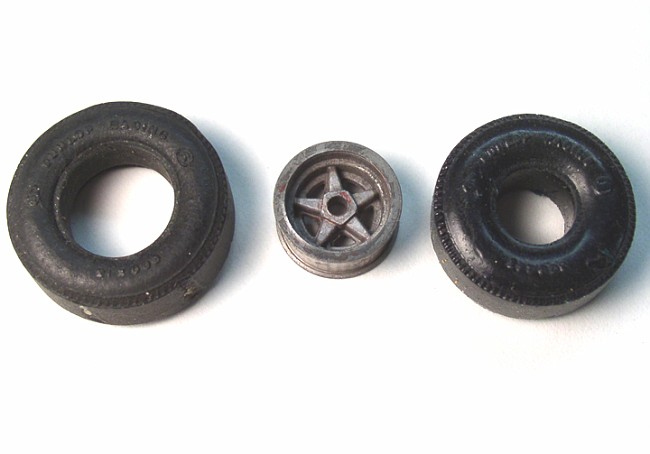
Tire on the left is a correct stock and very dry, cracked original #17011.
Tire on the right is a Orttman product.
The rim in the middle is a correct stock 1/24th scale Ferrari Dino NOS rear taperlock rim.
As you can see it will take some effort to get it onto the rim. As Al explained, take a rim and bolt it up to an axle. Put the assembly into a vice where you can get the leverage of both hands and "work it on"!
I just wonder why this is not explained by Orttman or is this a commonly known thing?
Onward.