Back again.
Here's a shot of the RS pot next to a PM one...

Not only is the Shack one larger, but the shaft is thicker (1/4") and shorter, too! Man, life is just tough, isn't it?!

The good news is that once the mods are done, replacing the pot in the future will be "cake."
Now is the perfect time to change your mind... pack up the controller, and send it off to Professor Motor for a tune up.
You didn't do that, though, did you? OK, you've been warned!!!

First, let's remove the old pot... er "rheostat." Can I just say "pot" instead of rheostat? Good. Thanks!
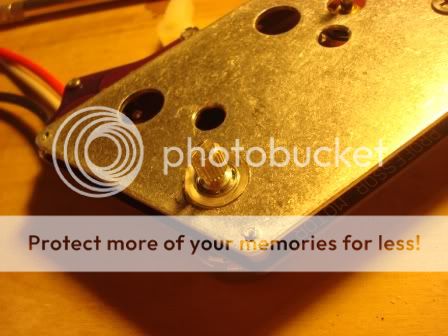
I started by clipping off the parts of the tabs I could see on the board, as well as the third unsoldered tab. Makes it easier to remove it.

Don't get confused by turning the board over and over, and start hacking on the trigger pot by mistake.

The pot is soldered to the board in two places. As I started to put the heat to it, I was able to wiggle it enough to clip the middle tab off. Now I only have to really heat one of the tabs to remove it.
Gone!

Now with your iron, you can easily push out the tab pieces.
Taking a trick from my Difalco controller, I'm not going to solder in the new pot directly to the board... but to wires. So grab some heavy wire you have laying around, get the ends tinned, and solder them to the board.

This will make it much easier to install and replace the pot.
I need some coffee. See you in a bit.
Stan