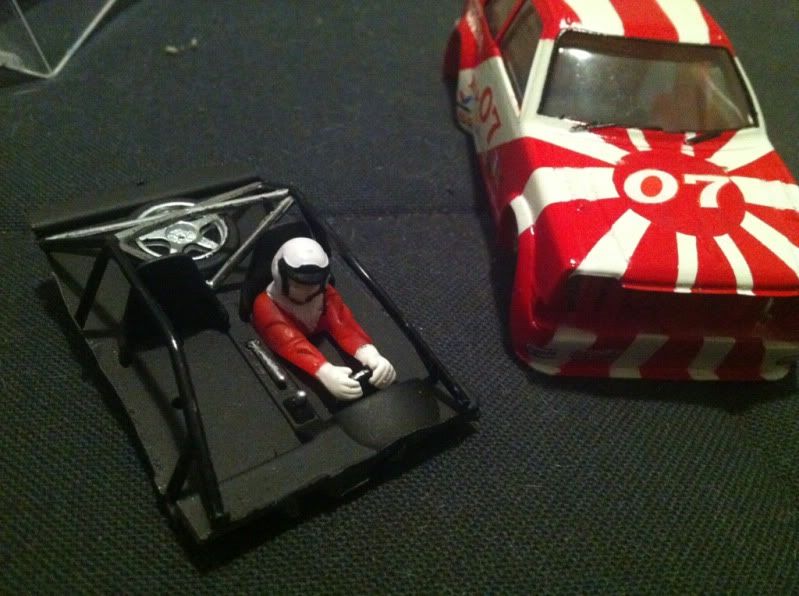
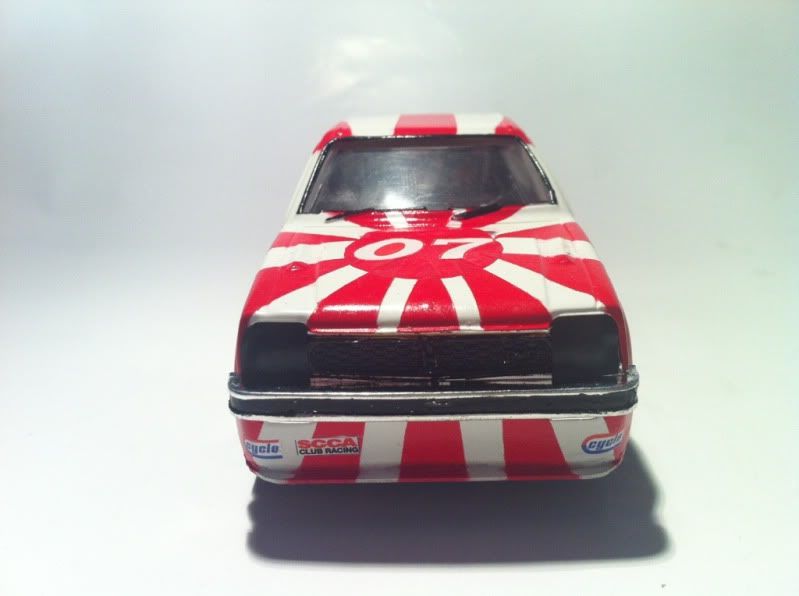
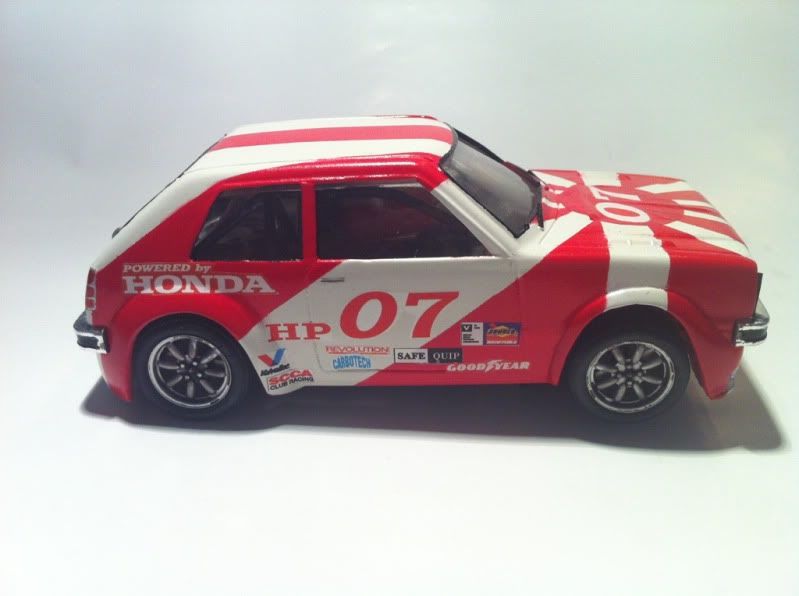
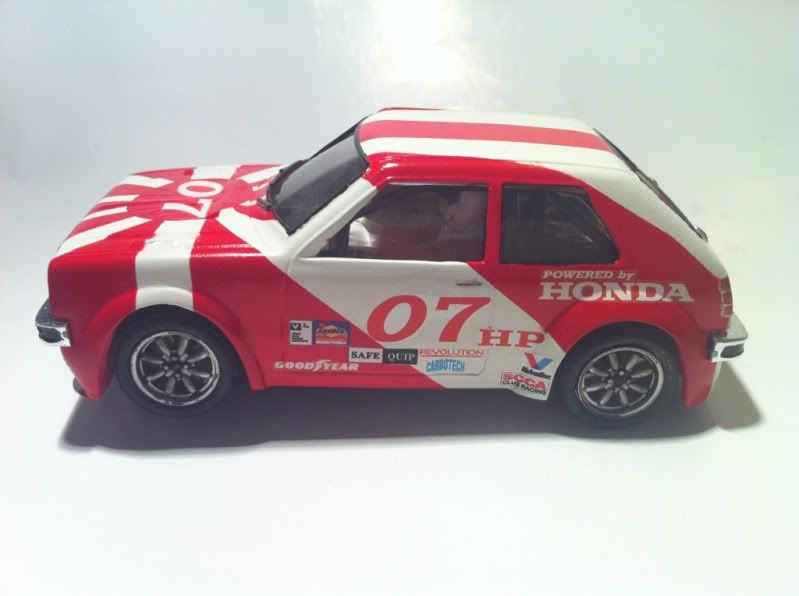
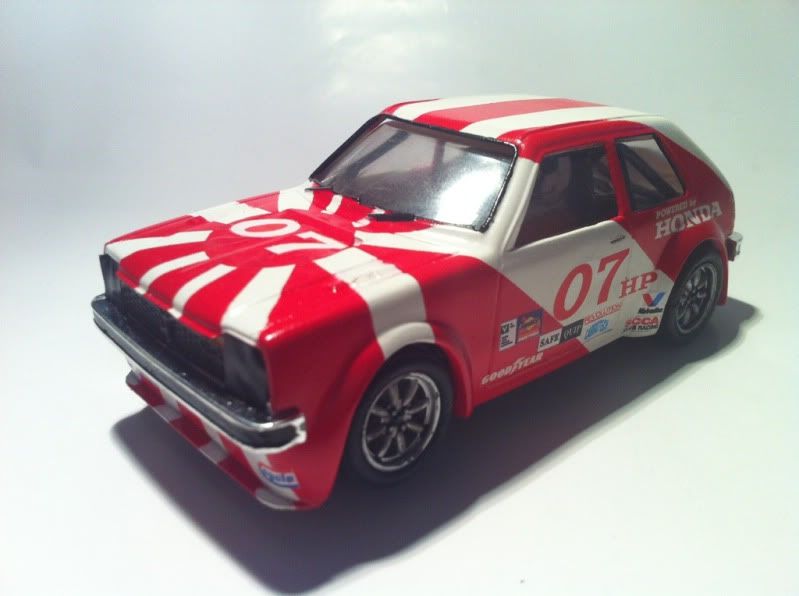
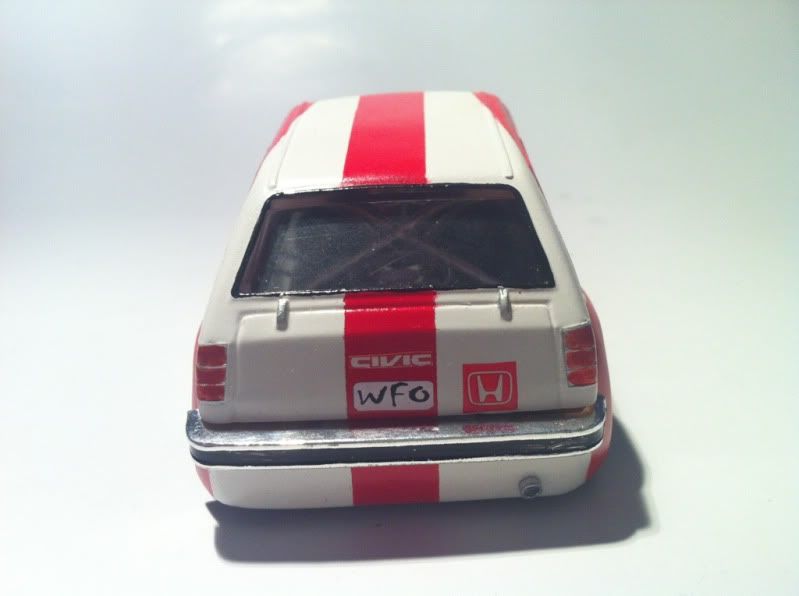
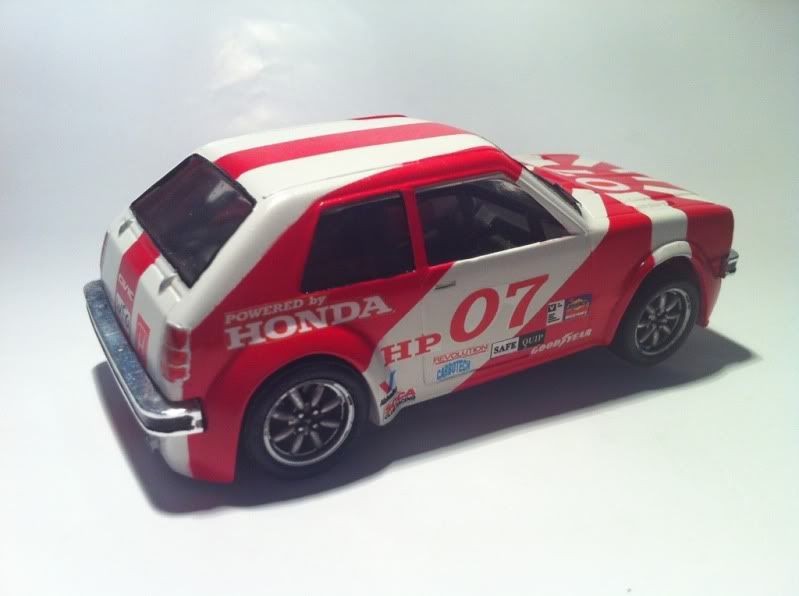
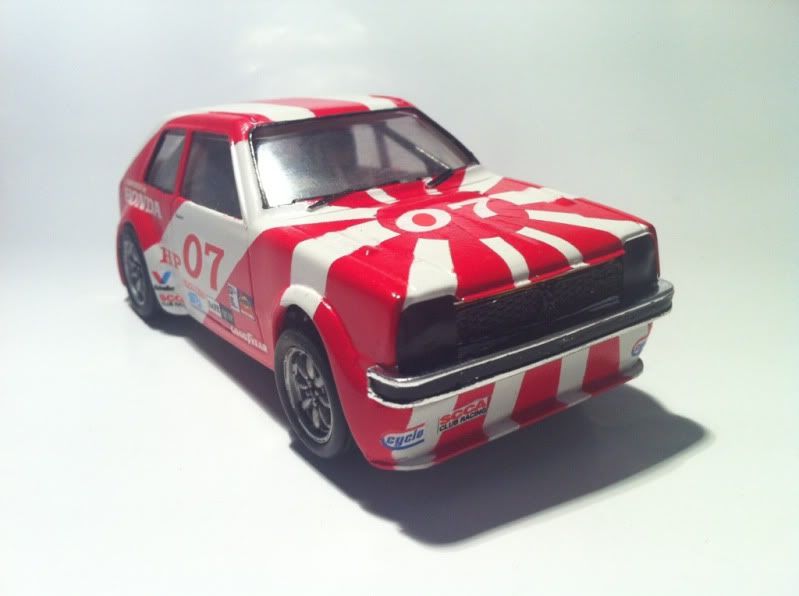
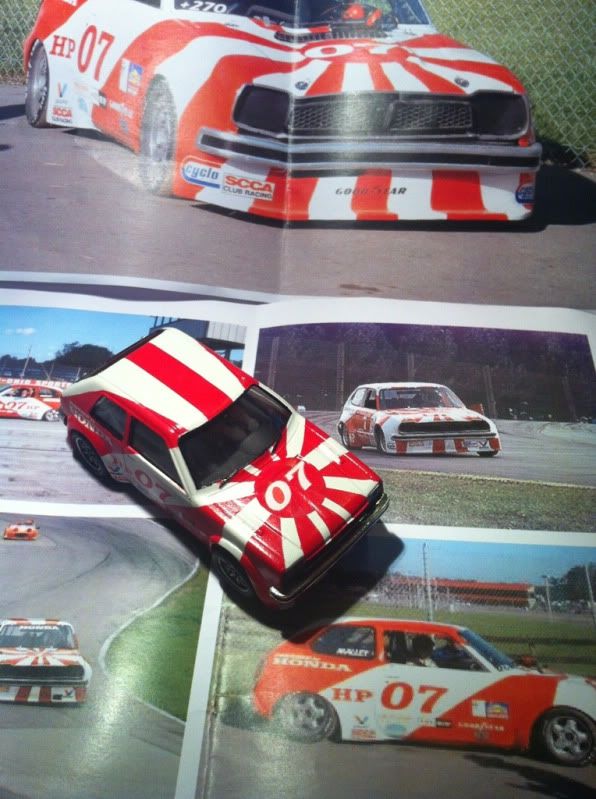
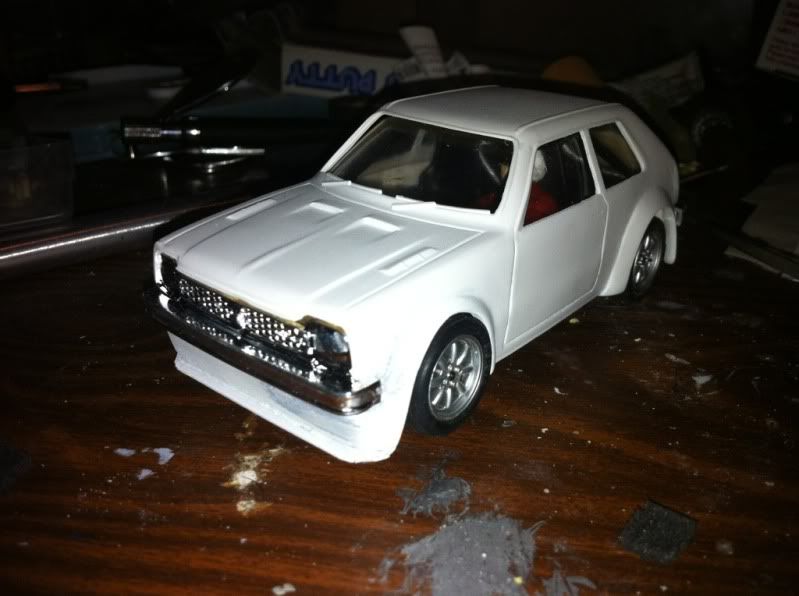
Hi there! Long time since my last thread. Well, this car is a personal project where I spent around 4 months. The initial car is an Honda Civic made in plastic by Bandai and Entex too in 1/32. This kit is quite rare and I've only seen twice in ebay in last years. I always loved the Civic series and when I get this kit I couldn't resist making a real race livery.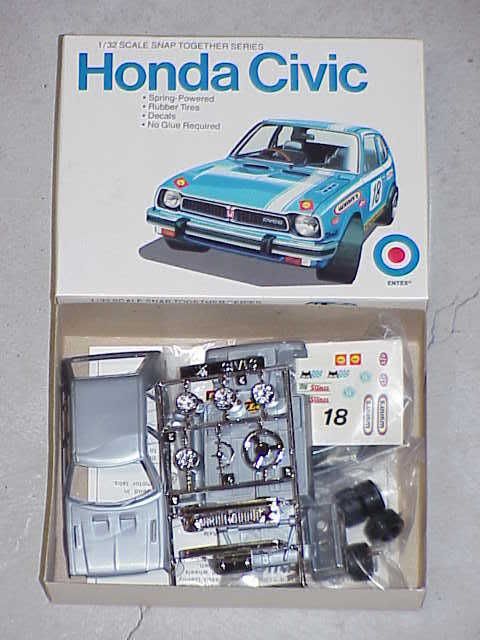
The chosen livery is the one which Adam Malley drove during 1993-1997 in the SCCA club series. Here you can find a brief about Adam, and his civic passion: www.mallenalley.com
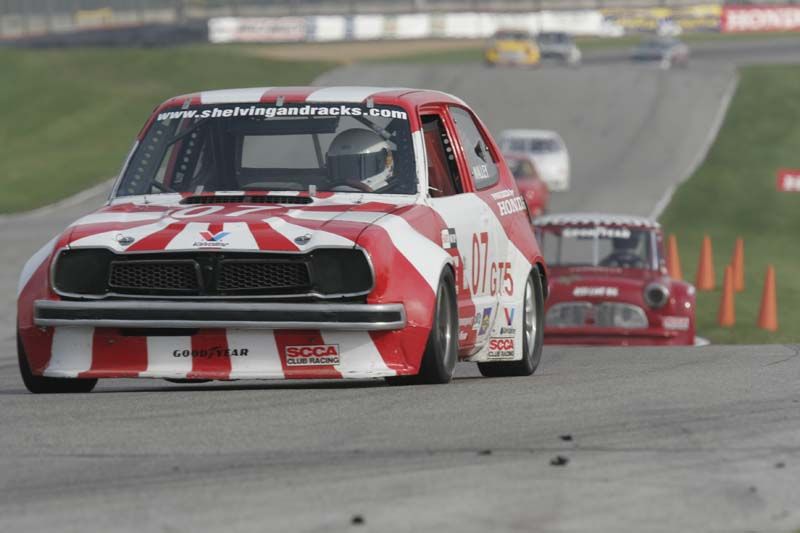
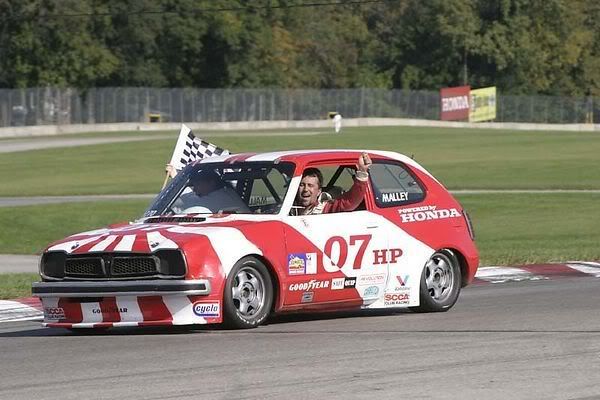
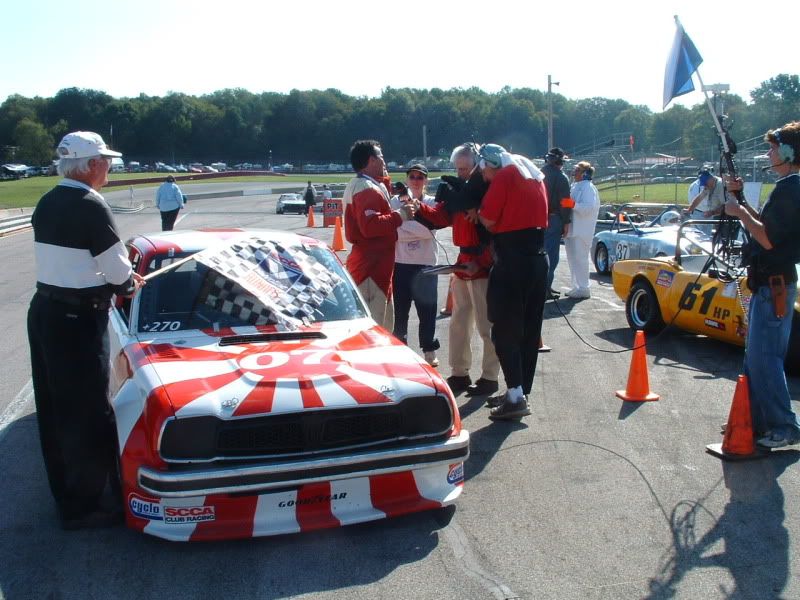
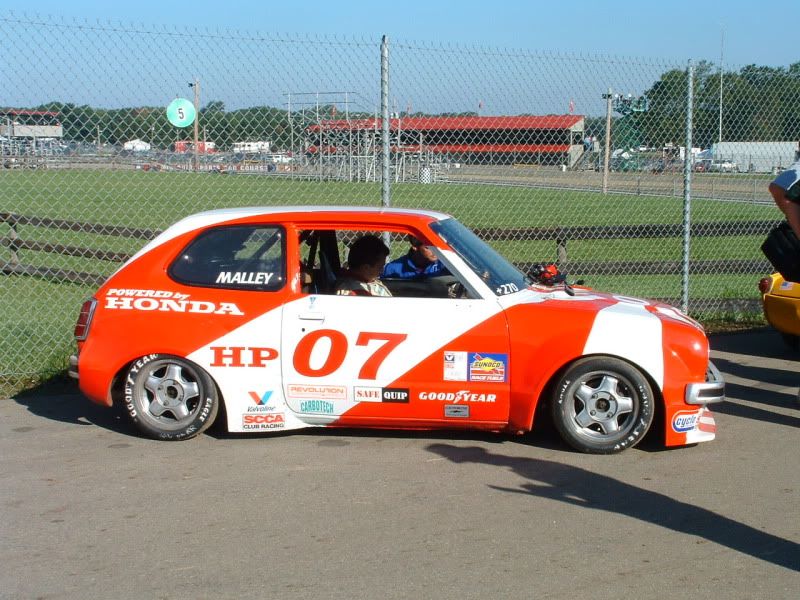
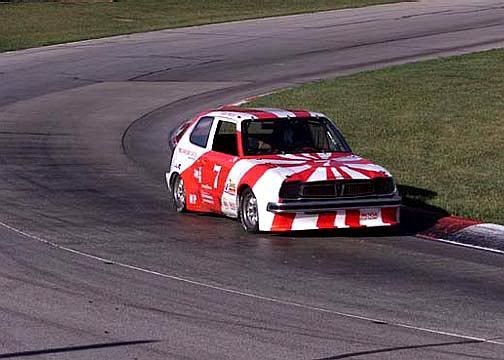
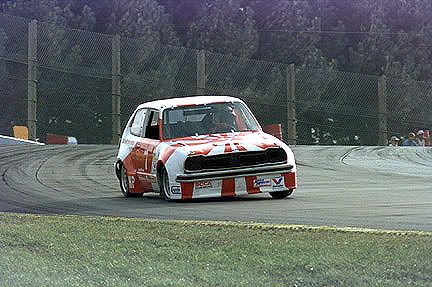
Here I start off the process...

From a straight picture I scale into 1/32 with Adobe Illustrator, not an intuitive program but easy for simply things like this.


The measures of the Bandai body are quite good but we must remake several things. We begin converting the 4 doors to 2 doors, changing the place of the mounting pilars, covering with putty the door slots and then creating the front and rear spoilers.


Here I put the mass putty and I begin the modelling process.
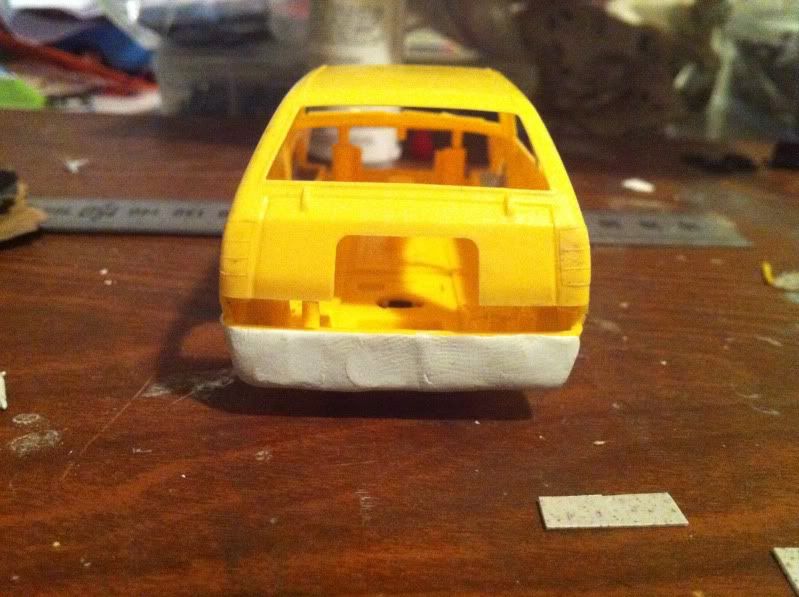
After sanding a bit...

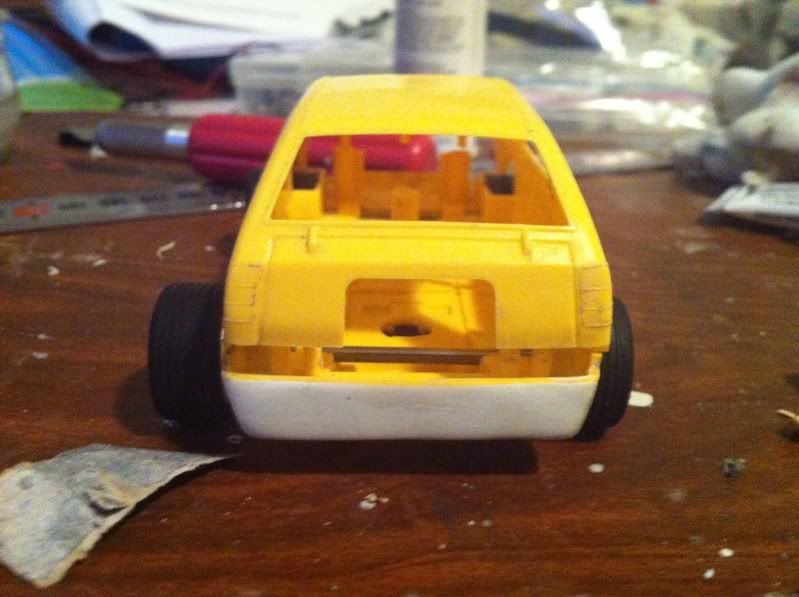

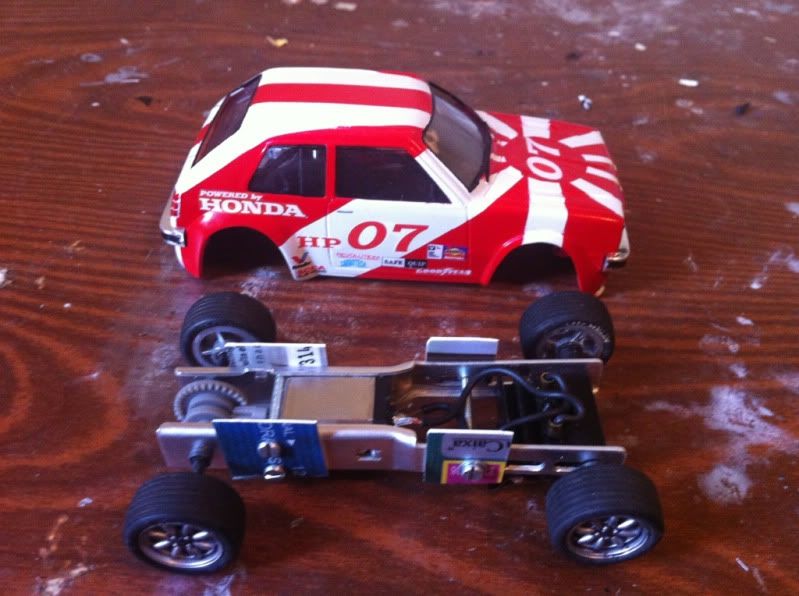
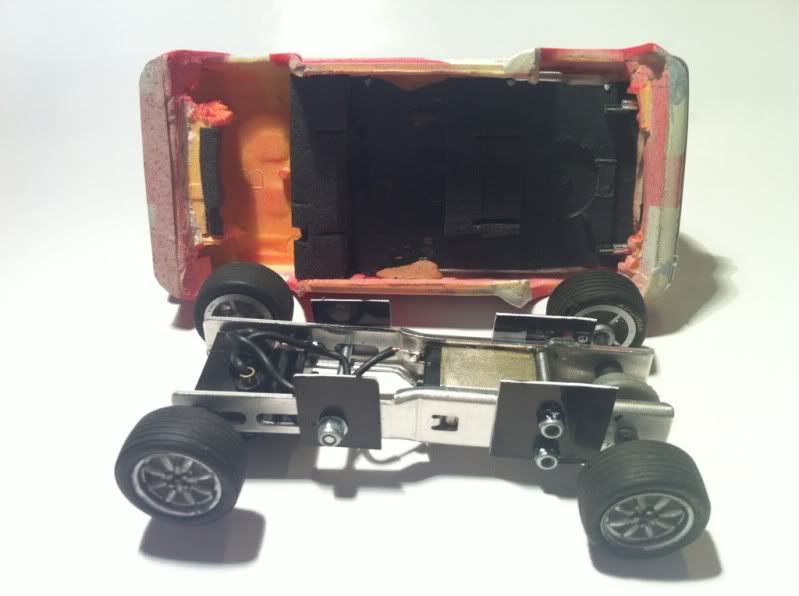
The chosen chassis have been the one made by Tecnoslot. This is a chassis created to convert 1/43 cars in slot car racers but as the Civic is a small one this chassis it fits perfectly. If you are curious you can check their web: http://www.tecno-slot.com/
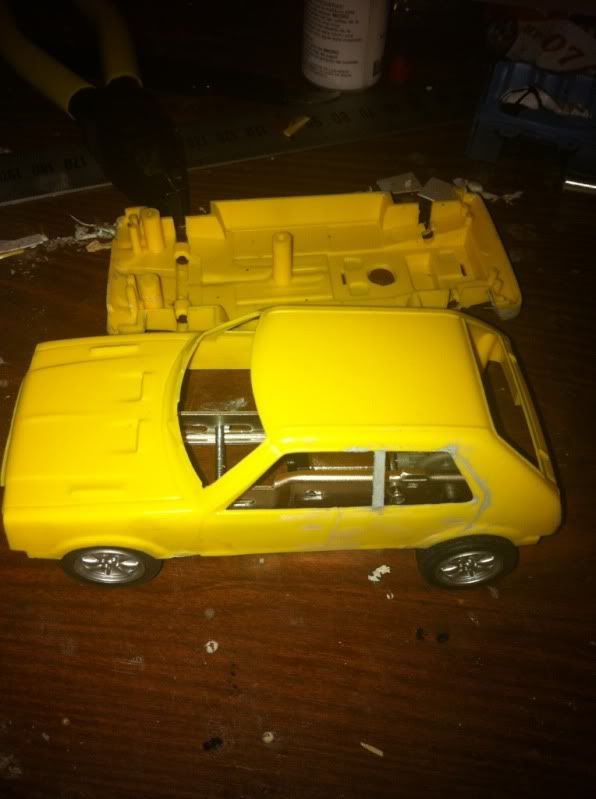
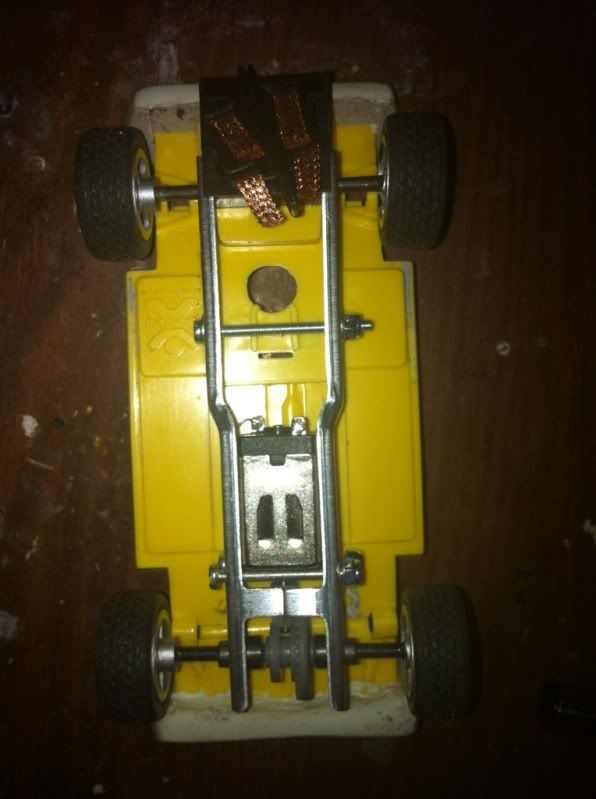
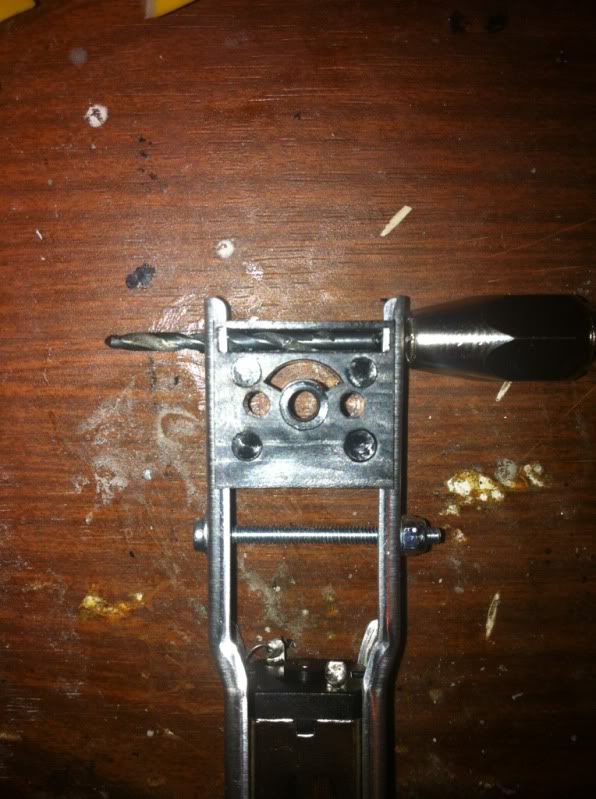
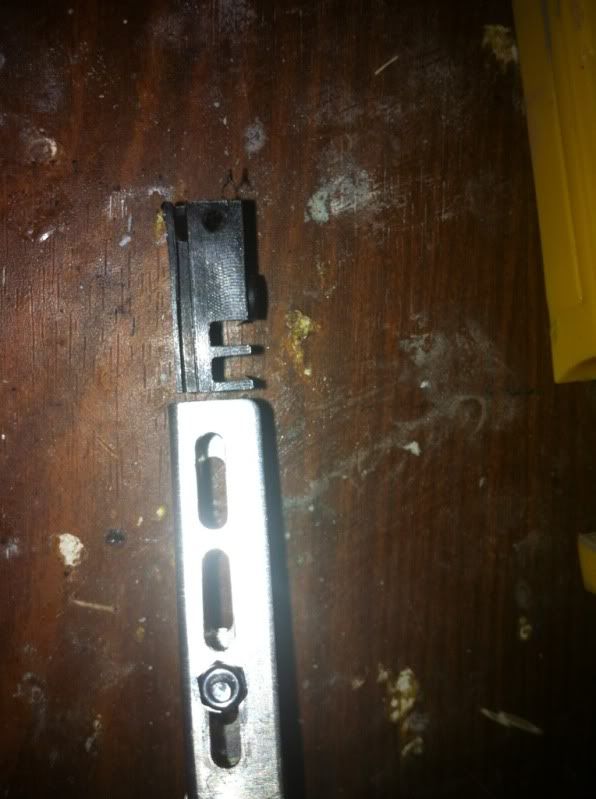
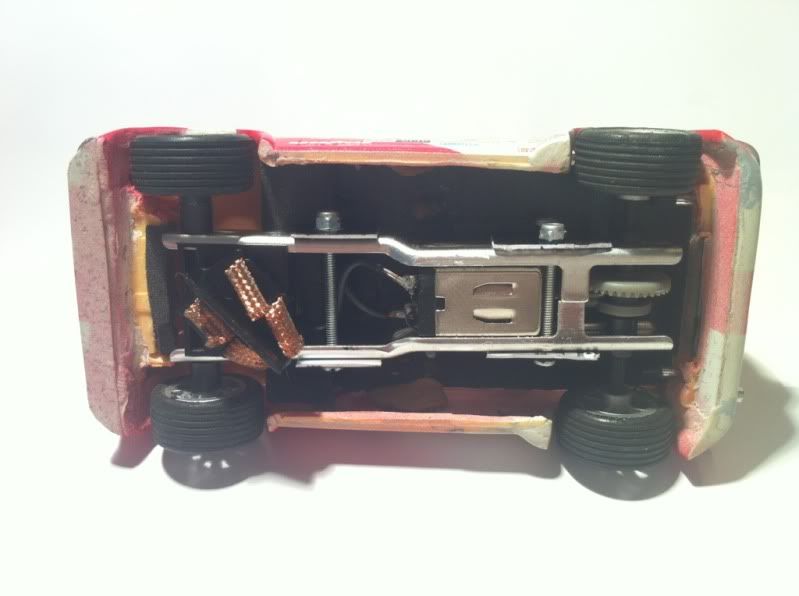
As the wheel base is attached to the sides of the body we must cut and then stick it to the body. Of course, putty is our best friend in these jobs.
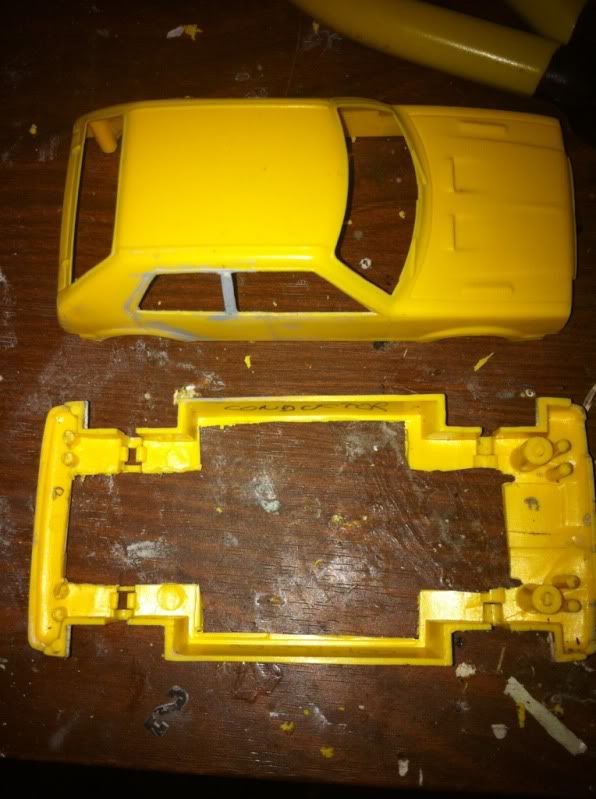
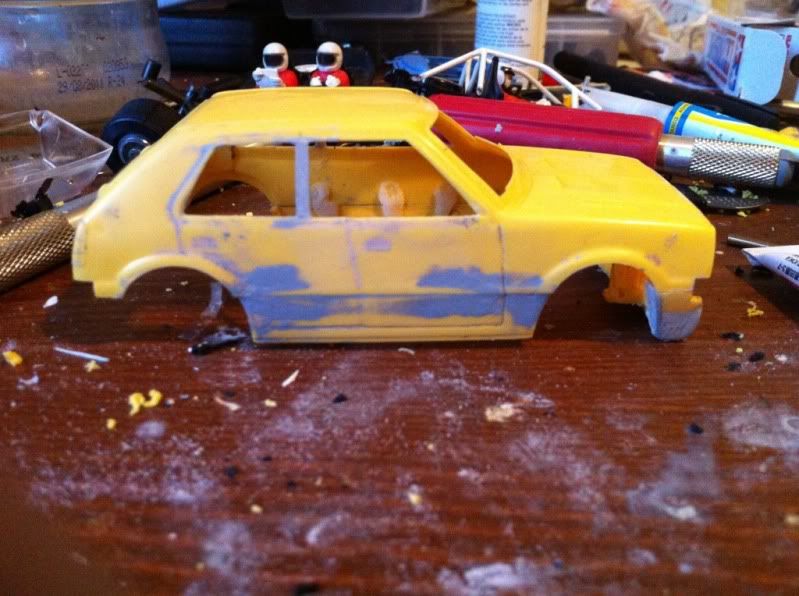
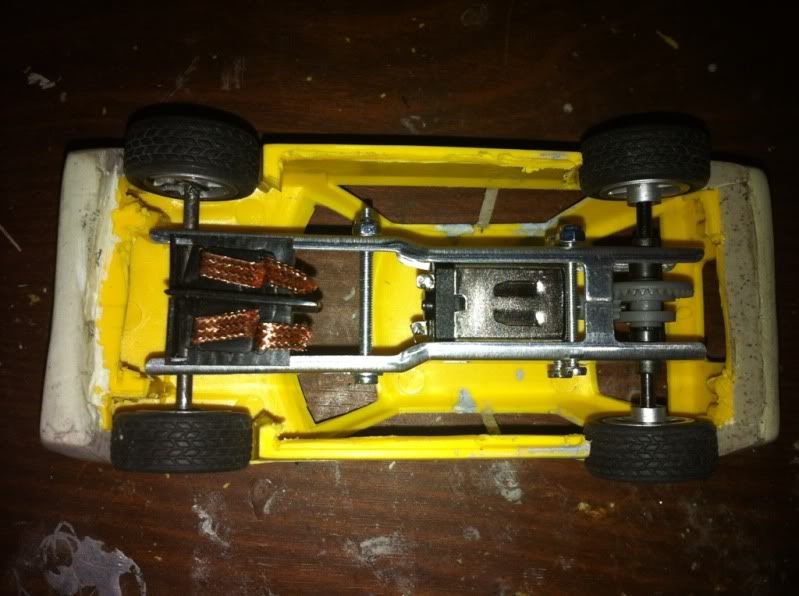
The back hole from the body must be covered too.
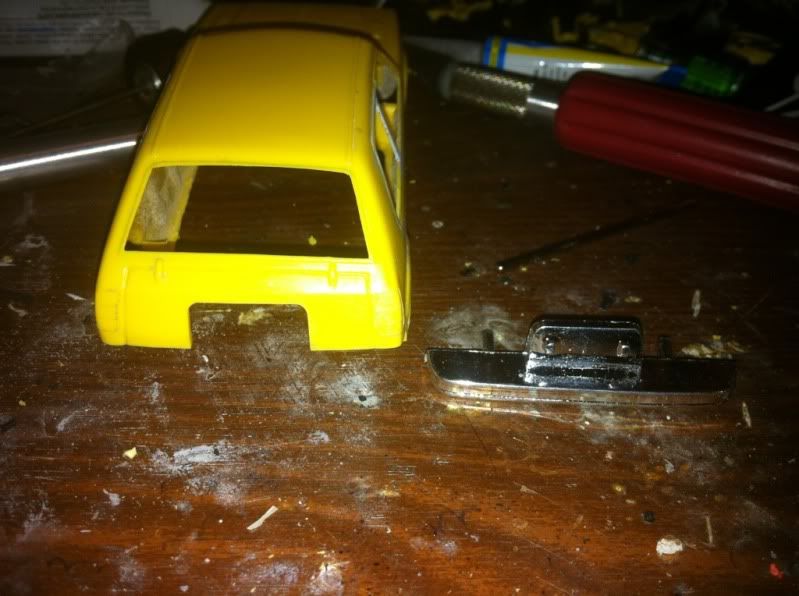
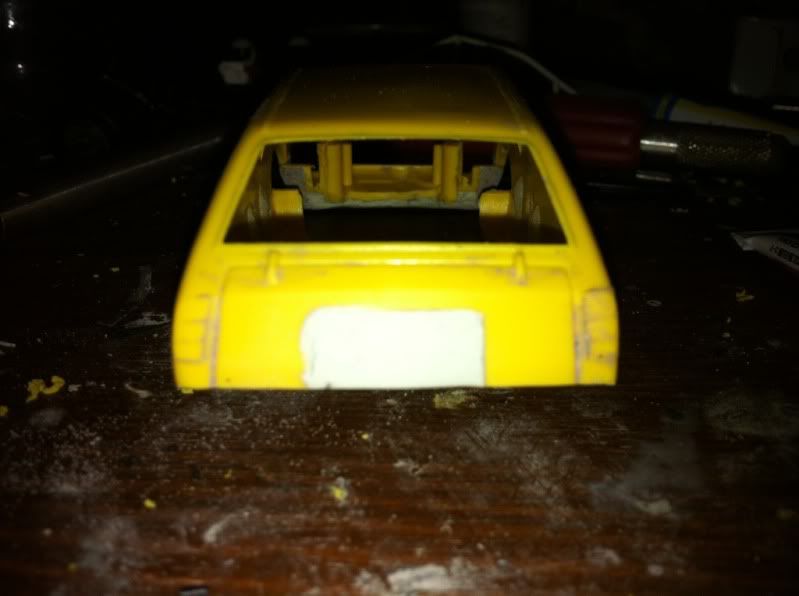
Come on! Now it's time to widening wheel arches and to mark the new doors!
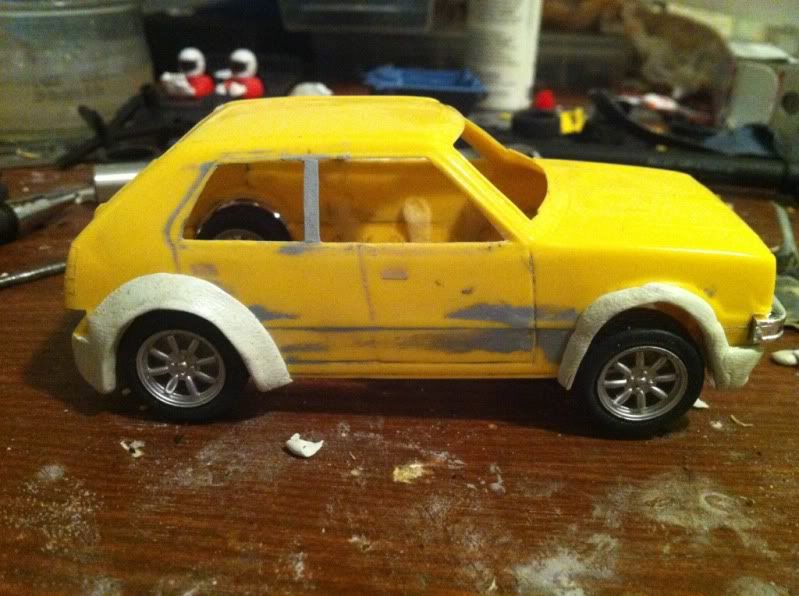
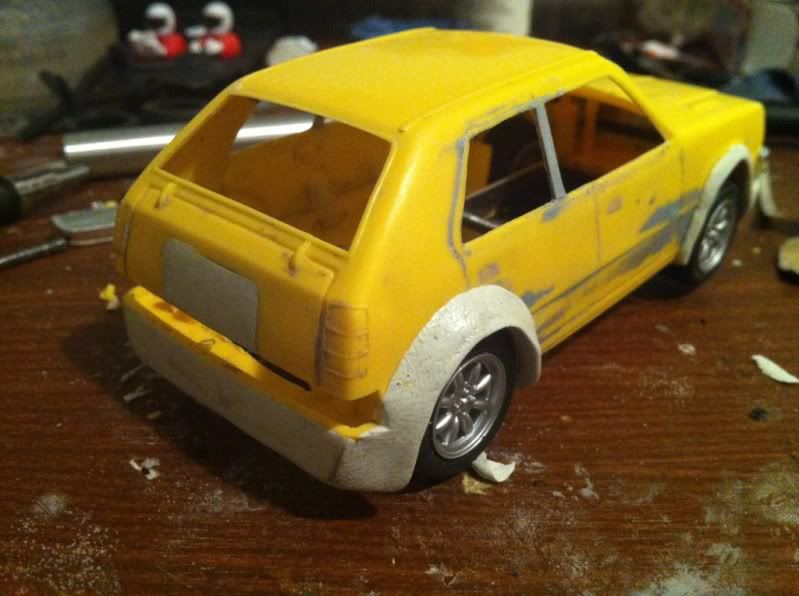
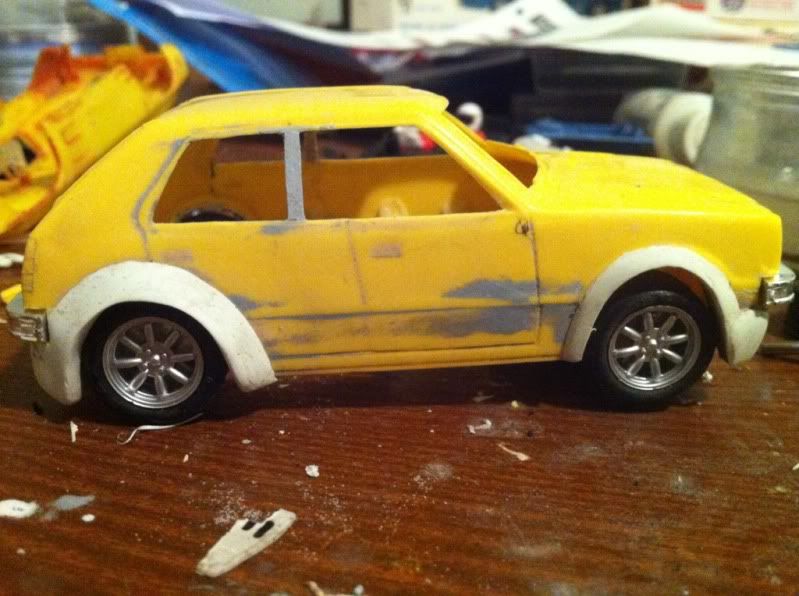
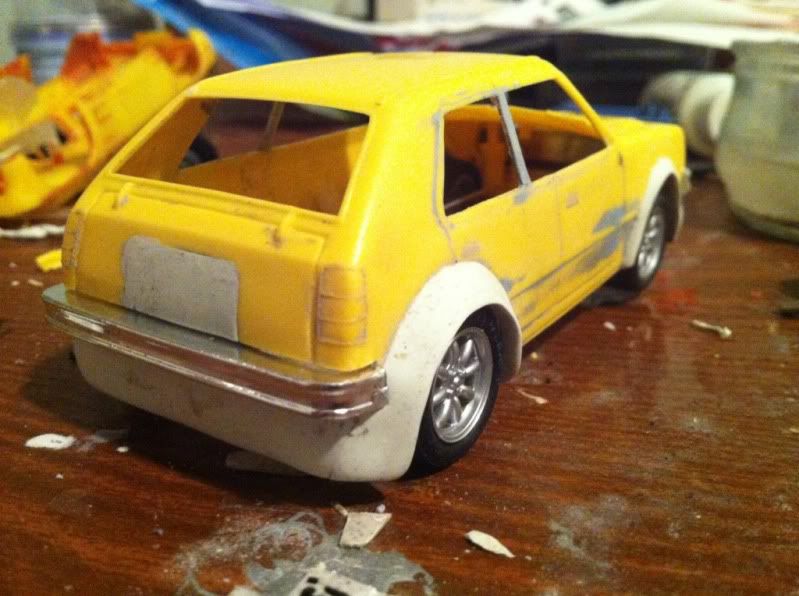
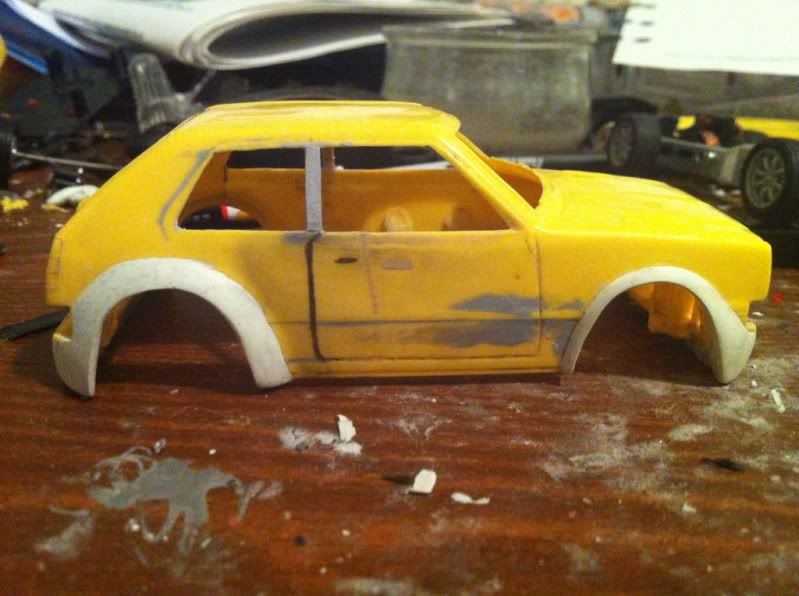
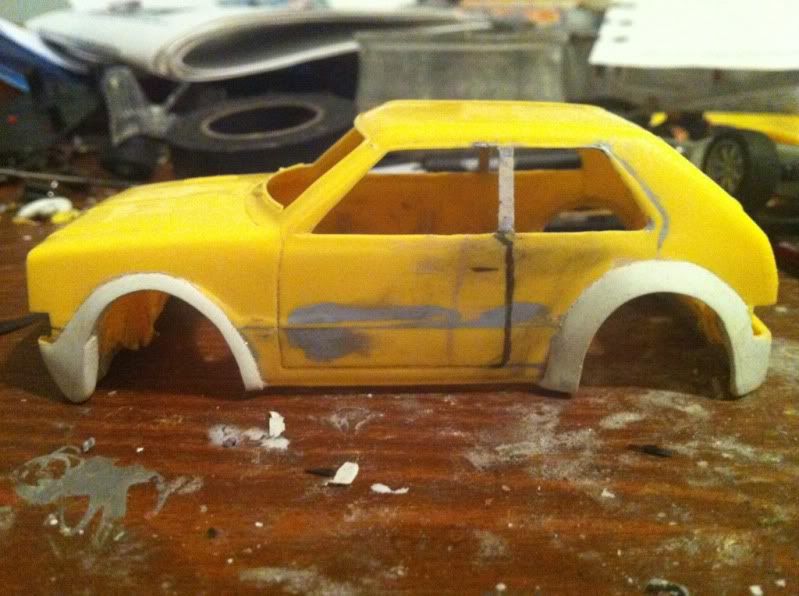
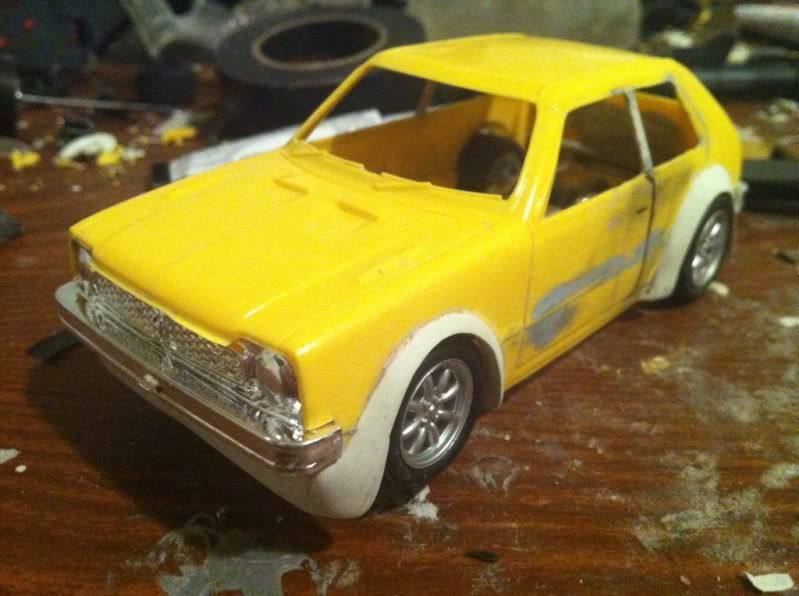
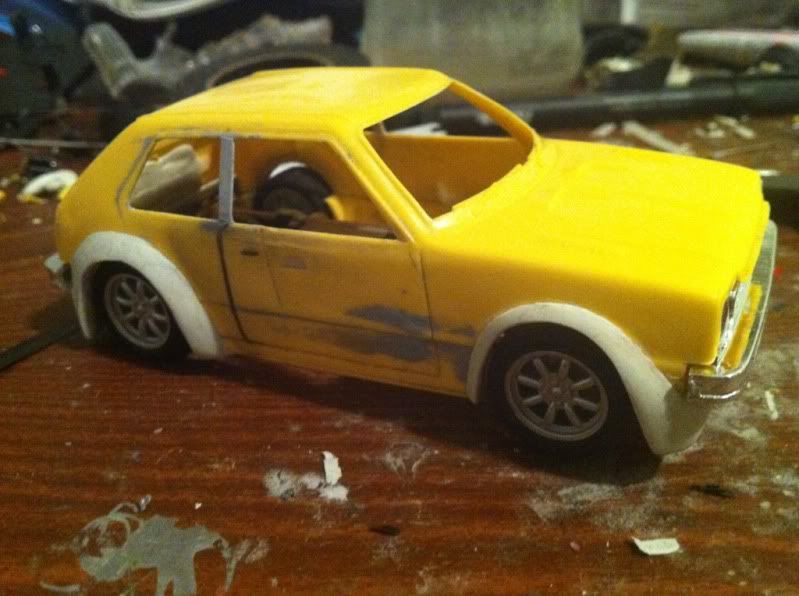
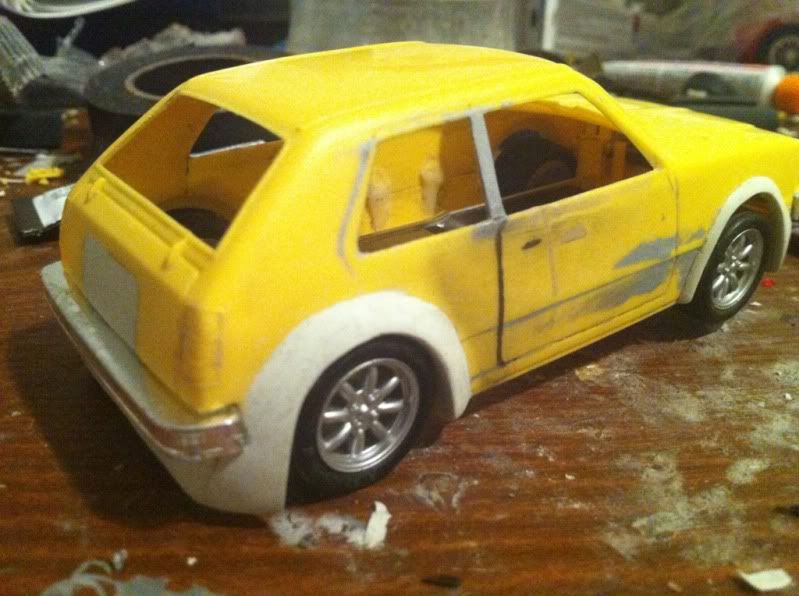
After this it's time for the first primer coat...
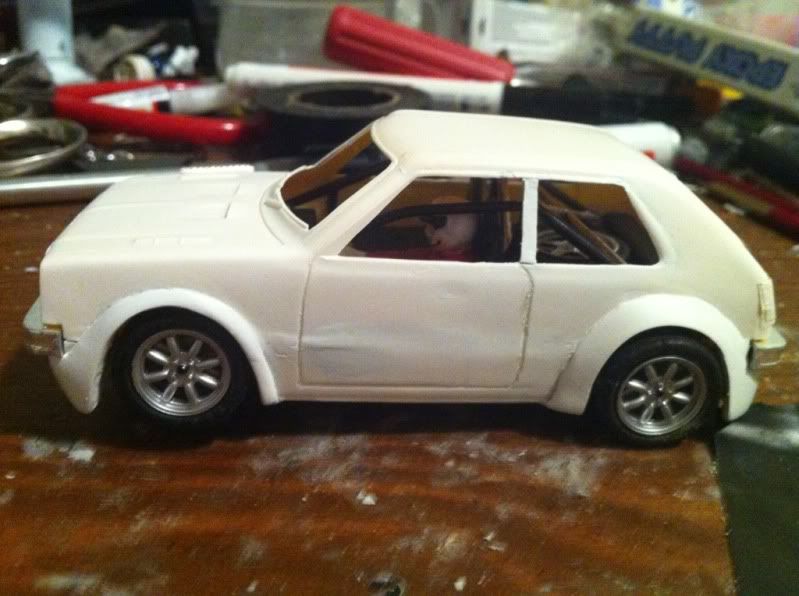
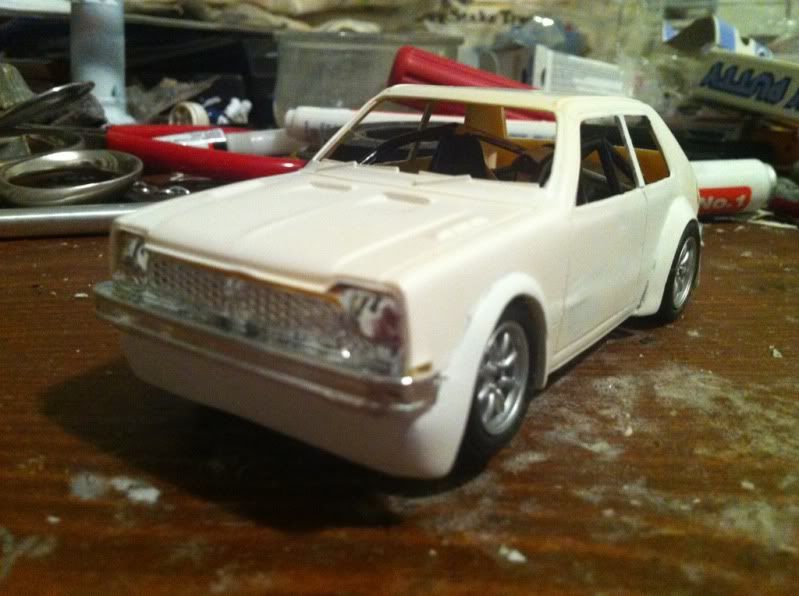
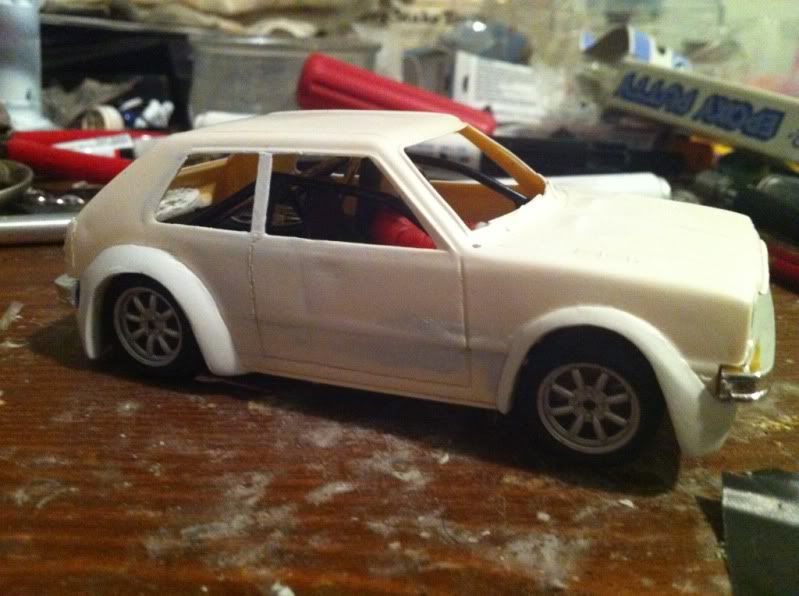
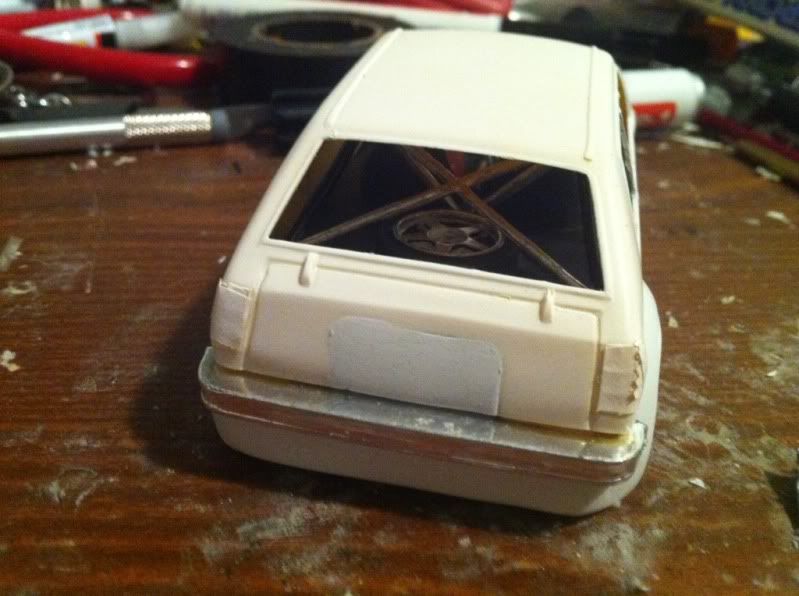
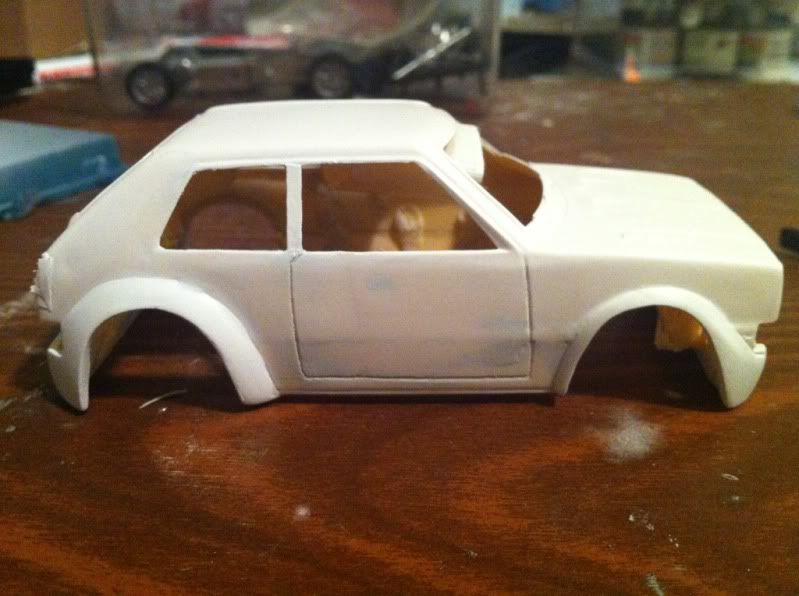
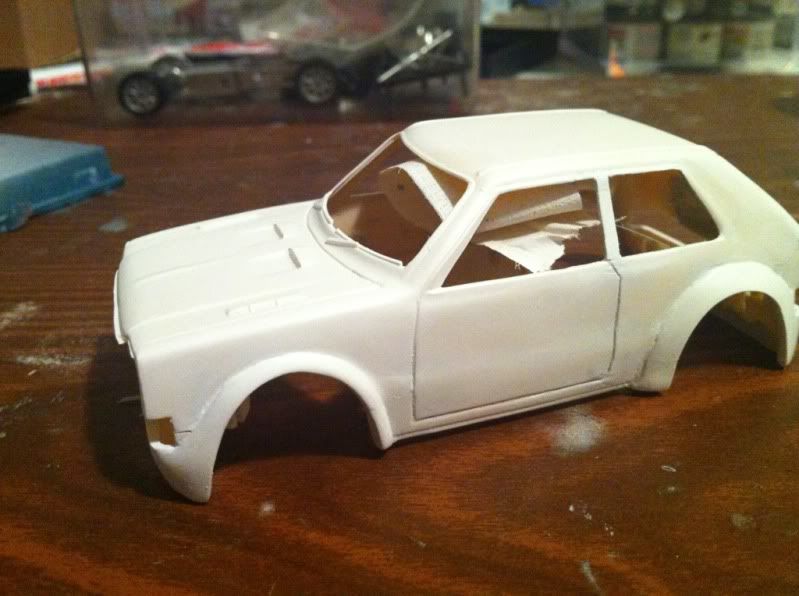

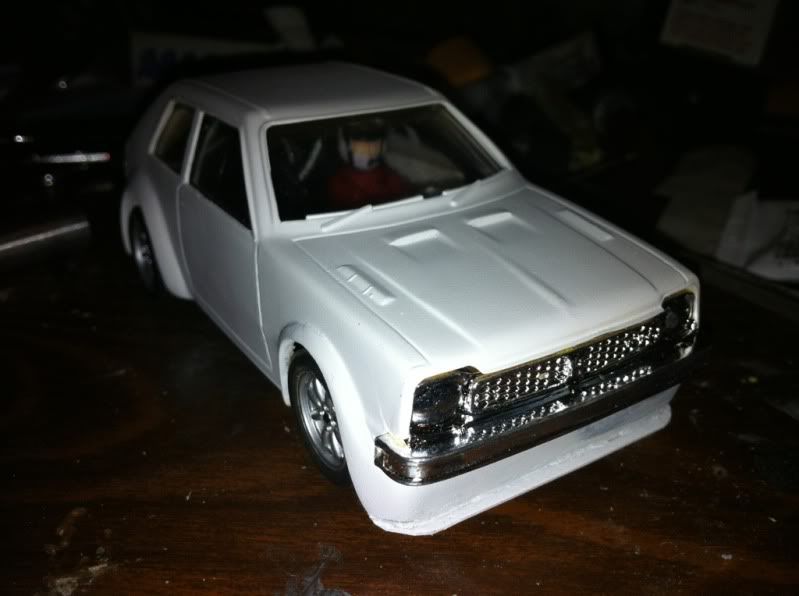
Again, sanding and repainting with primer first and white paint after.
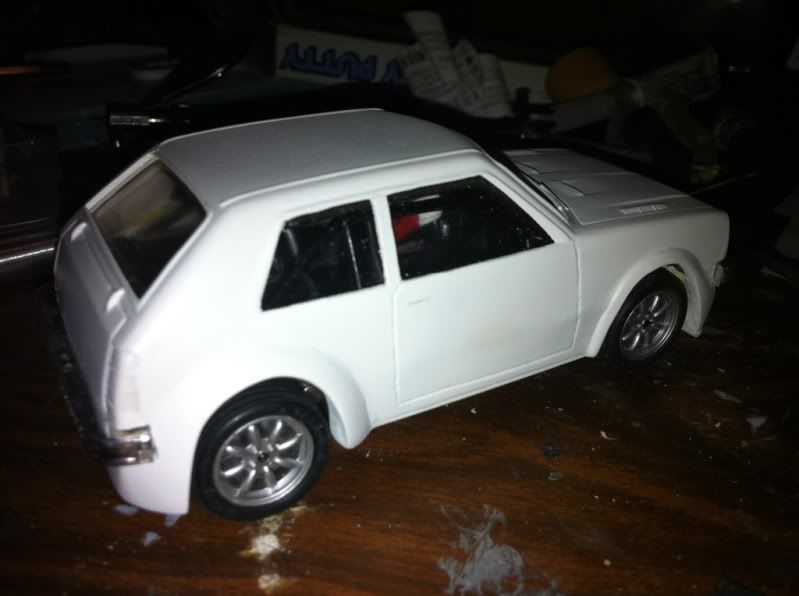
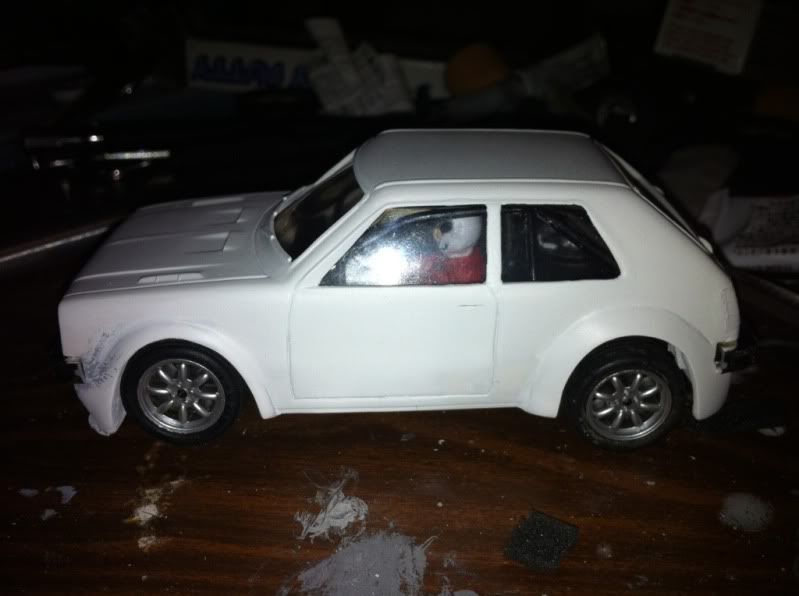
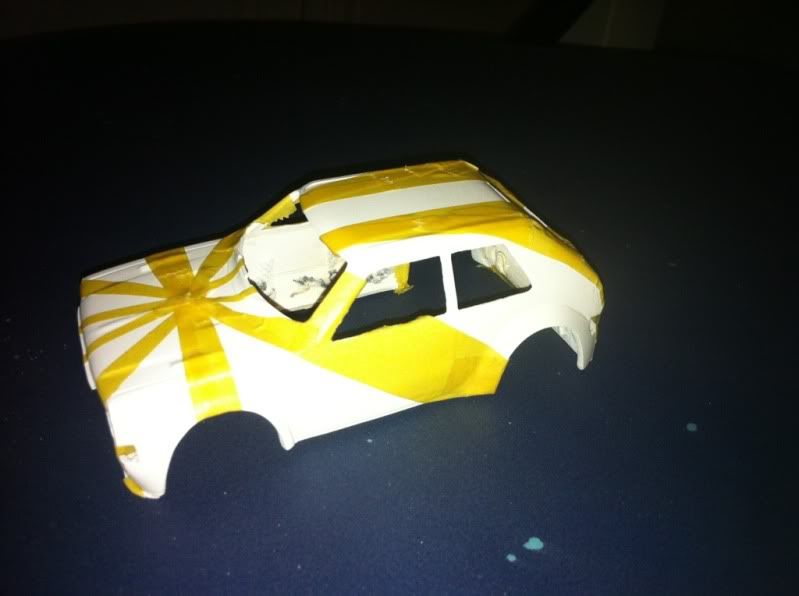
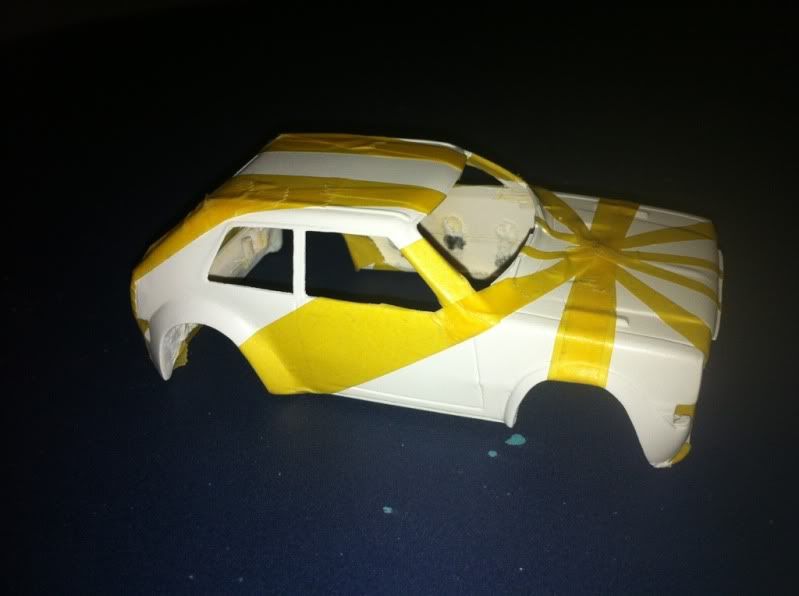
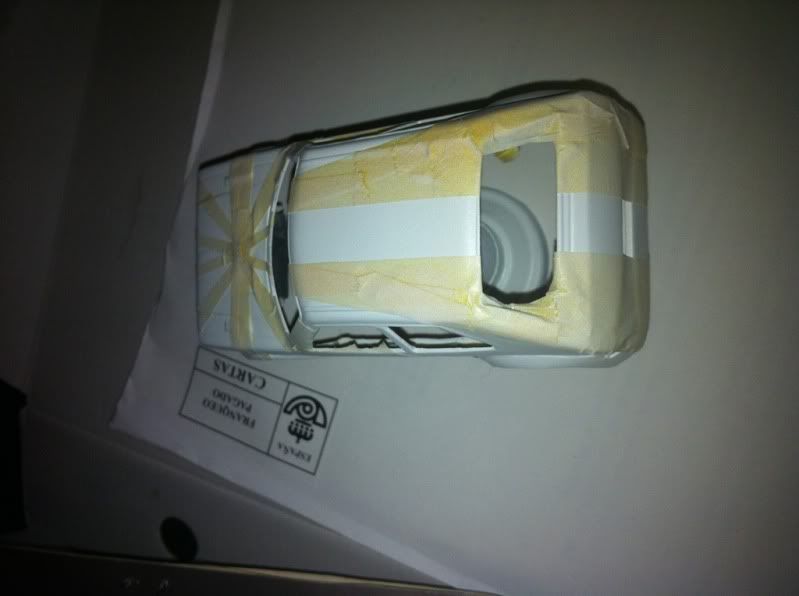
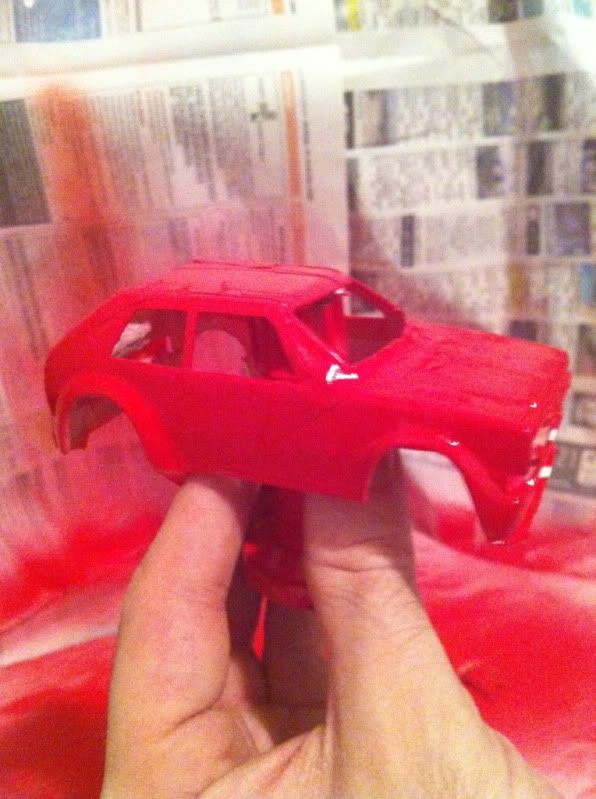
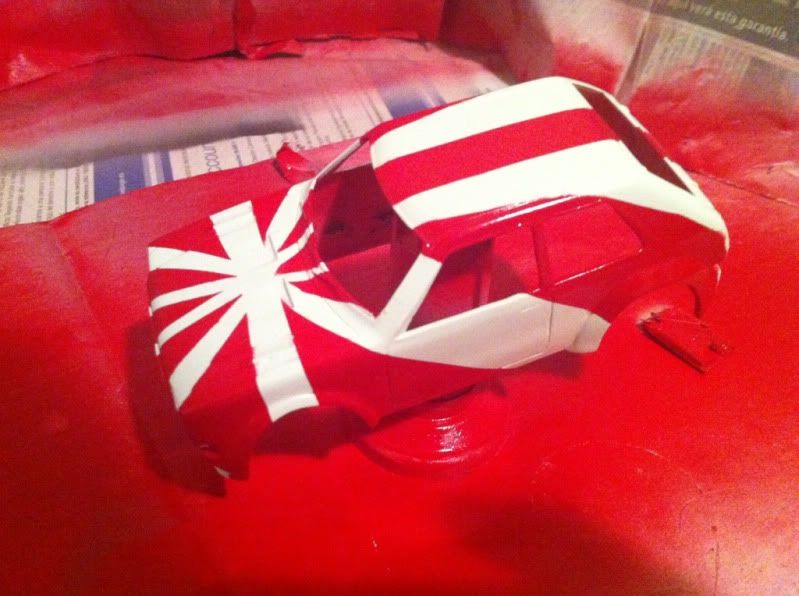
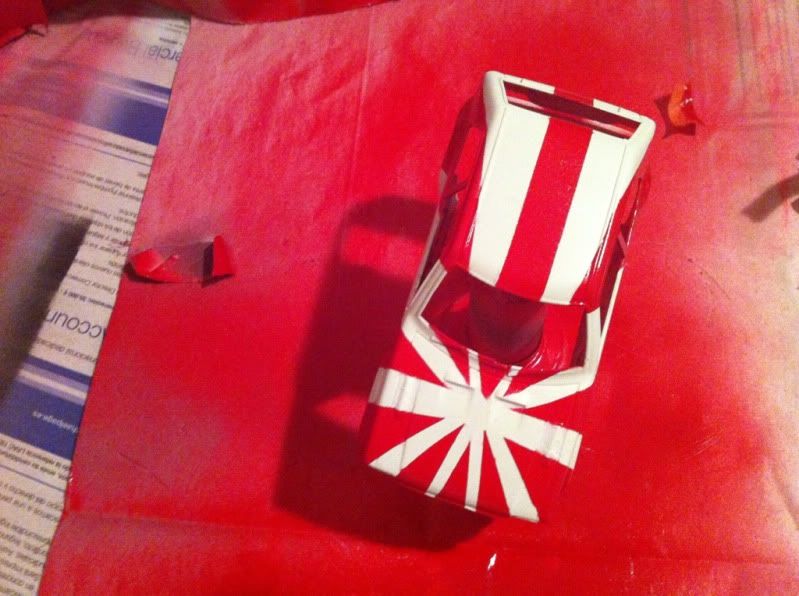
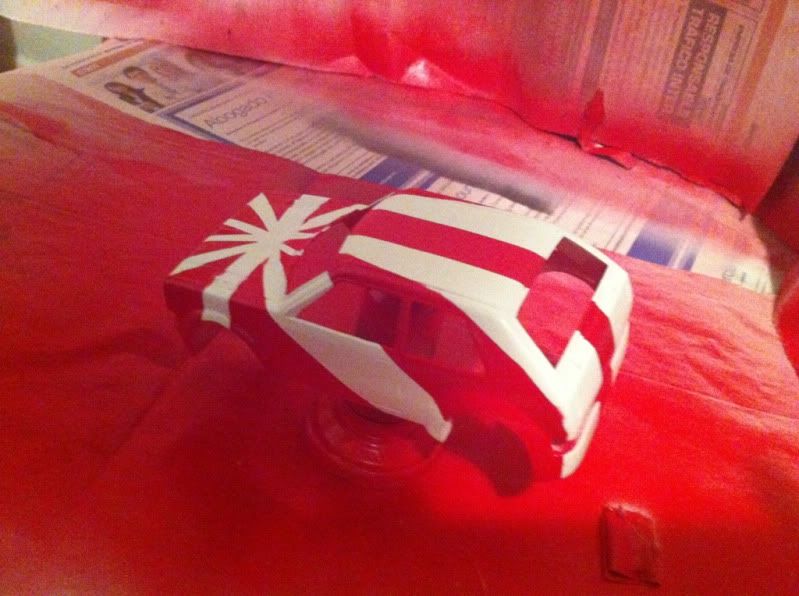
Two hours working with masking tape gets something like this. Now it's the time for the truth: The red color.
Then, painting with brush the small details and placing the decals...
