Monogram classic car wheel upgrade
#1
Posted 09 October 2012 - 02:33 PM
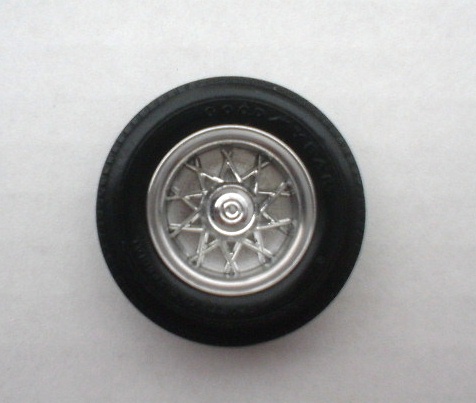
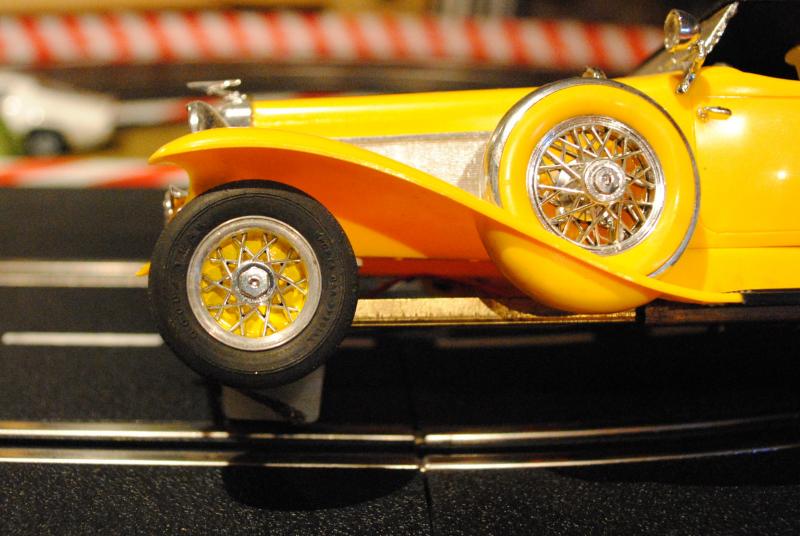
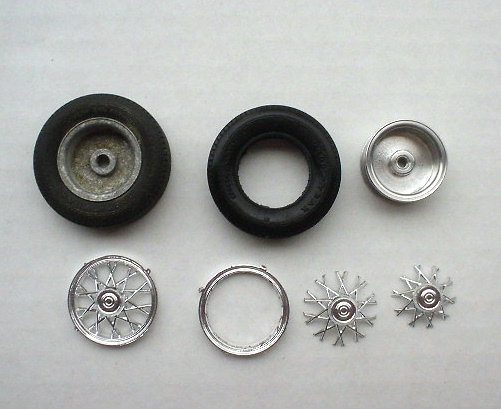
Started with a used crusty wheel of the 1-1/4" variety. Wheel was cleaned on a Dremel with a Scotchbrite followed up by steel wool. The tire was scrubbed with Dawn and an old toothbrush. Then the tire was treated to rubber dressing. I use Zaino Bros. stuff on my Vette, it's the best and is what I used here. The outer ring was removed from the kit wheel and then final trimmed to fit.
It goes without saying that patience is required here. The spokes hold it firmly in the wheel. You can paint behind the spokes black if you like. Finished product really sparkles and looks better in person. Yes, the wheel on the left looked exactly like the wheel I started with.
Joe Lupo
#2
Posted 09 October 2012 - 02:35 PM
"it's just Rich$Kraft"
*choppers and hotrods*
#3
Posted 09 October 2012 - 02:40 PM
Bob Israelite
#4
Posted 09 October 2012 - 03:23 PM
#5
Posted 09 October 2012 - 03:56 PM
I used the area where two spokes meet as a guide. I left a little past the "V" where they meet in this case. After the center was removed from the ring I flipped the spokes upside down and trimmed them one set at a time by gently pressing down with a sharp X-Acto. Not much pressure needed as the material is thin. You can see the trimming progression in the pics. For the first wheel I had to make a few attempts at spoke length to get where I wanted. Once one was done I just trimmed the rest likewise.
Joe Lupo
#6
Posted 10 October 2012 - 04:53 PM
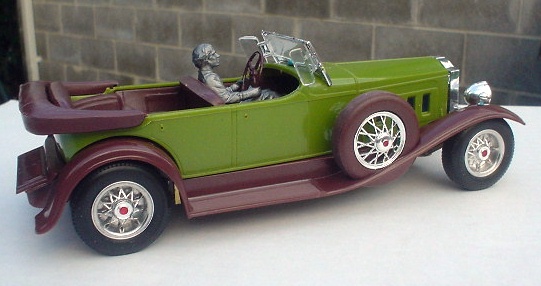
Anyway, all four wheels done and mounted. I added a drop of transparent red to the center to give em' a little pizzaz. What you see so far is a mockup. I will back up the side mount with a silver disc to match the other wheels. I don't want to get too crazy. I want it to look like it was a Monogram slot kit that someone assembled in the 60's. Not over detailed. I modded the kit frame rails to fit so bumpers can be mounted if desired.
No, driver is not the Tin Mans brother. Just awaiting paint It's from a Tamiya Audi Rally car with repositioned arms.
Joe Lupo
#7
Posted 13 October 2012 - 01:09 AM
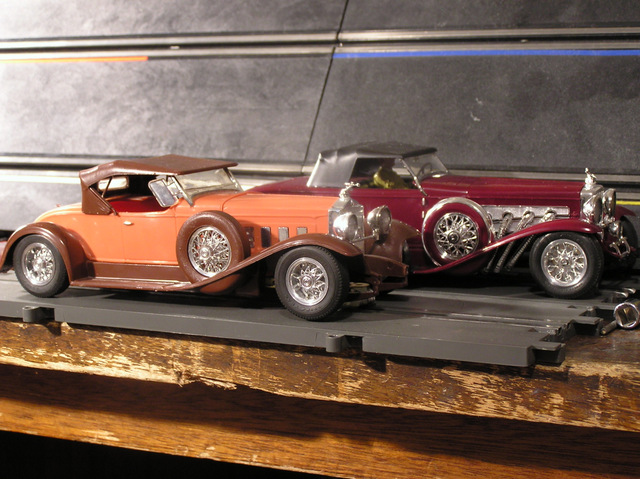
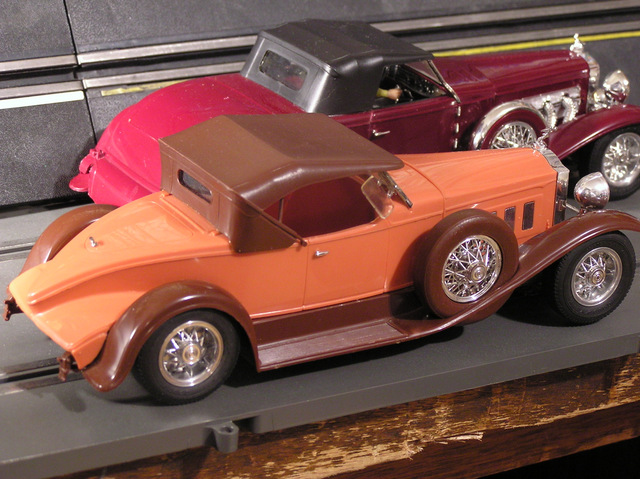
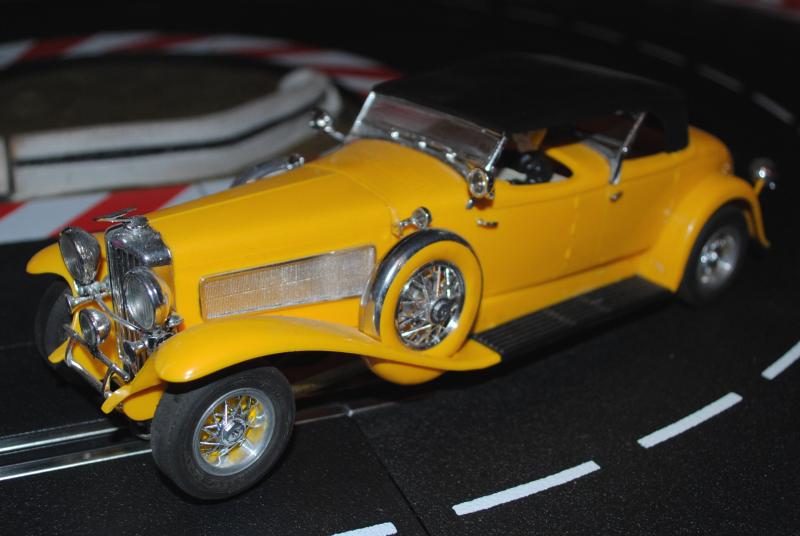
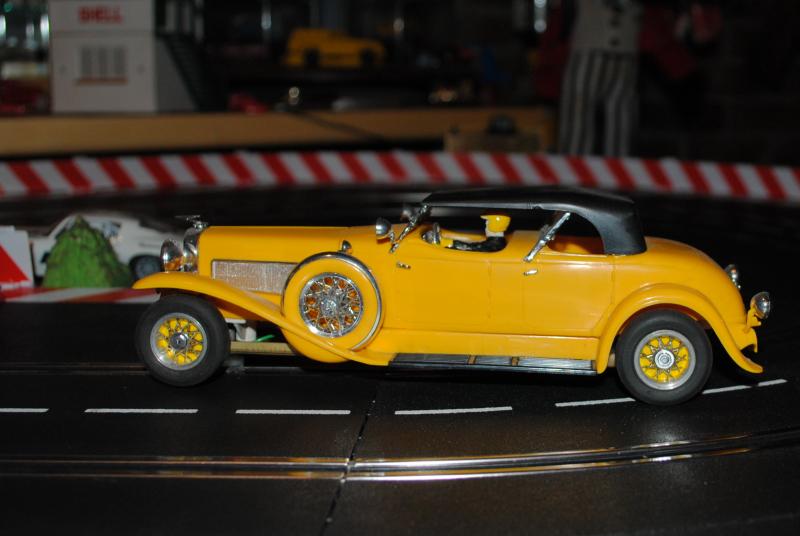
I actually had the Duesenburg wheels on my desk for many months trying to figure out what to do with them. I even had a sprue glued to the centre of one to try to spin it while I cut it, but your method worked great. I did end up using a nail clipper for the spoke cutting instead of the knife. I did the Duesey first and then when you mentioned the Packard, I dug it out and found the old box with the wheels and did it, too.
This one is the Monogram Boattail Speedster. I used the inner wire wheels on the spare tire, too.
The first Duesey I built was a convertible with the top down, but after years of racing and breaking off the windshield too many times to count, I started with this fresh body kit and decided now to glue on the top to protect the windshield.
#8
Posted 13 October 2012 - 05:34 AM
Would love to see a race with four of them trying to avoid nerfing each other! Can't even imagine eight on a banked track - total carnage!
Don
#9
Posted 13 October 2012 - 11:36 AM
Rick Thigpen
Check out Steve Okeefe's great web site at its new home here at Slotblog:
The Independent Scratchbuilder
There's much more to come...
#10
Posted 13 October 2012 - 02:32 PM
Gary, the cars look great. I was never really a fan of these classics but they really are fantastic cars. The Monogram cars are well designed and are easy to work with for the most part. I have a Johan Mercedes I might do but it may not be as durable as the Monograms when completed.
Joe Lupo
#11
Posted 13 October 2012 - 07:28 PM
Looking good! I particularly like the red dot on the wheels. Coffee's ready!
Mike
Mike DiVuolo
C.A.R.S. Vintage Slot Car Club
"Prosecutors will be violated"
#12
Posted 14 October 2012 - 12:44 AM
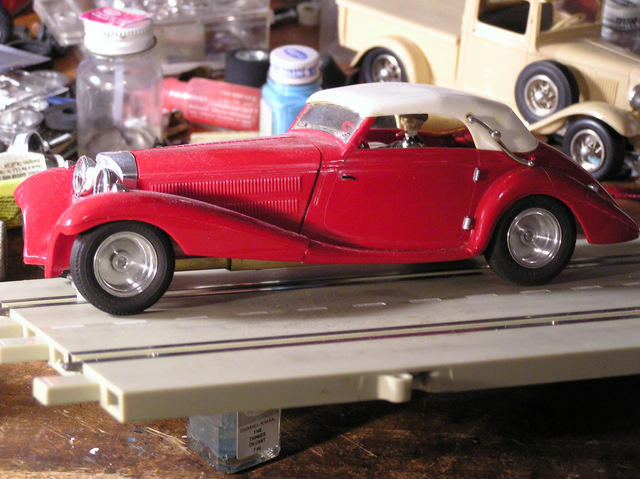
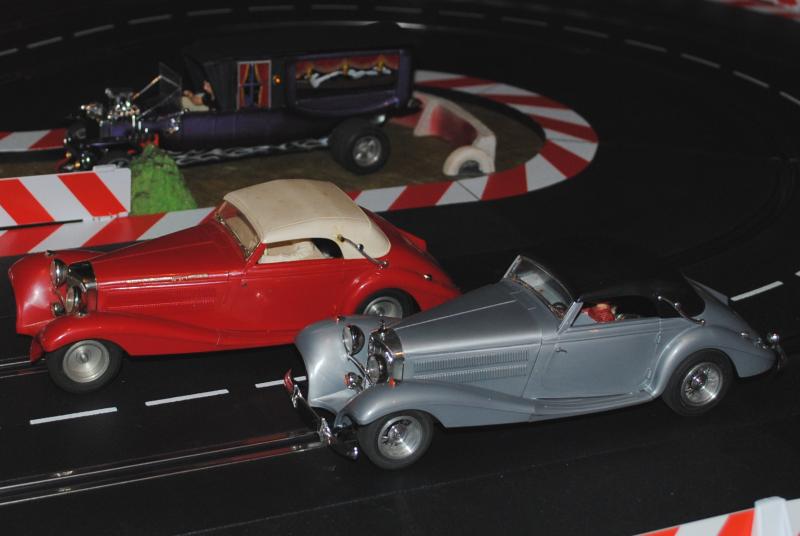
The Monogram Mercedes 540K is easily available today. The vintage kits are red, the same color as the slot version, and both cream and silver are re-issues and usually cheap to buy. There is also a hardtop in burgundy. These are a bit wider than the Johan which is 1/25 and narrow.
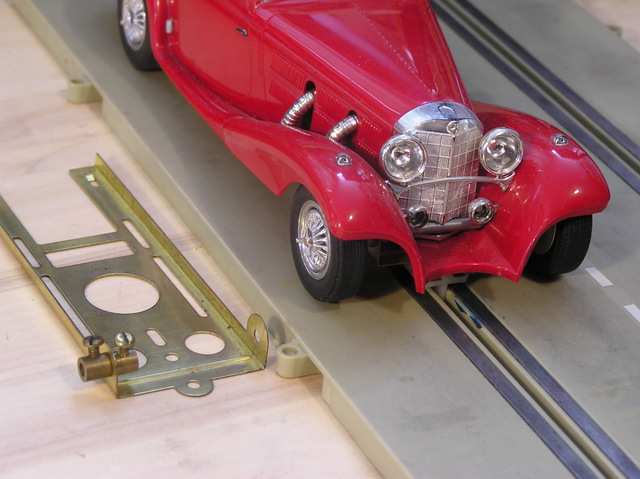
There is one issue building and servicing the Benz. To make one like the original slot, you have to drill through the front fenders and grill to fit the axle, and even on the originals you have to remove the front wheels and axle to remove the chassis. It actually may be the best one of the original seven cars because it is shorter than the Duesey and longer than all the rest; low and wide and seems to handle the best of all.
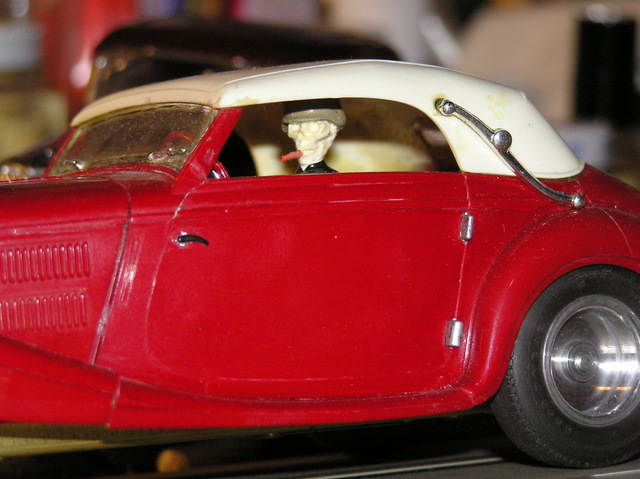
I built this years ago and later on fitted the wire wheel inserts from the Jag E kit. The driver of these kits could be a race car driver or a skeleton head, but I used the skeleton head from the Rommel's Rod kit instead and added a cigar. It always gets a laugh.
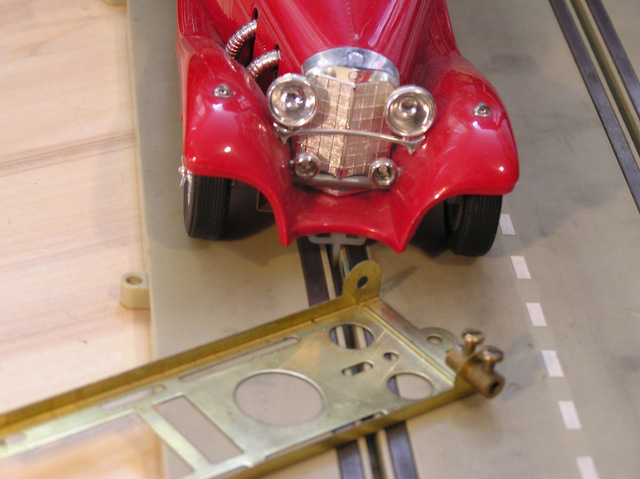
If you look close at the front end photo you can see the axle below the running lights and running across a groove in the grill. This is like they came from the factory. These cars have been raced for years and are tough to break, tougher than the vac body cars that are always cracking.
#13
Posted 16 October 2012 - 11:32 AM
I have two or three of those originals kits waiting to be used on restos or builds. All are from the '60s and in the correct red.
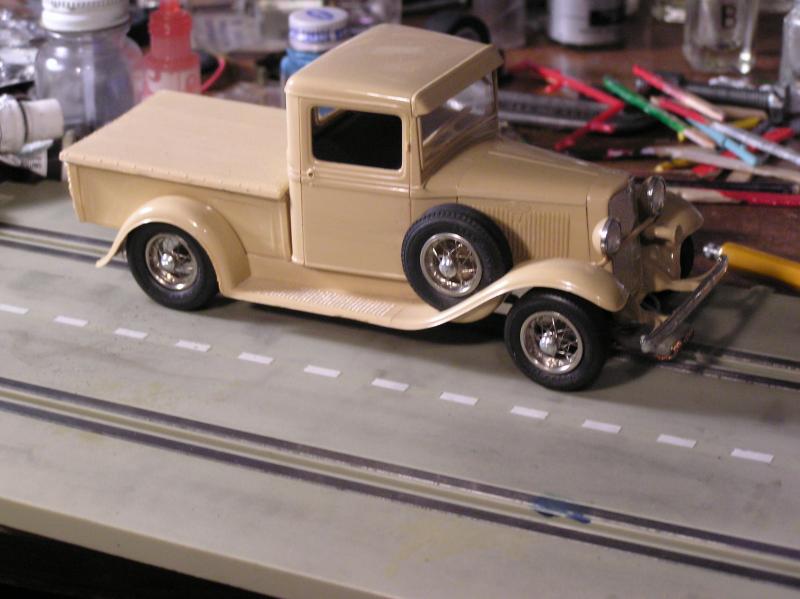
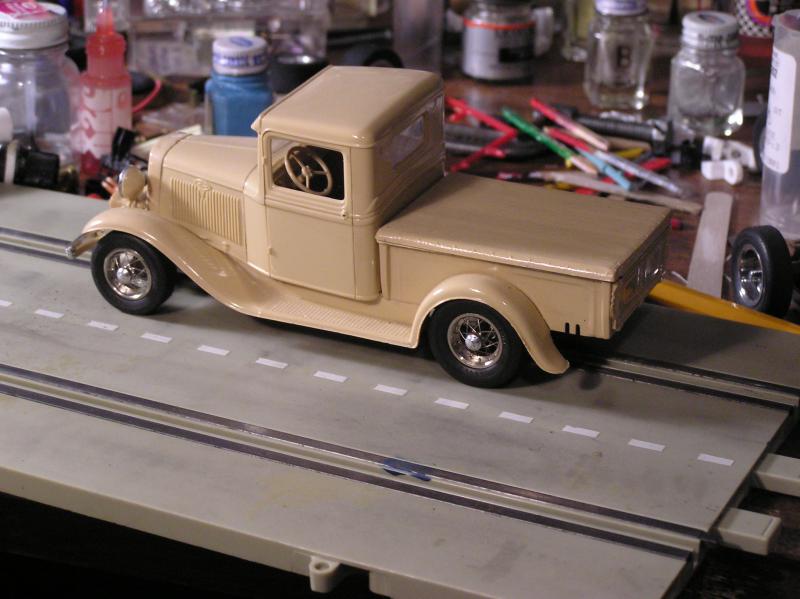
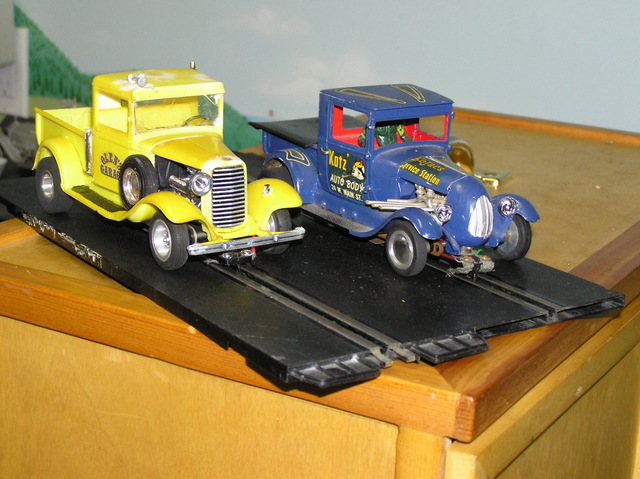
Please tell me more about that pick up in the photo. I am doing a '64 Chevy but had not thought about an early truck. Is that a '34? It looks really sharp.
PS: love that driver. Kind of reminds me of "The Dirty Dozen" for some reason.
Joe Lupo
#14
Posted 16 October 2012 - 02:59 PM
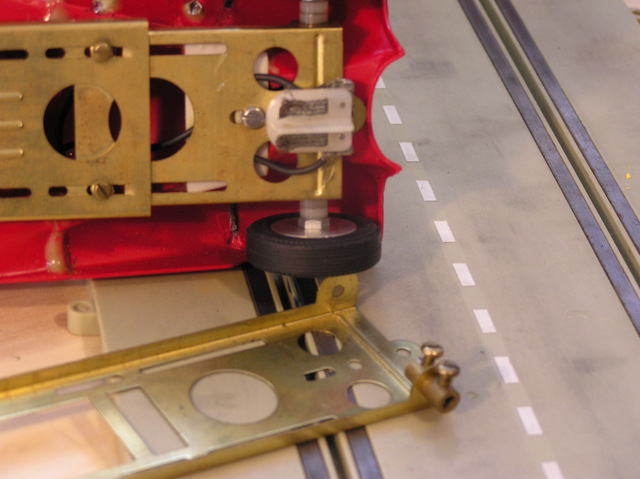
In order to get the front axle just like the factory original kit, you first must glue the rad in place, make your chassis mounts like the originals and mount the chassis with the exact placement of the front axle holes. Then you must construct a jig to align the axle hole 90 degrees so you can drill straight from the side.
I can't remember exactly what I used, but if you take a piece of 1/8" tubing and lock a guide flag collar on both sides of frame, this should get it lined up for drilling with a drill bit that fits inside the tubing. I would have used a longer piece of tubing but couldn't find one and also would have made the front mounting post a bit further back but it still works.
You can see that correct fitting is where the front guide flag hole in the chassis fits just behind the lip on the body. After you locate the holes and groove the rad, you have to open up the holes a bit larger than 1/8" and then paint the groove silver. The originals were actually chromed after they were cut.
The '34 Ford in the background (before) is the AMT kit, re-issued by Lindberg with Russkit wheels but for the Monogram class we all built '40 Ford pickups.
#16
Posted 16 October 2012 - 11:04 PM
#17
Posted 19 October 2012 - 07:12 AM
Rick, very nice car. It's a real Monster size wise. Have not seen it in that color before either.
Joe Lupo
#18
Posted 19 October 2012 - 04:38 PM
#19
Posted 19 October 2012 - 04:51 PM