My Process for Winding
By John Havlicek
Here’s a "show and tell" about how I wind armatures. Hoping to share and learn as much as I can about "the black arts"…
I get most of my new blank armatures and commutators by mail order directly from Mura. Check out their web site [www.muramotors.com] for more information.
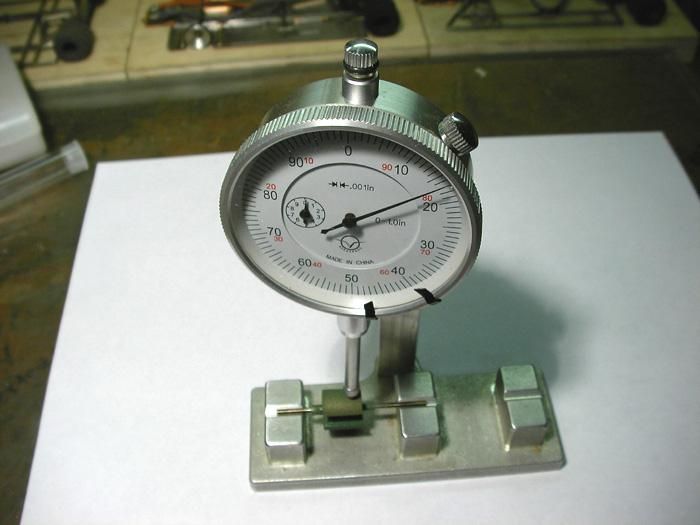
First thing is checking and prepping the arm. Using the RGEO V-block, I check the arm stack and shaft to make sure they're not whacked!
Then I grind the stack. I have a nice heavy piece of 3/8" glass I still use for building chassis and for motor stuff...it just stays on my little "workbench" all the time.
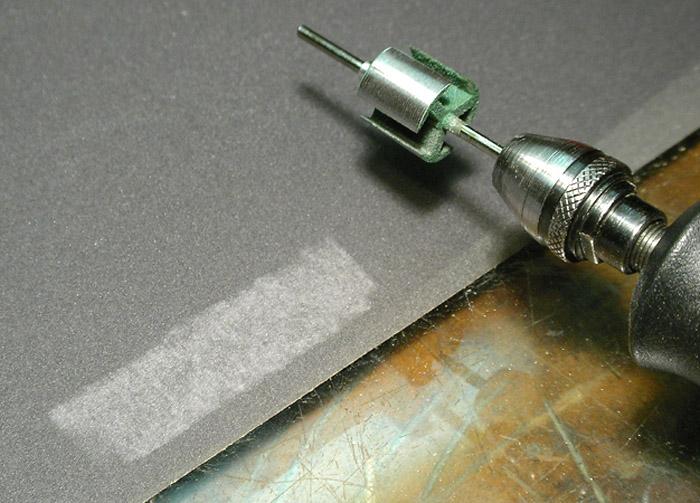
For the arms, I place a piece of wet/dry #320 sandpaper on the glass and chuck the arm in the Dremel and run it carefully along the paper. The glass keeps things pretty flat and the wet/dry paper is important because the dark color makes it easy to see if you have an even/straight stripe.
That "stripe" on the paper is important because it tells you that you're grinding evenly. It's not necessary to go past #320, but if I want to do a high-polish...I work the paper up to #600 holding the paper in my hand and spinning the arm against it paying attention to which direction the arm is spinning so I don't have any "sudden surprises".
A little chrome-based polish (I use the stuff from Dico) after that and you can get them mirror-shiny. It's good for more than looks too, as polished steel will rust slower than coarse finished steel and even if it does...it's easier to clean-up. Still, I haven't really polished any up in a while.
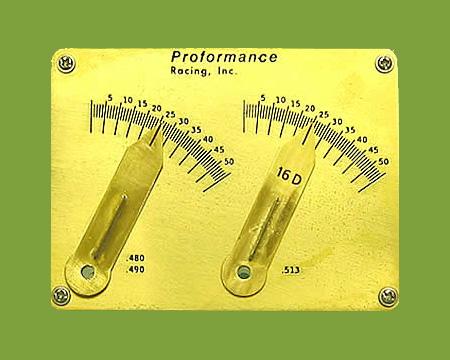
Next I set the com for overall length and timing using some quick-set epoxy (only for this step). This was also a long stack (.490"), so I shortened the stack down to around .460" or so. Timing is simply "advanced". One of the next things I need to get is one of those protractor timing gizmos:
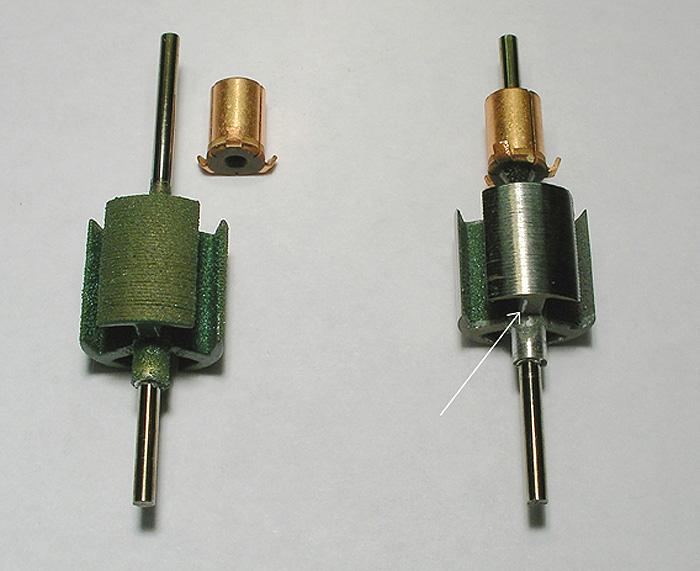
Last thing I do (see arrow in photo below) is relieve the stack ends with a very small diamond tip in the Dremel so there's no sharp edges.
Even though this practice is pretty much non-standard among armature winders, especially commercial winders, I find it goes a long way to help avoid shorts. Most everyone else relies on the thickness of the green coating, or on older armatures the red cardstock insulators, to prevent the wire from shorting over the sharp stack ends I also do a small dab of epoxy on all 6 stack ends for insurance.
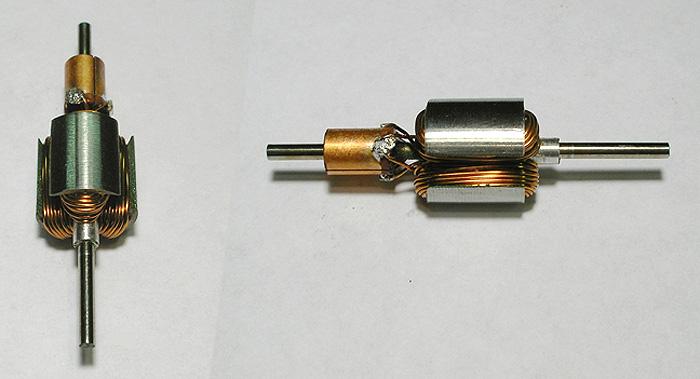
Now the arm is ready to wind...total time about a half hour to 45 minutes, if it all goes well, to go from the blank at left to the prepped arm at right:
Next step...winding the arm. I'm thinking about a #25, for a pretty spicy meatball!
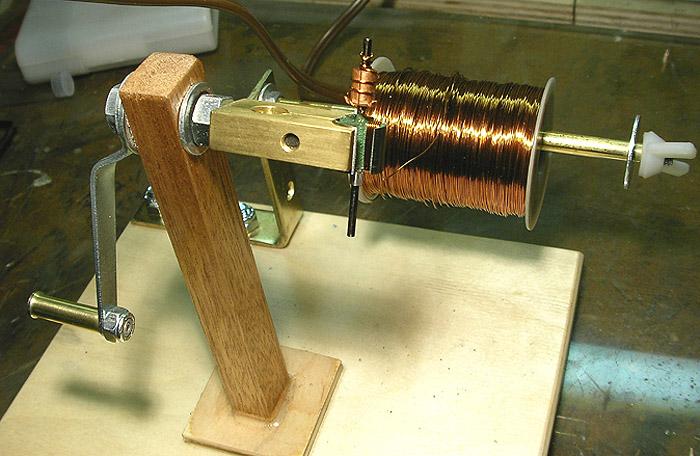
So it's off to the races (figuratively-speaking of course) with the #25 wire. Dave Reed gave me a nicely machined brass arm fixture, so I made another winder to use it with and try it out.
Mostly, I use the RGEO winder that works so well, but when I made this one up, I added a spool-carrier at the rear to keep the danged spool of wire from rolling around the table. It works really well, so I'm going to do the same to my RGEO winder.
Using a plastic electronics probe and a toothpick, I try and keep things neat as I go. The wire (especially the heavier stuff) tends to not lay flat so I run the probe down each turn to avoid looseness and get the wire to conform more to the shape of the stacks.
No need to break any speed records here, but it does give one a much greater appreciation of the beautifully wound arms from back in the day that you see on some of the vintage builds.
When I was young, I was a hack (even though the arms ran fine ...mostly; melted endbells being a bit of a problem), those guys had this stuff down!
With these blanks, #25 is a little more difficult (just the way things work out according to how much room there is for the wire gauge). Com tabs have been crimped, and the wire silver-soldered to them.
I scrape the insulation from the wire where it will pass over the tabs and scrape the tabs as well in case there's any oxidation on there. I got pretty sloppy with the solder this time, but I may as well show all my goofs too!
Total time to wind and solder the arm...about an hour, so I'm up to about an hour and a half or better.
Next, I have to tie the com and epoxy the whole mess.
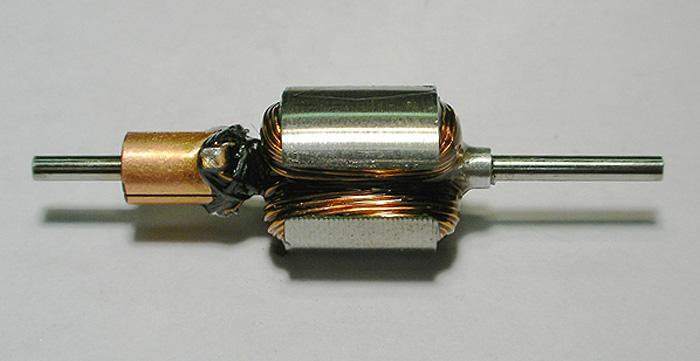
Here it is epoxied (5 minutes @ 200 degrees and turned every minute or two until golden brown) and all trussed up like a Christmas turkey! Kevlar works better than dental floss they tell me.
About 10 minutes plus baking time here, so it's getting close to 2 hours (plus coffee in between).
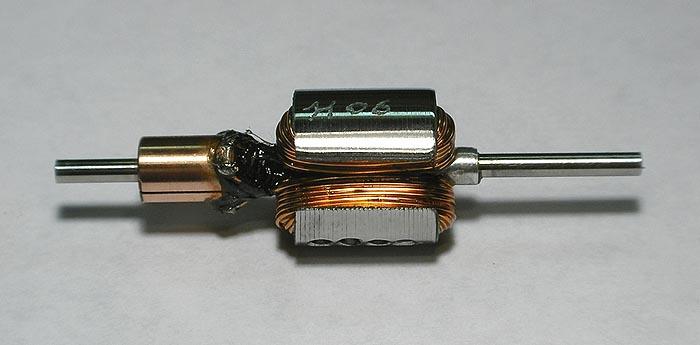
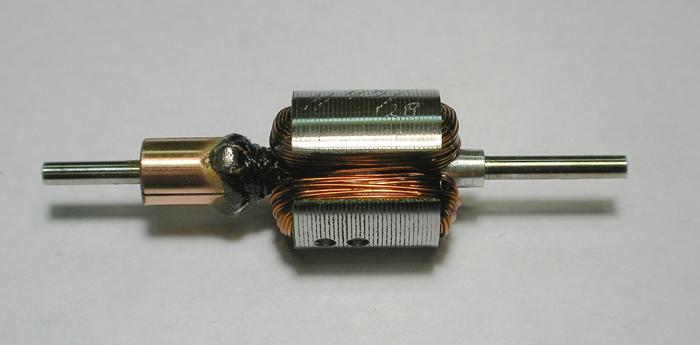
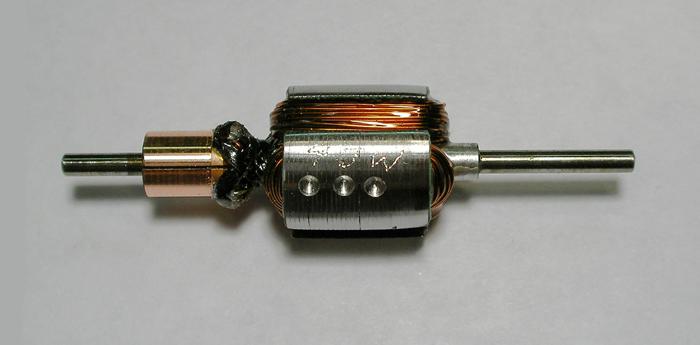
Here are some other winds I have done:
New Mura .014" blank and com, Diameter .513", stack length .465", overall length 1.095", 28 turns 25 AWG @ 13 degrees advance
New Mura .014" blank and com, Diameter .511", stack length .452", overall length 1.099", 30 turns 26 AWG @ ~ 12 degrees advance
New Mura .014" blank and com, Diameter .513", stack length .460", overall length 1.102", 45 turns 28 AWG @ ~ 12 degrees advance
New Mura .014" blank and com, Diameter .514", stack length .466", overall length 1.094", 50 turns 28 AWG @ 12 degrees advance
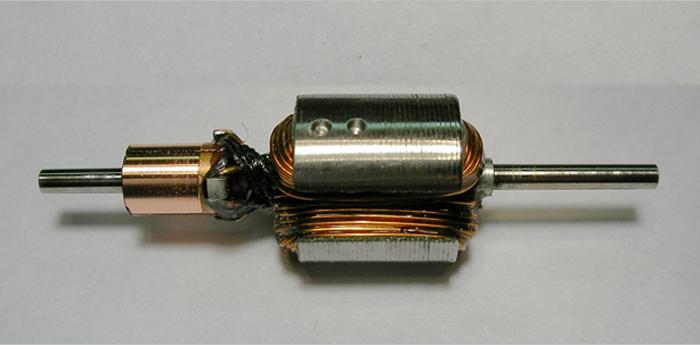
...next gotta clean-up the arm a bit, balance it and cut the commmutator. These Mura coms are pretty good right out of the bag, but marking the com and cutting it reveals that there's room for improvement.
Anyway, balancing and com cutting took another 45 minutes so I'm past 2 1/2 hours (probably close to 3 with little breaks in between).


