What If We Had Listened
To Mike Morrissey?
Page 2
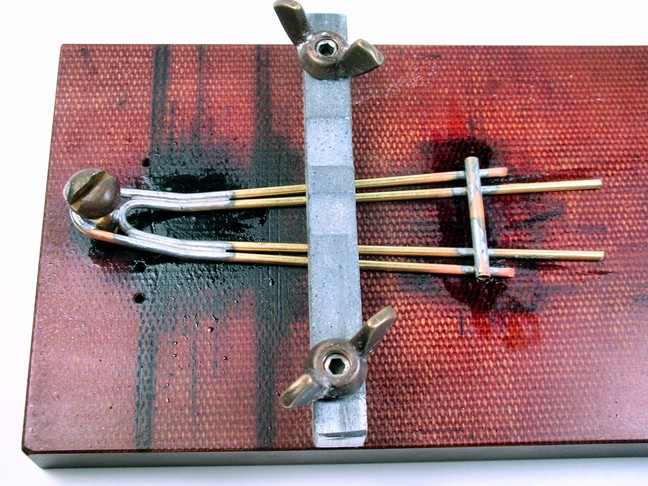
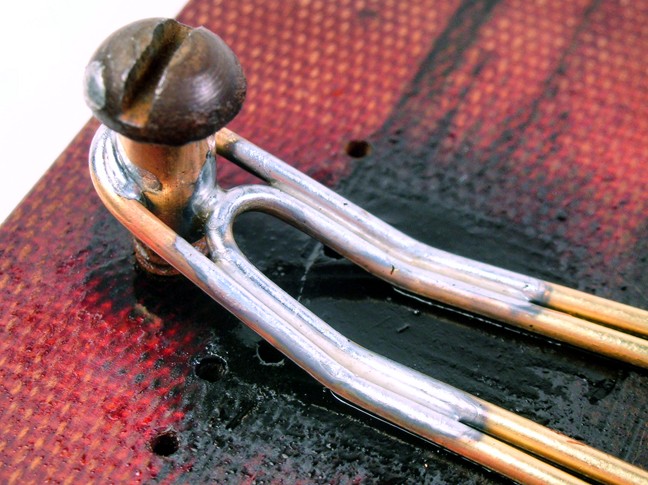
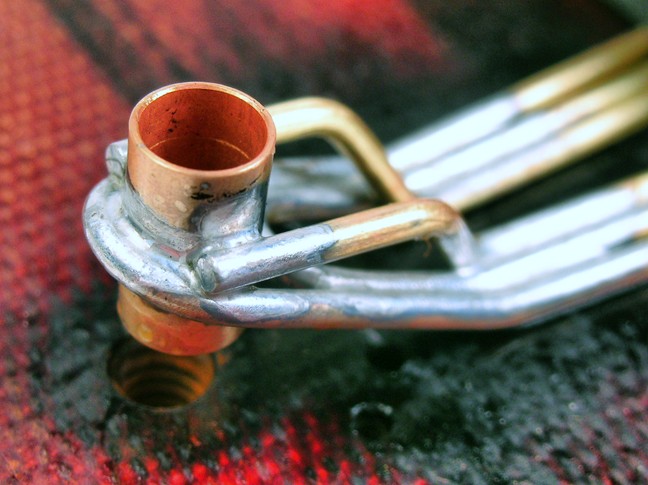
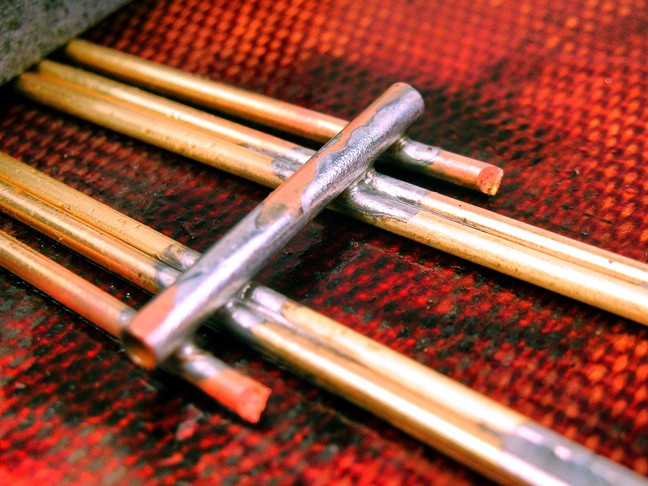
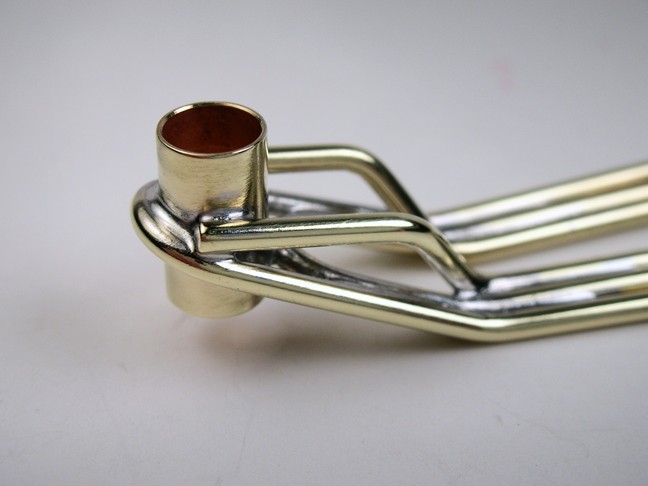
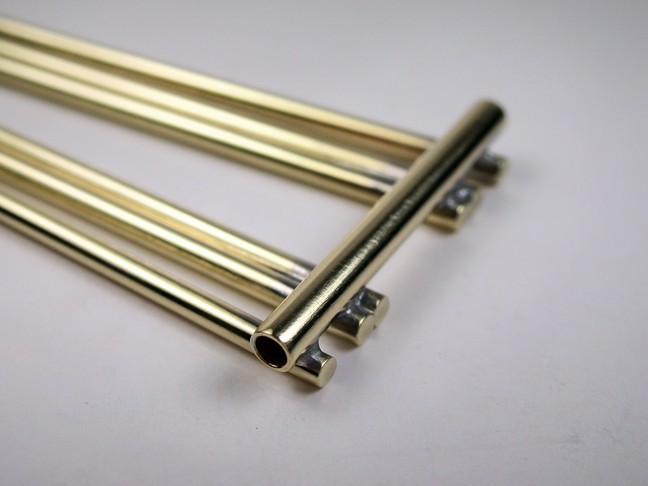
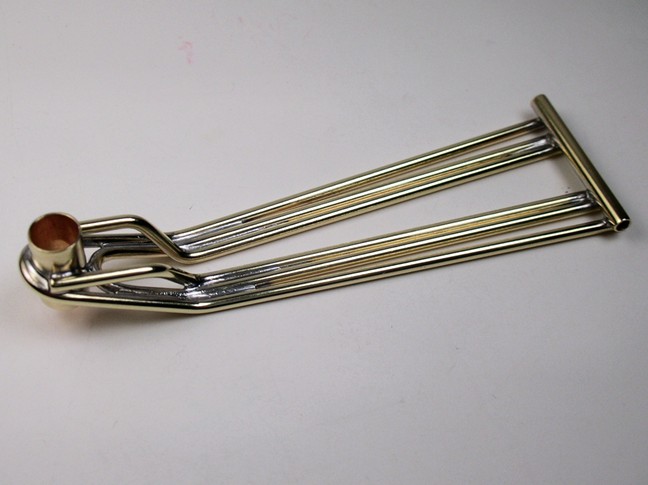
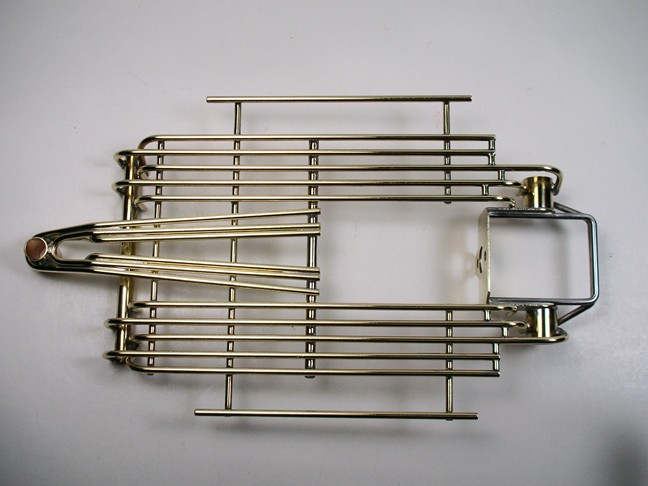
Drop arm time. I thought I'd show some before and after pictures of the soldering I'm doing.
I can't solder like Steve Okeefe. Very few can. So I use LOTS of heat, LOTS of acid flux and enough solder to make sure it flows where it needs to.
When I'm done I have a good strong joint with a nice flow of solder....and one other thing, collateral damage!
Here’s the drop arm in the fixture. Notice the gallon or so of acid flux on the surface of the jig and the way it's turned black from heat. The brass has also turned red from heat. It was probably about to melt, HA!
The second brace:
The final braces:
The pivot tube:
Anybody can get good strong smooth joints like these. Just keep saying "HEAT AND ACID FLUX". Few of us can make it look like Steve Okeefe's, obviously I can't. I get too much collateral damage.
Every solder joint I try different things and try to get better but until that happens I choose to overcome my shortcomings with perseverance..... I sand the crap off and polish the pee out of it!
Here's what perseverance (and sand paper, a wire wheel in a Dremel tool and metal polish) can accomplish. The joint isn't sanded or shaped, that's done with the soldering iron. All I'm doing is getting rid of all the junk and discoloration from around the joint:
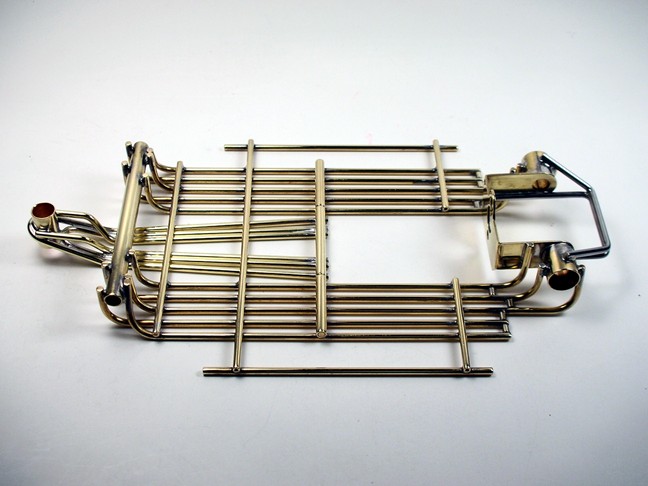
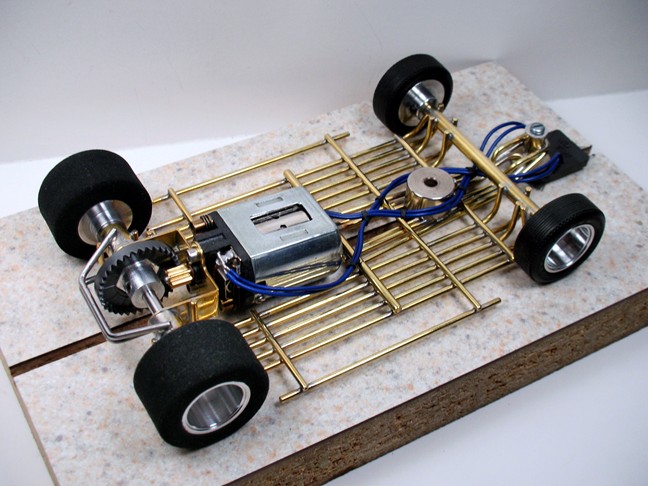
The chassis is finished except for drop arm weight and down stop.
Time for a motor build. (To see the motor build article.. click here)
Now it's time for a Gold Cup................guide that is.
The Cox quick change guide was the choice of the Pros from 1966 thru 1968. I've paid as much as $20 for them on Ebay because they are so scarce (for that I received a hate message from an enraged bidder).
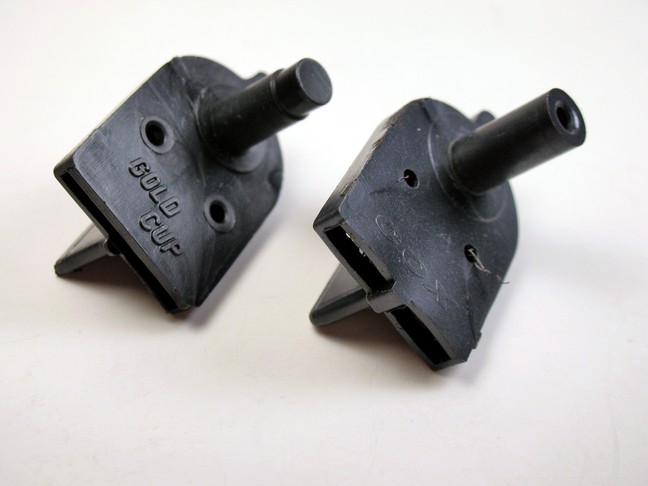
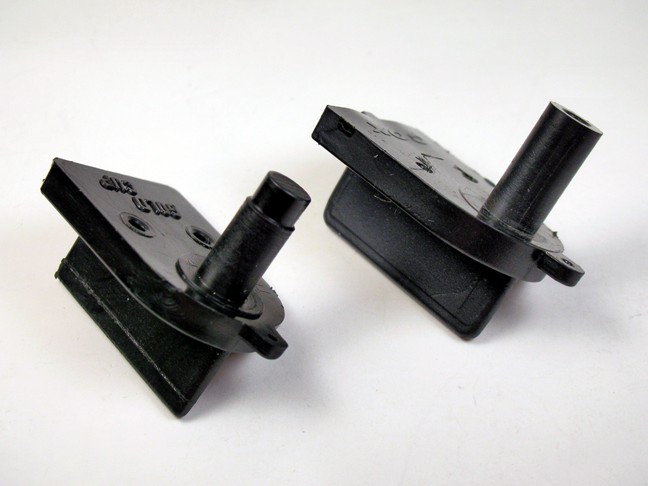
So when I saw these Gold Cup guides on Ebay I thought I'd try them. I have no idea where they came from but we're guessing they are a current Japanese part? Here it is next to a Cox guide:
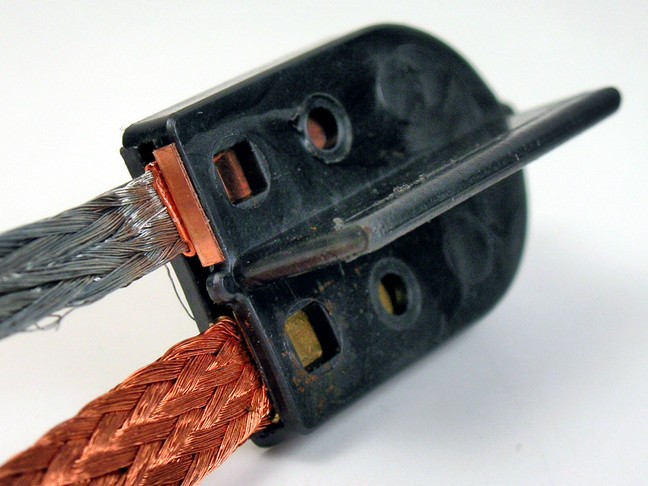
Cox braid and braid clips fit as do modern braid:
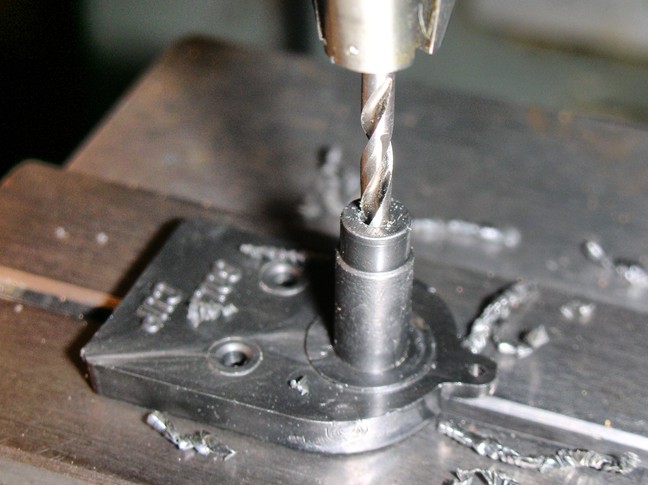
The guide post doesn't have a hole in it so Mr. Milling Machine took care of that:
OK so I'm home free with my faux Cox guide right? Almost; Houston, we have a problem.
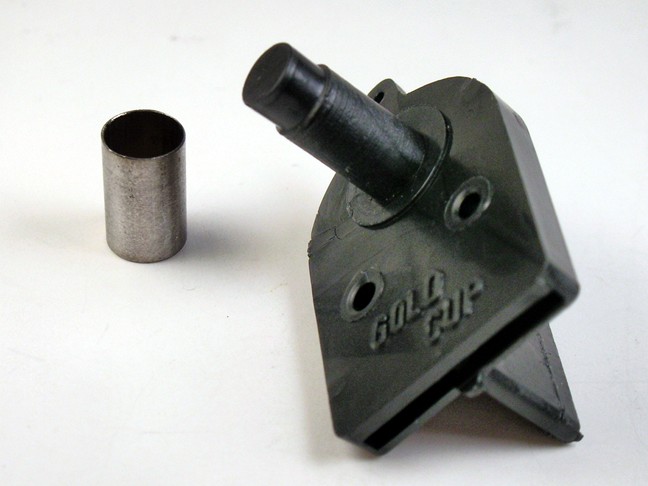
The guide post is smaller than 3/16" (.188). It measures only .178. It's just too sloppy a fit in brass tube or drop arms. Mc Master Carr Supply to the rescue. They have 3/16" O.D. stainless steel tube with a .005 wall thickness:
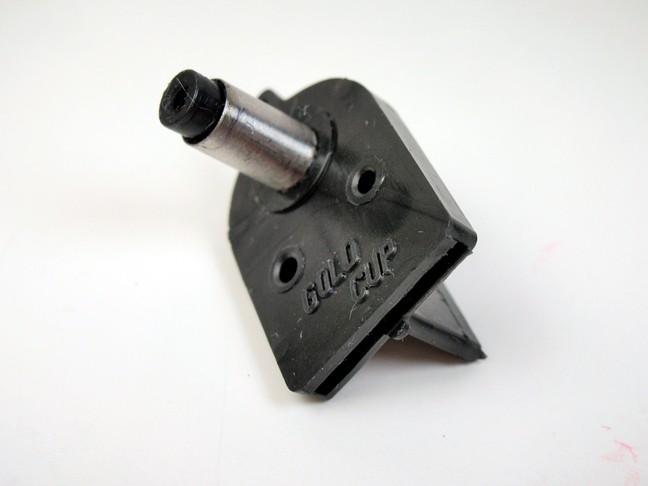
Here's the finished product with the SS tube crazy glued to the guide post:
The guide fits perfectly in brass tube now. My only concern is of the quality of the plastic. Maybe the post will shear off as I punch the bank. Time will tell.
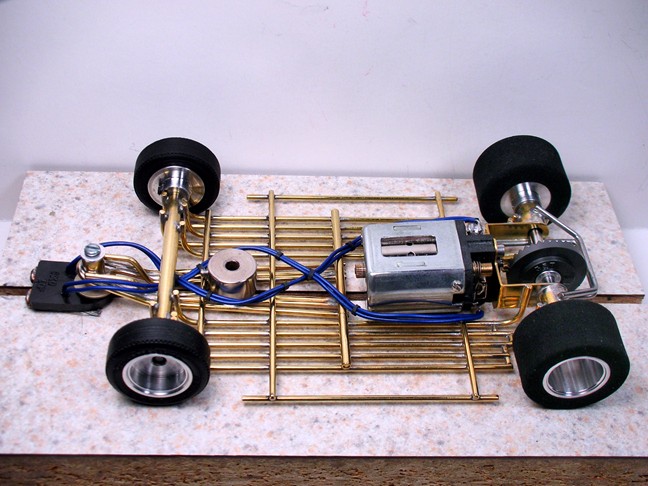
The moment of truth approaches. Soon it will be time to see how a 1967 Car Model Pro car handles on 1" diameter rear tires. Here is the finished roller:
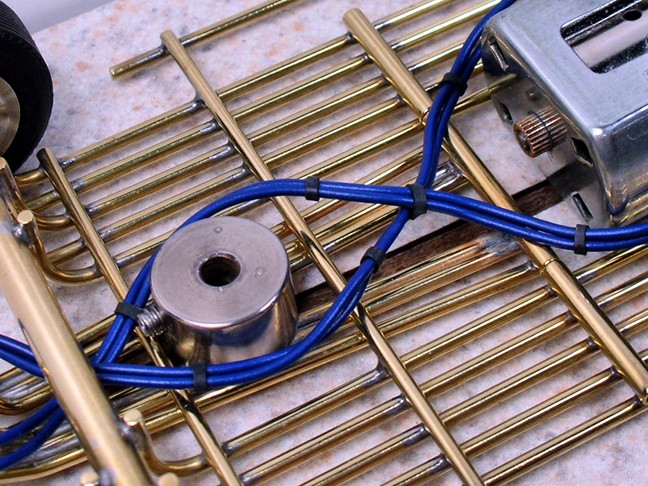
Here's one way to keep your lead wires neat with shrink tubing:
Time to paint and detail the body and running gear. (To see the body painting and detailing article… click here)
I tried it out on Eddie's very tricky flat road course. The motor was awesome . . . too awesome for the chassis.
You never know what you're going to end up with when you put together a motor with a "mystery armature". I'm going to install it in something a little more modern.
Anyway, my friend Rodney is quite good at tuning cars. We tried everything we could at the track and it still would just roll over and play dead in the corners. I'm going to put some tires with a little less bite and see if I can get it to slide a little.
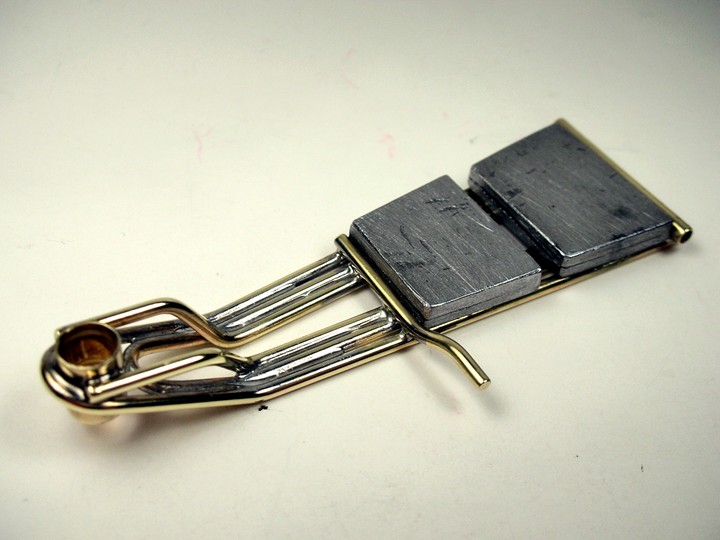
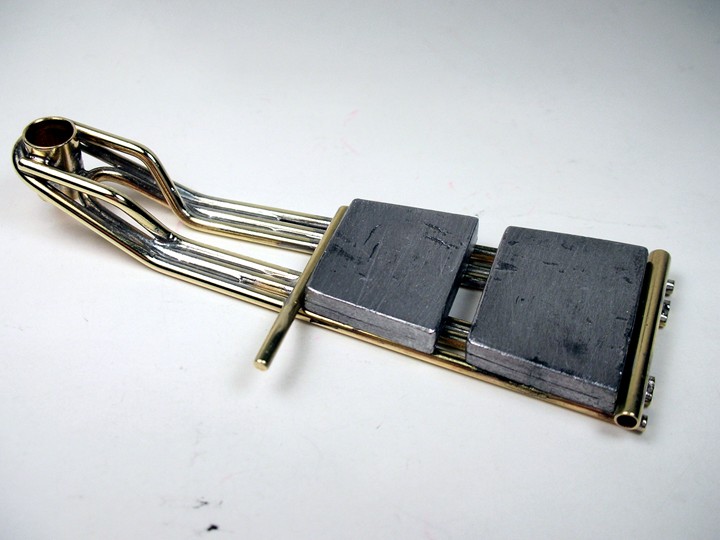
That together with a motor that is a little less of an on-off switch should help. I also ditched the guide weight on the drop arm for some huge hunks of lead like Mike used:
We'll keep trying to get it sorted out. Rodney has lots of other cars like this that work great. It just needs some TLC. I’ll report back after my next trip to the track.
Onward!


