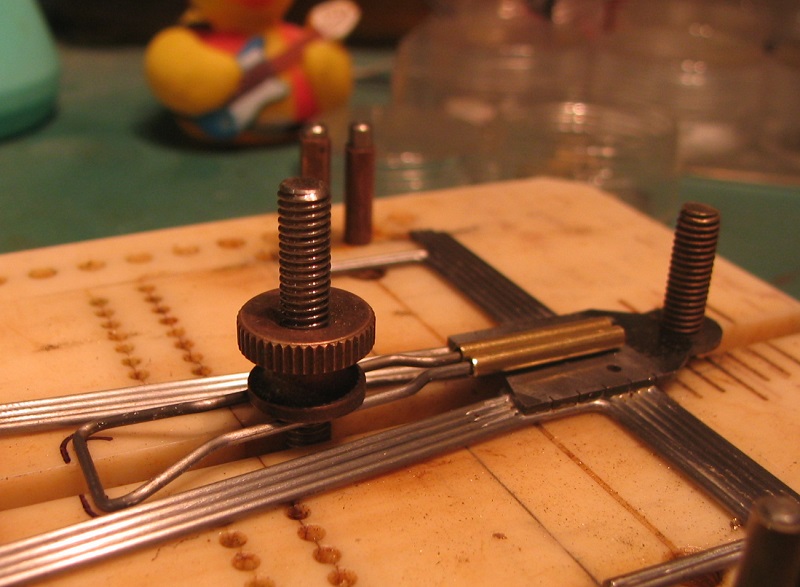
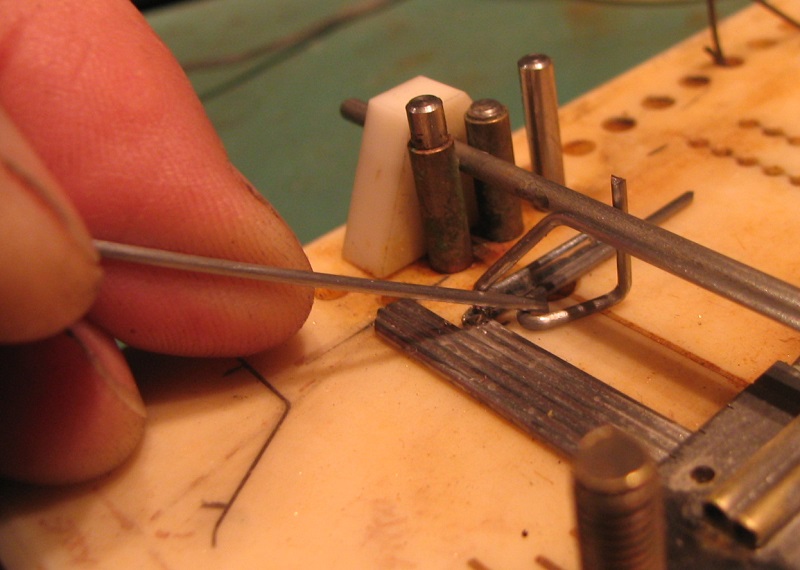
I had some time to build a trio of chassis, & it gave me an opportunity to talk about wire bending.
I do some pretty weird stuff with my chassis. Lacking years' knowledge in the why of chassis motion and construction, I stopped copying "winning" designs one day and started from scratch - a fully-locked-down .078" sled I dubbed OXCART, from which I could begin to learn to "see" the effect of each element I put into the car - and hopefully it'd be a car durable enough to survive my abysmal driving while I learned.
It pretty much worked. I started to "see" enough that I could start to apply motion in a more informed way; and I also found I was learning what would break in my chassis and what would take a hit, and I started to engineer things based on my version of what I was seeing. (Prof. Fate would talk of these by using the term "my conceits" and I like that a lot. You'll see it used here. Thanx Rocky, for that & so much more.)
Okay.
So, two things you see here, right up front: these chassis are damn weird by my neighborhood standards, and I keep saying they're the way they are for two reasons - one, they're meant to both isolate motion and facilitate it in very specific ways, and two (& more important), I just never know where to put a solder joint for fear it'll be in a stress riser and will come loose - so I just bend around the damn things.
The fact is, over nearly two seasons of running these sleds you see here, I've had practically no chassis failures and my cars have shown markedly less twist and tweak after races. Maybe they're taking impacts and inputs and handling them, so they're doing what I set out to try.
Or maybe I'm in some Vanilla Sky dreamscape here and you're all gathered 'round my comatose hulk laughing hysterically at this post. Who can tell.
Anyway, I've laid out my basic outline and know where the wires are gonna go & all; I've drawn those lines in pencil on my jig surface - those wash out eventually or I can erase, but they'll last thru this build - and also drawn the layout on graph paper as a guide. This is in a notebook I'll keep from build to build, which also becomes the logbook for that chassis on the facing page of each so I know how & what I did.
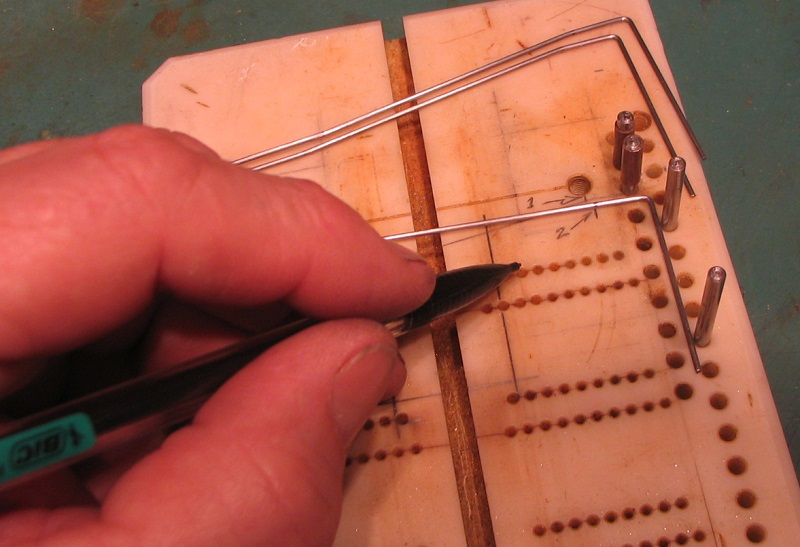
The first course of rails (.047" for all) is bent right off that page. As I bend, I'll make a little nesting fixture of pins on my jig and transfer tick marks to that, from which I'll lay out and bend all this course for the whole build - one car, six, the procedure's the same since you have at least one opposite wire in a pair.
Now, you see the (1) and(2) marks here? The (1) is a referent for a bend on the first course, and then to get the next course I did a double-transfer - pushed the 2nd wire into the corner of the first and marked where that bend should go, then marked that on the jig. Now all the second-course wires get bent the same way.
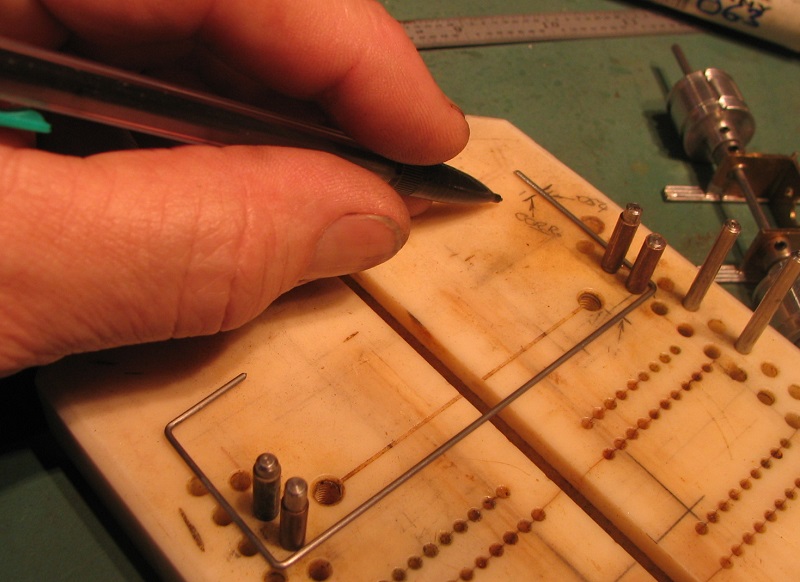
Look at how my bending doesn't quite work out. This is actually from a slightly-long nesting length, and I corrected it on the second piece. There's always a need for scrap wires later.
Everything on a chassis should fall into place, never be pulled in and soldered. Fix it now.
This measure-and-bend procedure gets its own rhythm as you work: your mind & hands learn how and where to set the mark for a bend and you stop thinking about it pretty quickly. By the time I'd laid out the first two courses here I was ready for the three-side bends needed in the axle horns below, and they're the same lay-out/bend/try/correct procedure as in the photo above. Everything you do the first time, you try on a test wire (See "always a need for scrap wire" above) and inside of an evening's work you get the rhythm of it.
Interestingly, one night's rhythm might change by the next night. Roll with it.
The most heartbreaking bend in the job is the "bracket guard" portion of the rear bale, which runs around the back and also forms the outstops for the pan assembly later. This rear spacing must be just right, and here's where Dennis Samson's E-voice is ringing in my ears (see "DS n the DSF1" in "Gascarnut's Garage" for the backstory)...
I just guess & test.
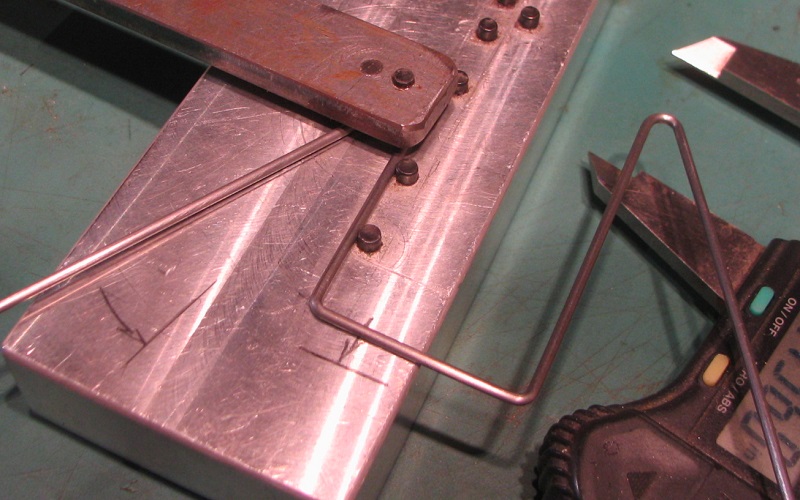
Really, I've tried so many "scientific" ways to predict an exact bend, & failed 'em all - heck, just try it, measure, correct & try. That's what scrap wire's for. Look closely at this pic and you see the two hashmarks that tell the story of the "corrected" bend. The next three were perfect.
The only time I abandoned my Gruber parallel-jaw pliers for this build was in the rest of the rear bale: the two extreme doglegs I just laid out on the aluminum face for repeatablility, & also the bend-past lines so all the angles would repeat. The pic should speak for me.
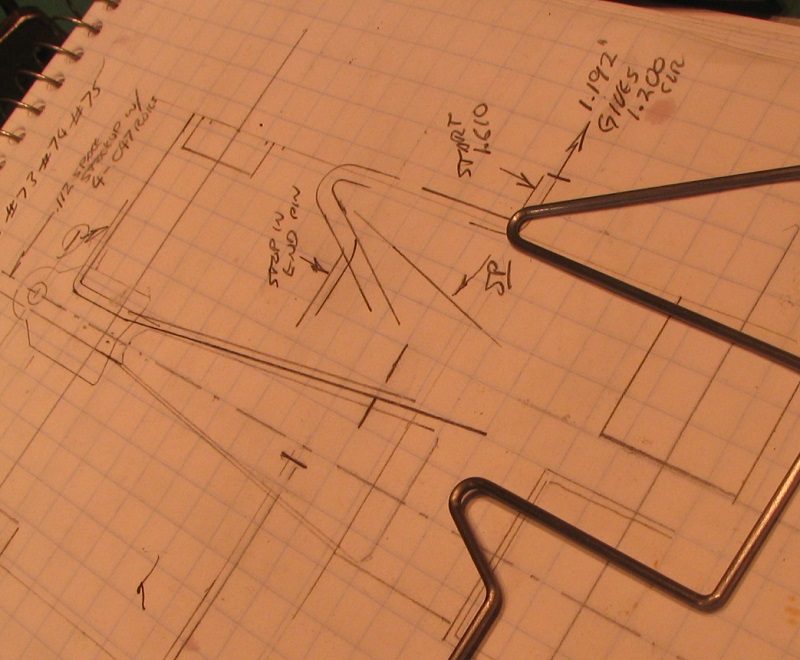
Once again, as I worked I made notes of what I'd done, including pertinent dimensions and what parts of my tooling were used. Even if I develop further off these chassis, I can refer to this stuff for what I did here and what relates to the next ones.
So here's all the "hard" bending done and ready for floating together. (I love how that rear bale is giving us the most perfect Tevye "shrug." and I'm not Jewish.) The rest of the roller's just hanging the pan assembly, and there's no tricks to talk about in that. My thought here's just that anybody hesitating to put more than one bend in a wire (and I know plenty who'll say that's too many, I don't claim Special Knowledge in that) might take courage from this.


