I get a lot of questions about all this motor stuff, so I figured it was time to once again post up a step-by-step build.
The subject this time is an old Mabuchi FJ13UO, the Mabuchi "homeset" motor and the "poor cousin" to the larger FT16D, FT26D, and FT36D motors everyone is more familiar with. When I was a kid, these were among my favorites as it was easy to build a chassis around one of these to do an F1 car... even 1/32 scale. hese were also among the more frustrating to wring any kind of serious performance out of. The magnets are absolute doo-doo, the endbell is weak... even by Mabuchi standards, and it takes some serious fiddling to get the "littlest Mabuchi" to run with the big boys.
Fast forward a bunch of decades and, except for the magnets (which I will explain in a little bit), there's nothing about this build that couldn't have been done back then.
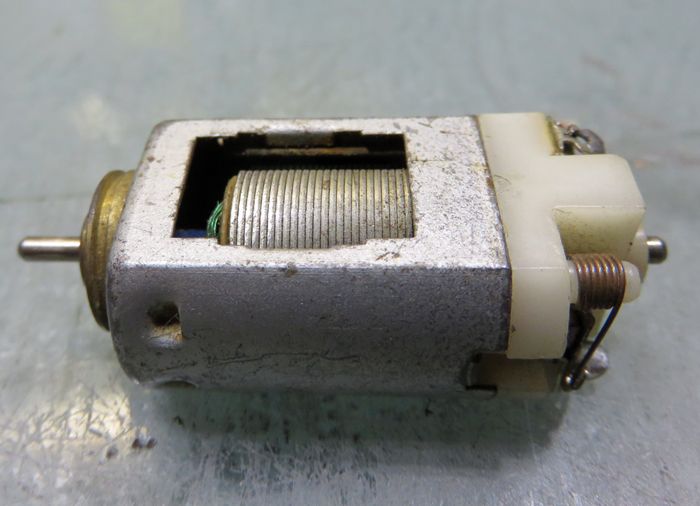
First, here's the motor in all its "you really going through with this?" vintage "glory". This is going to take some effort:
Here's the same motor stripped down to its underwear. Even the magnets are rusty, and someone did something unholy to the arm: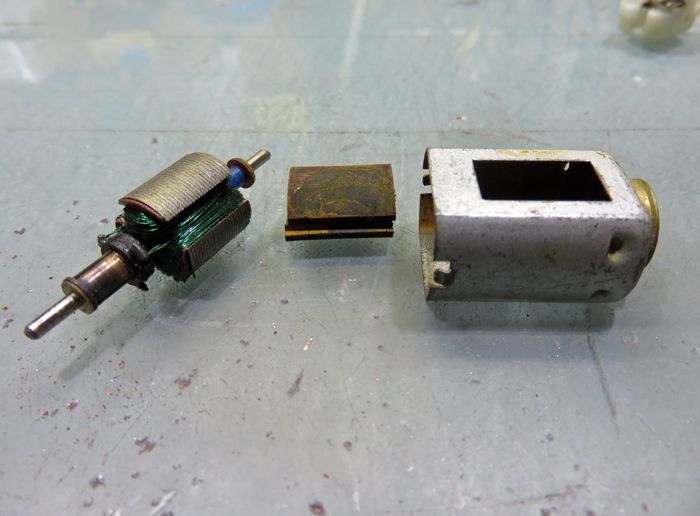
After some elbow grease, here's the can all stripped of its former yuckiness and a set of poly-neo magnets salvaged from an old Falcon motor. I stripped the Mabuchi stack, pressed-in a new drill blank shaft, cut some comm and tail spacers, powder-coated it (after being sure the arm would center in the field), and got a NOS Tradeship comm ready to go.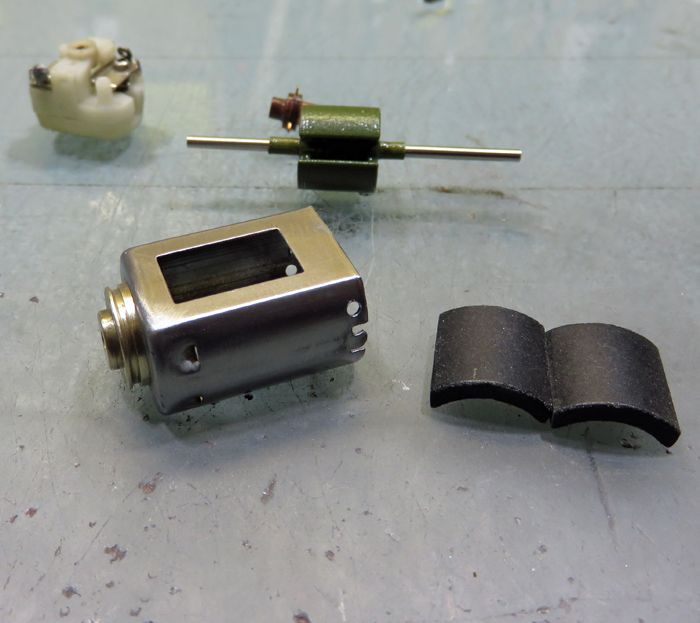
The poly neo magnets are a bit tall for the new can, so they had to be trimmed top and bottom. My decidedly un-precise way of handling this is to measure them... and then the can interior height, divide the difference by half and then cut them to the half-height on the top and then the rest of the way on the bottom. Afterwards, I mix up a hot batch of epoxy... stick some on the can inside and some on the magnet's rear (convex) surface and in they go. The rear "stop dimples" in the can happen to be exactly correct for spacing the magnets fore and aft so, after installing them, it's a simple matter of squishing them in place with a set of magnet wedges to hold them until the epoxy cures fully.
Meanwhile, the can was also drilled for endbell retainer screws, and the magnet tabs flattened out to get them out of the way. After installing the magnets, I checked their gauss and it's way up in the 1100+ territory. For comparison purposes, the stock ones read in the low-400 range on the same meter: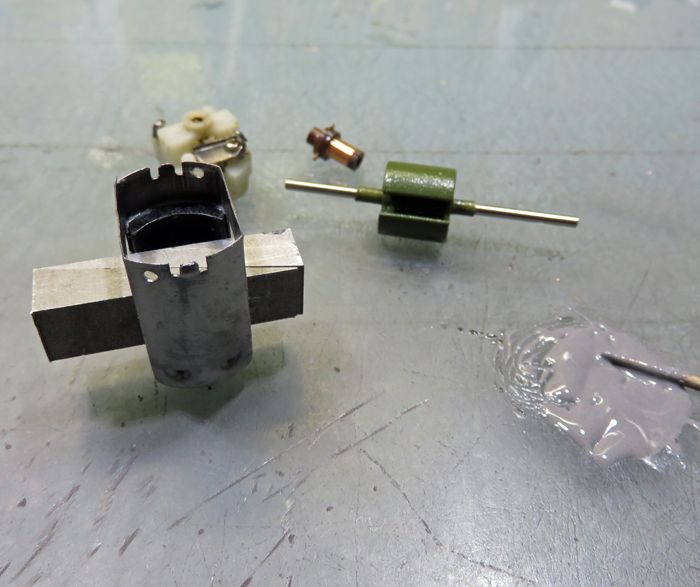
After a little oven speed-curing, the brass can bushing retainer is polished up and the can is painted with a couple of coats of orange so it looks spiffy(ier). Time to do some winding: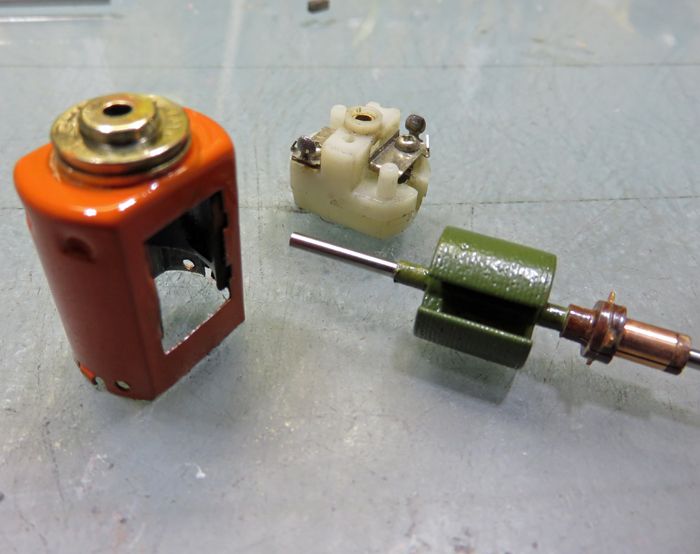
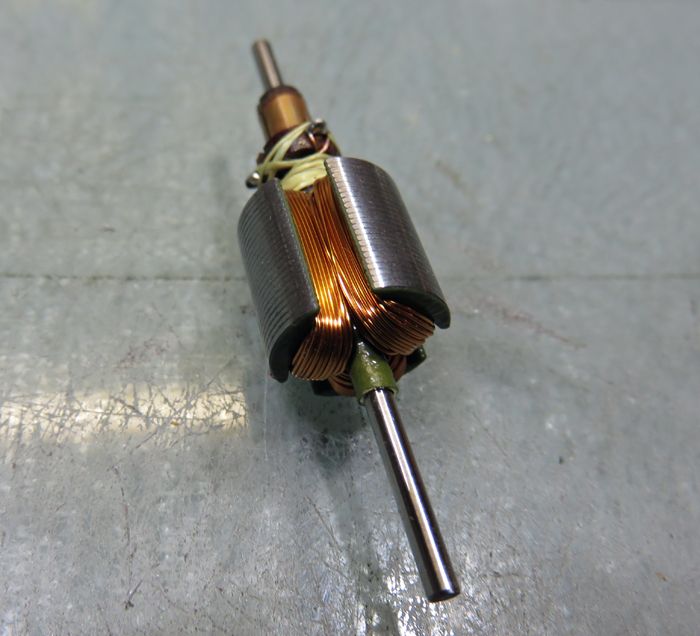
Before winding, the comm timing advance had to be set and here you have to be careful because this is one of the Tradeship comms with advance "built in" by offsetting the tab positions. Because it had CW advance built in and I wanted to go CCW, I had to twist the comm enough to overcome the built-in advance and then advance the timing in the opposite direction. That put the tabs in something of an awkward position, but nothing that was more than an annoyance. The arm got the old "55t/#29AWG" wind to go with the new stout magnets. This is gonna be good! 
Once the arm was wound, tied, epoxied, and balanced, it was time to do modify the endbell a bit. The upper brush hoods were clearanced a little by the spring post to make room for sleeving the posts with aluminum tubing and for the wider springs. After sleeving, I wound a set of springs from .015" guitar strings... a nice nickel-stainless alloy that works well for this. It took me more time than usual to do this because of the unusual geometry of the springs (I had to wind four-coils to get them tall enough... and had to wind them "backwards" from how I usually do it to get the long leg on top).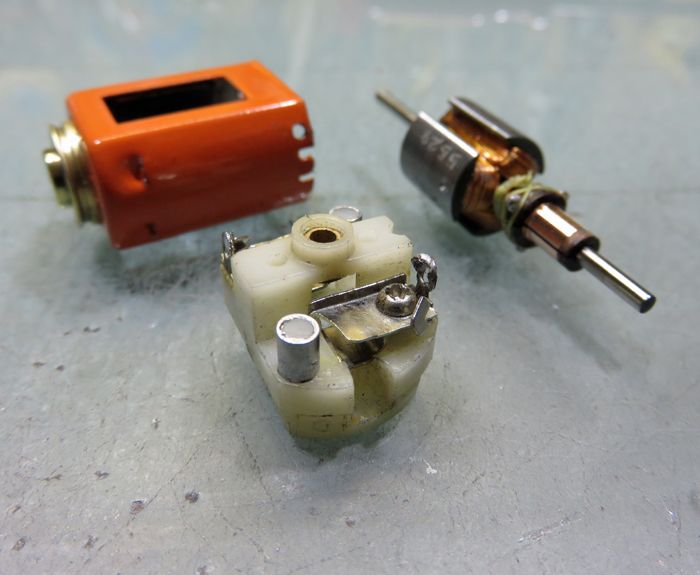
Time for final assembly. With none of these brushes available new (that I know of).. .and also considering that the stock brushes on these motors are very soft anyway, I trimmed a set of 26D brushes to fit... a little at a time on the sides and top and bottom until they were a snug and not sloppy fit. The "hoods" on these motors are actually a better design than the "heat sinks" found on all the other bigger and "better" models... a pretty close analog to the later Mura-type set-up: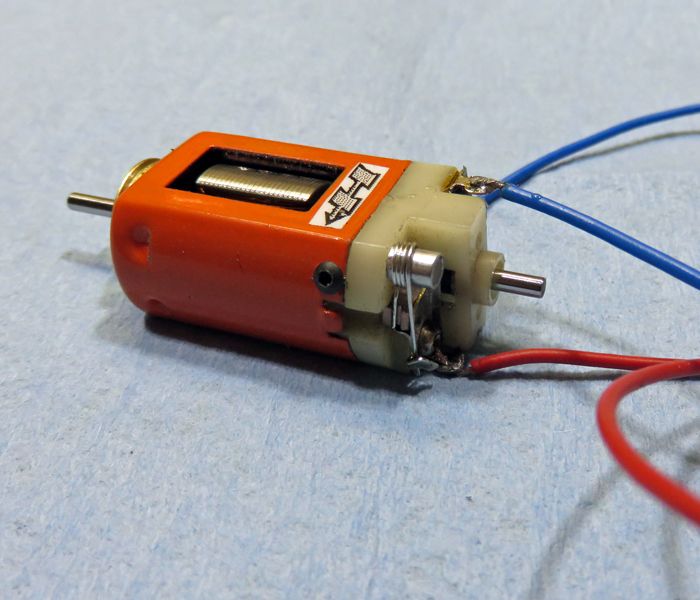
Test spin time (finally). The motor is dead-nuts right on. It draws a healthy 1.5 amps or a bit more, doesn't get very warm at all, and screams a beautiful song... spinning up and down FAST and wanting to twist in my hand. Yep, there's plenty of torque and revs here. It might be a problem to put this motor in a typical light/fragile period inline chassis... but that's a "good problem" the way I see it. This motor will run away from a good number of FT16D and FT26D rewinds thanks in no small part to the stout magnets, but also benefitting from its inherent light weight and short height which will result in less overall mass and a lower CoG.
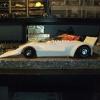
While it's no "concours winner", I think it's a pretty little thing to boot, and with the six or so hours of work invloved would look lovely all mounted up: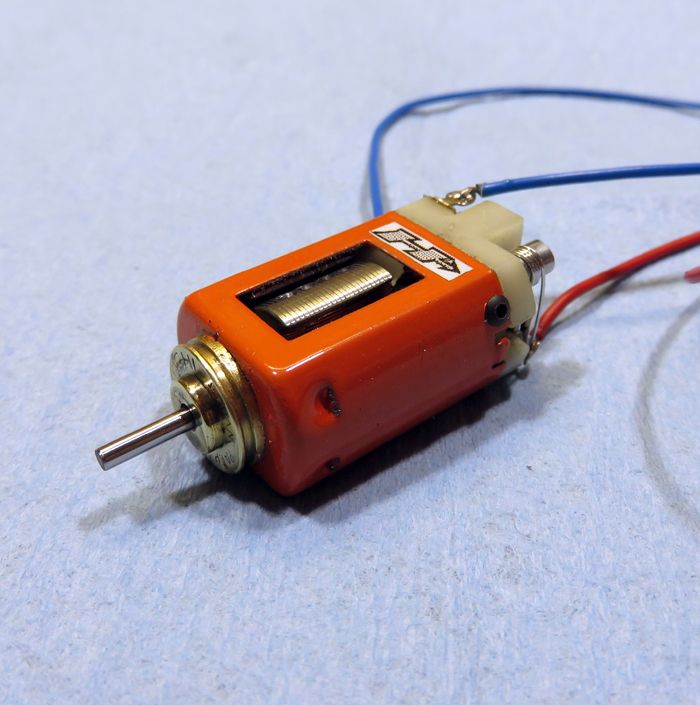
There's plenty of motors out there needing some TLC, get busy!
-john