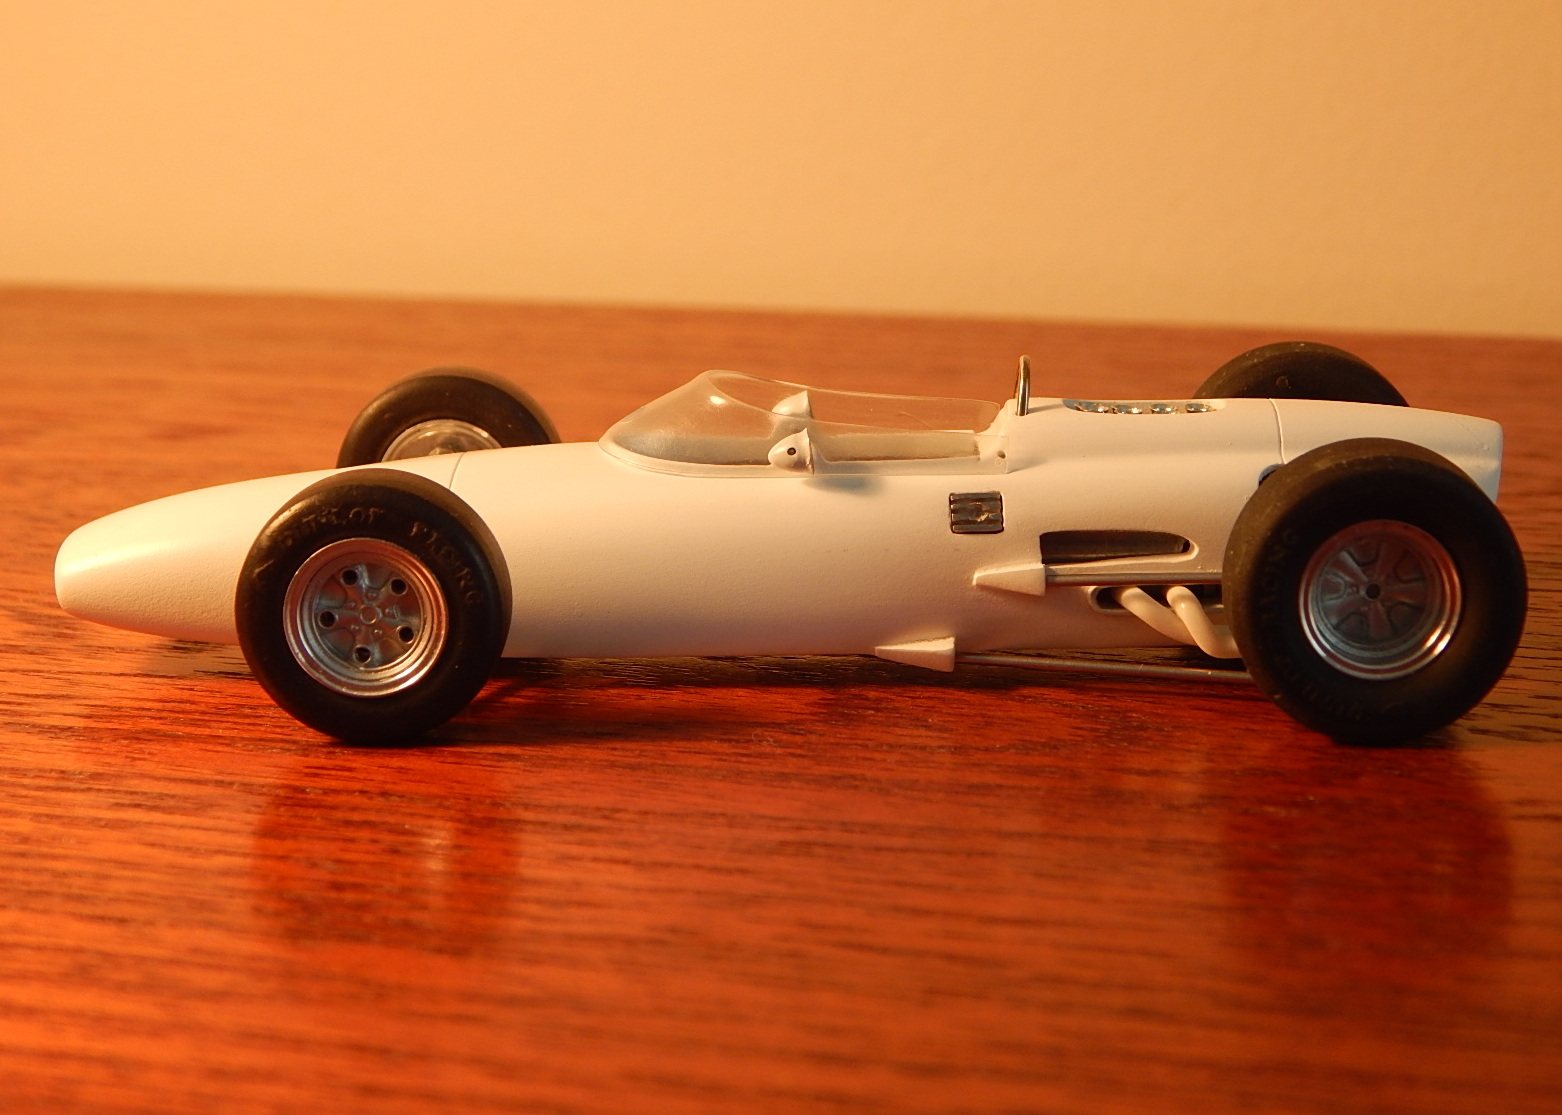
Graham Hill's Monaco-winning BRM P-261 - WIP
#1

Posted 08 May 2015 - 02:20 PM
- Cheater, slotbaker, hiline2 and 1 other like this
Chris Wright
#2

Posted 08 May 2015 - 03:29 PM
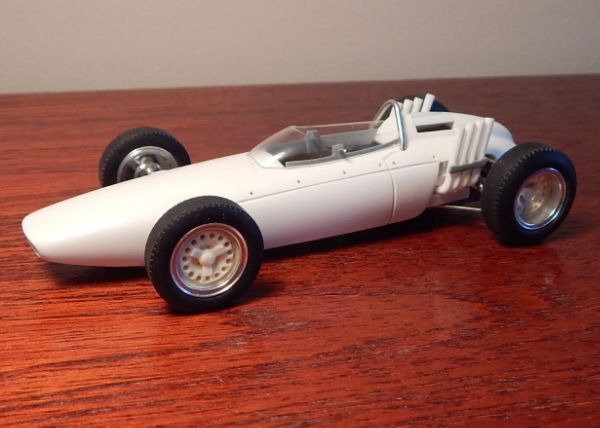
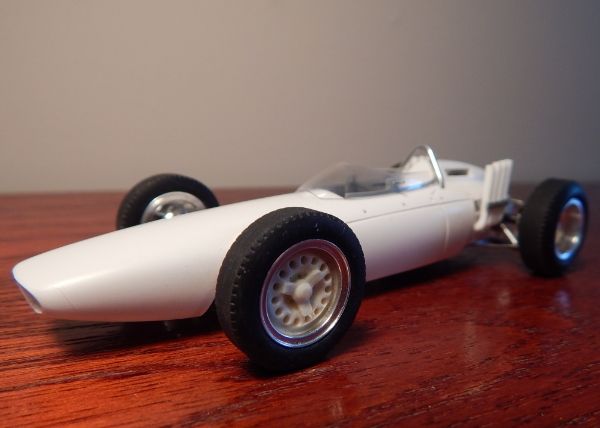
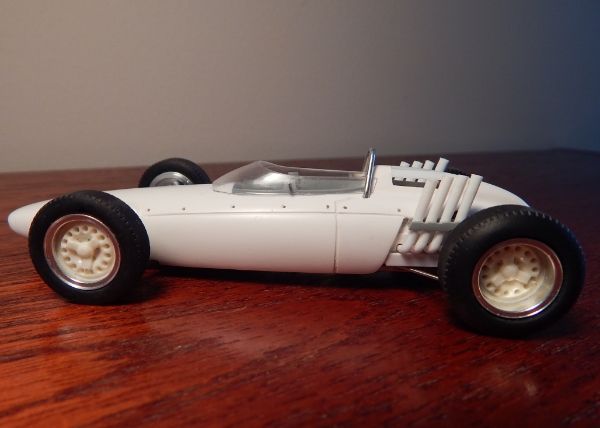
Very nice, Chris. Please show us the early BRM P-578 if you get a chance as well.
Thanks!
Rick Thigpen
Check out Steve Okeefe's great web site at its new home here at Slotblog:
The Independent Scratchbuilder
There's much more to come...
#3

Posted 08 May 2015 - 03:53 PM
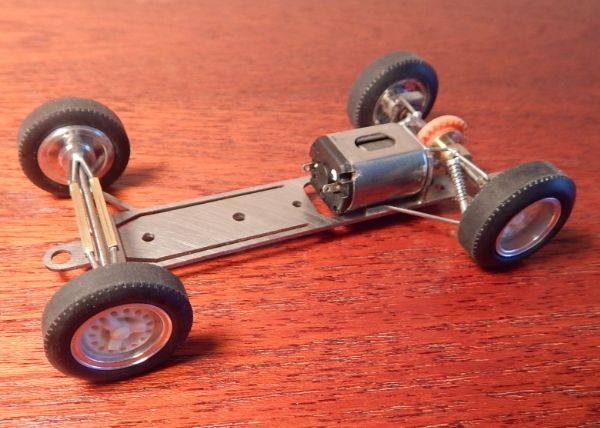
Rick, your wish is my command... Shazam:

- hiline2, miko and garyvmachines like this
Chris Wright
#4

Posted 08 May 2015 - 04:05 PM
I love the 1.5 liter Grand Prix era and your builds really do it justice. ![]()
Thanks!
Rick Thigpen
Check out Steve Okeefe's great web site at its new home here at Slotblog:
The Independent Scratchbuilder
There's much more to come...
#5

Posted 08 May 2015 - 04:15 PM
Thanks, Rick, your builds aren't too bad either. ![]()
Chris Wright
#6

Posted 08 May 2015 - 06:20 PM
Wow! Incredible.
#7

Posted 08 May 2015 - 07:32 PM
The Hill Monaco car does not seem to have the top surface vents of the model.
Cheers,
- Roger U likes this
Bill Botjer
Faster then, wiser now.
The most dangerous form of ignorance is not knowing that you don't know anything!
Never attribute to malice that which is adequately explained by stupidity
#8

Posted 08 May 2015 - 07:33 PM
- strummer likes this
Dennis David
#9

Posted 08 May 2015 - 07:37 PM
Hill's BRM here and The Nightwing Thingie on another thread and then all the recent Dragster posts.
That's what makes Slotblog so great, especially for someone like me that loves them all!
- Cheater and Samiam like this
Dennis David
#10

Posted 08 May 2015 - 08:27 PM
Excellent, Chris!
Remember, two wrongs don't make a right... but three lefts do! Only you're a block over and a block behind.
#11

Posted 08 May 2015 - 08:44 PM
I got so enthused that I finally had to go pull the trigger and buy one of your 1/32 F1 chassis kits, the latest one; so, I went to Electric Dreams just now and ordered one!
I have too many non-serious racing projects that it seems I'll never get them all done. But I just had to get one of those chassis. The 1965 BRM P261 would be my body of choice for this project.
One of my Walter Mitty dreams is to hire Bob Scott to come here and build a three or four-lane 1/32 Watkins Glen track, circa 1967, in my living room once I retire (20 months!).
- Cheater likes this
Remember, two wrongs don't make a right... but three lefts do! Only you're a block over and a block behind.
#12

Posted 08 May 2015 - 09:16 PM
... once I retire (20 months!).
Congrats, Tex. I can highly recommend retirement!
Rick Thigpen
Check out Steve Okeefe's great web site at its new home here at Slotblog:
The Independent Scratchbuilder
There's much more to come...
#13

Posted 08 May 2015 - 10:38 PM
Car at bottom is an earlier version, Bill. I was having trouble with Photobucket to post the correct car.
Chris
Chris Wright
#14

Posted 09 May 2015 - 01:19 AM
Dennis David
#15

Posted 13 May 2015 - 03:02 PM
Woohoo!
My Beardog chassis arrived in the mail today! HO-LEE CRAP! It's small! LOL. I've been running exclusively 1/24 for a looooong time and the pics online make the chassis seem larger somehow (duh!).
So, I have two questions...
1) Is there a tutorial post on how to assemble one of these chassis? And...
2) Where might suitable bodies be found? And now that I think about it, I have a another question...
3) What size/kind of motors go in these things? I'm guessing not a padlock motor, right?
Remember, two wrongs don't make a right... but three lefts do! Only you're a block over and a block behind.
#16

Posted 13 May 2015 - 03:14 PM
Oh boy.
Dennis David
#17

Posted 13 May 2015 - 04:48 PM
Hi Tex,
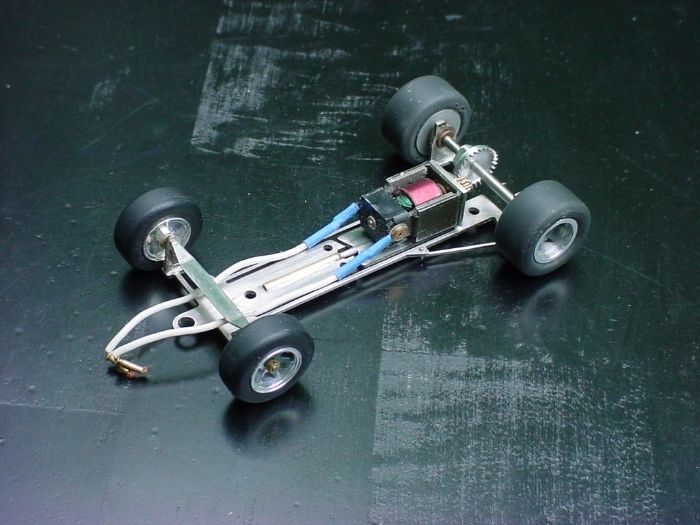
Richard, there's a photo below of the chassis you have, but assembled.
First step: solder in centre spine with 1/8th brass tube (filed to Fit) and 1/16" piano wire.
Step two: Choose the car you are going to build, and Motor. Chassis is made to fit a Mabuchi 050 can or a 030, (smaller version).
Sites to get these at bottom of post.
Step three: Choose offset gearing or in line, choose 4 hole motor plate and position in slot, either aligned or miss-aligned with rear axle pillow blocks. Solder in (acid flux and your choice of solder.)
Step four: Solder in front uprights, and cross bar. Ream out front uprights with a Dremel 7134 Diamond Wheel Point tool, to accept a 1/16" diameter axle.
Use 1/16 front axle, and standard 3/16 rear axle and bearings. Bush front wheels with 3/16 tube.
Go to my forum: http://f-one-thirty-two.proboards.com/
Pre-wing sell bodies of the BRM P-261, Ranch design sell gears. Immense Miniatures sells a miniature Graham Hill, or Jackie Stewart.
Ignore the motor installed on the chassis below, use a 050 or 030 can.
030 motors: # DCM-433 http://www.allelectr...c-motors/1.html
050 motors: http://www.electricd...t-c-3_1251.html
Chassis has hole in it and the rear upright for "scale" suspension details.
Nothing complicated...it's just small. ![]()
- hiline2 likes this
Chris Wright
#18

Posted 14 May 2015 - 07:57 AM
So Bear-D, If i bring pizza and beer can I come sit land learn from you how to build your cars ? (Ive got one done, I think you very first run, and another sitting in the box still) ![]()
#19

Posted 14 May 2015 - 08:07 AM
Chris,
I sat down with your post, holding the chassis parts tree in my hand, and tried to absorb what you were telling me. I "think" I get most of it. I do have a couple questions though. It appears there are 2 sets of rear pillow blocks... why? I notice each set has a different pattern of small holes, presumably for inserting piano wire for details like anti-sway bars or trailing linkage... is this why there's 2 different pillow blocks?... to accomodate different details for different F-1 cars? Next question is about the center spine, specifically, how it's all soldered together. Are the 1/8" tube and the 1/16" piano wire soldered together, and then each end of this assembly is soldered to the front and rear of the chassis respectively? OR, is the tube soldered to the front, the piano wire soldered to the rear, and the piano wire just slips inside the tubing without being soldered? Also, why ream out the front uprights with that tool? Will a 1/16" drill bit not suffice? Or is the upright too small to secure effectively when using the drill bit? I'll probably think of more questions, but that's it for now.
I did go sign up on your 1/32 website. A lot of good info there. It will be some time before I build this car, but I will be back in touch eventually. Thanks for the info!
Remember, two wrongs don't make a right... but three lefts do! Only you're a block over and a block behind.
#20

Posted 14 May 2015 - 08:26 AM
Hi Richard,
Good morning, yes the 2 different pillow blocks are to accommodate different details for different F-1 cars?
The one with the tab on the axle center-line is for Early cars like the Lotus 25, and Brabham BT-7, the one with the two holes high is for late season cars like the Lotus 33, Bt-11 High exhaust BRM P-261 etc.
On the centre spine, first the tube is soldered into the front slot, then insert the 1/16" piano wire into the tube and solder the opposite end to the rear slot, the chassis should twist but not bend.
The chassis is spring steel, far harder than any drill bit you have, you have to use that diamond tipped tool to size the front holes, also use a cut-off wheel to separate and clean up all the individual parts.
Chris
- Tex likes this
Chris Wright
#21

Posted 14 May 2015 - 09:14 AM
Here is a picture of the 1964 Hill car showing the top vents
Cheers!

Bill Botjer
Faster then, wiser now.
The most dangerous form of ignorance is not knowing that you don't know anything!
Never attribute to malice that which is adequately explained by stupidity
#22

Posted 26 May 2015 - 07:11 AM
I believe Chris meant using a 3/32" OD brass tube and a 1/16" piano wire for the centre spine, not a 1/8" tube.
You will find 1/16" piano wire a very sloppy fit in a 1/8" tube.
Chris, please correct me if I am wrong.
#23

Posted 26 May 2015 - 08:50 AM
Thank you Yuen,
You are correct. 3/32" tube it is.
Chris Wright
#24

Posted 05 November 2015 - 04:08 PM
Graham finding the cockpit very snug, but comfortable. The excellent Immense Miniatures Graham figure has to go on a diet to fit the Dave Jones body cockpit. a little bit of slimming and he fits fine.

Still a little bit of tweeking required, he still needs a dash and the fuel pick-up,
(the one in the front of the cockpit under the circular opening in the windscreen).

- Tex likes this
Chris Wright
#25

Posted 06 November 2015 - 11:26 AM
Beautiful car Chris. Love the rivet detail..........amazing! ![]()
Rick Thigpen
Check out Steve Okeefe's great web site at its new home here at Slotblog:
The Independent Scratchbuilder
There's much more to come...


