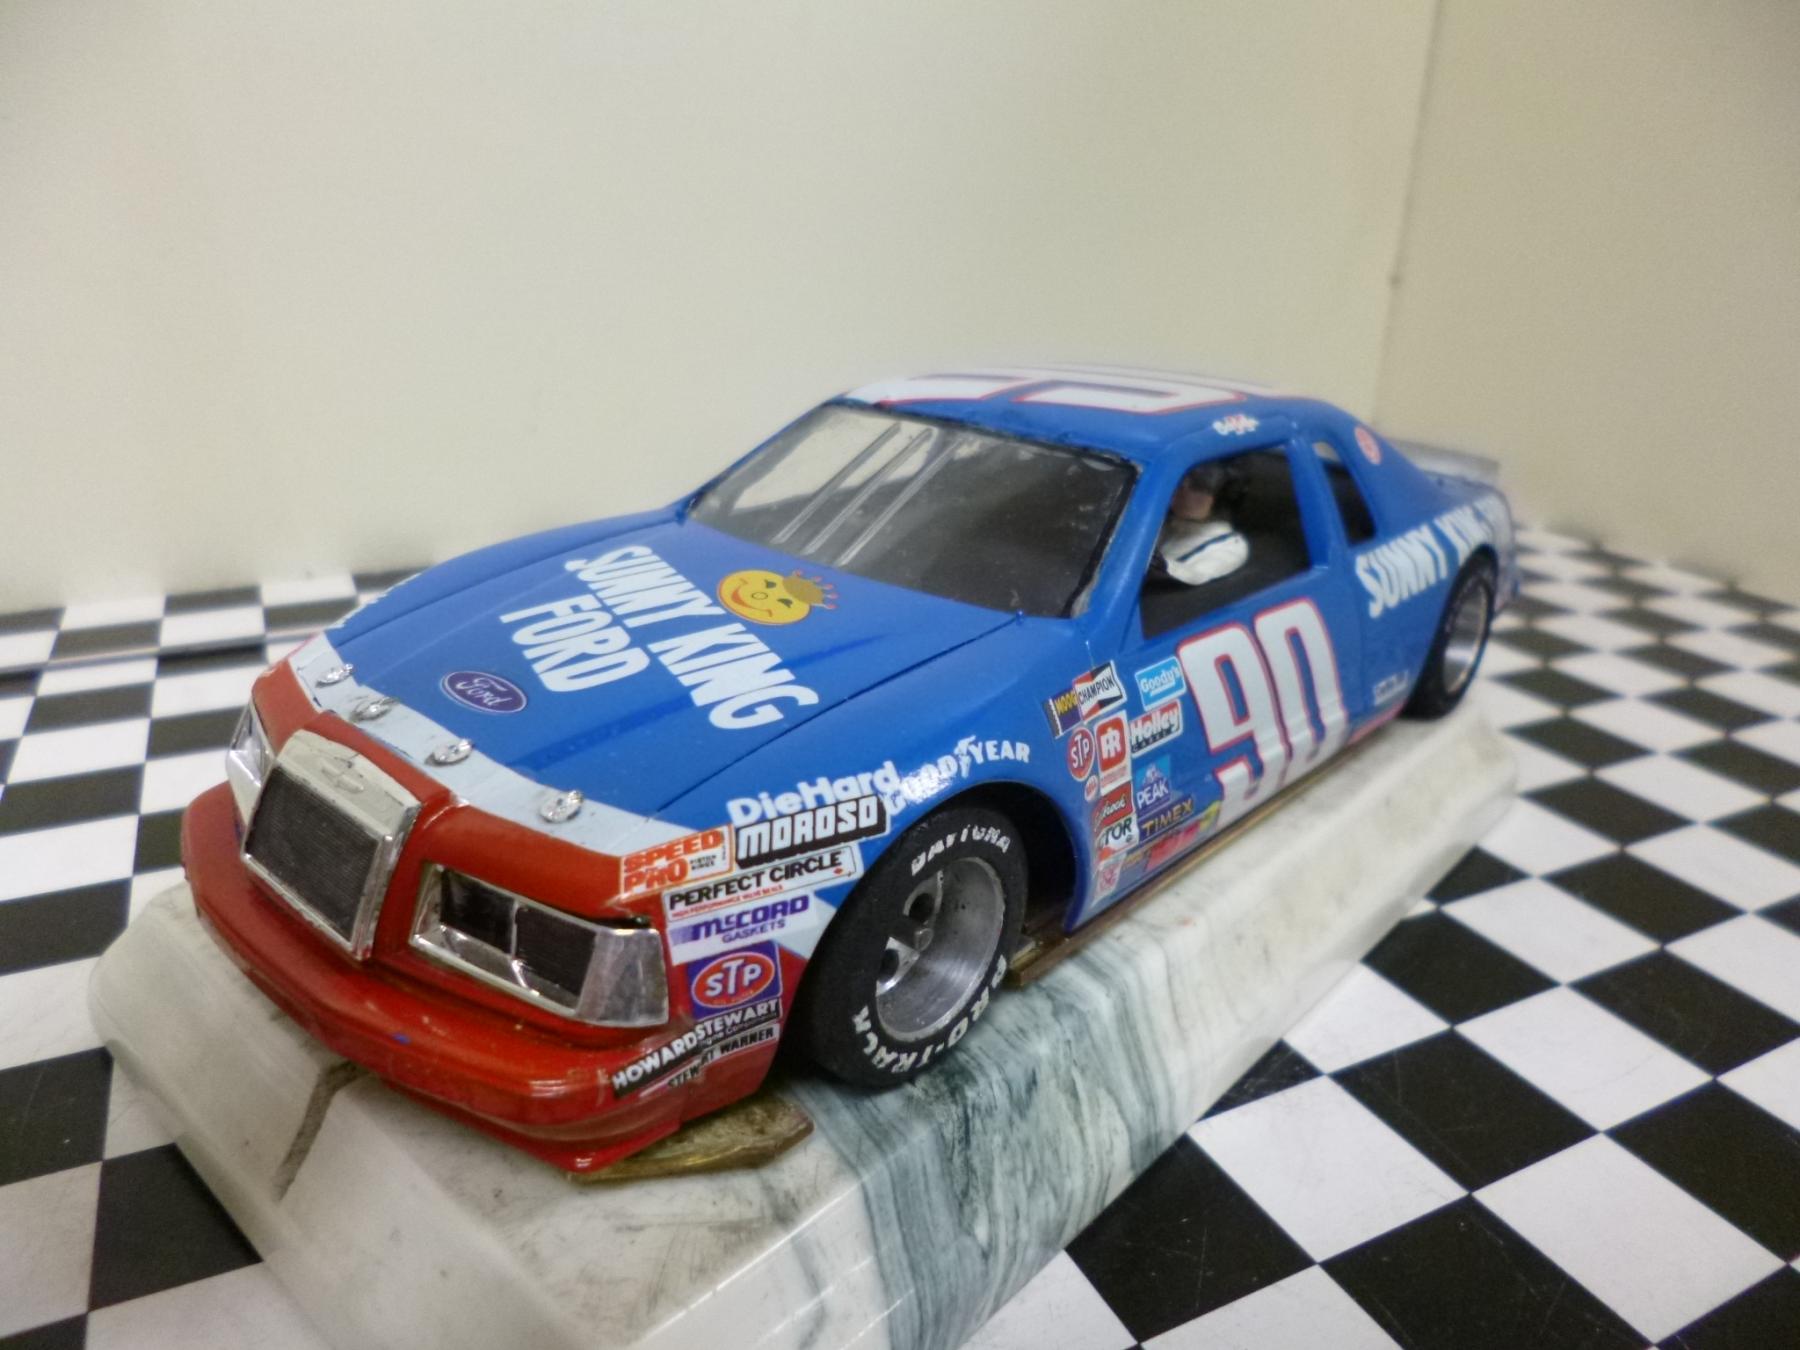
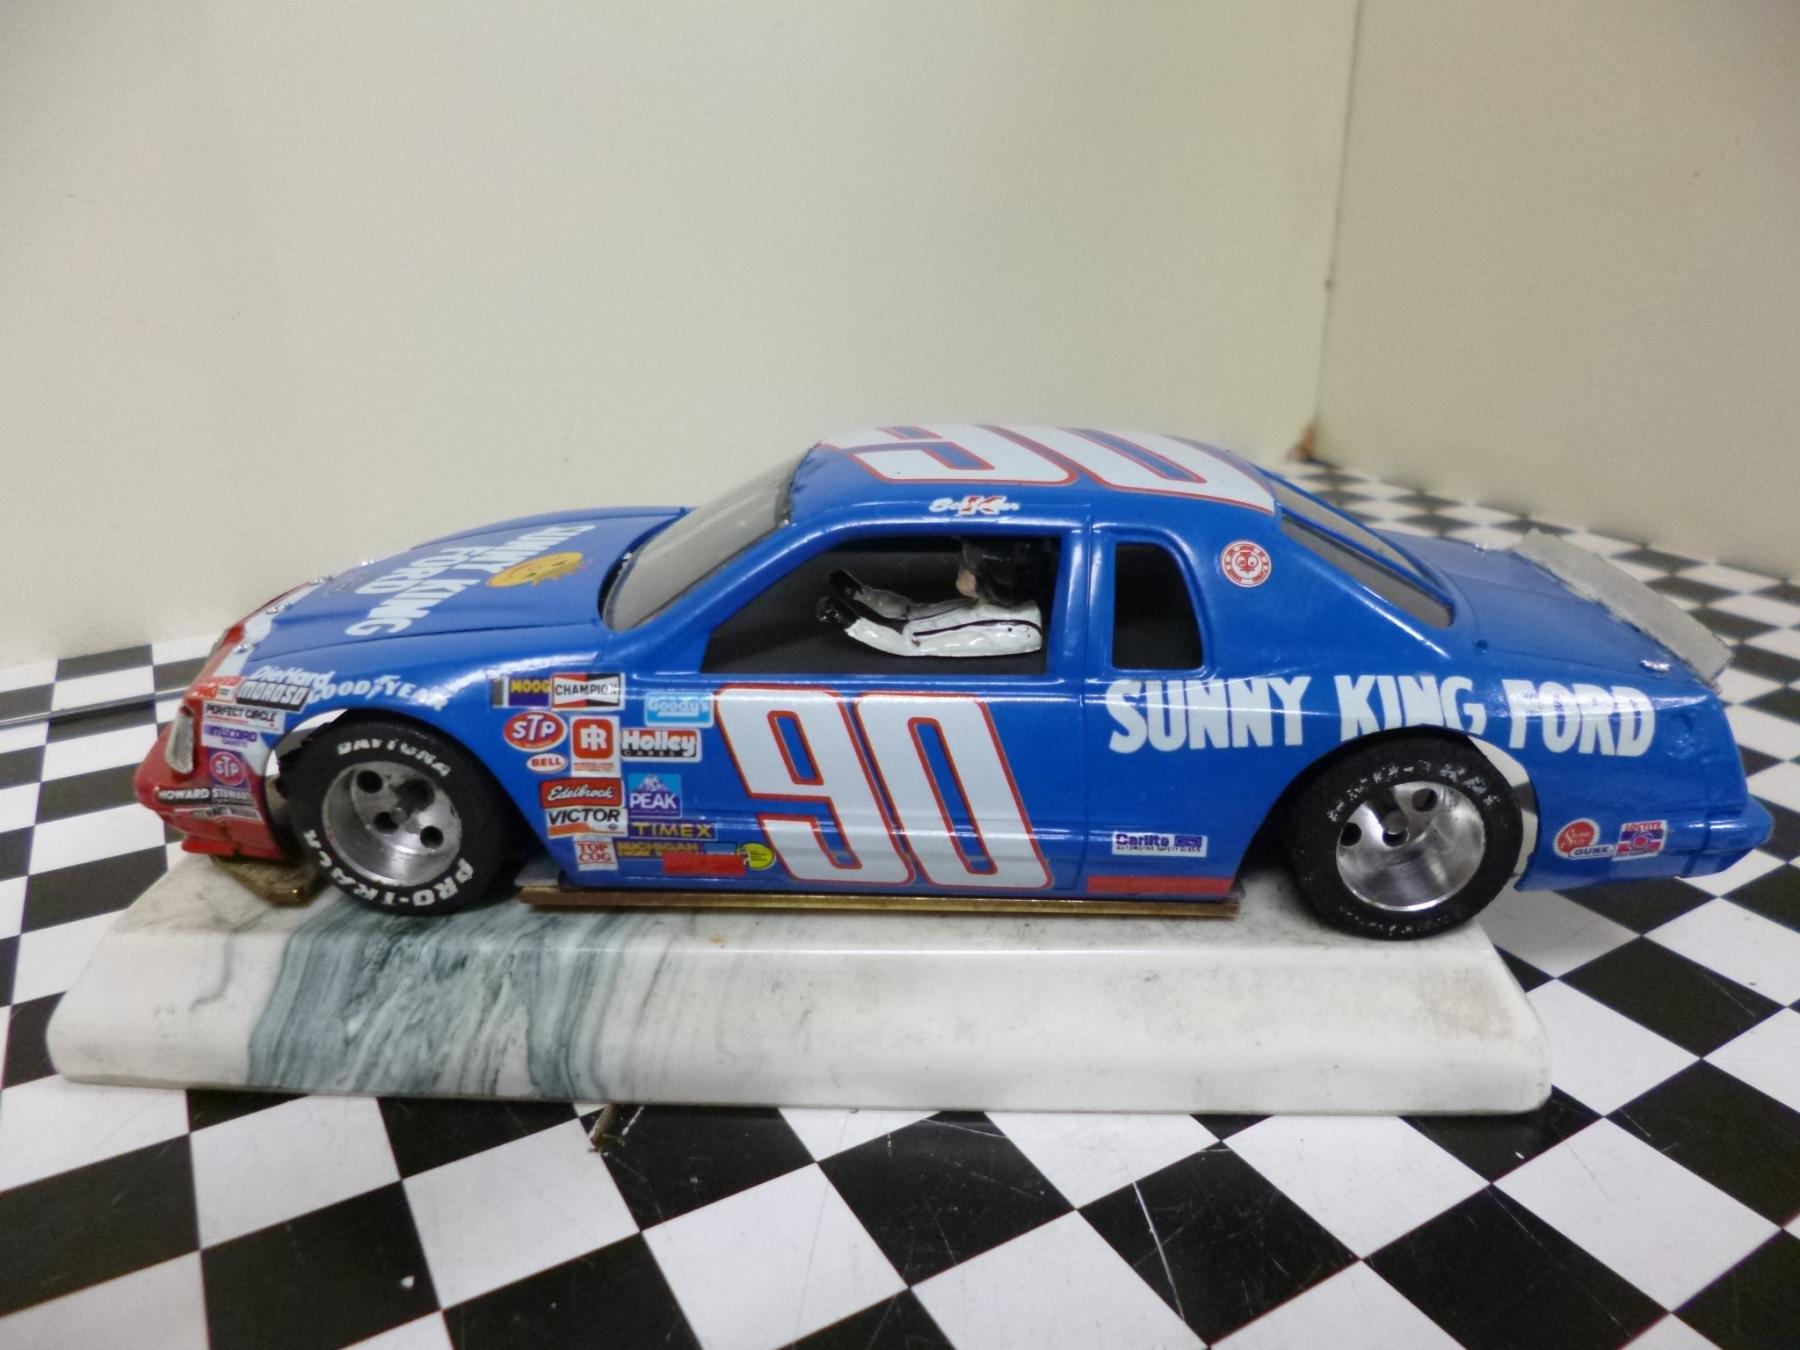
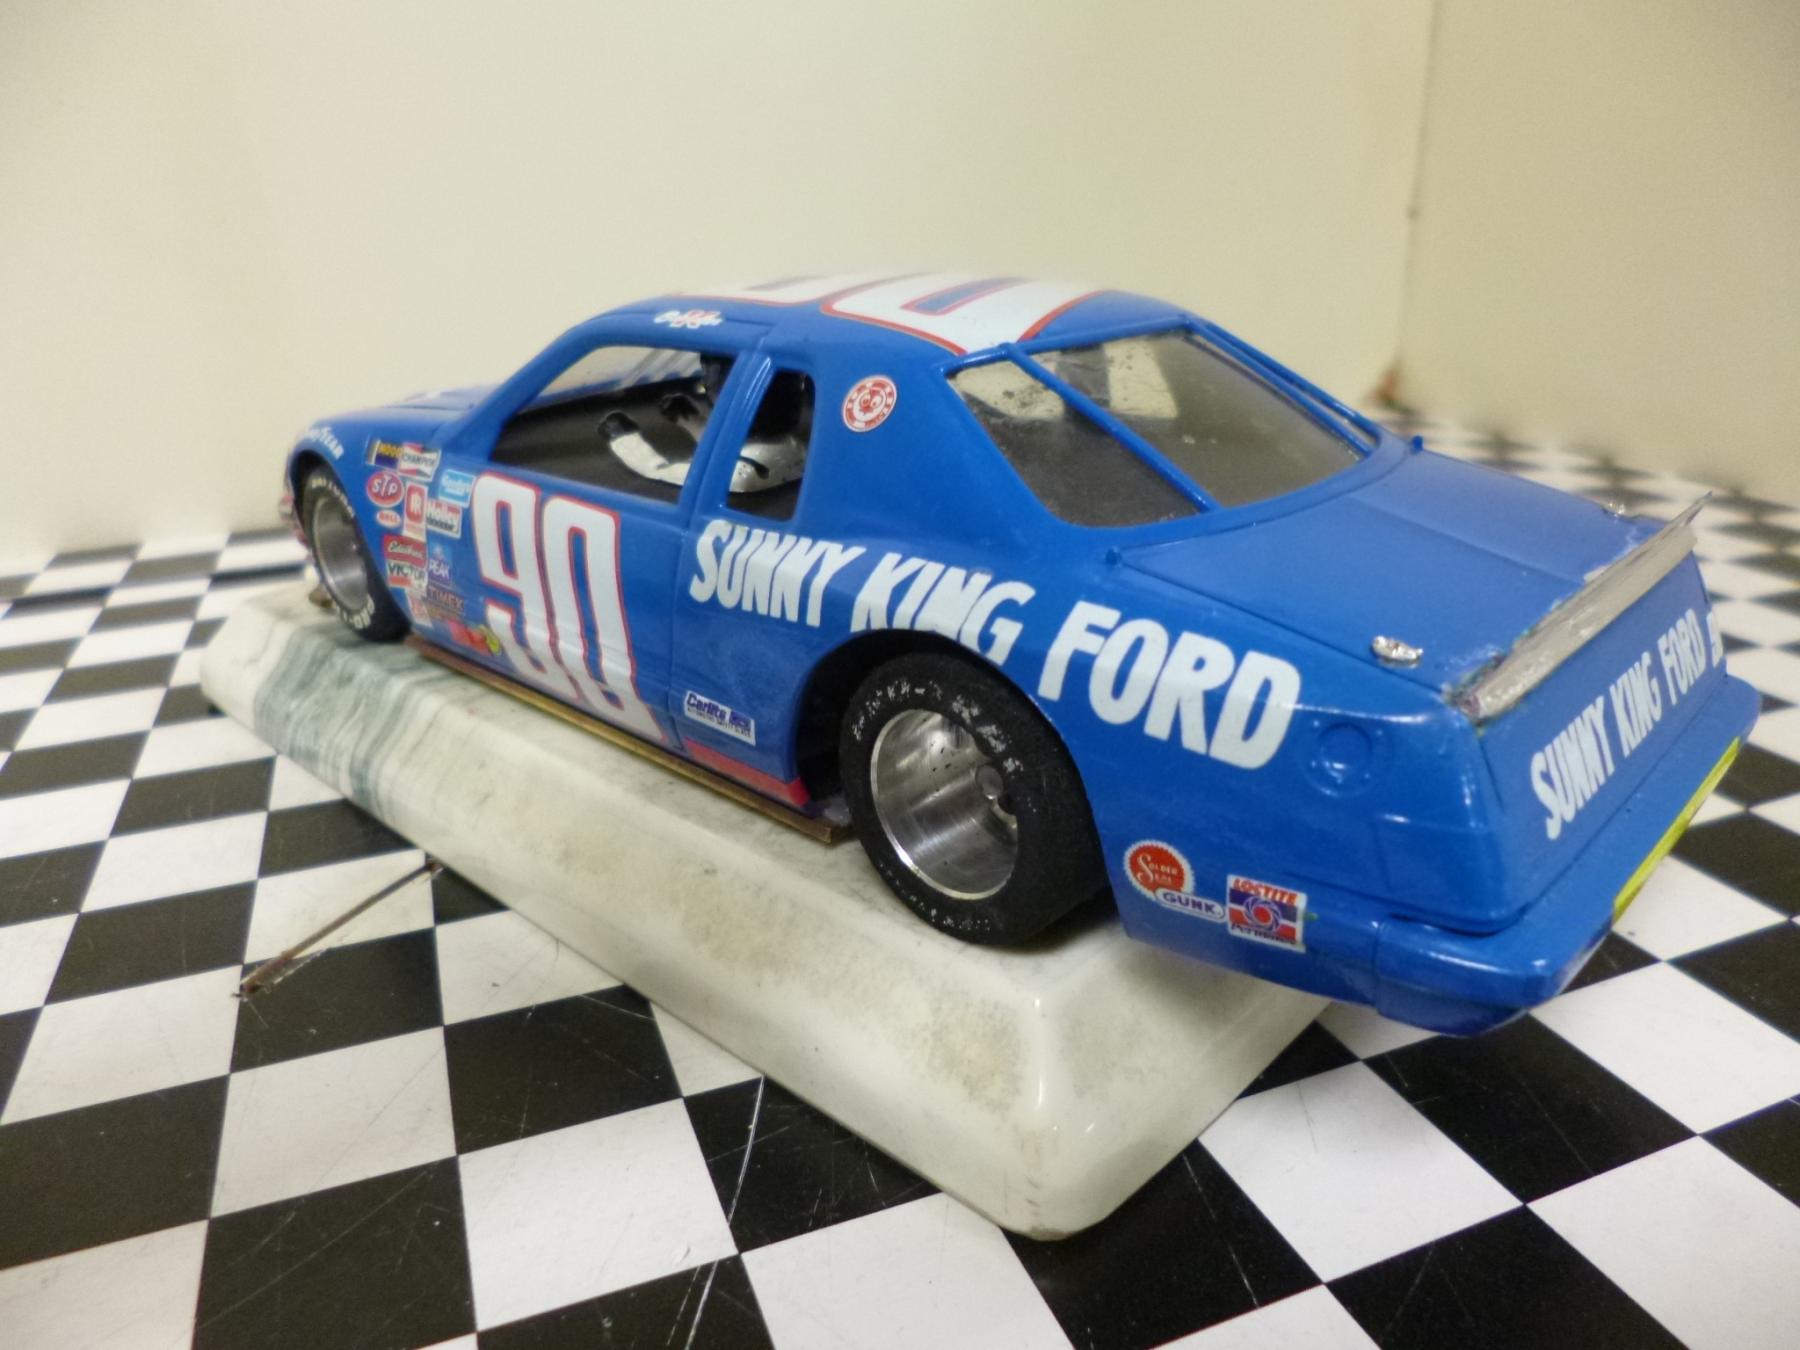
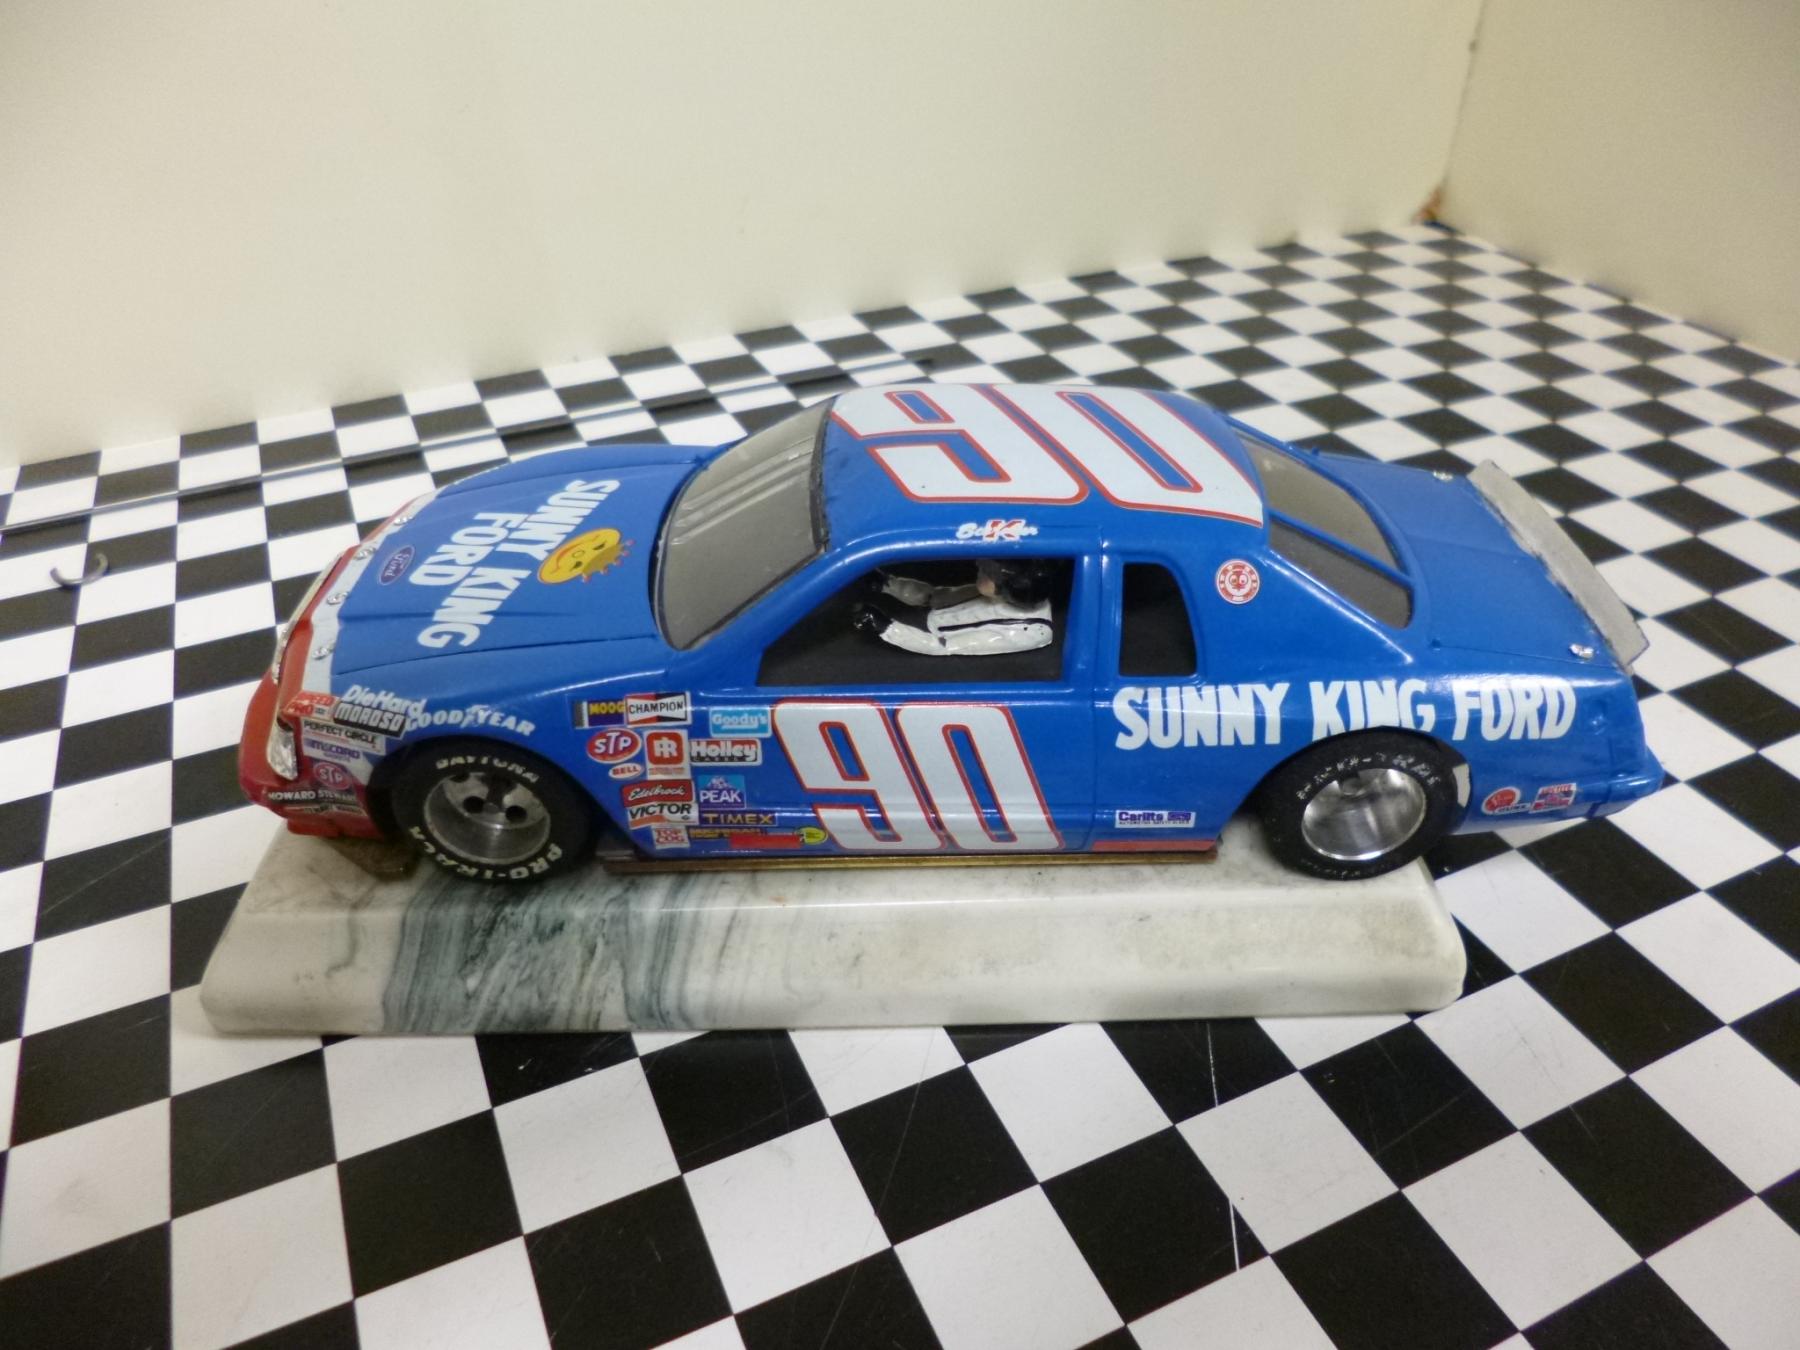
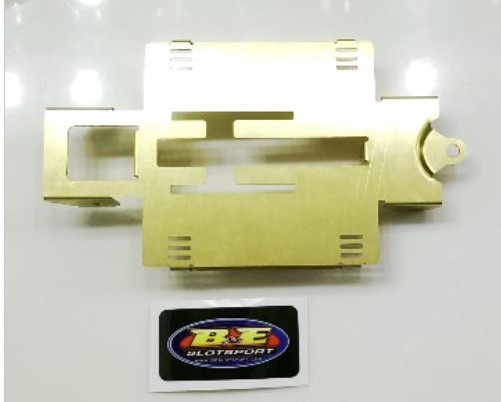
There seems to be a great deal of interest in improving the performance of the old ProTrack brass chassis or the H and R chassis. I began running these cars in the early 2000s with Cheetah (or Deathstar power for tracks like the Blue King). We raced these cars weekly for about 3 years at both club and commercial tracks. In 2004 we moved to Oregon and I joined a local model car racing club. Although the main focus of the club is hard body racing with custom brass and wire chassis, the club races two different, ProTrack classes.
Our ProTrack rules limit the type of modifications that can be made to the chassis. However, even limited modifications can result in significant performance improvement. The best configuration is described in the section below entitled Stage 2 Tuning. This configuration uses two layers of pans. The lower layer is static, while the upper layer may slide from side to side a bit. The Stage 2 tuning configuration was developed by James Wendel of our local club. James ProTrack cars have been battle tested and have dominated the ProTrack field. As if this is not confirmation enough, I built a ProTrack to the Stage 2 specifications. The car is much easier to drive and much faster than simply adding a set of static pans.
Stage 1 Tuning
Early in development, we migrated to a set-up that included static pans, a soldered front axle tube and nail polish for the front wheels. Our conclusion after testing was that that the three simple modifications resulted in an improvement of about one second per lap over the stock configuration. Circa 2004, I wrote an article entitled ProTrack Mods. This article is attached as a PDF. It shows the basic set-up and test results.
Stage 1 Tuning with Pan Float
My friends in the Arizona Garage Racing club (AZGR) added a new twist to ProTrack builds by adding pan float to improve performance. This refers to a configuration where lock nuts were used on the pans and loosened just a bit to allow the pan to move very slightly. We had already found that body float improves performance versus a no float alternative. Body float refers to a configuration that utilizes the standard mounting pins provided in the kit and allows the body to move around a bit on the mounting pins. My testing concluded that Pan Float did not improve performance versus the Standard Stage 1 tuning.
A few words of caution and clarification are in order. Be sure to use spacers to mount the pans flush with the bottom of the center section of the chassis. Although my particular car didnt seem to benefit from loosening the lock nuts, further experimentation may be warranted. I would suggest that you use lock nuts and try adding some pan float to see if your particular car responds differently. It is my opinion that the body float is the overriding factor in play here. Some do not like the standard body pin mounts because the car can separate from the chassis in a bad wreck. The results show that if you fix the body to the chassis, then utilizing pan float will improve performance.
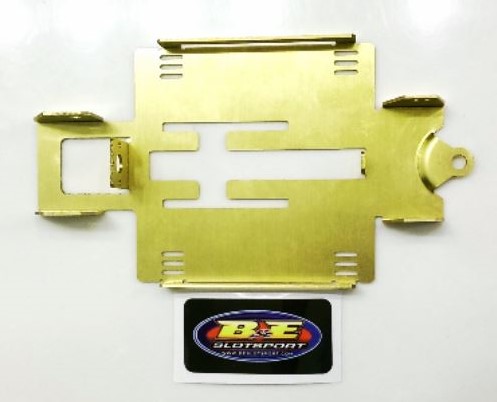
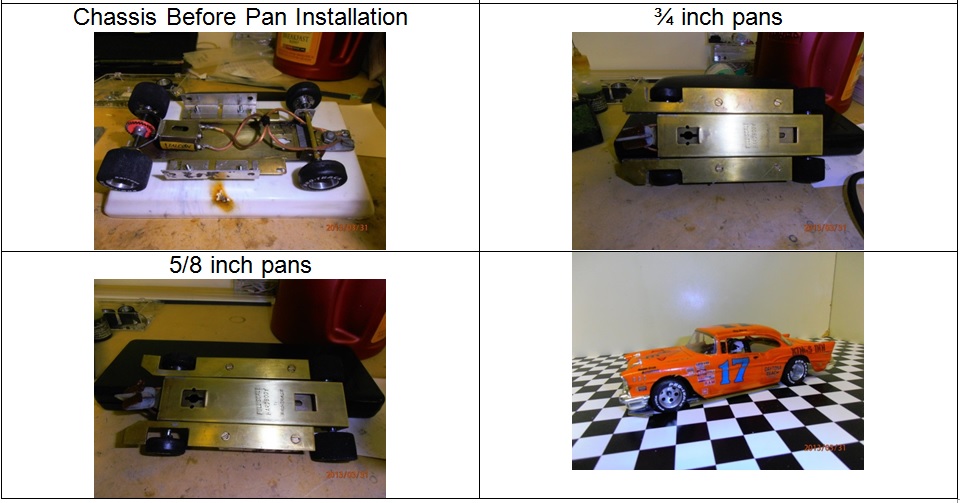
I actually tested two different sets of pans. The first set was fabricated from .062 inch thick, five eights inch wide brass stock. The second set was fabricated from .062 inch thick, three quarter inch wide brass stock. The results were virtually the same in both cases. To me, however, the three quarter inch pans seemed to yield more consistent times. In general, my suggestion would be to use the widest pans possible. I also believe that the motor you choose will have an impact on pan size that works best. The lighter pans may work better on if the motor is not as strong as a Falcon 4. Below is a table summarizing the results of the testing and a few images of the set-up.

Stage 2 Tuning
James Wendel has dominated our ProTrack classes for quite some time. His chassis configuration utilizes static pans but adds a layer of movement by adding upper pans that may slide side to side. The good news is twofold. If you are already using the Stage 1 configuration you need not modify the static pans; simply add the upper pans. Secondly, no soldering is required. Some time ago, James posted the details of Stage 2 Tuning, however, the post was buried in a somewhat unrelated topic. I have reprinted the article (with a few editorial notes).
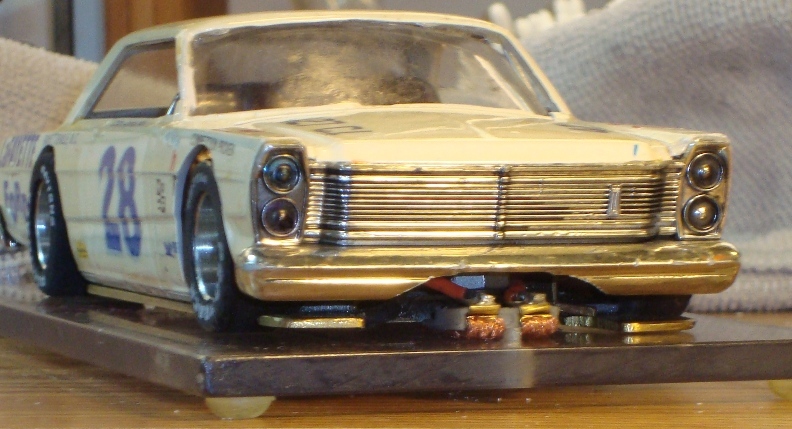
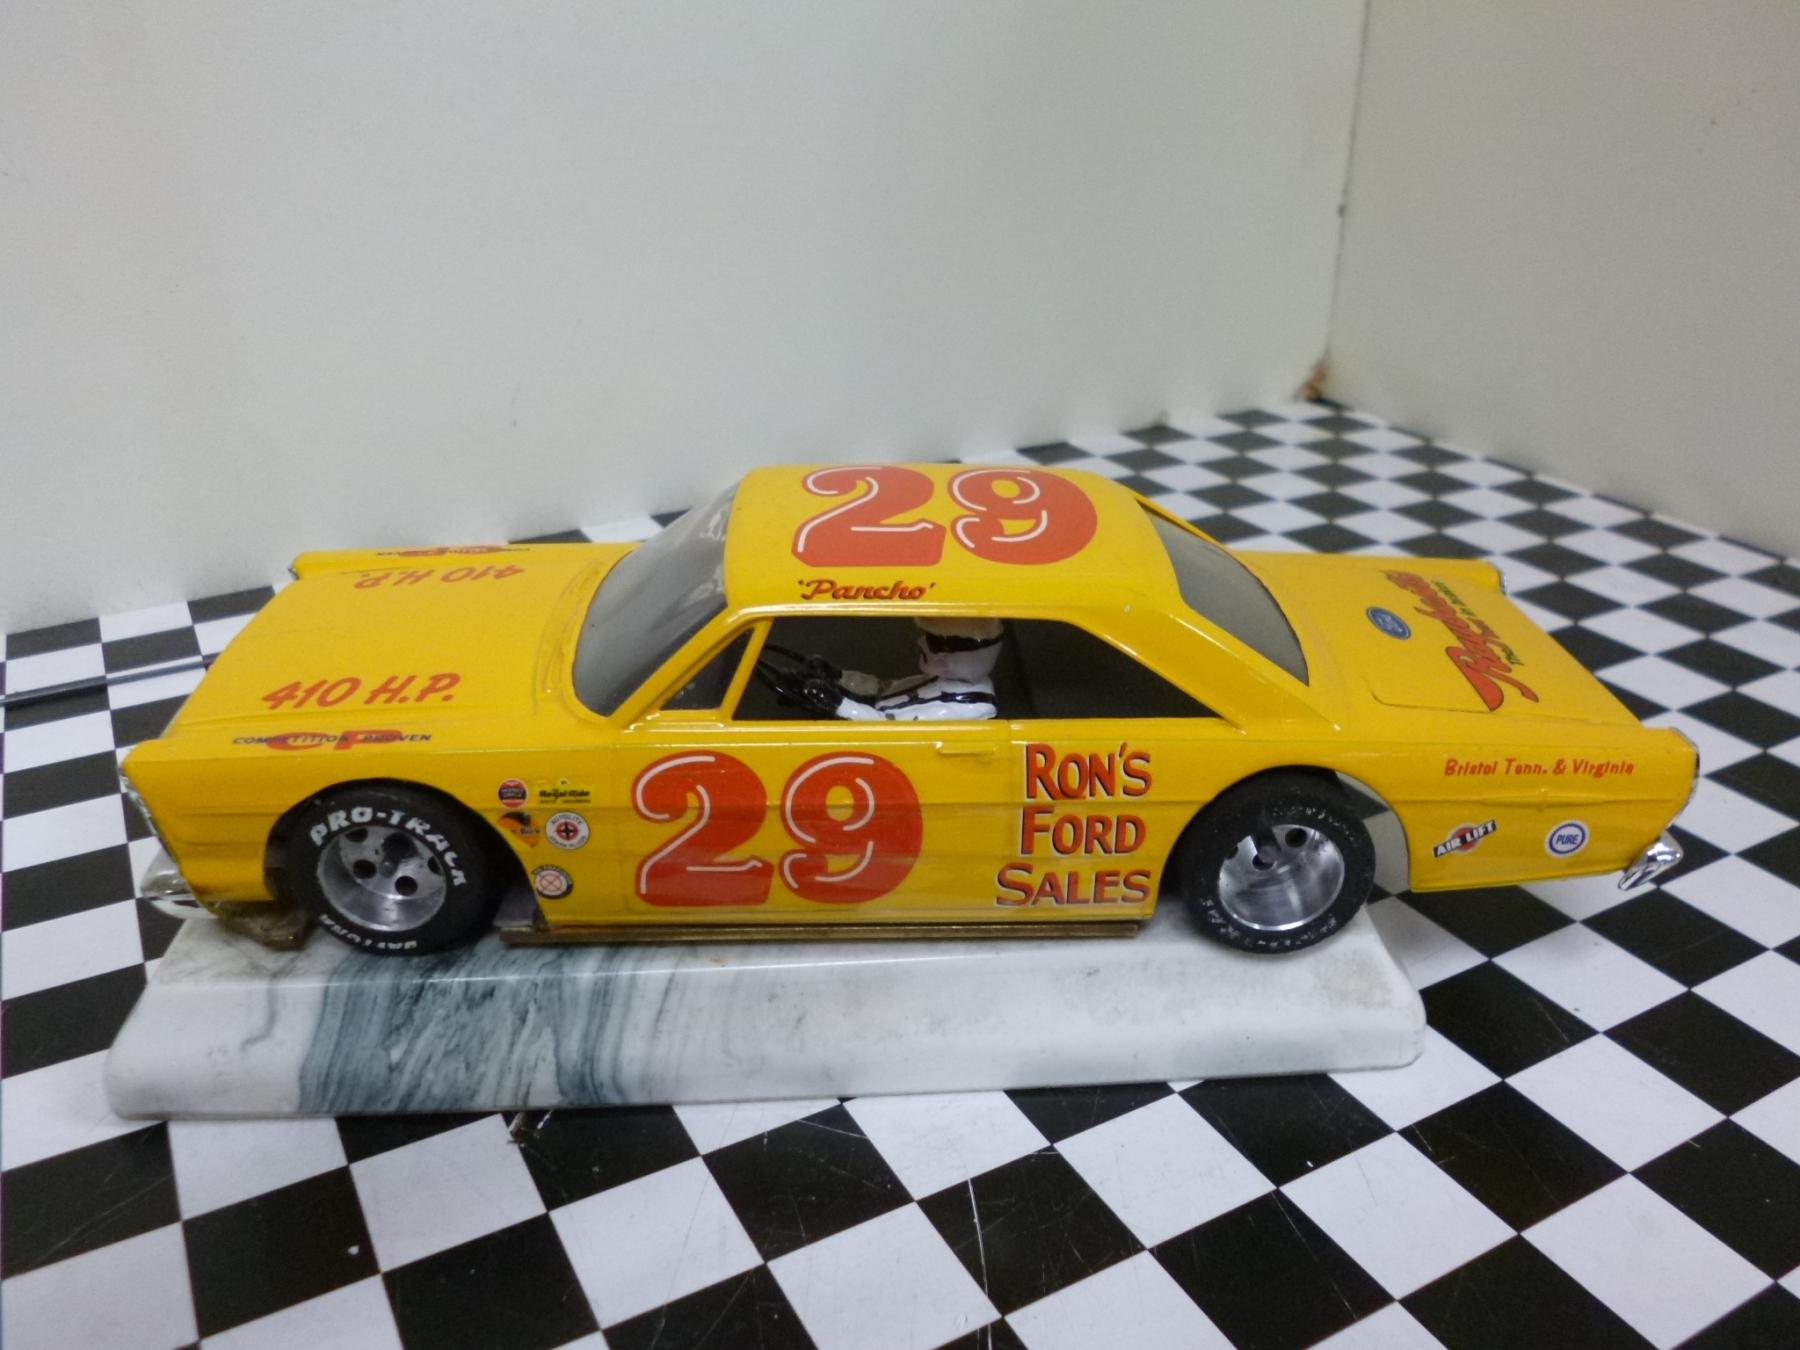
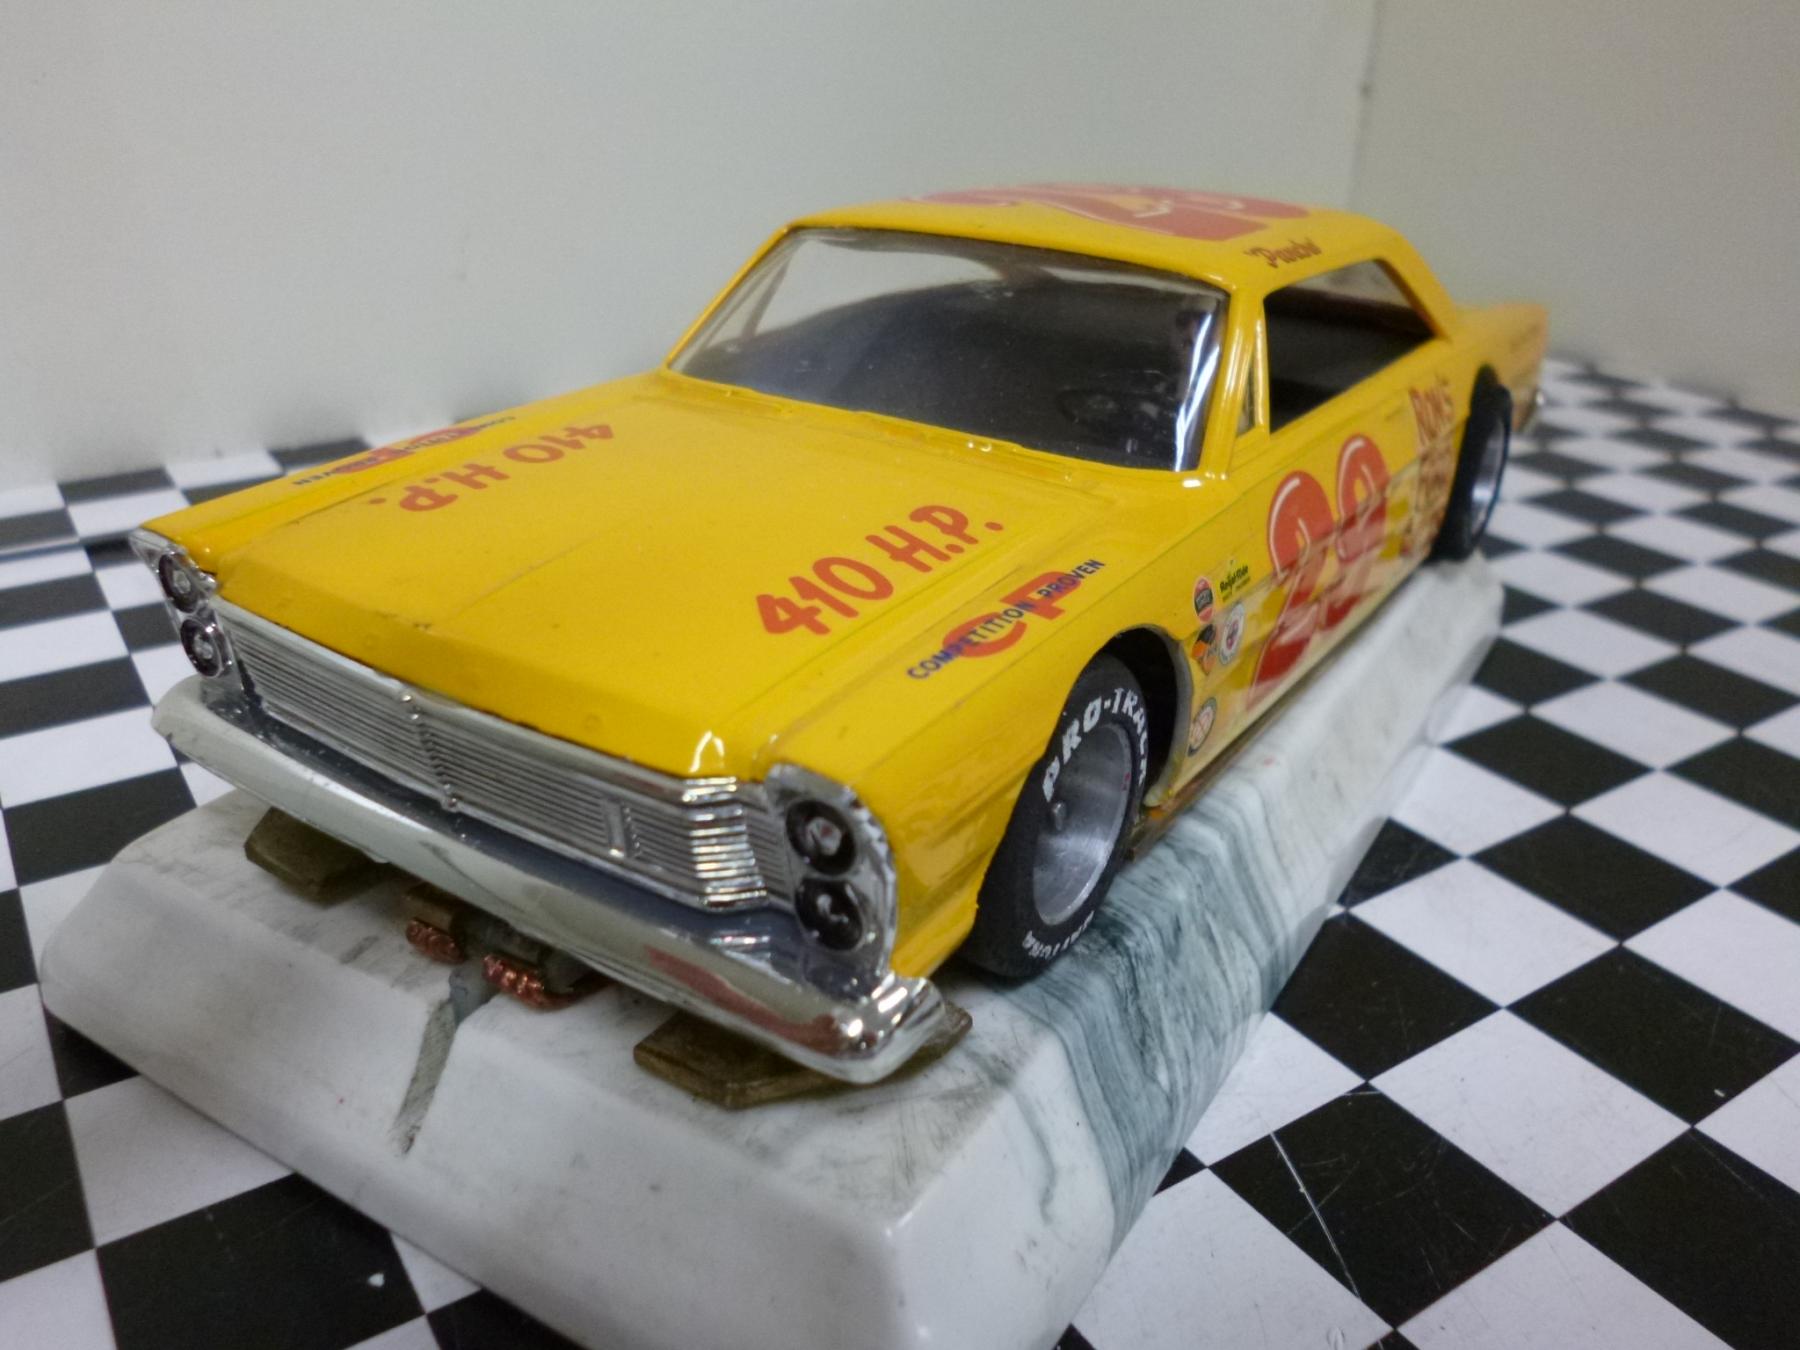
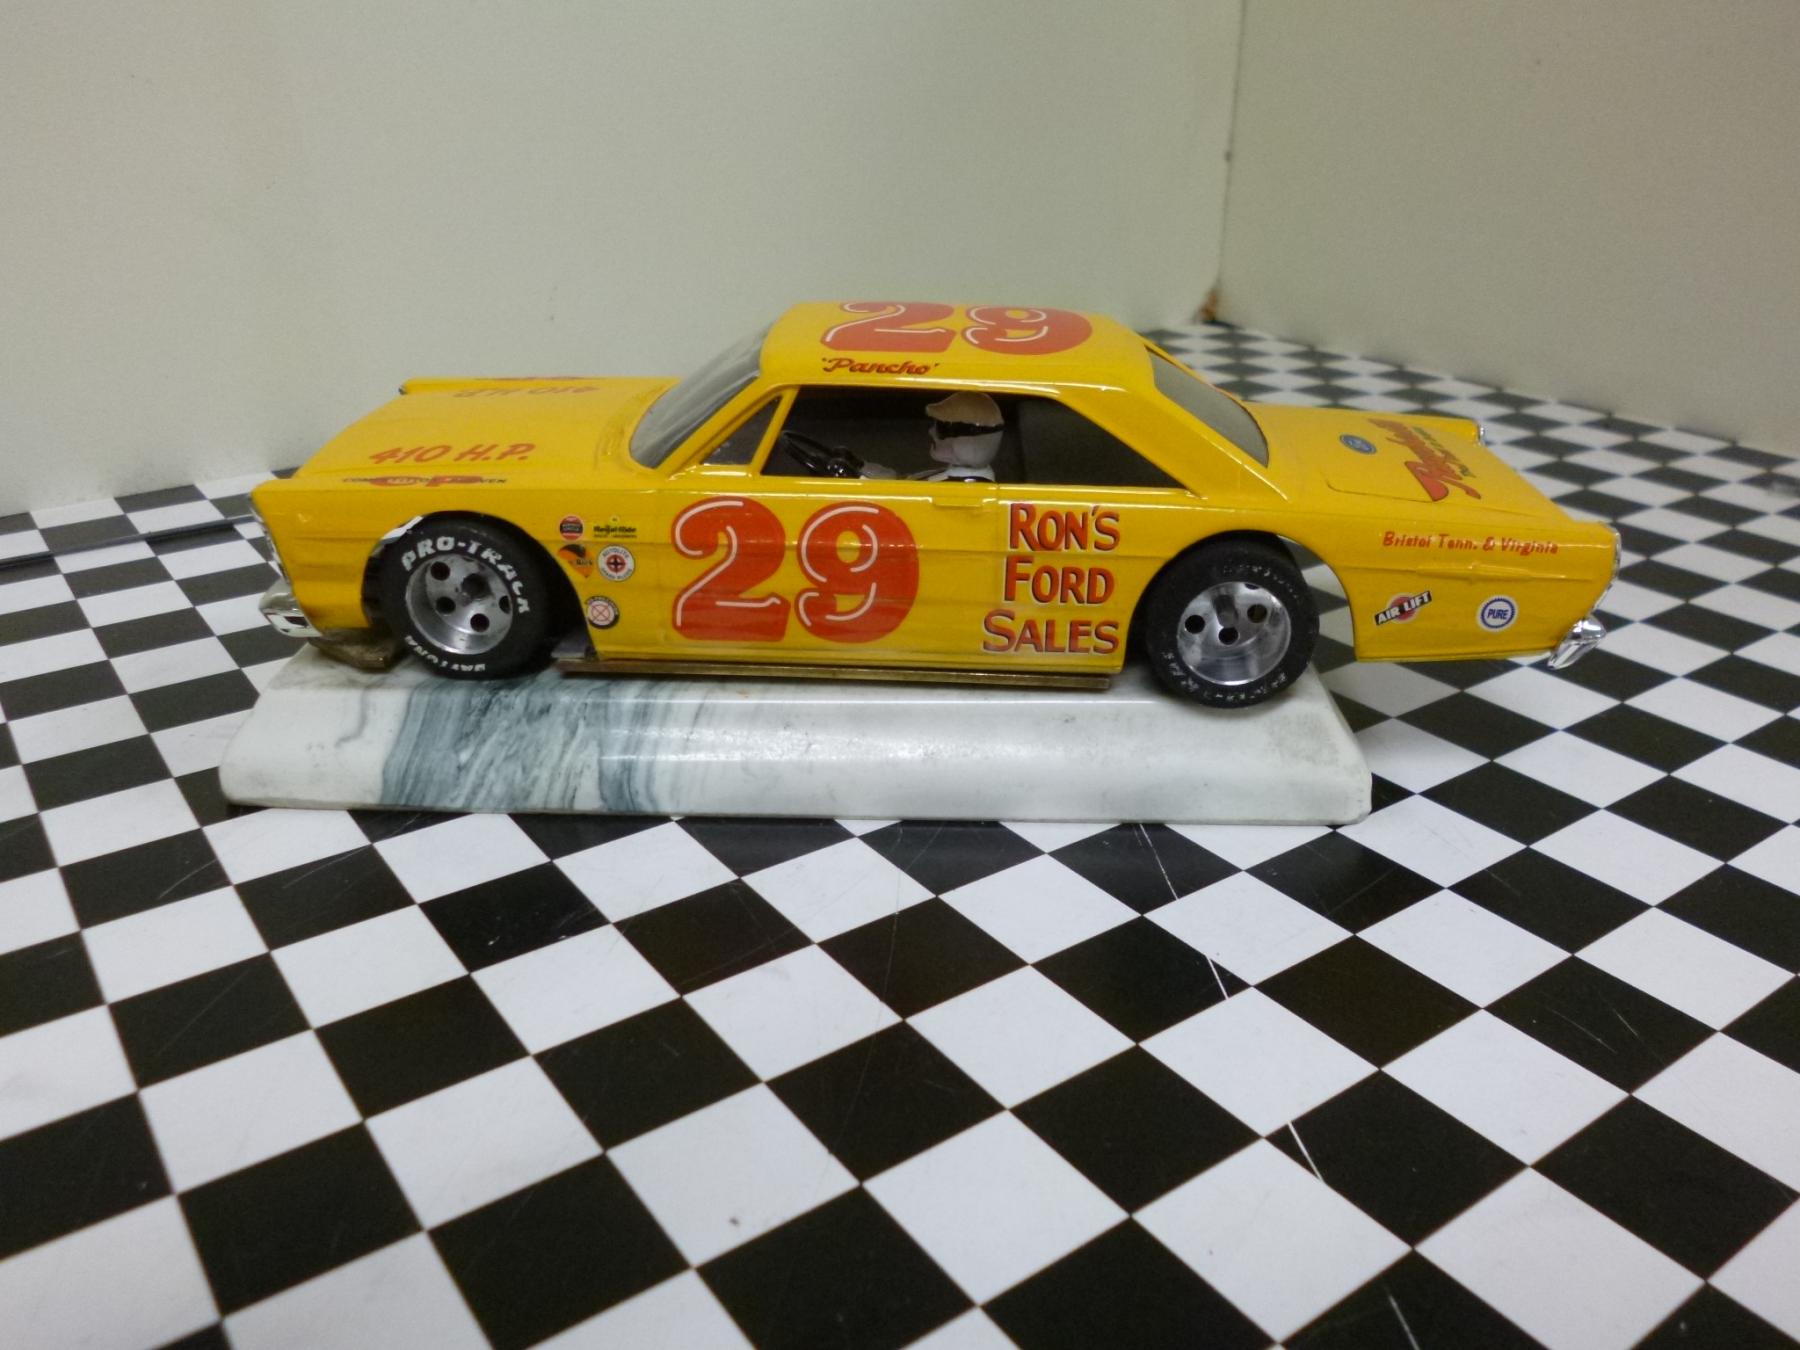
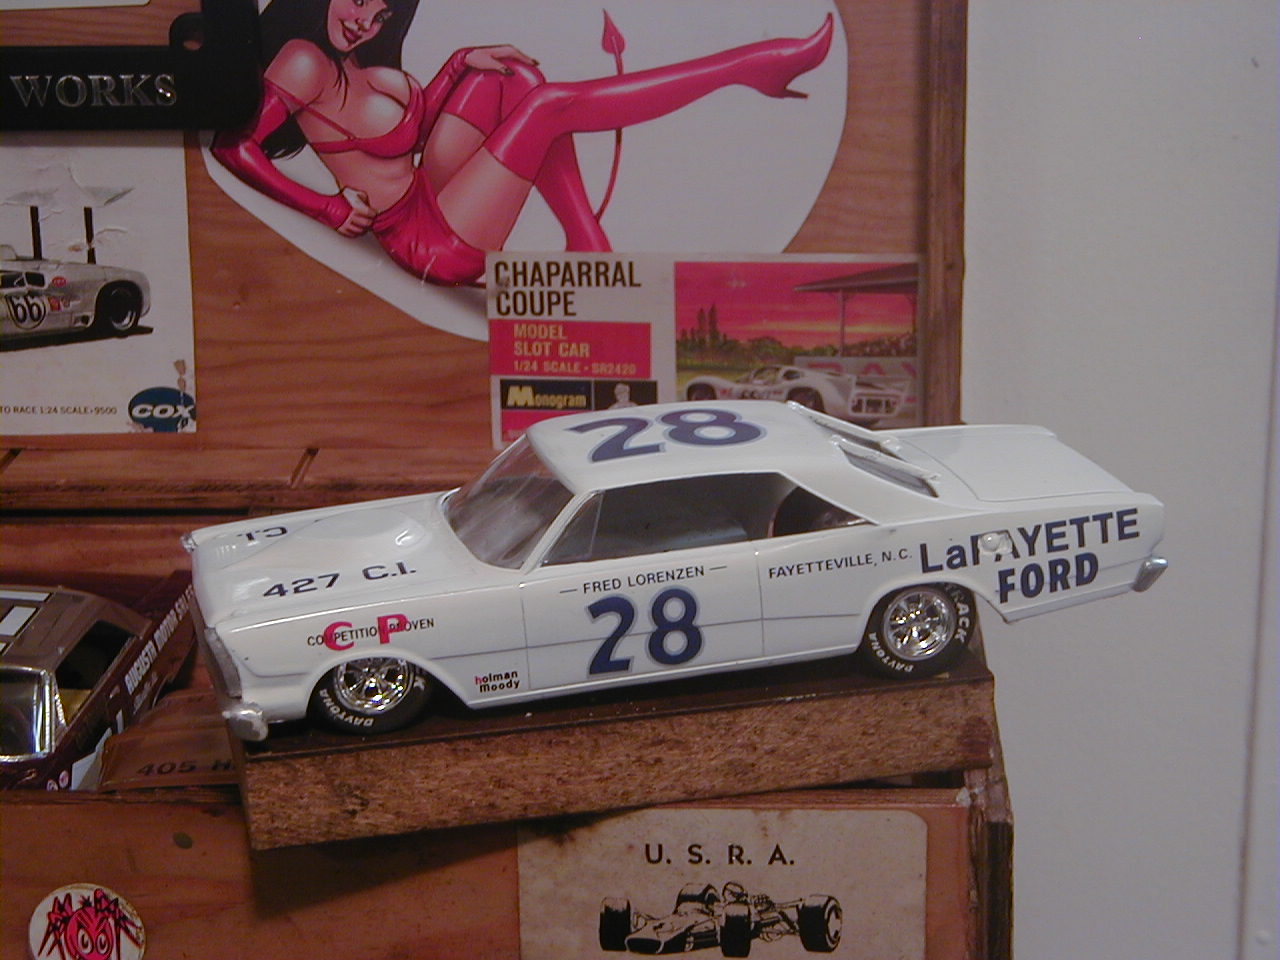
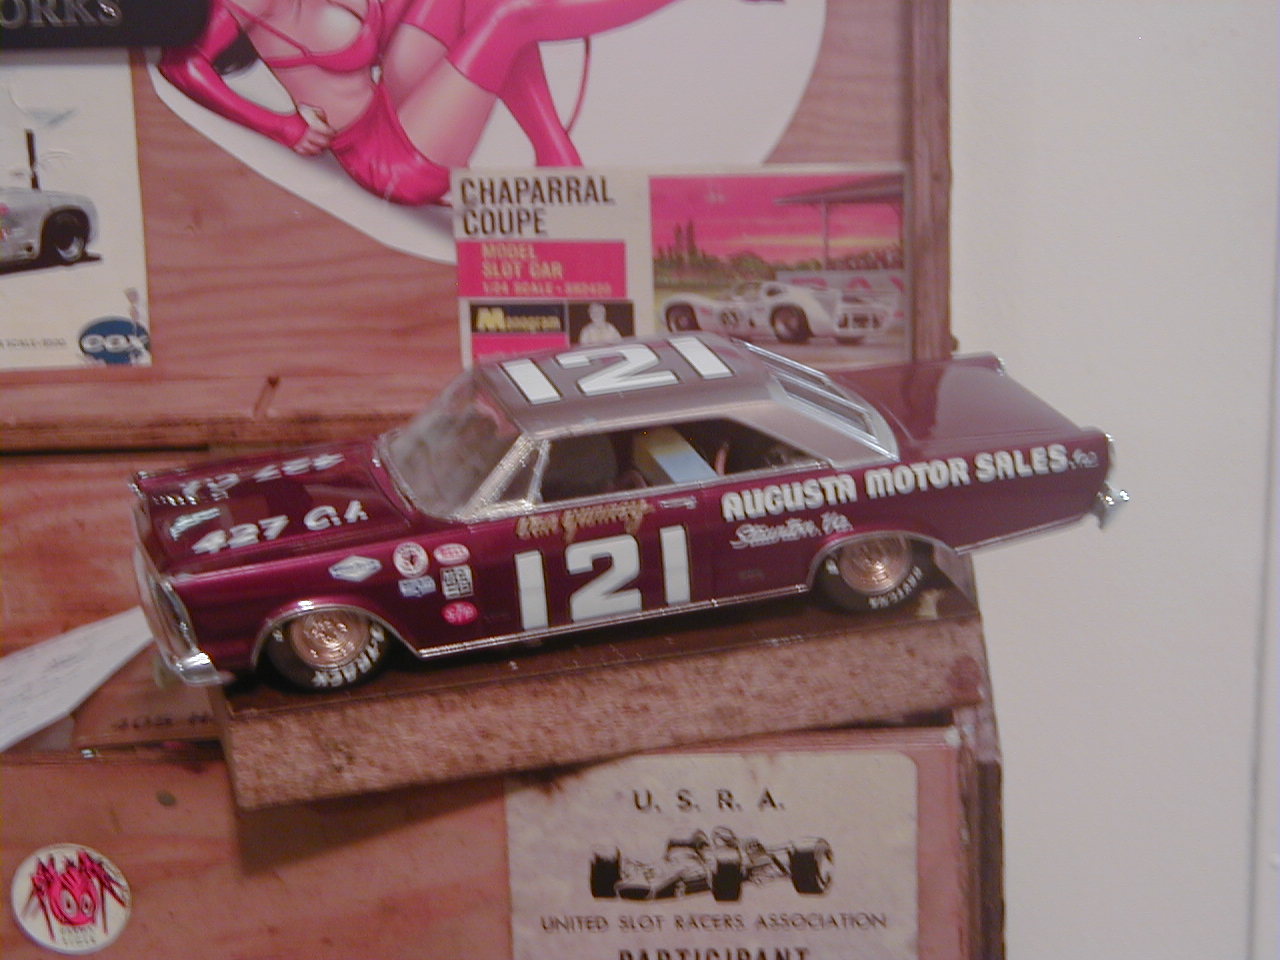
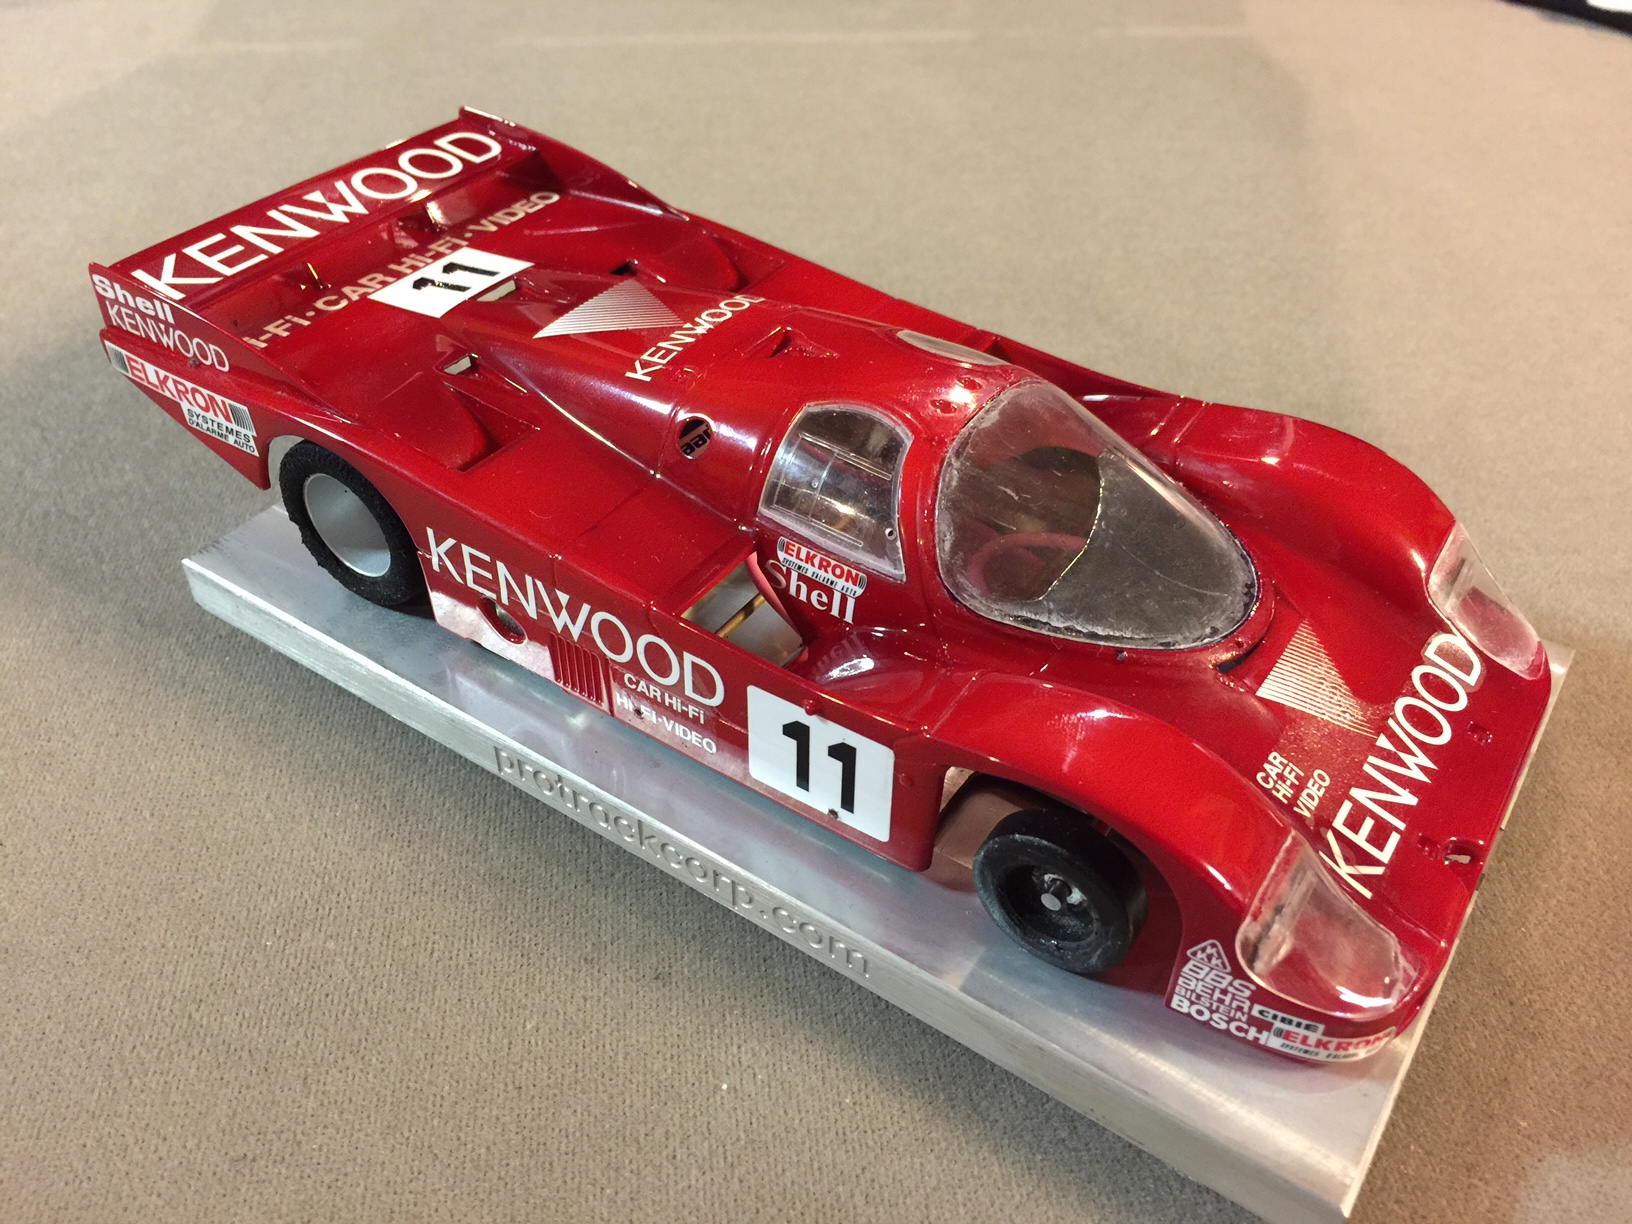
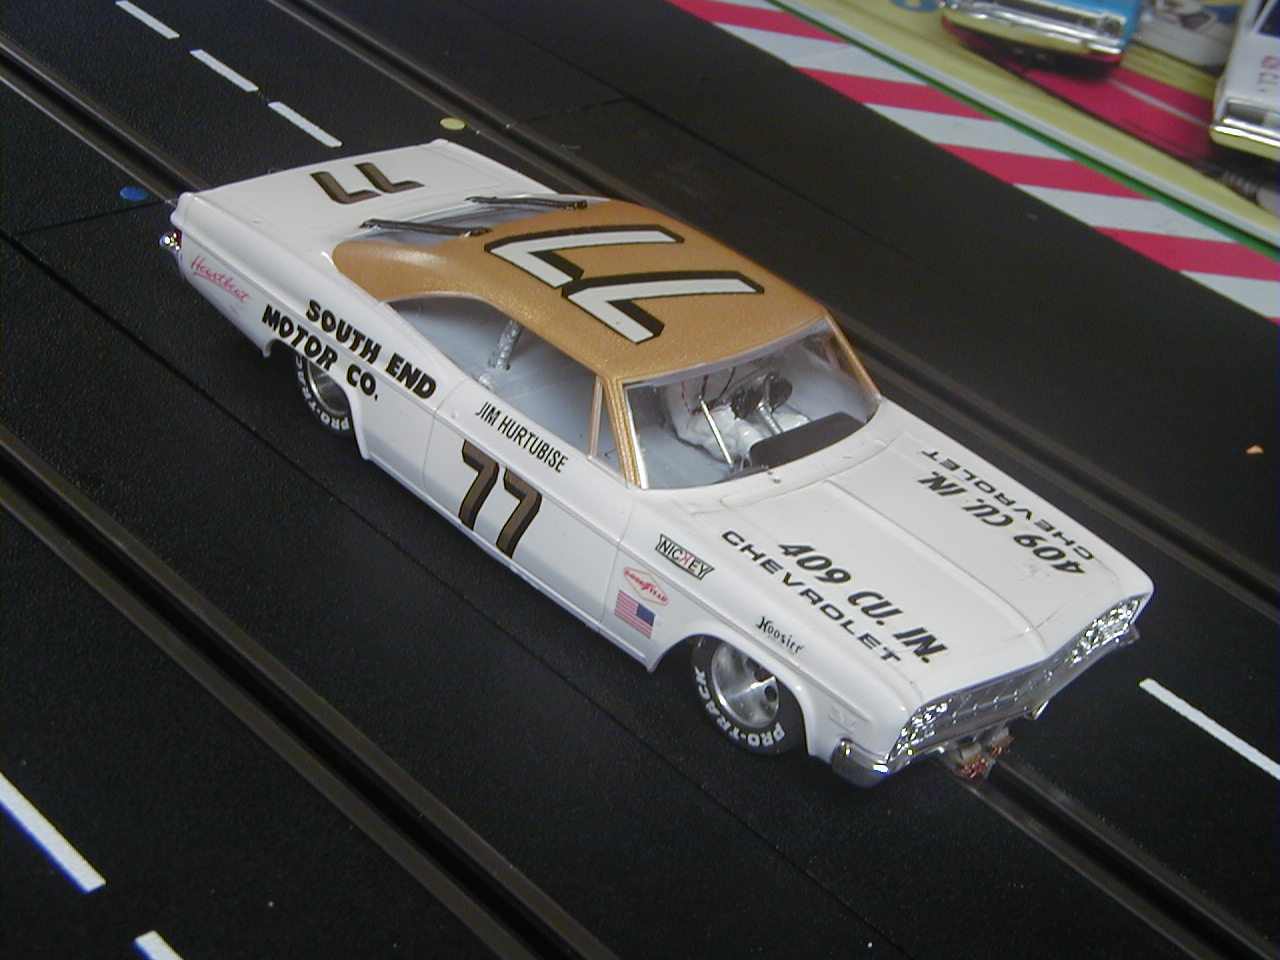
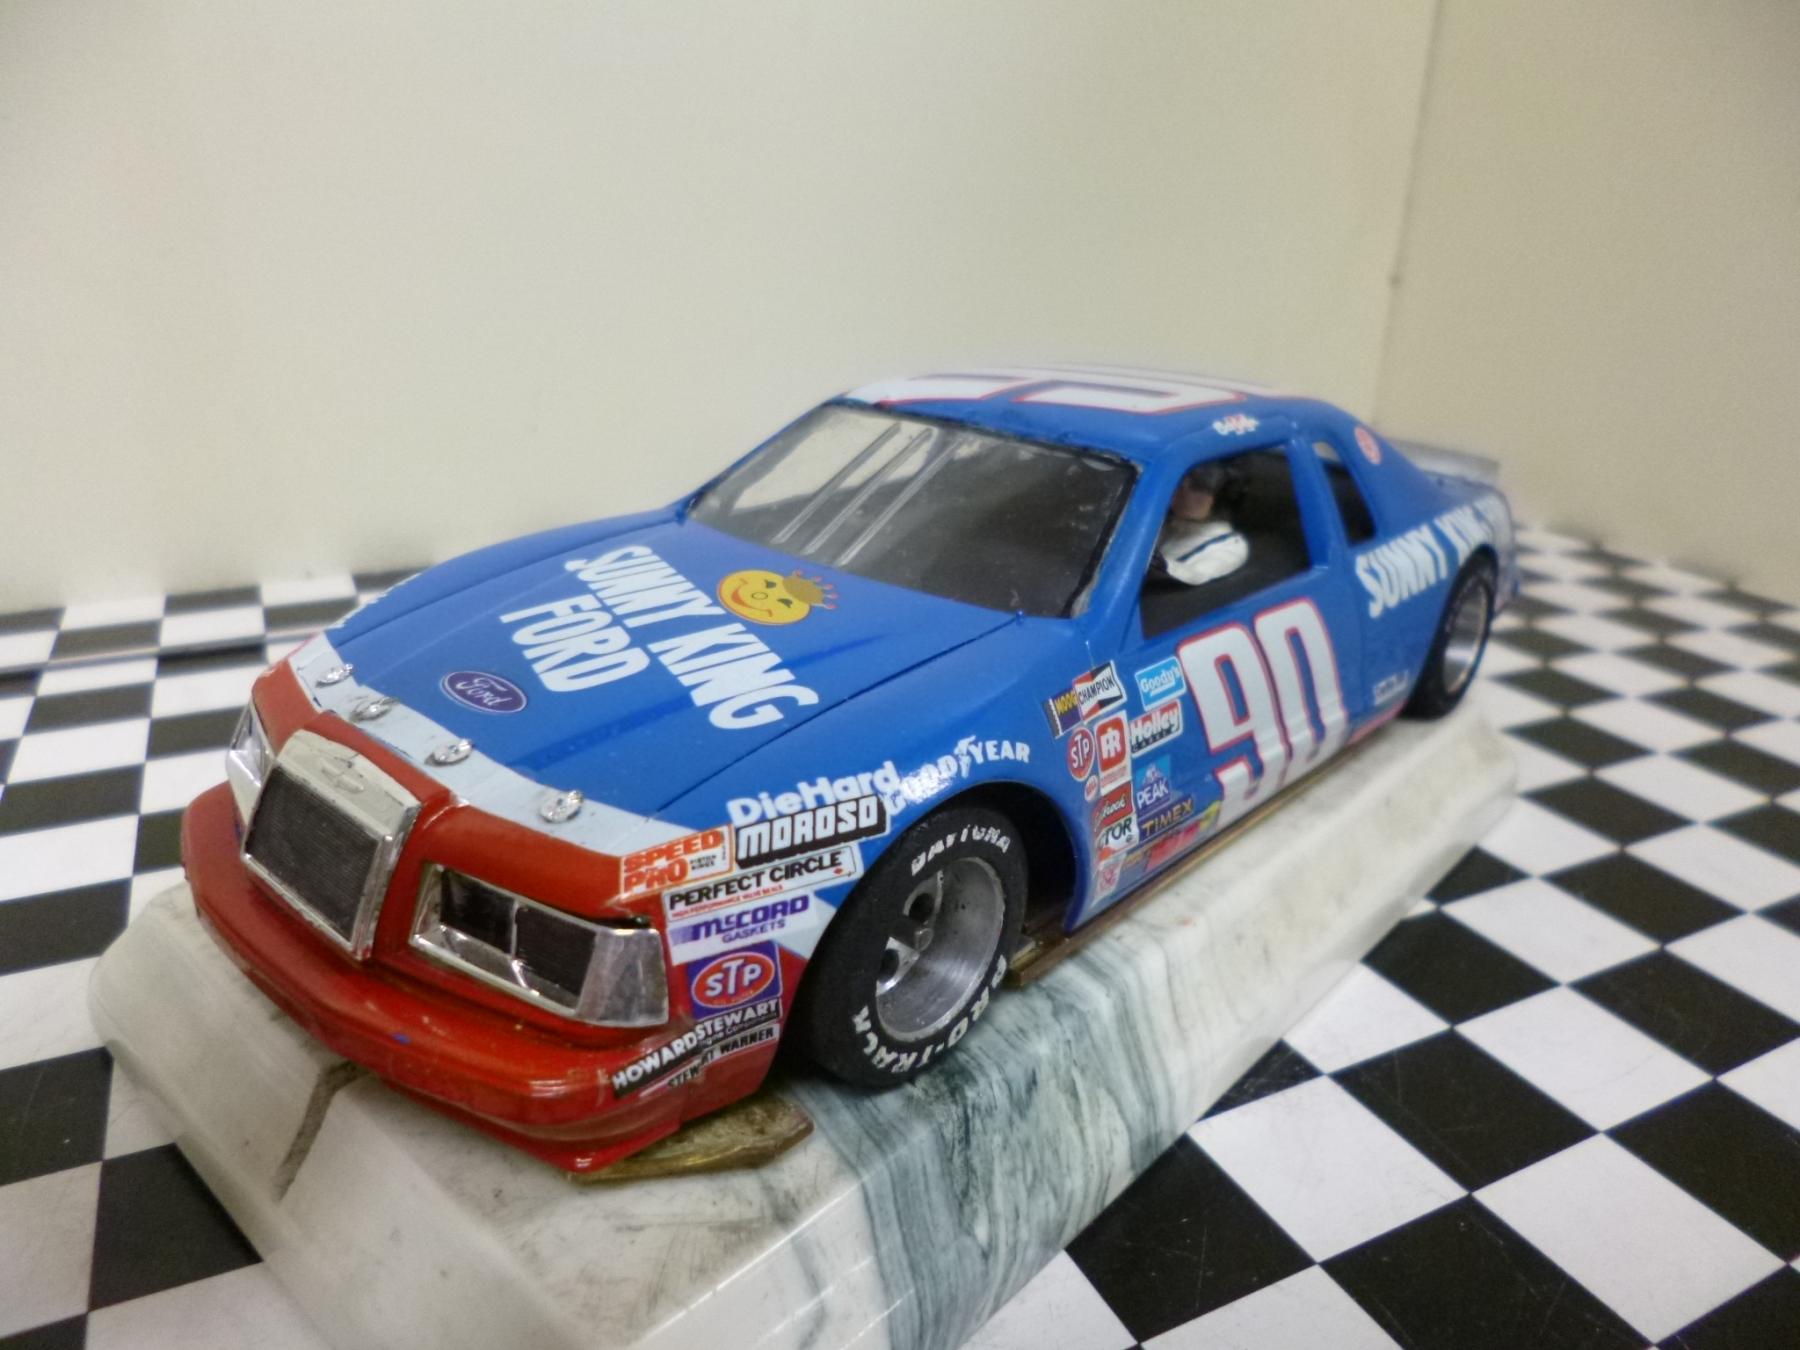
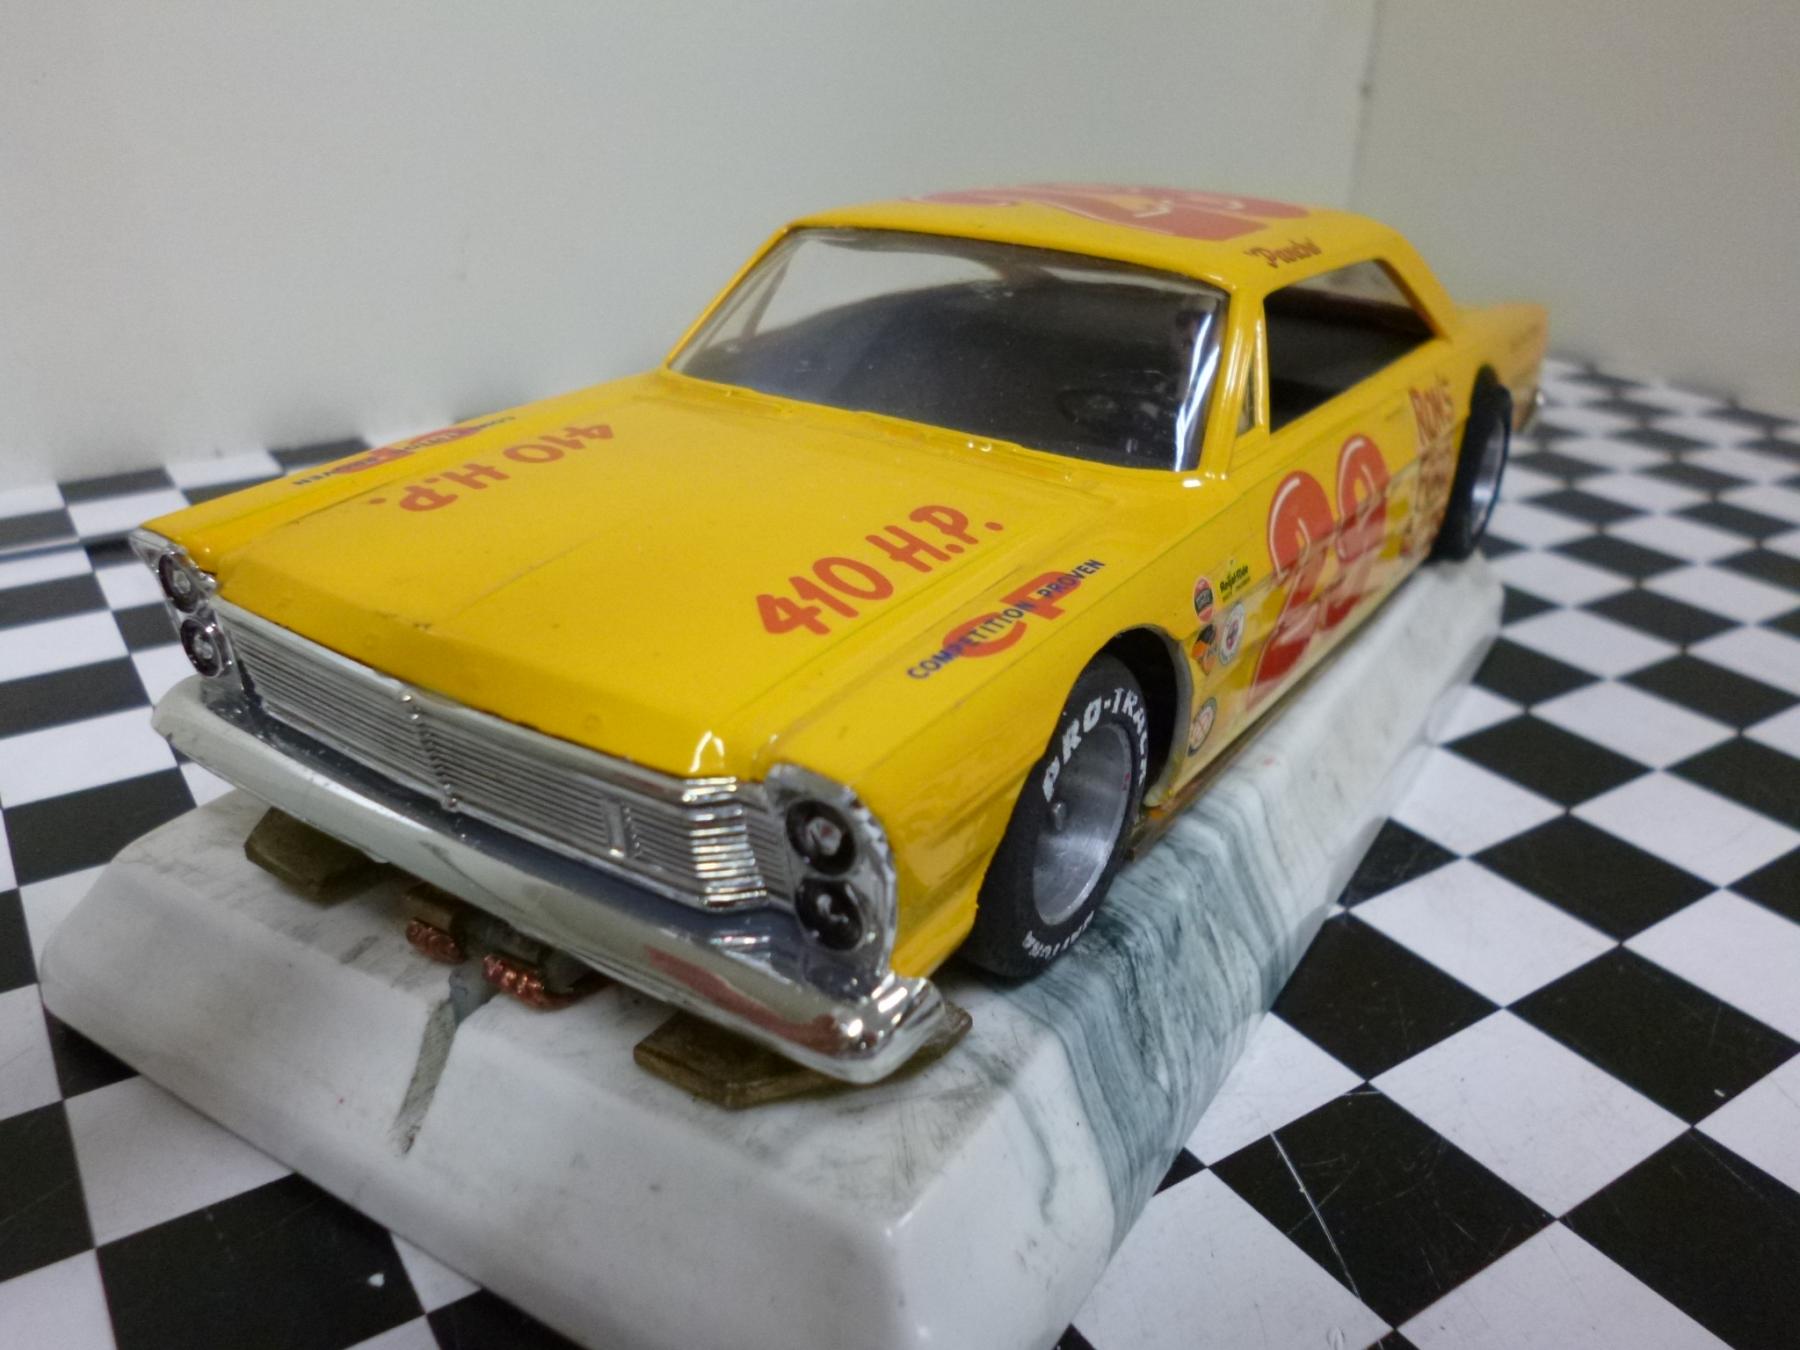
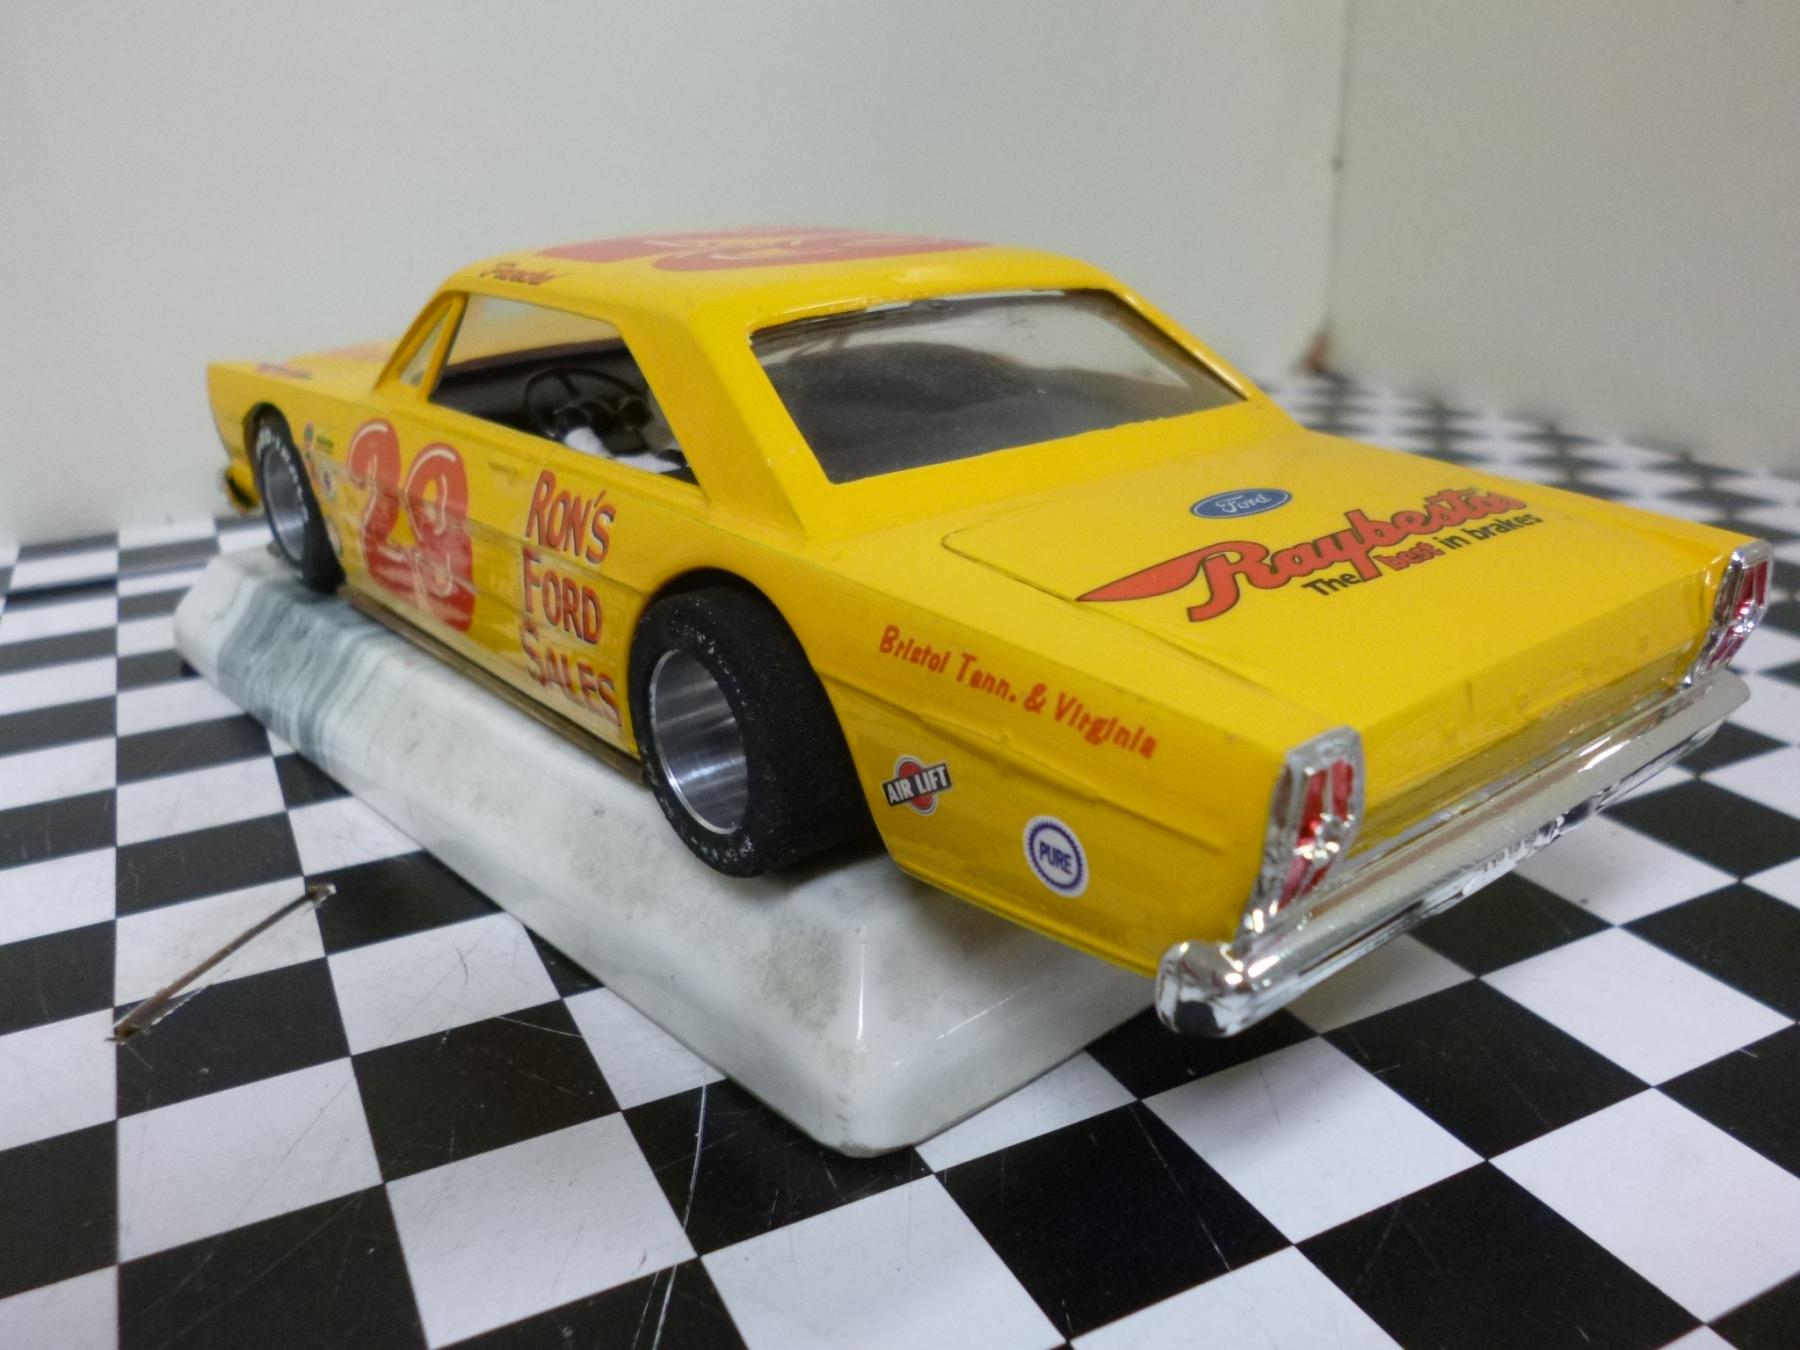
For quite some time, I have been running in the middle of the pack in our ProTrack classes using what has been described above as Stage 1 tuning (not using the floating pans). In an attempt to improve performance, I set up a ProTrack chassis using James suggested configuration. My conclusion is that Stage 2 tuning is the way to go. The car is easier to drive and noticeably faster than with the Stage 1 configuration. I was so inspired by the improved performance that I prepared two new bodies. Below are images of my 1986 Thunderbird (for our ProTrack NASCAR class) and a 1965 Ford, donated by Ron for our Vintage ProTrack class.

Below is the text of James article.
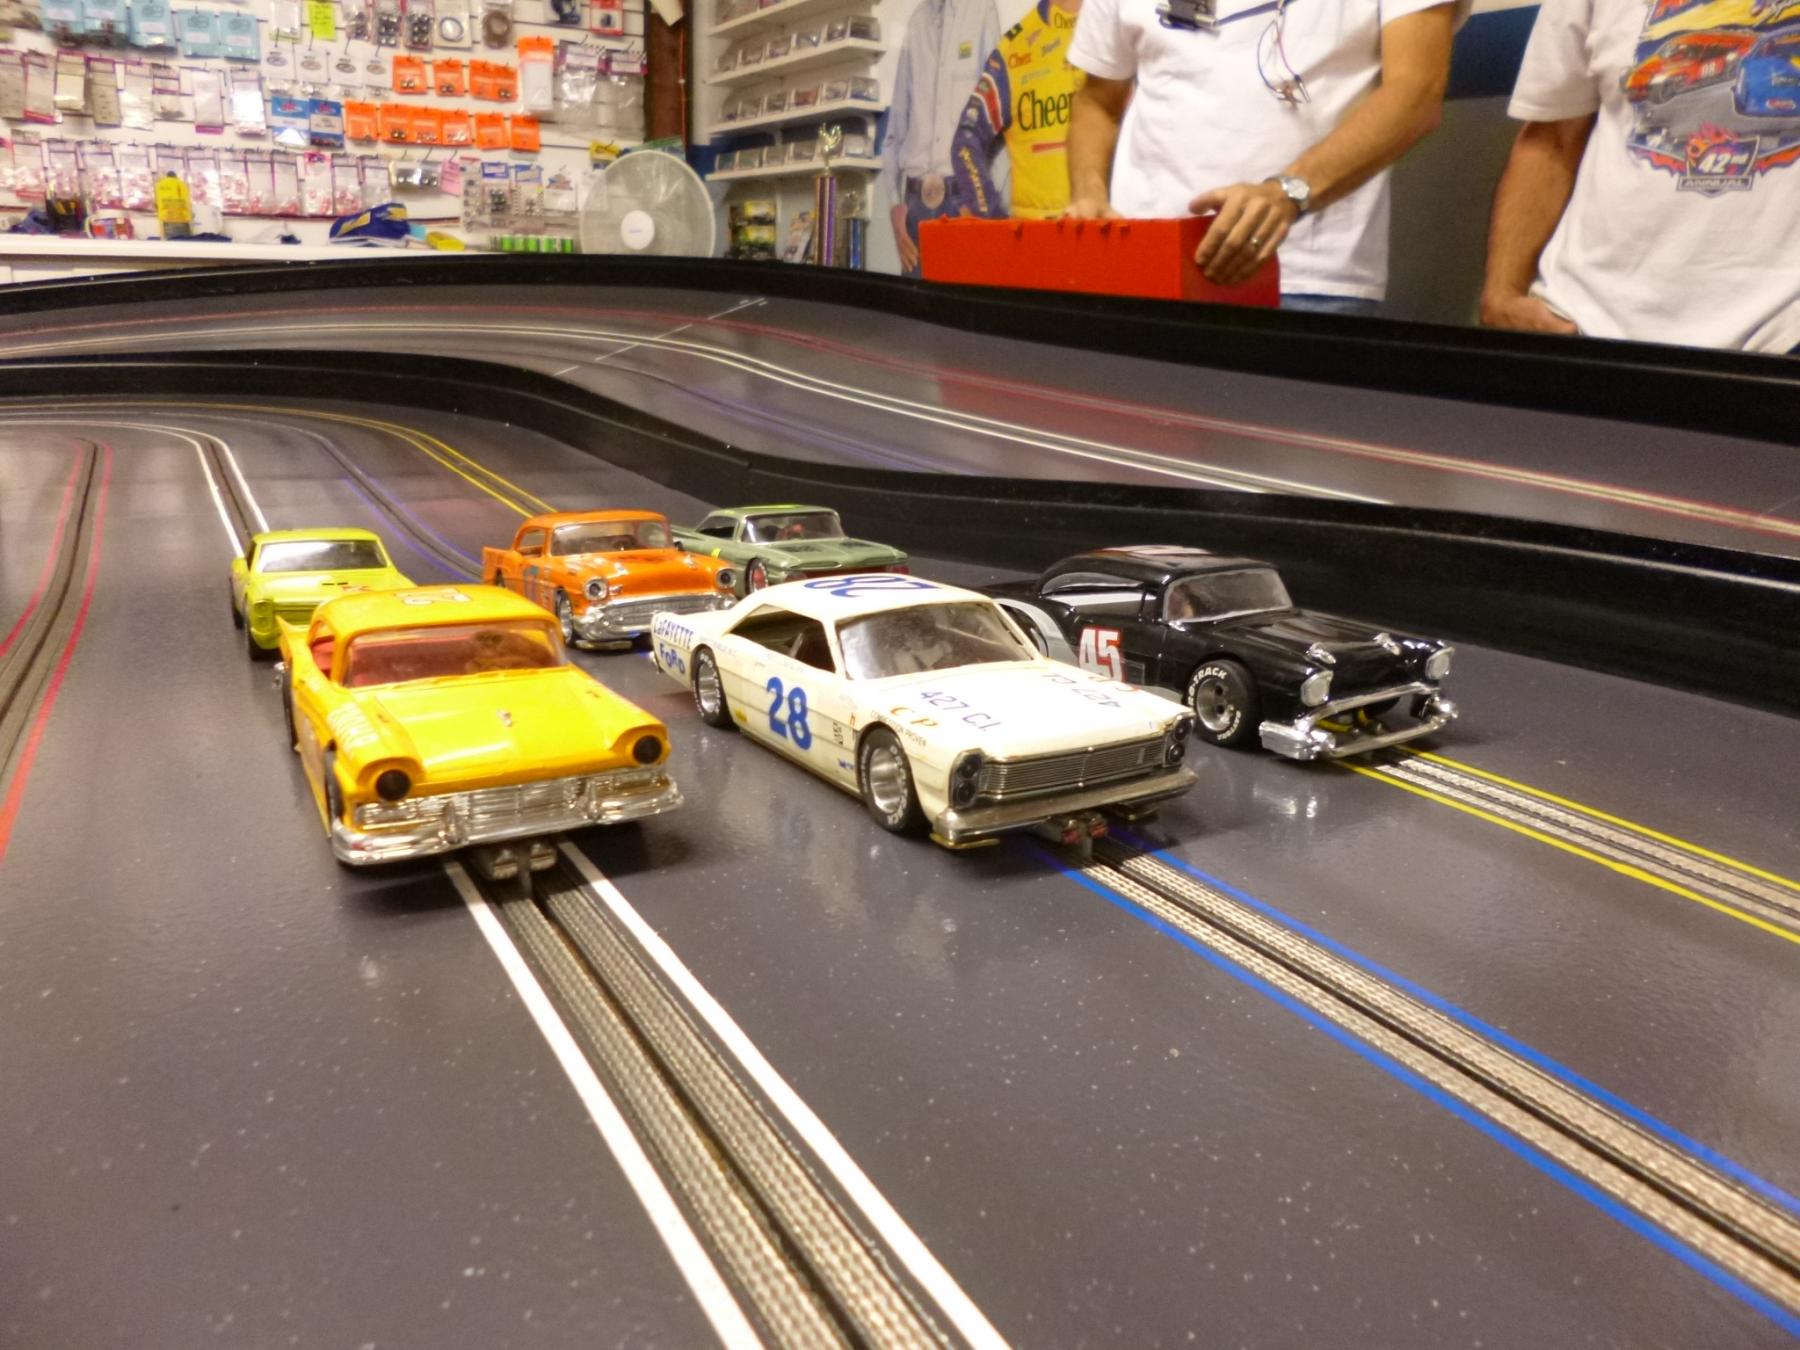
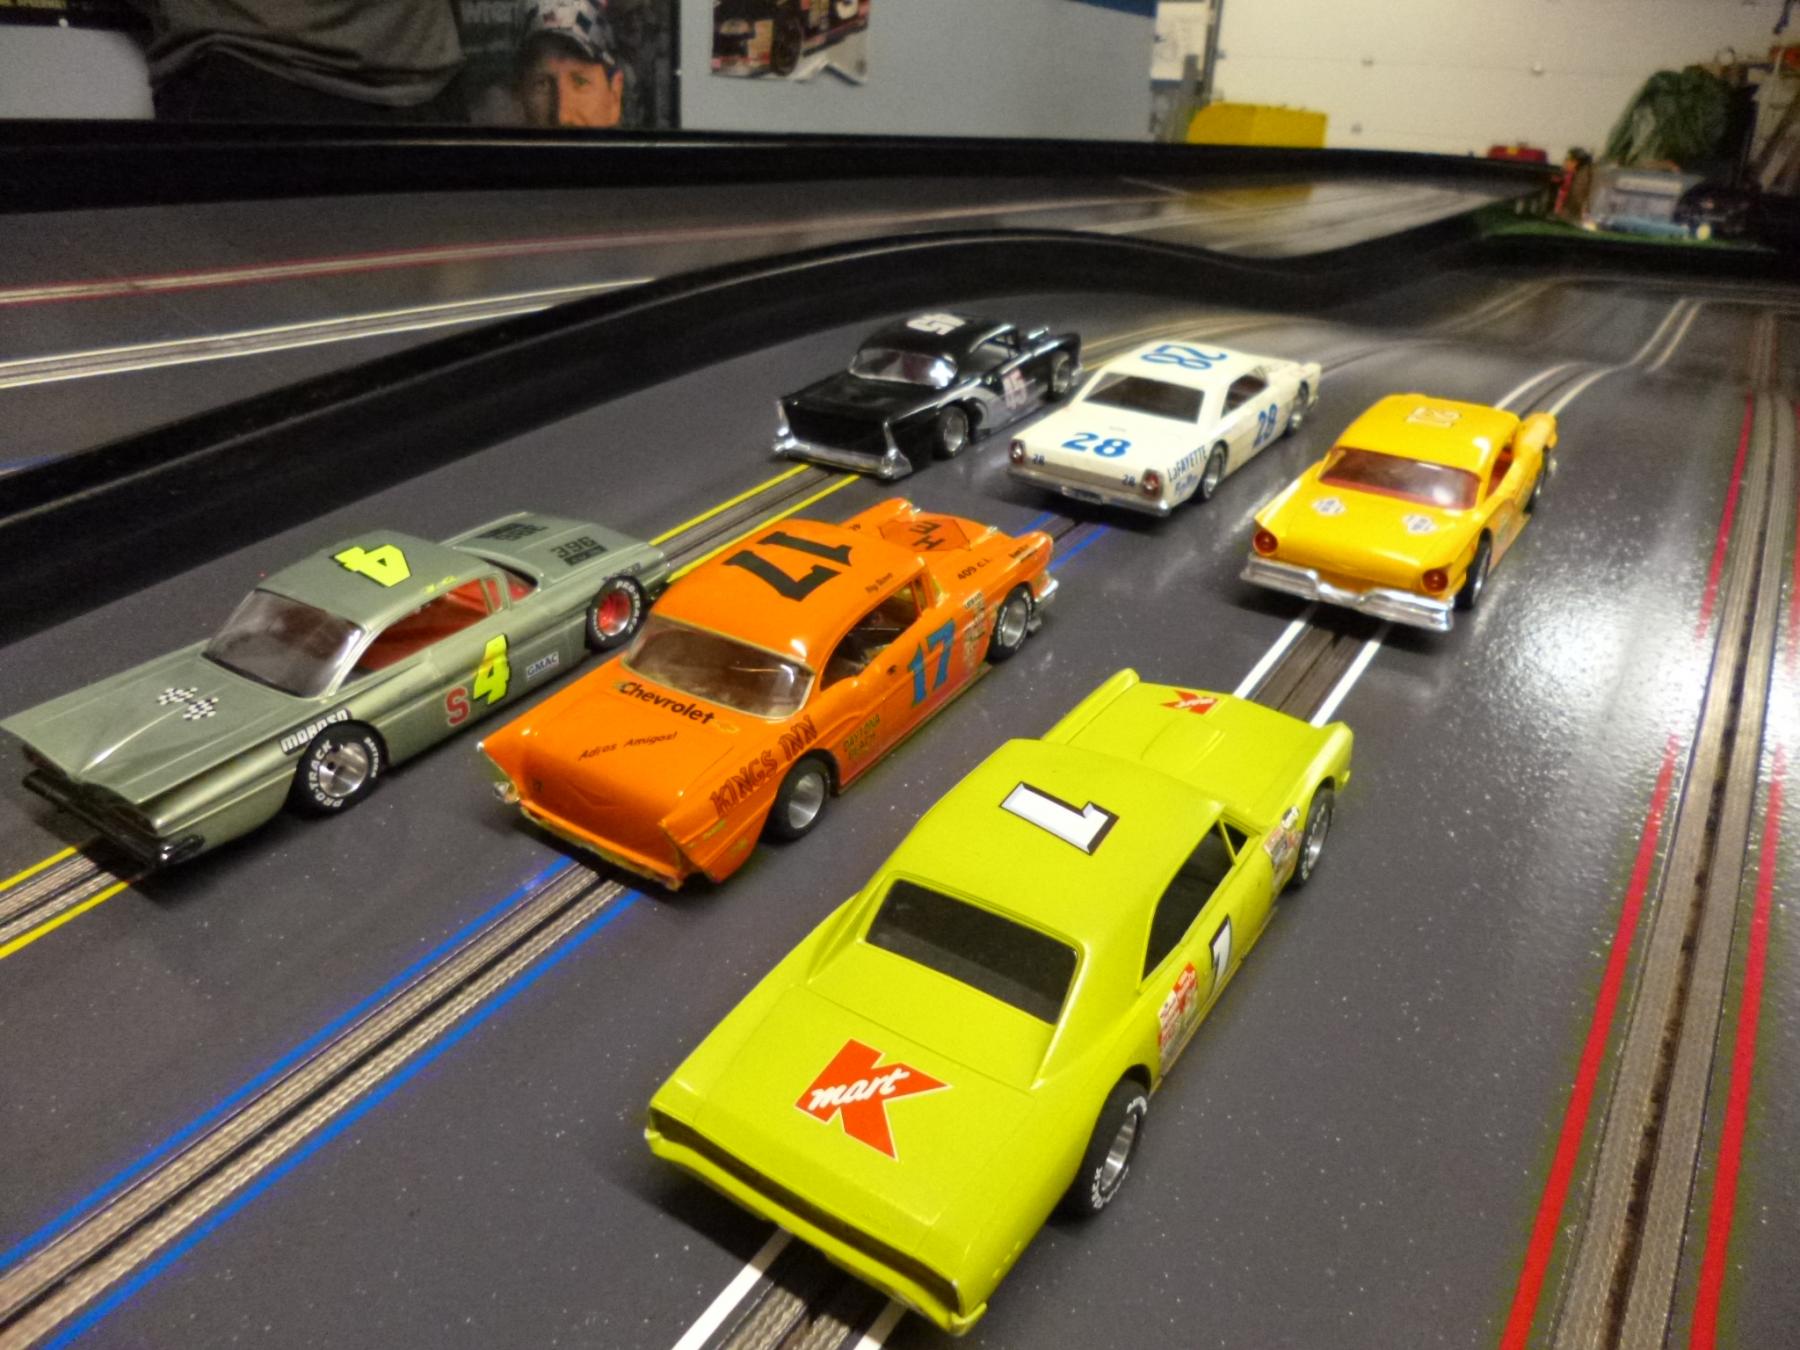
Monday night racing at STR was "Dirt Devil" and Vintage ProTrack classes. I don't have photos of the race, but my ProTrack car won its class... again (Editors note: below are two images of a recent ProTrack grid). This car works really well and I decided to share all of its little secrets with the world to help out my fellow racers and perhaps level the playing field.
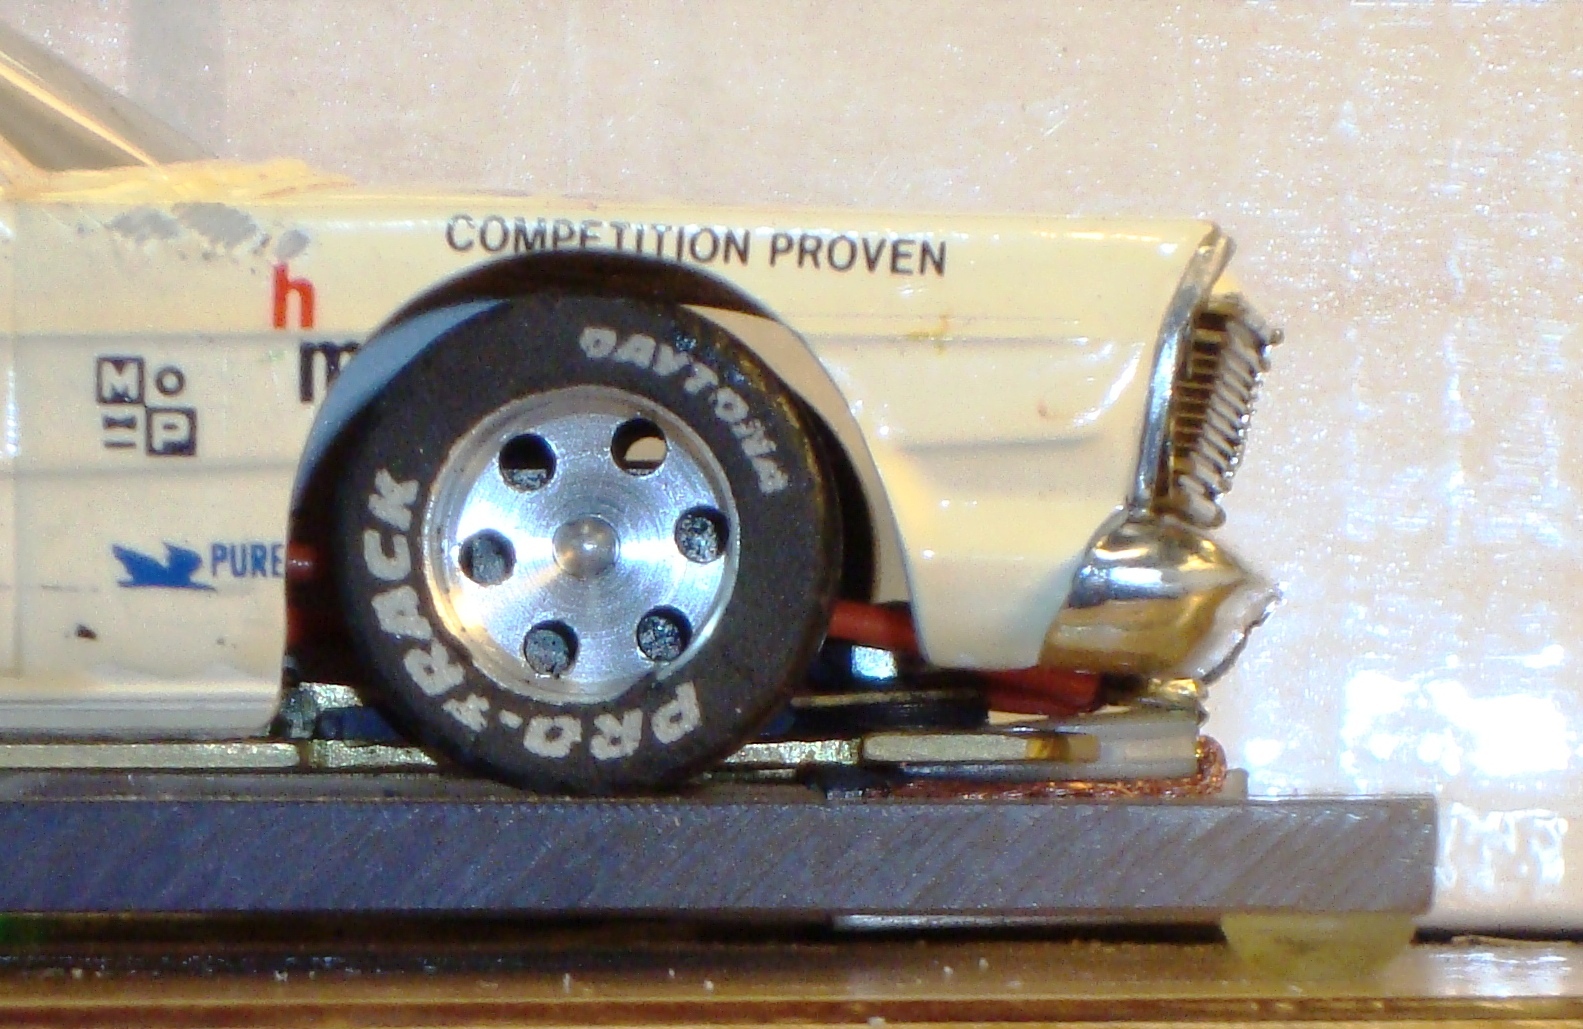
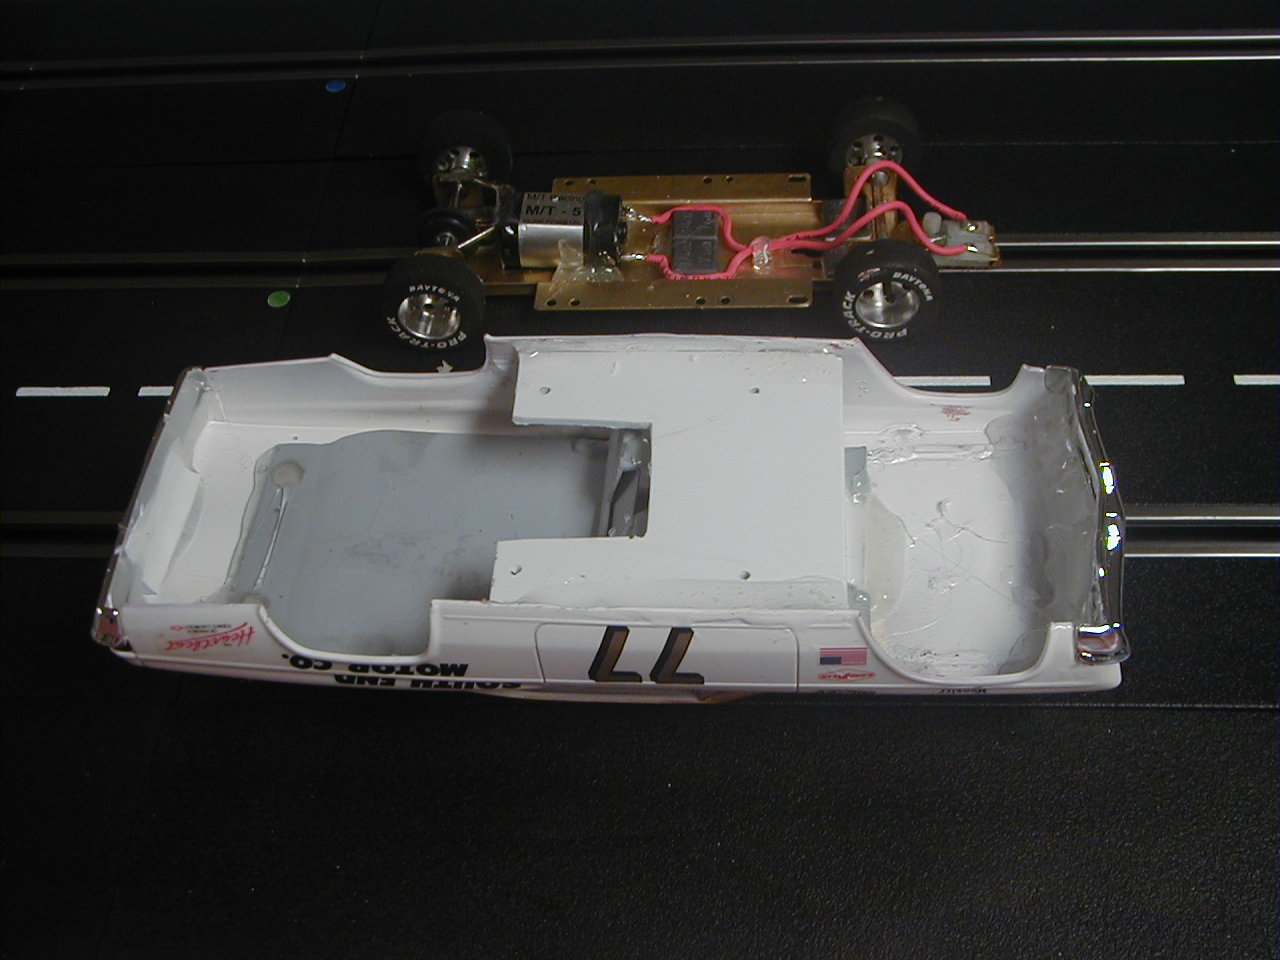
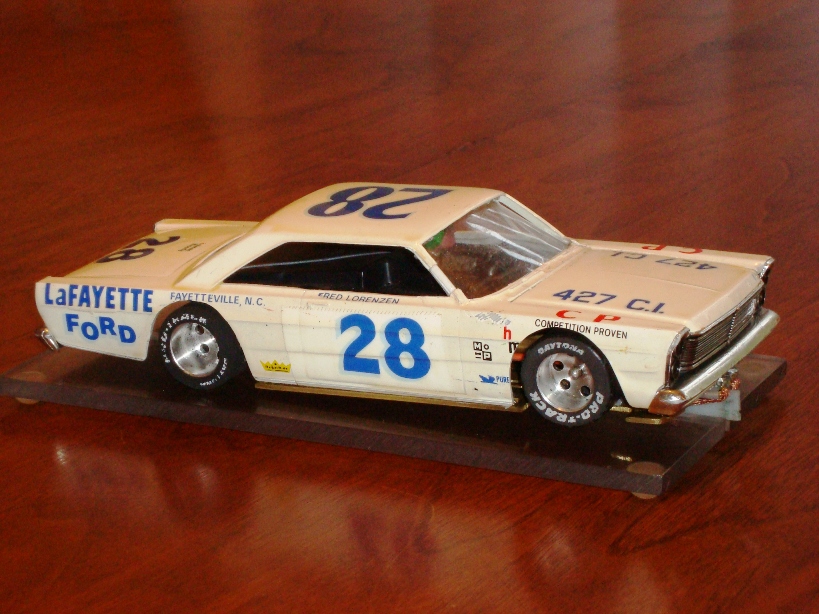
Below is an image of my 1965 Ford. It's an old body built by Ron with a broken A-pillar and yellowing clear-coat. Aside from that, it's a pretty cool body that fits the class of 50s & 60s intermediate and full-sized American racers. (Editors Note: Note that the body sit on the static pans. As explained later it is mounted using body buttons which allow it to float)
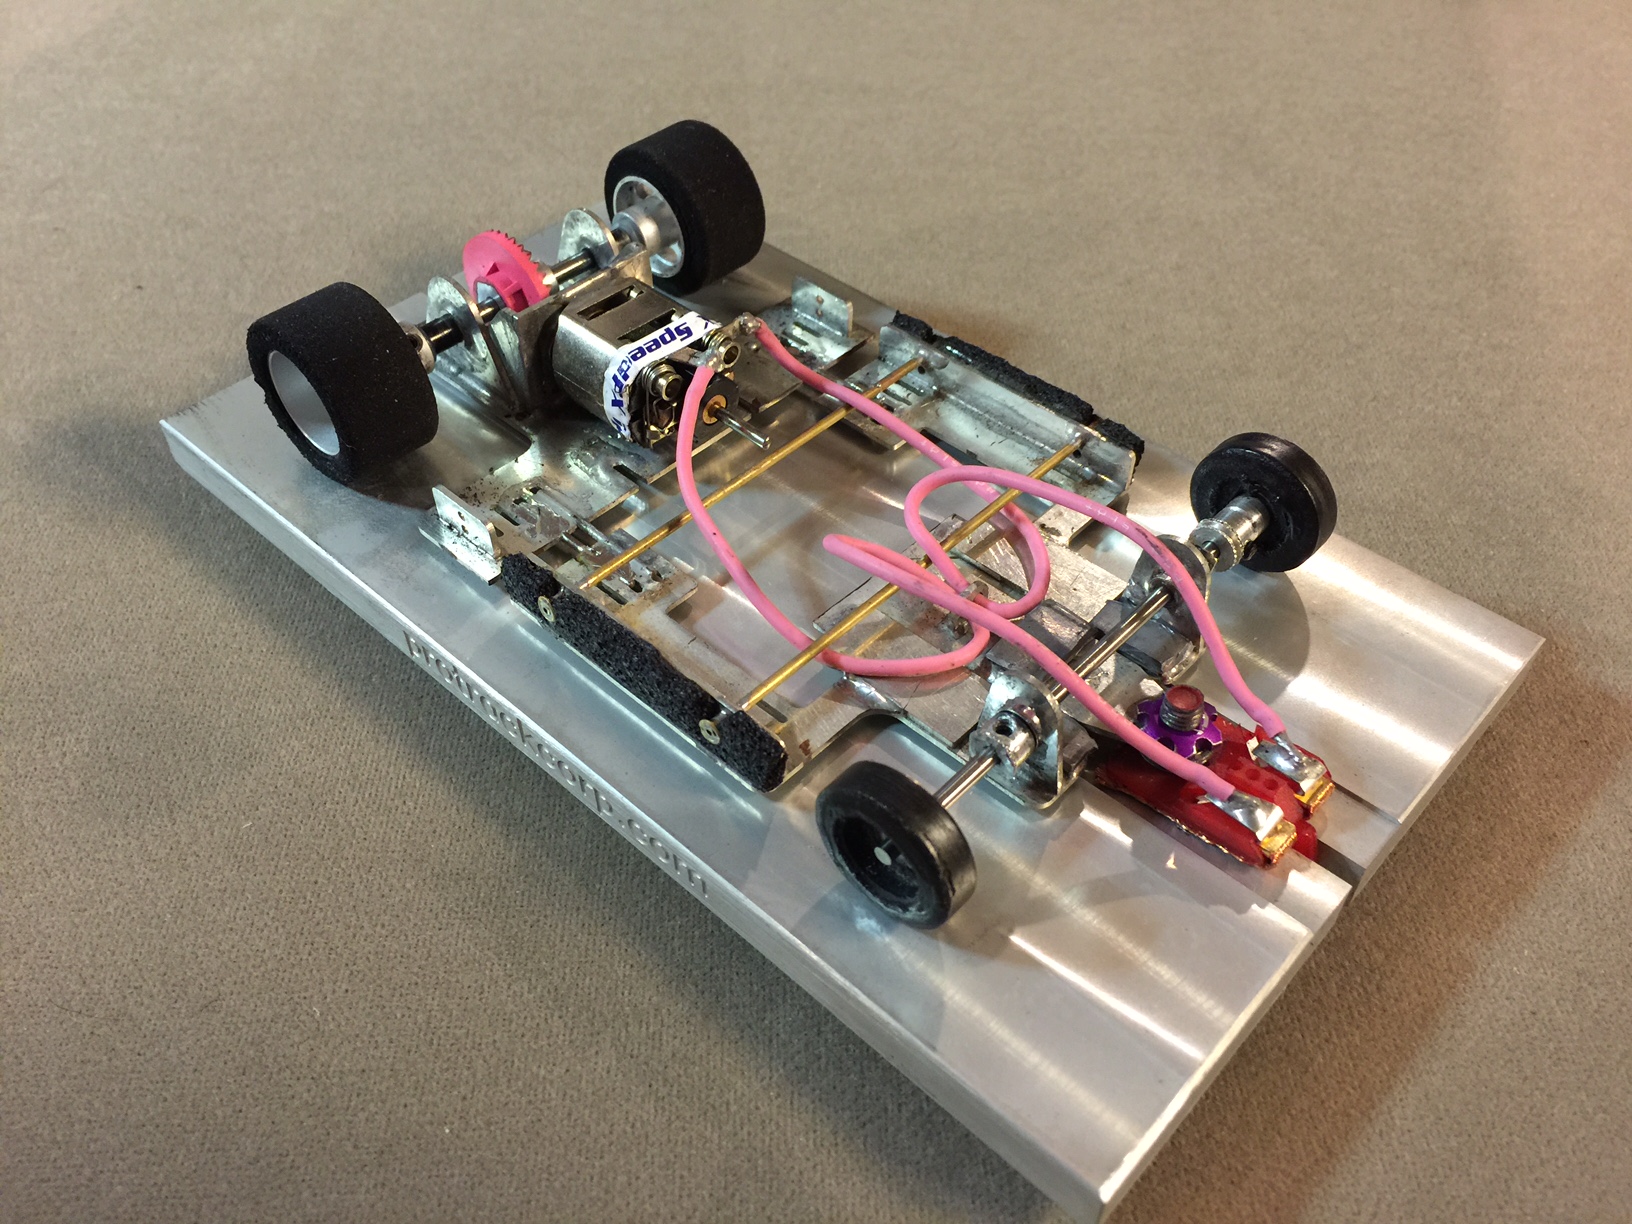
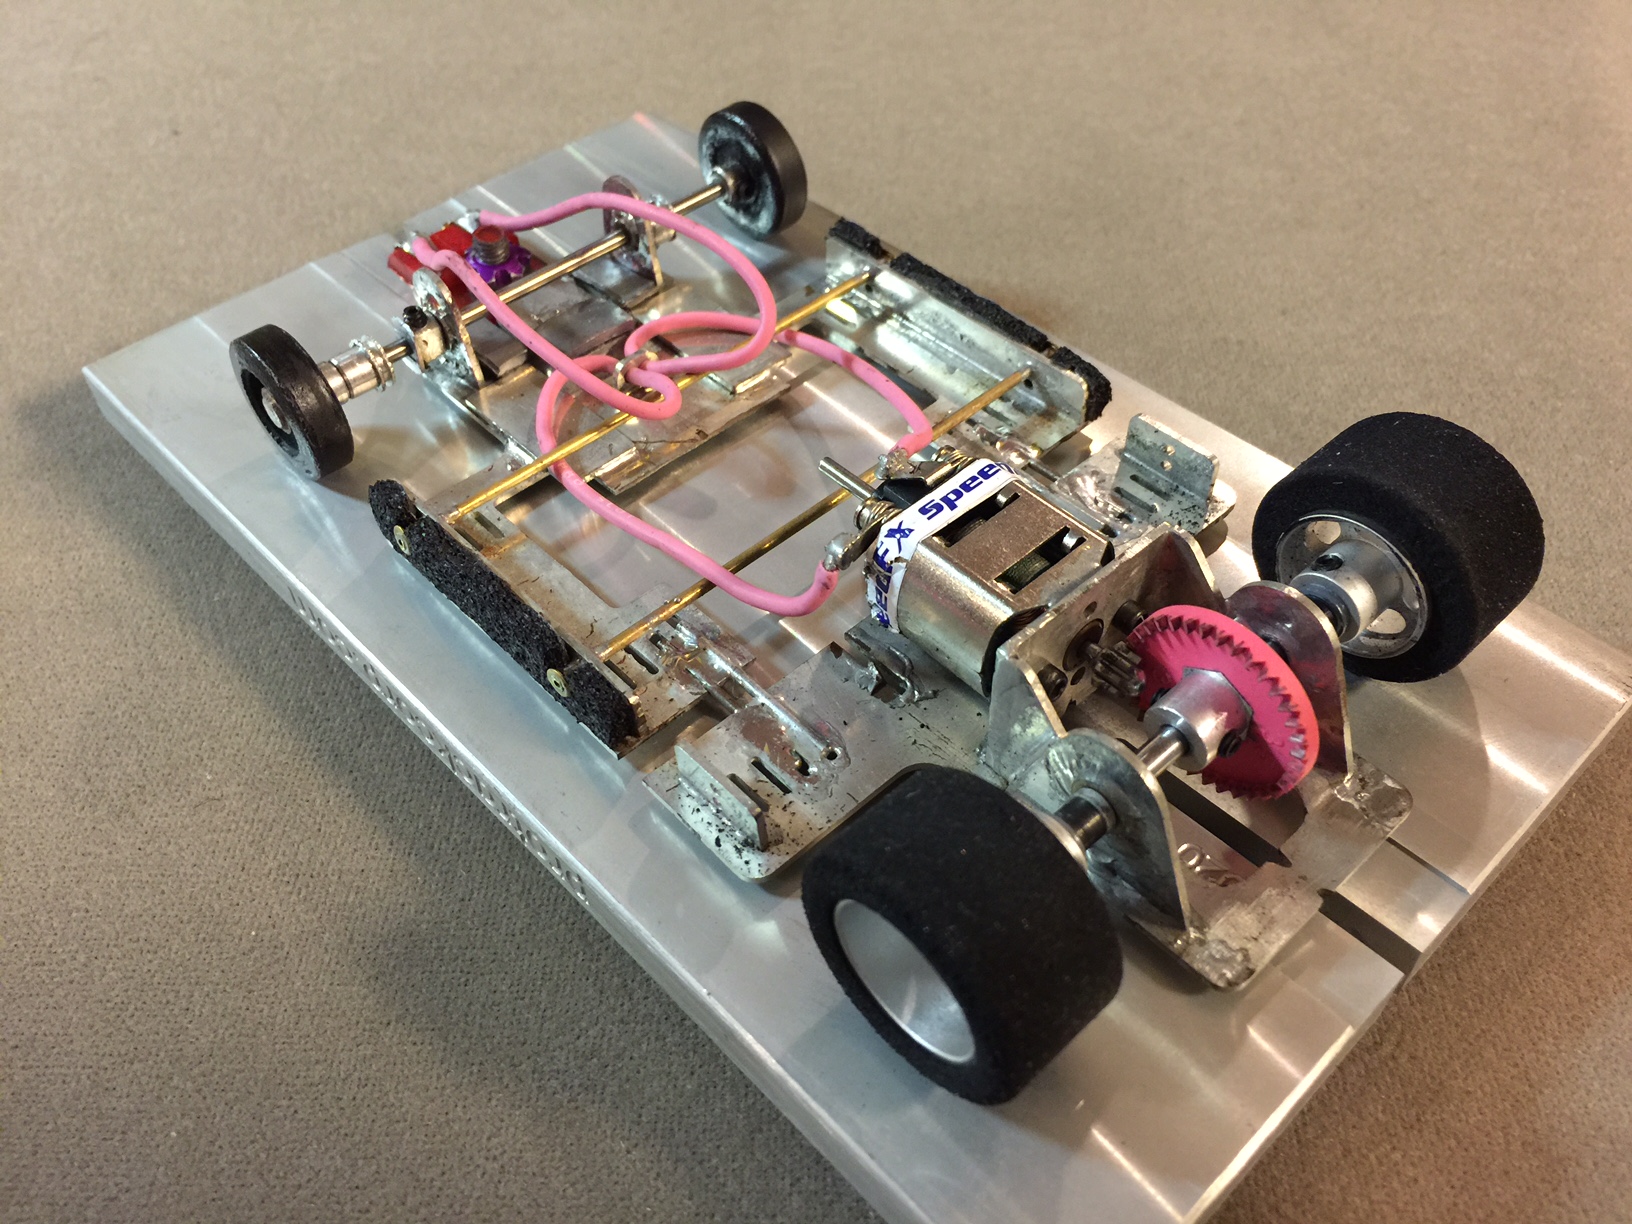
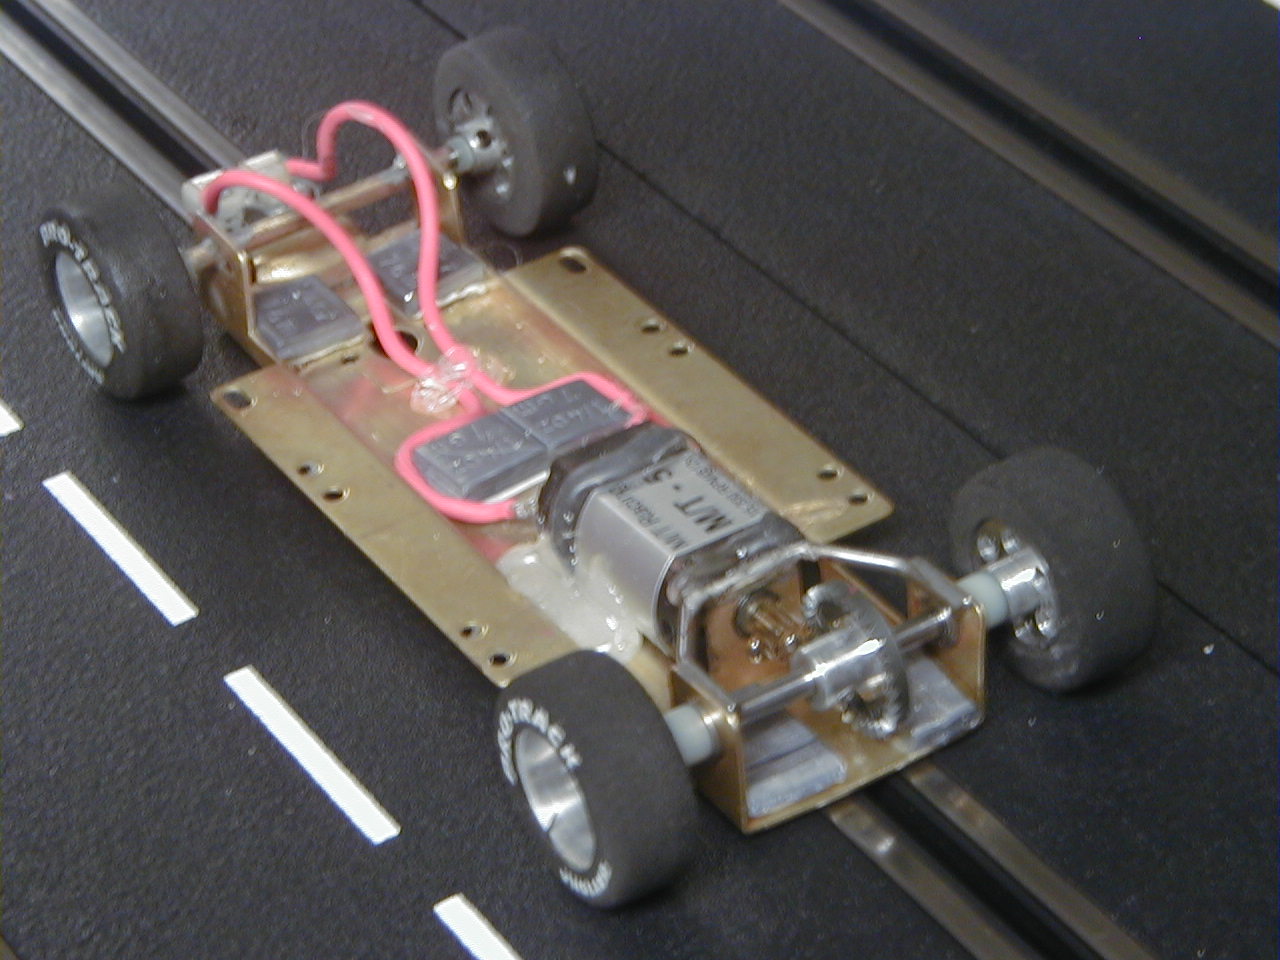
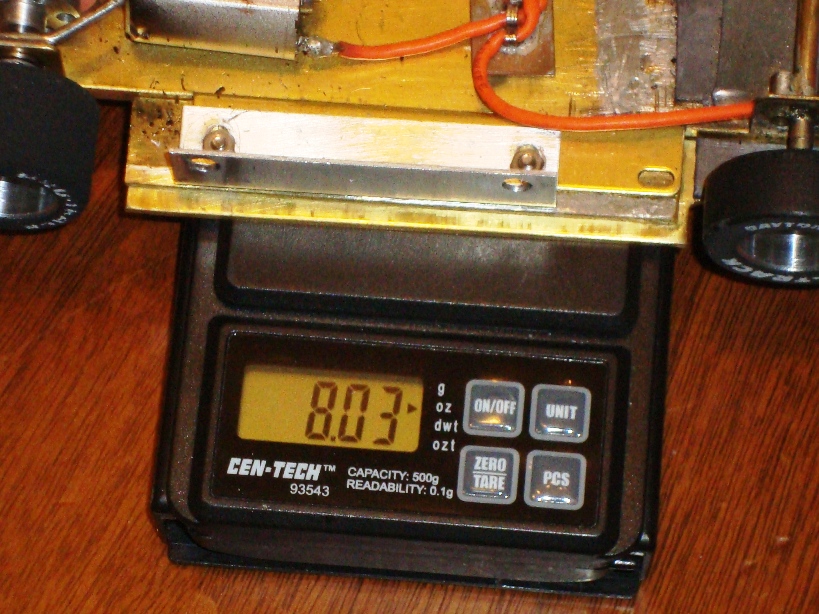
The complete chassis, minus the body weighs-in at a svelte 1/2 pound (see image below)
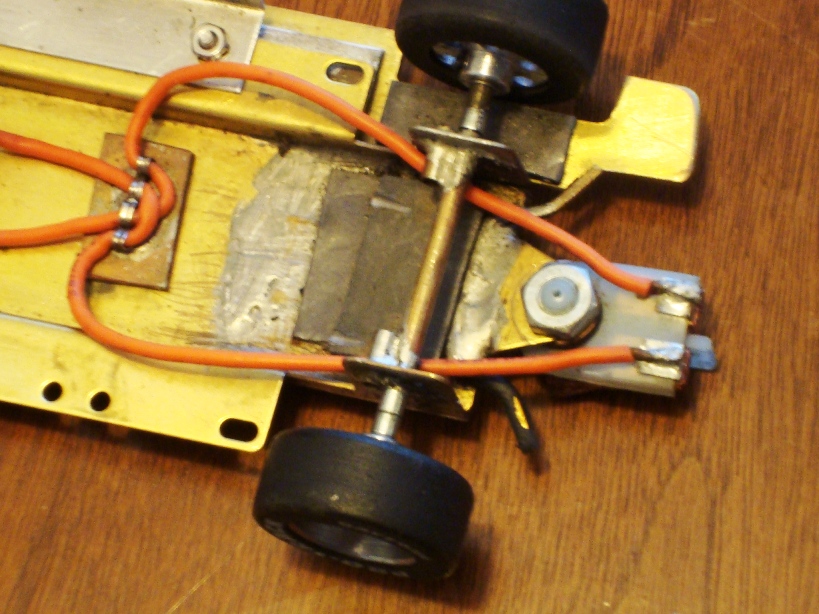
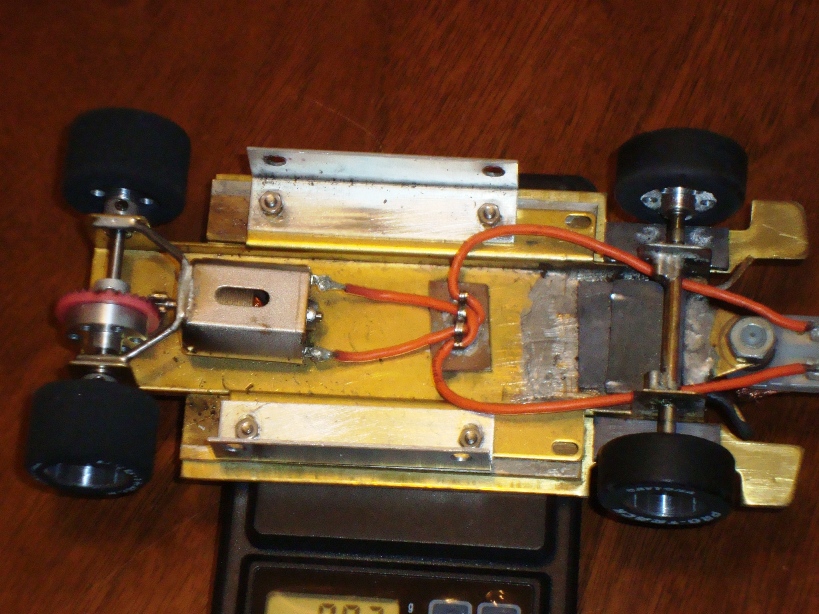
Shown below is a full shot of the chassis which illustrates the home-made gear-backer, made from a cut down Protrack "Big-wheel". The car is geared 6:32 (5.33 to one) vs the 7:35 (5.0 to one) that most people run. The lead wires bend through a double ear-ring backer bracket which provides centering for the guider.
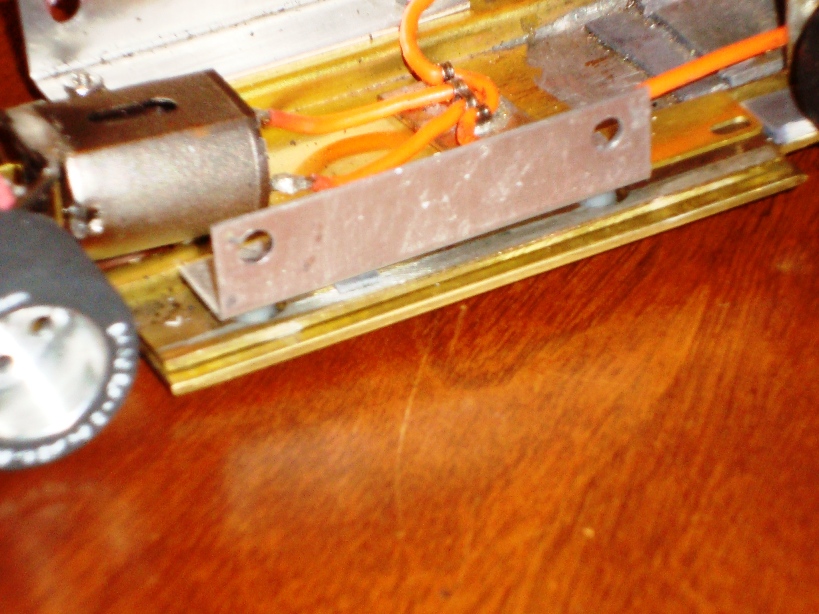
Below is a close-up of the edge of the side-pan. The holes in the body-bracket were enlarged to allow additional body movement. More about that later.
Below is an image of the bottom of the chassis. The side pans are solidly mounted to the chassis using flat-head 2:56 hex drive machine screws, just 'cause I think they are cooler than Phillips or slotted screws. Note the sexy shape of the side-pans, cut freehand with an angle-grinder.
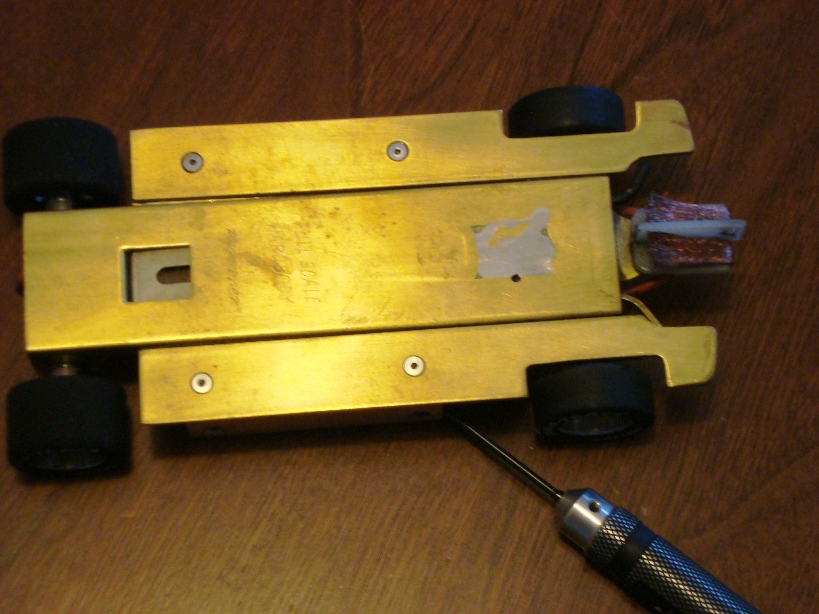
Below is an image of the side-pan removed.
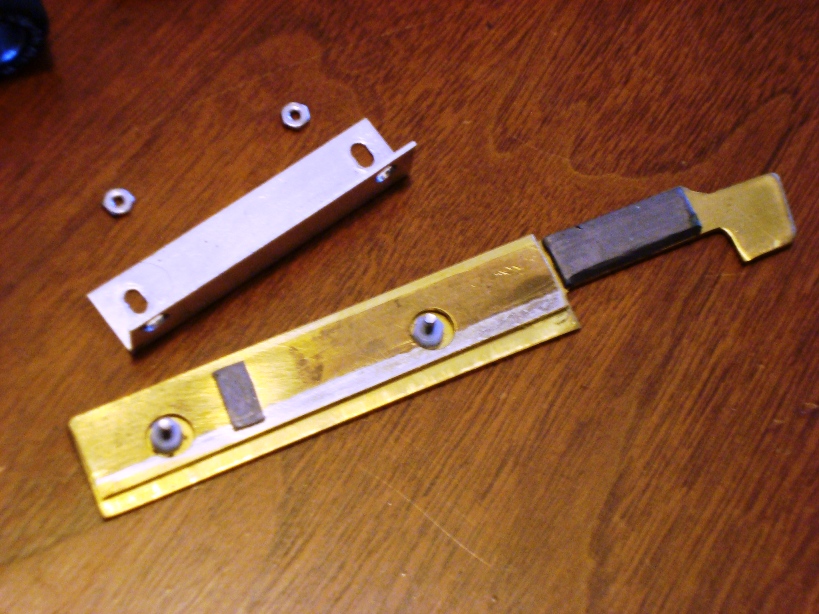
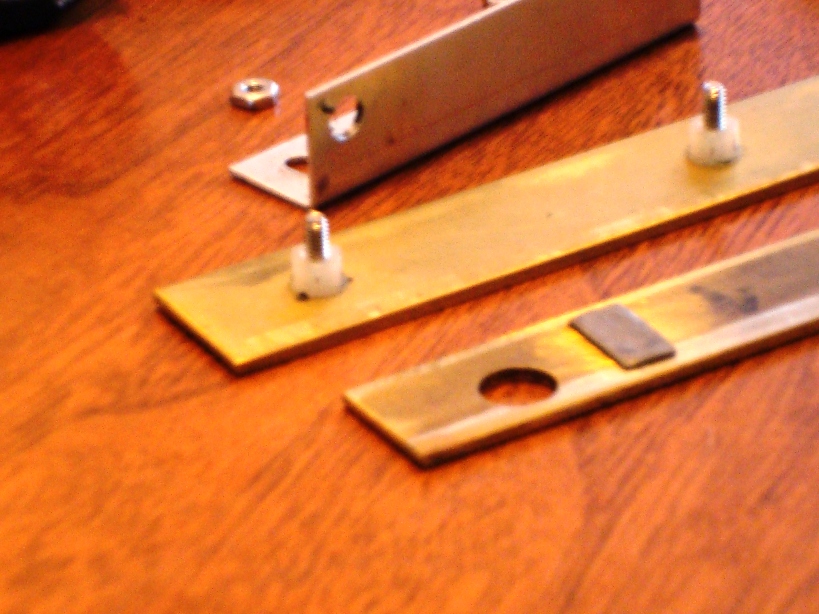
All the brass is 1/16th (.062) thick. The piece with the holes rests on the side pan and has limited movement. The little bit of lead on the moving pan is to restrict its vertical movement (Editors note: James suggests that the moving pan be set up to slide side to side about .04 inches. My moving pans slide a bit more).
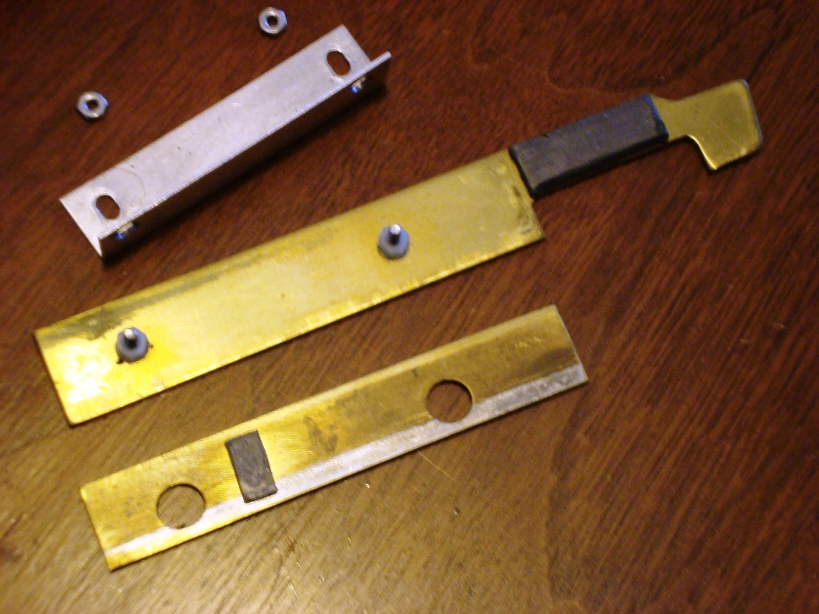
The white retaining nuts on the machine screws are nylon and help hold the fiddly-bits together during assembly. They are also nearly the right size to "spacer" the pan beneath the chassis flange. I think I had to file them down just a touch. I have many more of these, if any of the local racers would like a set, just let me know.
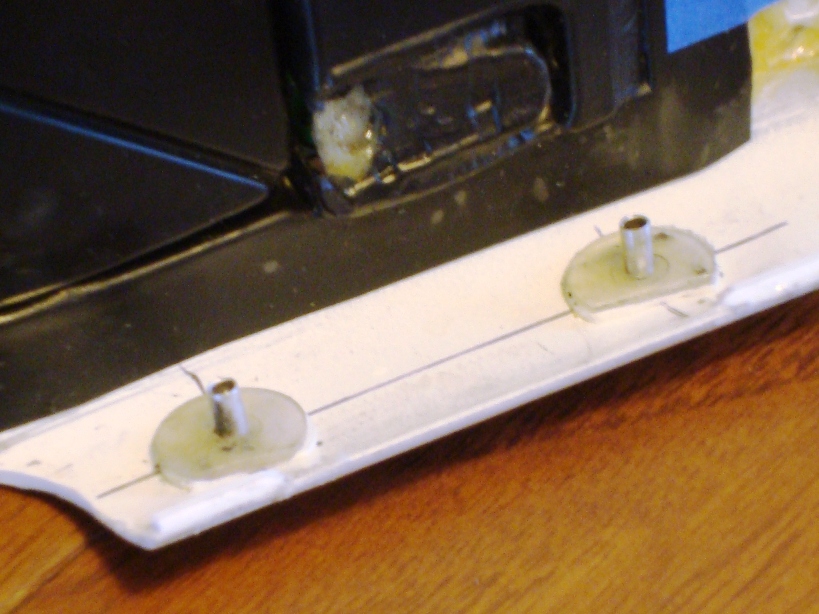
Below is a shot of the body-mount buttons inside the car body. I had to sleeve the posts with aluminum tubing to reduce the body movement, because I enlarged the holes too much in the mounting brackets.
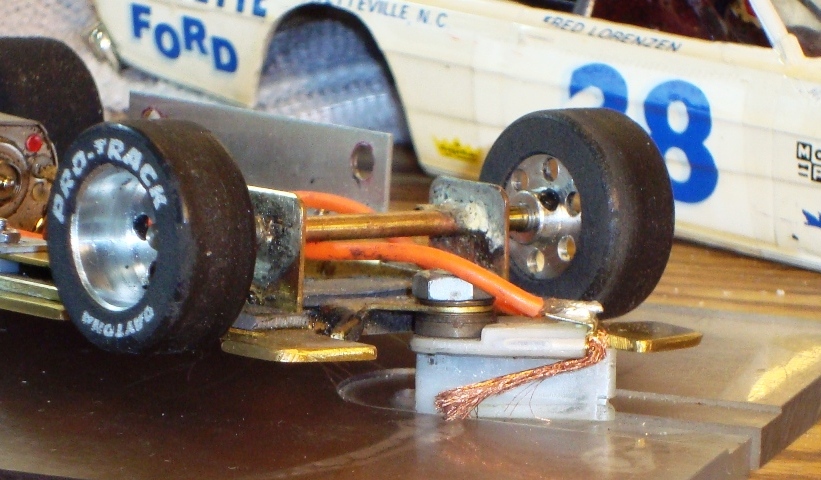
Finally, below is a shot of the front of the chassis detailing the lead on the nose and the guider-stops, one of which seems to still have some torn-up wire insulation on it. The little brass plate that the wire-loom is attached to is not fastened to the chassis. It just flops around in there.
