Jump to content


Photo

DIY wheel inserts


  • Please log in to reply
4 replies to this topic

#1 James Wendel

James Wendel

    Checkered Flag in Hand

  • Full Member
  • PipPipPipPipPipPip
  • 1,029 posts
  • Joined: 02-June 10
  • Gender:Male
  • Location:Roseburg, OR, USA

Posted 20 November 2015 - 02:38 AM

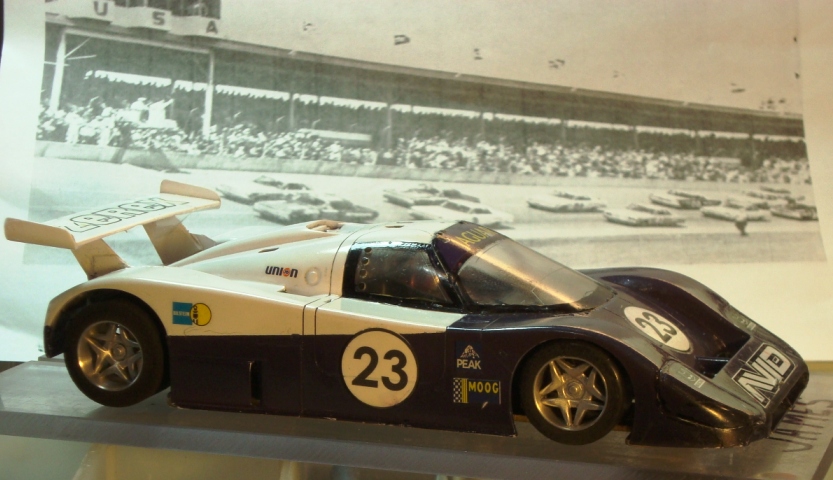
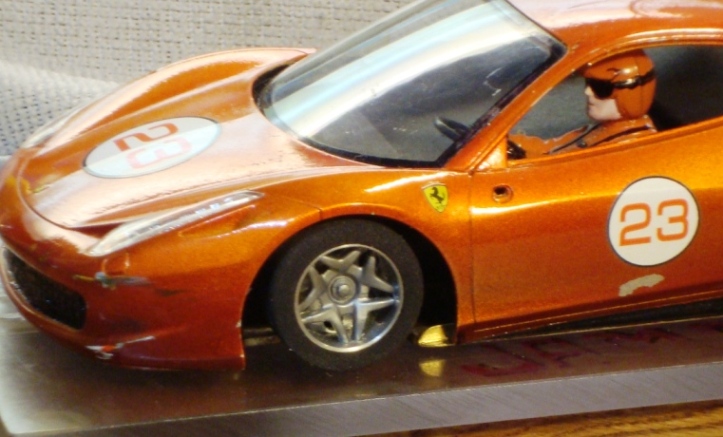
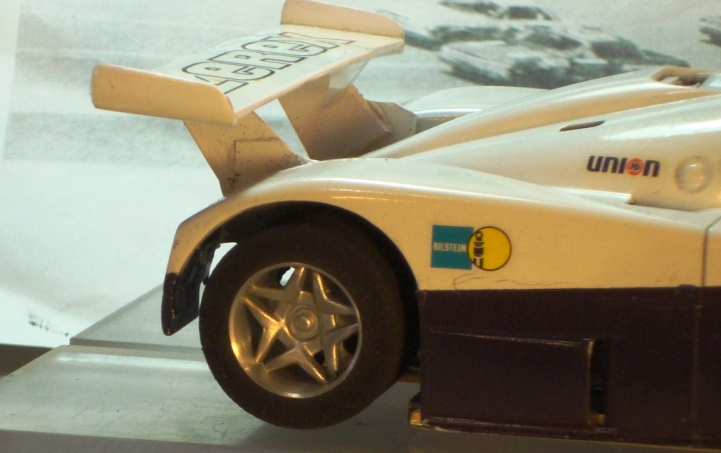
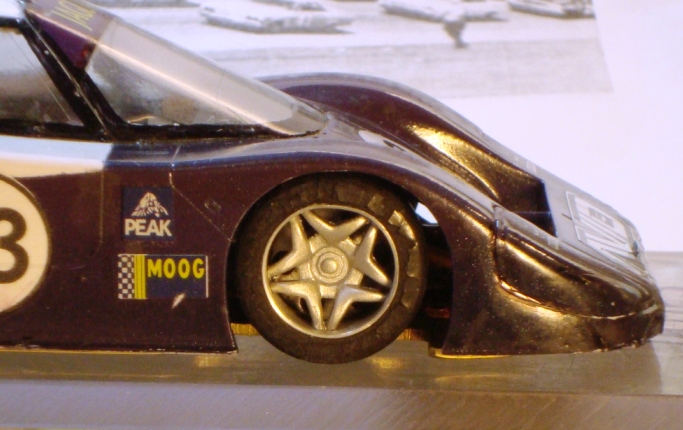
I have recently found a keen appreciation for wheel inserts in slot cars... specifically for the 5/8" ProTrack wheels that we use in the "Big-Wheel" racing classes at Electron Raceway, here in the Valleys of the Umpqua, Roseburg, Oregon.


At this morning's race, several of the locals expressed interest in the "rimless" inserts that I made from the wheels from a Ferrari F50 kit.  It just occurred to me that I took pictures of the process, so....


Wheel Inserts 002.JPG

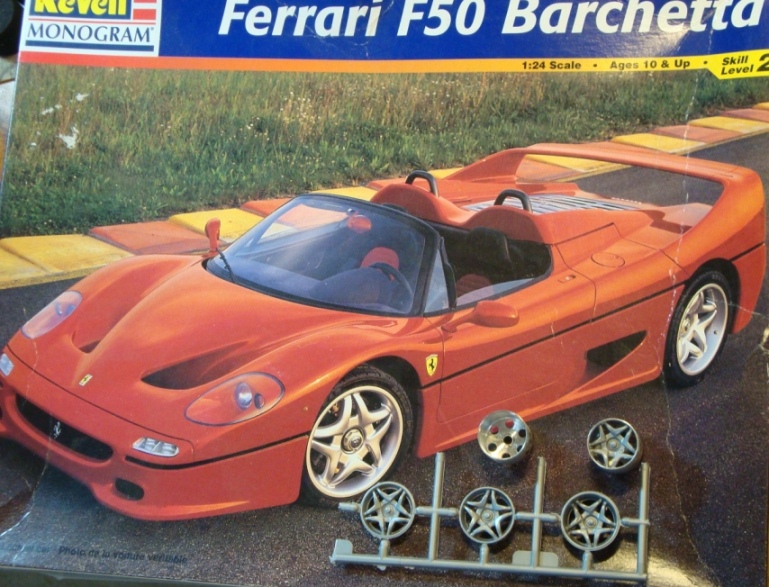
The donor kit


Wheel Inserts 005.JPG

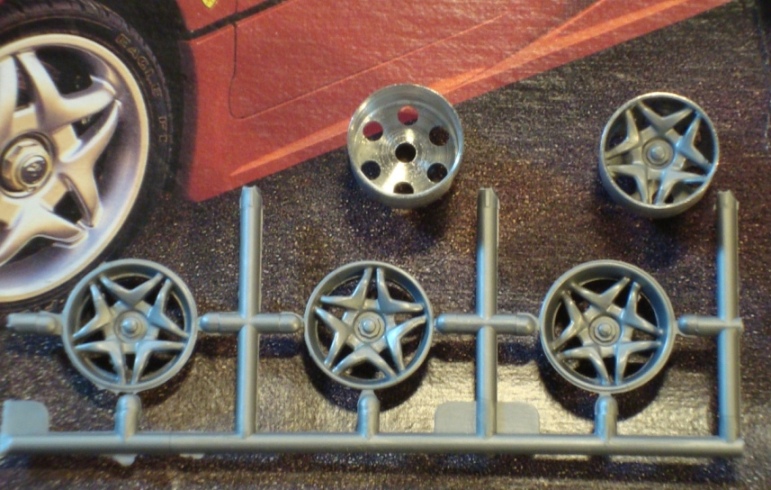
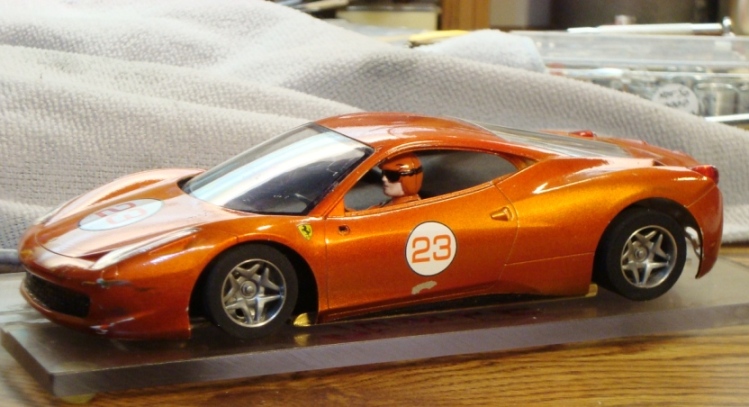
The kit wheels on sprues, the target wheel, and one completed insert in wheel


Wheel Inserts 006.JPG

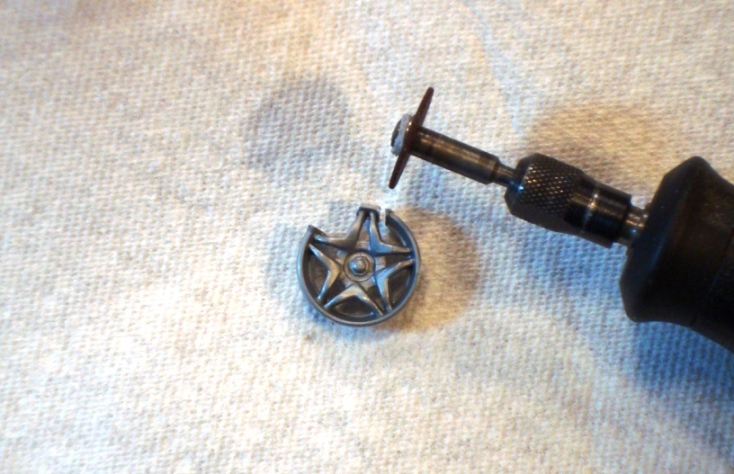
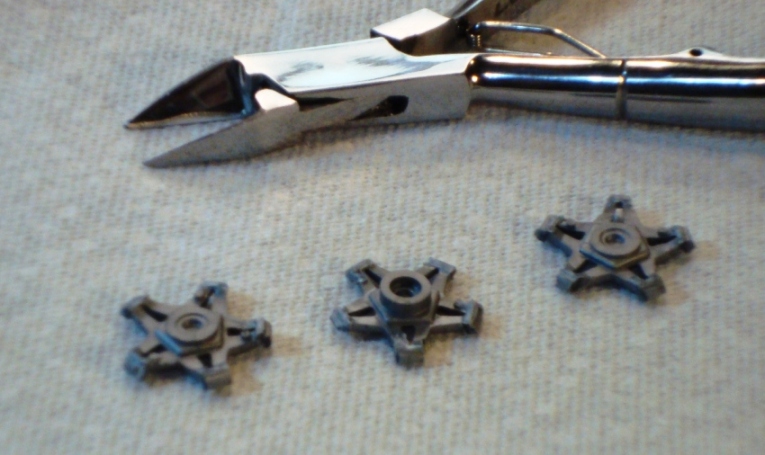
Step one: we cut away the rim portion between the spokes


Wheel Inserts 010.JPG

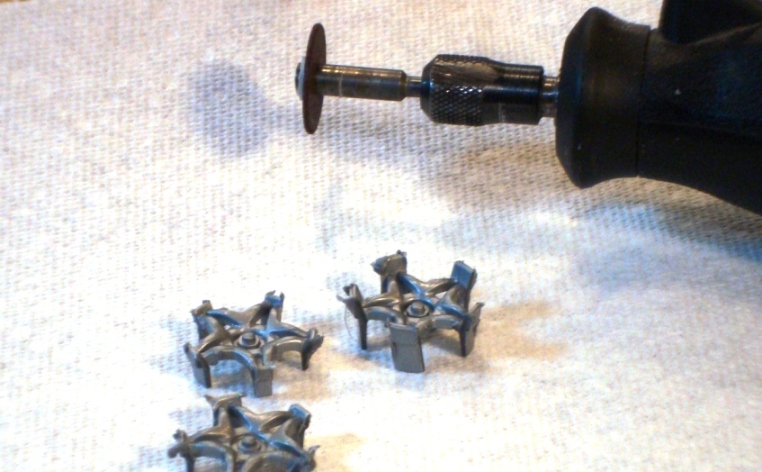
Step one complete


Wheel Inserts 013.JPG

Then clip away as much of remaining rim as possible.


Wheel Inserts 018.JPG

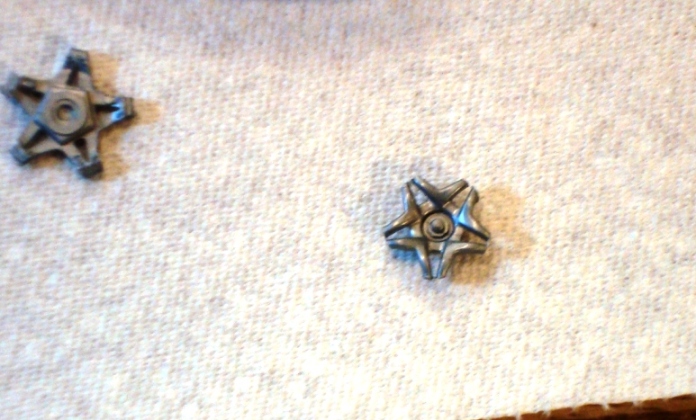
A finished insert, after trimming spokes to rough length and carefully filing to "snug press fit" size.


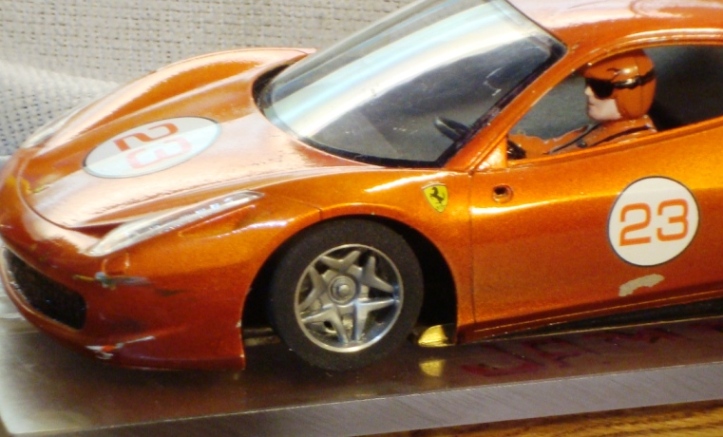
Wheel Inserts 028.JPG

Sweet !!!  :wub:


Wheel Inserts 030.JPG

a closer look.  Inserts are molded in silver-gray. 

I will paint them, perhaps gunmetal, the next time I fire up the airbrush.


  • hiline2, Tex and C. J. Bupgoo like this
You can't always get what you want...


#2 munter

munter

    Checkered Flag in Hand

  • Full Member
  • PipPipPipPipPipPip
  • 1,049 posts
  • Joined: 11-April 08
  • Gender:Male
  • Location:Napier, New Zealand

Posted 20 November 2015 - 02:45 AM

Looks good...next step is to mold and cast a bunch of them.


  • olescratch likes this

John Warren
Slot cars are my preferred reality


#3 rvec

rvec

    Checkered Flag in Hand

  • Subscriber
  • PipPipPipPipPipPip
  • 1,891 posts
  • Joined: 08-April 06
  • Gender:Male
  • Location:Oregon

Posted 20 November 2015 - 06:51 AM

James,

Great how to article. I really liked those wheels. Now I see how to make them! Time to get to work

Rich Vecchio


#4 James Wendel

James Wendel

    Checkered Flag in Hand

  • Full Member
  • PipPipPipPipPipPip
  • 1,029 posts
  • Joined: 02-June 10
  • Gender:Male
  • Location:Roseburg, OR, USA

Posted 04 December 2015 - 12:23 PM

Here are the inserts after painting. 

Jag c inserts 004.JPG

Notice the huge difference in the painted wheels?  Well, actually, it's pretty subtle.


Wheel Inserts 030.JPG

This is the "before shot" again of the insert in unpainted, grey plastic.


Jag c inserts 012.JPG

The painted wheel. 

This was a multi-step finish: Tamiya white primer, custom mixed silver/gunmetal, clear topcoat.


Jag c inserts 014.JPG

They look good, but the change between painted and raw plastic is barely noticeable... Ah, well.  


  • C. J. Bupgoo likes this
You can't always get what you want...

#5 Dennis David

Dennis David

    Posting Leader

  • Subscriber
  • PipPipPipPipPipPipPip
  • 3,424 posts
  • Joined: 05-April 06
  • Gender:Male
  • Location:SF Bay Area

Posted 04 December 2015 - 11:53 PM

John,


How about some 21mm inserts?


Dennis


Dennis David


Electric Dreams Online Shop