Jump to content


Photo

1/32 Eurosport chassis repair


  • Please log in to reply
2 replies to this topic

#1 MikeC

MikeC

    On The Lead Lap

  • Full Member
  • PipPipPipPip
  • 296 posts
  • Joined: 18-April 12
  • Gender:Male
  • Location:Citrus Heights, CA

Posted 22 July 2017 - 03:55 AM

So....  Justin broke TWO 1/32 Eurosport chassis at this past Nats.  Of course, parts for these are often hard to find, especially these two, a 2008 and 2009 Horky.  These two chassis are very similar, and we have another 2008 as a "Spare Parts" chassis, but the 2008 that broke, was missing two of the same pieces, and we'd already used one of them, so we were short one piece...


The following is how I repaired the 2008 chassis, using parts from another chassis.  It was pure luck I had something that worked, but I'm hoping this post will give other's some ideas when in the same situation...


Here's how the broken 2008 chassis looked.  If you look, you can see it's missing the front pan upstops on both sides.


IMG_20170705_224440712_HDR.jpg


Here's a picture of the front of the 2009 chassis, that has the original Horky upstops.  These are what should be in the 2008!


IMG_20170705_224640473_HDR.jpg


So, I was looking at some scrap from a recent build, and trying to figure out if I could make something out of it, when I realized that the upstops looked similar to the upstops on the 2017 PMP GT-12 chassis, which I have plenty of spare parts for...I did a quick test fit, and the steel was the same thickness, so that helped out a lot...


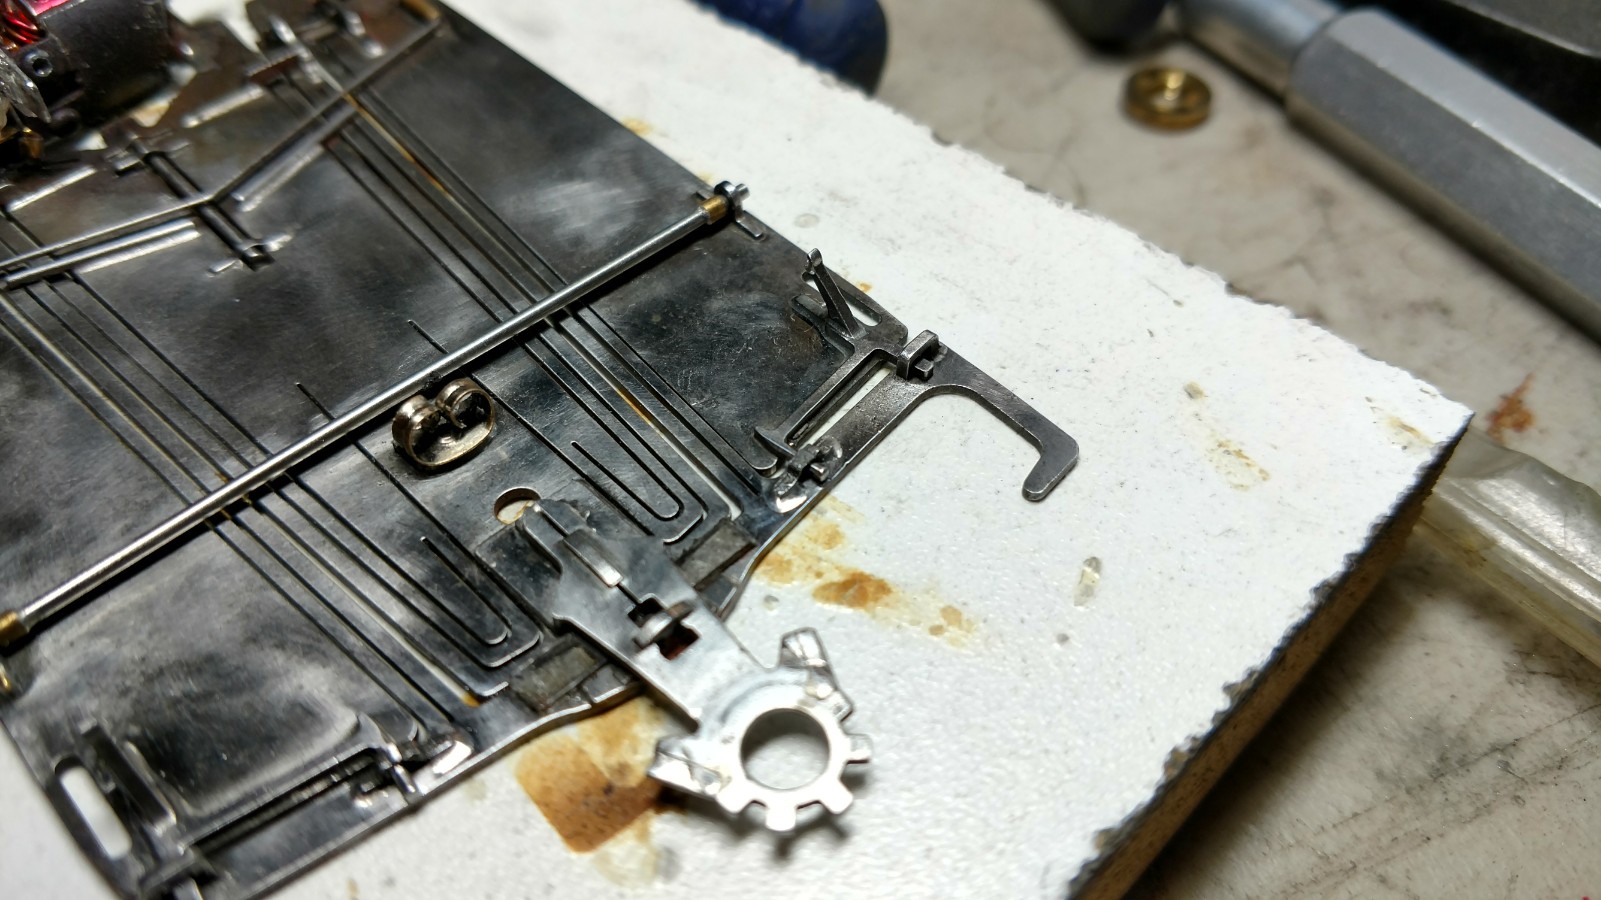
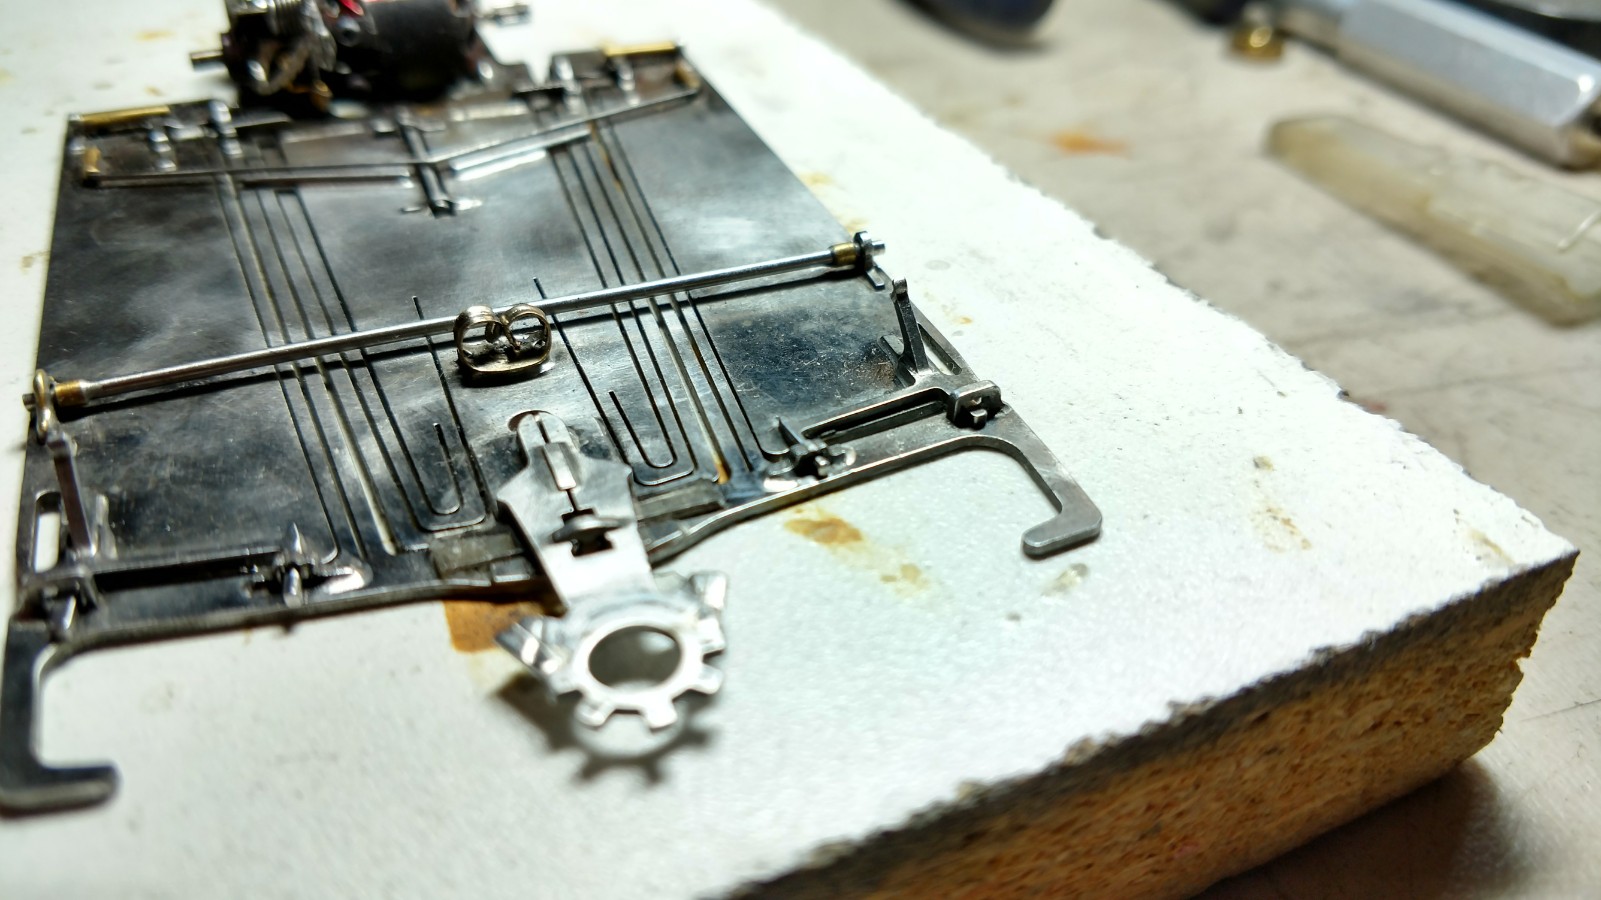
So, I took the PMP upstops, ground a little off of one end until the piece fit into the slot on the Horky chassis.  Here's a shot of the original PMP piece, and the shortened pieces prior to installation.


IMG_20170705_224955737.jpg


Here's the pieces installed on the 2008 Horky.  The movement is nearly identical to the original Horky, if not identical.  I'm hoping that by being soldered on both sides it may keep them in place a little better...  We'll see!


IMG_20170705_231146570_HDR.jpg


IMG_20170705_231254109_HDR.jpg


So, I guess the moral to the story is, don't throw away your scrap pieces, and before giving up on one of these types of chassis because you can't find parts, maybe see if parts from another chassis will fit!


  • team burrito and Tim Neja like this

Michael Colvin
 
- Pit dads of the world unite! -


#2 Dominator

Dominator

    Posting Leader

  • IRRA National Director
  • PipPipPipPipPipPipPip
  • 2,830 posts
  • Joined: 19-September 07
  • Gender:Male

Posted 22 July 2017 - 08:58 AM

If you get in a bind try experimenting with 3/32 square tubing. You can then add thin wire or brass to the top of the pan pin/stop.

A motor is only as fast as the chassis it's in.
 
Dominic Luongo
Like Dominator Custom Chassis on Facebook
 
NERR photos from 2012-April 2016
NERR photos from 2016 to now


#3 MikeC

MikeC

    On The Lead Lap

  • Full Member
  • PipPipPipPip
  • 296 posts
  • Joined: 18-April 12
  • Gender:Male
  • Location:Citrus Heights, CA

Posted 22 July 2017 - 12:57 PM

Yea.  I was heading in that direction when I found the scrap pieces from another build that Justin had actually done....  I was thinking I could shape a piece into what I needed...  Then I figured out the fix above, which seemed easier and more elegant...  

Ideally, I'd like to find another one of these chassis as a donor, but they are getting harder to find...  I'm sure if I looked, I could probably find other similar chassis (Like the Mack saloon chassis) that might have similar parts.


Michael Colvin
 
- Pit dads of the world unite! -


Electric Dreams Online Shop