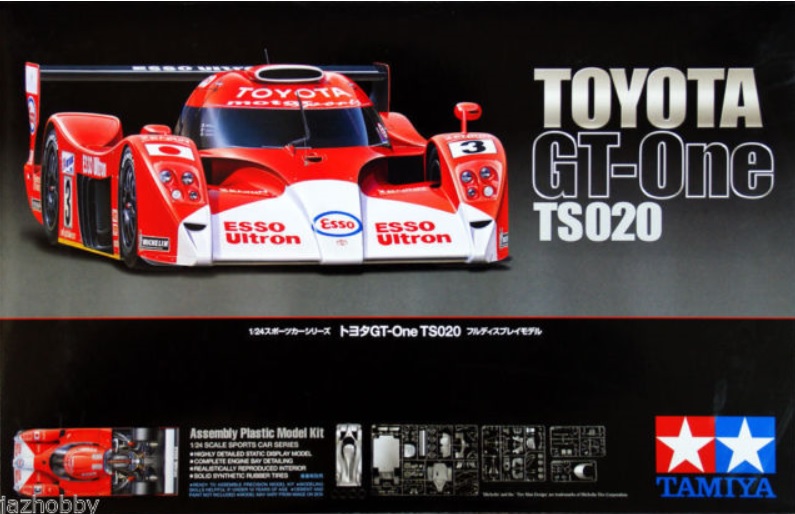
In truth, no one make or model has been the dominate force in the class. Race winners have included, Toyota GT-One, Porsche 962, Jaguar XJR8LM, Ferrari Enzo, Jaguar XJ220, Porsche GT1 EVO, and Nissan R390.
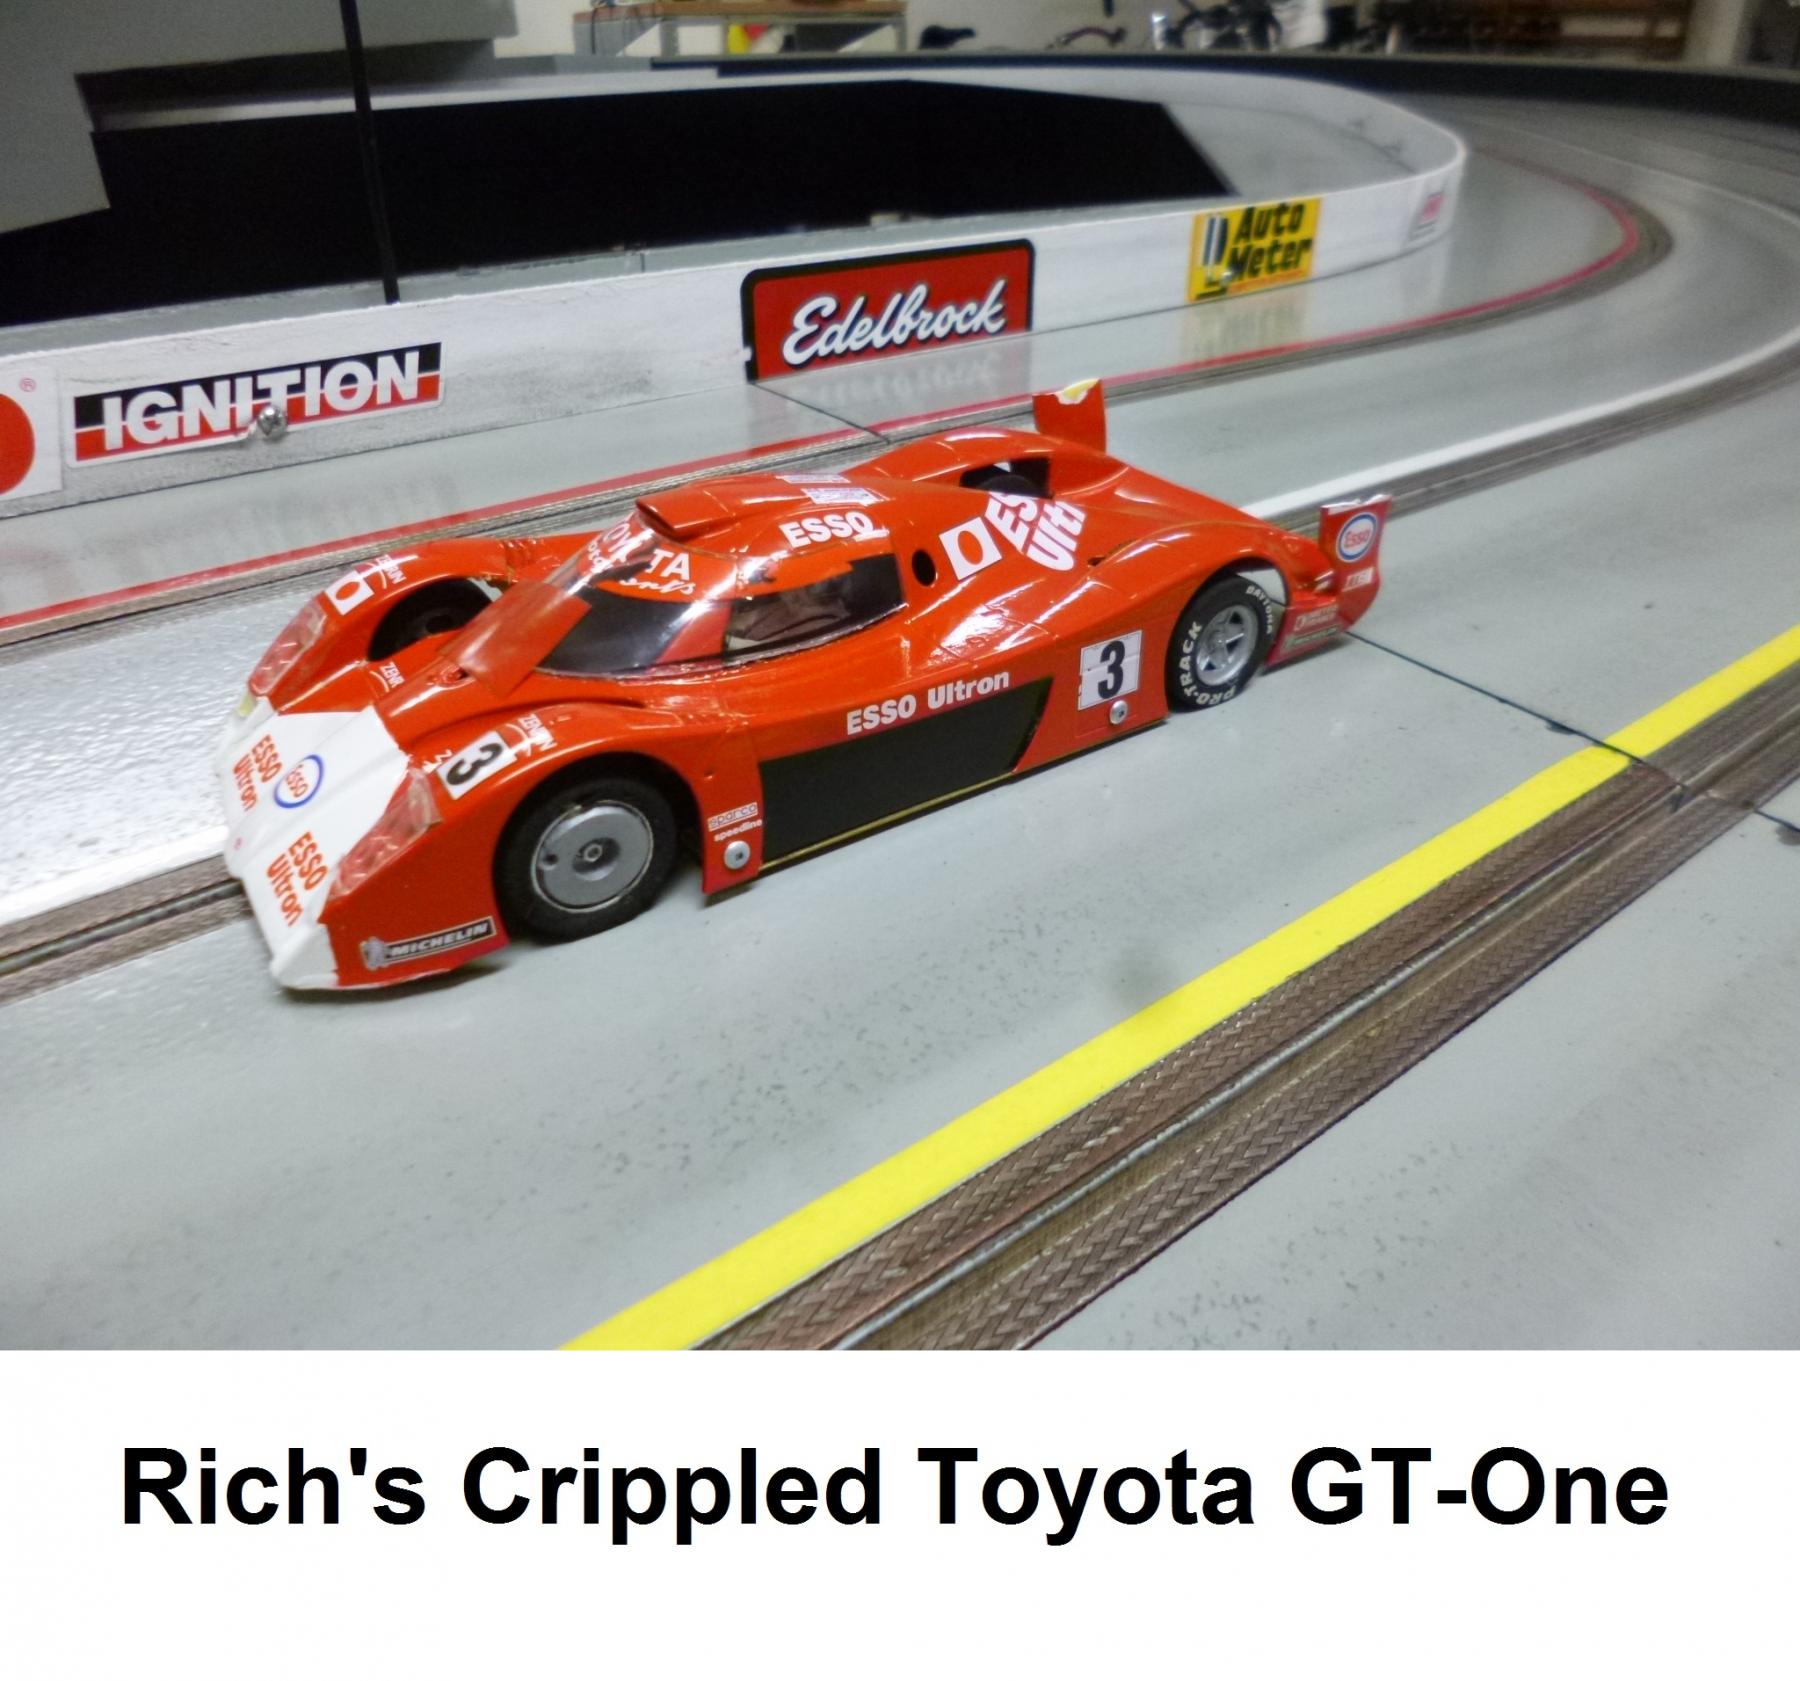
In May of 2015 I completed a Toyota GT-One for our GT1 class. The plastic model kit is Tamiya. The chassis utilized is a Scholer Pantera chassis. The car has performed quite will over the past couple of years. The Toyota was entered in 10 races at Electron raceway, finishing first seven times and second three times. I believe it may be the best body to use in our Ture Scale GT1 class for the following reasons
- Relatively long effective wheelbase (measured from rear axle to guide flag)
- Light body
- Very low center of gravity
- Huge wheel openings allow wheels to extend to the outer edge of the body (other cars may be as wide but the wheel openings especially in front are smaller requiring the front tires to be tucked under the chassis.
The build is quite challenging for several reasons described in the appendix below. For more information see the original article I wrote for Slotblog (see the link http://slotblog.net/...e-ultimate-gt1/ ) Below is an image of the plastic parts making up the body of the model placed next to my first build.
The Toyota GT-One body, after two years of hard racing has not held up well. It has endured more than a few hard crashes and has even hit the floor a couple of times. It has been repaired several times and has begun to appear shopworn. The two major weak points of the model are the rear wing assembly and the front end. The rear wing is attached to the body using two plastic uprights prone to breakage in a rear end collision or rollover. In fact, uprights on my Toyota have been broken and repaired on at least two occasions. Secondly, the front end of the body is fragile. The wheel arches have vents and the inner sections of the fenders are cut away. Also the front end assembly has multiple pieces. The front end on my Toyota has been severely damaged and repaired on at least two or three occasions (see below for damages and front end repair).
I have decided to build a new Toyota GT-One as a replacement. I will do a few things differently for this build. First, the paint scheme will be a fantasy livery. The car will be painted black. I intend to use light blue and orange pinstriping tape and Gulf decals.
To address the rear wing issue, it will be mounted to the center of the body using and aluminum u bracket. The wing will be affixed to the mount using two sided tape. Thus, in the event of a wreck the wing will simply dislodge from the tape and will be re-affixed. No damage to the car will result.
The front end issue will be more of an ordeal to address.
- Small tabs on the leading edges of the fenders will be removed
- Vents in the wheel arches will be filled with epoxy
- Piano wire will be bent to follow the contours of the fender well
- Carbon fiber mesh will be cut to fit inside the fender well
- The Piano and Carbon fiber will be affixed to the fender well using epoxy
The body was then test mounted on the chassis and is shown below
Next was paint. I used Krylon. Below is an image
To be continued..
Appendix
Toyota GT-One Build Details
Tamiya makes some of the most detailed static models on the planet and the Toyota GT-One is no exception. Unfortunately, some of the detail as well as the race car design itself would present several challenges. Some of these are summarized below.
In the actual race car, the drivers tub is a part of the aerodynamic design and is in full view from the large openings in each of the slab sides of the car. Using the tub as part of a slot car build was a non-starter because of clearance and weight considerations. Instead, .020 sheet styrene was used to cover the openings.
- Because the rear deck is so low in spots, the spur gear did not clear the bodywork. A small rectangular cut out resolved this problem. If an inline rather than an anglewinder or sidewinder chassis configuration is used, the cut-out might not be necessary.
- The wheel openings are very tall and provide ample clearance for the ProTrack tires. However, the rear fenders are too narrow to accommodate the ProTrack tire width. Small cut outs in the inner portion of the rear fender bodywork solved the problem.
- The body is constructed from relatively thin plastic. This coupled with large wheel openings, leaves the front end vulnerable to impact. In order to bolster strength and rigidity, carbon fiber mesh was affixed to the inner portion of the front wheel wells. In addition, the kit has a belly pan that covers the front end. The pan may be affixed and then cut to clear the guide flag, again to bolster rigidity.
- There are two relatively small plastic pieces that extend the bodywork into the inner front wheel wells. These pieces must be trimmed to avoid interference with the inner portion of the front wheels.
- The rear wing assembly consists of three pieces including two uprights and the wing itself. The assembly then attaches directly to the rear bodywork. As such, it is subject to damage from a rear end collision. To insure a very strong bond, plastic welder was used to attach both the wing and its uprights.
- The outer skin of the body consists of two major and several minor parts. The rear deck of the static model is hinged and opens to display the mid-engine and rear suspension. For the slot car version of the model, plastic welder was used to mate the rear deck to the front section of the model.
- The nose of the race car and the aerodynamic air-intake on the roof are white while the rest of the outer skin is red. I had hoped for white decals. Instead, masks were provided for a two-tone paint job. After the fact, I noticed two small masks that looked like crowns. Nowhere in the instructions were these shown. Nowhere on the box-art was the true color scheme reflected. However, images of the actual race car (see images in the section entitled History of the Toyota GT-One) show that one of the crowns should have been used as an extension of the large front mask and the other should have been used on the roof air-intake. The only mask that I used worked quite well but the two tone paint job delayed the models completion.
- Two small aerodynamic tabs on the leading edge of the front fender are weak. In testing one broke off in a not to violent wreck. One might think about filing the tabs off prior to painting.
- The model kit came with two sets of high quality decals: The number 1 car sponsored by Zent and the number 3 car sponsored by Esso. Both are replicas of entries in the 1999 Le Mans race. The Zent car qualified first on the grid but did not finish. The Esso car started eighth on the grid and finished second.
Only the following bodies will be allowed (others will be considered on a case by case basis):
- Nissan R390 GT-1
- Mercedes CLK GTR
- Sauber Mercedes C9
- Jaguar XJRM-8-LM
- Jaguar XJR-9 IMSA
- Jaguar XJ220 (1/24 scale)
- Charge Mazda 767B
- Porsche GT-1
- Porsche GT-1 EVO
- Nissan R 88C
- Toyota 88C
- Porsche 956
- Toyota 88C LM
- Jaguar XJR-9LM
- Toyota GT-1 TS020
- Ford Mustang GTP
- Porsche 962
- Skyline GTR
- Nismo GTR
- Impulse GT
- NissanNSX
- Toyota 84C
- Ferrari Enzo
- Porsche 997
- Corvette C6R
- Ferrari 575 GT
- Aston Martin DBR9
- Nissan R89C and R90C


