Jump to content


Photo

ESR 1 chassis tutorial?


  • Please log in to reply
6 replies to this topic

#1 Slot_Outlaw_24

Slot_Outlaw_24

    Rookie Keyboard Racer

  • Full Member
  • Pip
  • 13 posts
  • Joined: 02-July 19
  • Gender:Male
  • Location:Bowling Green, KY

Posted 23 April 2020 - 10:23 PM

So I decided on the ESR1 chassis as my next build. The guy who owns the shop is a big fan of it, and it looks like a great chassis from what he's shown me. It's fast, consistent, and durable.


He gave me a rundown of how to put it together but that was a month or two before the whole COVID mess. Now that I've got a slight break from classes and summer break on the way, I want to start building it and don't remember too much of what he said. I would go in person, but not sure I can do that with quarantine.


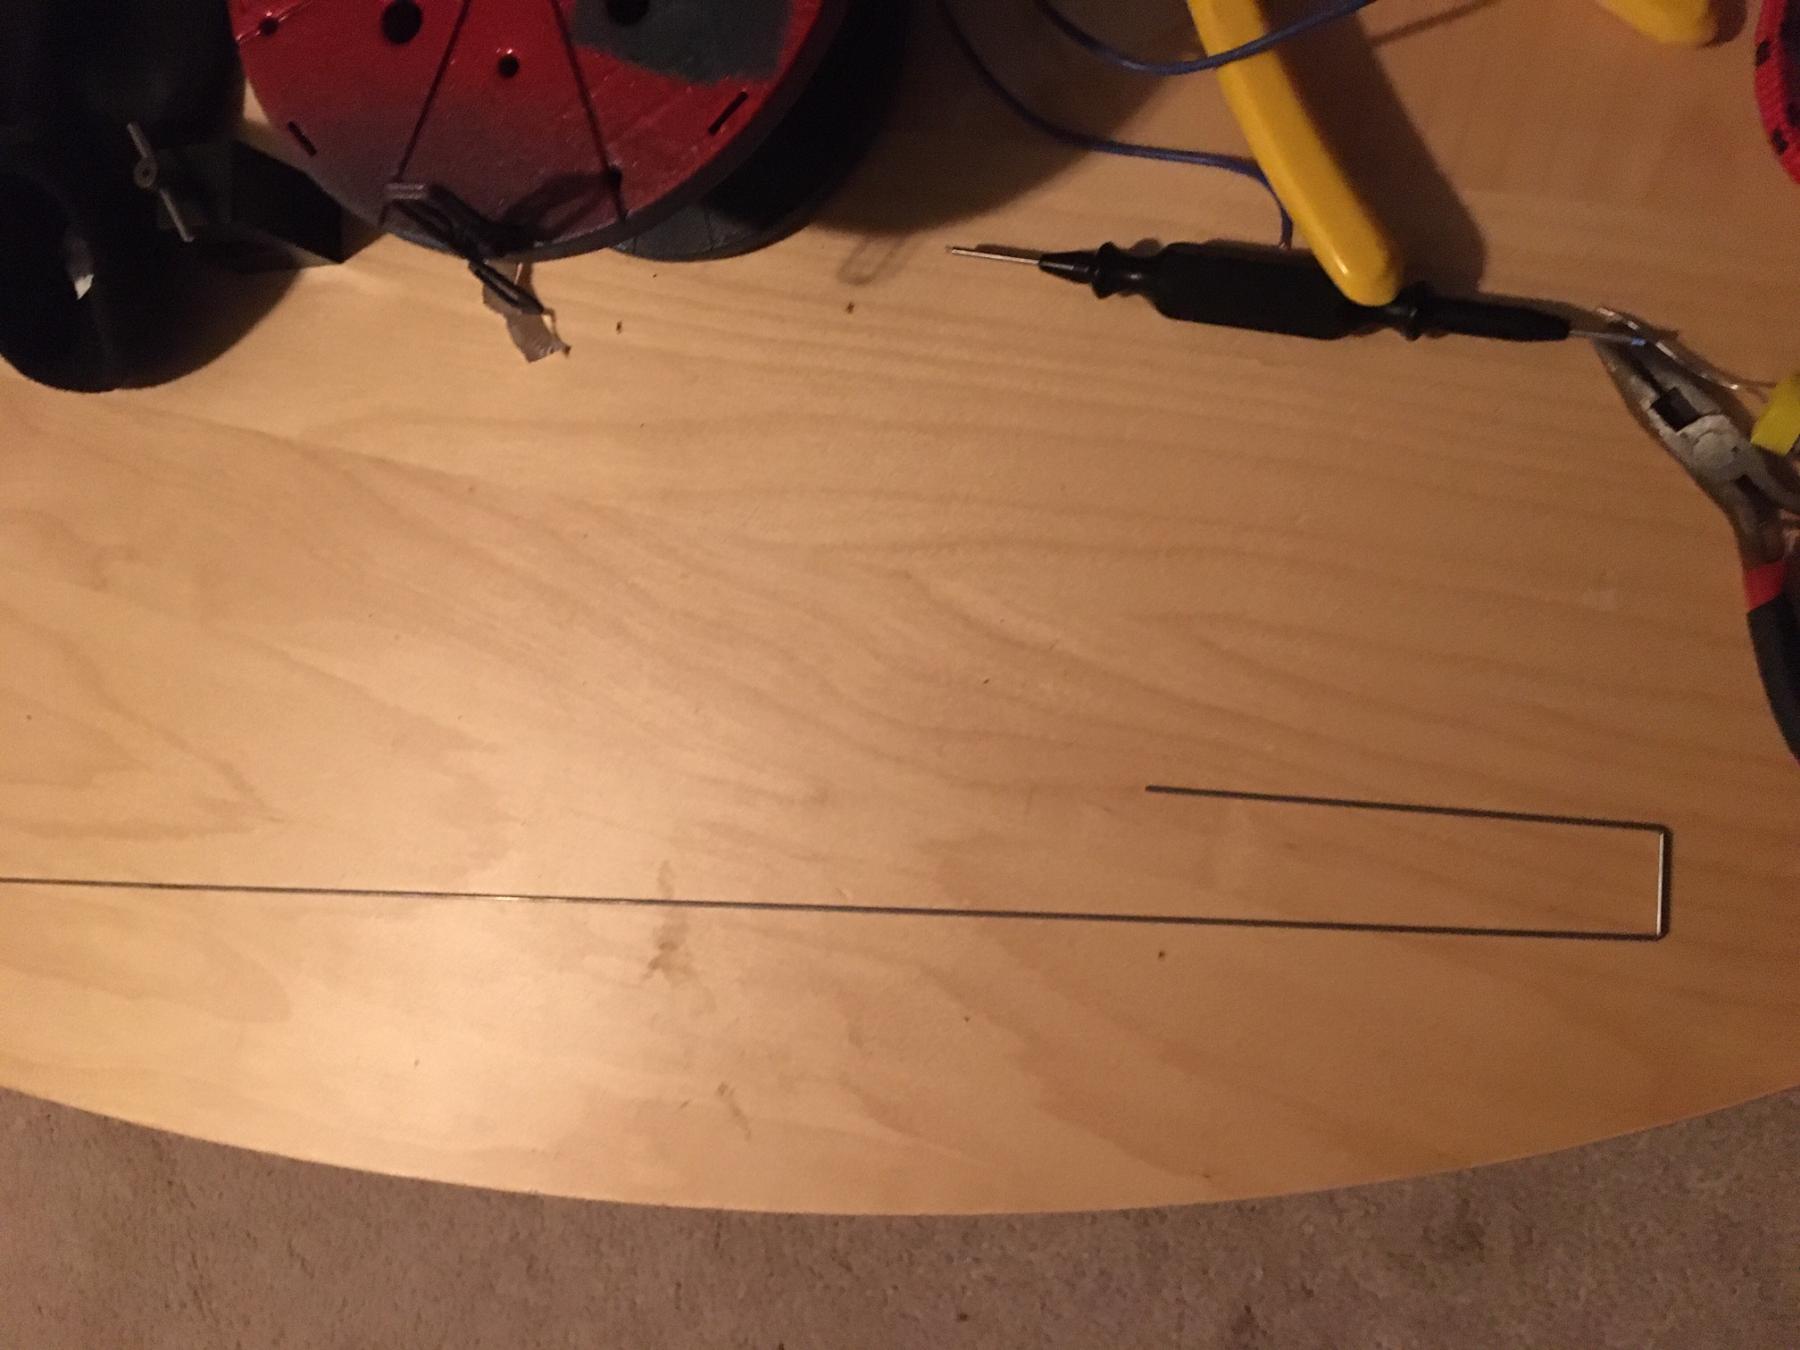
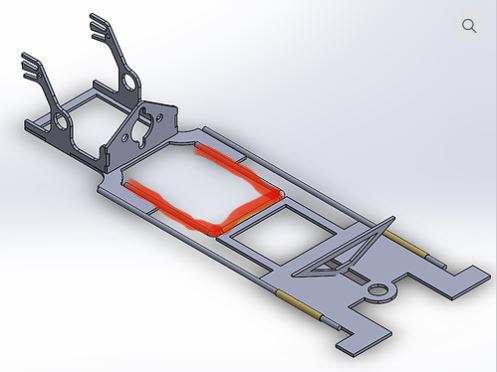
How exactly should I put this together? Thankfully I've got a great foundation to start on courtesy of the shop owner. I bought all the wire I'd need and he bent it for me, forming what looks like part of the center chassis. Specifically the wire and tubing holding the front plate to the rear (picture included). I also plan on building it with a wheelie bar.


Any pictures would be greatly appreciated. Hope you can help.


IMG_0596.JPG


IMG_7916.jpg


Will Sutkowski


#2 Matt Sheldon

Matt Sheldon

    Duffy's HMI Executive

  • Full Member
  • PipPipPipPipPipPipPip
  • 2,242 posts
  • Joined: 19-January 10
  • Gender:Male
  • Location:Platteville, CO

Posted 24 April 2020 - 10:22 AM

Hi Will,


Are you looking to build a bar or no bar car? From your pic I am guessing no bar, but want to make sure before I reply. This is a great and easy build. Do you have a jig or most importantly the motorbox assembly jig at least?


  • Slot_Outlaw_24 likes this

Matt Sheldon

Owner - Duffy's SlotCar Raceway (Evans, CO)


#3 Ramcatlarry

Ramcatlarry

    Posting Leader

  • Subscriber
  • PipPipPipPipPipPipPip
  • 2,936 posts
  • Joined: 08-March 06
  • Gender:Male
  • Location:St Charles, IL 60174

Posted 24 April 2020 - 11:39 AM

1) The rear motor/axle carrier is the first sub-assembly.  One aid is to slip bushings and an axle in place to help line up the parts.


2) Figure out the wheelbase of the body and the overall length to build.  ANY sort of jig block will help to locate the parts - even wood.


3) Locate the rear axle location and how much room under the nose of the body you need for the flag and front axle location.


4) ID how long the wheelie bar needs to be.  Many are a standard distance from rear axle to the wheelie axle (6 inch or so).


5) Line up your pre-bent wire to tie all of the parts together. Cut off the excess and square up the whole thing and start soldering.


Many racers use SS tubing instead of piano wire to save weight and tune the torsional spring of the frame.


  • Slot_Outlaw_24 likes this

Larry D. Kelley, MA
retired raceway owner... Raceworld/Ramcat Raceways
racing  around Chicago-land


Diode/Omni repair specialist
USRA 2023 member # 2322
IRRA,/Sano/R4 veteran, Flat track racer/MFTS

Host 2006 Formula 2000 & ISRA/USA Nats
Great Lakes Slot Car Club (1/32) member
65+ year pin Racing rail/slot cars in America


#4 Ramcatlarry

Ramcatlarry

    Posting Leader

  • Subscriber
  • PipPipPipPipPipPipPip
  • 2,936 posts
  • Joined: 08-March 06
  • Gender:Male
  • Location:St Charles, IL 60174

Posted 25 April 2020 - 09:52 PM

FYI:  USDR (United Scale Drag Racers) rule book calls for "Wheelie bars must not exceed 5" from centerline of rear axle to center of wheelie bar axle."  also " Guide flag length is .980" maximum." and "Body must cover guide flag..." and have a 3d interior , .....


Local track rules might vary......


Larry D. Kelley, MA
retired raceway owner... Raceworld/Ramcat Raceways
racing  around Chicago-land


Diode/Omni repair specialist
USRA 2023 member # 2322
IRRA,/Sano/R4 veteran, Flat track racer/MFTS

Host 2006 Formula 2000 & ISRA/USA Nats
Great Lakes Slot Car Club (1/32) member
65+ year pin Racing rail/slot cars in America


#5 Slot_Outlaw_24

Slot_Outlaw_24

    Rookie Keyboard Racer

  • Full Member
  • Pip
  • 13 posts
  • Joined: 02-July 19
  • Gender:Male
  • Location:Bowling Green, KY

Posted 30 April 2020 - 01:15 PM

Hi Will,


Are you looking to build a bar or no bar car? From your pic I am guessing no bar, but want to make sure before I reply. This is a great and easy build. Do you have a jig or most importantly the motorbox assembly jig at least?


1) The rear motor/axle carrier is the first sub-assembly.  One aid is to slip bushings and an axle in place to help line up the parts.


2) Figure out the wheelbase of the body and the overall length to build.  ANY sort of jig block will help to locate the parts - even wood.


3) Locate the rear axle location and how much room under the nose of the body you need for the flag and front axle location.


4) ID how long the wheelie bar needs to be.  Many are a standard distance from rear axle to the wheelie axle (6 inch or so).


5) Line up your pre-bent wire to tie all of the parts together. Cut off the excess and square up the whole thing and start soldering.


Many racers use SS tubing instead of piano wire to save weight and tune the torsional spring of the frame.


 I'm planning on building it with a wheelie bar. I didn't know it needed a jig. I asked the shop owner if it needed one and he said you could build it without one. I do have a wooden tech block that I put my chassis on when I work on them. I might be able to improvise something on that. I did order the motor box assembly jig and that should be a big help. 


Will Sutkowski

#6 Ramcatlarry

Ramcatlarry

    Posting Leader

  • Subscriber
  • PipPipPipPipPipPipPip
  • 2,936 posts
  • Joined: 08-March 06
  • Gender:Male
  • Location:St Charles, IL 60174

Posted 30 April 2020 - 05:51 PM

Any 'jig' usually has marks or locator points to keep things squared up. Some builders have better eye skills than others.  It is always frustrating to finish a build and see it go sideways down the track from not having the parts squared up.


Use a Combination square to draw or scribe lines on a tech block at a minimum.


  • Slot_Outlaw_24 likes this

Larry D. Kelley, MA
retired raceway owner... Raceworld/Ramcat Raceways
racing  around Chicago-land


Diode/Omni repair specialist
USRA 2023 member # 2322
IRRA,/Sano/R4 veteran, Flat track racer/MFTS

Host 2006 Formula 2000 & ISRA/USA Nats
Great Lakes Slot Car Club (1/32) member
65+ year pin Racing rail/slot cars in America


#7 Slot_Outlaw_24

Slot_Outlaw_24

    Rookie Keyboard Racer

  • Full Member
  • Pip
  • 13 posts
  • Joined: 02-July 19
  • Gender:Male
  • Location:Bowling Green, KY

Posted 07 June 2020 - 12:01 AM

Any 'jig' usually has marks or locator points to keep things squared up. Some builders have better eye skills than others.  It is always frustrating to finish a build and see it go sideways down the track from not having the parts squared up.


Use a Combination square to draw or scribe lines on a tech block at a minimum.

I'm not the greatest at making things symmetrical on the first try, and decided to splurge on the jig. It'll be a huge help and will be a good investment.

Attached Images

  • IMG_1839.JPG

Will Sutkowski


Electric Dreams Online Shop