


I'd like to thank our illustrious member "Gene/ZR1" for the inspiration of this DIY project.
He was kind enough to share his "Thingie Tire Truer" project sometime ago - here's the link that inspired me: http://slotblog.net/...l-tire-machine/
After viewing that thread many times, I wanted to build one also, but at that time, I had just finished my "Tire Groomer".
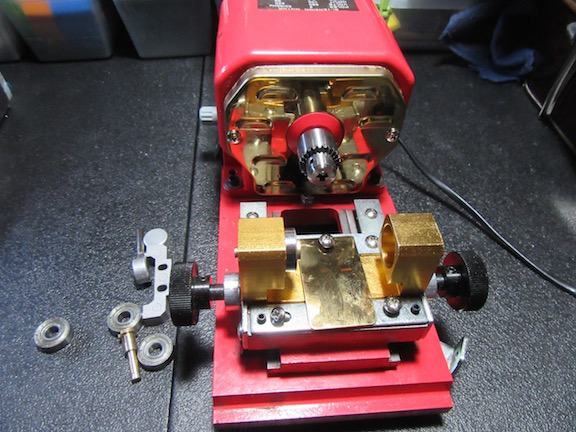
Since I no longer have that machine, I decided to move forward with a new project and build a new Tire Truer using the Pearl Bead Drilling machine similar to Gene's project.
So, I'd like to share my project with you.
Though the machine is the same, I came up with a "different method" to make it work for me.
I found this Pearl Drilling Machine on eBay - the cost is much higher these days as opposed to when Gene/ZR1 acquired his machine.
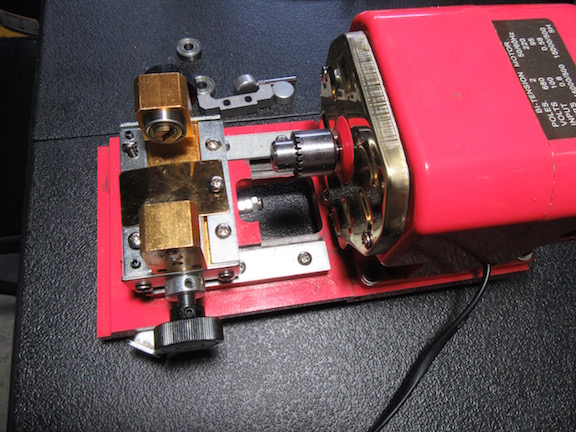
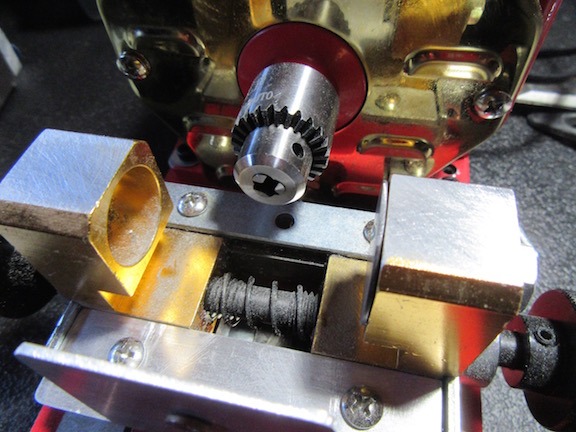
Starting to disassemble bead holder towers
I needed a way to address the large opening of the towers, so I searched my surplus bin and decided to employ "elevator bolts (Ebolt) to "cover that opening".
The Ebolt is 1/4-20 and the Bead Tower center hole being metric, is very close to that.

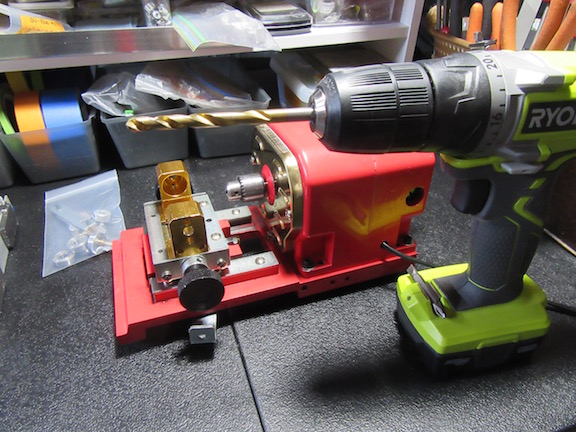
Time to drill out the hole.
It fits!
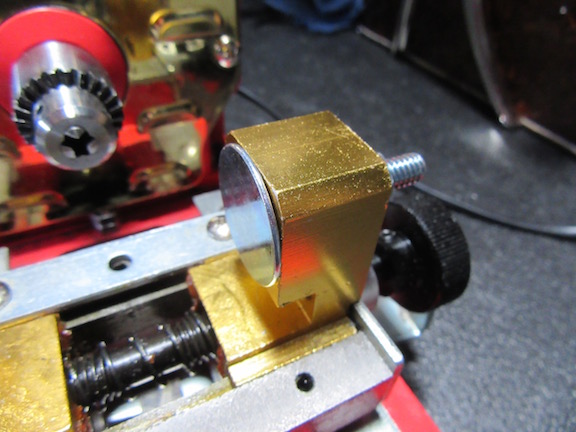
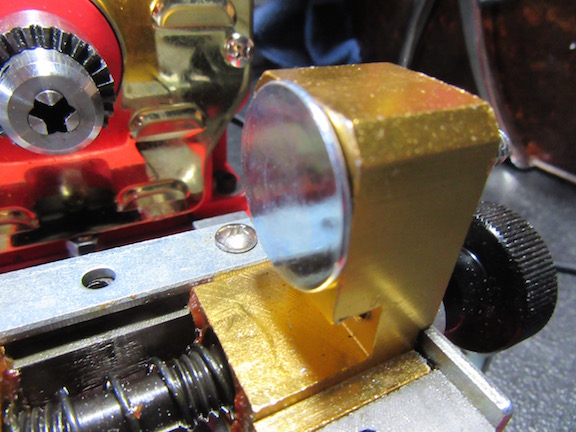
it addresses the large hole issue but the bolt is too long for my specs.

Found a shorter length Ebolt that will fit perfectly!
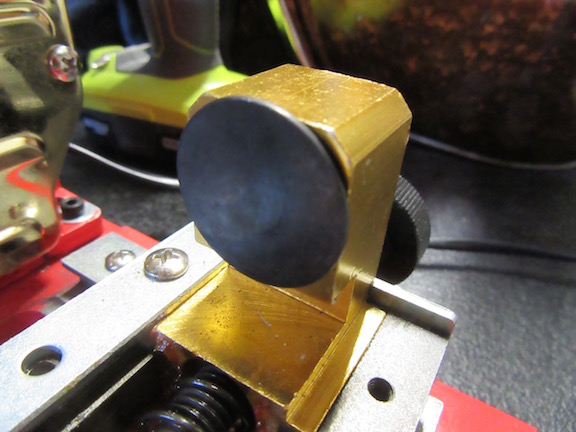
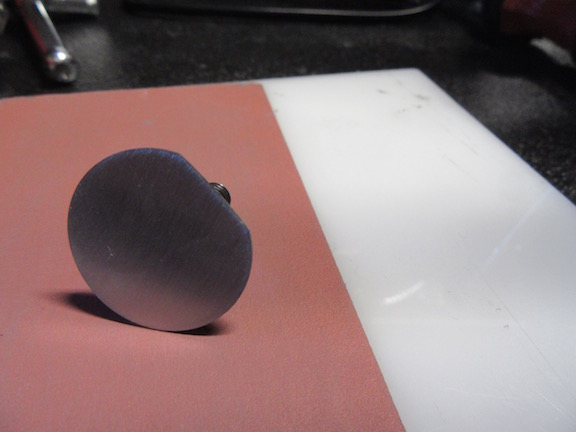
The face of the Ebolt is concave and needs to be flat - got to get sanding!


Had to trim the Ebolt to fit the towers:
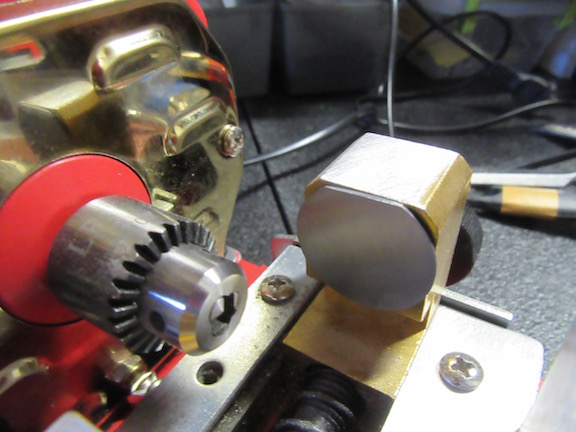
The top of the towers were filed flat.
Time to fabricate the bracket to support the opposing end of the axle and prevent wobble, since I'm using a very long 1/8" rod. This is the aluminum bracket I initially started with.
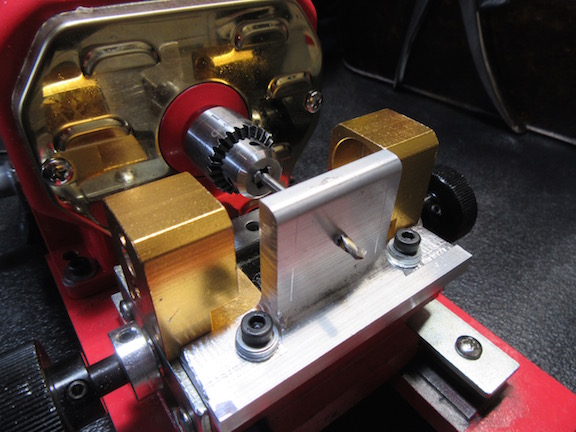
Well, it didn't work out because it did not leave enough room for truing 2 tires at once, so a new bracket was fabricated.
Here you see my usual bonding method, the use of 3M VHB RP series tape with the newly fabricated axle bearing bracket.
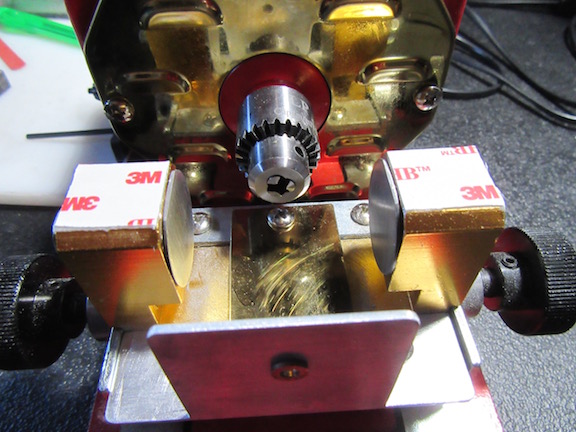
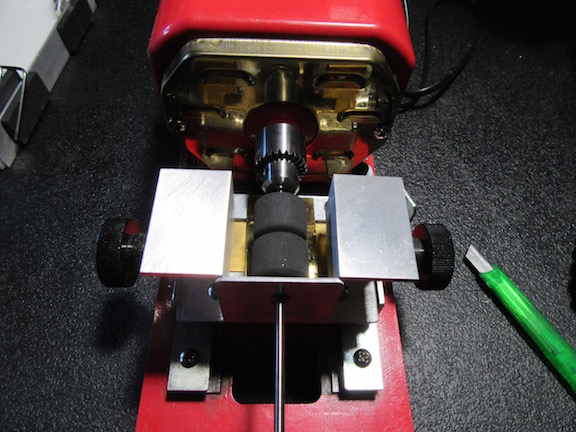
I decided to employ aluminum angle for the sanding blocks - where the adhesive back sandpaper will be applied when truing the tires.
These were filed flat on both sides.

Tape covers removed and ready for sanding blocks to be mounted.
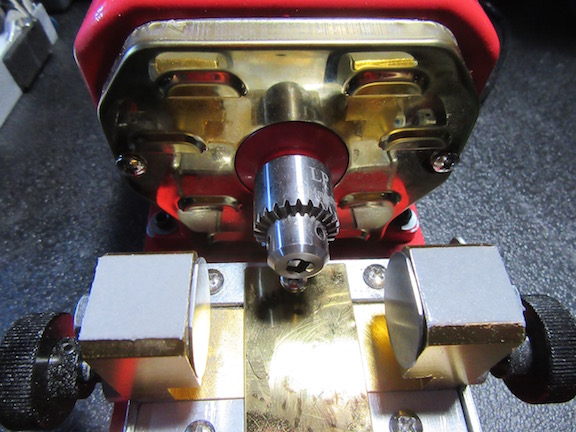
Mounting completed - perfect fitment for 2 tire simultaneous truing!

Thank you for looking!
Ernie


