Summary
I previously posted an article on Slotblog entitled Molding and Casting - A journey (Molding and casting - a journey - Electron Raceway projects - Slotblog). It chronicled my learning experience and included many fits and starts. I thought I would post another article that focused on what actually worked for me - so here goes
The purpose of this article is to take the mystery out of the silicone molding and resin casting process. It outlines and details the thought process and steps required to create a silicone mold of a 1/24 model and then cast several copies of same. Now that I have completed a run of five replicas, I decided to re-write a post I made on Slotblog and exclude the extraneous material. At first, the project seemed daunting, but in reality, armed with a bit of knowledge, is quite simple albeit somewhat costly. I hope that this article will inspire others to create their own unique replicas for slot car racing.
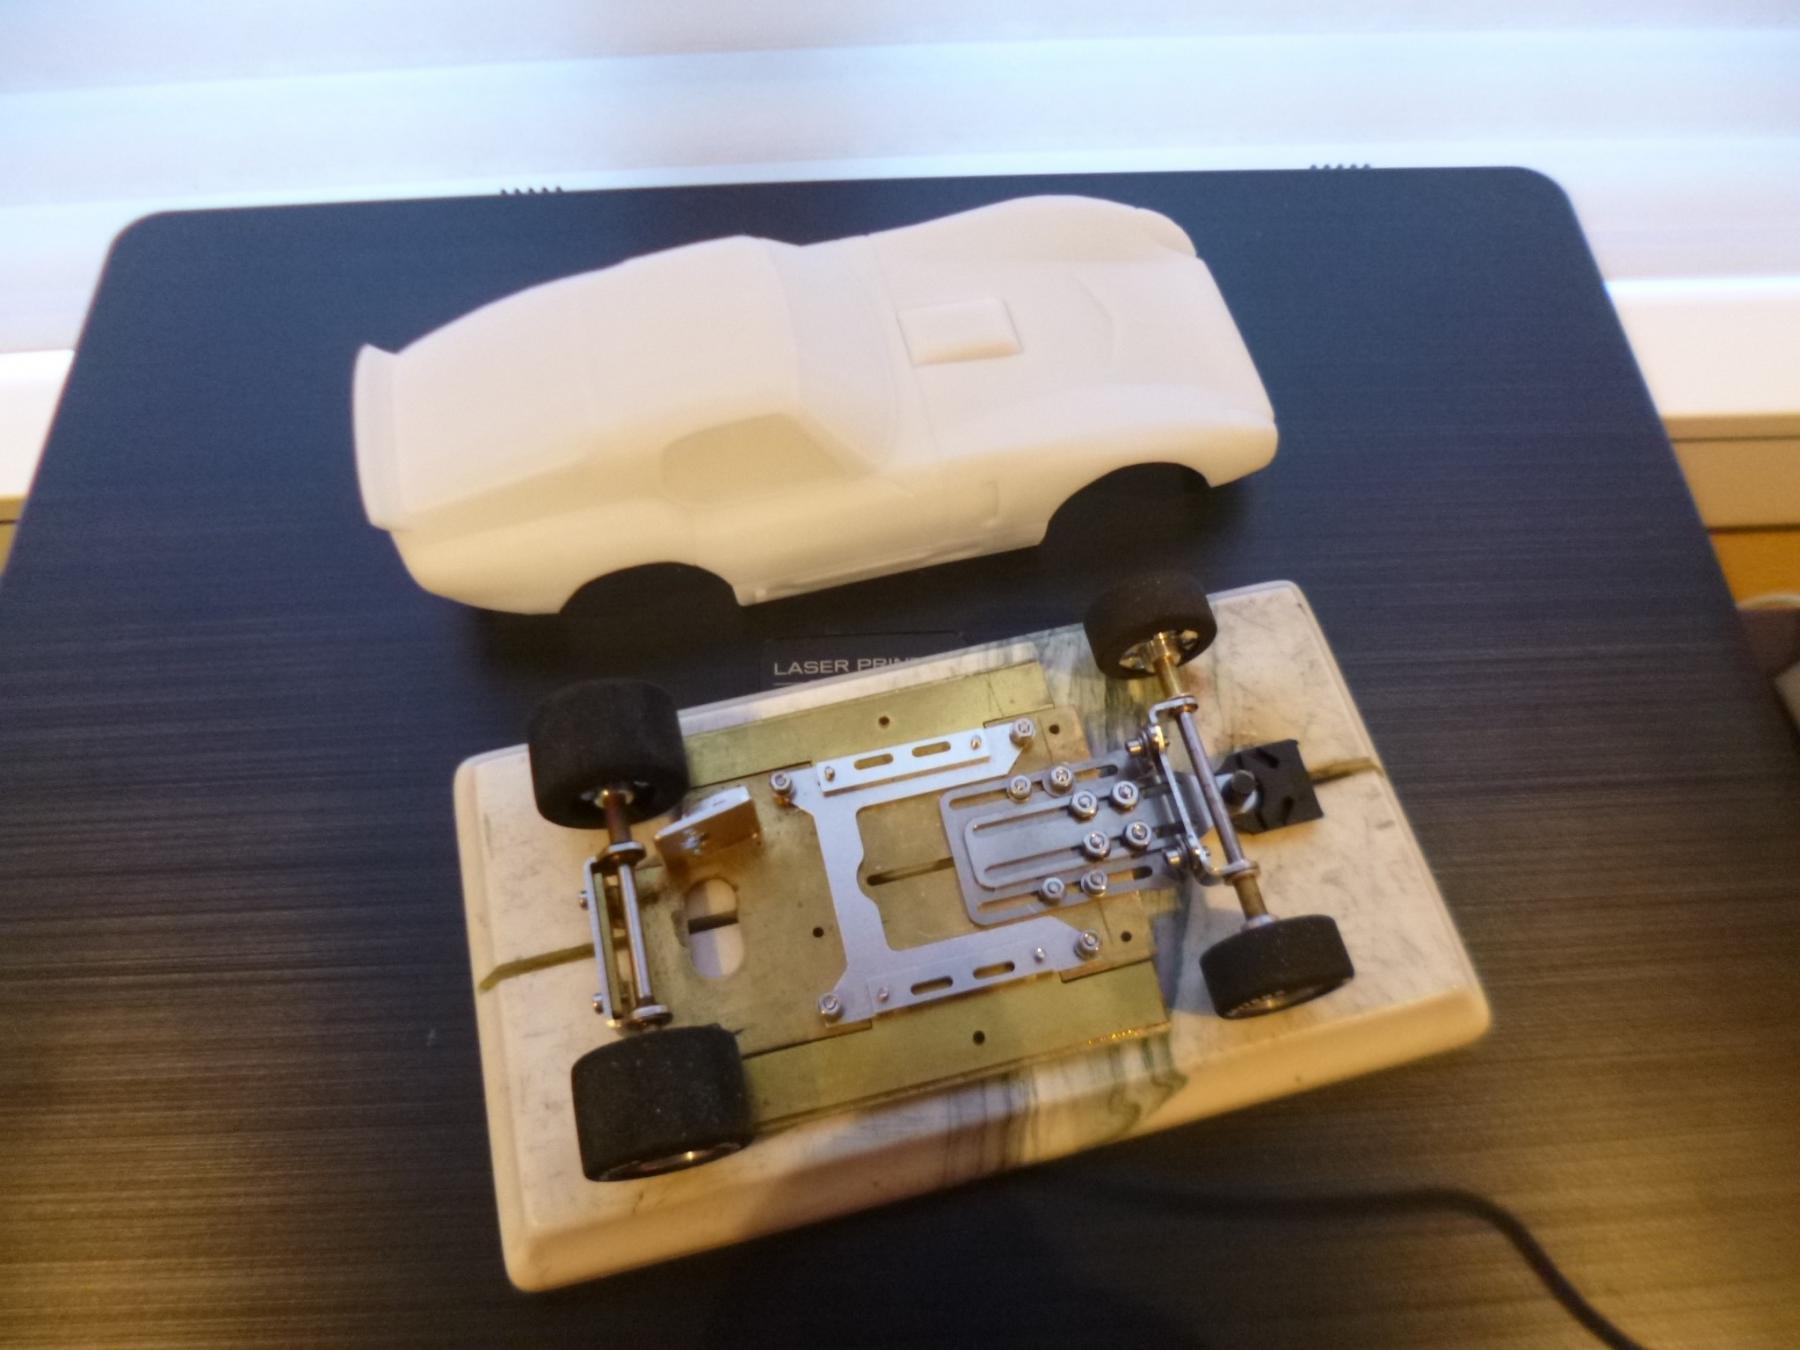
Since I grew up in the 60s, it is no surprise that the cars of that era are some of my favorites, especially the endurance machines. The struggle for supremacy during the 60s between Ford and Ferrari was the real story of LeMans contests in that era. For the most part, the Ford/Ferrari wars of the 60s can be recreated in 1/24. The GT40 Mk I, GT40 Mk II and Ferrari 330 P4 plastic models are readily available, albeit a bit pricey. Unfortunately the GT40 Mk IV is not available in 1/24 scale in plastic. Undaunted, I purchased a couple of Mk IVs cast in resin over the internet. The resin models were beautifully detailed but extremely heavy at 91 grams; totally unsuitable for slot racing. I thought about “hogging out” the extra weight; however, I was concerned that the first hard crash would demolish the car. And so began my journey into the field of molding and casting my own lightweight versions of the Mk IV.
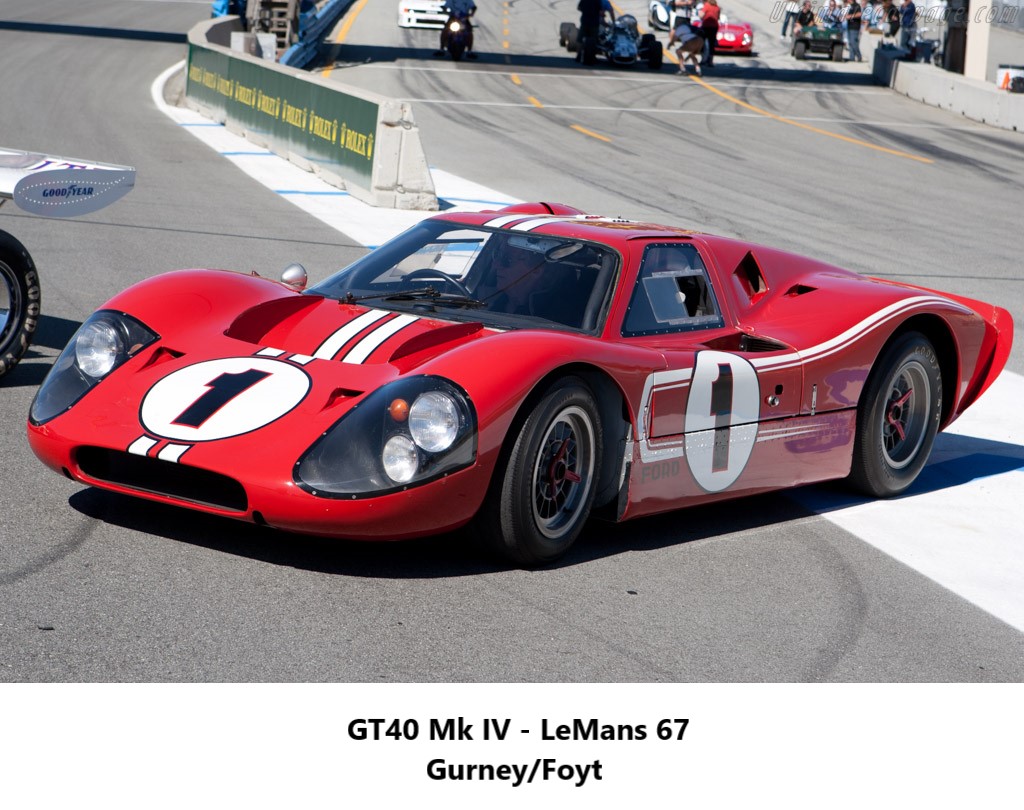
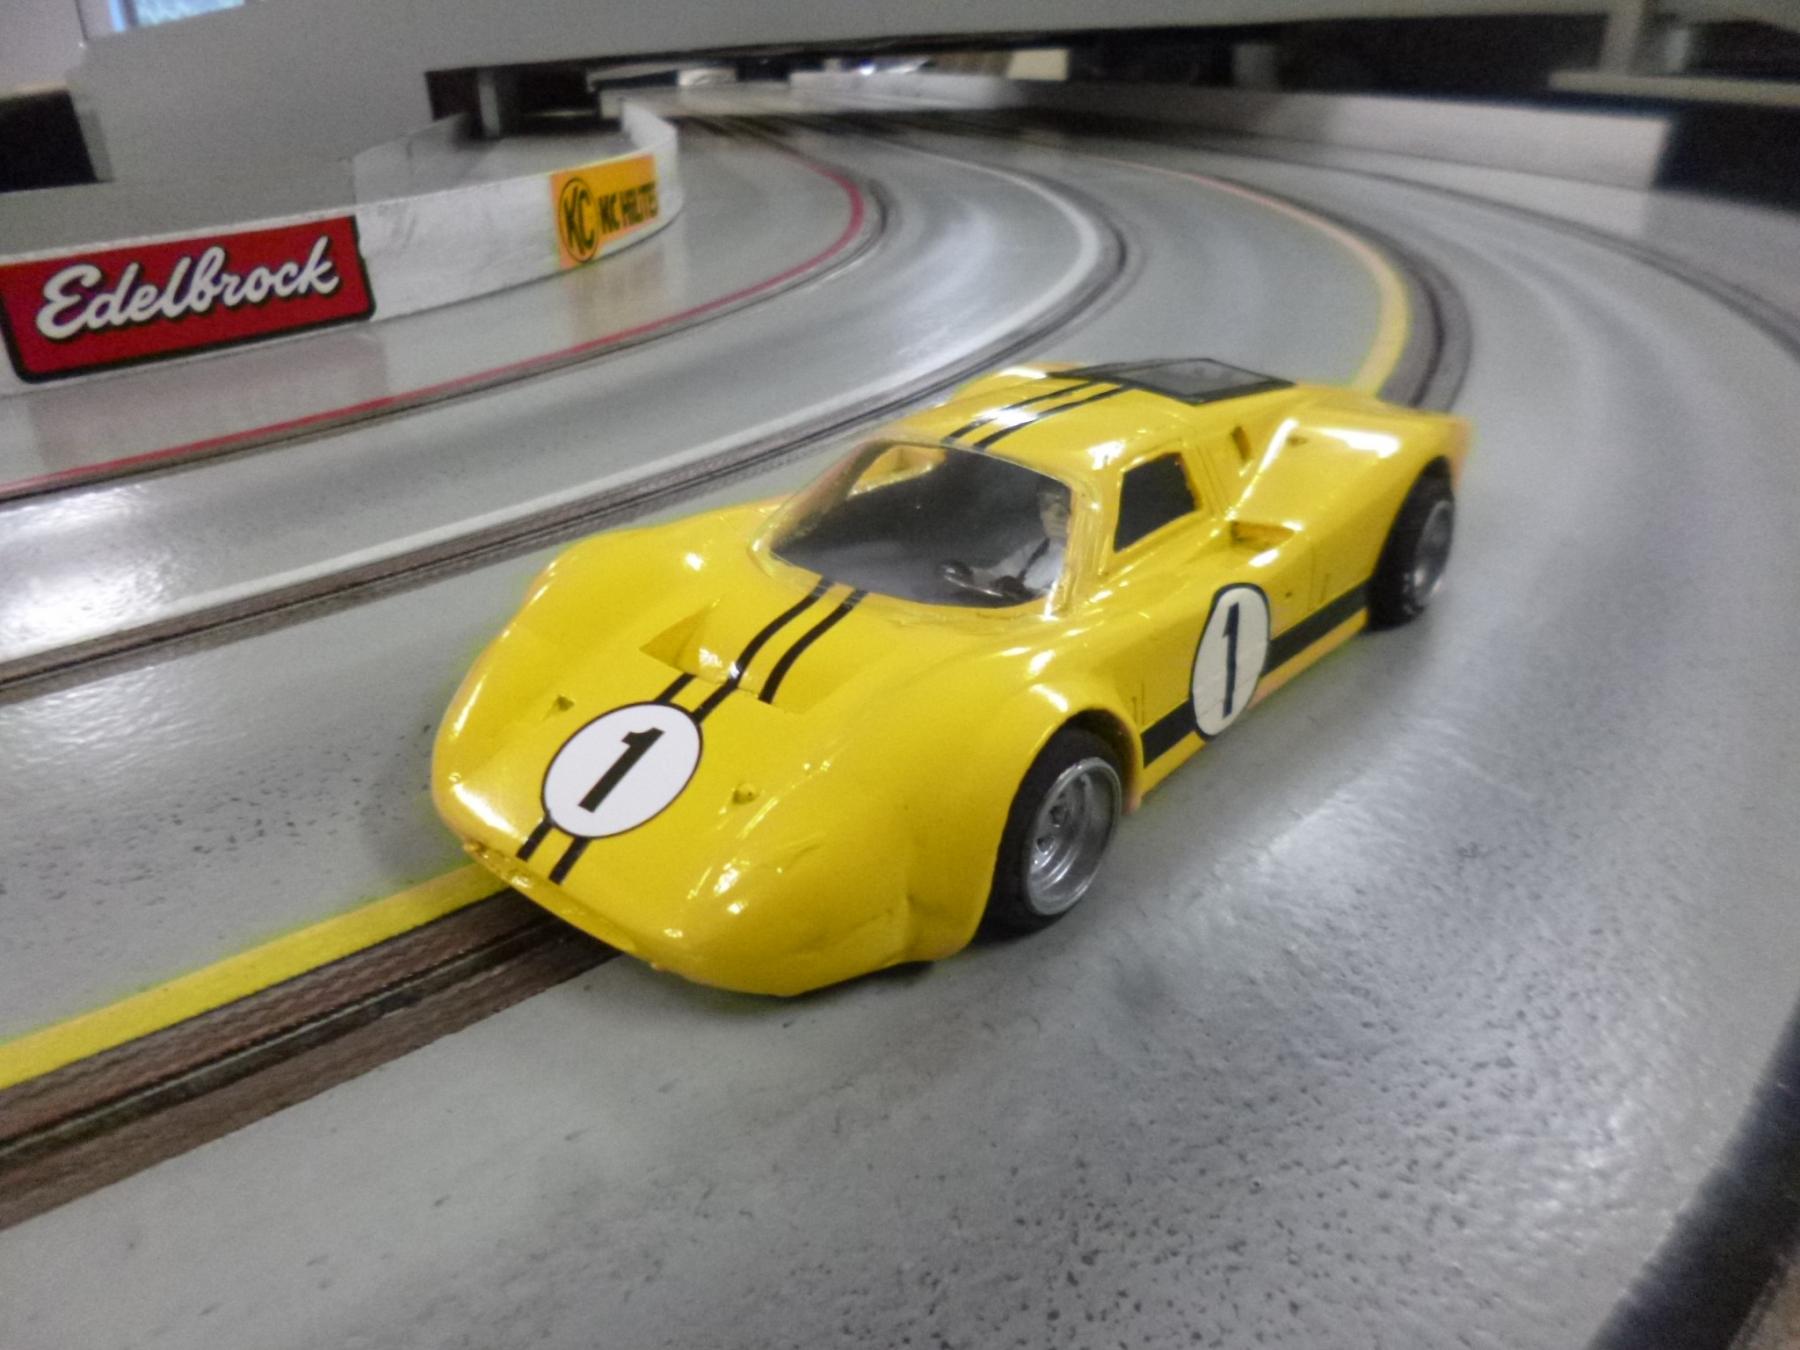
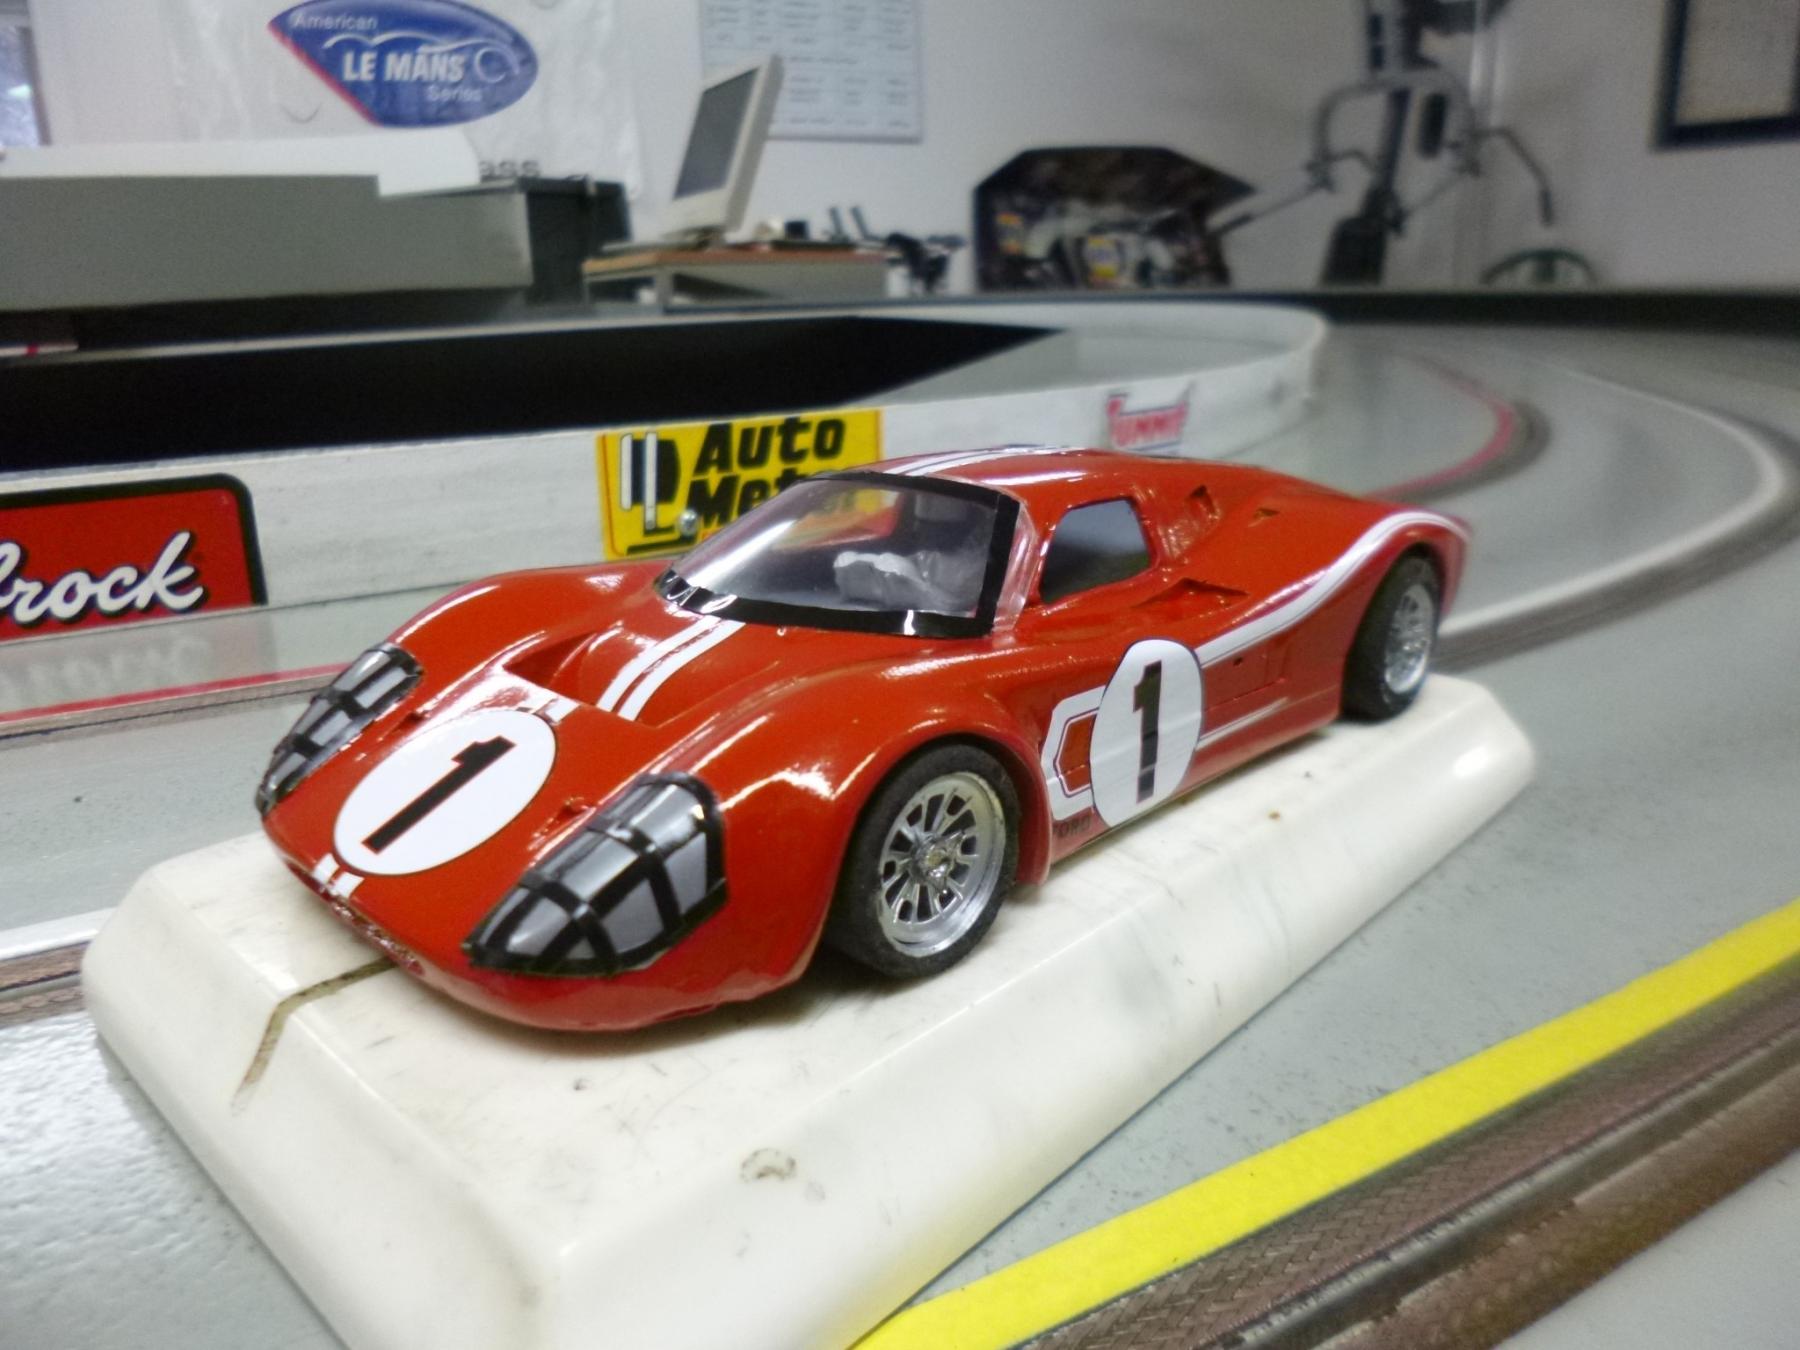
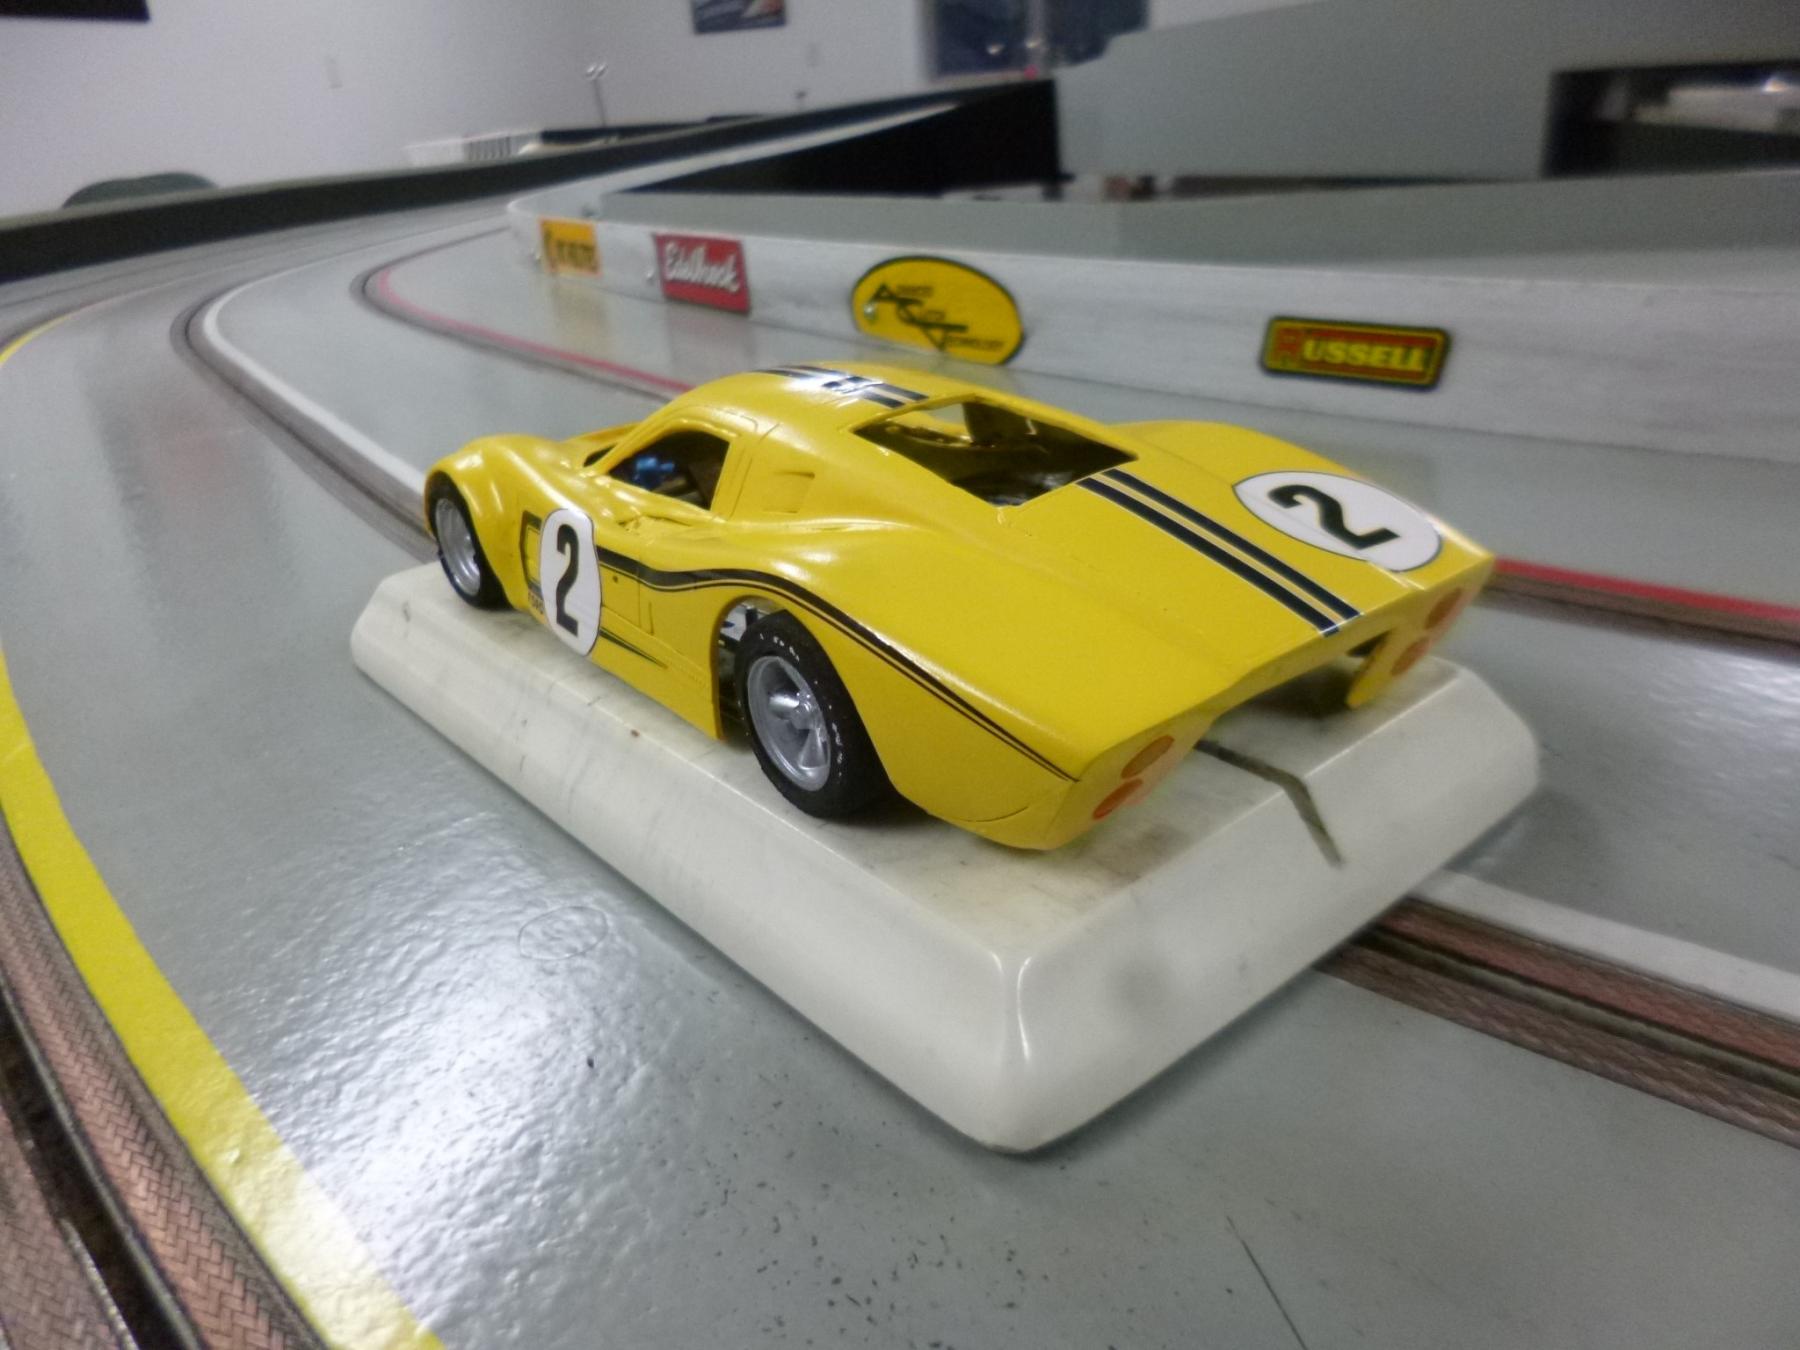
Although the Mk IVs appeared in only two races, they were really the pinnacle of Ford’s development; an all American car winning the greatest race of them all, LeMans. Below are images of the 1 to 1 MK IVs. A single Mk IV was entered in 67 at Sebring. The car was painted yellow and assigned the #1. It was driven by Mario Andretti and Bruce McLaren and won the race handily. The final appearance of the Mk IV was at LeMans in 67. Four cars were entered. The #1 car painted red was driven by Gurney/Foyt and won the race. The #2 car painted yellow was driven by McLaren/Donohue and finished fourth. The #3 car painted copper was driven by Andretti/Bianchi and crashed due to a brake problem. The #4 car painted dark blue was driven by Hulme/Ruby was a DNF due to a crash.
Below are my renditions of these fabulous cars that I cast in resin (the Black #3 and White #5 are fantasy liveries). I am still experimenting with reinforcing the resin casts with carbon fiber. My carbon fiber “test cars” are the Sebring and the Ford France Mk IVs. These will be tested in competition over the next several months. If they pass muster, I will cast at least two more Mk IVs; The Andretti and Hulme cars. At that point I will update this post
Research
Any successful project begins with research. I solicited and received input from members of this forum and experts in the casting field. I discussed resin casting with a sister club in Eugene, Oregon that runs several classes of cars cast in resin. I also looked at many videos on the internet (check out the following . Feel free to do some research on your own but no need to spend the time and effort that I expended. The mysteries of molding and casting are revealed in the following paragraphs. There are several products and methods which may lead to a successful end result. I will simply (I hope) describe the supplies and methods I used.
Supplies
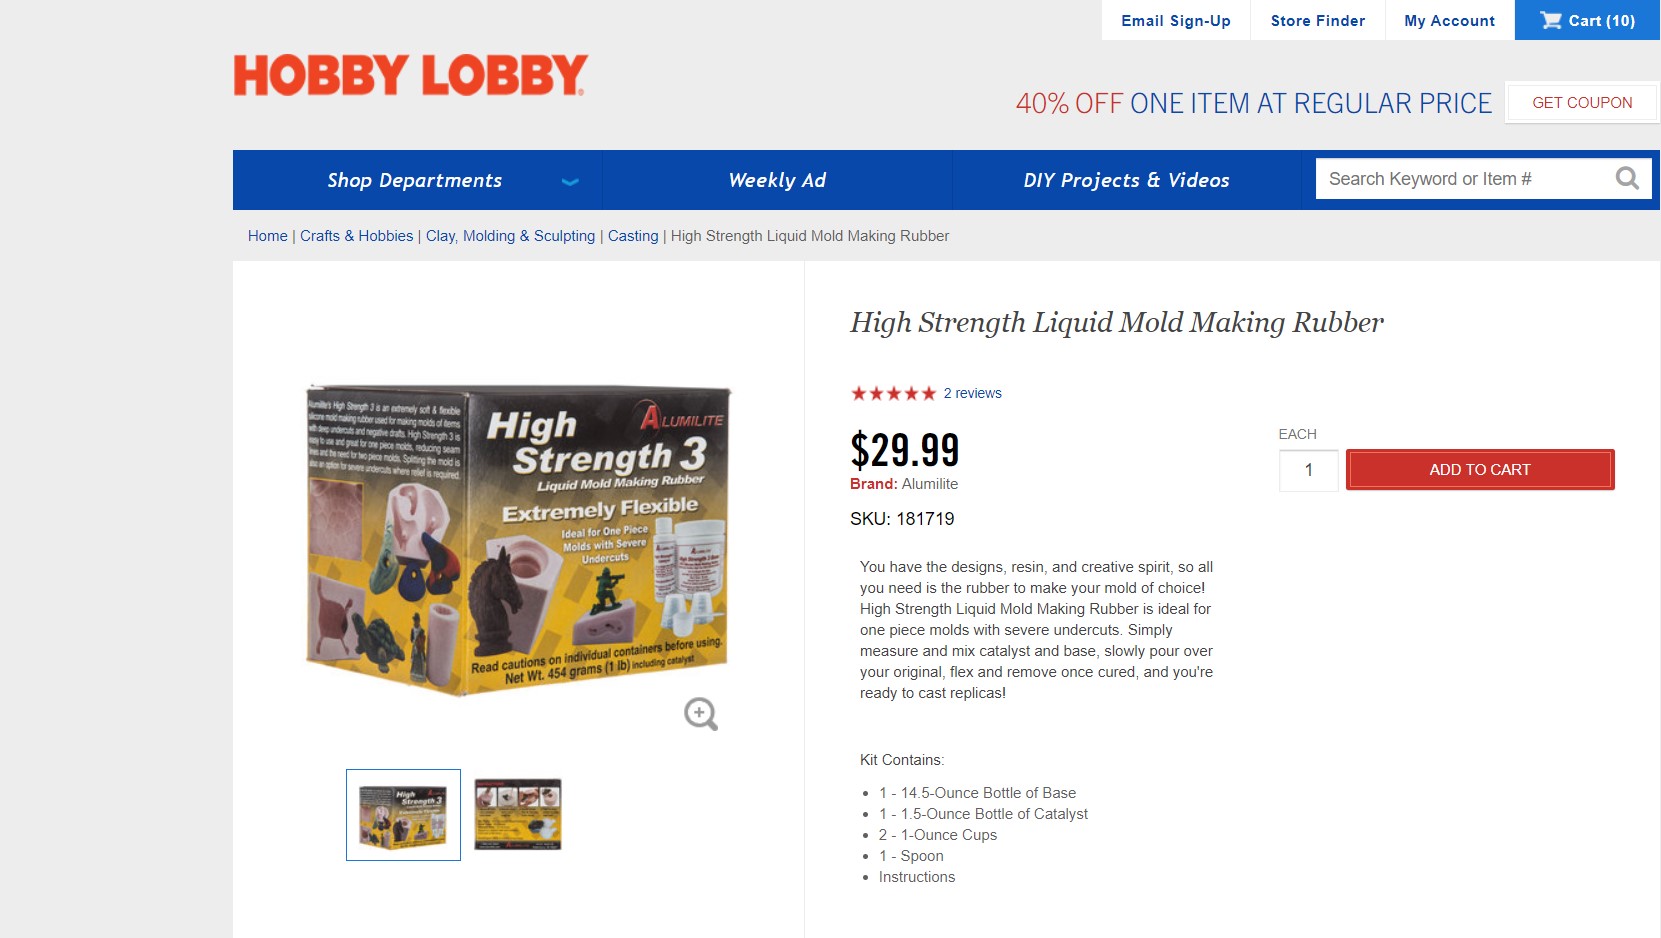
The table below lists the supplies I used for the project. Products are illustrated below the table (many of the prices shown are too high. Hobby Lobby has a 40% discount on one item per visit. Several visits can save plenty of money. Also, I ordered my supplies for my next project through the Hobby Lobby website. The silicone mold making supplies were at 40% off for the entire order although I paid a bit for shipping)
Quantities and Cost Estimate
Mold rubber is the most expensive part of the project. It is imperative to accurately estimate the amount of mold rubber needed for an individual project. Too much and one will be wasting a lot of money. Too little and the mold will be no good. The amount of mold rubber can be determined by a simple calculation (Volume of mold rubber = volume of mold box – volume of the model).
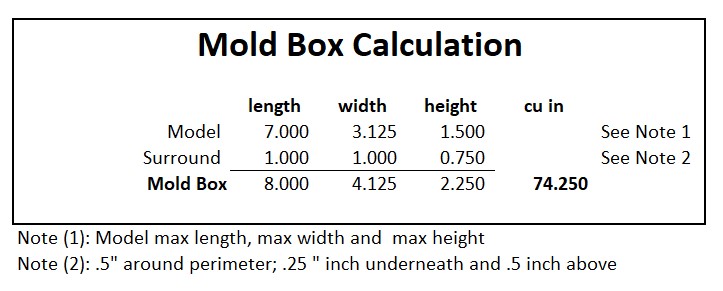
To determine the size of the mold box, measure the maximum length, width and height of the model. In the case of the Mk IV the maximum length was seven inches, the maximum width was 3.125 inches and the maximum height was 1.5 inches. A good rule of thumb is to add a half inch buffer or surround (half inch on each side and in front and back) and at least a half inch on top as well as at least a quarter of an inch on the bottom. In the case of the Mk IV, the mold box was calculated at 8 inches in length by 4.125 inches in width by 2.25 inches in height or 74.25 cubic inches.
When the mold is created, the inside of the model will be filled with clay so as to create a cavity in the mold box which is the female representation of the model. For the sake of estimation, I wrapped the model in clear tape. A rectangular vessel was filled about half way with water. The height of the water was marked on the outside of the vessel. The taped model was submerged in the vessel and the new height of the water line was marked. The amount of water displaced by the model was removed, weighed and then converted to cubic inches. This calculation is shown in the table below along with an image of the mold box and taped model.
Knowing the volume of the mold box and cavity volume, the volume of silicone in cubic inches can be calculated. It is 74.250 - 22.143 or 52.107 cubic inches of silicone needed.
According to Alumilite’s website, there are 21.5997 cubic inches per pound of silicone. Therefore the pounds of silicone needed for the mold is 2.412 (or 52.107/21.5997). The table below details the cost estimate for molding and casting supplies. Note that I have used carbon fiber affixed with a penetrating epoxy to bolster the strength of the casting (not included in the cost estimate and deemed optional).
Molding Process
The model is filled with non-hardening sulfur free clay and affixed to the bottom of the mold box (drilled a hole in the bottom of the box and used a wood screw in the clay to prevent the model from moving during the molding process). Note: add the quarter inch buffer in clay between the model and the base. I don’t have a good picture of this but Matt illustrates this in one of his images. The mold box was then centered over the base and sealed with caulk to prevent the silicone molding material from seeping out during the pour (note all joints are sealed). See below for images
That is all there is to it. Now it is time to pour the silicone molding material.
The mold is removed from the box, turned over and the model is then removed from the mold. The silicone mold is now complete. See image
Casting Process
I re-boxed the mold so that it would not jiggle around during the slosh casting process. I also added some hardboard “ears”, again so the mold would not move during the casting process. See below for an image of the set-up prior to casting.
Compared to silicone molding material, the casting material is very inexpensive. The 32 ounce resin kit will make 10 to 15 casts or more depending on the size of the model so feel free to experiment. Casting is more of an art than a science. My first cast came out great except for the fact that it was much too heavy. When part A and part B of the casting material are mixed the color of the result is white and when poured it is hard to tell if coverage is sufficient or if one is using too much material. The solution is to add black dye to part A before mixing with part B for each cast. Note that the dye is concentrated and a drop or so is enough for an entire cast (The cast may come out in shades of gray or black depending on the amount of dye used).
When mixed, part A and part B begin to set up within a few minutes so it is imperative that several batches are mixed and sloshed to complete the cast. I used a batch size of 10 grams (5 grams of part A and 5 grams of part B. The liquid batch was poured into the mold and sloshed around. I first concentrated on the rear window and deck. I sloshed the liquid around until it began to set up (5 minutes or so). One can tell when the batch is setting up because the liquid sloshes slower and slower as the mixture congeals. Once the batch begins to congeal, set down the mold and mix another batch. Pour into the mold and repeat the process until the entire cast is finished. Write down the amounts of parts A and B in each batch for future reference.
Although, Alumilite indicates that the cast will be ready to remove from the mold within an hour or much less, I let the casting material set-up for twelve hours or so. This is because, the thinner the cast, the longer it takes to set-up. It simply does not make sense to remove the cast too early which can result in deformation.
Consider the first cast an experiment. It may be too heavy or too flimsy. Adjust the amount of resin used for the next cast. Note that thin spots can be bolstered by using JB weld. In addition, the first cast may have inconsistent color and appear mottled (only a cosmetic problem) because a different amount of dye was added to each batch. Addressing this cosmetic problem is relatively easy for subsequent casts. Once one has determined the total amount of casting material to be used for a good cast, pour the corresponding amount of part A into a cup and add a drop or so of dye. Then, use the dyed part A to mix up with each batch of casting material. In the end, if one needs a bit more part A to complete the cast, simply pour a bit of part A into a cup and add the dye. The consistency of the color of the cast is not that important, so don’t worry about the amount of dye mixed.
Washing and Filling
The first thing to do after removing the cast from the mold is washing. Use dawn dishwashing liquid to remove residue and any mold release (I did not use mold release but it still important to wash the cast). Examine the cast carefully for imperfections including small voids. Fill these with Tamiya putty and sand down with 600 grit wet or dry paper.
Carbon Fiber Re-enforcement
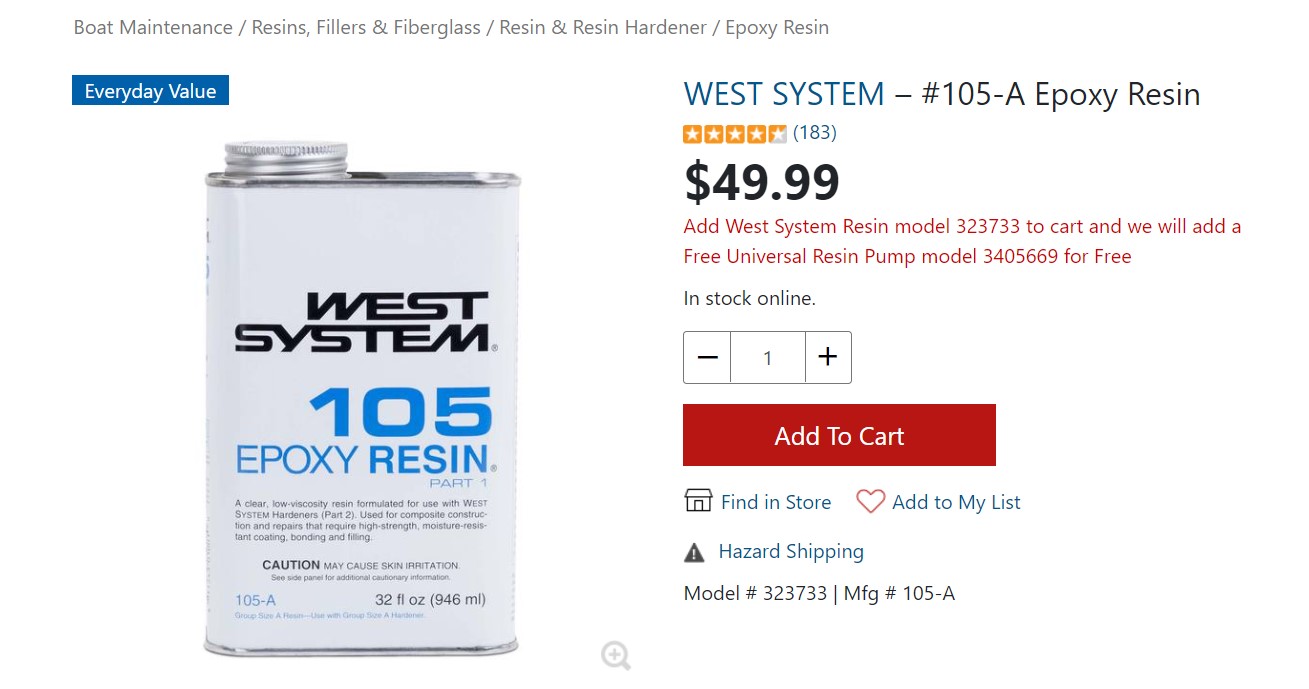
Carbon fiber re-enforcement is optional. I used it to bulletproof the light castings. I used carbon fiber cloth fabric plain weave (don’t buy sheets because they are too stiff). To adhere the fiber in place, I used Git Rot (I have purchased West Marine 105 epoxy and 205 hardener as an alternative because the Git Rot took way too long to dry and did not dry as hard as I would have liked. The West Marine 105/205 may be better and I will supplement this post after experimenting)
Priming and Painting
I made several failed attempts at priming and painting. Perhaps failures were due to not washing the cast thoroughly. Perhaps failures were due to the paint itself. I found that lacquer based primer and paint seemed to work well. I used Dupli-Color Automotive primer under all successful paint jobs. The primer comes in black, grey and white. Matt suggested that I use Rustoleum acrylic lacquer for the finish. Unfortunately, the Rustoleum comes in only black and white (both of which I have used with success). For the yellow and red cars I used Dupli-color perfect touch (again lacquer based paint). Be sure to wear a respirator while painting with these lacquer based paints. At some point in the future, I intend to cast the copper and blue cars. I will update this post with additional information on paint.


