Slot car restoration techniques
#26

Posted 30 June 2022 - 09:31 AM
The easiest steps are:
-take car apart to clean individual parts
-Clean parts with luke warm dawn soap water and scrub with soft tooth brush.
-You can take assorted metal polish (i just use brasso) and start removing tarnish from various metal parts.
-take bare chassis if possible and put on flat surface and start straightening it if it’s bent.
-if foam tires are dry you can cut a old threaded axle in half chuck up in a dremel and grind them down on a piece of sand paper.
-work in RC car carpet foam tire grip additive like paragon. Take old t shirt and wipe off excess, let them sit out a few hours. I’ve saved and made runnable lots of foam tires from the 60’s.
-if it’s a vacuum formed body that is curled you can take a heat gun and carefully heat the bent area and work straight. (I’d practice on a junk body as this is kind of tricky) also helps to go past where it’s straight because these bodies seem to have memory and will slowly warp back.
-if the vacuum formed body is cracked you can use E6000 glue that dries clear and is flexible. Just leave body in a way that the glue is in the low spot because it will want to flow a little.
-you can clean crud off the body with dawn and soft brush, I’ve have pretty good luck getting a little more shine out of them wit plastic polish also.
-stuff like braids you have no choice but to buy NOS stuff on eBay or get modern braid and modify it work.
-motors I usually leave alone and just spray out with motor spray if they run.
These aren’t steps to make a museum quality resto obviously but they will clean the car up to where it’s presentable and somewhat runnable.
#27

Posted 02 July 2022 - 03:40 PM
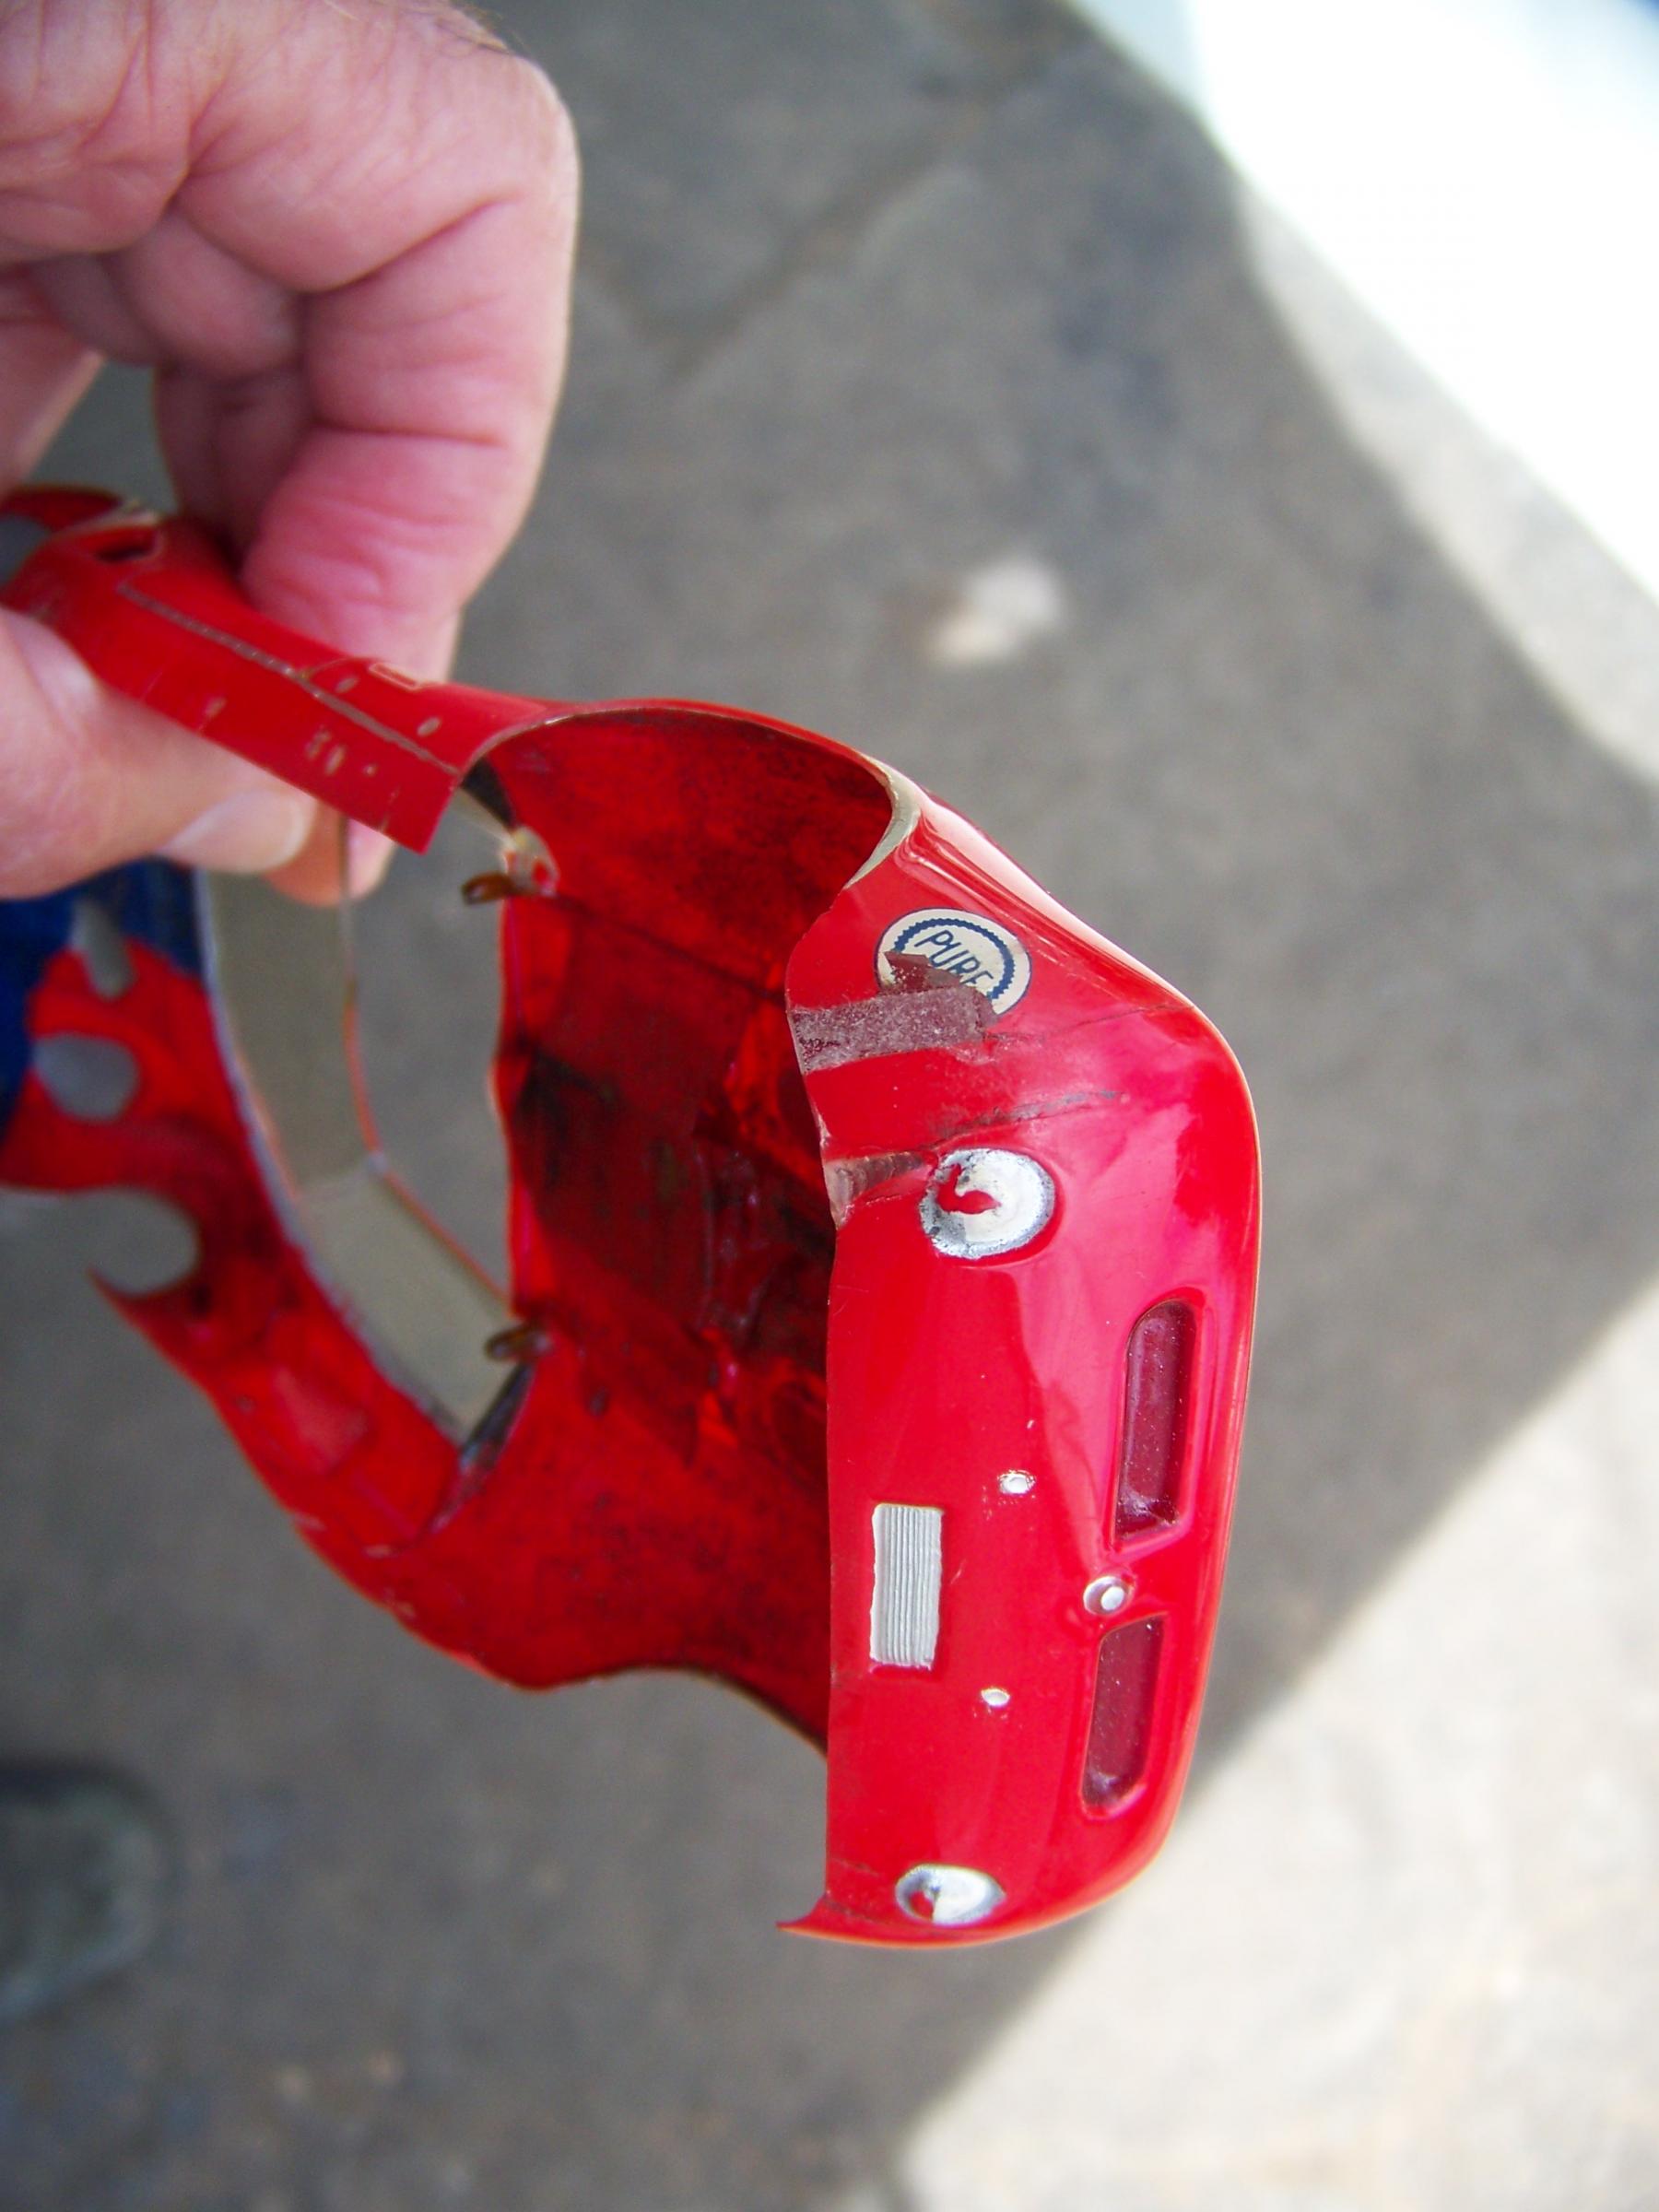
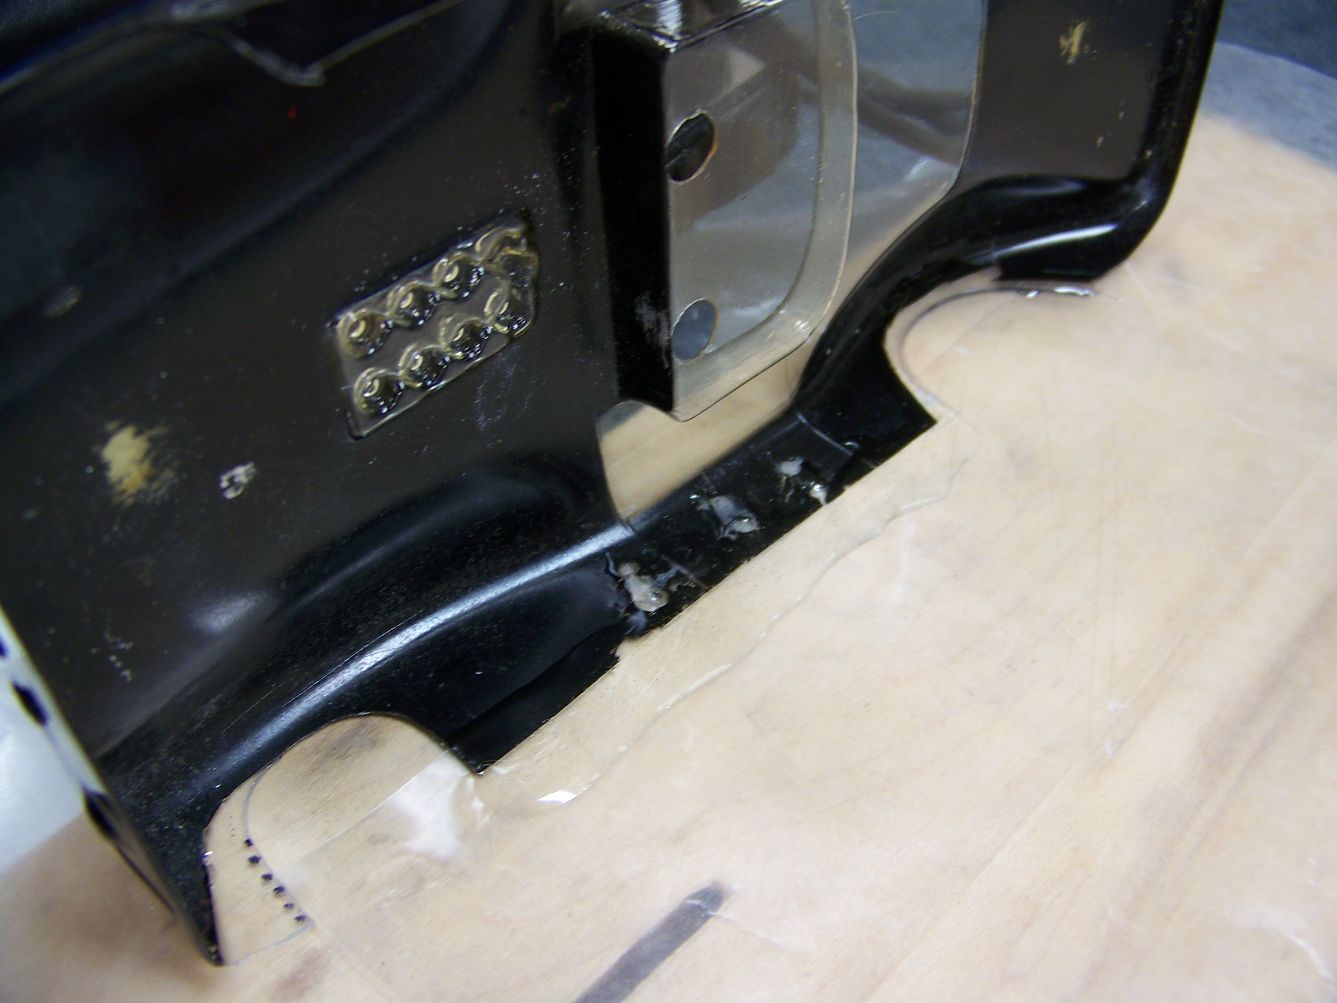
I will document this Lotus body that has a chunk missing from the rear wheel arch.
I did fix the splits on this body and filled a 1/8'' wide chunk that was gone. I used a piece of tape to act as a mold as it is just one dimensional.
More on that aspect, see Rodney's post here http://slotblog.net/...-vacuform-body/
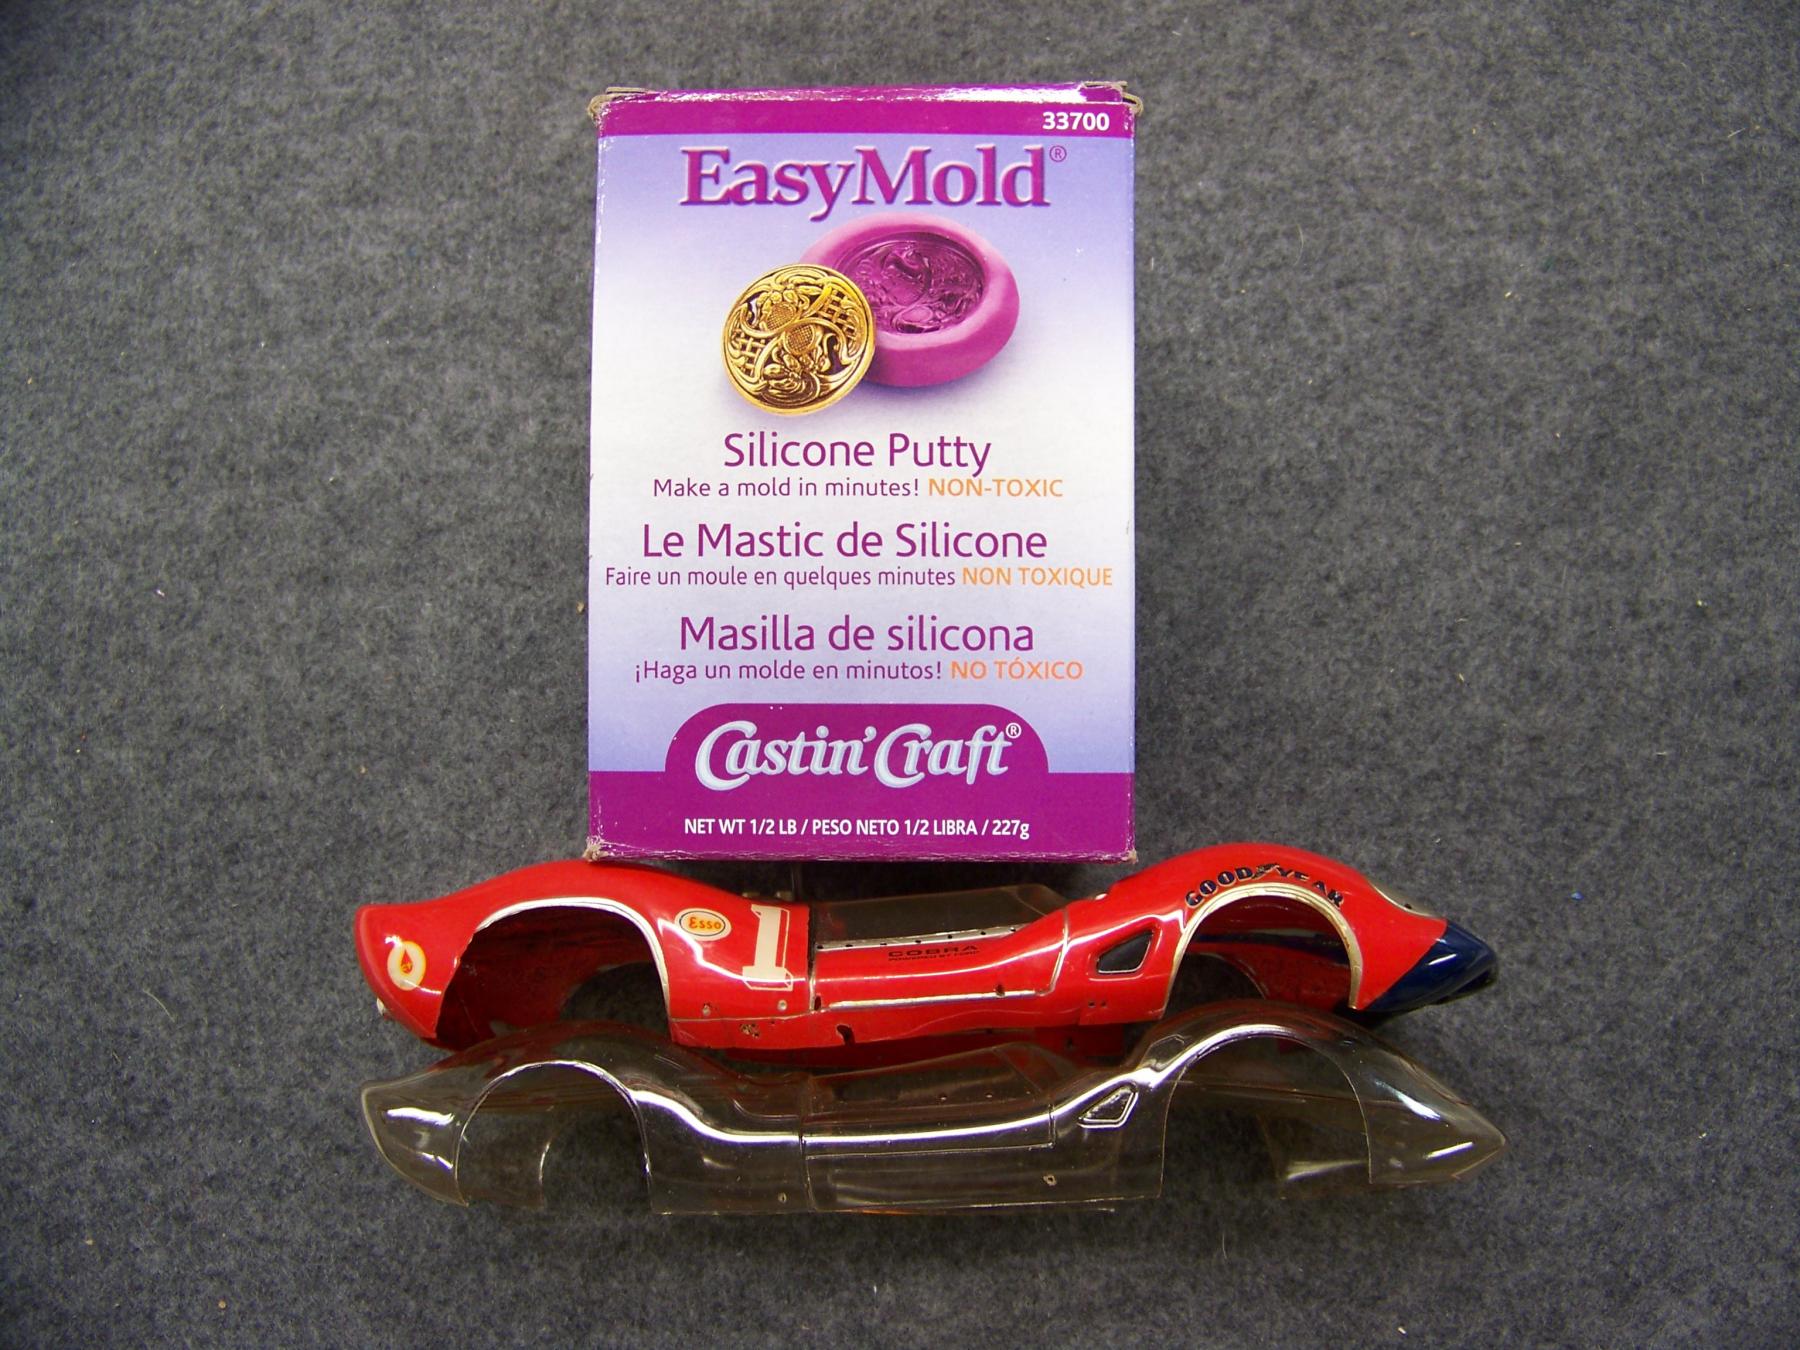
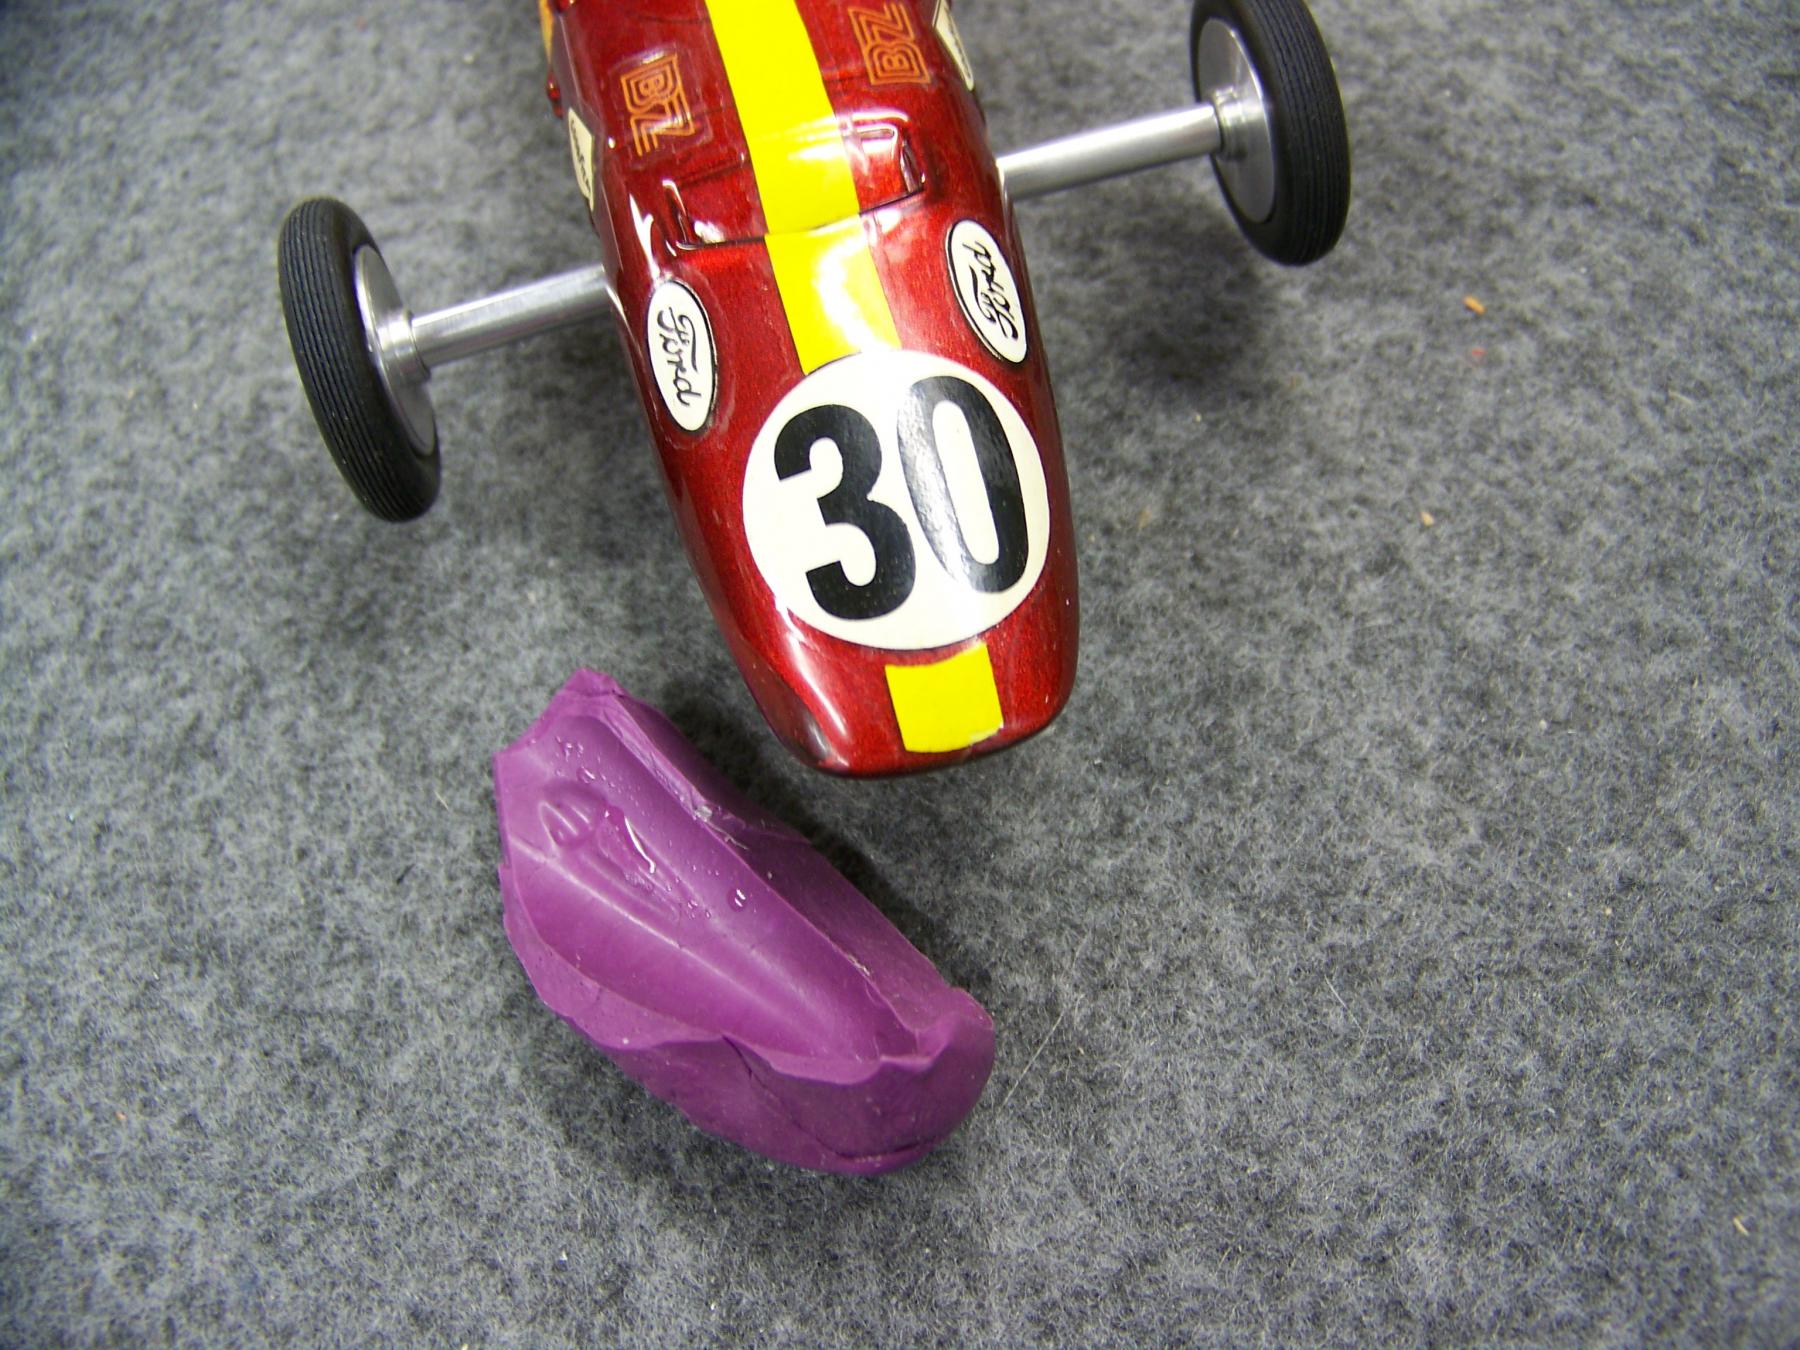
When it comes to more complex shapes I make a quick mold on a good intact body in the missing area.
I will then transfer the mold and lay it on the body I am restoring, then pour some clear epoxy into the body. If you make the epoxy thin enough you can paint on the inside like you would any clear body. More on that later.
- ajd350 likes this
#28

Posted 08 July 2022 - 01:54 PM
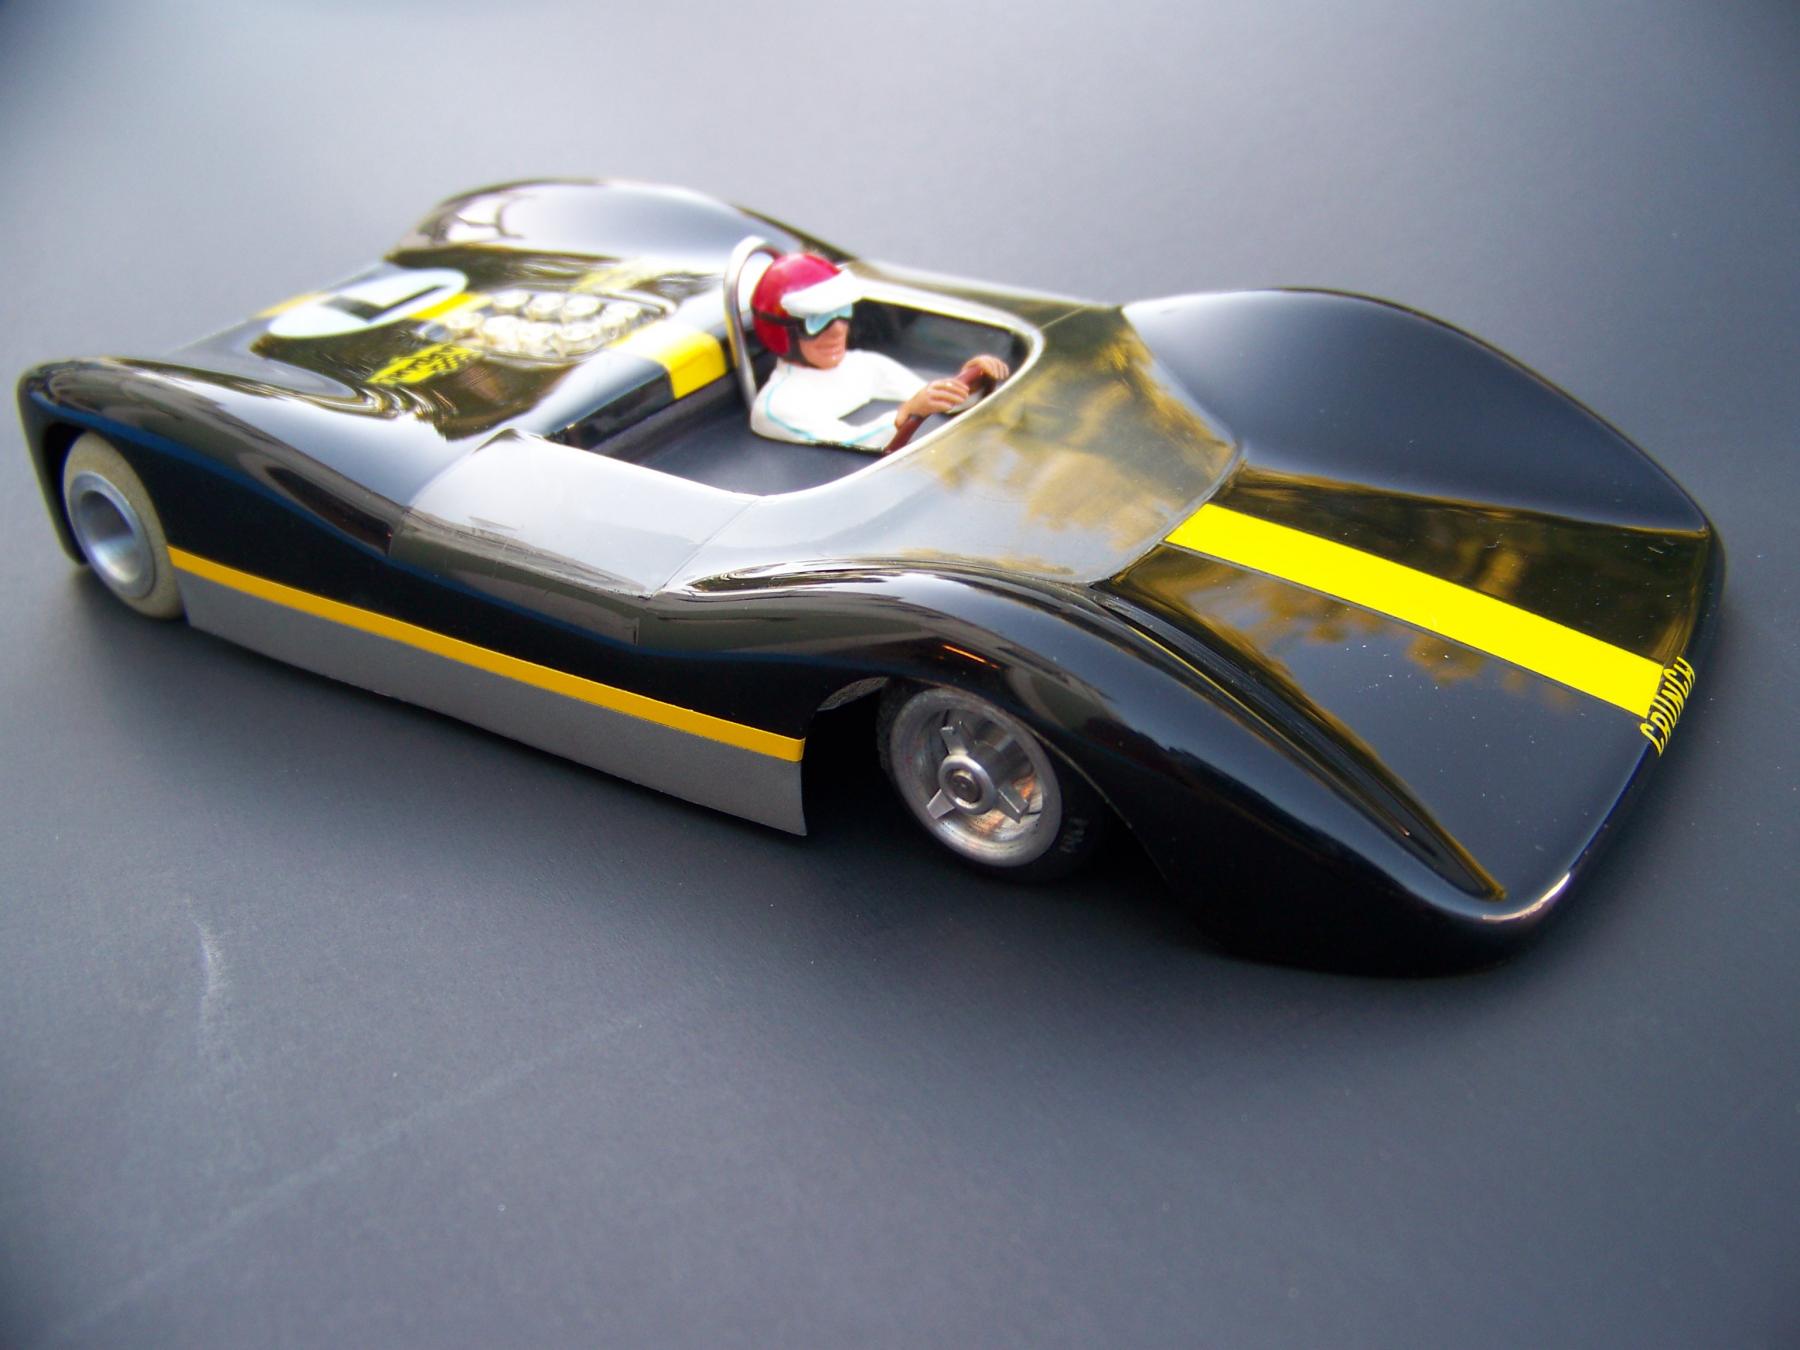
I have not added the new decal (left side is half missing) or re painted the tail lights yet but I have added the missing wheel arch piece , so now the 2 sides match. Once it has dried a week or so I will polish to blend a bit better.
I like the old paint jobs, so I thought it was worth putting some tine in. More to do like, the rocker panels etc.
- Slot Car Rod and ajd350 like this
#29

Posted 08 July 2022 - 02:07 PM
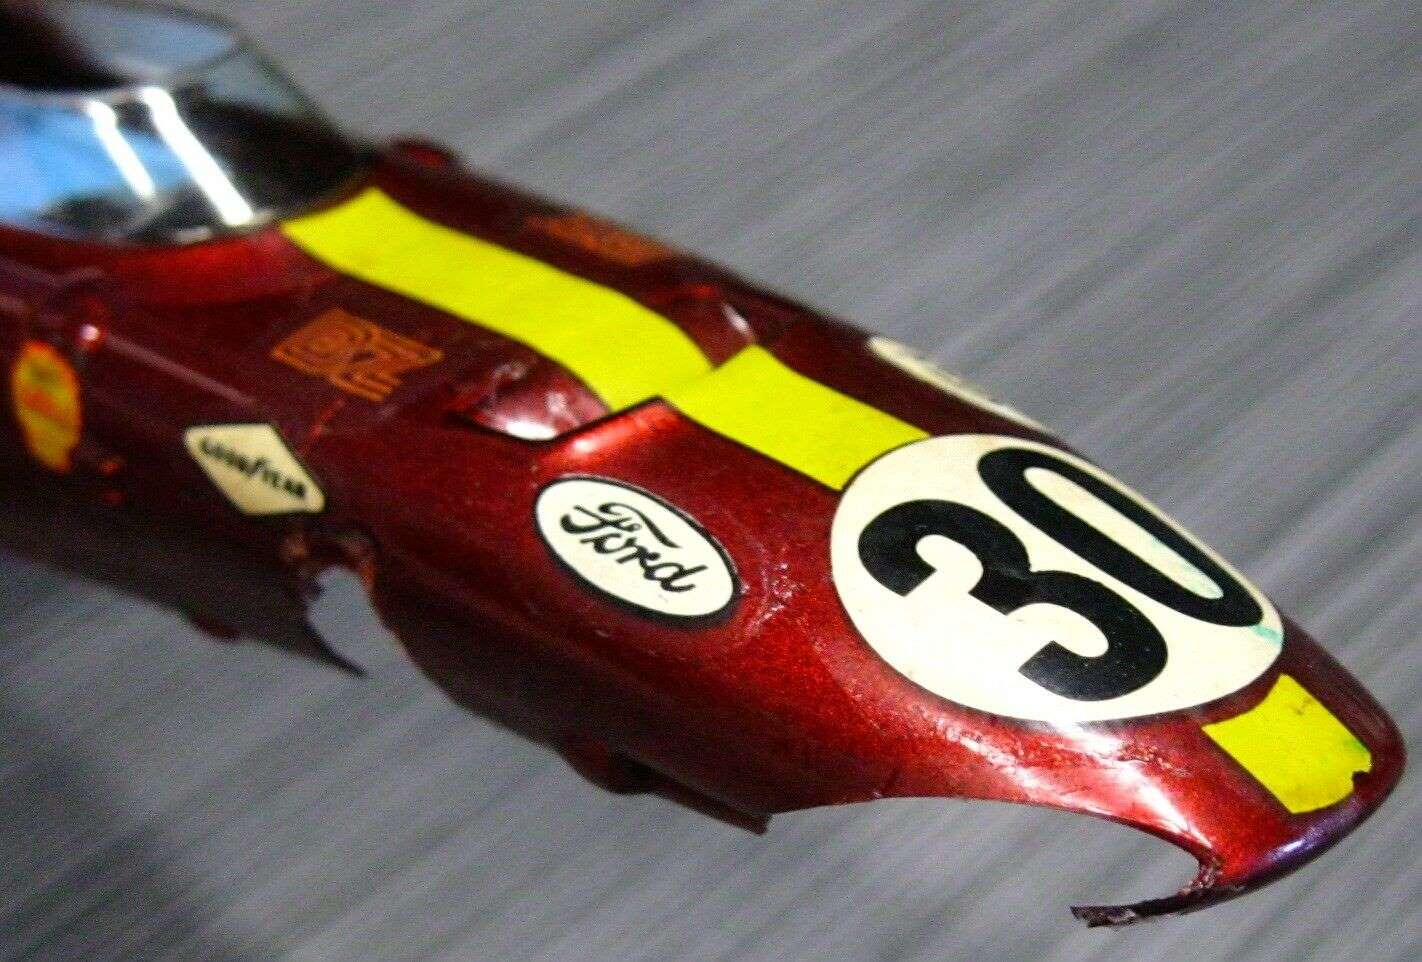
This Jad/Riggen Watson Ford was bought off e-bay (with only me bidding) as it had a big part of the nose missing. I used the same method. Taking a quick press on mold from another intact body, I was able to save this one.
Color mixing is another matter, metallic's are super hard for me,especially as most times I am too lazy to break out the air brush.
- milmilhas and ajd350 like this
#30

Posted 08 July 2022 - 02:20 PM
This car, with it's broken Lola body. Is in the process of being restored for an old friend. It has sentimental value to him as he grew up at a slot car track his mother owned in the late 60's. Is that a young mans dream or what ? This is the only car that has survived the years.
Again I make a mold and lay in epoxy. you can see here I am sanding to blend the surfaces.
Note, if you have a heat gun ready you can heat the epoxy after mixing until the air bubbles are gone. Then I use a small spoon or Popsicle stick to spread into the missing part, overlapping the body on the inside (that is there) for strength.
One more note...
I recommend putting a bit of wax ( or similar) on the out side of the body. The epoxy is like water and more often than not it will creep between the mold and the body. Apply the wax (grease maybe) close to the edge, but stay back from possible contamination of that original edge.This will save time when removing the unwanted epoxy. You want the wax or lip balm or other suitable resist to be easy to apply, do not forget to clean well to prevent contamination. Here is a before pic, notice there is a hastily cut hole cut for gear clearance or oiling. But does not have to be there. So it has been filled with the same method.
- milmilhas, Bill from NH, Brian Czeiner and 3 others like this
#31

Posted 11 July 2022 - 10:49 AM
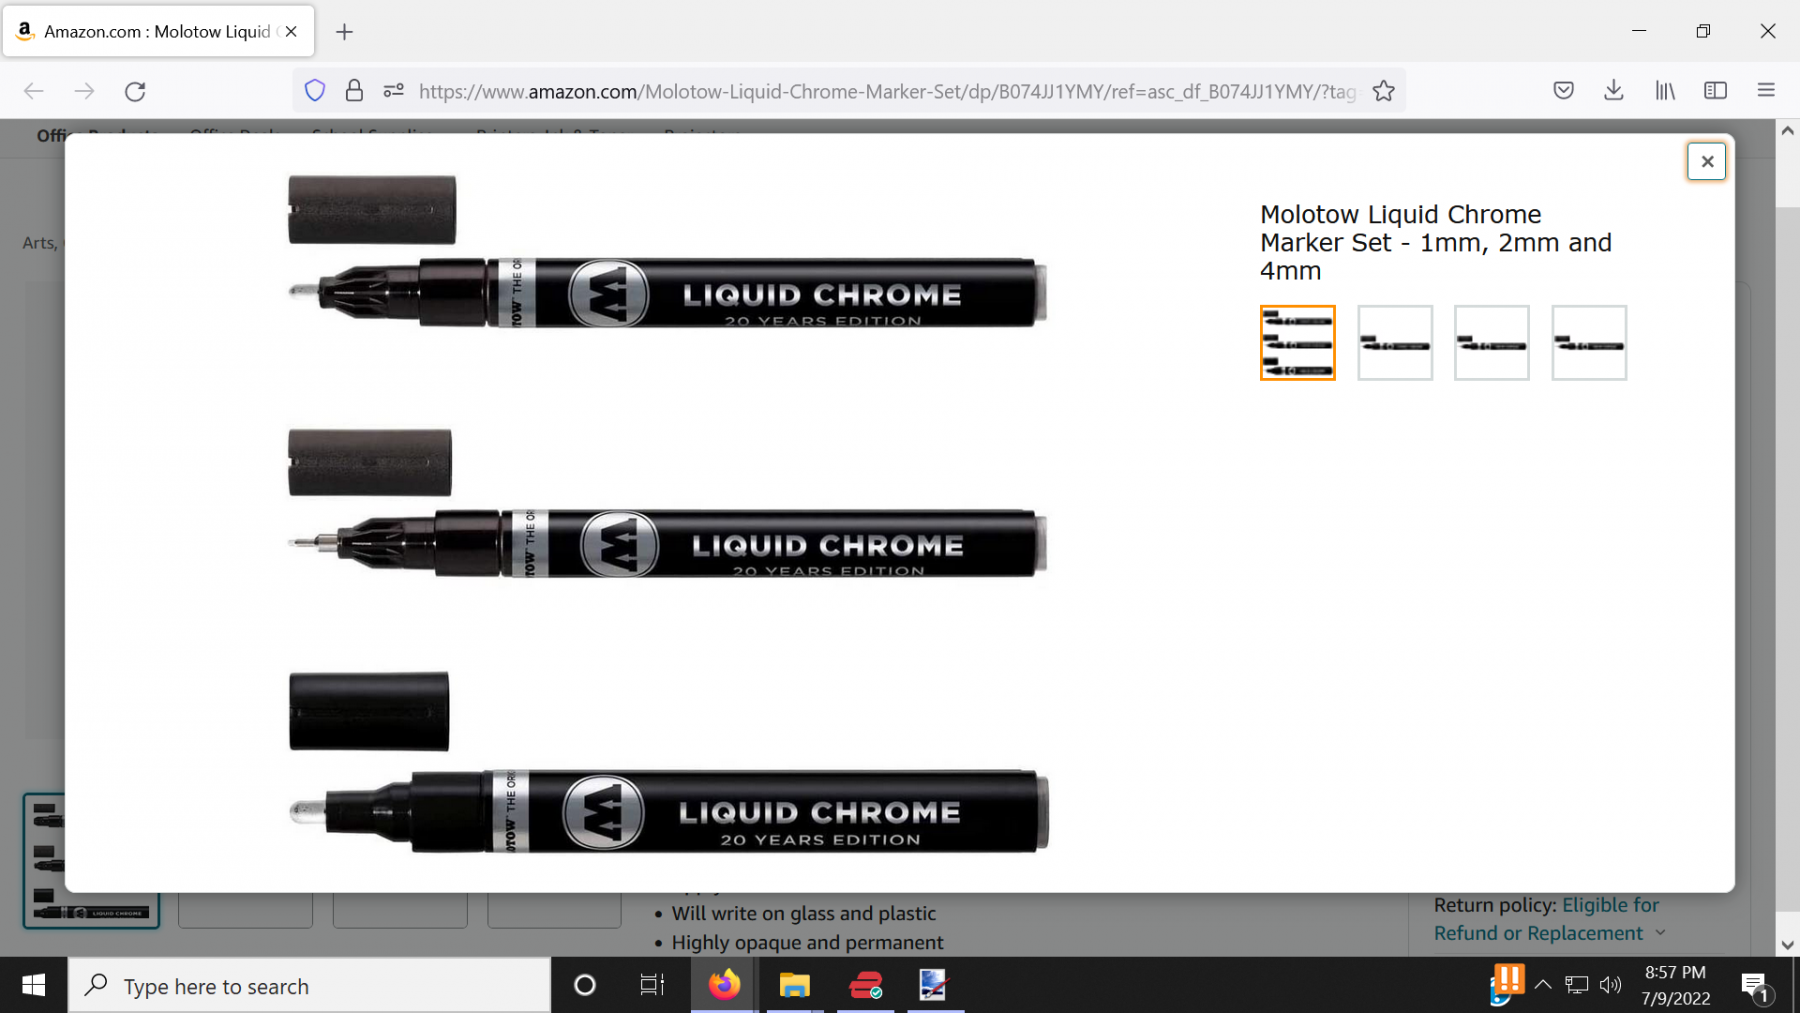
Do you have any of these in your bag of tricks?
https://www.amazon.c...B074JJ1YMY/?tag
It is like have a chromer on you work bench. Great for gas caps, roll bars etc. when you want polished aluminum or chrome.
As Rick mentioned, clearing will kill the the shine. I use straight out of the pen.
Great for that missing chrome where it has worn off or repo parts etc.
I have used these so many times and I tried to find a good before and after shot. This car had dull brass side pipes so I gave them some bling by using the pens.
- milmilhas, Bill from NH, Brian Czeiner and 2 others like this
#32

Posted 20 February 2023 - 01:10 PM
This resurfaced the other day, thanks again Nicky and thought it would be helpful when it comes time to save old clear bodies.
The Dynamic Mirage body in this link was cut down so low, it was not usable. It did take some time to do but the technique works for me.
http://slotblog.net/...4-dynamic-save/
- Pablo, Jencar17 and Brian Czeiner like this
#33

Posted 20 February 2023 - 01:27 PM
That’s quite the amazing save Martin. i might have to try on some junk bodies. is it jb weld two part epoxy in the dual syringe you used?This resurfaced the other day, thanks again Nicky and thought it would be helpful when it comes time to save old clear bodies.
The Dynamic Mirage body in this link was cut down so low, it was not usable. It did take some time to do but the technique works for me.
http://slotblog.net/...4-dynamic-save/
#34

Posted 20 February 2023 - 09:35 PM
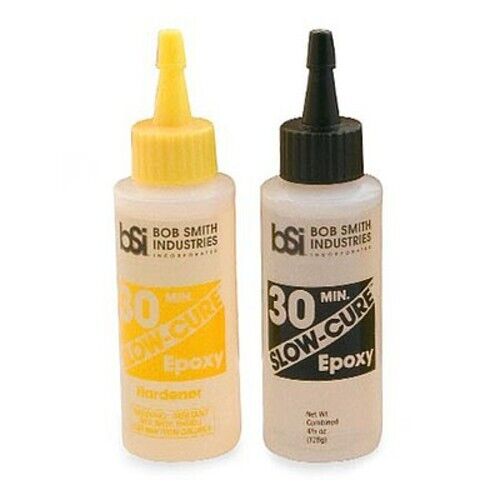
I bought mine from an Ace hardware. But I think it is available at hobby shops etc.
The 30mins gives plenty of working time and allows the bubbles to leave. You can heat with a heat gun to remove air bubbles and then pour where you want it. It does of course shorten your work time. Note....Do NOT get heat anywhere near the body.
#35

Posted 08 November 2023 - 08:55 PM
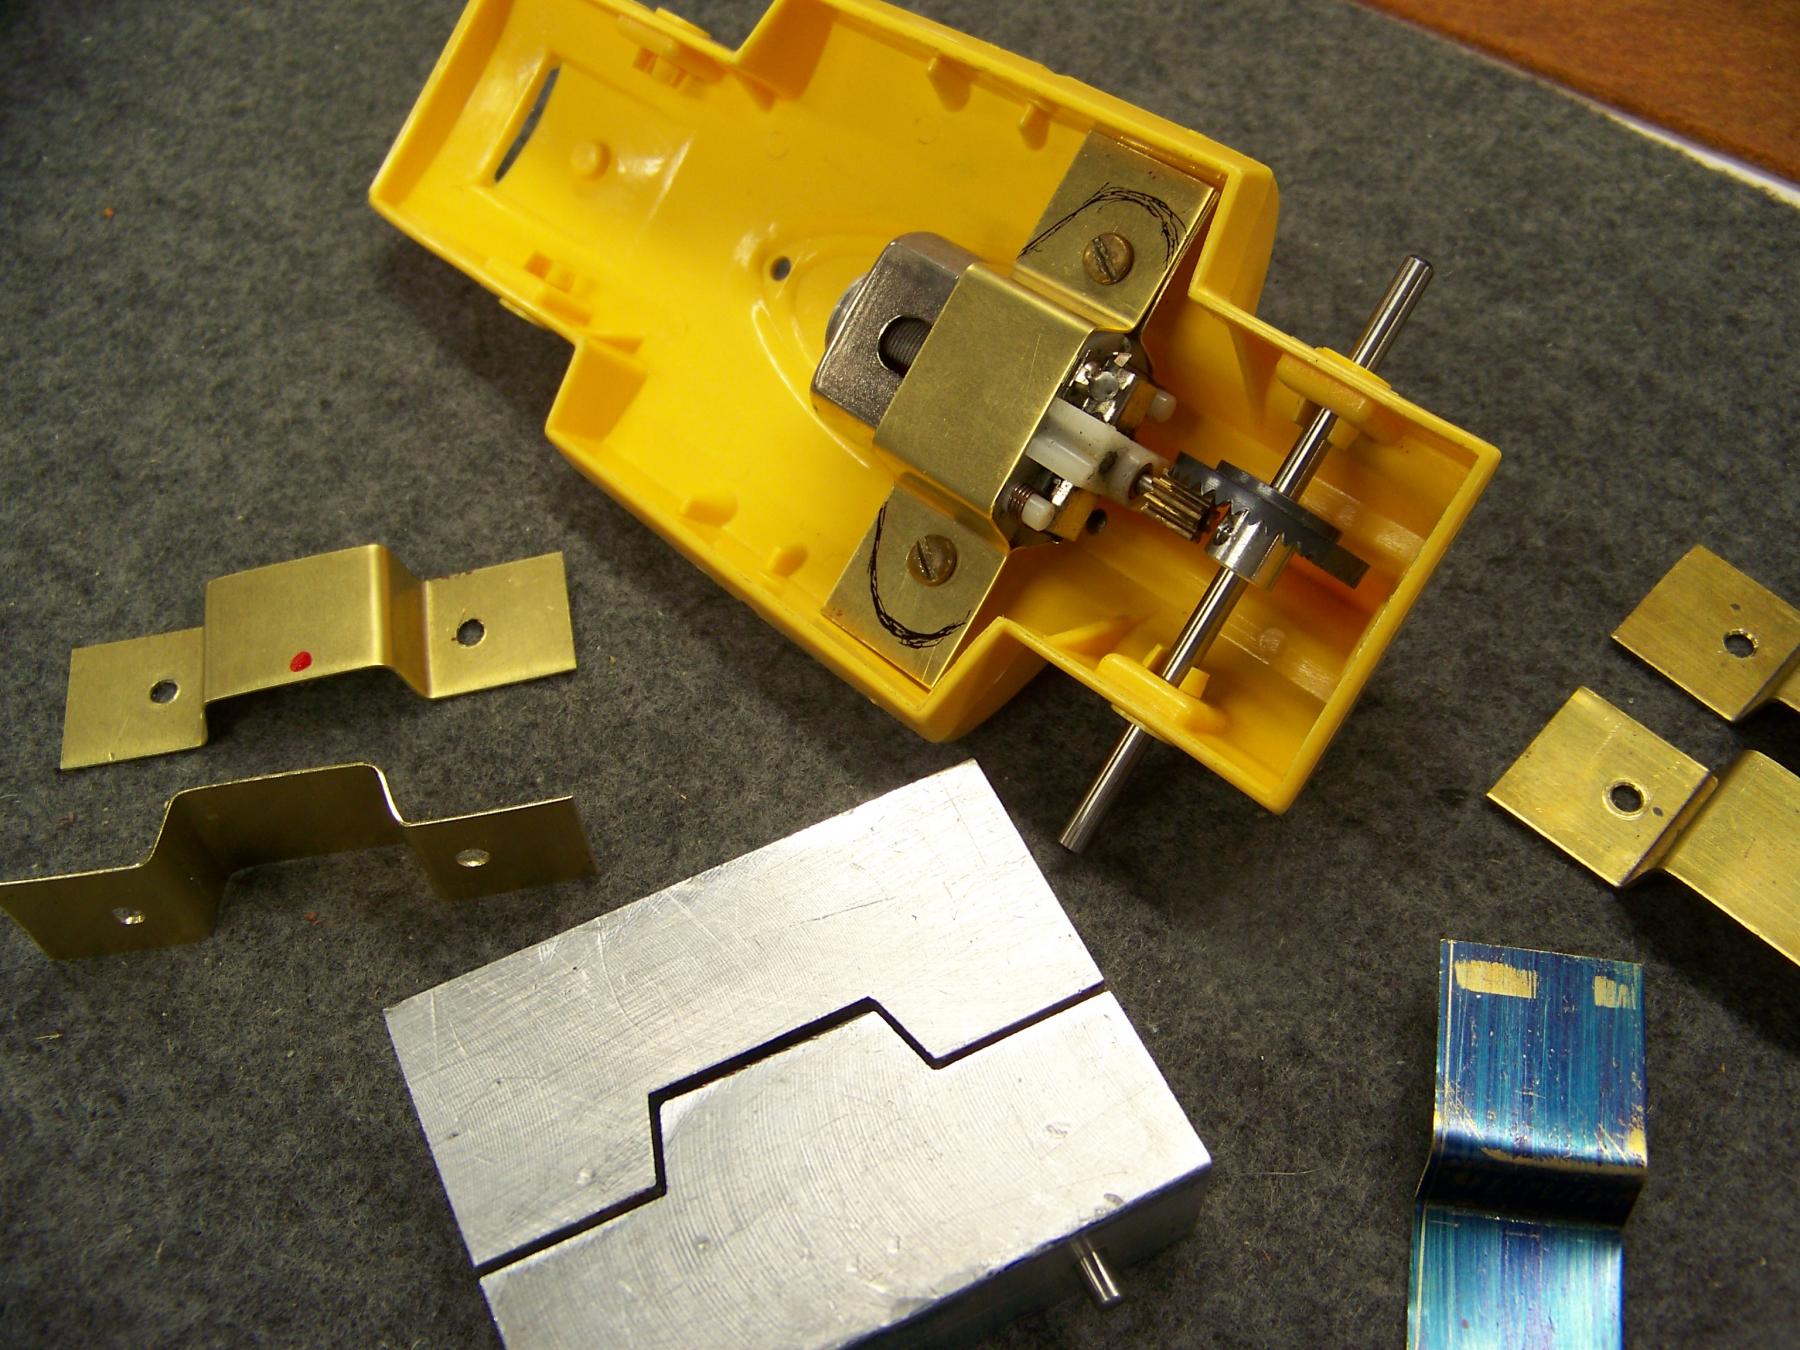
While restoring and modifying the GRC Spitfire car I thought I could improve on the plastic motor mount.
This brass version lets you use can drive or end bell drive motors, also gives more ground clearance, as the plastic one is very thick.
This design also clamps down on the motor so it is much more secure. The are made in pairs, one on top one on bottom of the motor.
I really enjoy making this kind of simple tooling so I can now make these at will. I will shape around the screws and may add cooling holes to finish it off.
The pic shows some test pressings and samples to get the clamping and shape correct.
- Bill from NH, Slot Car Rod and olescratch like this
#36

Posted 09 November 2023 - 08:52 AM
Can we see the other side of your bending jig?
I intend to live forever! So far, so good.
#37

Posted 09 November 2023 - 09:19 AM
Nice tool, Martin. Can't get any simpler than that.
#38

Posted 09 November 2023 - 11:28 AM
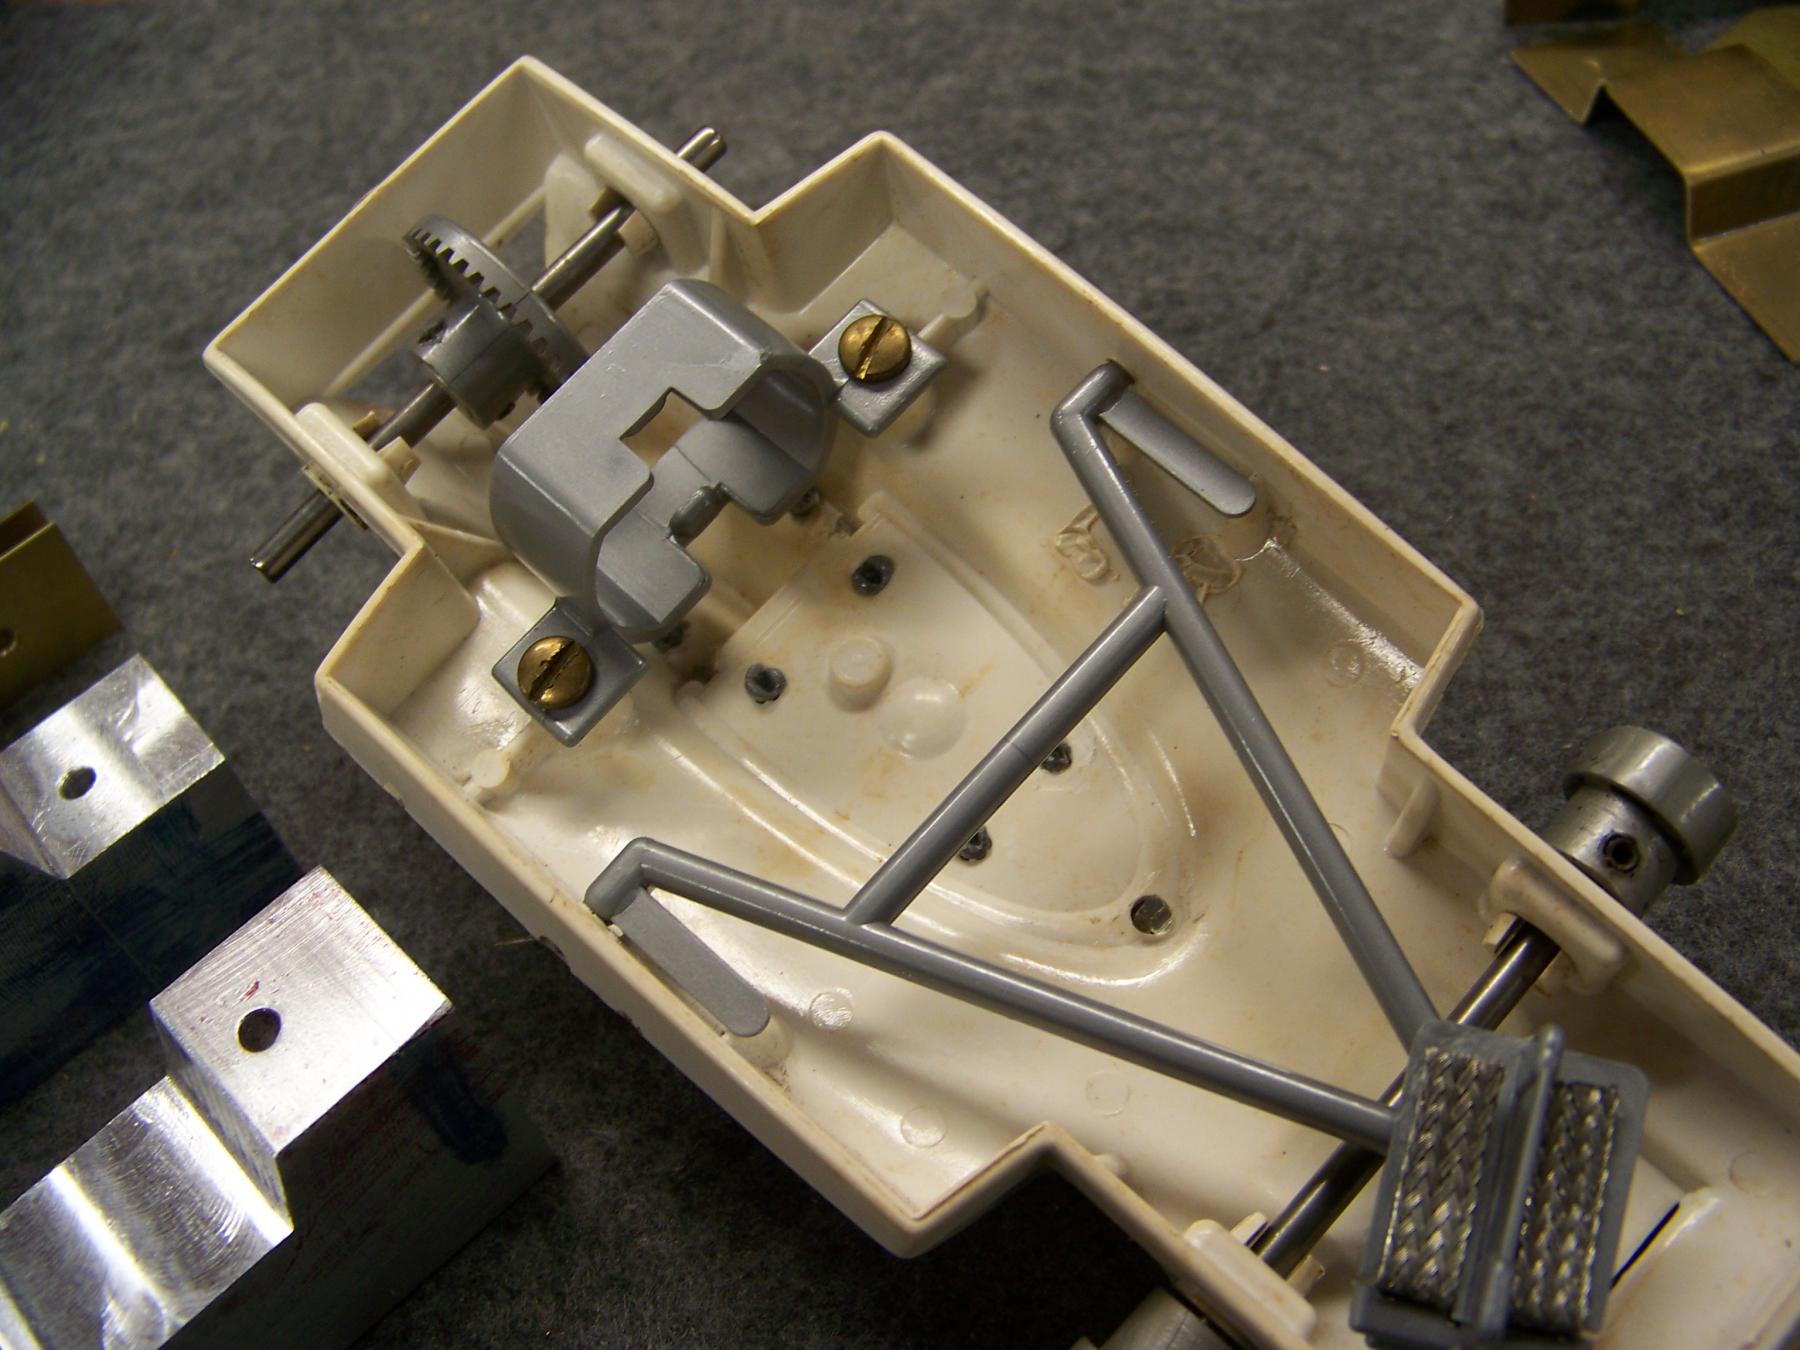
Not much to see Bill, but hope this is what you mean? I added a pic of the factory part also for those not familiar with it.
Thanks Dave, I feel like it will function better and replace a part I did not have in stock. Now I can finish my modified Spitfire.
#39

Posted 09 November 2023 - 12:42 PM
Thanks Martin! My first thought was you had built a miniature bending brake.
I intend to live forever! So far, so good.
#40

Posted 09 November 2023 - 12:47 PM
I like that you added leader pins, (dowel pins in your case), but it looks like they would be in the way of the brass blank. Spread farther apart, they could also serve as guage pins to locate the brass blank. Can that same tool be used to make both the top and bottom straps, so as to clamp the motor in between? Sounds like I'm getting a bit fussy, huh?
#41

Posted 09 November 2023 - 12:53 PM
For sure Bill, it could be done with a brake. But I wanted repeatability so I could make as many as I wanted with out the layout and angles.
So after bending I place the part in the tool and than drill the holes, same every time. The ends are cut off flush with the end of the tool.
Dave, I did not need guide pins as the two die parts naturally self align. The holes are for the second step, the hole drilling.
Yes, it is the same part top and bottom, It took some time to figure how much gap to leave so it would clamp tight. I just kept making the die deeper until I was happy. 3rd times a charm. ![]()
- Bill from NH likes this
#42

Posted 09 November 2023 - 03:14 PM
Capital job!
#43

Posted 10 November 2023 - 03:06 PM
Thanks Dave And now to make a upgraded drop arm to remove more plastic and get a longer guide lead.
- olescratch likes this
#44

Posted 10 November 2023 - 04:19 PM
For sure Bill, it could be done with a brake. But I wanted repeatability so I could make as many as I wanted with out the layout and angles.
So after bending I place the part in the tool and than drill the holes, same every time. The ends are cut off flush with the end of the tool.
Dave, I did not need guide pins as the two die parts naturally self align. The holes are for the second step, the hole drilling.
Yes, it is the same part top and bottom, It took some time to figure how much gap to leave so it would clamp tight. I just kept making the die deeper until I was happy. 3rd times a charm.
#45

Posted 31 December 2023 - 08:53 PM
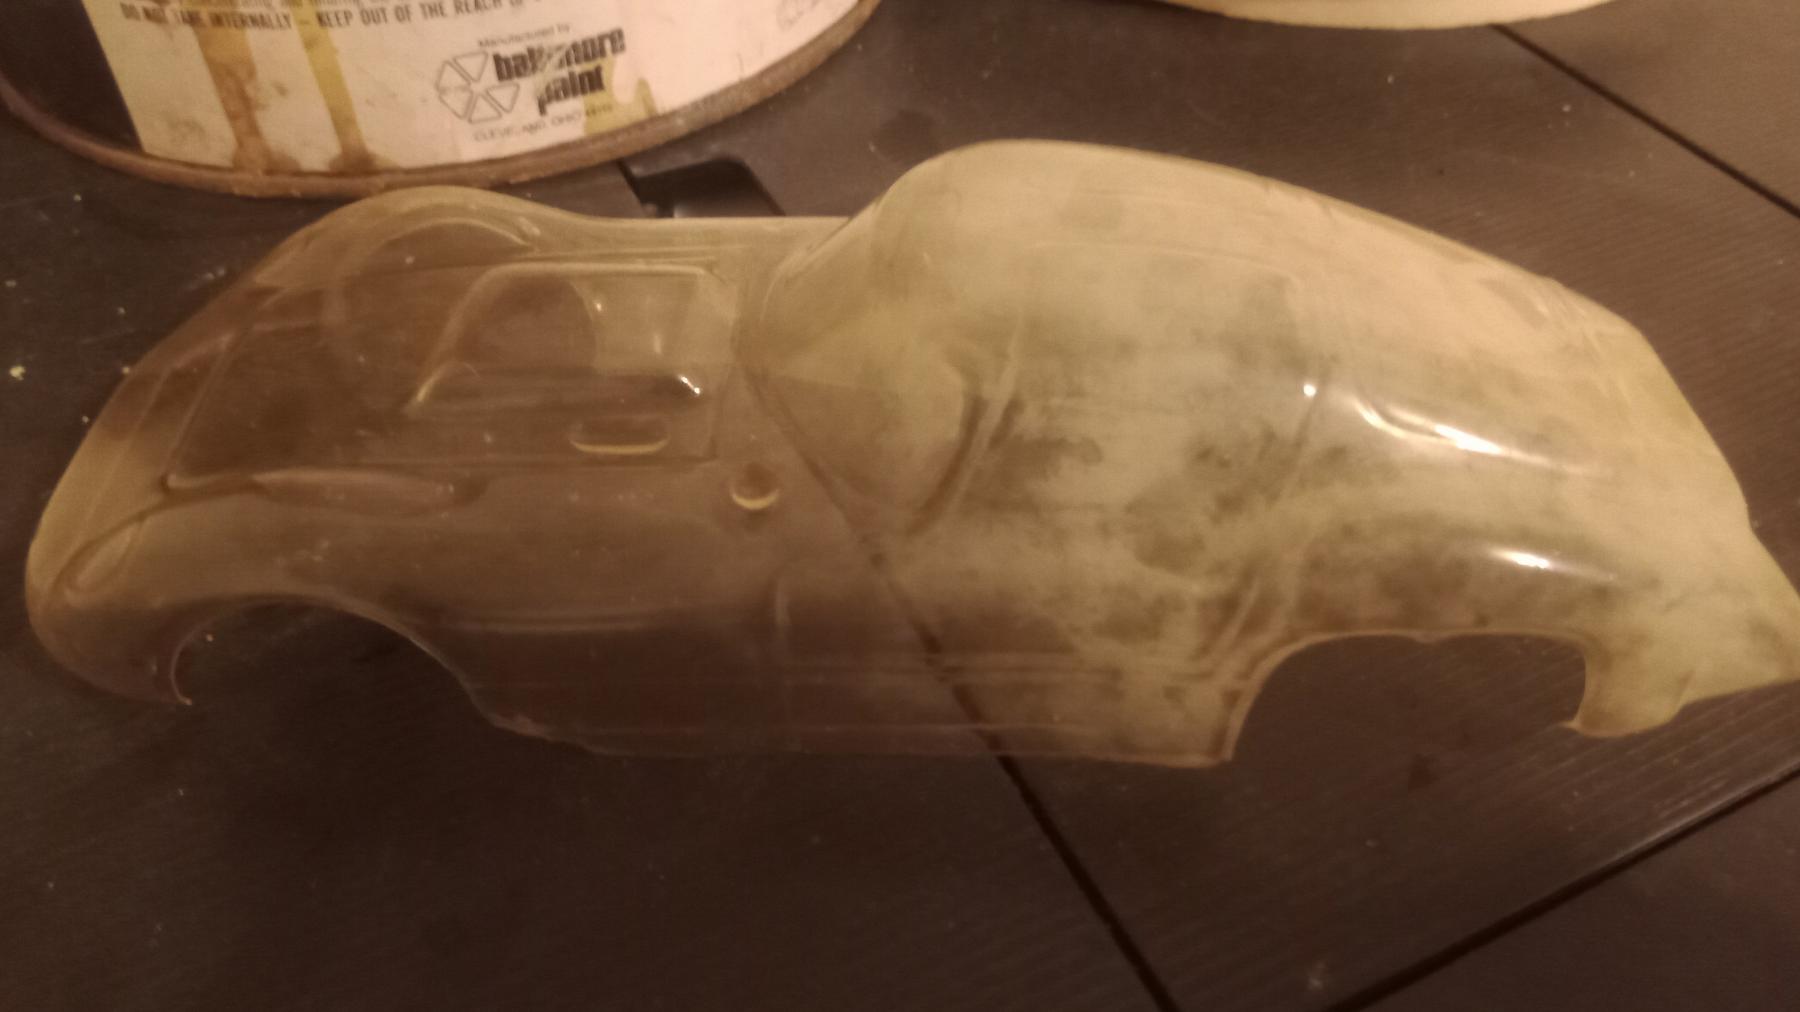
The subject of straitening distorted clear bodies comes up from time to time. So I thought I would share here. I will add before and after pics next time I do a body.
My method is simple really and maybe the key is to have a shallow dish so you can lay just one side at a time.
I boil water then pour it into that shallow dish. Submerge just the curled side until you feel it go soft. This can take a few seconds. Once it is soft I have used a wooden pop-sickle stick or similar so I can pull the full length of the body side pod. Usually I over pull 10% past the point I want to end up with.
While holding in that position I then dunk the whole body under cold water which is close by to lock in the new shape.
I have used this method dozens of times. It works for twisted body's too, for this issue I would dunk the whole body in hot. Then twist, hold and dunk in cold.
I work one area at a time and sometimes heat and hold more than once until satisfied. If it does end up too wide it will relax with a quick dip back in the hot, always finish with a cold bath to hold that desired position.
Old Butyrate bodies seem to respond best as they become pliable at lower temps. Even though I am starting with boiling water by the time I have poured it into a dish I can put my hand in that water for that short time.
Give it a go, love to see how it works for you. Let me know if you have questions?
Martin.
- olescratch likes this
#46

Posted 31 December 2023 - 11:25 PM
Do butyrate respond better because they were molded at lower temperatures than the modern plastics such as PETG, PVC, & polycarbonates? I'll have to check my old bodies for curls. I doubt I have many butyrate bodies except for a few Lancers.
I intend to live forever! So far, so good.
#47

Posted 02 September 2024 - 04:13 PM
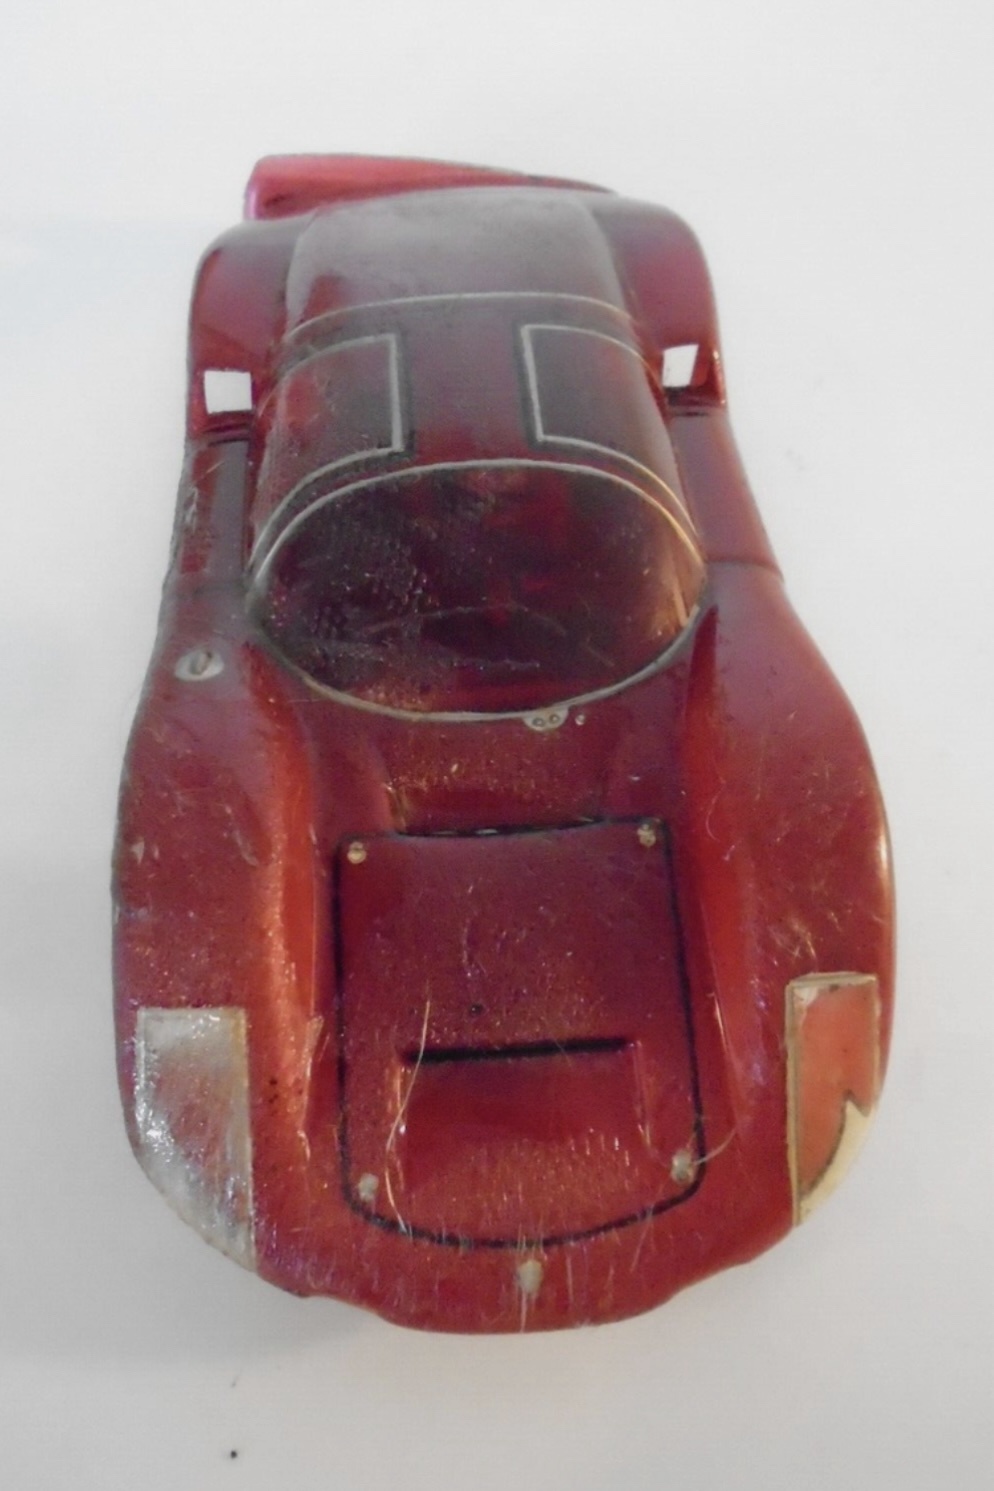
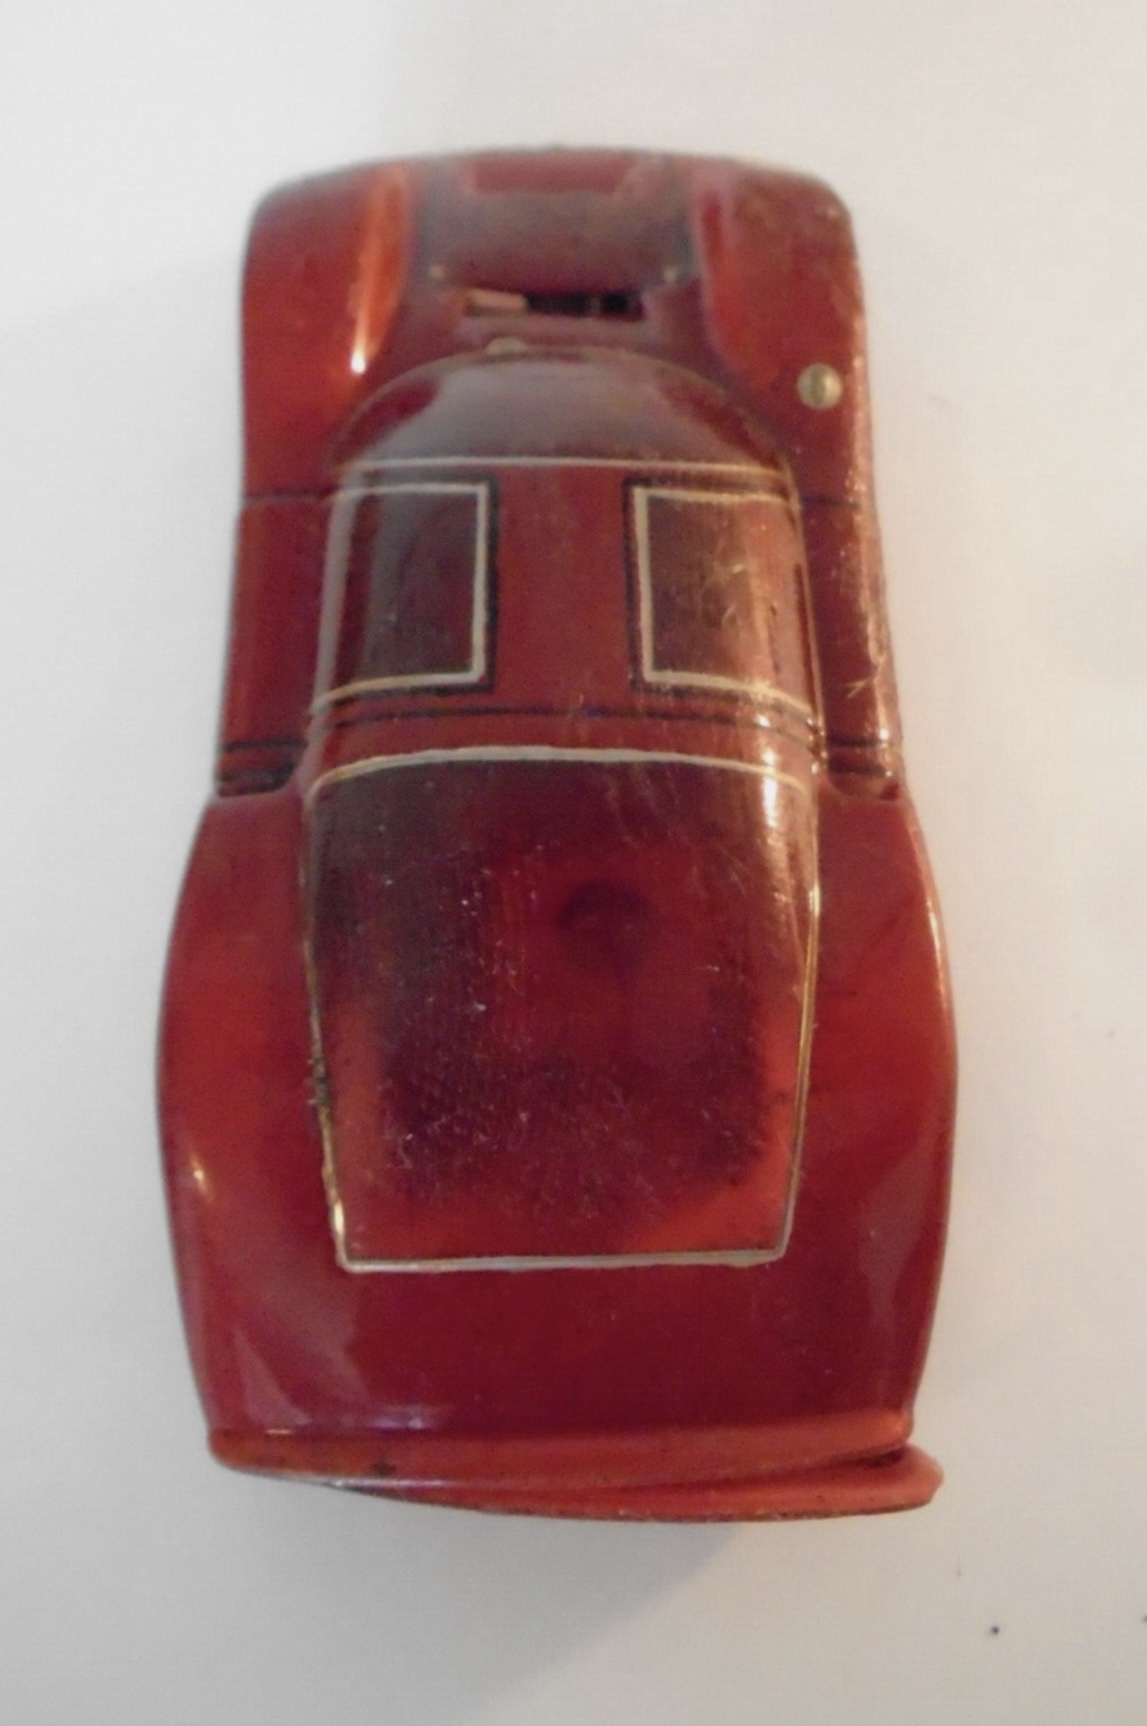
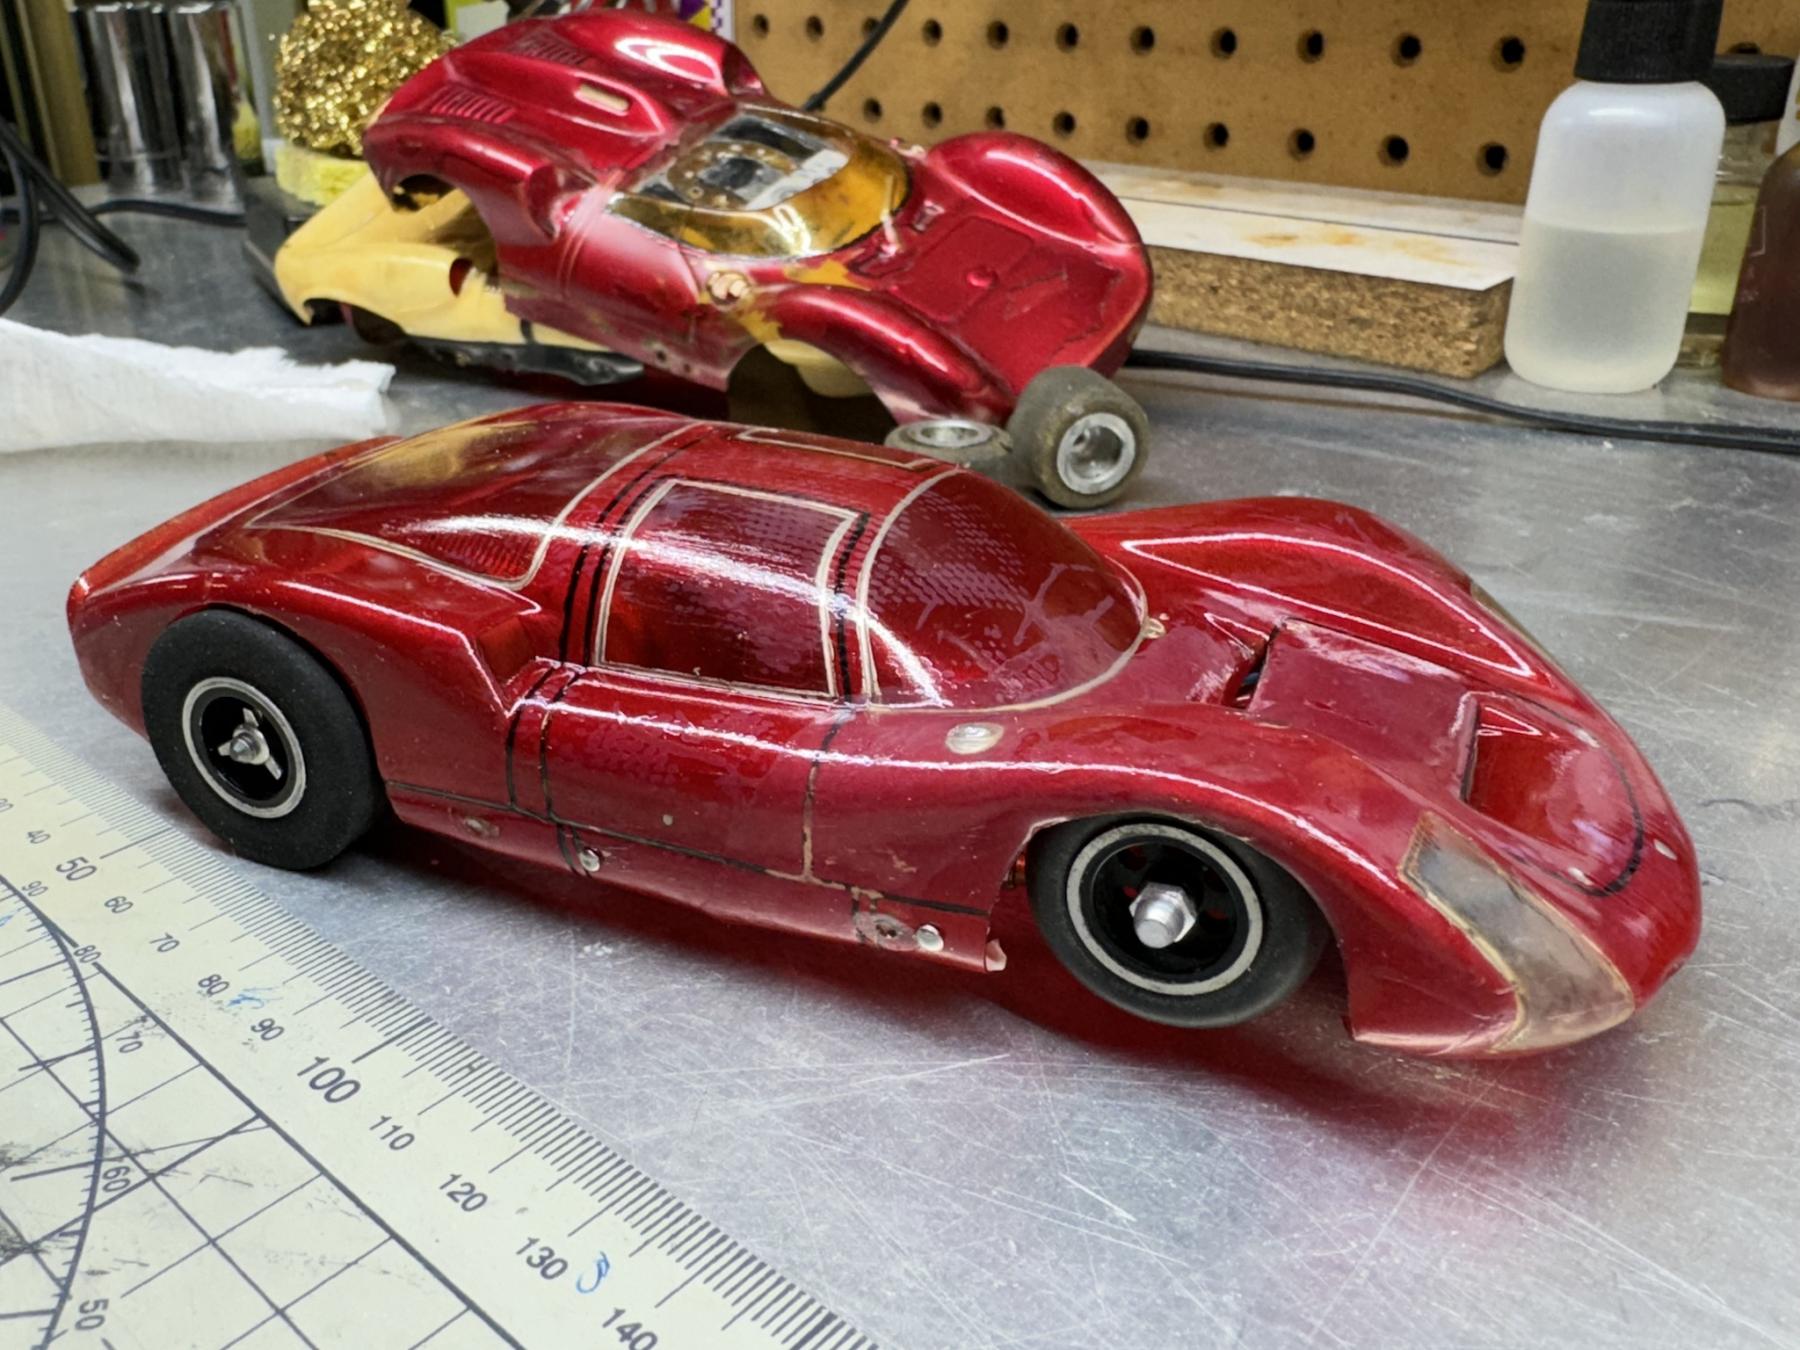
If I took my time Im sure I could have made it really nice. this may be redundant info since I know people use future floor polish for clear
- Jencar17 likes this
#48

Posted 07 September 2024 - 09:35 PM
Yes,it went back to it's yellowy original colour before I had a chance to really, really screw it up.
Save your" I used tap water with no problem" comments. Distilled water is cheaper than this body.
#49

Posted 08 September 2024 - 07:00 AM
A few years ago (12-15) there was a southern man with a bunch of yellowed bodies on here who said he soaked them in something like hydrogen-peroxide & then set them out in the bright sun for hours.. I remember him selling quite a few reclaimed bodies on eBay. I once tried to find the posts he made on here but wasn't successful.
I intend to live forever! So far, so good.


