Basic painting, part 1
#1

Posted 10 October 2023 - 04:41 PM
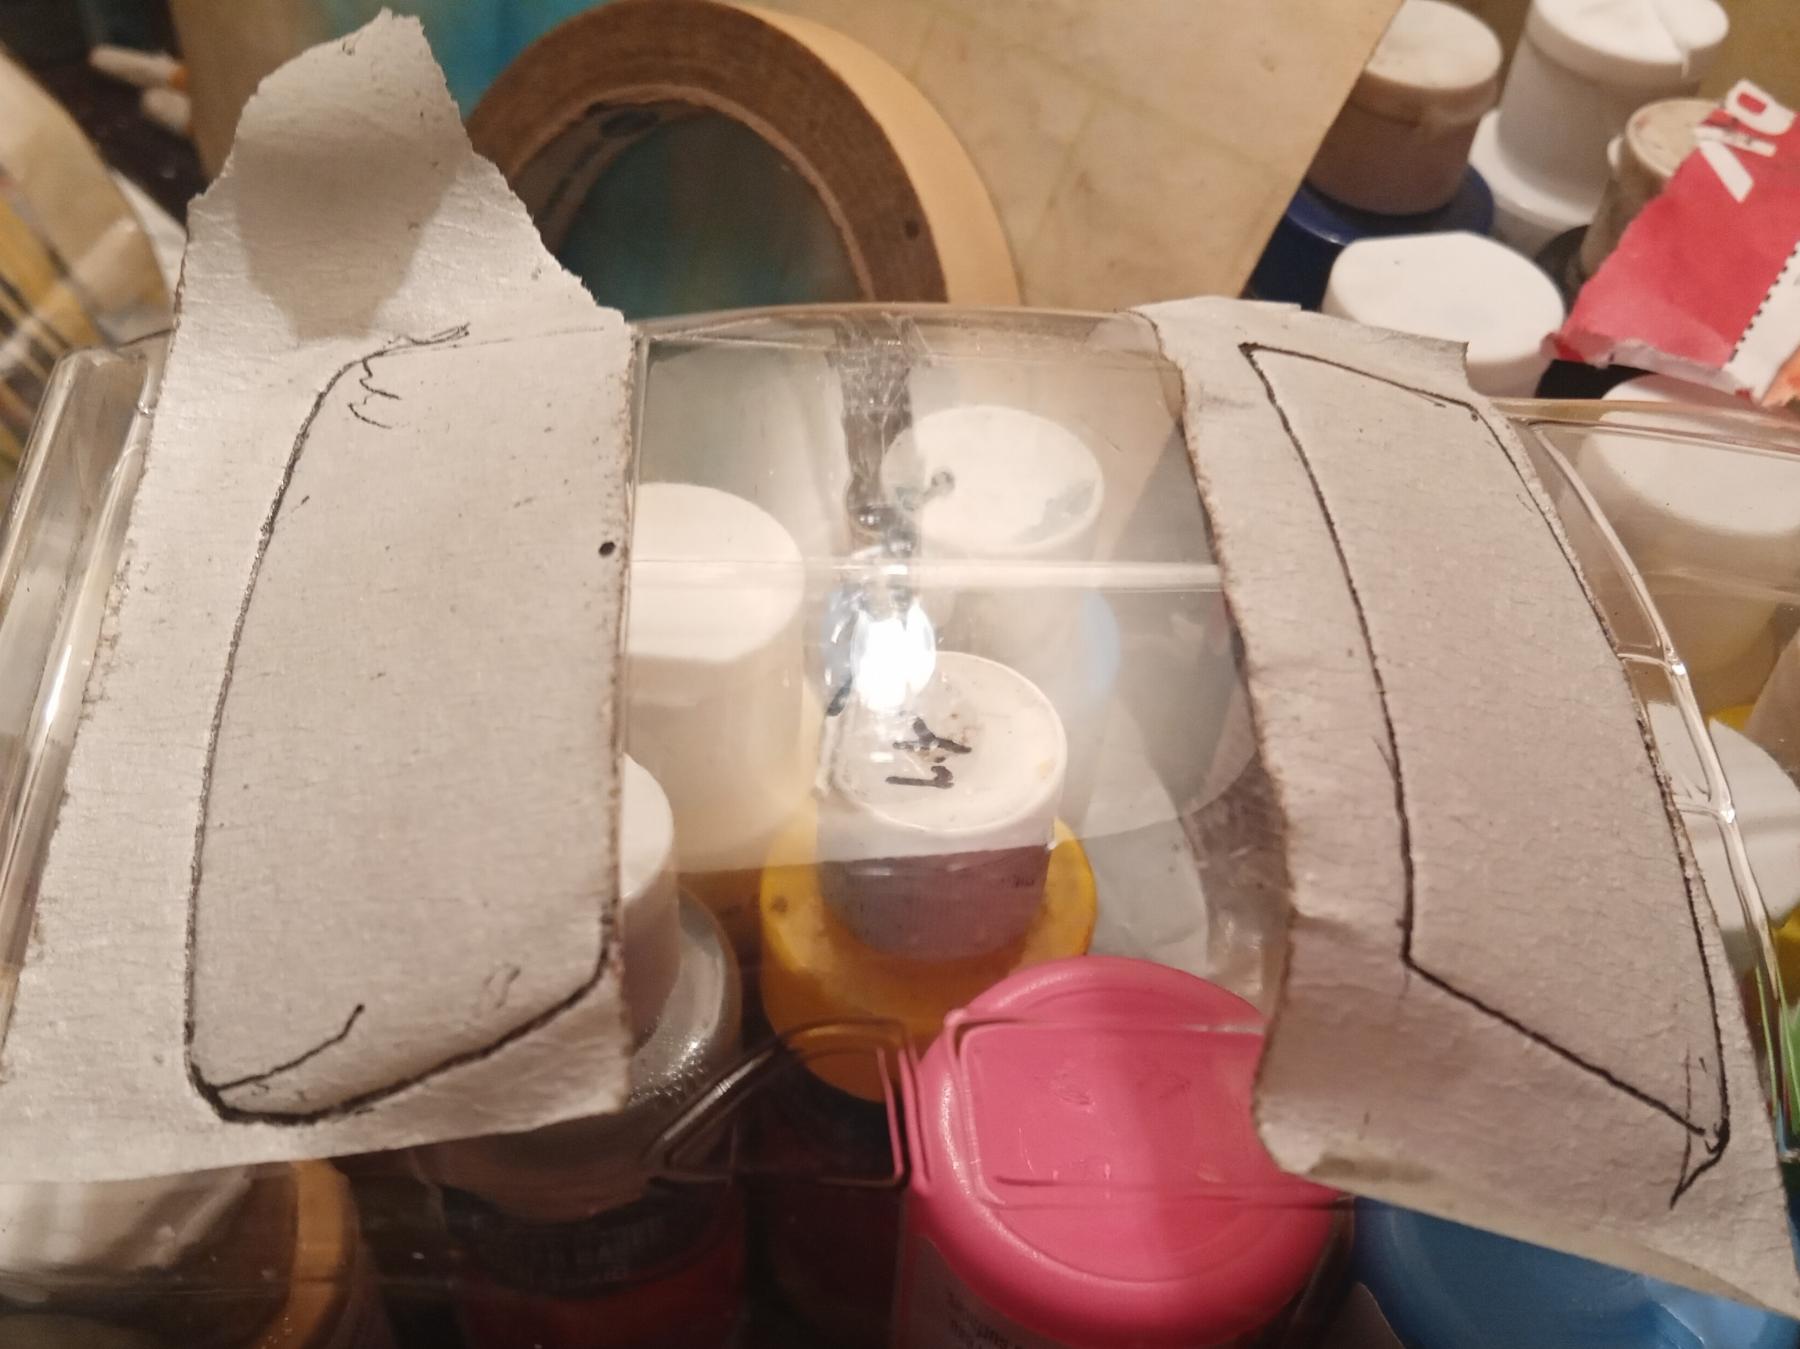
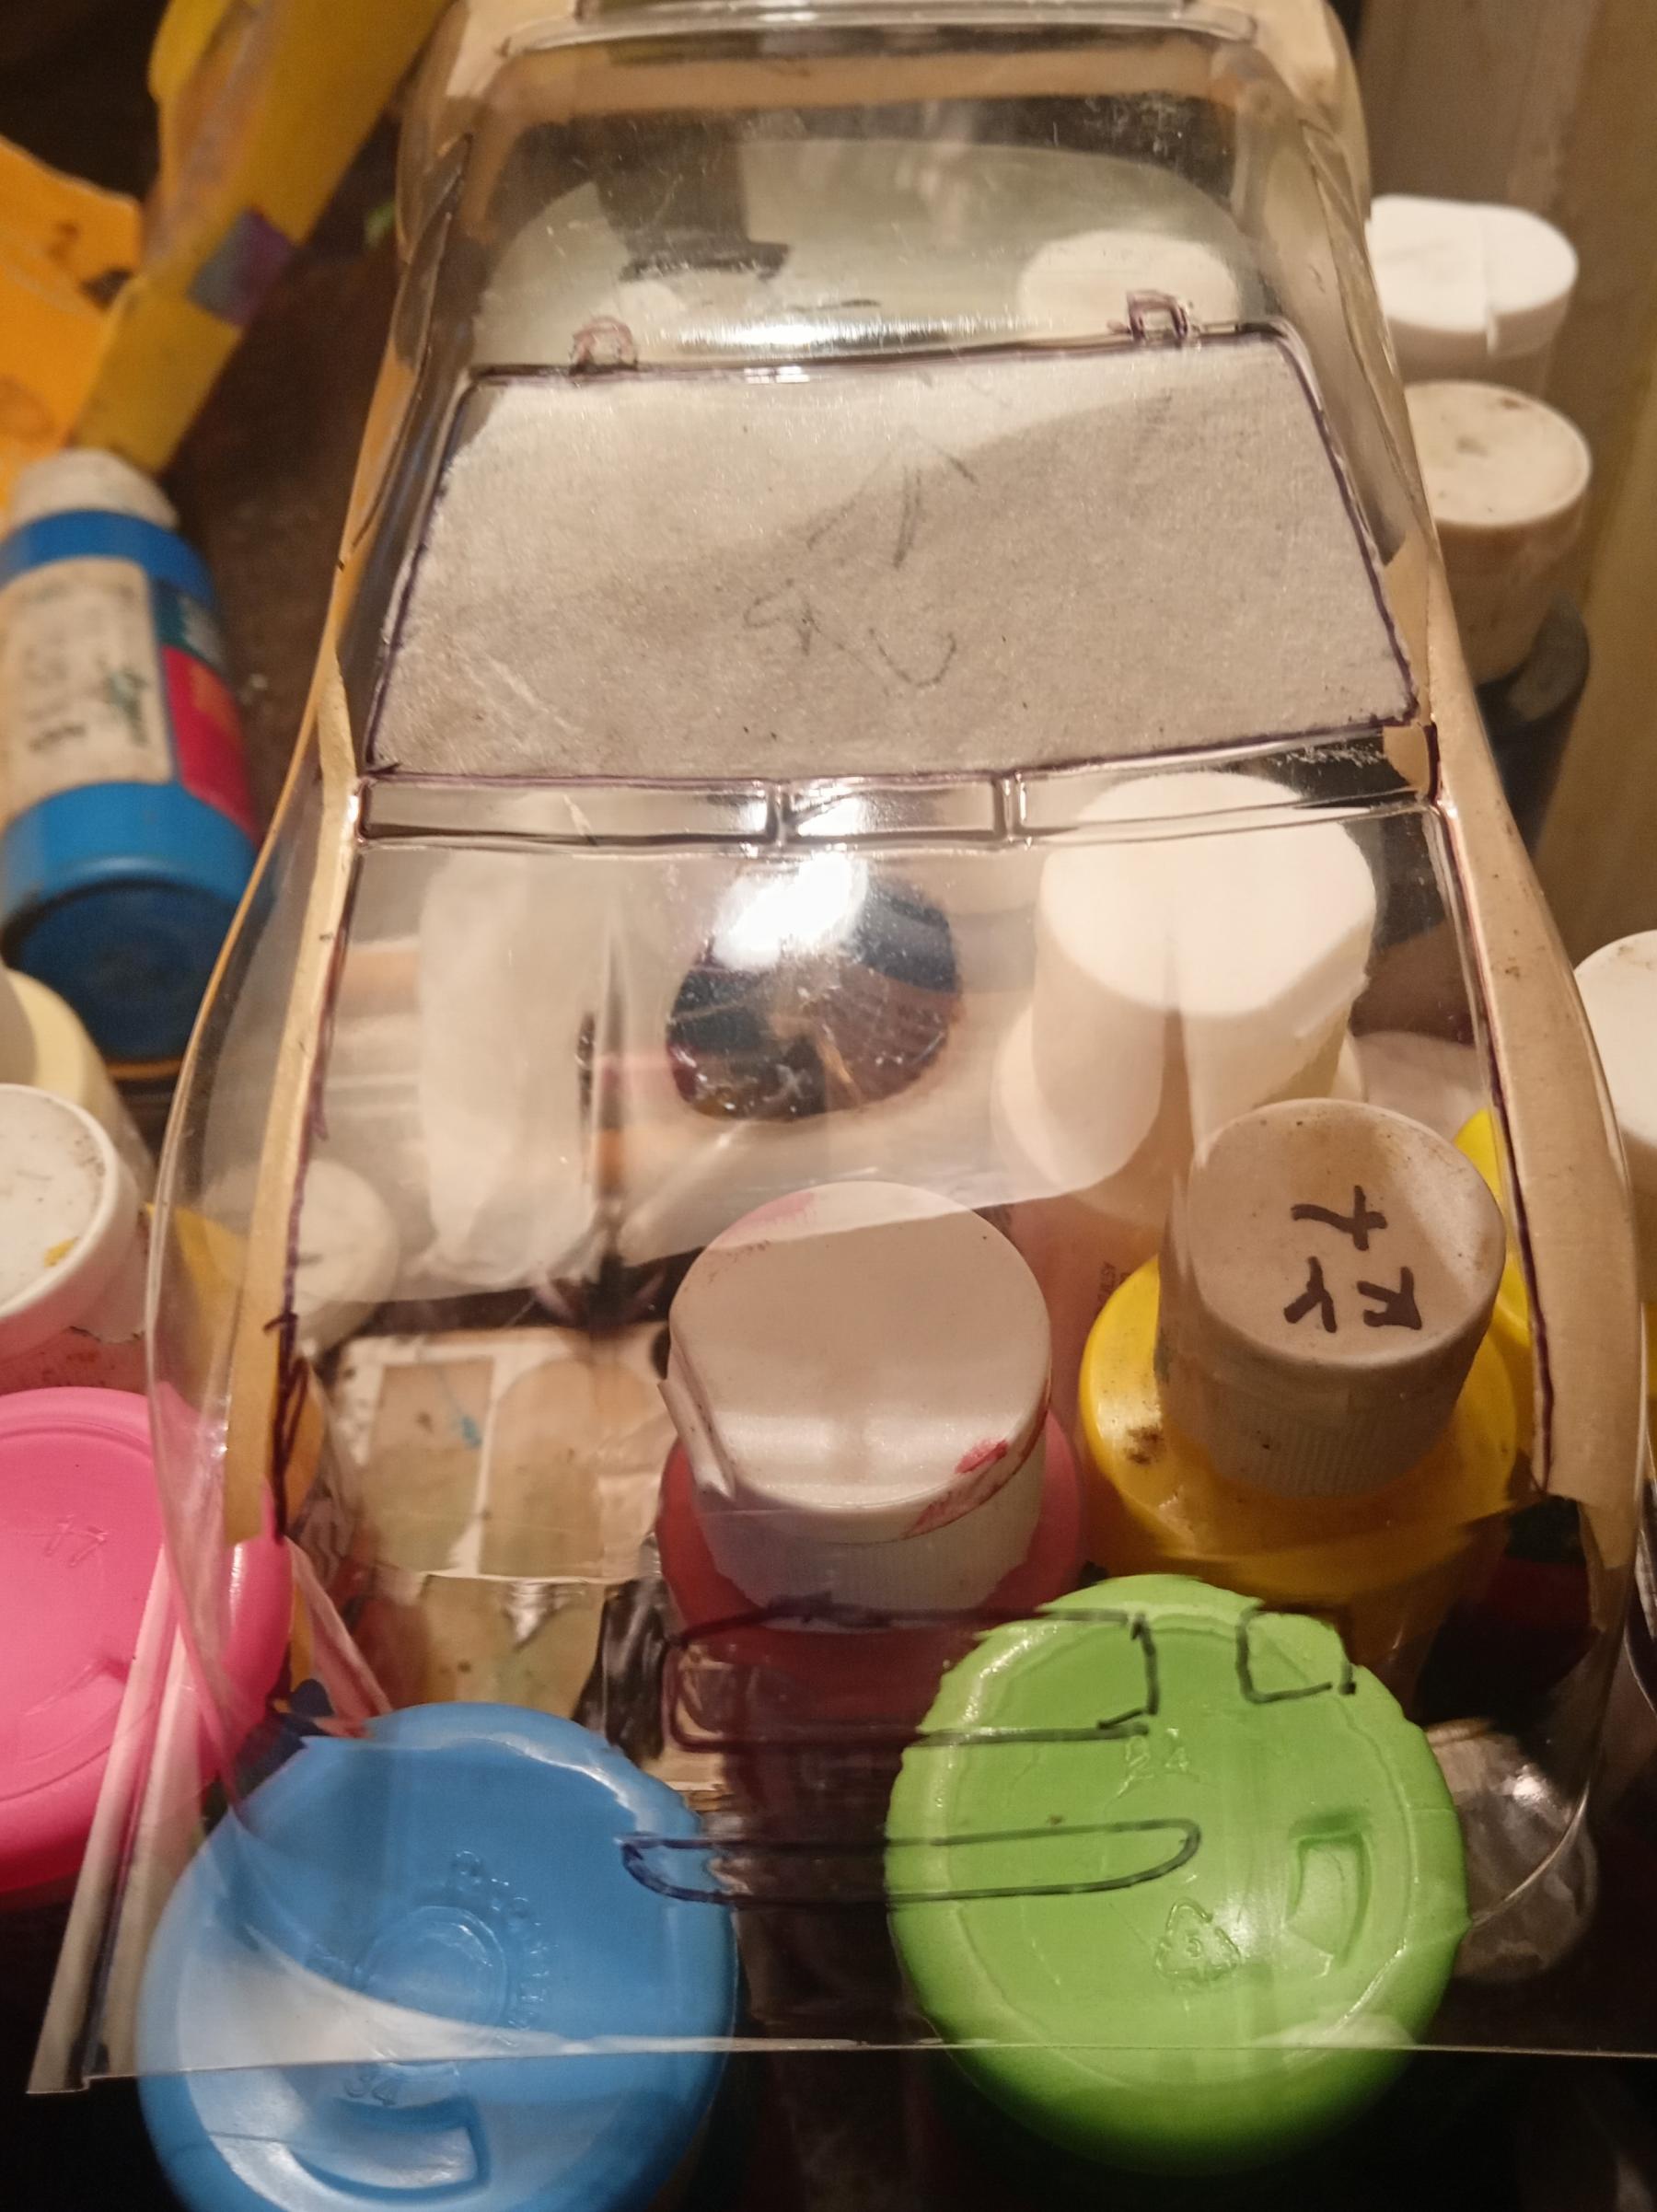
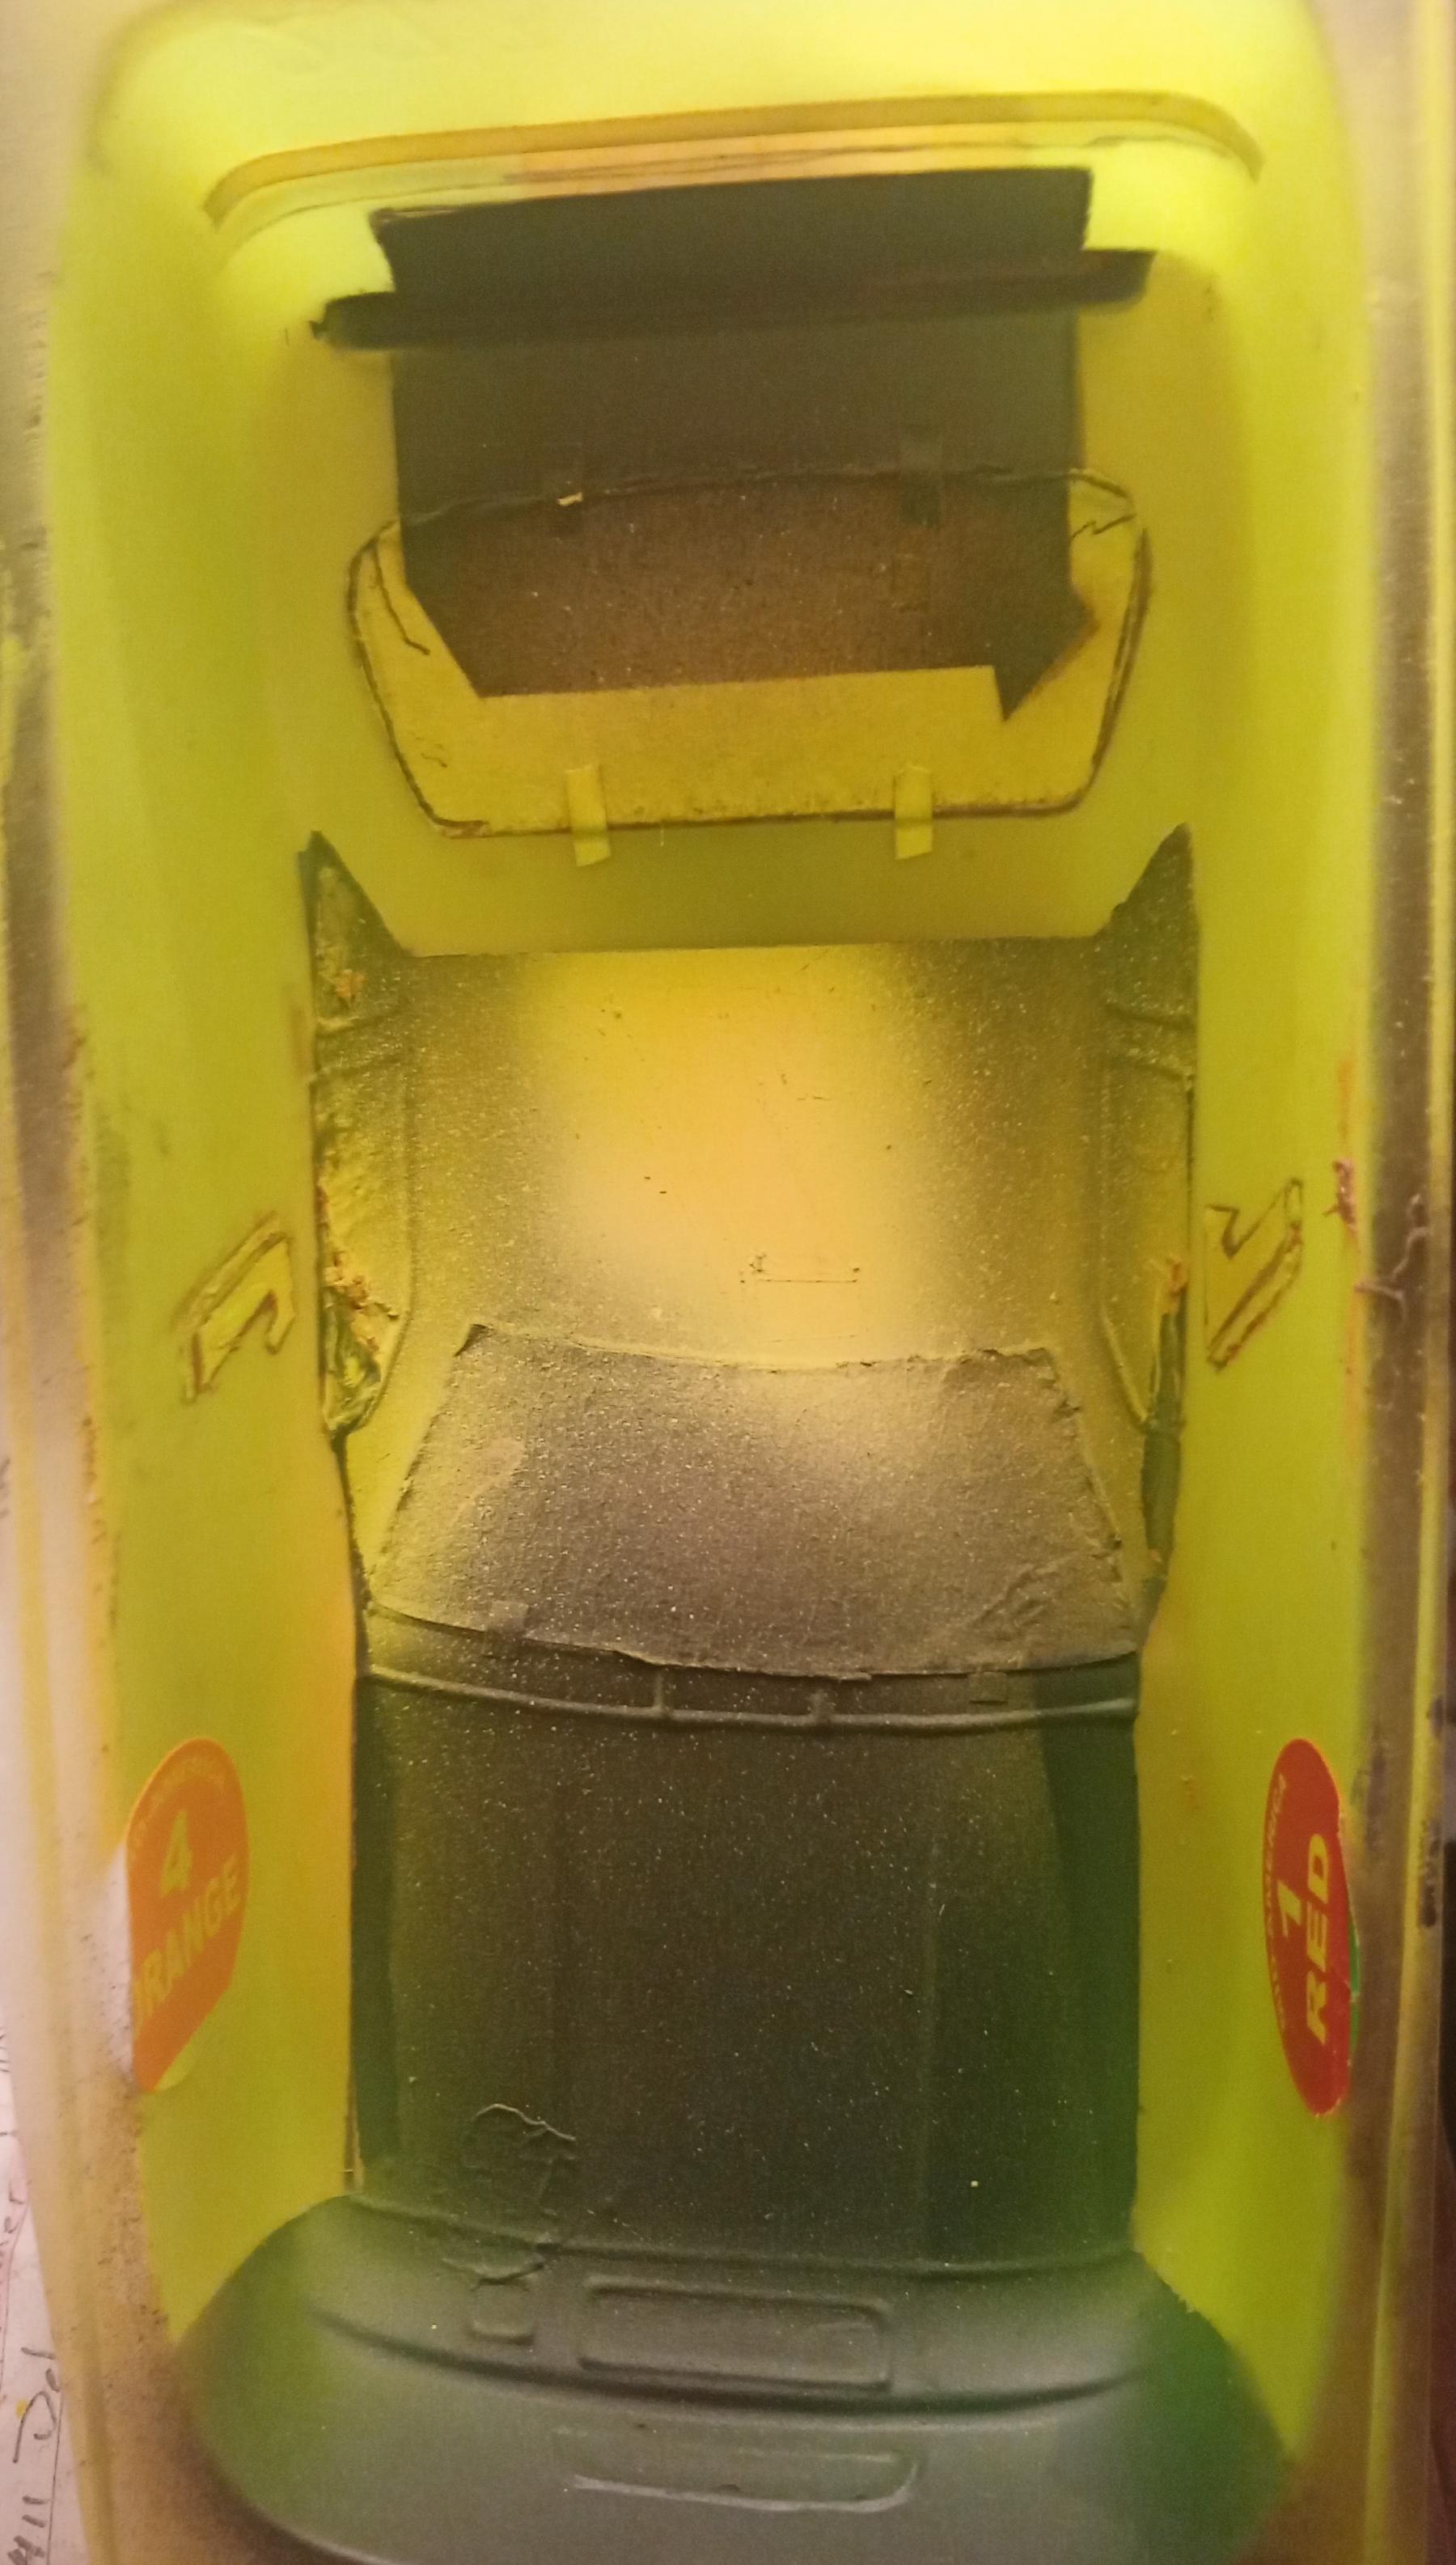
Ok, no masks? Try this. Just remember, the side windows go on the opposite side.
- 917-30 likes this
#2

Posted 10 October 2023 - 05:08 PM
On one of the first bodies I ever painted,I used liquid masking for everything. Following the instructions, I used a razor blade to cut off the unwanted masking. It was my first introduction to "stress risers". By making fine cuts into the plastic, the first time I used the wall to turn, the body cracked at every cut. Secondly,if you miss the edge you want to mask, the slightest amount of residual masking will LIFT!!! Otherwise, it's great for filling in large areas. More on that later.
PS: I attempted to apply a second coat of this runny stuff and,to my surprise,it lifted the first coat!!! This brand also is available in coloured form, I'll try that next. It dries that CLEAR !
#3

Posted 10 October 2023 - 07:44 PM
Mark, Winsor & Newton is a quality brand of paint & supplies. Never tried their masking fluid. The Parma brand of masking will be coming back from Mid-America soon. I have Bob Dively liquid masking film. Use a new blade when cutting any masking material & use little or no pressure when cutting on a body. Are you making window marks like I do? I first use a black marker to track around each window on the outside of the body. I then mask each window off on the inside using masking 3M tan tape or plastic shelf liner. I make sure all the masking is burnished at the window edges. Finally, I hold the body up to a light source & cut through the masking where the black outlines show through. Remove the unneeded masking pieces, burnish all window edges a second time & paint. You can make a burnisher by using a 6" length of small dowel pointed on one end & cut at a 45 degree angle on the other. The wooden cuticle sticks will work too. Lighter fluid will remove Sharpie mistakes, but not all other brands of markers. Try acetone or denatured alcohol. On some bodies it is easier to outline windows on than others.
Did you first wash the body with dish soap(Dawn is good) & water? It doesn't sound like your first coat of masking fluid was totally dry. Usually if you just use one coat of liquid masking, it will be a bear to remove, That's the main reason why most say to brush 2 or 3 thick coats on. You can also spray thinned liquid masking on, but I wouldn't unless I had an old airbrush laying around.
- 917-30 likes this
I intend to live forever! So far, so good.
#4

Posted 10 October 2023 - 09:41 PM
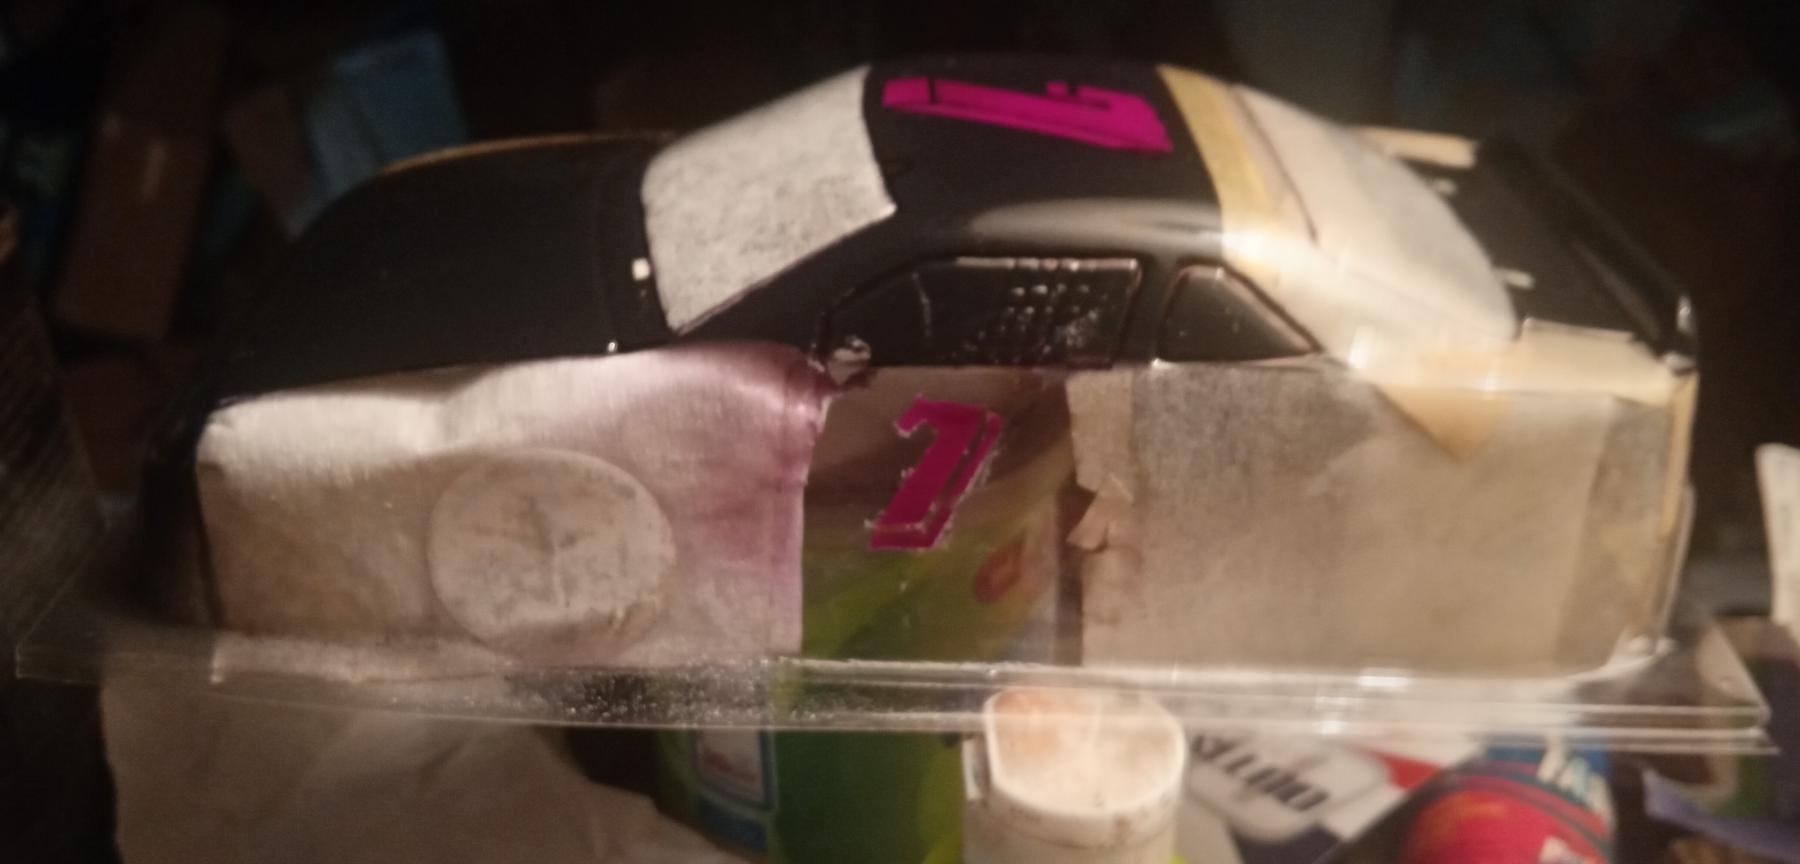
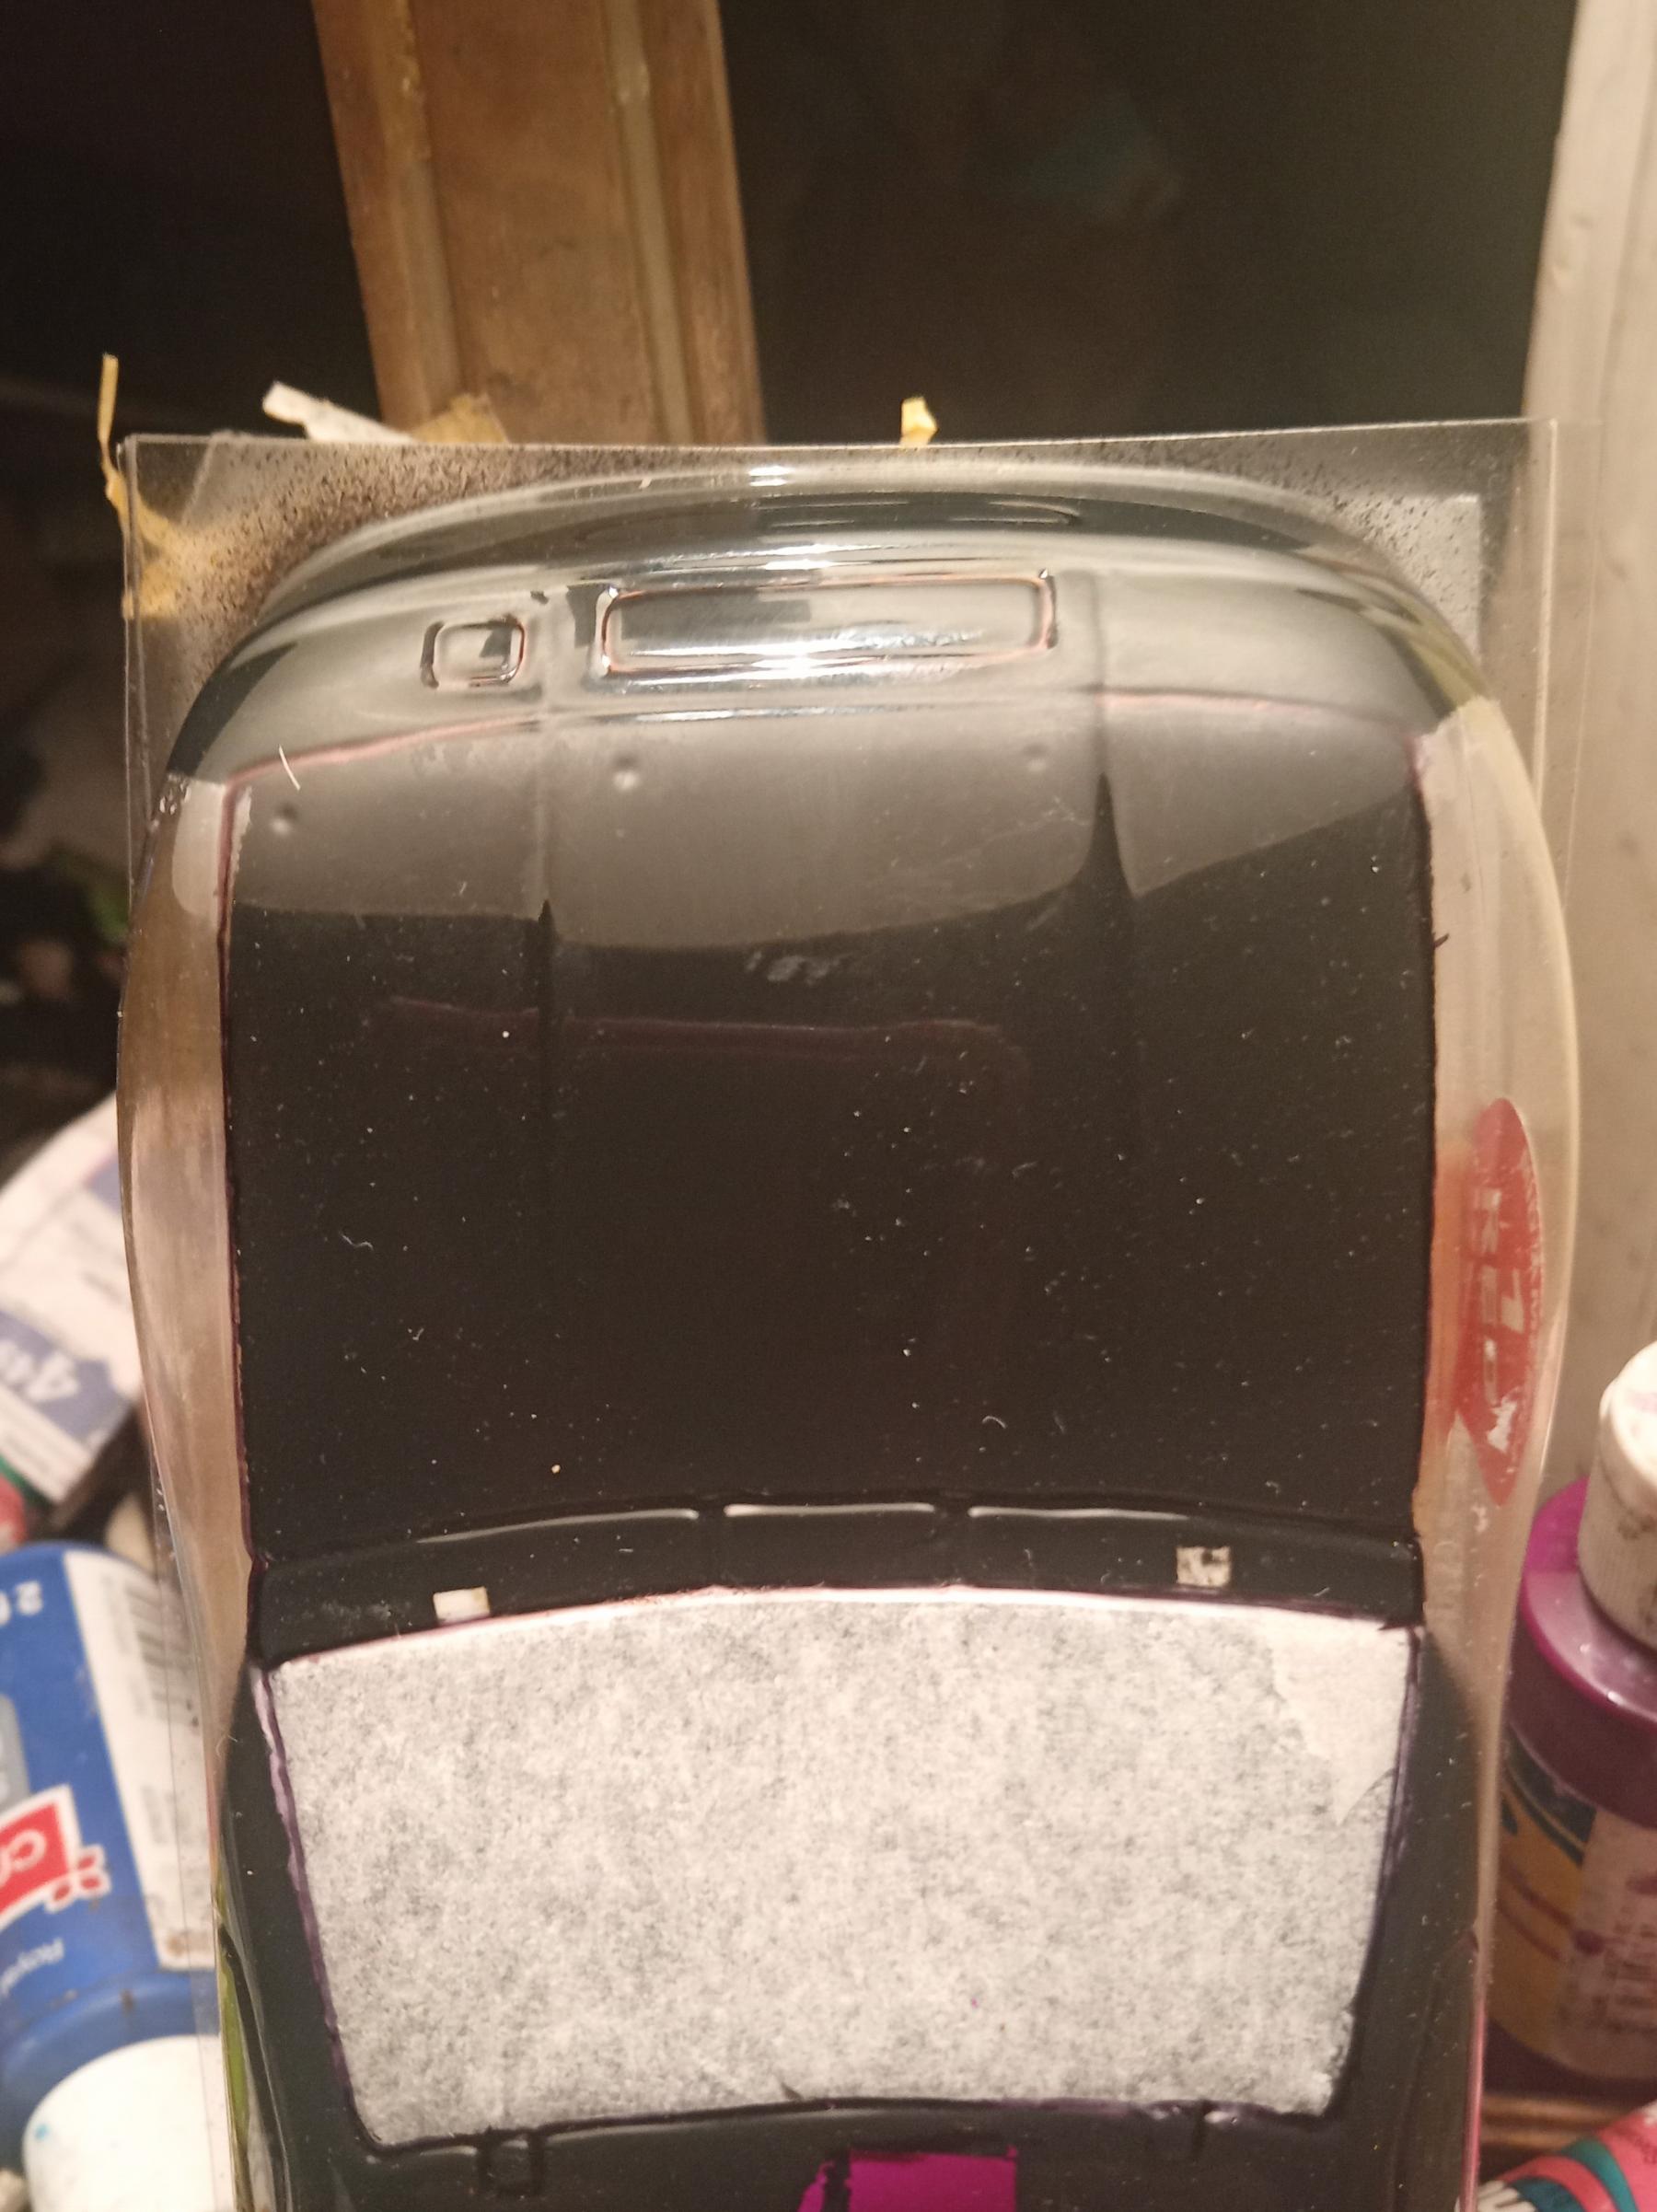
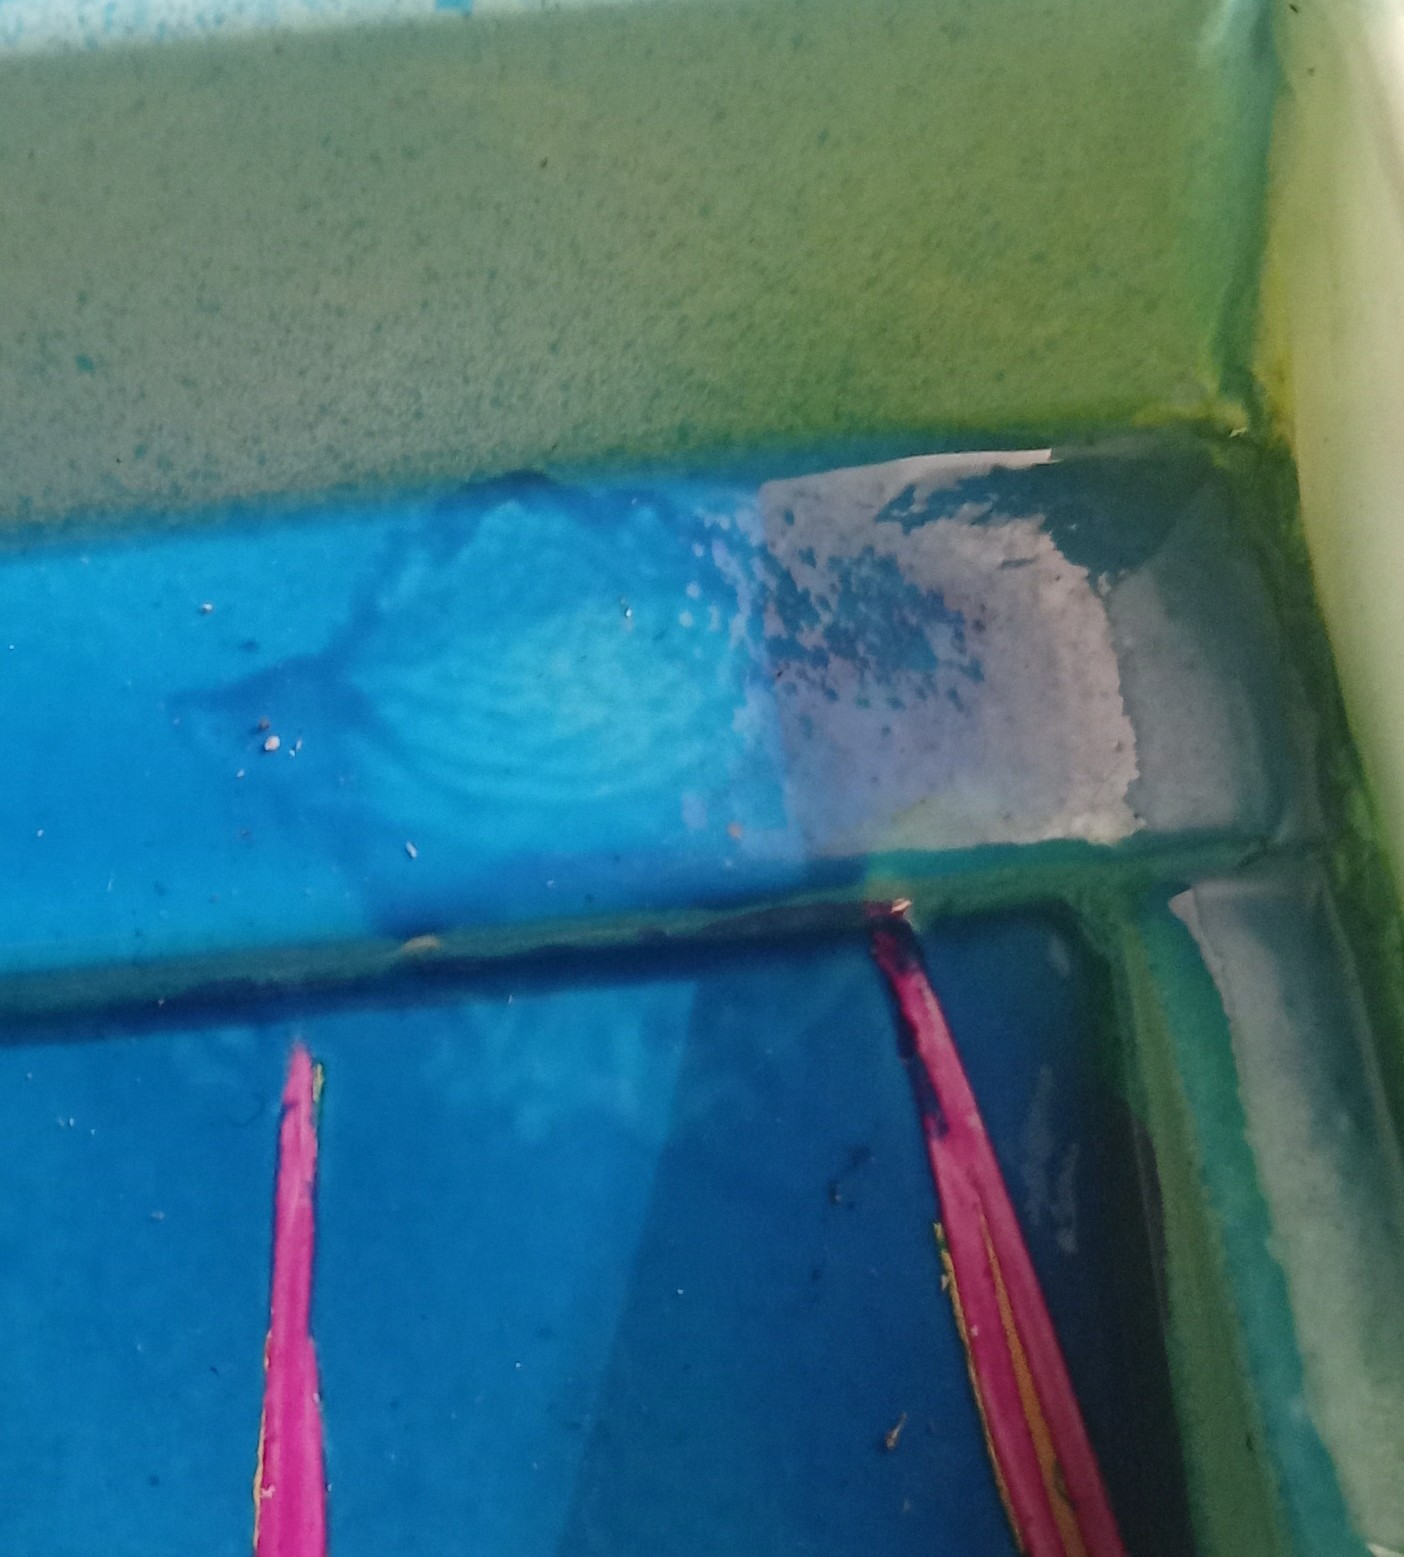
Some spots are a bit**h so,I did the left with liquid(pink) and, the right with tape(purple).
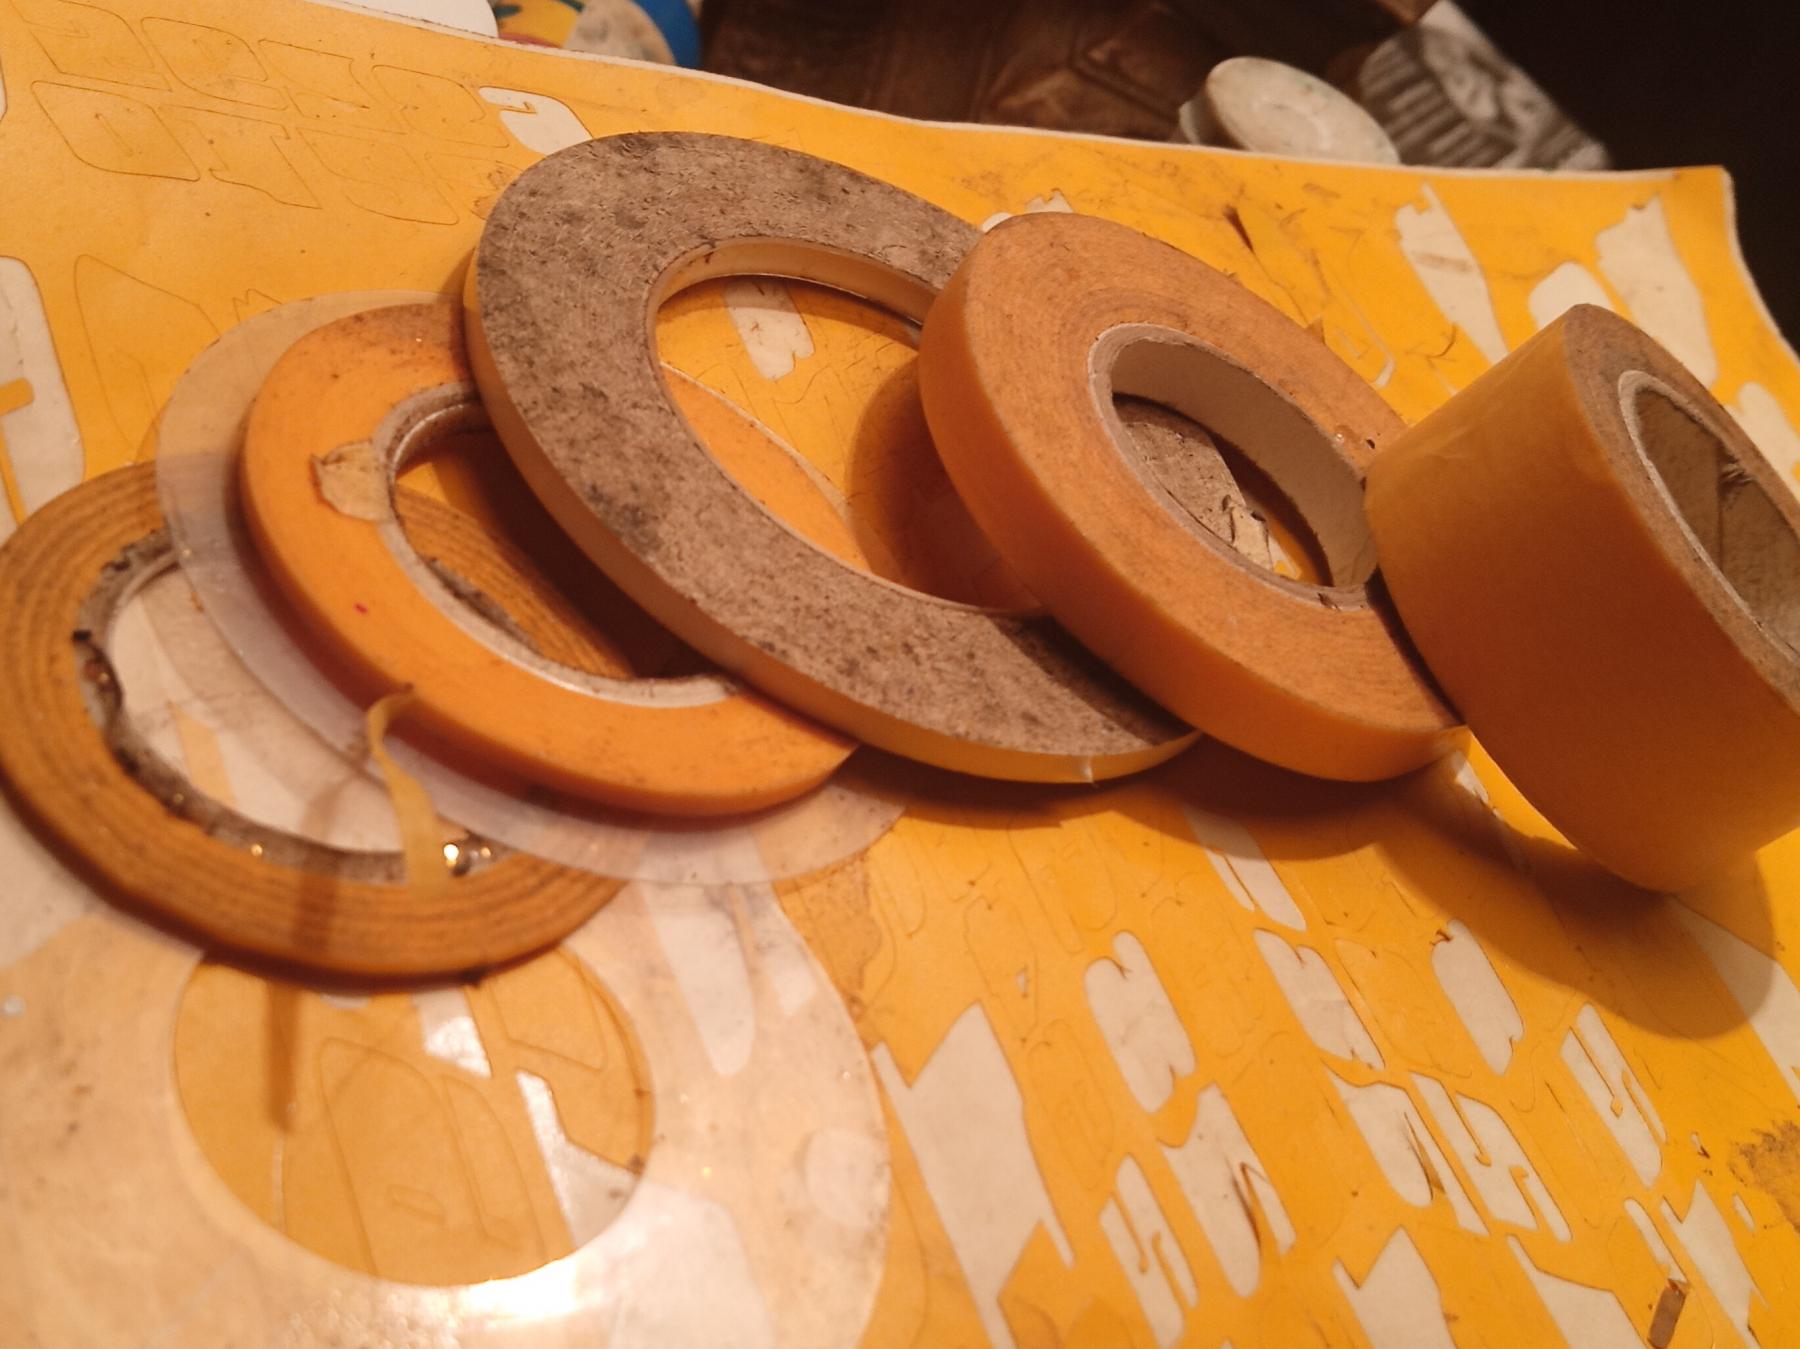
Supposedly if you use a thinner tape first, you get a better line. Let's see.
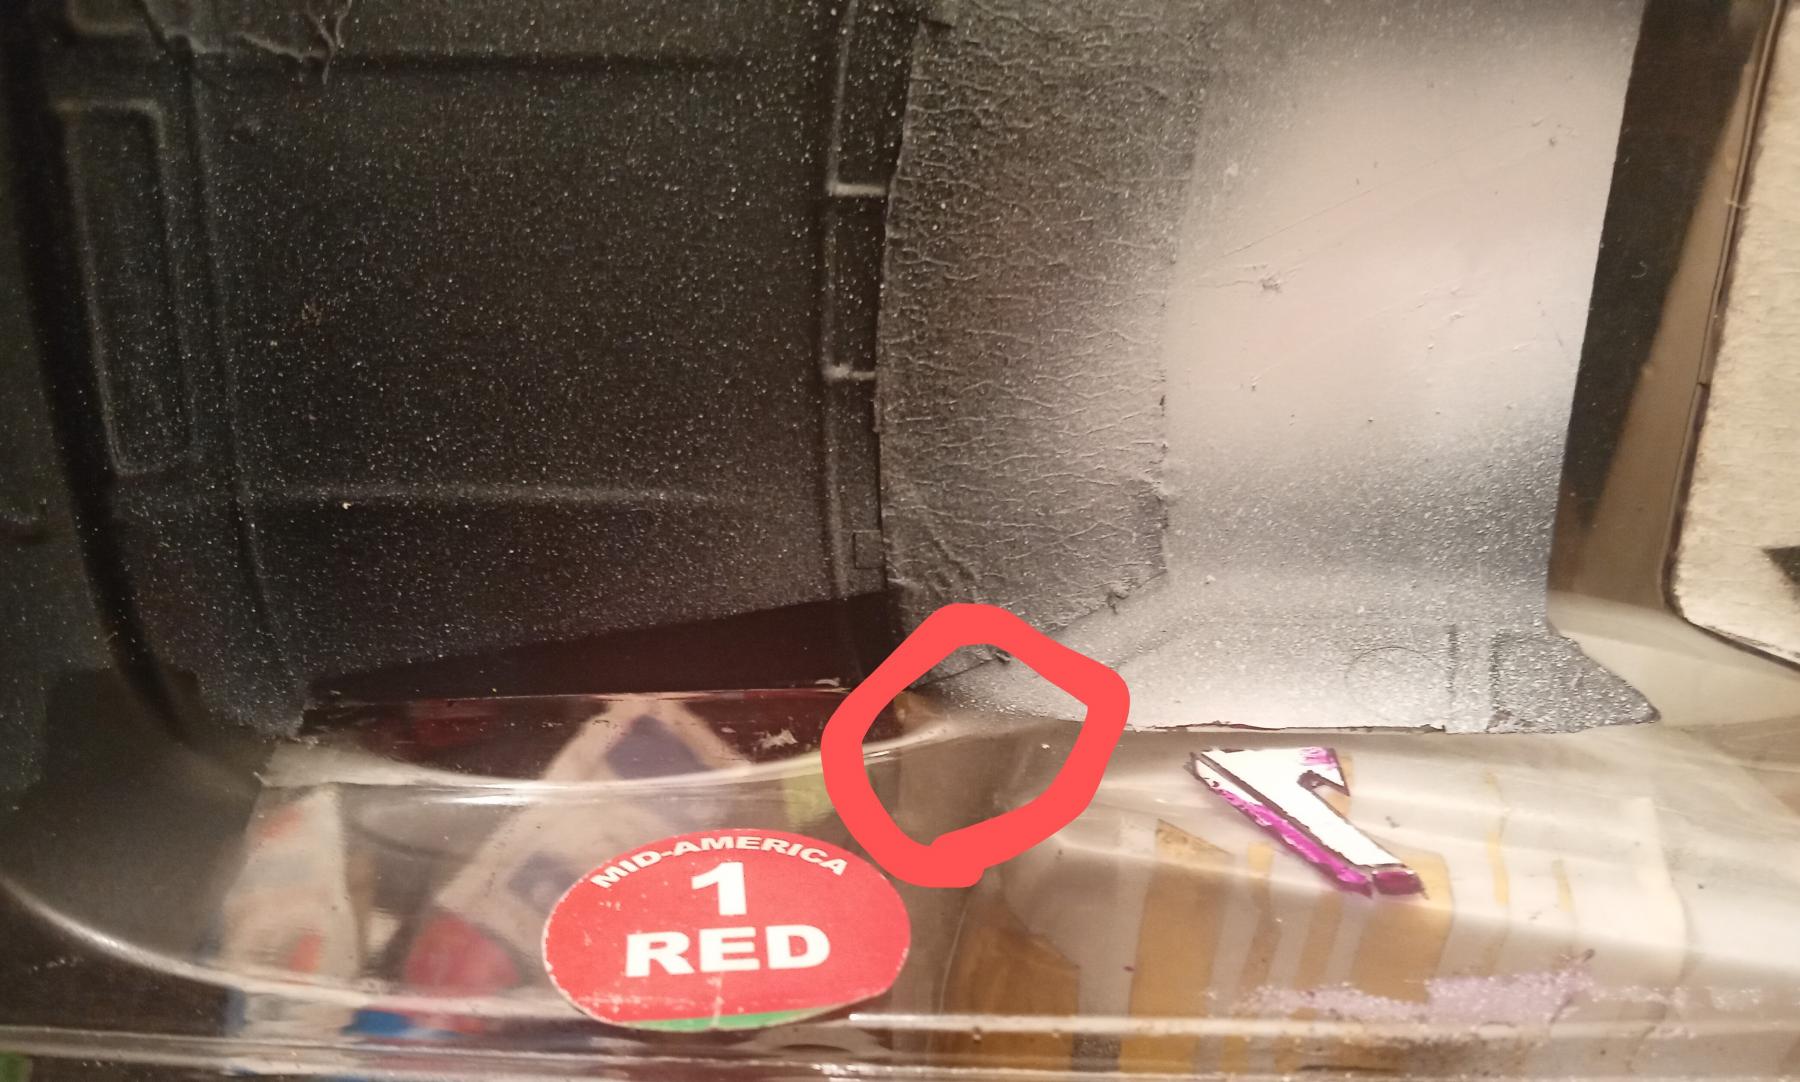
The yellow highlight is where the mask was a little too big. A easy fix, just convince it to go back. No, not with a hammer, the end of a paint brush works.
#5

Posted 10 October 2023 - 09:54 PM
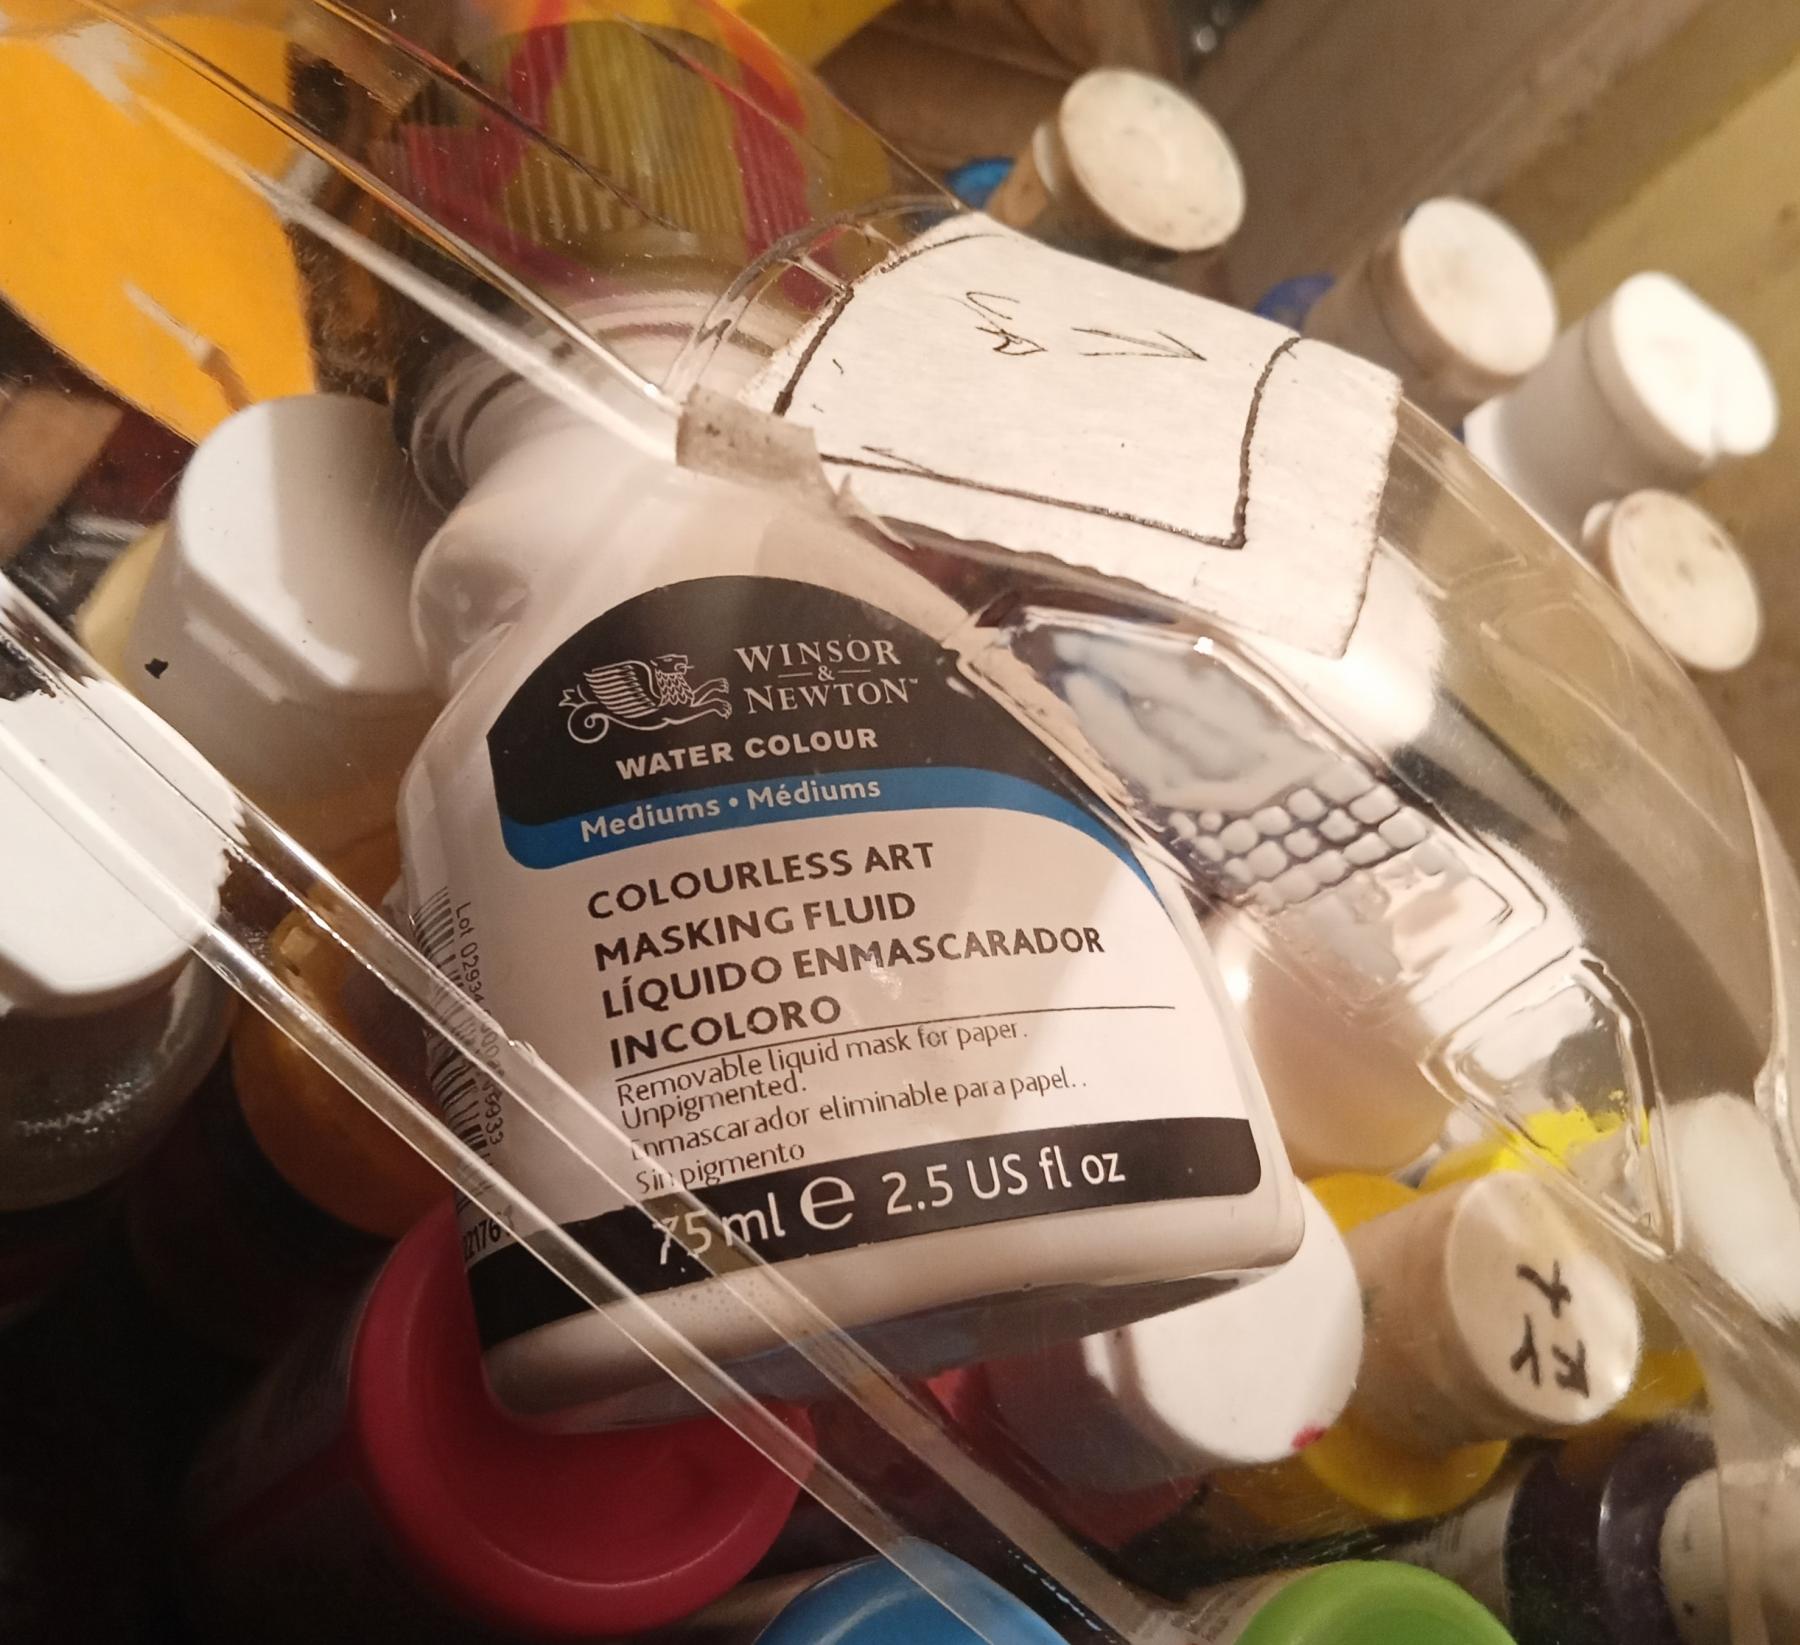
Another option is liquid masking. I've never tried this brand before. It's not the gelatinous goo that Parma used to sell. The local hobby store didn't have the gelatinous goo either. This brand is very thin. We shall see how well it works...or doesn't.
On one of the first bodies I ever painted,I used liquid masking for everything. Following the instructions, I used a razor blade to cut off the unwanted masking. It was my first introduction to "stress risers". By making fine cuts into the plastic, the first time I used the wall to turn, the body cracked at every cut. Secondly,if you miss the edge you want to mask, the slightest amount of residual masking will LIFT!!! Otherwise, it's great for filling in large areas. More on that later.
PS: I attempted to apply a second coat of this runny stuff and,to my surprise,it lifted the first coat!!! This brand also is available in coloured form, I'll try that next. It dries that CLEAR !
Looks like somebody is working on a stock car body for Speedy's new racing class.
#6

Posted 10 October 2023 - 10:39 PM
There's a few ways to do almost anything. I'm just focusing on what I think is the easiest.
I know you can get everything from Russian mail order brides to paper clips on the internet but, I didn't want to wait. I should add that the brand of liquid masking is supposedly meant for paper. It's far more expensive than the gelatinous glop I'm used to. It's just, when I want to do it, I don't want to wait.
#7

Posted 10 October 2023 - 11:37 PM
STOP and LOOK at it AGAIN BEFORE you spray it. Go over every seam and make sure the tape/ decals are stuck. You'd be surprised how much they can lift it a short period of time. Another thing I like to do is hold the body up to a light and see if I came short overlapping the tape.
That's all for tonight. The Twilight Zone is on.
#8

Posted 11 October 2023 - 08:29 AM
Nice work. Great tip on checking and double-checking for tight edges and no gaps in your masking. I like to spray the edges of the windows first so that the paint can seal the edges and hopefully prevent any lifting. Still .... I keep some Q-Tips , GooGone, and lighter fluid close by to my painting station. Better to catch any "blow by" before you spray the next coat.
I'm truly getting old. Because I remember when we always had to provide/create our own window masks. Thank God, bodies were typically a true 0.010 thick back then.
I always traced the windows on the outside with a Fine Point Sharpie® and then put the tape on the inside. Then it was just a matter of following the traced line with a sharp Xacto knife.
It was a game changer for me when I discovered 3M's Scotch Tape for Delicate Surfaces. It was nice to be able to remove the tape without feeling like I was going to remove the windows as well. Before that, I would "deaden" the glue on the masking tape a little by putting the tape on and pulling it off of my shirt a couple of times.
Rollin Isbell
#9

Posted 11 October 2023 - 09:54 AM
Mr.Wizard, LMFAO , Speedies had a Enduro a few months back. As I was removing the first mask,then the outside wraping, the whole side came with it. I bullet proofed the s**t out of it
It was a sign of things to come. At least three (3) or four (4) teams had to change bodies!
#10

Posted 11 October 2023 - 10:18 AM
#11

Posted 11 October 2023 - 11:20 AM
Yoooou guessed it!
I'm not sure why I'm spending so much time on a body that might last three (3) races at best! Oooooooooh, I remember, it's fun?
#13

Posted 11 October 2023 - 12:29 PM
I tried using a Sharpie on the inside detailing before paint once.
That did not work out well. It ran.
What a mess.
#14

Posted 11 October 2023 - 02:06 PM
Mark:
Other Sharpie colors work just fine on the outside of bodies and interiors.
Everything you see here other than the yellow and Slick 7 sticker I did with Sharpies.
- Jencar17, Wizard Of Iz, Mike Patterson and 1 other like this
Jay Guard
IRRA Board of Directors (2022-Present),
Gator Region Retro Racing Director (2021-Present)
SERRA Co-Director (2009-2013)
IRRA BoD advisor (2007-2010)
Team Slick 7 member (1998-2001)
Way too serious Retro racer
#15

Posted 11 October 2023 - 03:53 PM
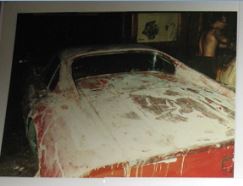
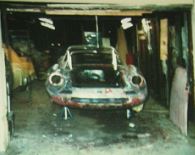
Nice work. But you guys need to practice on big cars first like I did. ![]() Some snaps I found while cleaning out the house of my not-yet-worth-a-million-bucks Ferrari being repainted just before I sold it. There were just too many cracks in the paint to get a decent price. Being aluminum, I had to use an aviation paint stripper to get the old paint off. I just had to take the snaps to scare my buddies who didn't think I had the guts to do it. (looks like someone barfed all over it) Well, it got 90 points in paint and body prep at the spring FCA meet at Marchetti's Farm. It lost 10 points for not being factory original.
Some snaps I found while cleaning out the house of my not-yet-worth-a-million-bucks Ferrari being repainted just before I sold it. There were just too many cracks in the paint to get a decent price. Being aluminum, I had to use an aviation paint stripper to get the old paint off. I just had to take the snaps to scare my buddies who didn't think I had the guts to do it. (looks like someone barfed all over it) Well, it got 90 points in paint and body prep at the spring FCA meet at Marchetti's Farm. It lost 10 points for not being factory original.
Mark; Good thread. Will be helpful to many who have been afraid to try painting a Lexan body.
Jay; The quality of your work is well known. Glad you jumped in here.
#16

Posted 11 October 2023 - 05:46 PM
Dave,ahh the days of immaron( been so long I can't remember how to spell it)
Thanks to everyone for reading this. A lot (hopefully) more to come.
This is my favorite part of the hobby/sport. Wether or not I'm any good... isn't there always a art critic in the house?
#17

Posted 11 October 2023 - 06:01 PM
" A 10 footer "
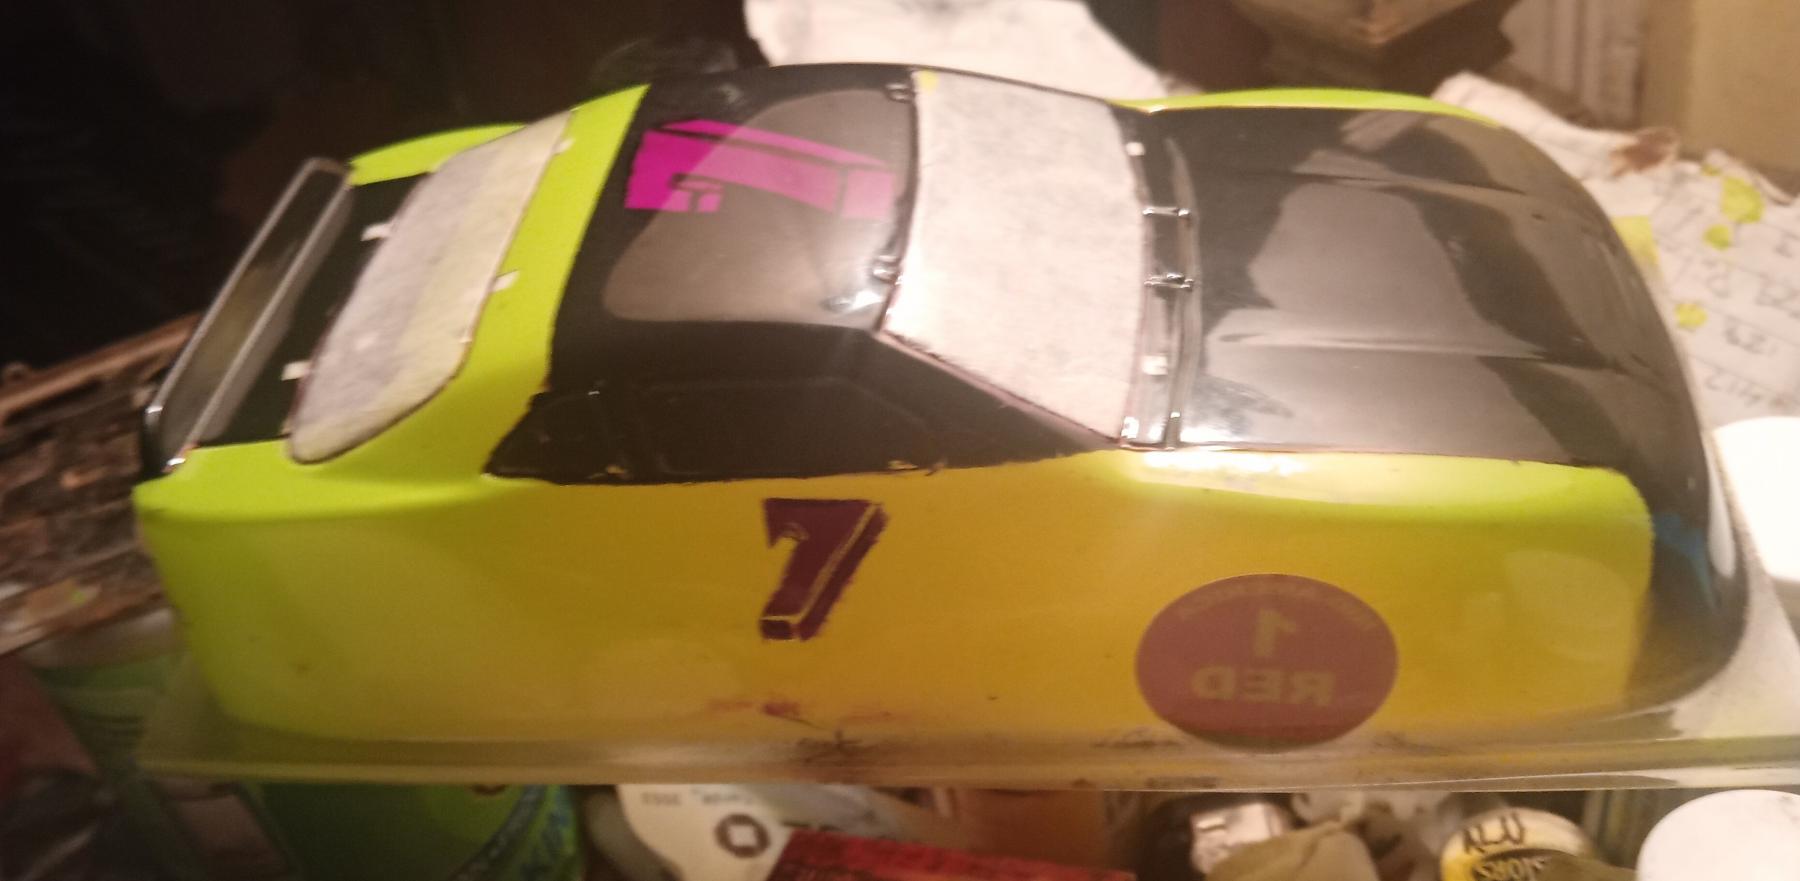
The second photo is the comparison of the double tape (right) and the single tape left. Hard to call. The biggest difference is the $1 store garbage left a spuge that is a b***h to remove. Note to self: spend the extra money for the good stuff. This body serves a dual purpose
1) testing my new air brush
2) showing some examples of what to do and what not to do.
It's going to be raced (de sroied🤣)in a retro flexi, sealed 16-d series. I give it a couple a two tree races before it's toast. I've already spent more time on it then is necessary but, just like my
girlfriend(s) I'm having fun wasting my time.
#18

Posted 11 October 2023 - 06:20 PM
" re-purposed".
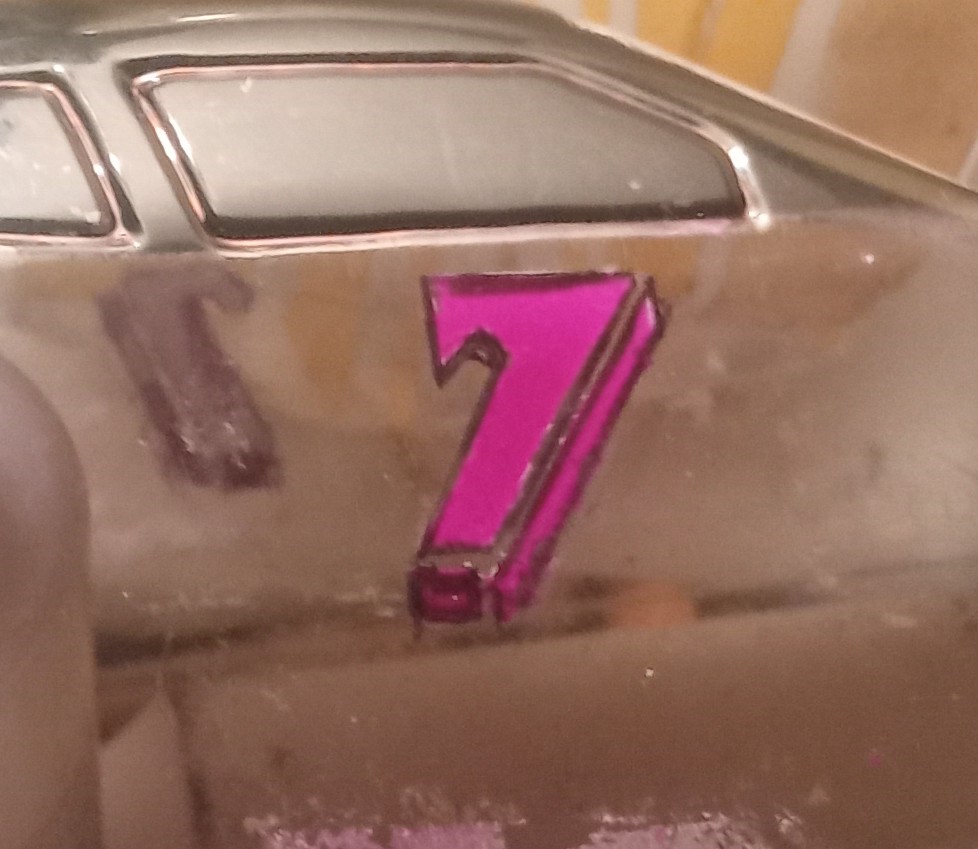
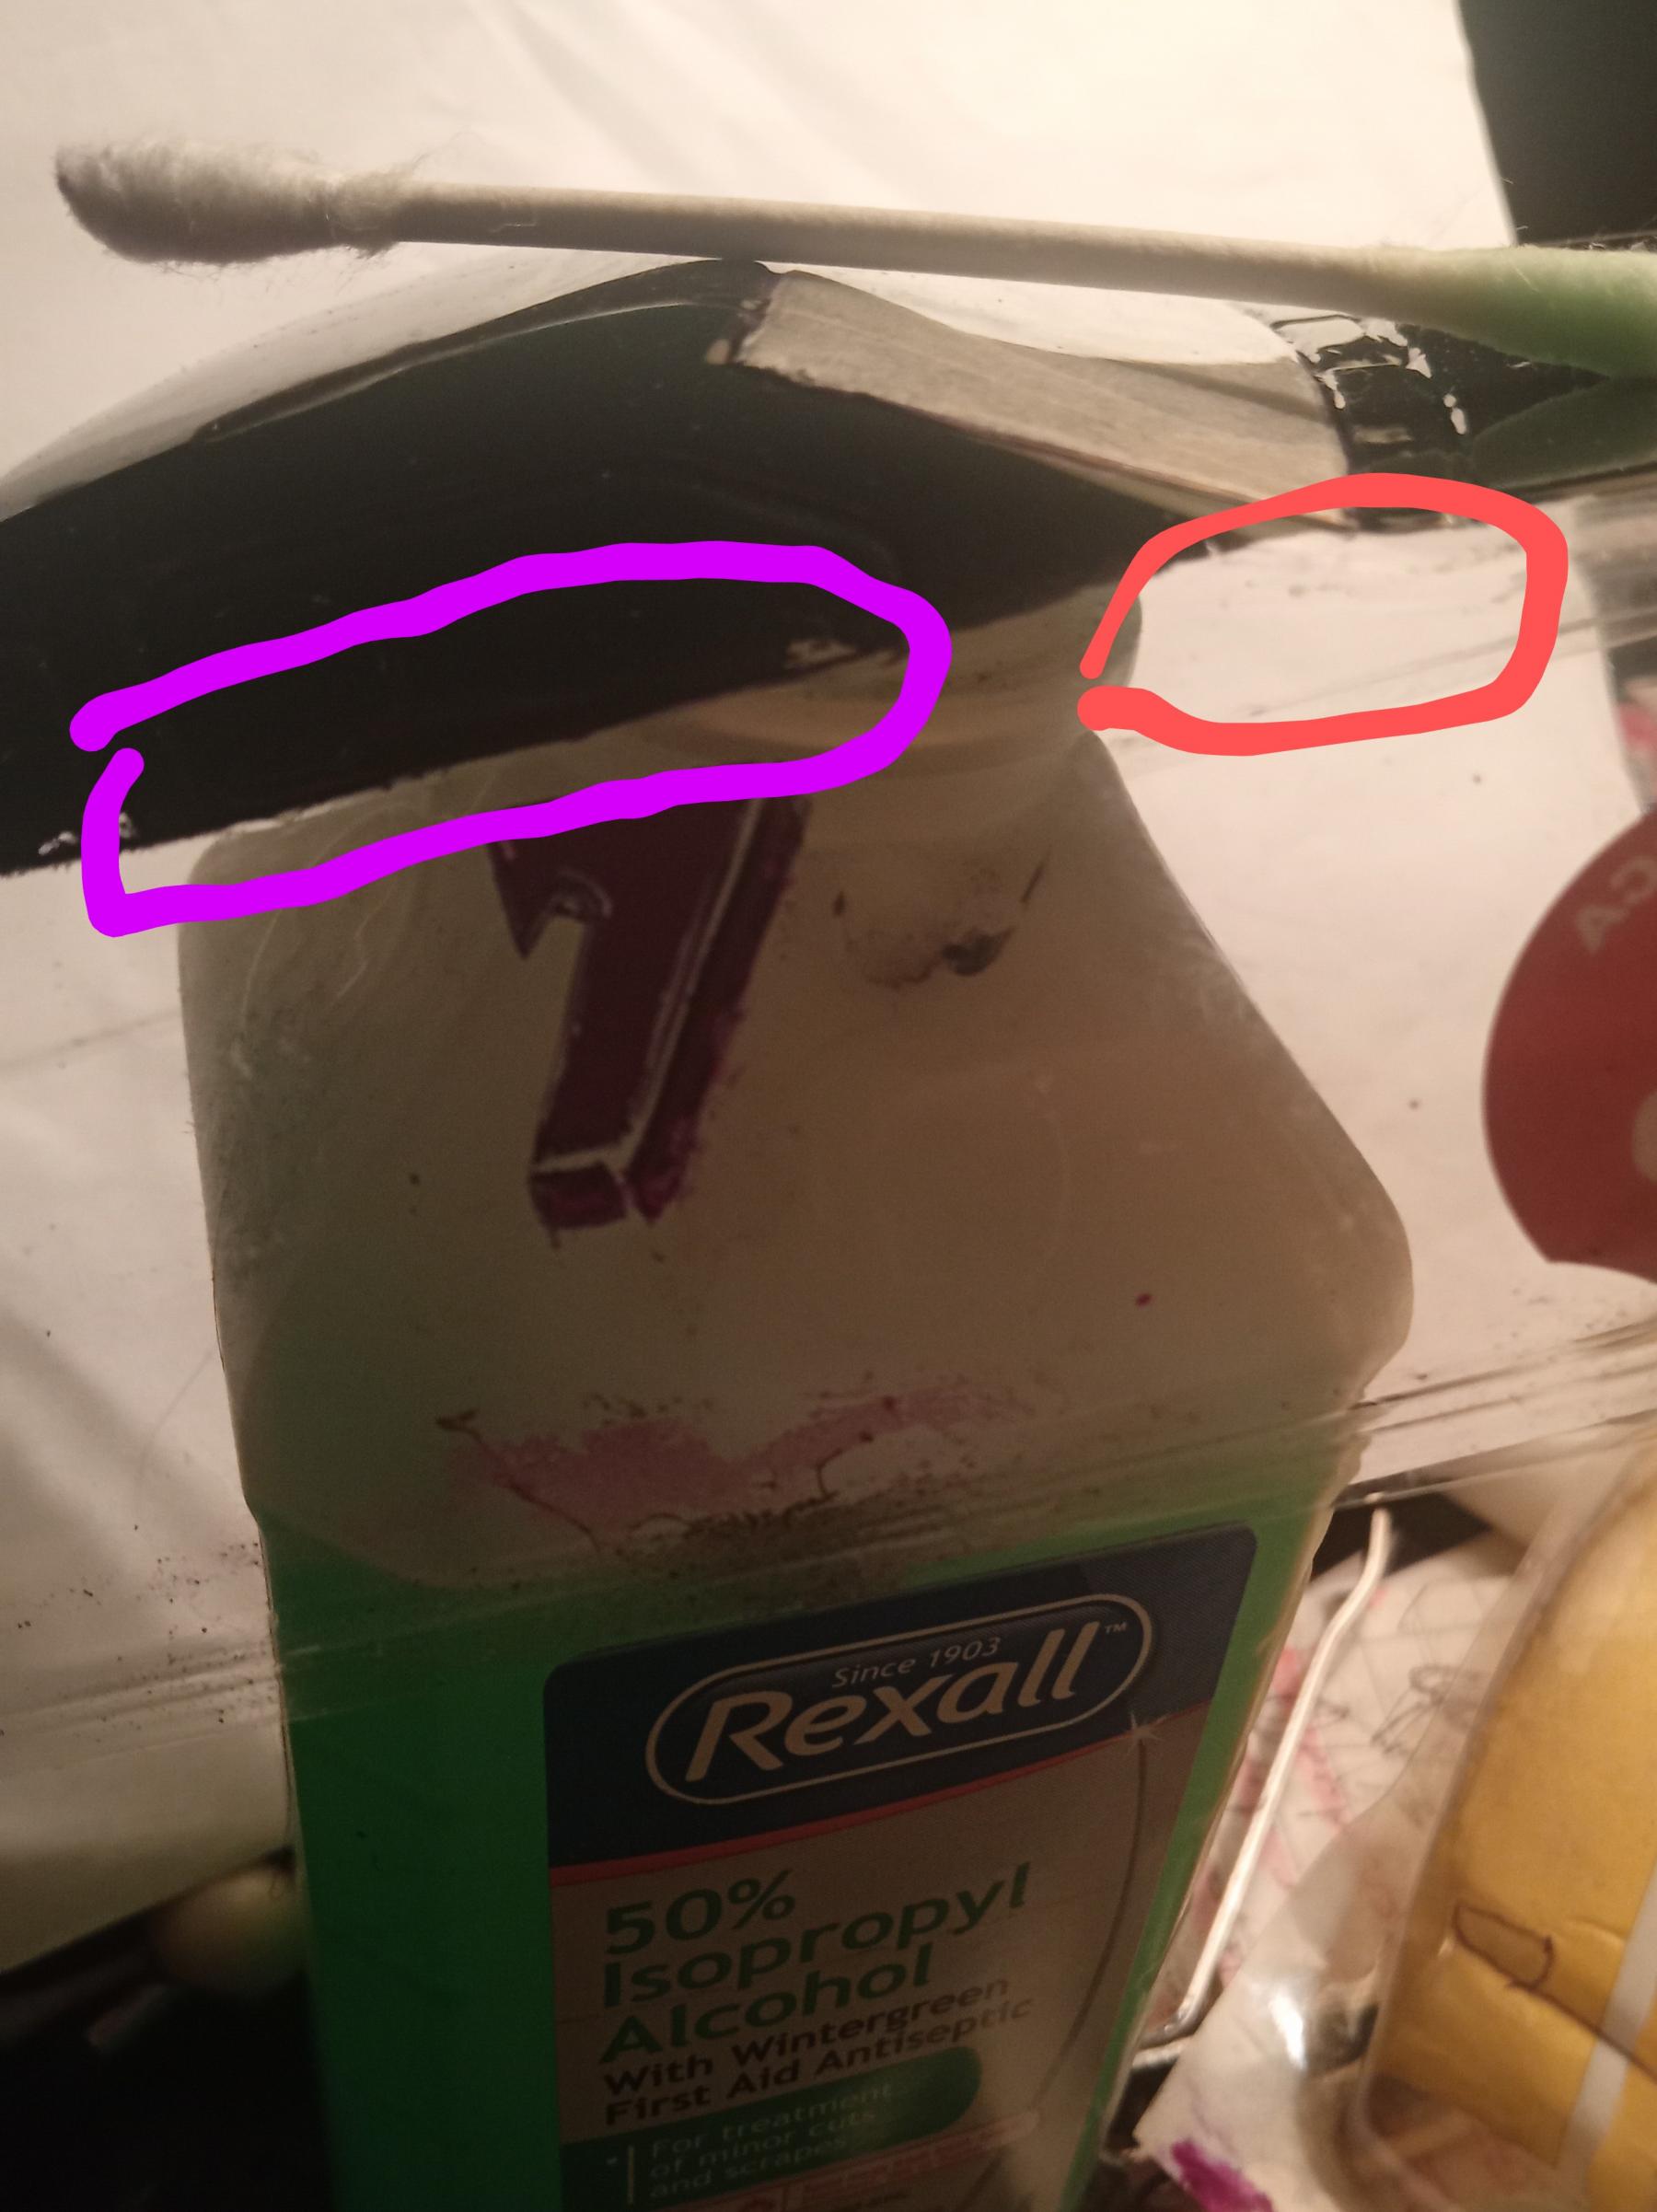
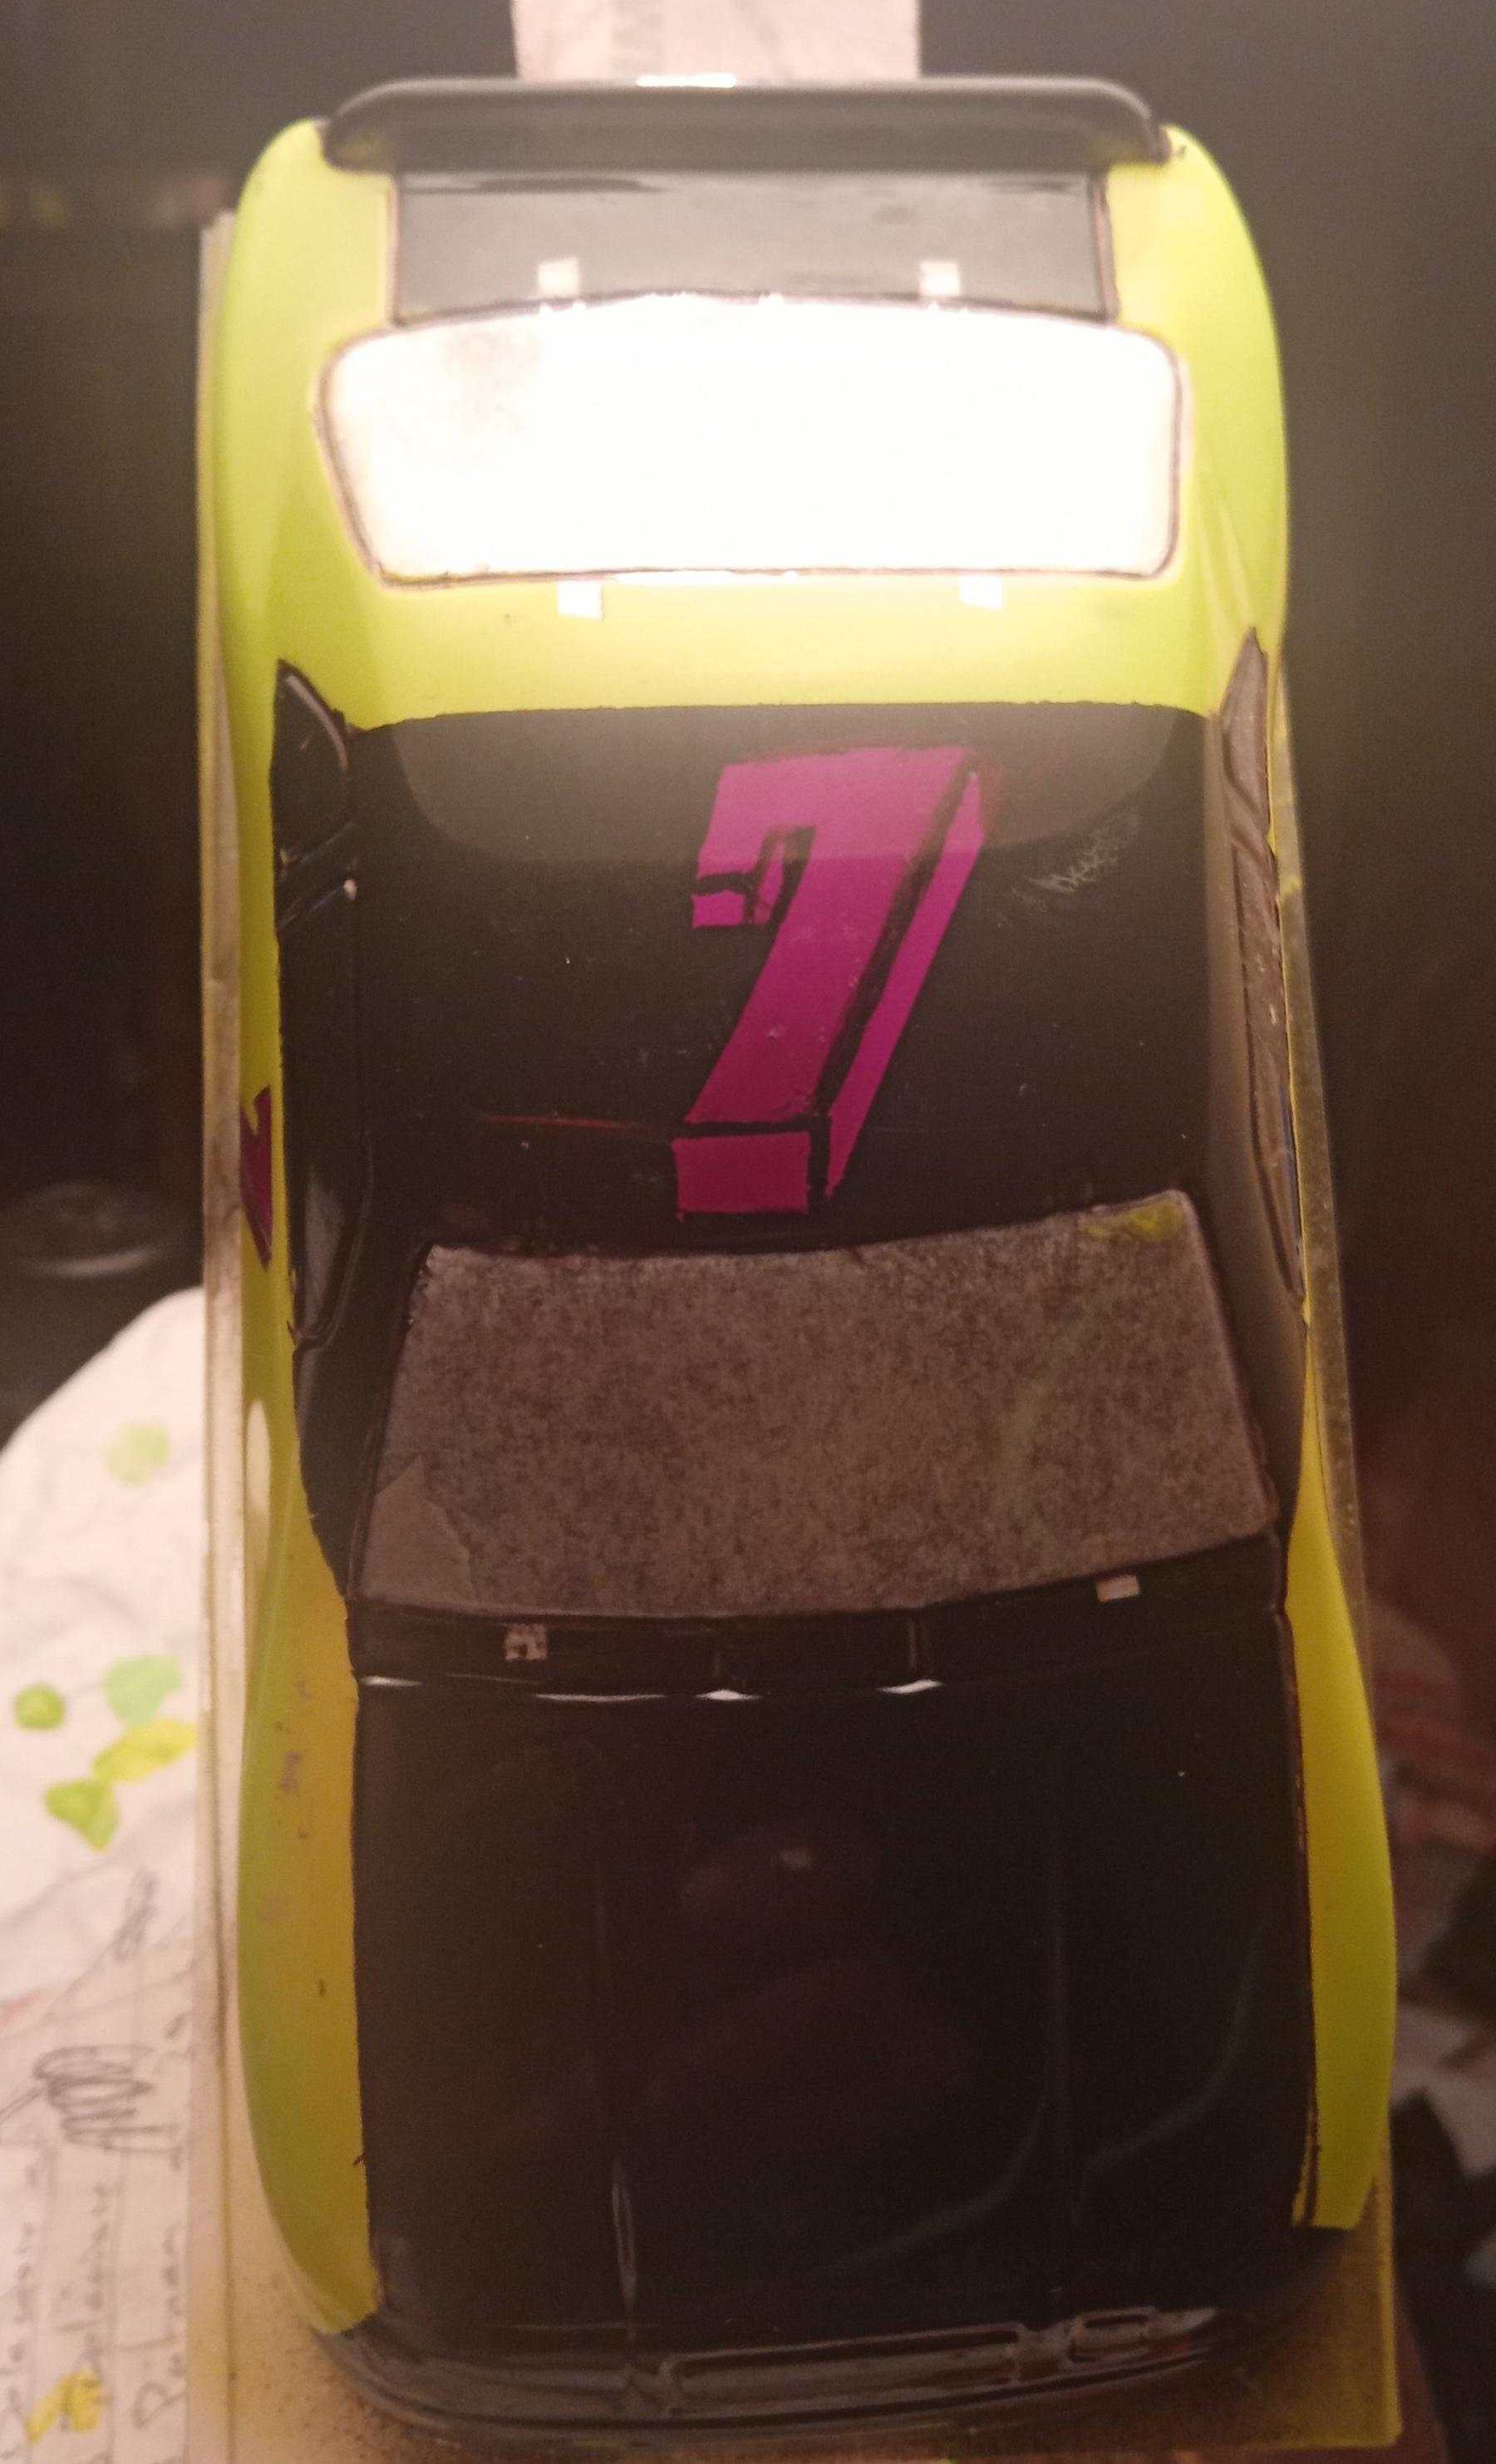
You can see the touch-ups on the 7's and also, the white backup. Some fluorescents benefit from this, others do not not.
The pink circle is a little bit of over (under the tape) spray.
I'll get rid of it the easiest way I've found.
Don't be afraid Mr.Bill, it won't hurt. Ok Mr. Slugo.lol. this car is going to have the same fate as Mr.Bill on SNL
#19

Posted 11 October 2023 - 06:54 PM
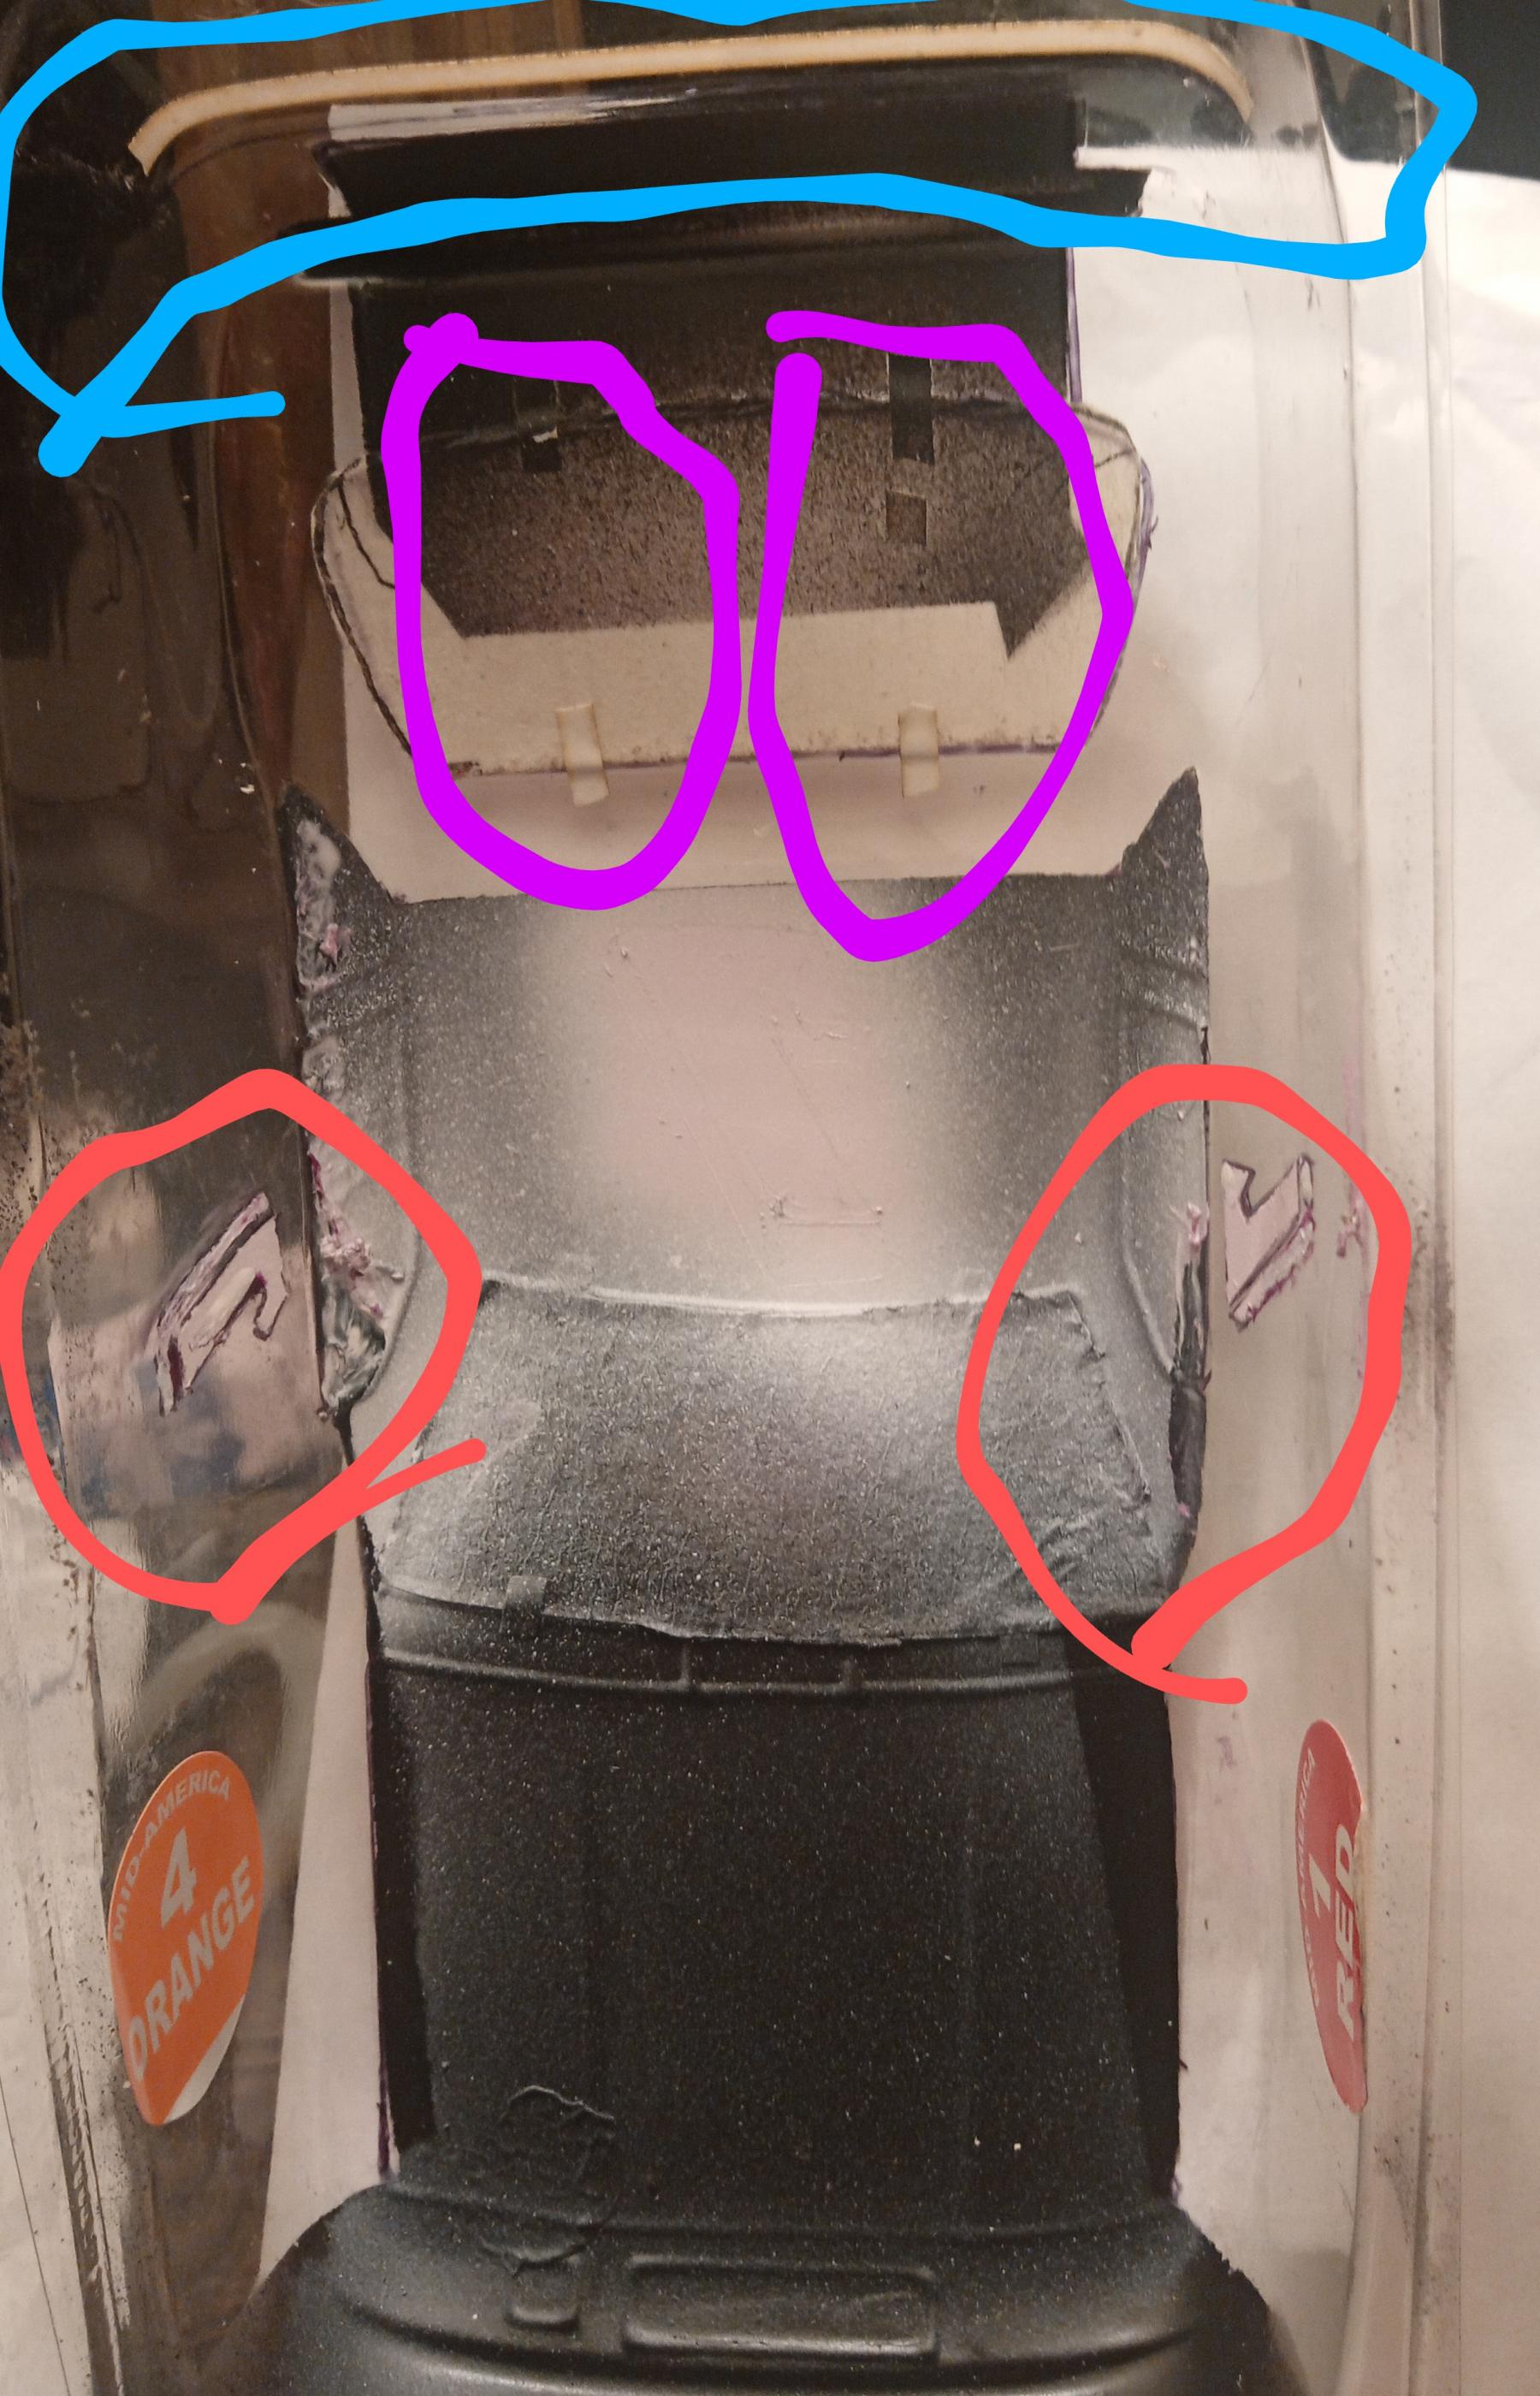
The purple highlights is the window mask, I'll touch it up later. The pink is where I removed the over/under spray. You can really fubar a otherwise decent paint job if your over aggressive. Patience rules in painting.
#20

Posted 11 October 2023 - 08:51 PM
The blue is a rear bumper. Remember when you had to have one? The purple circles are where I added/extended the blow out straps. The pink is the touched up touch-ups.
Keep in mind, these are just a vague representation of the real car. If your clever, you can change things to you want (for the most part).
Billnh, I'm not a big fan of soap and water, well, for washing slot bodies. Unless you use distilled water, it will leave spots & soap byproducts. Sanding the inside,nyet. Did it once. When I went to wax it, I couldn't get the scratches out.(here comes the arguments). However,if it's all finger prints,iso achohol and a cotton swab. Tack clothes for a keeper. Like I said, this is a 10'er. Woke up with a few of them 😐.
#22

Posted 11 October 2023 - 10:19 PM
Feel free to LoL or , comment. A few little details left and it's done.
#23

Posted 11 October 2023 - 10:20 PM
When you use soap & water, the trick is after you have washed all the release agent off a body, you rinse everything with just water, then dry the body with a cloth or paper towel before applying paint. I've been painting clear bodies since 1970 & have yet to sand one before painting, If you do sand, you get more stuff to wash off with soap & water.
I intend to live forever! So far, so good.
#24

Posted 12 October 2023 - 10:41 AM
I understand this body was done with liquid mask as opposed to Vinyl paint mask. There are advantages to using vinyl. the most noticeable will be a consistency when cutting things freehand. The mask doesn't have the fibers or variable thicknesses tape or liquid mask does. You can also print stuff out backwards from your computer onto white label paper and then stick onto the vinyl for cutting. This oracle is not the mask I use, but I'm told it is very good. 10 yards sounds like a lot but it won't take long as you find more uses for it. The shelf life of most vinyl masking is three years or more.
Oracle - https://www.amazon.c...171&sr=8-9&th=1
Here is the mask I use. It comes in 24 inch rolls but can be cut in half for a fee. I don't recommend using the white version. It seems a little stiffer.
https://rjsign.com/C...ENCIL-MASK.html
If it's not a Caveman, It's HISTORY! Support Your local raceways!
#25

Posted 12 October 2023 - 12:10 PM


