Vintage 16D cans with broken tabs?
#1

Posted 22 October 2024 - 08:22 PM
- Pablo, Samiam, John Luongo and 1 other like this
#2

Posted 22 October 2024 - 08:36 PM
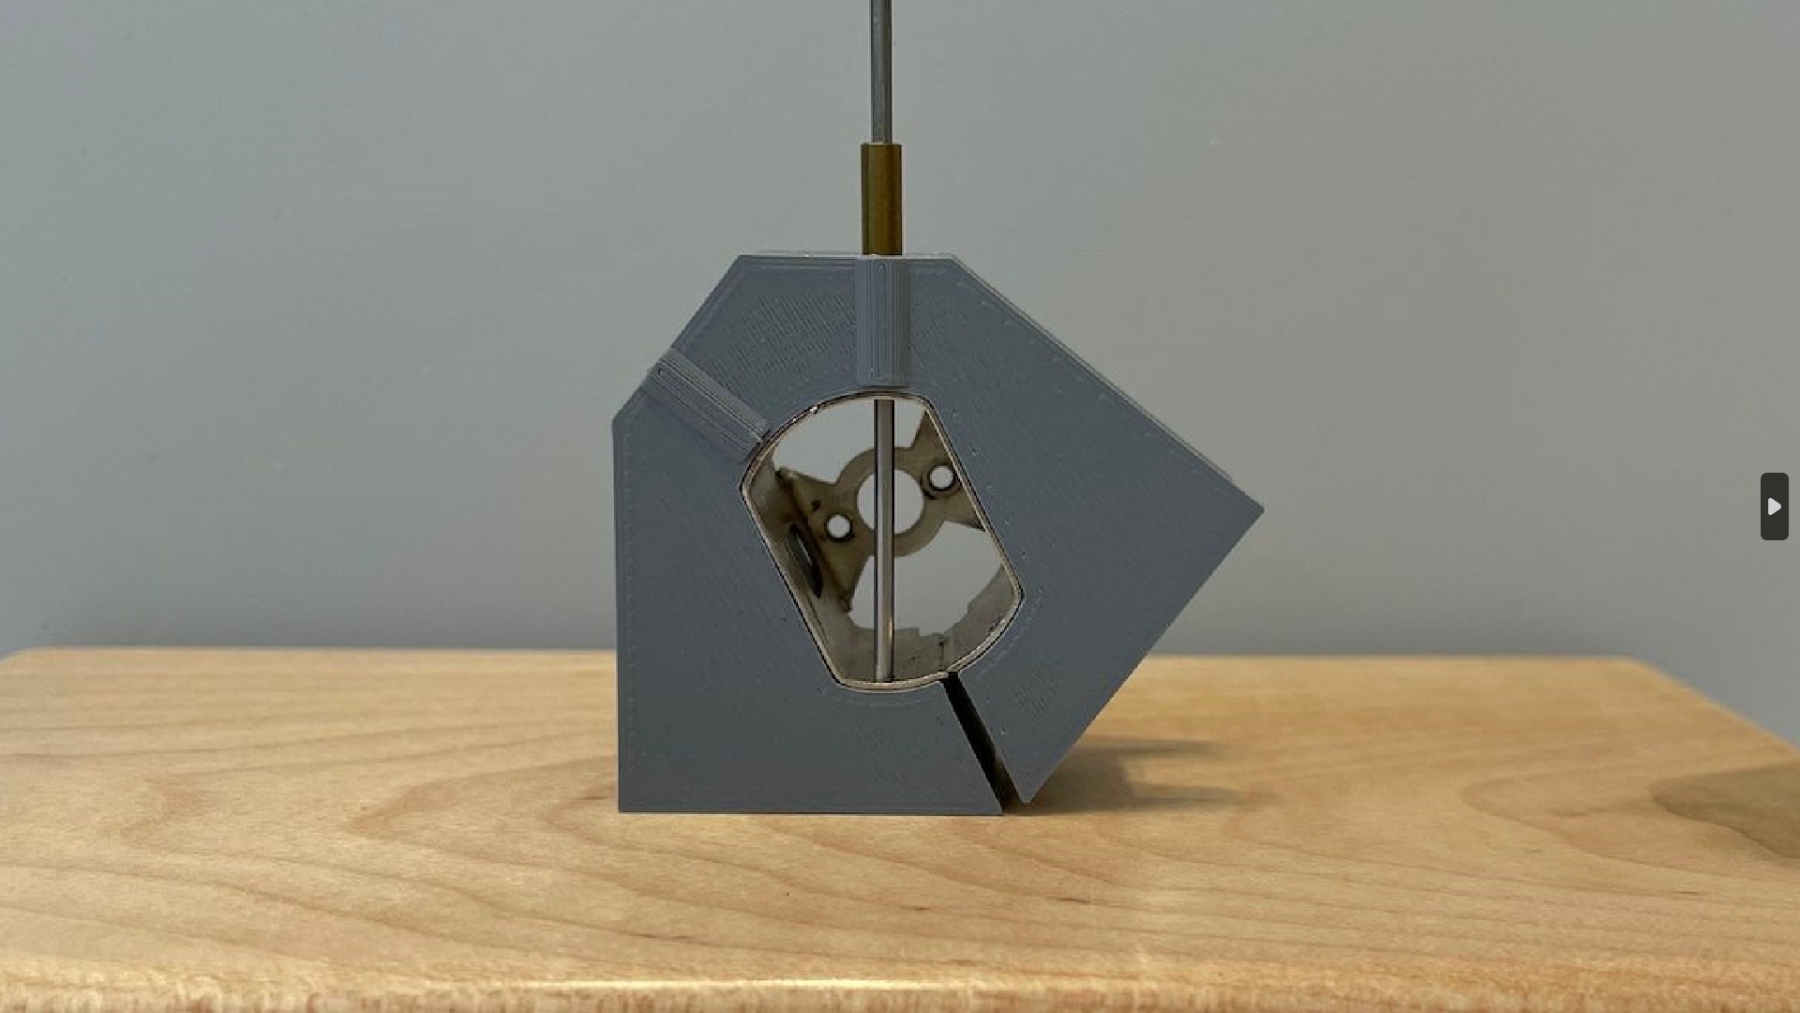
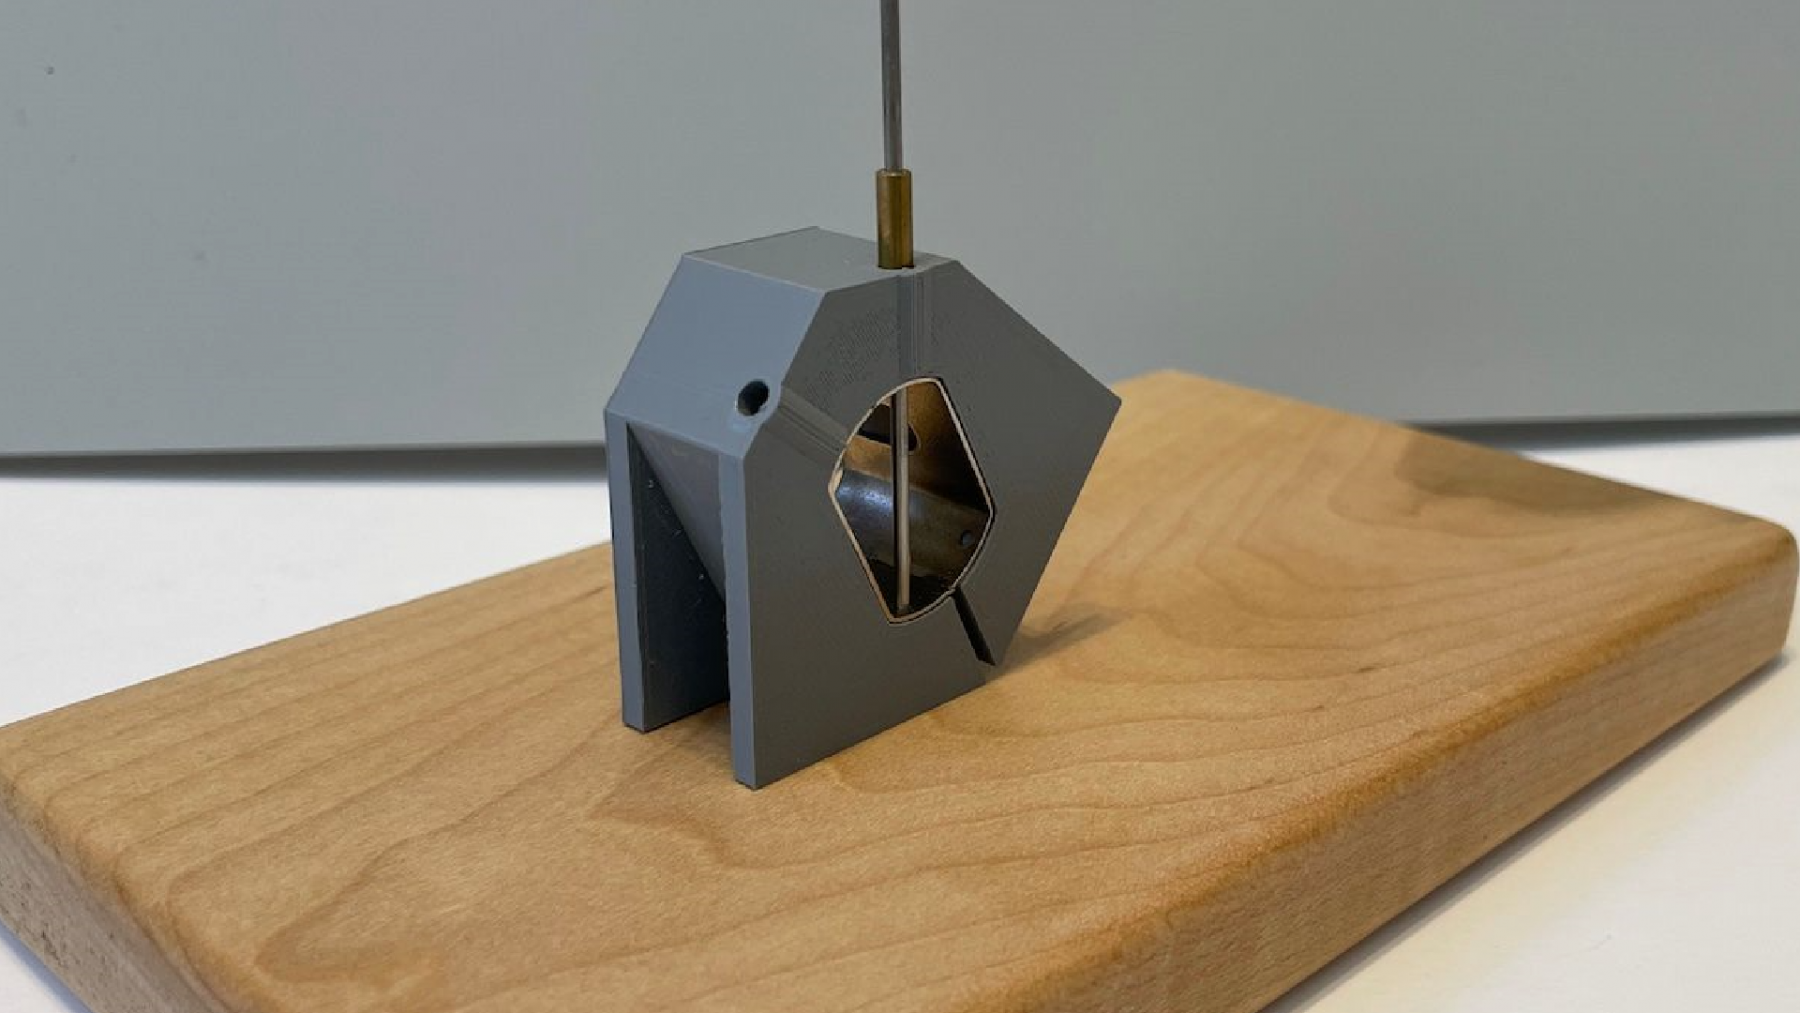
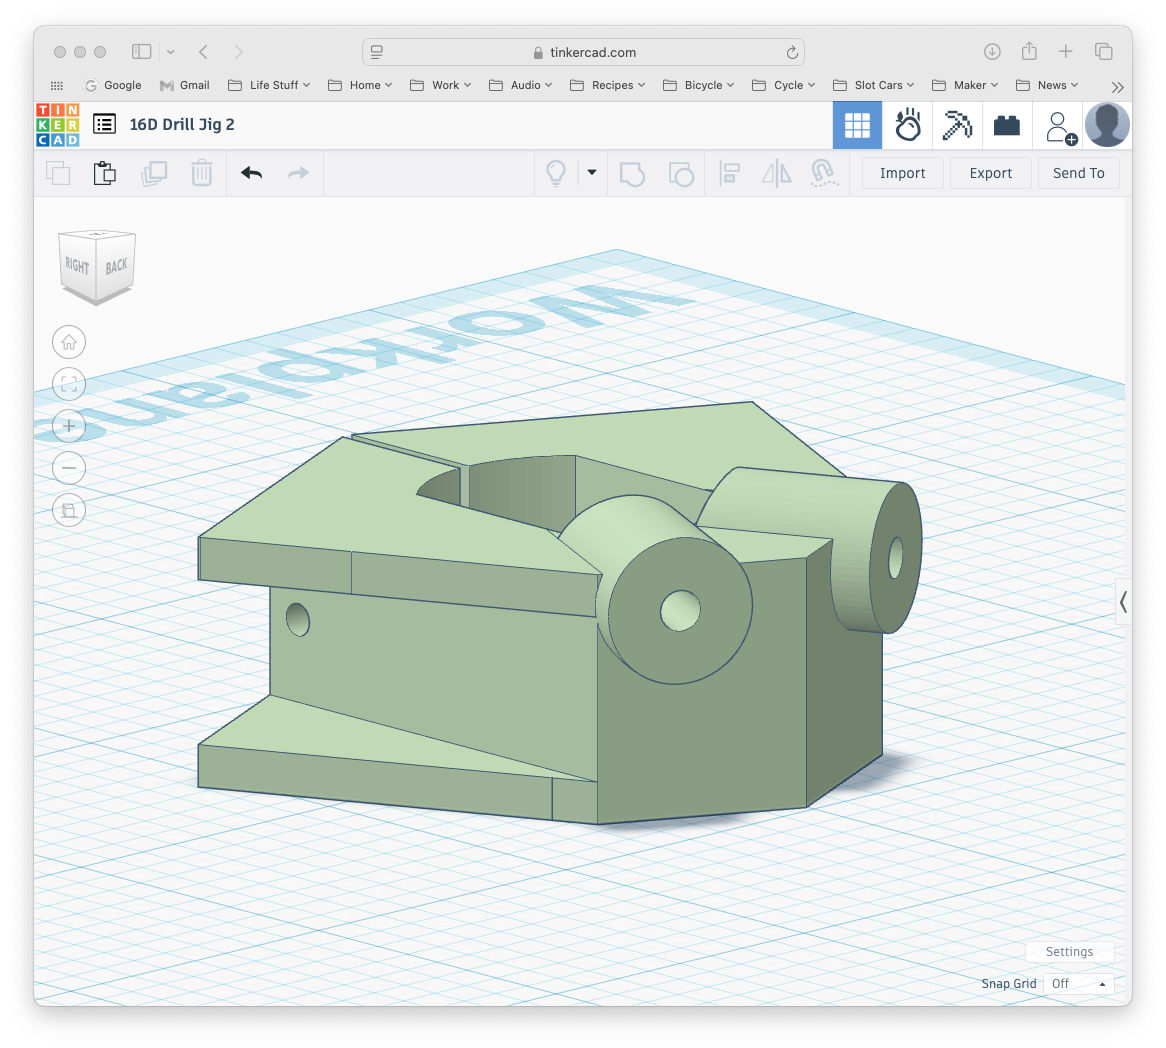
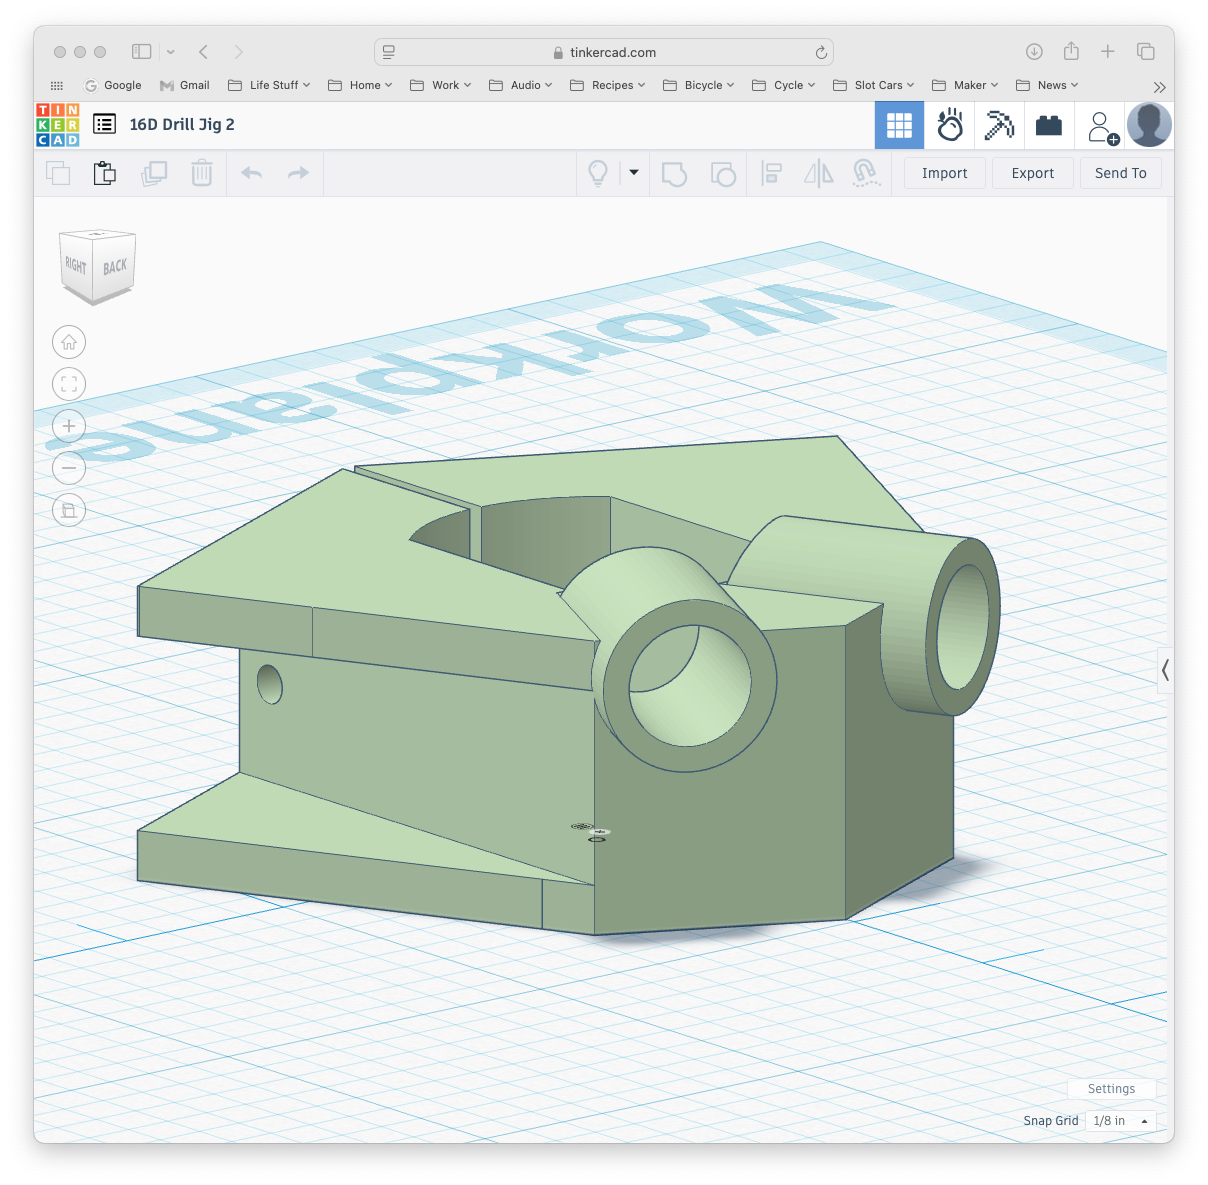
I might add that the shots above show a brass sleeve slipped into the 1/8" guide hole with a 1/16" rod passing through the can to verify the 26 degree angle of the Parma 16D can inside the jig (Pro-Slot Speedy FX motors use the same angle). Those are not part of the jig ... just a bit of quality assurance on my part.
One other detail not seen is that there is a clamping screw between the buttresses on the base to hold the can firmly in the jig.
#3

Posted 22 October 2024 - 10:02 PM
This is a neat tool that will come in handy. I could have used something like this back in the '70s when I drilled Champion C-can clearance holes for mounting to Mura endbells. My Unimat came in handy back then.
I intend to live forever! So far, so good.
#4

Posted 23 October 2024 - 08:38 AM
Any thought to doing this same idea for C-cans? especially modern c-cans that seem to be brand specific with their hole locations? (cahoza, koford, red fox)? It would be super useful to drill endbells, too.
- Ramcatlarry likes this
Alleged amateur racer.
Mostly just play with lots of cars.
Able to maintain slot cars with a single bound.
Faster than a speeding Womp.
More powerful than a 36D.
#5

Posted 23 October 2024 - 09:19 AM
This seems like overkill / over-thinking to me.
It's weird being the same age as Old People.
#6

Posted 23 October 2024 - 09:46 AM
Mike R, it would be very easy to adapt this to any size can you like, just need the can's radius and thickness. I'm not a motor guy (be gentle) but isn't a C-can a short length D-can in which case the above jig should work?
Mike P, you are probably right that someone with a drill press and a set of angle block would never need or use this. But I don't so which is why I engaged Martin's brain to come up with a solution that works with a simple hand drill.
#7

Posted 23 October 2024 - 10:16 AM
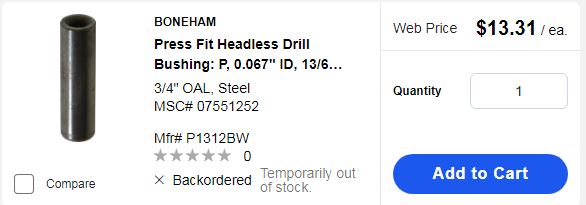
Not a bad design. I would design the holes to take a standard drill bushing. Regardless of what material you plan on having these printed in, the body won't be very substantial, and adding a brass bushing won't improve that much. Press-in bushings don't necessarily have to be press in, especially with the short drill depth you are dealing with here. A snug slip-fit will work. One bushing will work for both holes. Plus they will lessen the "wobble factor" which could make the far side hole oversize or off location.
Here are some bushings and the suppliers;
From McMaster-Carr;
From MSC;
If you are worried about being able to get the bushing out of the fixture, you can get headed versions from MSC;
With a drill bushing, you won't need a center drill. And, of course, the I.D. of the bushing you buy will be determined by the drill bit you plan on using. Another advantage to going with bushings, is that you can add the size that fits the 2-56 tap, and that will make threading the holes in the aluminum endbells straight much easier.
The down side, is that you will have to make a separate fixture for each can size. (see how this is snowballing?) But the builder can purchase whatever fixtures he needs to build his motors.
- Samiam likes this
#8

Posted 23 October 2024 - 11:13 AM
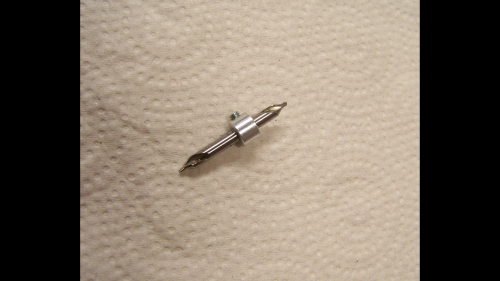
We did think of using a drill bushings Dave, and if were meant to be a production tool I would certainly use those. But for the few cans we plan on drilling and to keep cost down we think this is the simplest solution. The center drill has a smooth shank and will not damage the nylon material, at least for many time use. TBD.
Mike P, would love to see a better solution to drill vintage 16D cans the same every time . Can you show how you do it?
Mike R, I thought C cans have holes from the factory where as Vintage 16D cans only have tabs that always break off after bendig ?
Thanks Bill for the comment. Yes we can always find a way to get the job done. Drill press, angle blocks etc. But this jig does not require any of those items and no hit or miss measuring. Same every time ![]()
- Samiam likes this
#9

Posted 23 October 2024 - 12:01 PM
From my vantage point this is too good a design to be a throw-away tool. And it is obviously designed so it can be used in a drill press. Since no one has a calibrated eyeball, holding the fixture dead straight by hand is not reasonable. Any side pressure, that is out-of-square, is going to put undue wear on the guide holes. A lot of builders are going to want this tool, simply because it simplifies the drill operation. Adding another $10 to the price will extend the life of the fixture at least 10 fold.
Is the pilot on the center drill long enough to go through the leg of the endbell? Or were you planning to just have a blind hole? And hope you can get self-threading screws short enough that they will not bottom out? You don't want to have too large a chamfer in the can, (from the 600 angle on the center drill.), so just going deeper is not a good idea.
In the final analysis, can you imagine having to take all that riggamorrow we discussed earlier to a major race, just so you can replace a melted endbell. This item will be a pretty good seller, so plan on going into production, or selling the rights to someone who wants to.
Mike P; I do it like Rick (DC-65X) does, but use my milling machine and set it up to do a bunch of cans at the same time. I often take 16D cans and modify them to look like other, older designs.
Mike R; I have a somewhat complicated way of soldering in a new tab made from brass strip. Once the can is painted, you can't tell it was done. Plus the brass tab can be bent back and forth several times before breaking off.
#10

Posted 23 October 2024 - 12:12 PM
Nice tool. I'm surprised nobody has made one of these already.
#11

Posted 23 October 2024 - 12:22 PM
The only C-cans I've seen without sidewall mounting holes are the Champion formed C-cans, but those haven't been available for least 20 years or more. There were two versions of this can. Both versions had a tab on the top & bottom with one screw hole. They cut the tabs off the first version because they didn't have an endbell to use the tabs. A second version came out in the mid-70s. This second version is formed a bit different than the first & might have had an axle cutout. Champion sold them with the tabs on because they also now had their own endbell.
I intend to live forever! So far, so good.
#12

Posted 24 October 2024 - 10:19 AM
Mike P, would love to see a better solution to drill vintage 16D cans the same every time . Can you show how you do it?
No, I can not. It has been several decades since I messed around with 60s era motor cans, and my recollections of that era grow fuzzier with each passing day.
I need to learn to keep my thoughts and opinions to myself. I apologize for the interruption.
It's weird being the same age as Old People.
#13

Posted 24 October 2024 - 03:42 PM
Mike, don't keep your thoughts & opinions to yourself. They need to be shared with others. You've had many good ideas over the years since I first met you online. Keep them coming.
I intend to live forever! So far, so good.
#14

Posted 24 October 2024 - 05:08 PM
And,it seems everyone is a art critic, doesn't it?
Destin to be a classic.
#15

Posted 24 October 2024 - 07:31 PM
Someone I worked for said it best I thought. He said if we both had the same idea or opinions one of us would be redundant. ![]()
All constructive input is good with me.
I am going to give this tool a total workout and prove to myself it is as accurate repeatable and easy to use as planned.
Maybe I should do a new post in the Vintage restoration category when that time comes.
- Bill from NH likes this
#16

Posted 25 October 2024 - 05:35 AM
Looks like a great tool.
Put me down for one!
Regards, Bob
#17

Posted 25 October 2024 - 08:49 AM
Me too.
#18

Posted 26 October 2024 - 04:07 PM
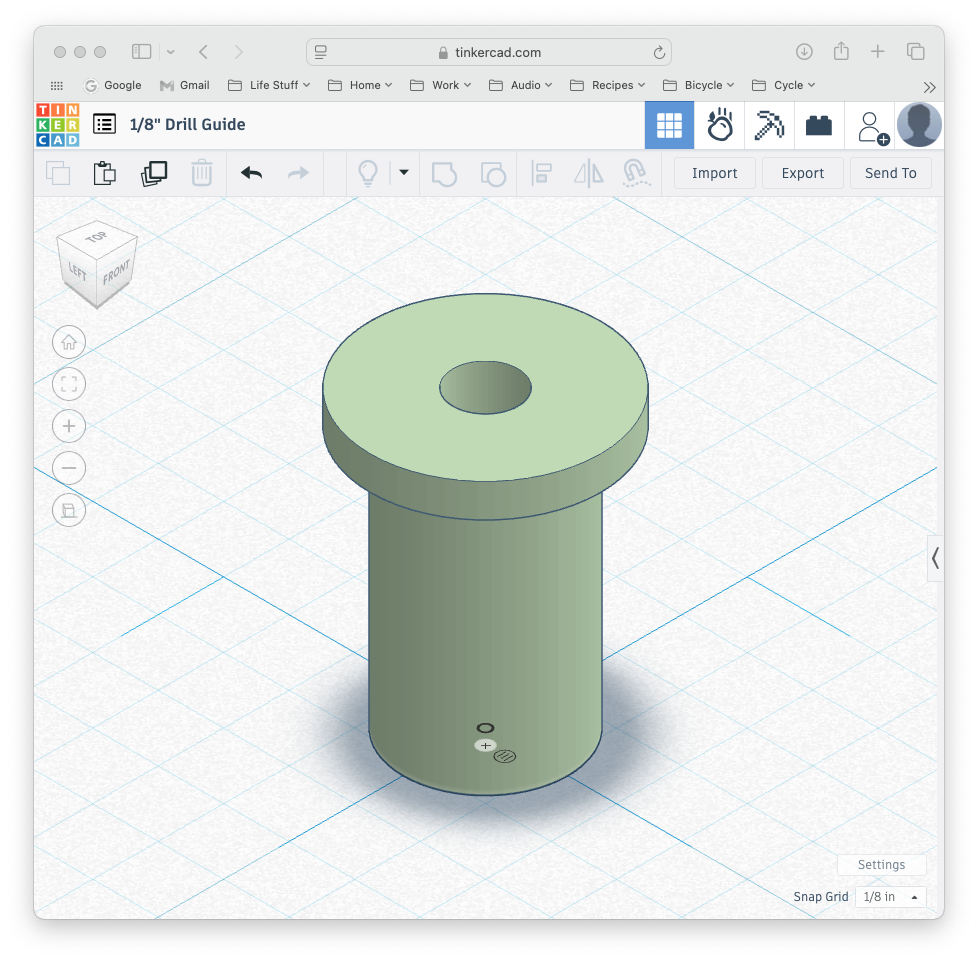
Martin is still going to do some field testing but I understand Dave's preference for wanting to use a drill bushing. So I beefed up the guide barrel which now has 7/16" diameter and 1/2" length. So if at some point you bugger up the original 1/8" hole, there should be ample material to drill it out and press in the bushing of your choosing. I haven't printed one of these as yet but here is a snapshot of the new design in TinkerCAD.
- Samiam likes this
#19

Posted 26 October 2024 - 06:34 PM
I'm not a machinist, but if you're blueprinting screw holes, you might as well blueprint the whole motor while you have them apart. I only have three 16D cans left from the 60s. I think all three broke their tabs off more than 50 years ago. I replaced the tabs. with self-tapping body screws top & bottom. That was the popular way of fixing them in the day. I'm surprised nobody has requested tabs on your new jig so they could be bolted down to a drill press or milling table. I'm a K.I.S.S. type of person at heart. I have a Russkit 33 can needing mounting holes for a Rambuchi kit. I'm not looking for a drilling fixture for this can.
I intend to live forever! So far, so good.
#20

Posted 26 October 2024 - 08:56 PM
In the case of this jig Bill you really just want the drill to find the jig center and be guided only by the jig. So it needs to float on the drill press table. Meaning you drill one hole then rotate to the next guide hole in the jig. Once that side is done you flip the can in the jig and drill the opposite 2.
I will do a step by step instructions with pics. You really could do it with a Dremel, with no drill press at all but I will try that on a bench and or in my hand.
We have been thinking about 26D and 36D also but want to prove the 16D first as this is what Larry and I wanted.
- Bill from NH and Samiam like this
#21

Posted 27 October 2024 - 08:32 AM
In the case of this jig Bill you really just want the drill to find the jig center and be guided only by the jig. So it needs to float on the drill press table. Meaning you drill one hole then rotate to the next guide hole in the jig. Once that side is done you flip the can in the jig and drill the opposite 2.
I absolutely agree. Letting the fixture float on the center drill will lessen the wear on the guide hole, as your hand will act as a "shock absorber". The bottom surface of the fixture will keep it square and aligned with the drill press quill. By the way, setting the fixture on a sheet of waxed paper between it and the drill press table, will let it shift around more easily to find that center without affecting the squareness.
I will do a step by step instructions with pics. You really could do it with a Dremel, with no drill press at all but I will try that on a bench and or in my hand.
If you can hold the fixture in line with a Dremel, you are a better machinist than I. Any mis-alignment will put wear on that guide hole.
We have been thinking about 26D and 36D also but want to prove the 16D first as this is what Larry and I wanted.
Good idea. Although I probably have 10 old Parma 16Ds that I want to do, I also have a few 26Ds and 36Ds in que.
Thank you Larry for beefing up that area, because I will difinately add drill bushings. As a long time fixture designer and builder, I learned the value of having a hardened guide for drill bits.
P. S.: Larry, you are getting good use out of that TinkerCAD software. When it first came out, I turned up my nose and scoffed. But it really is a good program for the home designer who was not classically (at a Tech school) educated in 3D modelling.
#22

Posted 27 October 2024 - 08:41 AM
This is the only way to get repeatability . I'm in for one when available.
- Sloter likes this
"If you have integrity, nothing else matters, and if you do not have integrity, nothing else matters."
Robert Mueller, special counsel (2013)
"... because people have got to know whether or not their president is a crook."
Richard M .Nixon, Nov 17, 1973
"Fool me once, same on... shame on you. Fool me... you can't get fooled again."
George W. Bush
#23

Posted 27 October 2024 - 08:52 AM
This is the only way to get repeatability . I'm in for one when available.
See how a good idea spreads like wildfire?
#24

Posted 28 October 2024 - 10:11 AM
We have modified the jig to have a 5/16'' hole suitable for an available steel drill bushing. The jig will have a range of 3D printed guide bushings.
This allows for replacement if and when it wears out and different sizes. e.g.
1/8'' hole for the center drill. Original plan.
1/16" for drill.
.050" for drill
.140" ( long) to support tap shank. for that option if you do not want to use self tapping screws.
Thanks for all the comments and interest. ![]()
- Samiam likes this
#25

Posted 29 October 2024 - 12:20 PM
Not going to tell you " I told you so"
If you'd like, I'll test one. If I can use it without a puncture wound or something like that, anyone can use it. And no,I promise not to use a Milwaukee hole hawg on it. I'll try a motor tool then, maybe, my POS harbour freight vibrating drill press.
Just let me know, so I can make sure my health insurance is paid.
( Only kidding about the bodily harm)


