
Had a chance to play with the 16D drill jig yesterday. I have to say it worked perfect. I will take pics of the process.
Simple to use and Larry nailed all the dimensions. Thanks again Larry 

|

Posting Leader

Posted 16 November 2024 - 11:47 AM
Had a chance to play with the 16D drill jig yesterday. I have to say it worked perfect. I will take pics of the process.
Simple to use and Larry nailed all the dimensions. Thanks again Larry
Age scrubs away speed!

Posted 16 November 2024 - 03:53 PM
It sure will save you measuring, marking & center-punching the locations before drilling them. This probably saves at least 15 min. of pre-drilling time., more if you're slow or anal.

Grand Champion Poster

Posted 16 November 2024 - 08:59 PM
This probably saves at least 15 min. of pre-drilling time., more if you're slow or anal.
Even more if you're slow, anal and OLD Bill!
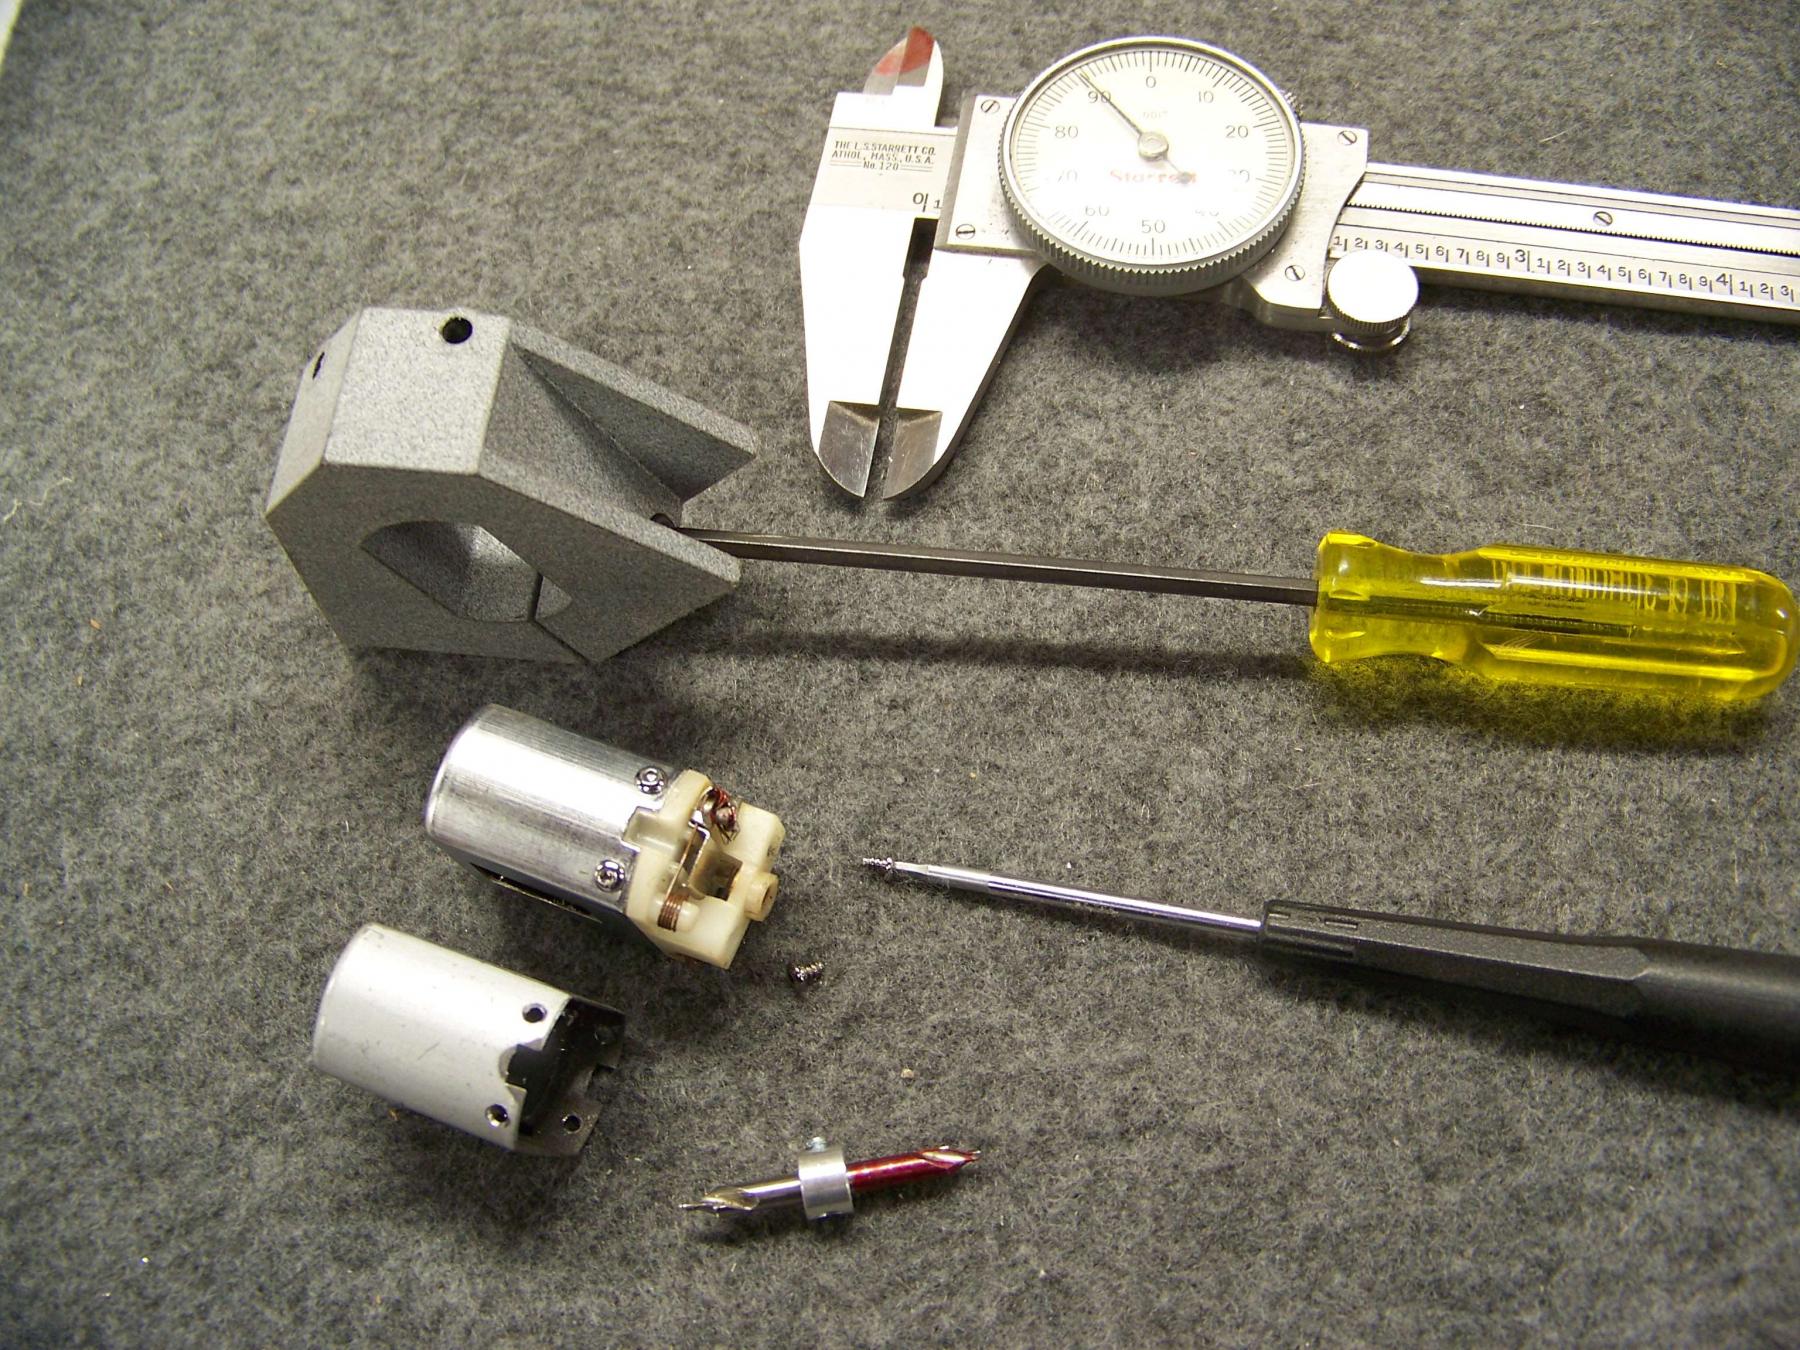
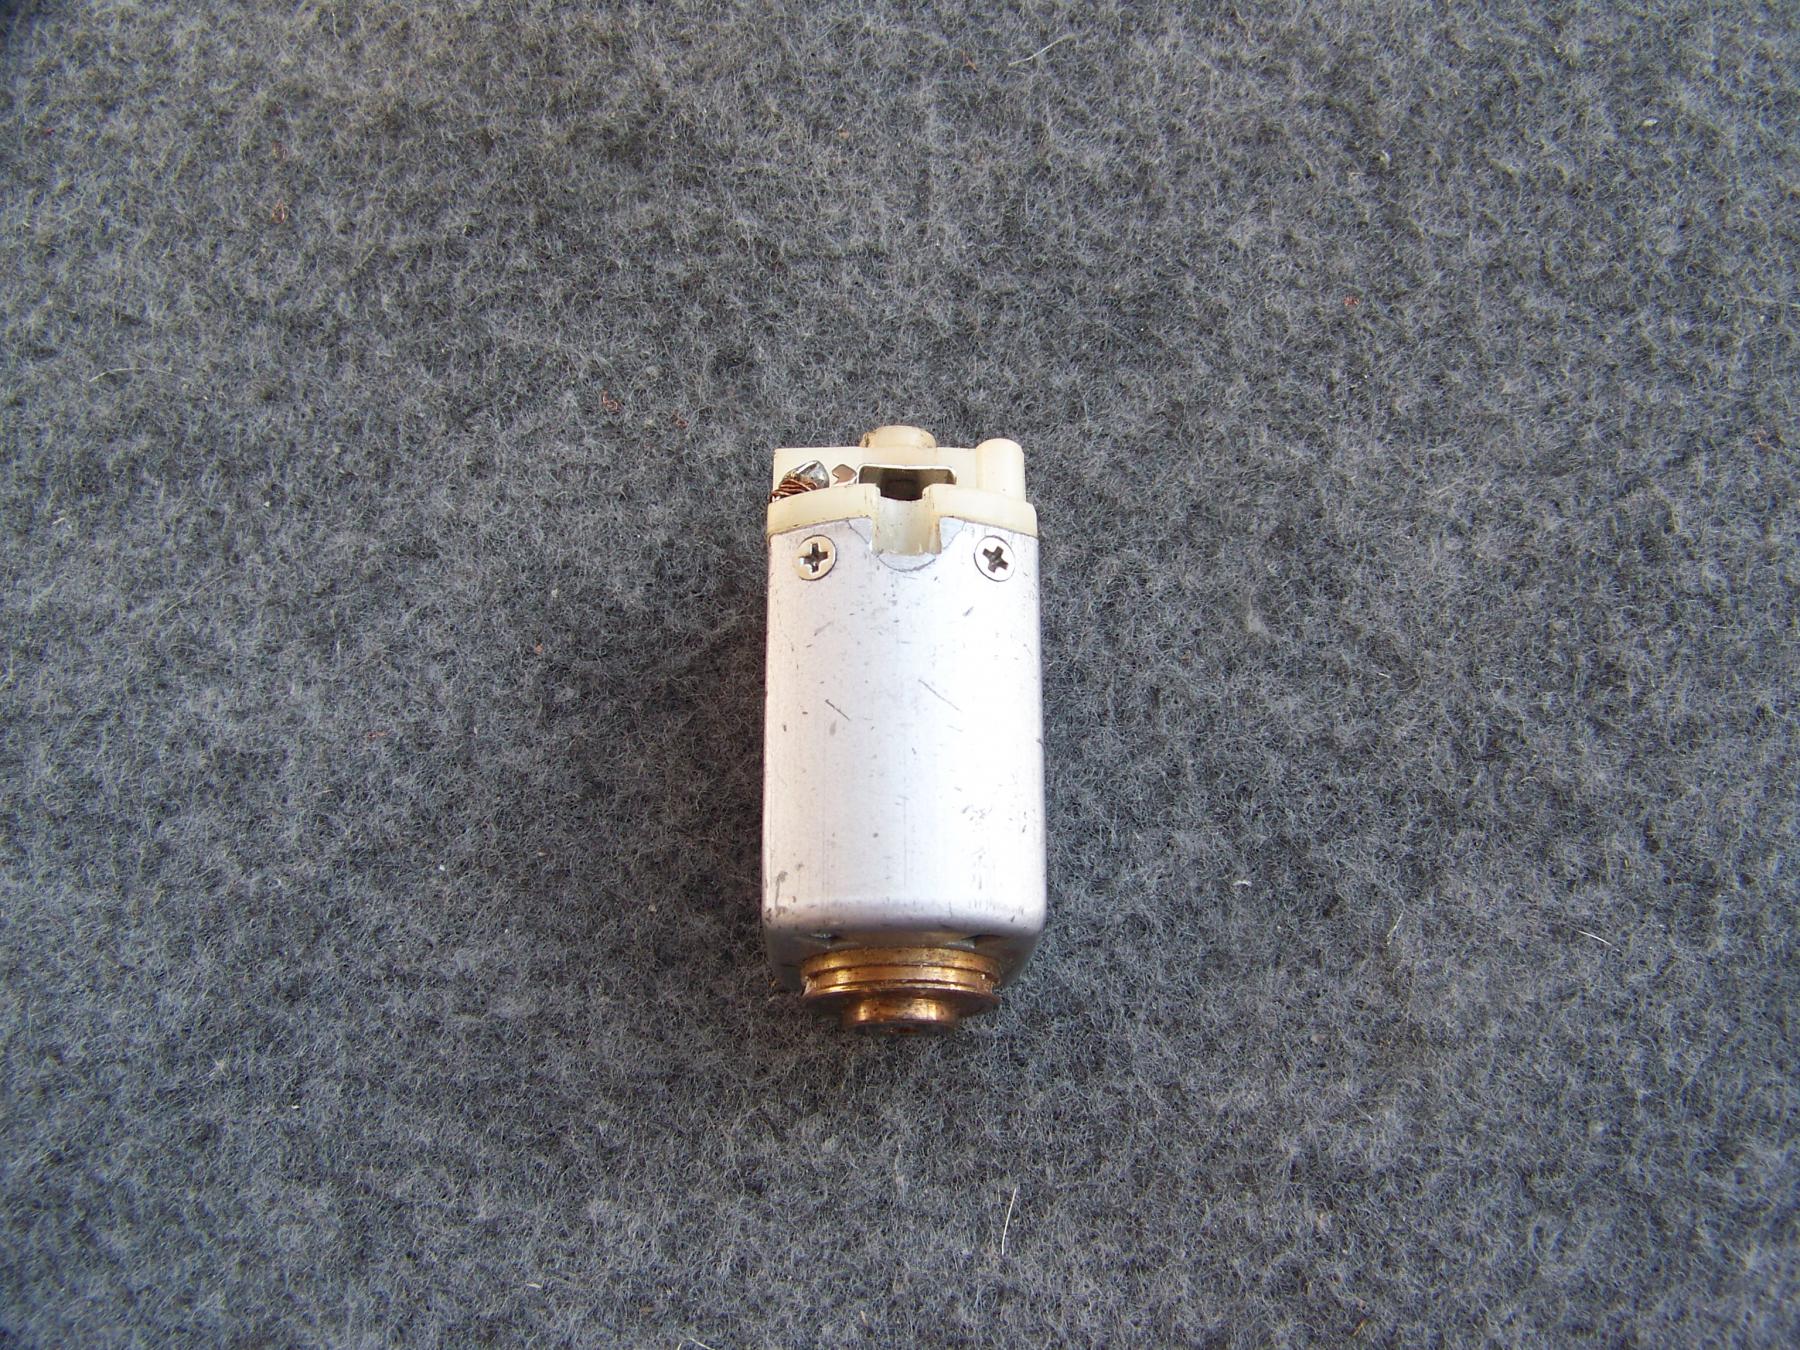
I just spent over an hour drilling and tapping a '68 Mabuchi can for 0-80 machine screws:
apply layout dye
scribe lines for hole locations
prick punch - gently, Mabuchi cans are THIN
center punch - same as above
hand drill small divot with a .030" drill in a pin vise - because of light center punch
tap drill in the drill press
tap 0-80 in a tapping fixture
countersink holes to remove any burrs
I like Larry and Martin's drilling fixture very much and they should "fly off the shelves".
But I'm weird.  I had fun doing it the old fashioned way.
Rick Thigpen
Check out Steve Okeefe's great web site at its new home here at Slotblog:
The Independent Scratchbuilder
There's much more to come...
Age scrubs away speed!
Posted 16 November 2024 - 09:42 PM
I forgot I was old too! When I built motors, I was 50 years younger. I used a lot of 0-80 machine screws to attach cans to endbells. The cans got a .063 clearance hole unless I was using a flat headed screw that needed a taper. Fortunately, I didn't use many of them. When drilling screw holes, I was more concerned that the can screws didn't shot out on the endbell hardware screws than the actual placement. When I raced 16Ds with my kids, I used the TQ self-tapping screws. Some were black, some were plated.
Posting Leader
Posted 17 November 2024 - 08:01 PM
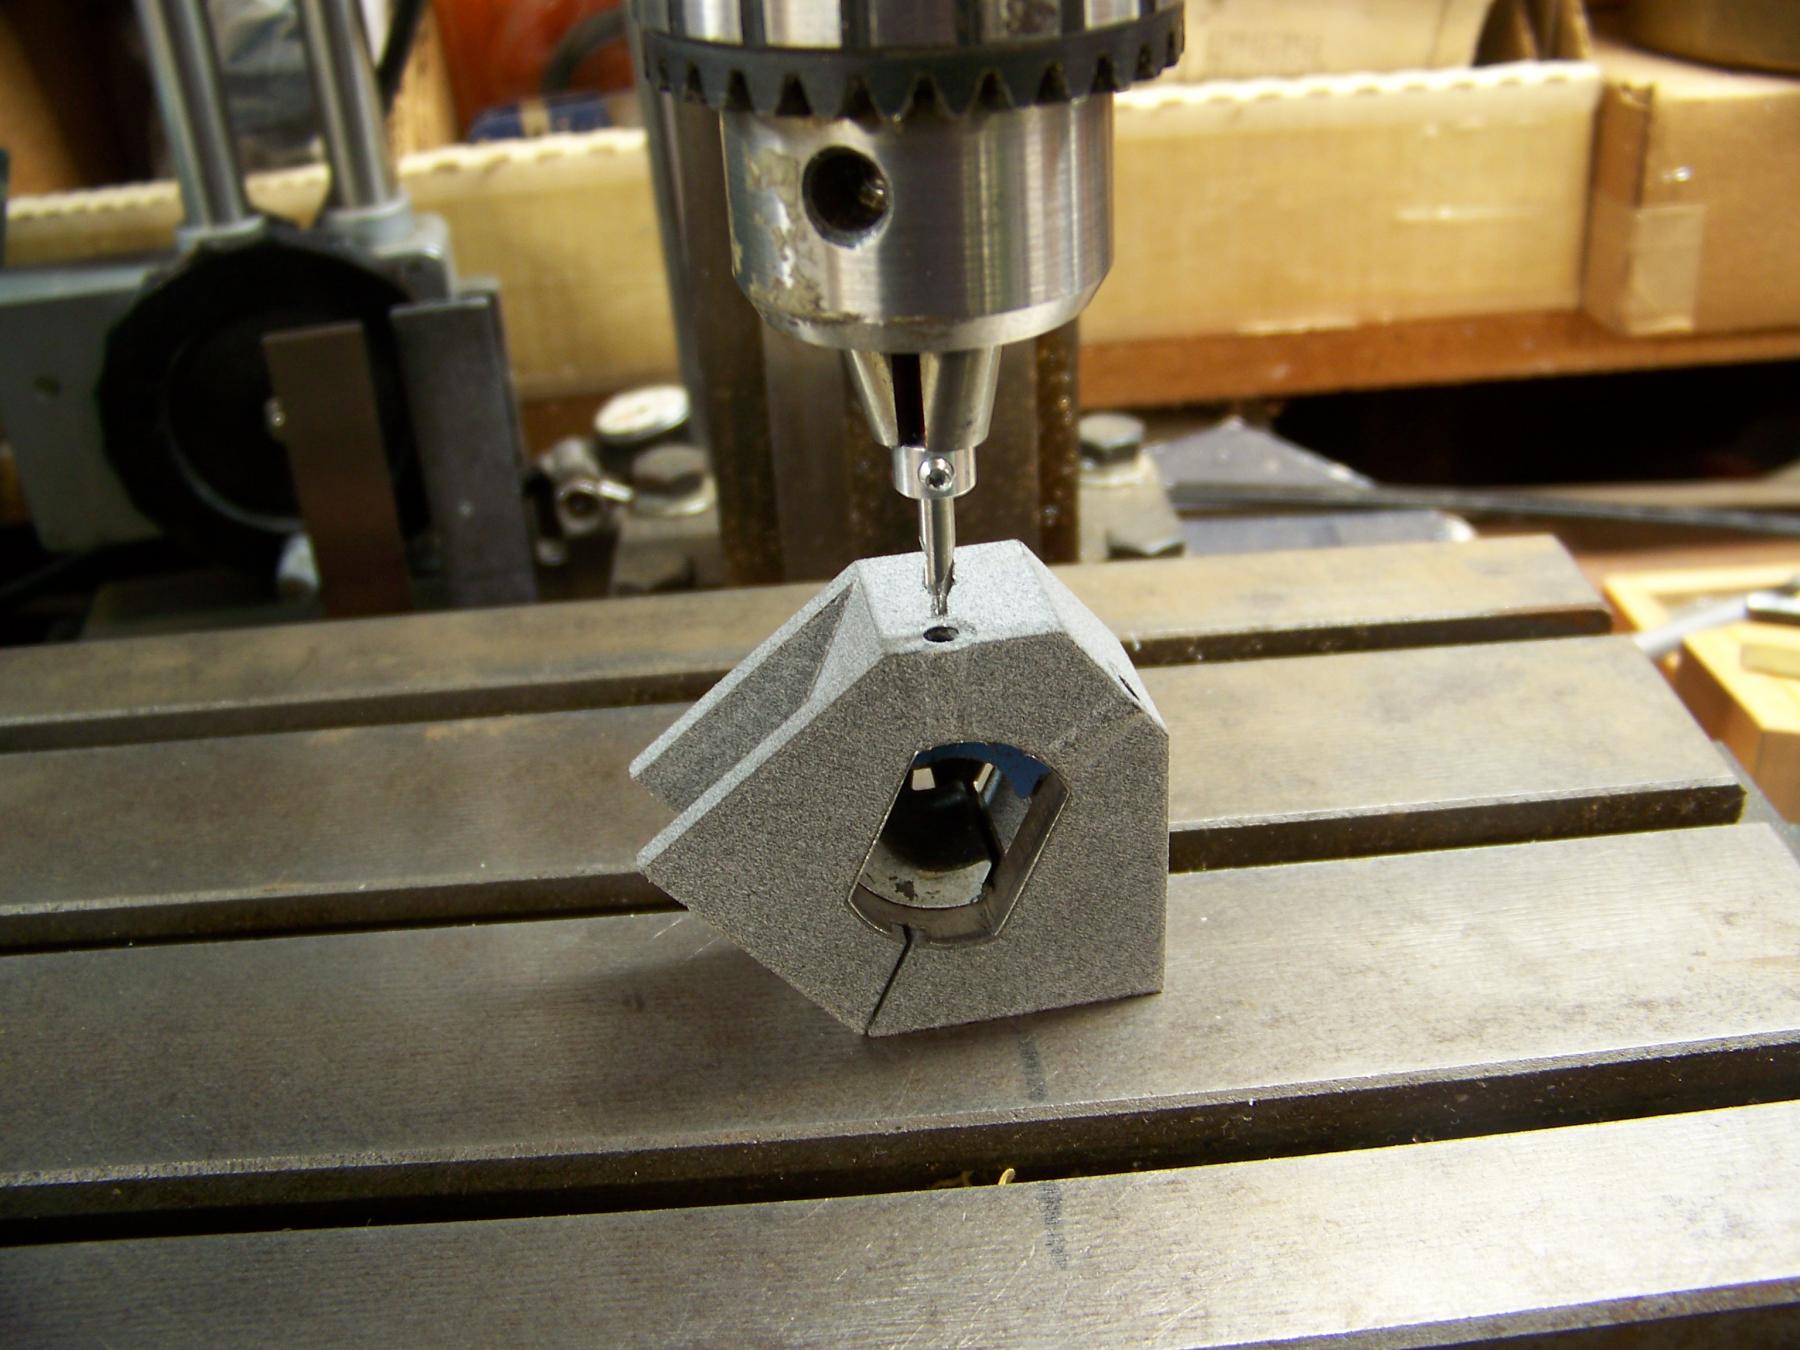
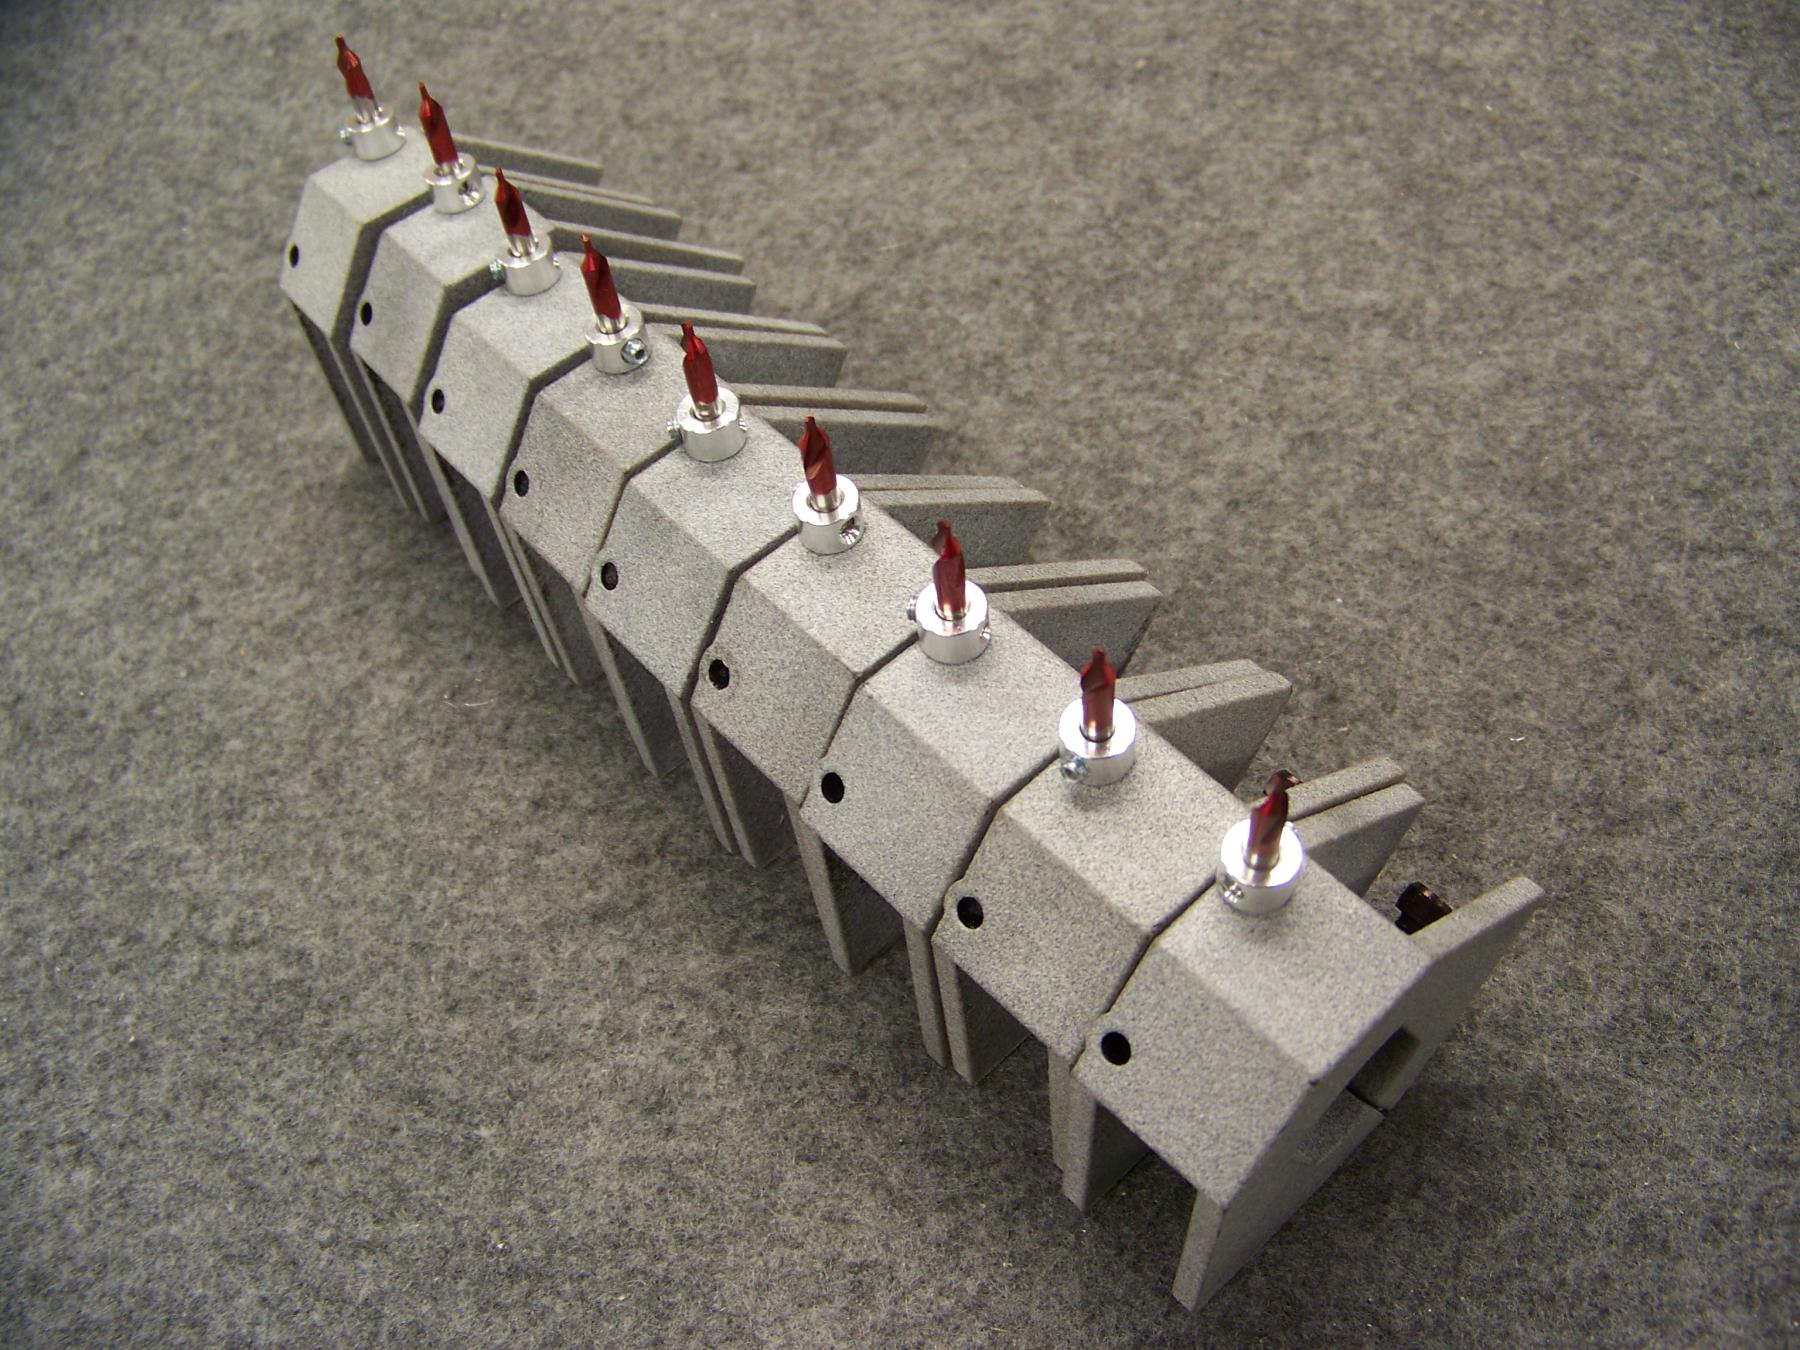
I got to give the Drill Jig a good test today and wanted to establish some basic instructions, and to see if there was any issues.
Step 1/ Make sure the clamp bolt at the base is loose.Push can flush with jig, 6'' rule or any flat surface will do. Once flush tighten pinch bolt .

Step 2/ With can in place set the collar depth on center drill. I used a .090" gap between the collar and the jig.
Step 3/ choose your method of drilling, really any drill will do. But drill press is recommend. Any power hand drill works (I did try a couple) but that's only if you do not have a drill press.Drill until you bottom out the collar against the jig.
Step 4/ De-burr inside the can without removing it. Press the end bell into the can firm, making sure there is no gap between the can and the end bell. Now re-drill with the end bell in place.

Step 5/ Loosen clamp, remove can, flip 180 and repeat step 1, 3 and 4.
Once collar depth is set and locked in place I maked the side I was not using with a red maker. If you use the wrong side your drill depth with be too deep. This is the only thing you could get wrong (I think). I could grind one side off but it seems a shame to waste a brand new center drill, so I will mark it red to save a mistake.
That's it, a no brainer really. But Please let me know if I have missed anything or is if you have any questions.
On The Lead Lap

Posted 28 November 2024 - 09:46 AM
please put me down for one.
Posting Leader
Posted 28 November 2024 - 01:15 PM
Thanks Brian for you interest.
There will be an add here http://slotblog.net/...ready-for-sale/
I have 8 for sale and you are on a list with 4 others.
Feel free to P.M. me for more details. Happy thanksgiving to all.

Posting Leader
Posted 04 December 2024 - 10:57 PM
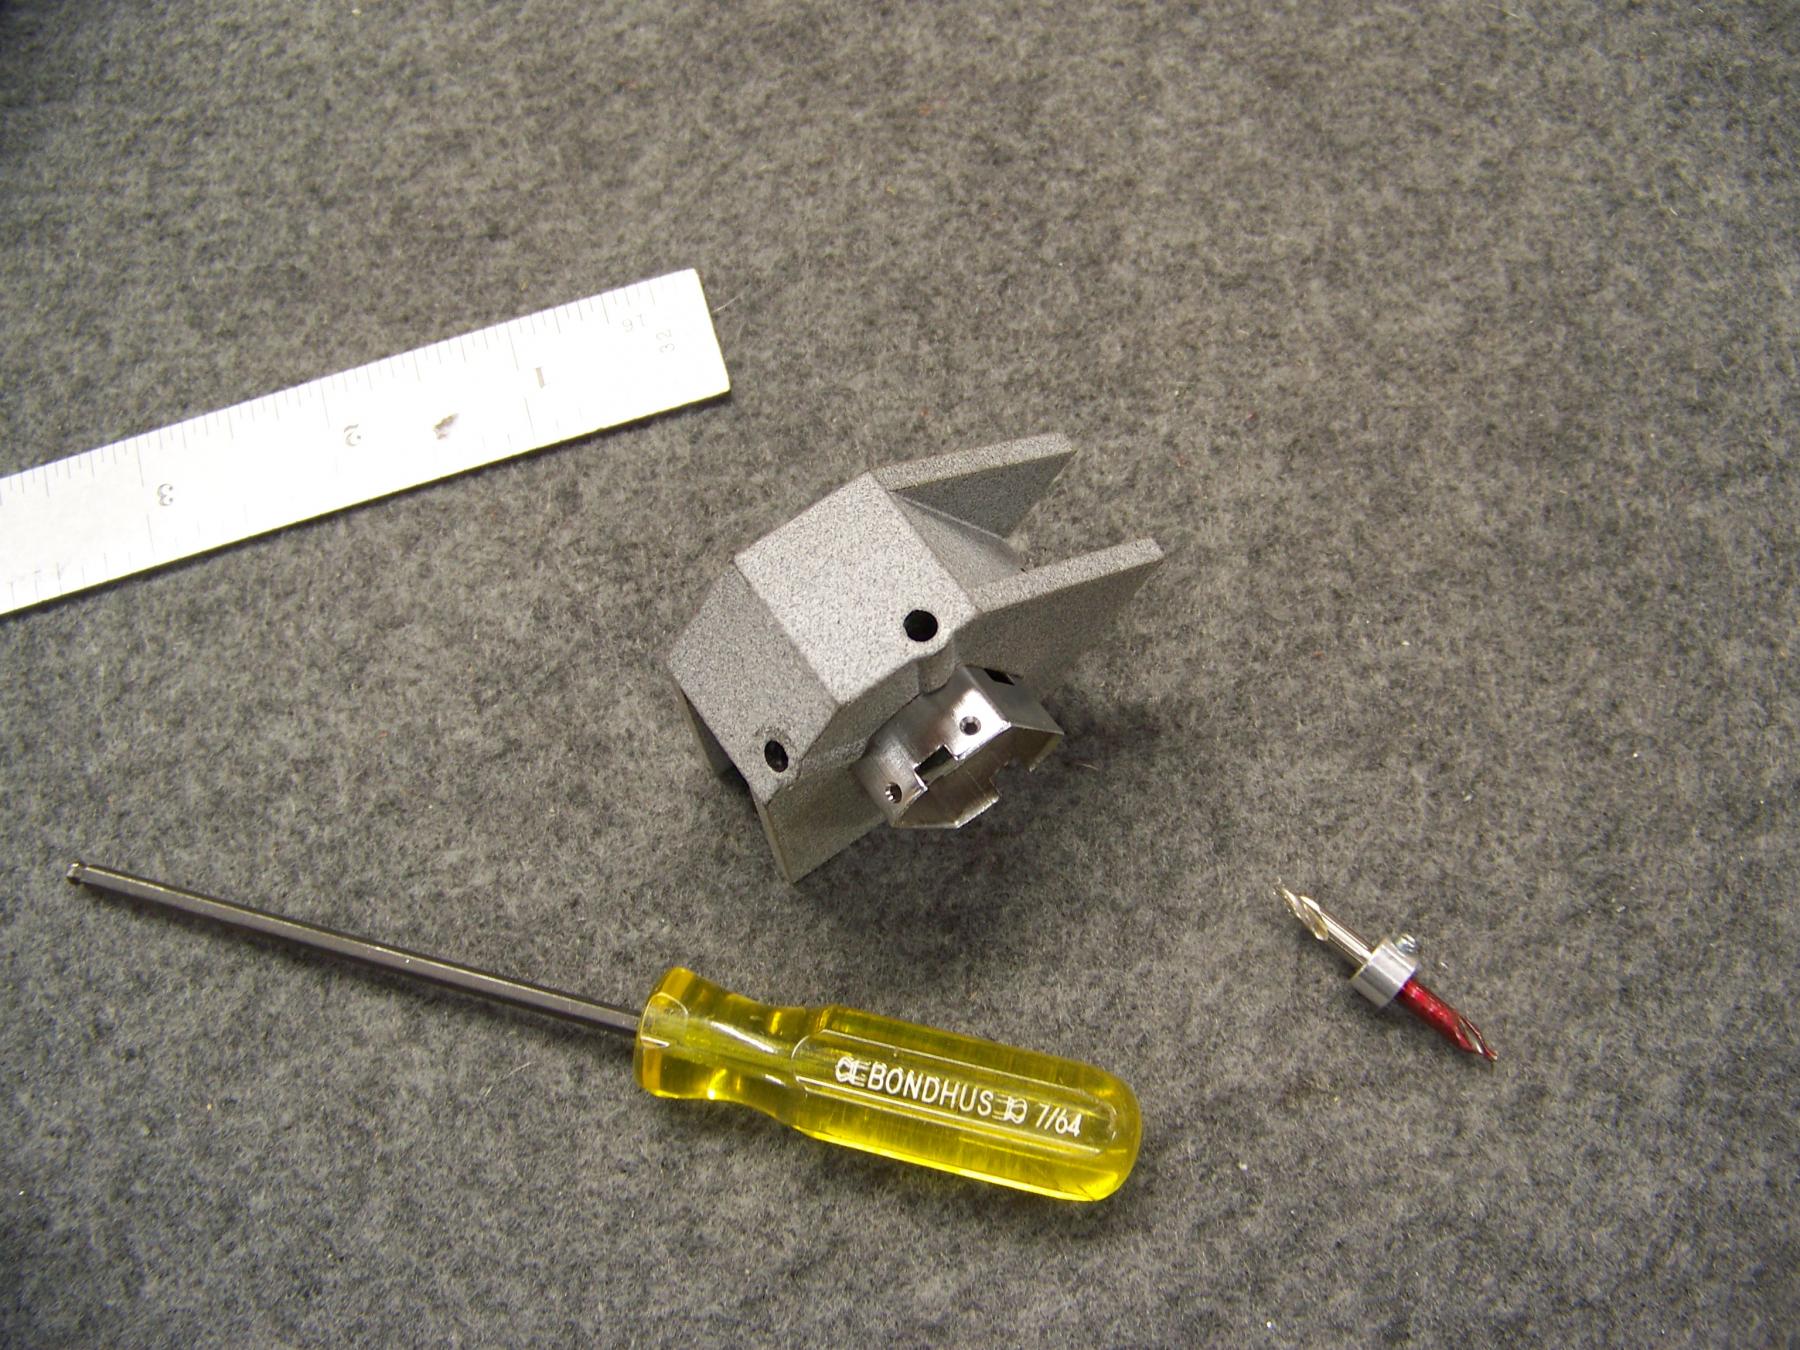
I did order and receive some self tapping flatheads and thought I would share some details. I did send a sample to all that bought the Drill Jig.
Notice they have an undercut on the underside of the tapered head so countersink does not take away much (if any) of the end bell material.
I reset the depth on my Jig to .112" and then to a final of .117" collar to top of jig, this is set with the drill resting on a fresh part of the can.
Your setting may vary so this is a critical step.
Do not go too deep. Flat heads are more sensitive to depth, but if you want this for clearance or just looks be cautious. See pics.
Posting Leader

Posted 08 December 2024 - 03:29 PM
Got mine late yesterday. Looks good. One guide hole is a little tight on the centerdrill, but I can lap that out easy enough. Won't take much. Just worried it might heat up during drilling and damage the bore. There is not enough meat for me to add standard drill bushings, so I will just use it until the holes get too loose. I can make custom bushings if that happens. I have 8 to 10 cans to do, and want to investigate if the fixture can be used for C cans as well.
The sample screws you sent are just what I was looking for. If it turns out they don't hold, there are two ways to fix that. A little drop of Loc-tite thread locker will hold it in. Failing that, I can get one of the guys from my old shop to grind down the pilot of the center drill in a St. Mary's, to make the hole a bit smaller and give more "bite".
A couple of things to keep in mind for you guys that have these. Use a mid weight oil on the body of the drill to keep wear inside the hole to a minimum. If you are going to use this in a drill press, the drill chuck has to have next to zero run-out, or the hole will be reamed oversize by the sharp cutting edges of the drill.

A great idea, Martin and Larry. But you may have created a monster. The demand might excede what you expected.
Posting Leader
Posted 08 December 2024 - 04:16 PM
Thanks for your thoughts Dave. Before they leave here I ream to .1247" just so the center drill fits snug. I am really pleased with the strength and resilience of the printed PA 12 nylon material. It is strong.
I gave mine a 50 plus workout with no oil. Maybe you are thinking of running the center drill fast. Wish I could tell you what I was running mine at.
But fast enough to get the job done, sorry not much help here. If I was to guess I run it at 1000 RPM.

Now I know what I want for Christmas.

Posting Leader
Posted 09 December 2024 - 10:04 AM
I haven't used this material, so if you got 50 cycles with no appreciable wear inside the bore, my fears are unfounded. Just the same, we are not dealing with MIL-spec here, so a little walk-out doesn't matter. The screws will still hold the endbell in, which is the whole purpose behind this adventure.
1000 RPM is slow. If you are getting a sizable burr on the inside of the can, that is probably why. The tiny cutting edges of the centerdrill are being forced to take on a larger chip loading than they are able to. With a larger cutter, the fixes are easy. Crank up the RPM, or reduce the feed rate. But those rules don't always "scale down".
For our readers who don't have one, here is a drill speed chart I have used for ages. ( no, I haven't memorized all this stuff. I still use referrance materials when I need to )
https://www.imperial...heet_Update.pdf
Posting Leader
Posted 10 December 2024 - 01:36 PM
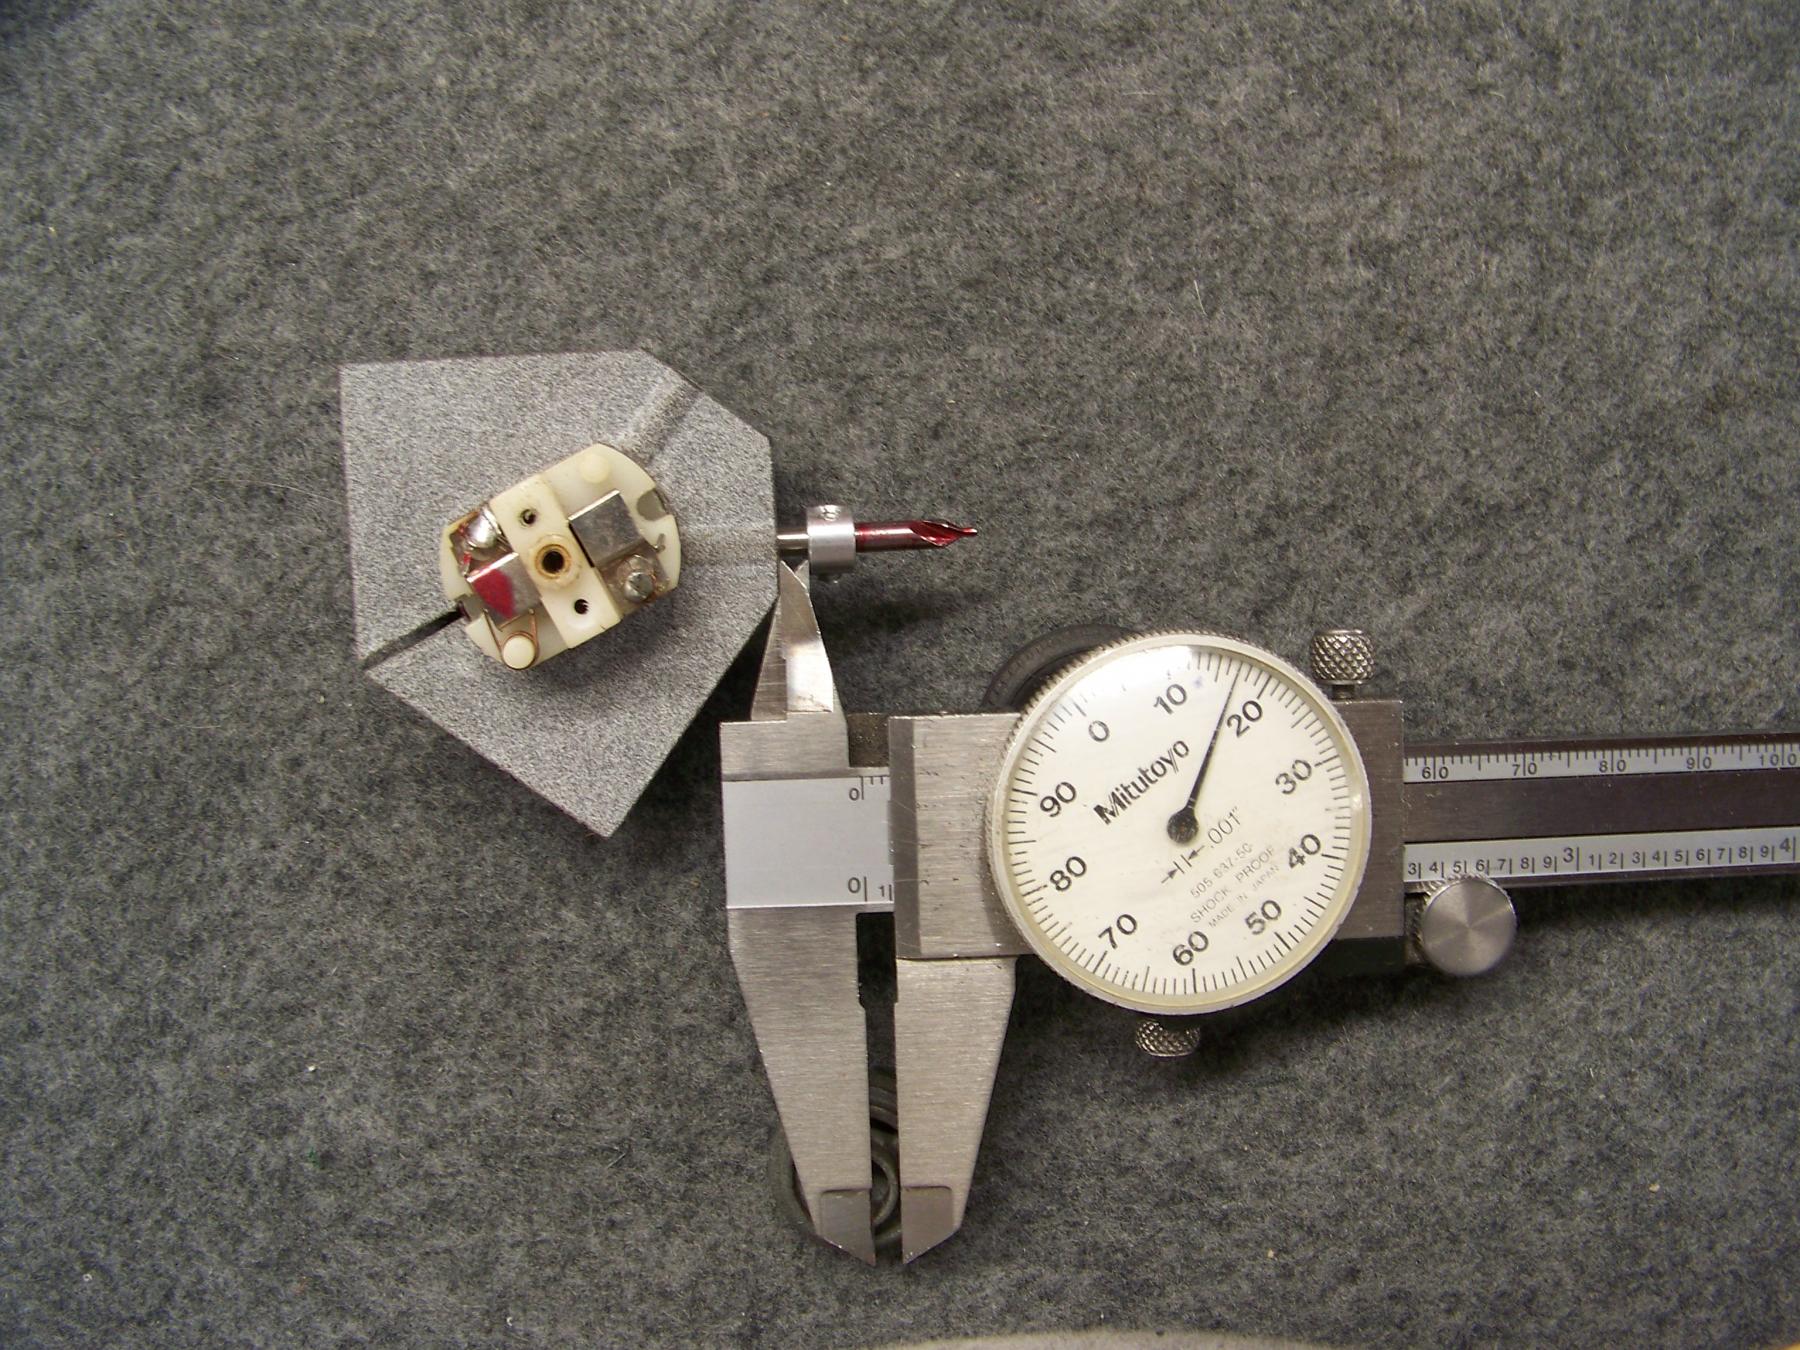
All good info Dave. Looking back on my small mill/ drill combo tool. The red knob to turn it on is a variable speed. See pic above post 35.
I did the reaming at half speed (around 1000) and cranked it to full speed for the drill op. which the knob indicates 2000 max.
Interestingly there is a black knob to the right with a H and L but it does not seem to change the speeds.
It was a freebie so cannot complain. I have actually never used it as a Mill just a convenient drill press.
Posting Leader
Posted 10 December 2024 - 04:22 PM
"Interestingly there is a black knob to the right with a H and L but it does not seem to change the speeds.
It was a freebie so cannot complain. I have actually never used it as a Mill just a convenient drill press."
Probably why it was a freebee. Measuring spindle RPMs is a tricky task. If you work in a tool every day, you get to know how fast it is running just by the sound. Just out of curiosity, this morning I ran the centerdrill in each hole with a Dremel, starting slow and speeding up. I ran them dry. One was just fine, the one that was a little snug warmed up more than I would have liked. But since I don't know what the melting point of this plastic is, I can't say if that was going to be a problem. A drop of Swiss' Chicagoland bearing lube and it was just fine, all the way up to full speed on the Dremel.
So far I am very impressed. I think it was $40 well spent, even if I only do a few cans. A lot of thought put into this fixture. Well done guys.
On The Lead Lap

Posted 10 December 2024 - 05:20 PM
The melting point of Nylon PA12 is around 375 degrees F but it has great chemical resistance so feel free to use whatever lubricant you like (https://forgelabs.com/nylon-pa12/). It also heat cycles very well so in your case Dave, I'm sure it went back to its original shape once it cooled.
Posting Leader
Posted 11 December 2024 - 12:41 PM
Thanks for that info. I know that PA GF melts at just over 2000, so I was a bit concerned. The fixture got no where near 3750. And the fit of the centerdrill feels better already.
Posting Leader
Posted 11 December 2024 - 01:30 PM
Great tech support Larry
Please note, if you do use the flat heads I sent with the tool, notice they have an undercut so the countersink part does not remove end bell material.
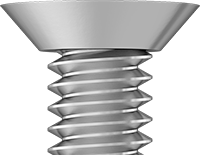
If you do use a standard flat head it would remove too much end bell material and compromise the grip.
Posting Leader
Posted 11 December 2024 - 03:40 PM
I saw that. I have used #3s like that in model railroading. The hobby supplier I use has #2s as well. They are not cheap, the #3s are a buck a piece. The brass sheet they are used for is thin, .015 thick. A full countersink will go through the sheet being threaded into.
Posting Leader
Posted 11 December 2024 - 09:17 PM
Yes Dave, basically the same situation.
The screws I sent and the screws I used were 30 cents a piece and if you or anybody need more I can get them. Just let me know?
I could stick them in a 50c envelope.
Posting Leader
Posted 12 December 2024 - 09:29 AM
The screws I sent and the screws I used were 30 cents a piece and if you or anybody need more I can get them. Just let me know?
I could stick them in a 50c envelope.
Good to know. I need more #3s too, so I will do a little searching on the web. Buying hardware from a hobby supplier is certainly not the cheapest route, but since I was usually ordering lost wax brass details I would add any weird screws I needed to the order. ( they have 0-80 socket head screws, if you can believe it! )
Posting Leader
Posted 12 December 2024 - 10:24 AM
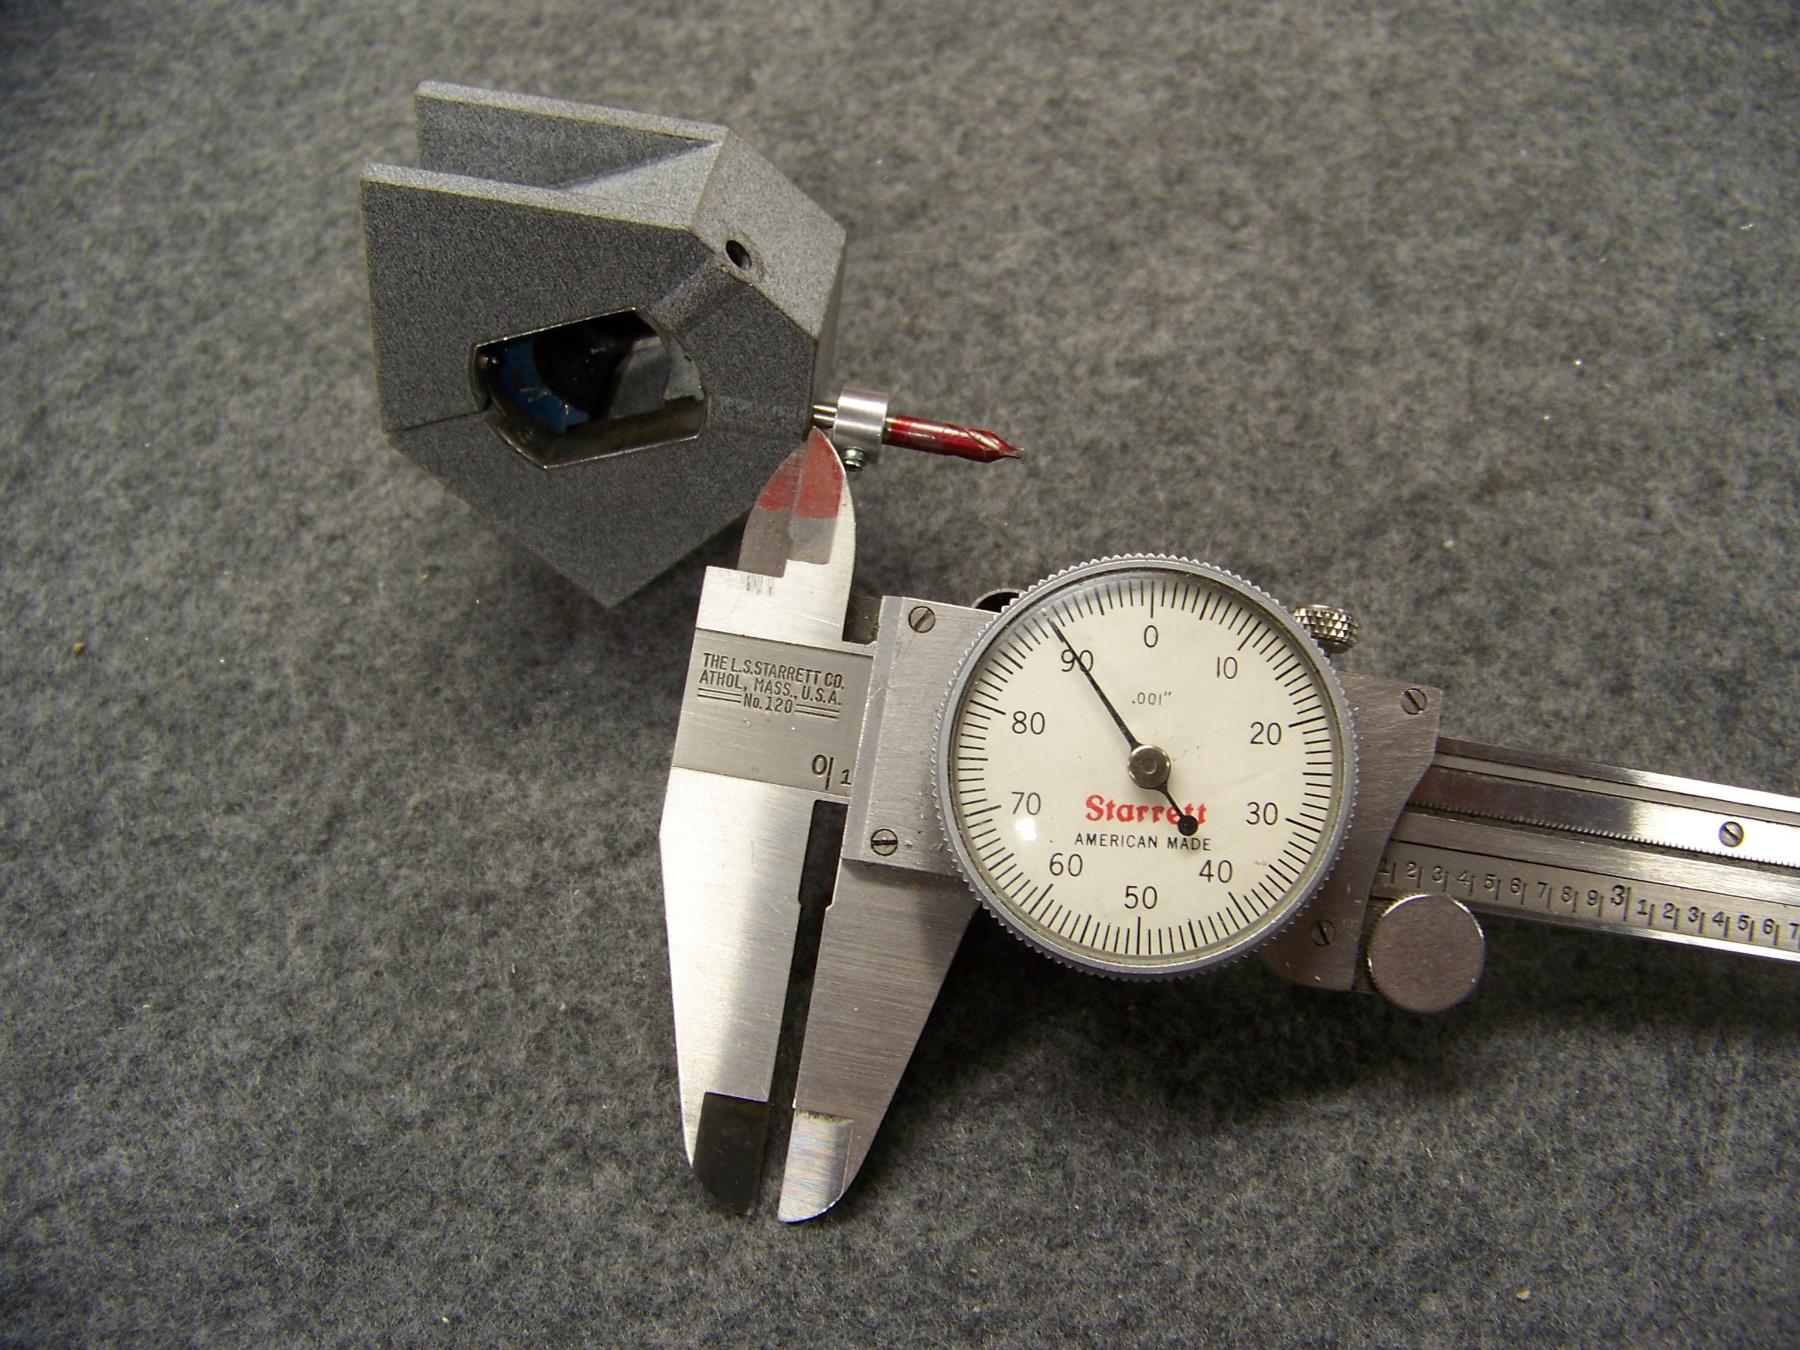
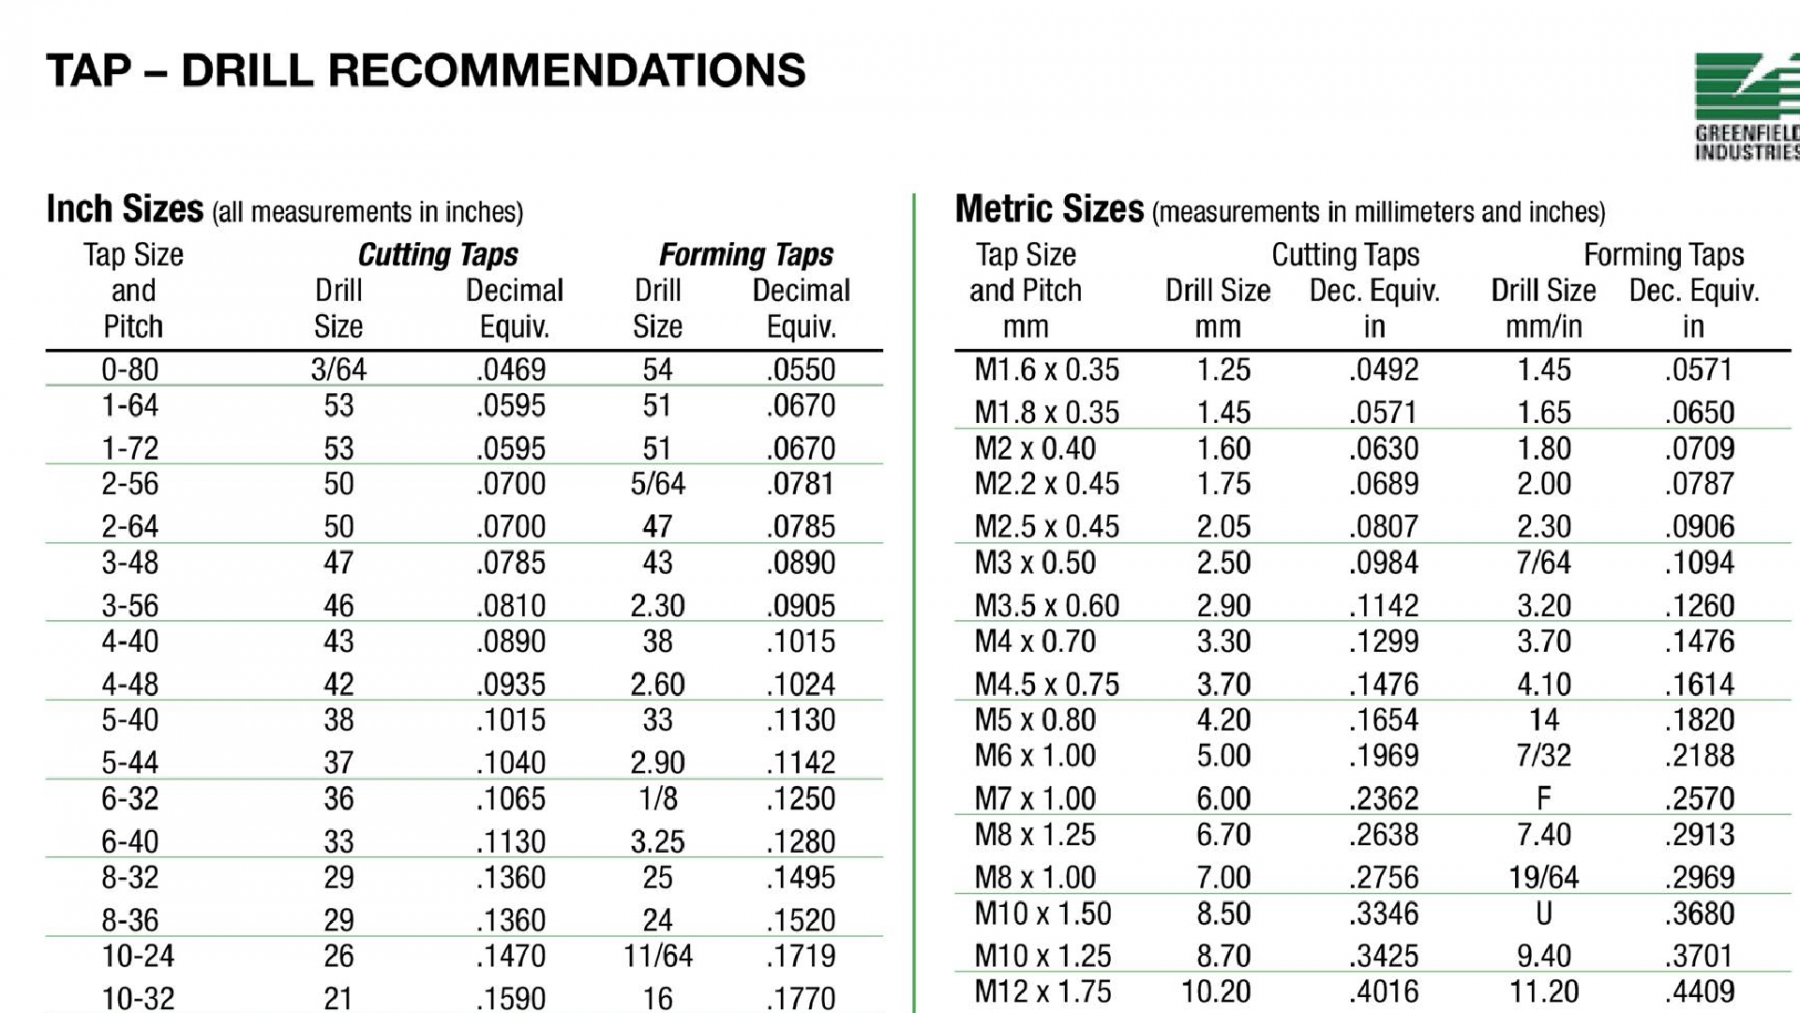
As you may know the center drill has a tip of 3/64" or .0469" perfect for the 0-80 thread. The other reason I chose it was it also works for an M1.6 X 35 metric screw and our favorite #0 self tapper.
Handy chart below for anybody that does small tapping.
Posting Leader
Posted 12 December 2024 - 01:44 PM
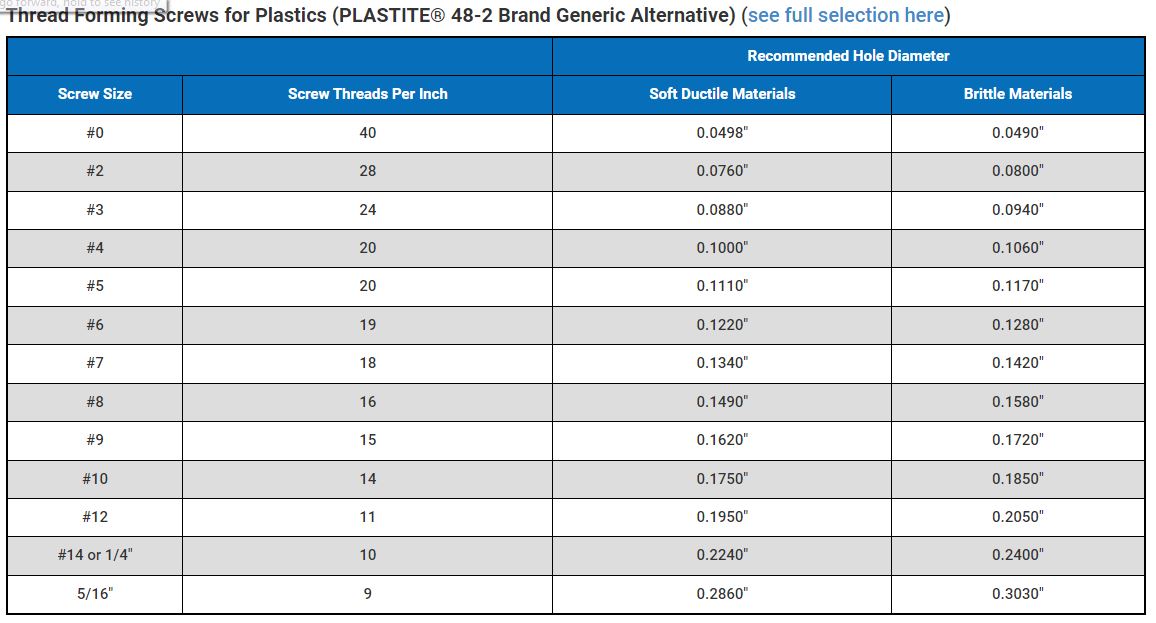
Thanks for the chart. I measure the O.D. of the threads at .057. And they appear to be self tappers, pointed nose and space between threads. Your chart is for machine screws, but this is one of those rare situations where the hole size for cut threads is close to the self tapping/thread forming screw hole size.
This is the SAE chart for self tappers in plastic. An endbell would be considered soft material.
In any event, can't wait to try all this out.
Posting Leader
Posted 12 December 2024 - 03:18 PM
Thanks, I did not have the chart for self tappers. According your chart they are saying make the hole .0498" and yet I know .0469" (3/64") will be stronger IMO.
What say thee 
About this item
Posting Leader
Posted 12 December 2024 - 04:03 PM
I agree. The chart I posted was more to verify you have the right size.


