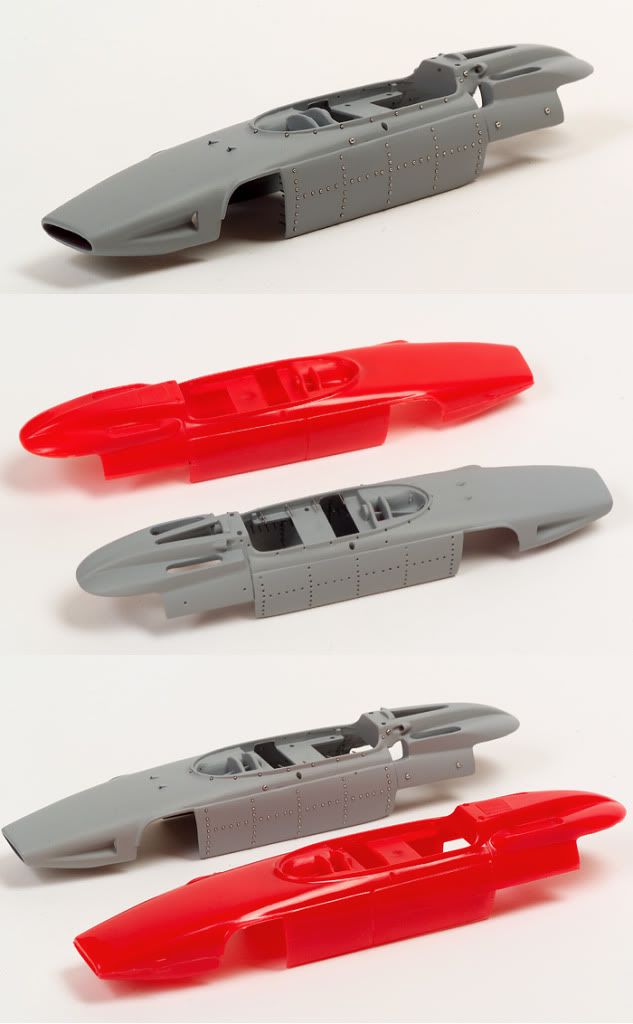
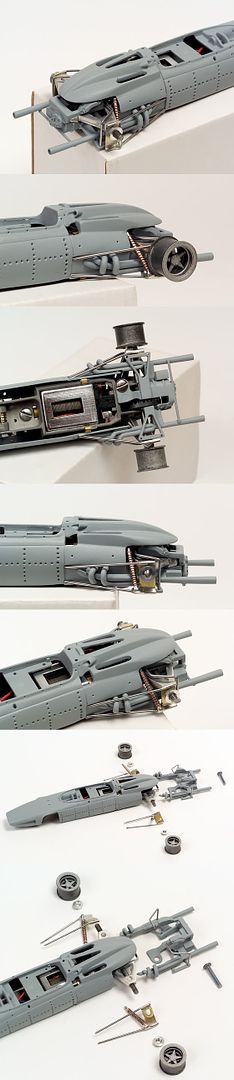
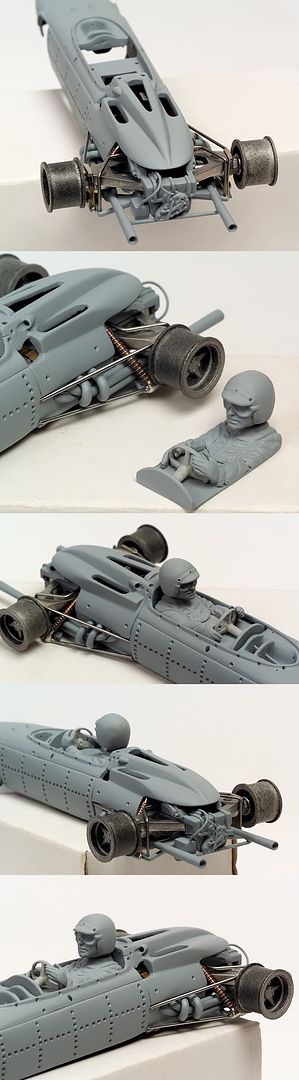
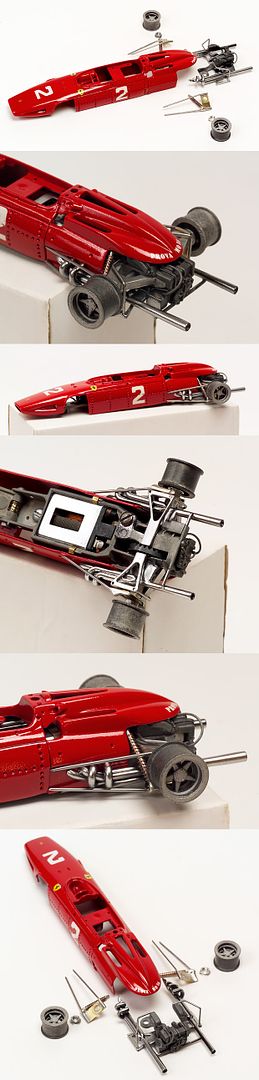
I'm not going for super detail but a mild but good representation of the car. You can see the changes I've done to the body in order to pull this off. Believe it or not, a lot work went into this body and it should look pretty cool when it's done. I've also used rivets (again) to pull off a little more detail. I'll try to show more photos of this car soon.
Well, I'm off to cut some windows for the Lola T70 I'm doing. I'll have some stuff ready soon to show on that build.