Mr.RGEO asked for me to take pictures and shed my results, so figured I would hold to my end of the bargain
For some of US this maybe dull and mundane, but hoping some new builders may pick up on some things here as well. Please bear with me!
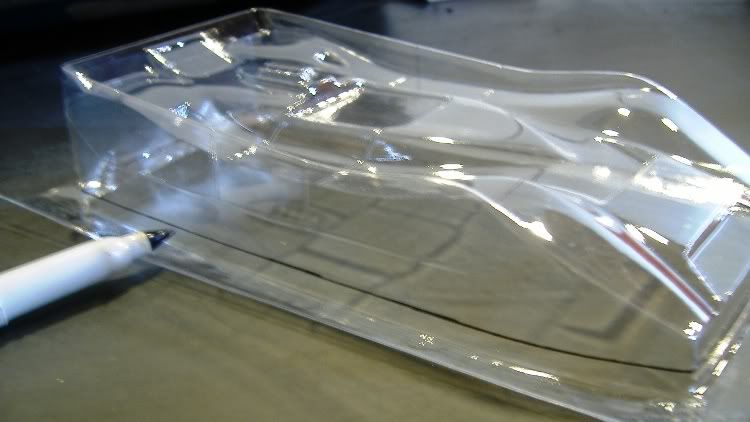
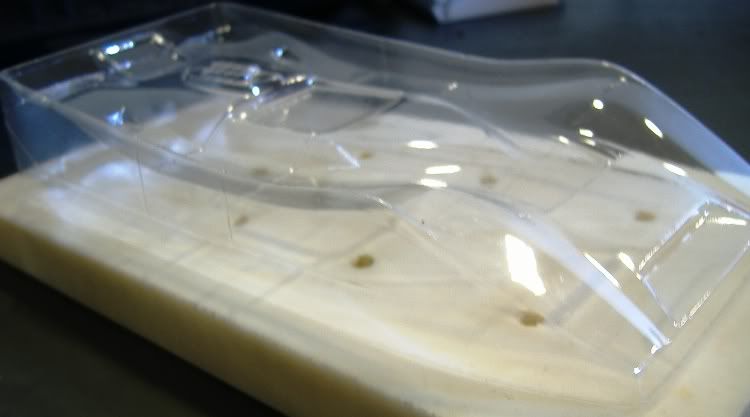
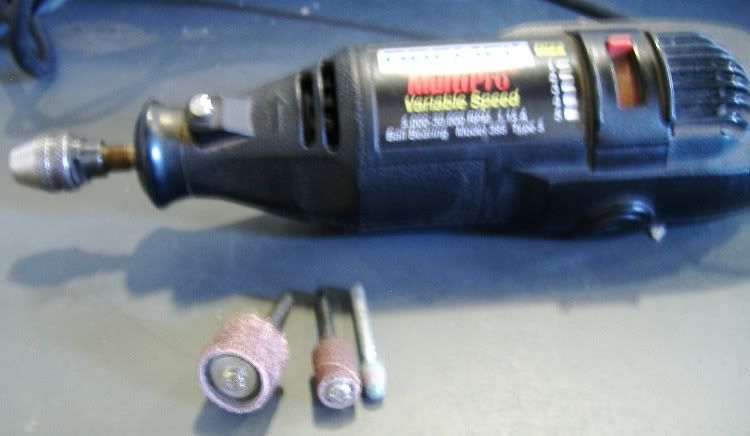
First thing I do is separate the pans by making a pencil line for my cut mark, I cut all my pieces by hand with a dremel tool and a abrasive cut-off wheel. Don't forget the eye protection!
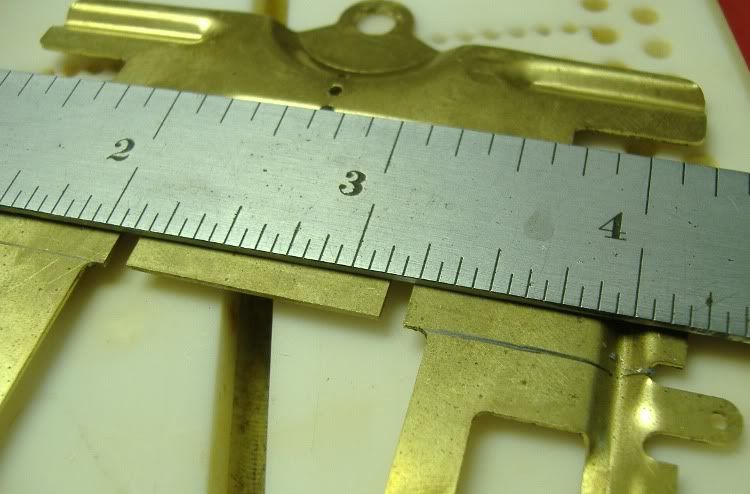
Why do you ask that I cut it there? Well, for me it's easier to cut straight and file straight then doing the cut line at an angle and them making the pans look like they come off the front piece. It's a matter of choice to the builder.
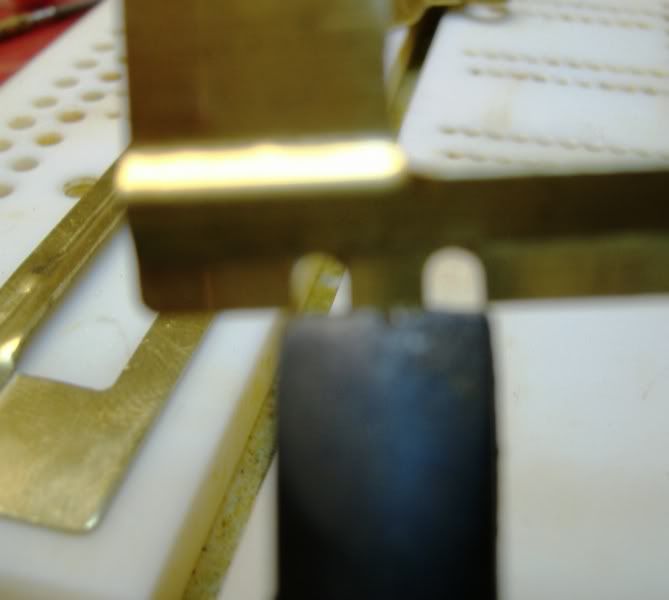
Notice: the burr left from cutting? This is where the good hand file comes into play, take your time and remember a file only cuts in one direction forward or away from you,it doesn't do any good to drag the file back and forth, but I do! It helps me to stay square and feel when the file is cutting.
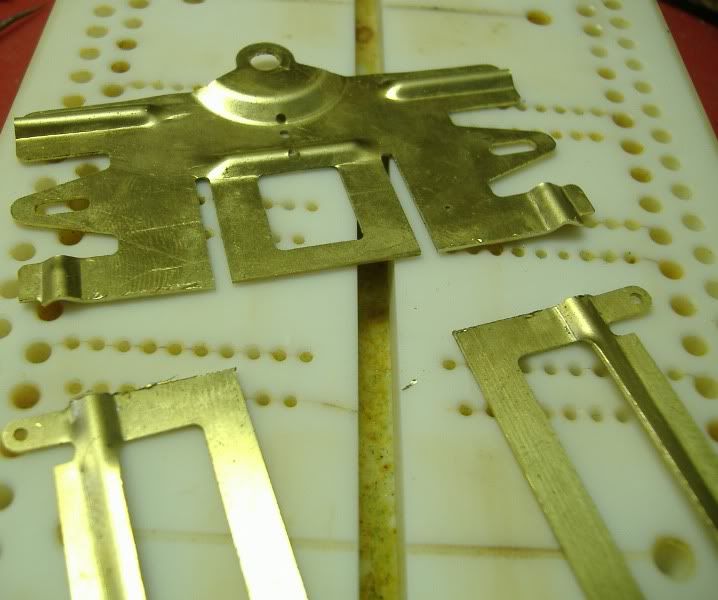
Very Important! make sure all your brass pieces are totally flat! Lay them on the jig block or glass or anything that you know is perfectly flat. tweak it here and tweak it there, be very concious about making them pieces FLAT!
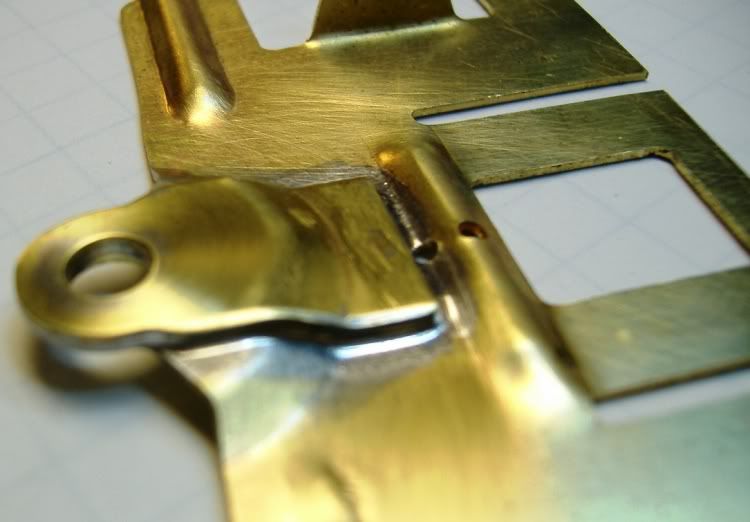
When bending the body mounts tabs I pick on my favorite pair of Channellock linesman's pliers.I know from bending many of these where and how far you should place the pliers to make the tab end up square.
Use your eye-crometer and look to make it stand straight up and down. bend more or less as neccesary.
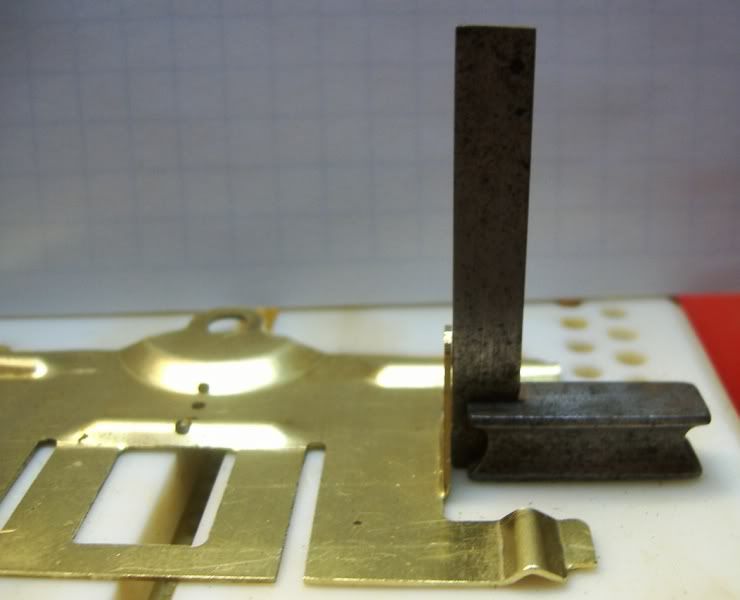
When bending the front uprights I do the same thing using the same pliers,this time though I make sure using this little machinist square there perfectly up right,this also tends to bend the front plate around again so make sure it still stays nice and flat.
This is a trick, or a tip I should say I learned from watching the Mike Stuebe Scratch building DVD produced by our good friend Keith Tanaka.
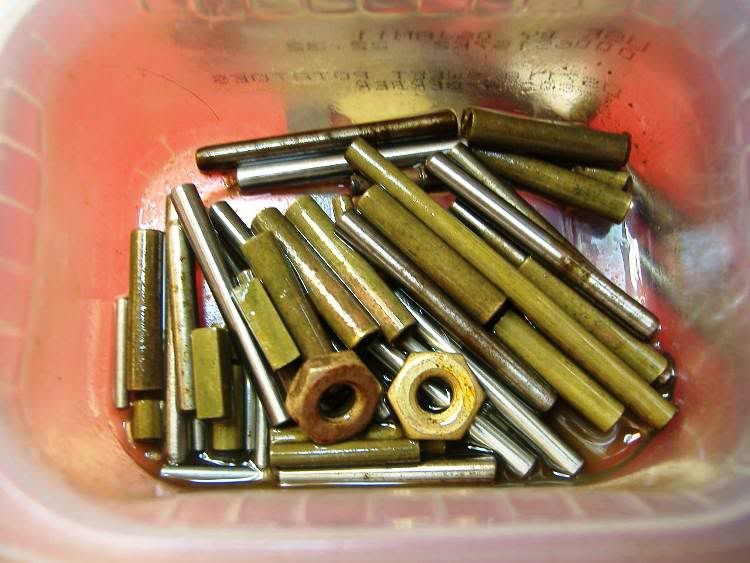
Get a small plastic container and keep all your jig pins in there,spray a little wd-40 in the bottom and shake them around. This particular container is a baby food tub from Gerber.
Yea, they get a little rusty here in Ohio, plus from all the acid during the soldering.
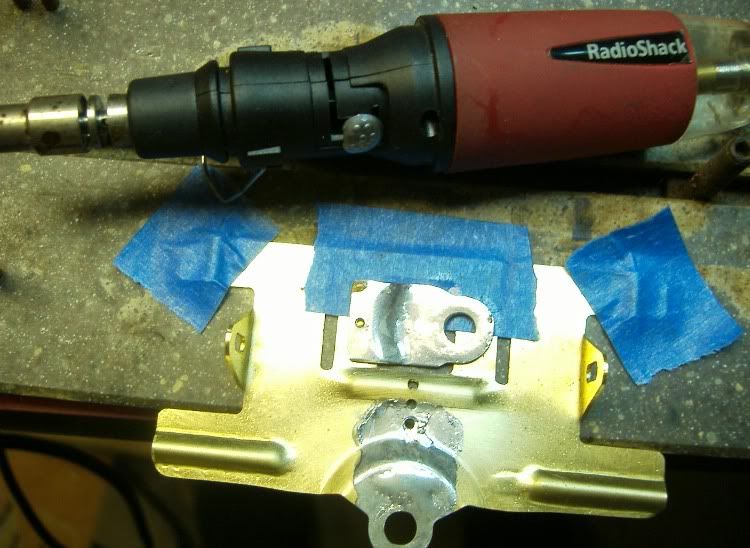
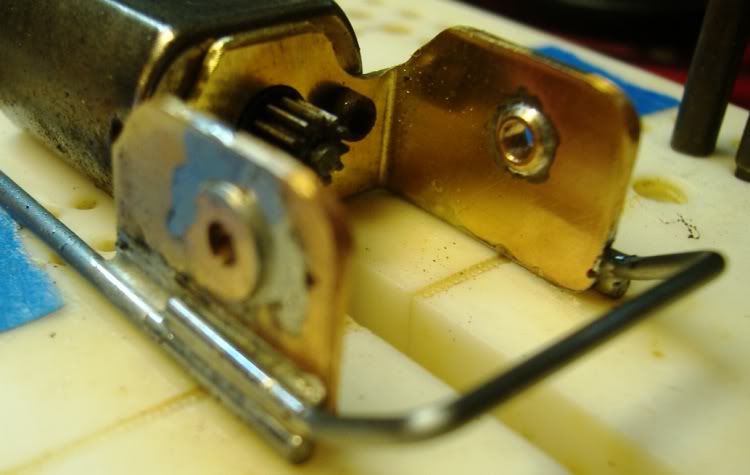
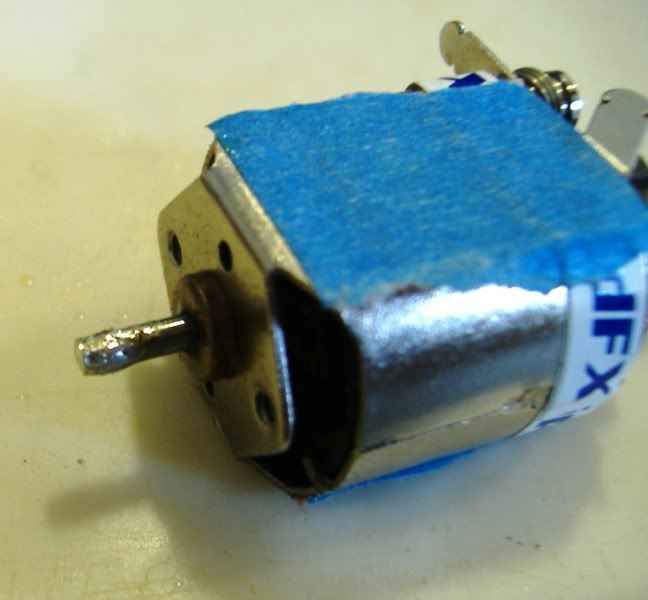
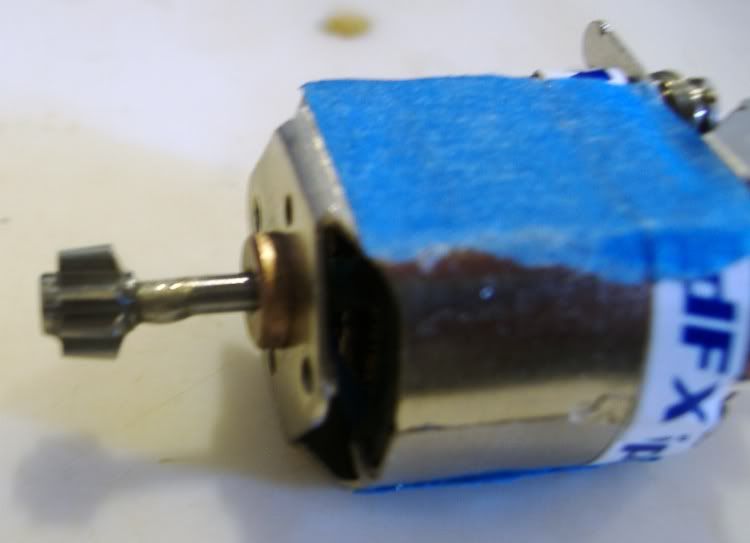
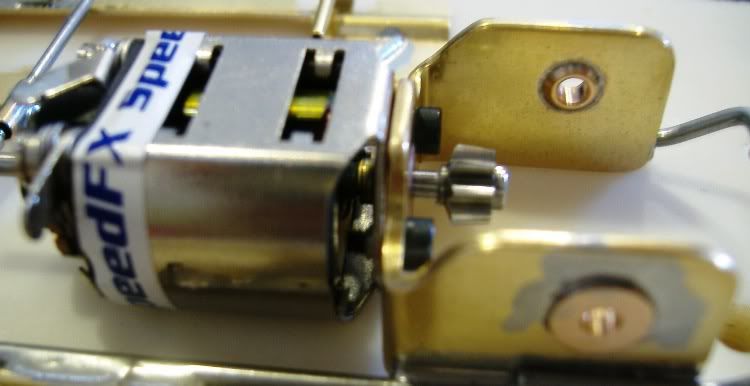
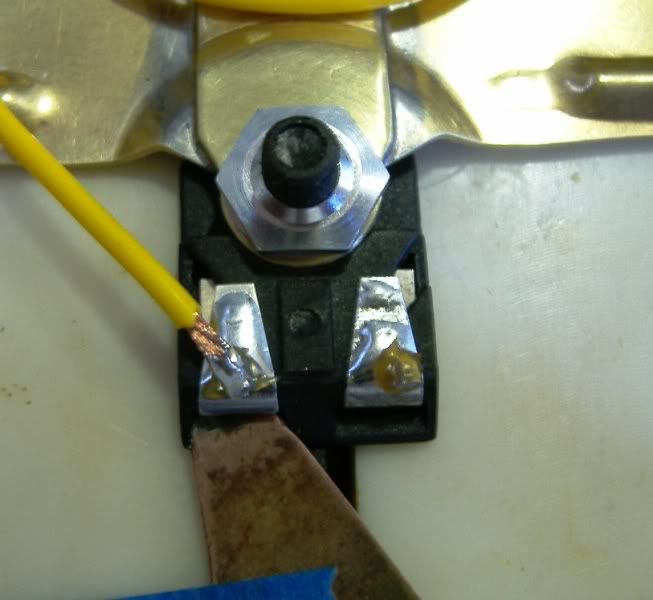
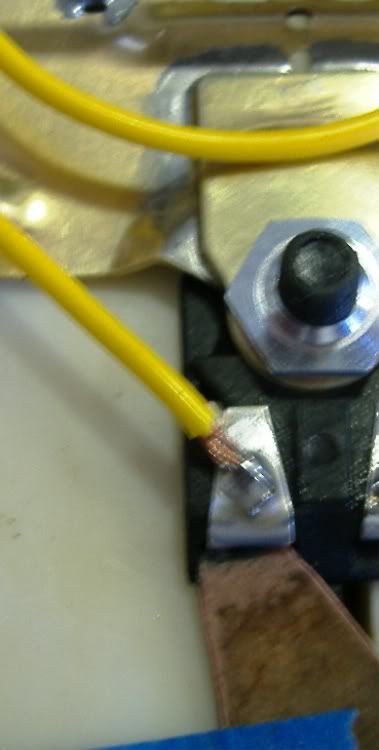
ok, so I missed a picture here of the modifications or plain hand filing of the motor bracket, again It's just me but I like all rounded corners with no sharp edges or anything on the motor bracket.Use the little machinst square and make sure it's nice and even and square all around the edges or uprights.
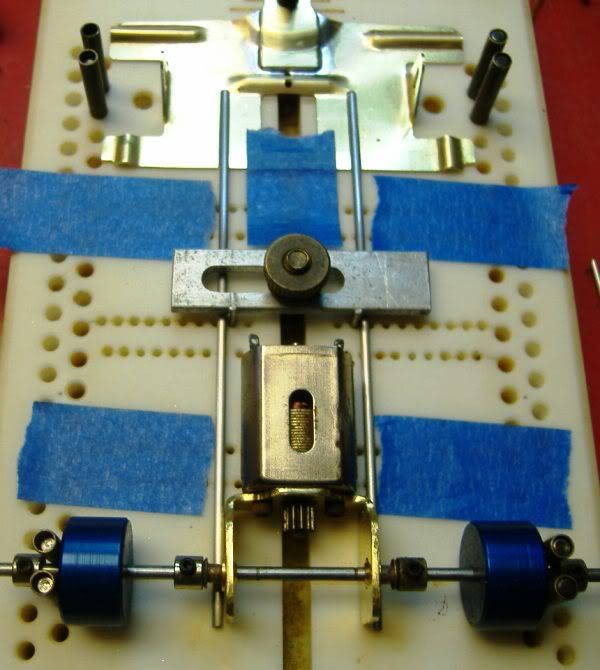
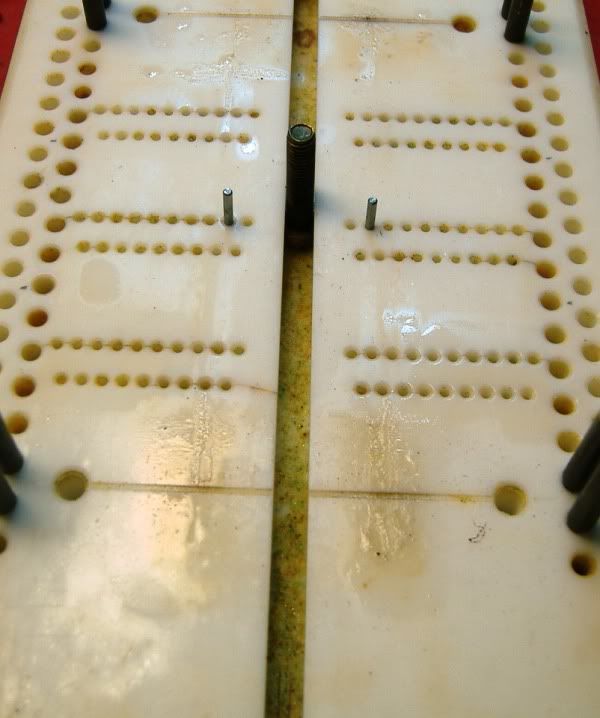
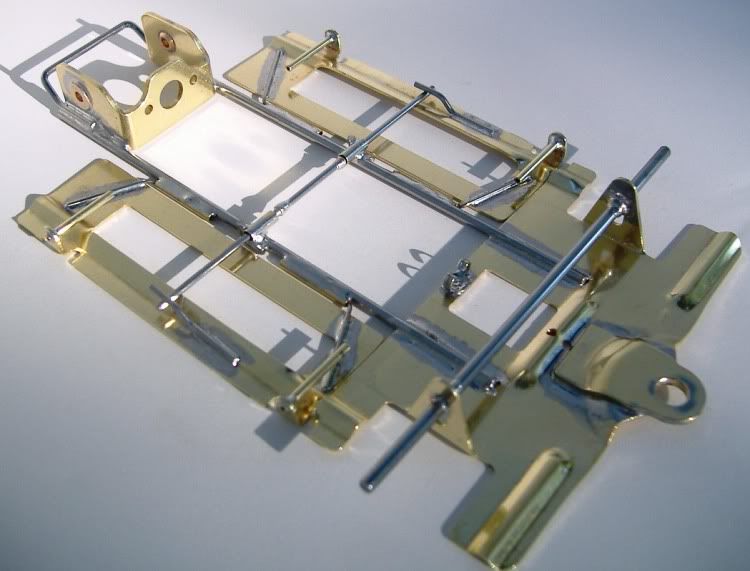
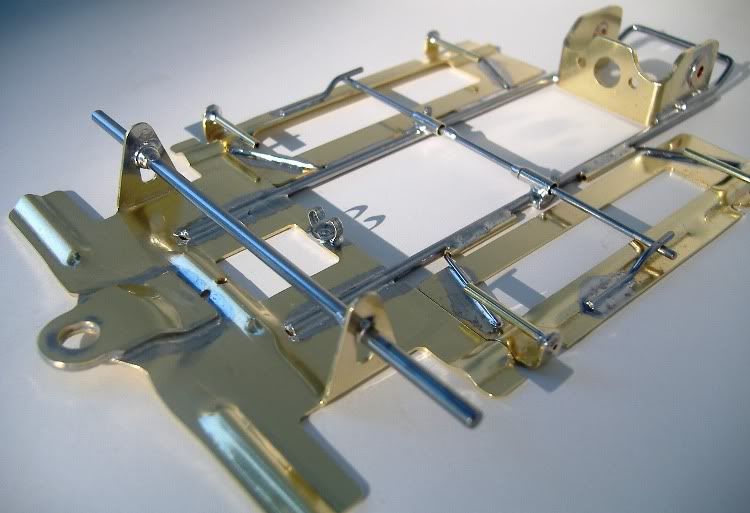
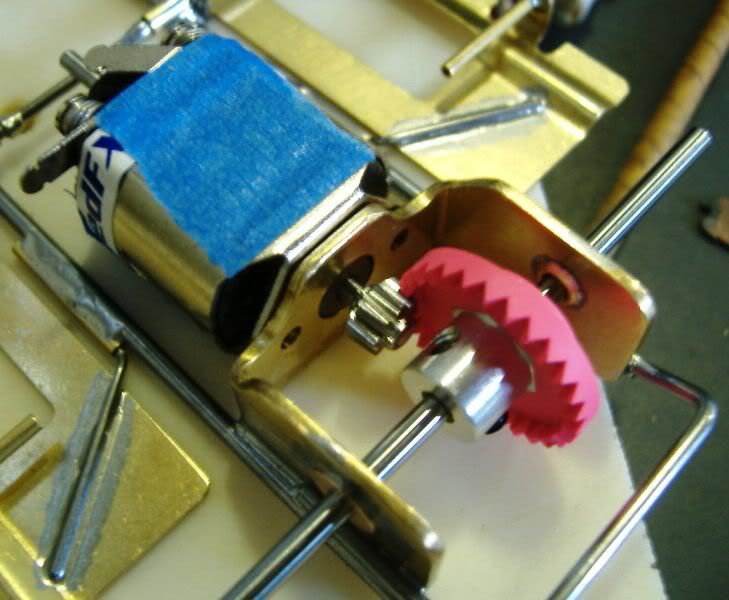
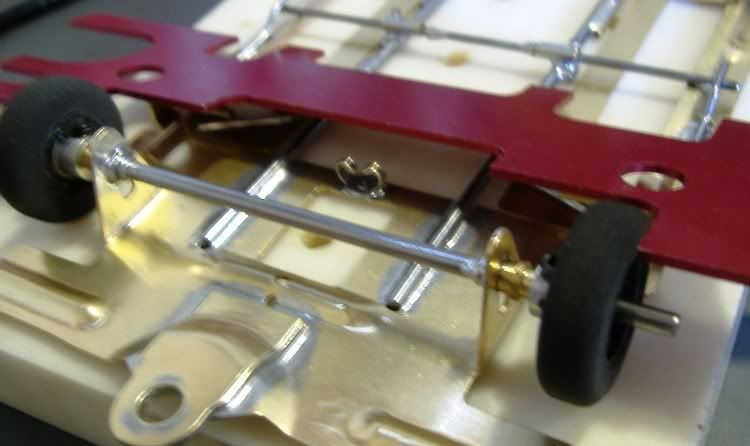
Here's I do the motor box set-up on my Rick's jig. Those blue anodized set-up wheels are another fine Product from RGEO.
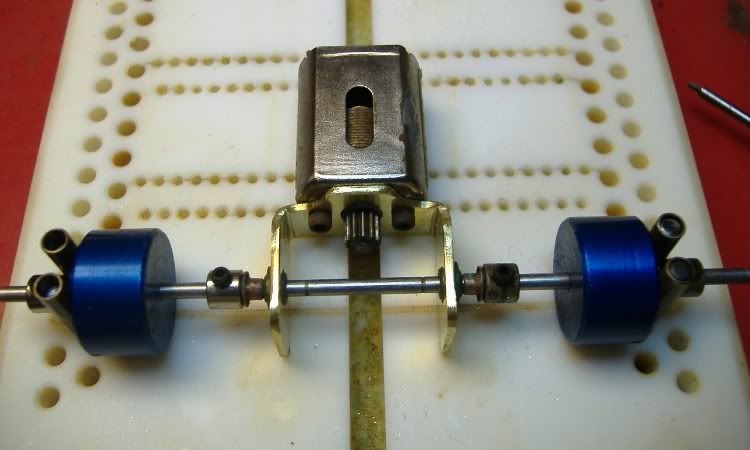
Now is when you need to decide the wheelbase for your car and set the jig wheels accordingly.This build will be a 4" wheelbase, pretty standard for my retro builds.
The main rails will be .078 since the front nose piece cut-outs were made to that size, but again all my can-am's run a .078 and the F-1's run a .062 main rail.
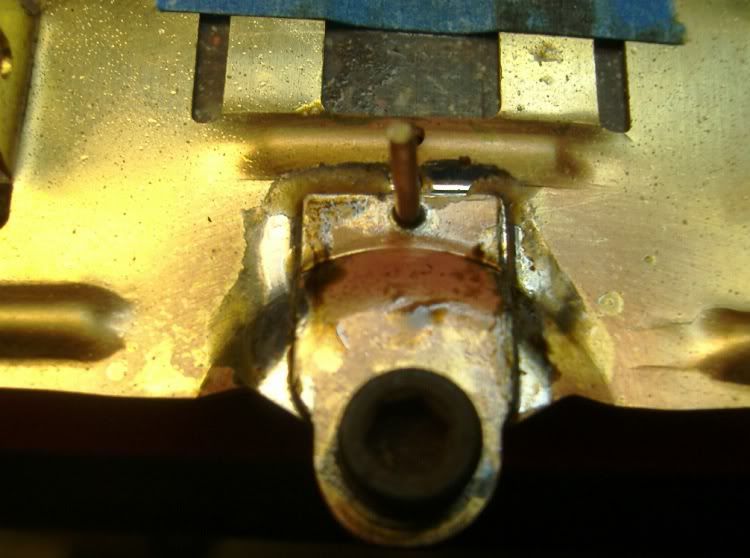
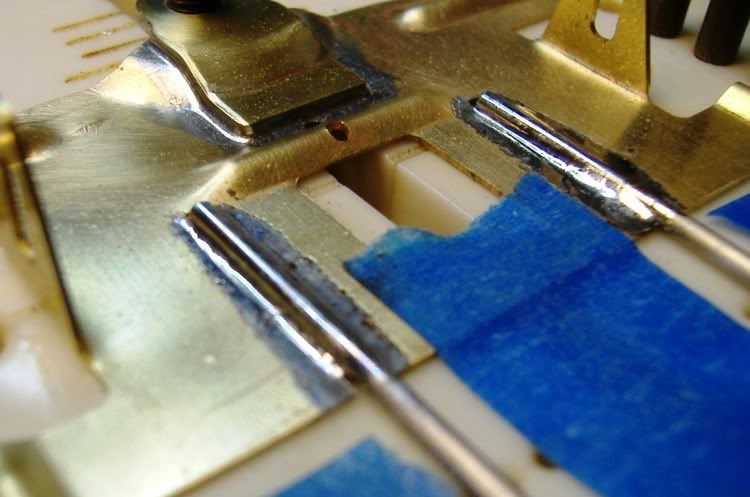
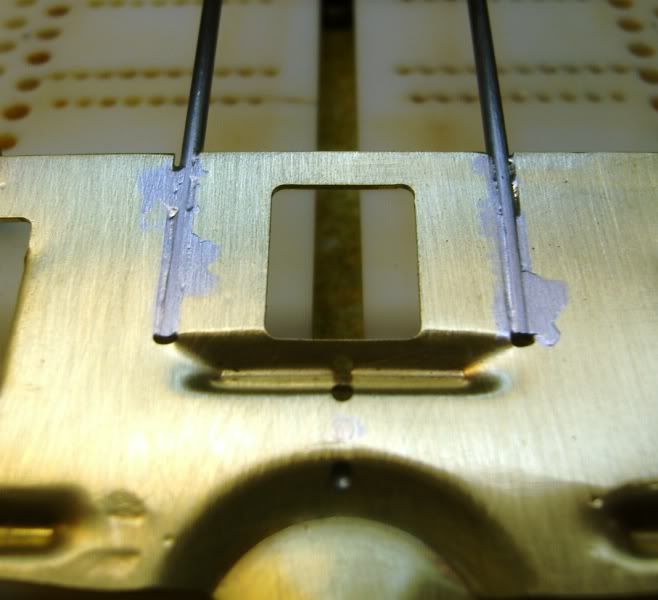
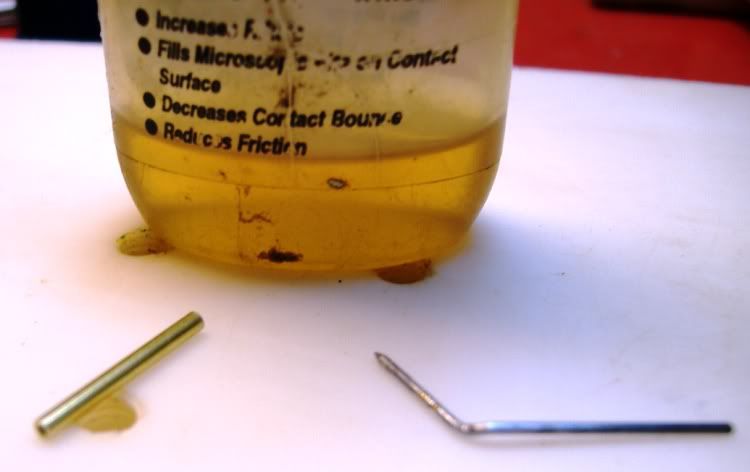
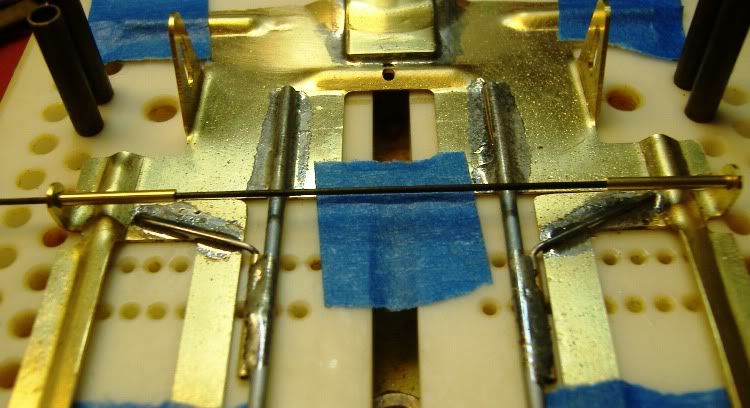
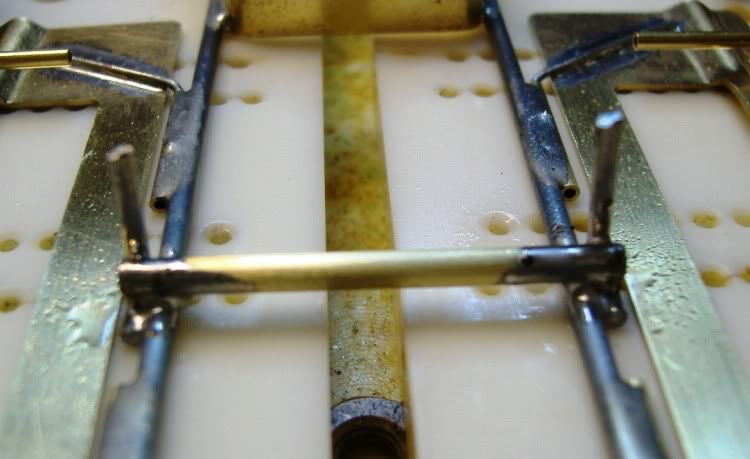
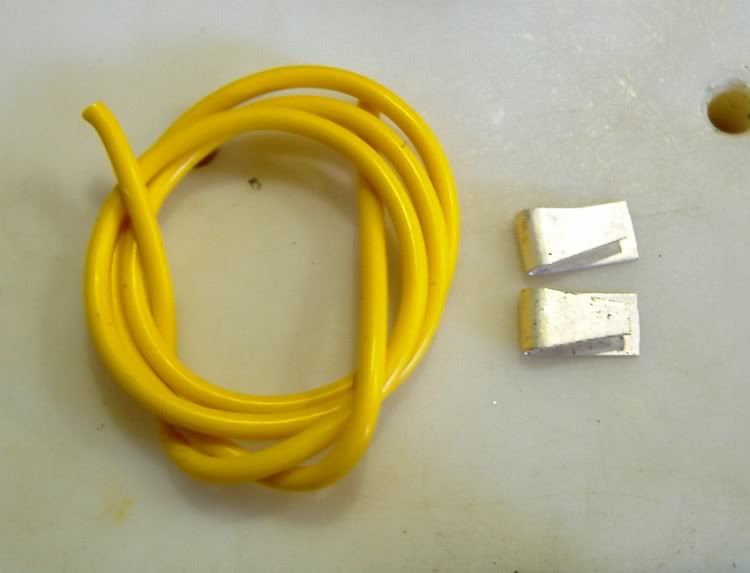
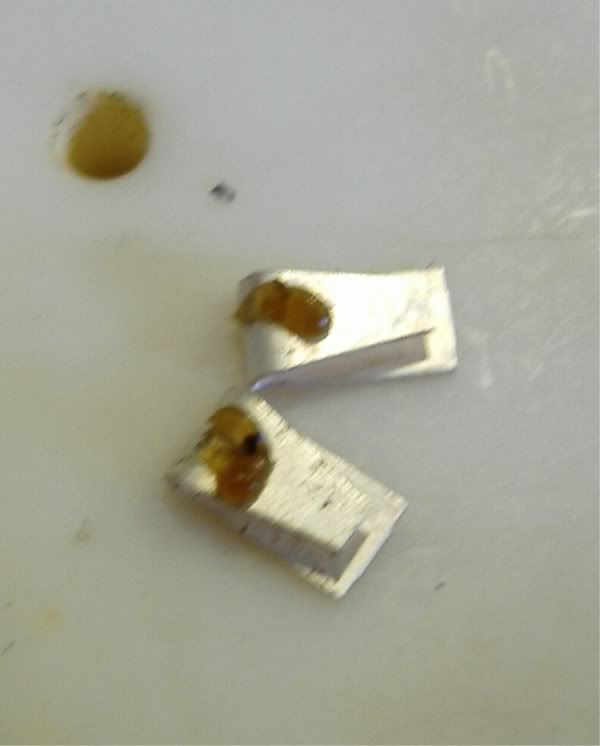
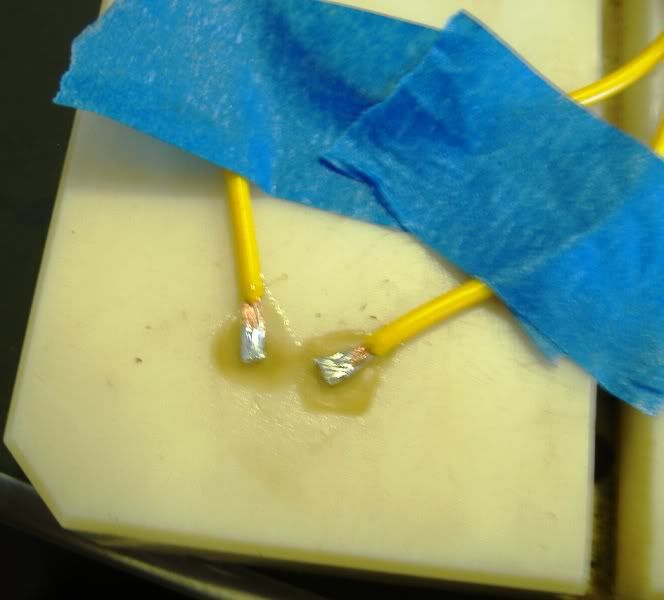
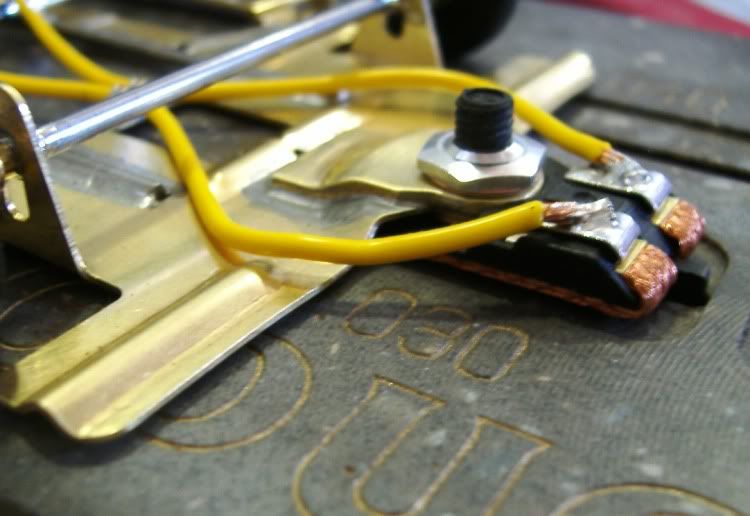
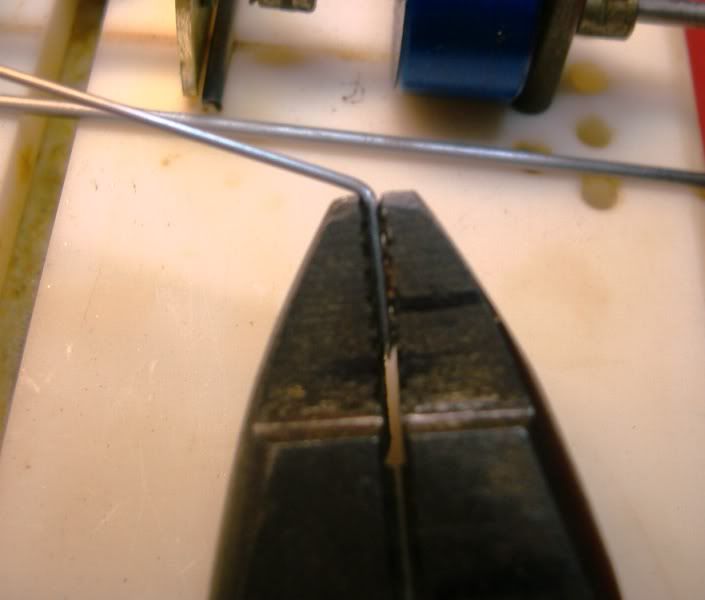
The hinge wires for the pans will be .032 wire and 1/16th pre-cut pin tubes from CLR
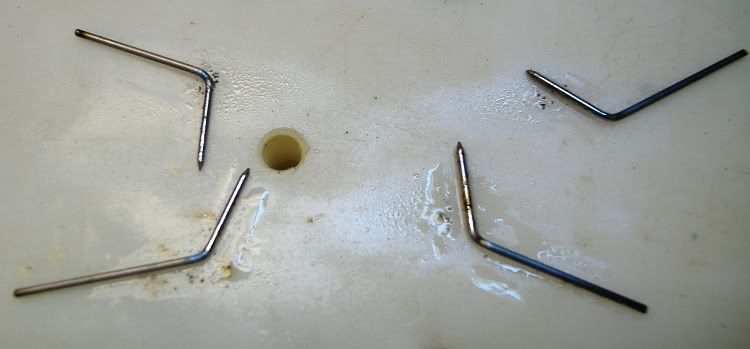
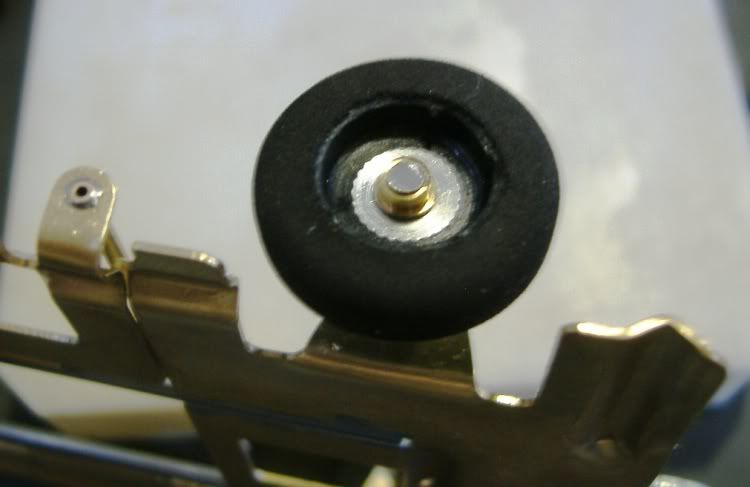
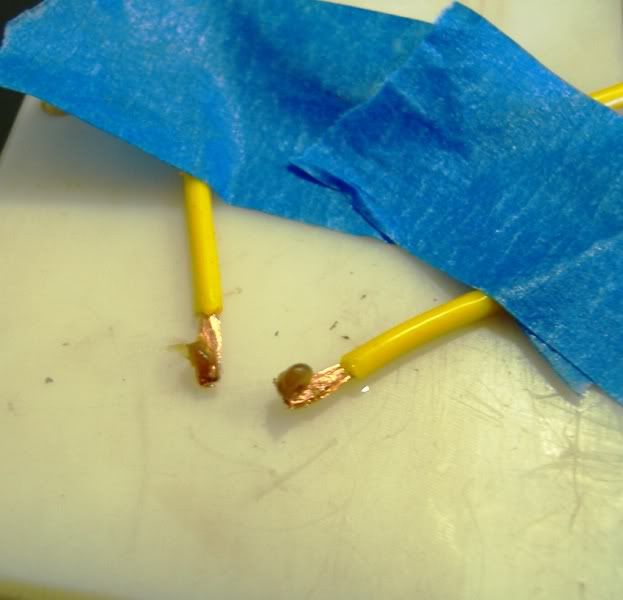
Same ole pliers are called for again, I have marks on there to make sure I place the wire into the pliers to the same depth for each one, before doing this though I grind a tip or sharp point on the end of the wire,and then make the bend,Then I hold real close the that bend and make a kink in the wire or a little step per say,this allows the wire to lye flat on the pan and be inside the pintube. Take your time and make sure this is right!
soldering pan hinge wires before always Helps or is easier to do before any bends are made,but I have found out from the jaws of the pliers will sometimes knick the solder and binds the wire up inside the pintube,maybe I'm doing something wrong,but I do the bends then solder them. This only keeps them from rusting inside the pintube.
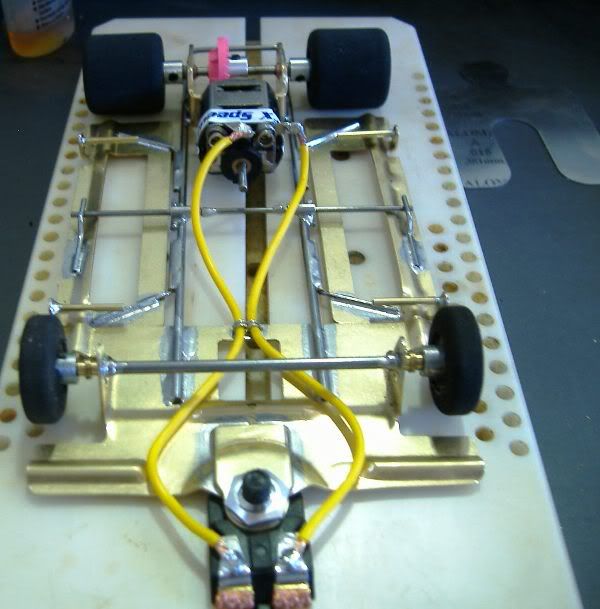
Personal preference for me is simply set-up everything on the jig before any soldering is done,It also helps during the siffer' mode so to speak. sometimes I will change from my original idea once everything is laid out on the jig. Why? because it just doesn't look right to me!
This build may end up with a .055 bite bar?
got three more wires to bend for the pans,and I forgot to mention that the front nose piece stiffener,That will be the first thing we solder in the next segment of the build. I'll show you how I do it,I'm sure there's plenty of better ways,but this works for me with good results.
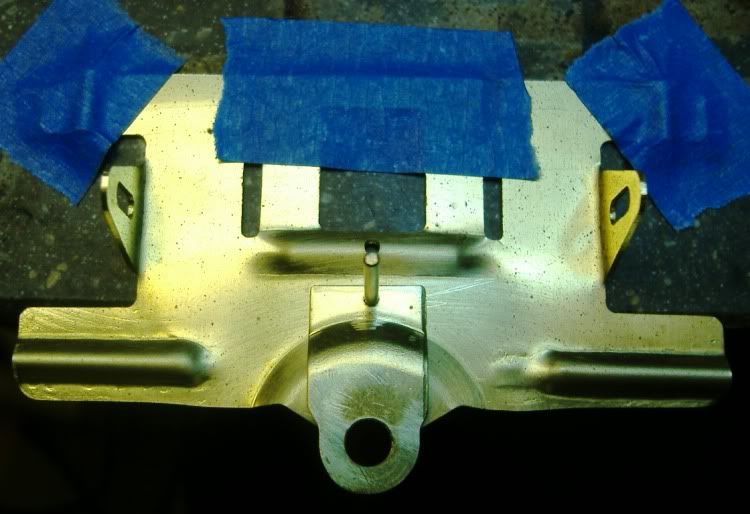
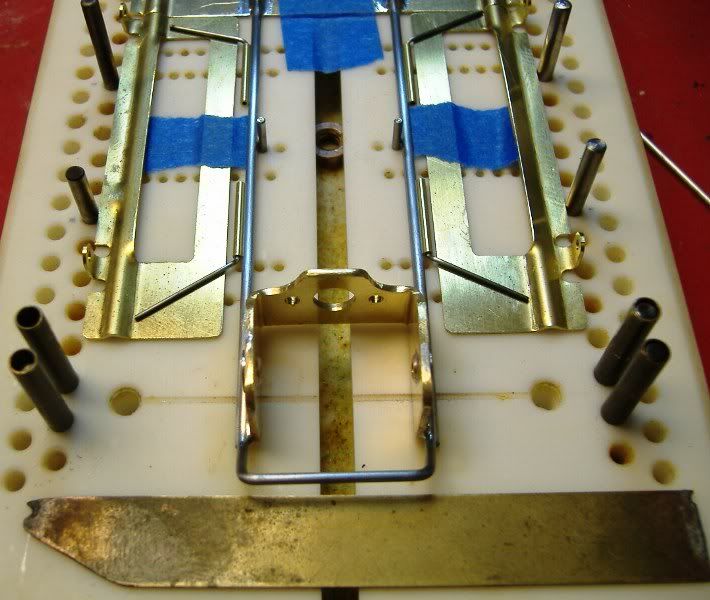
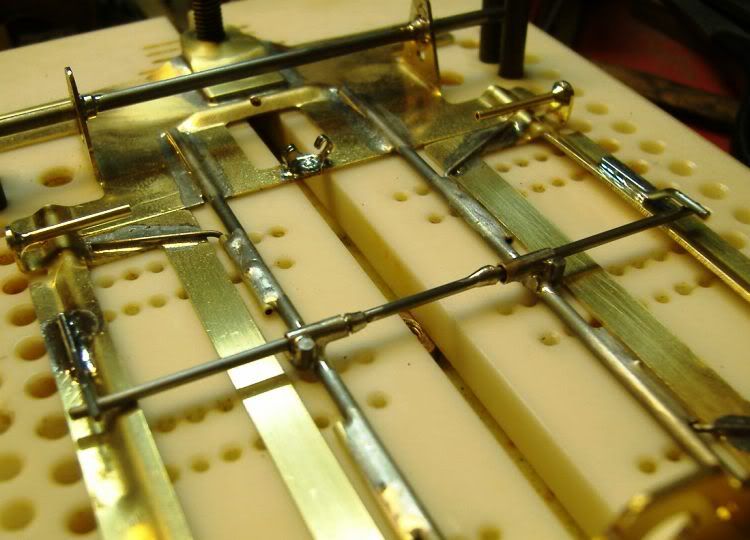
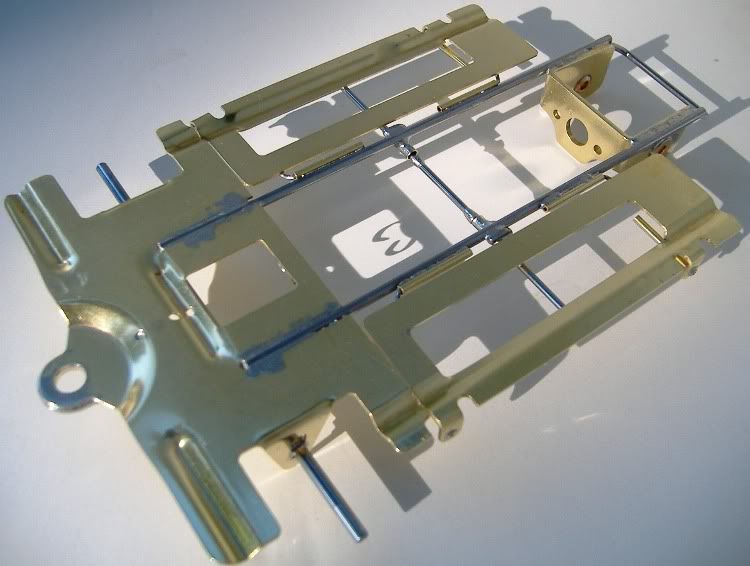
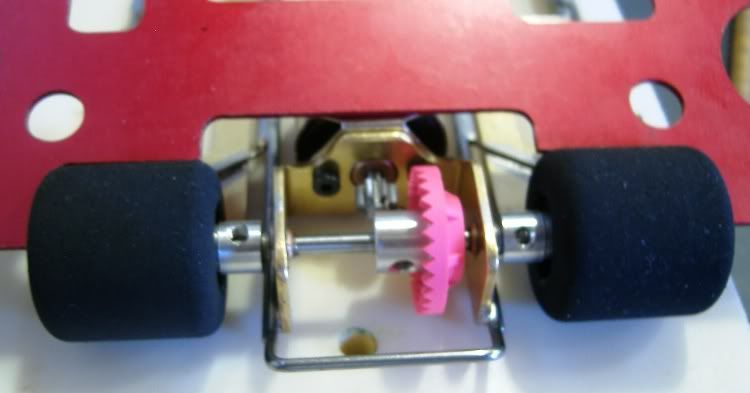
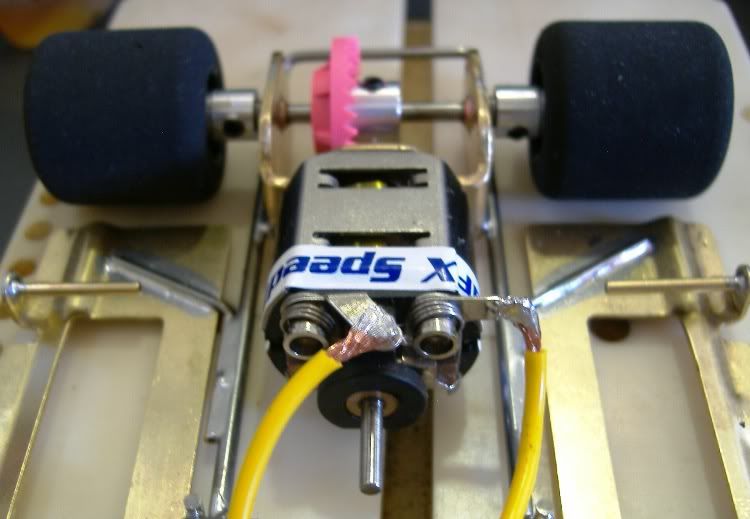
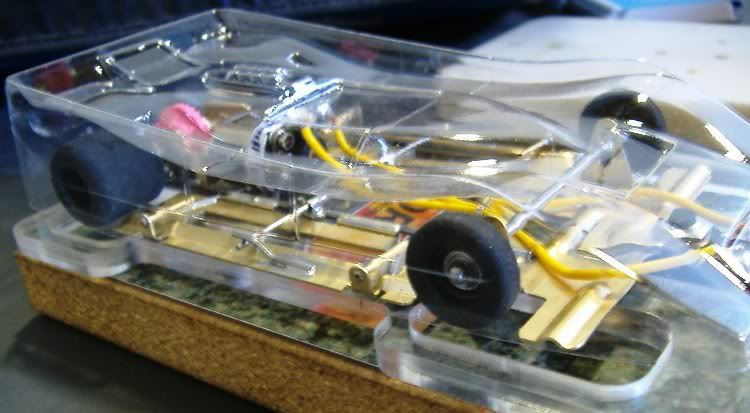
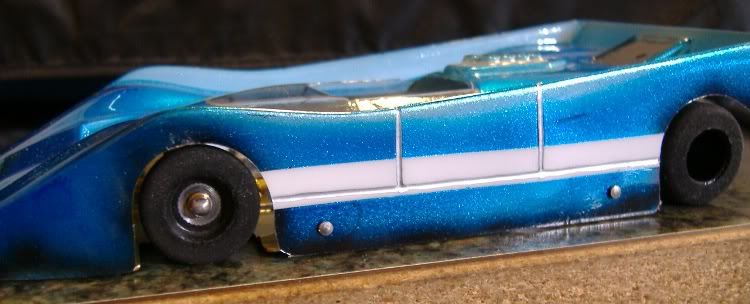
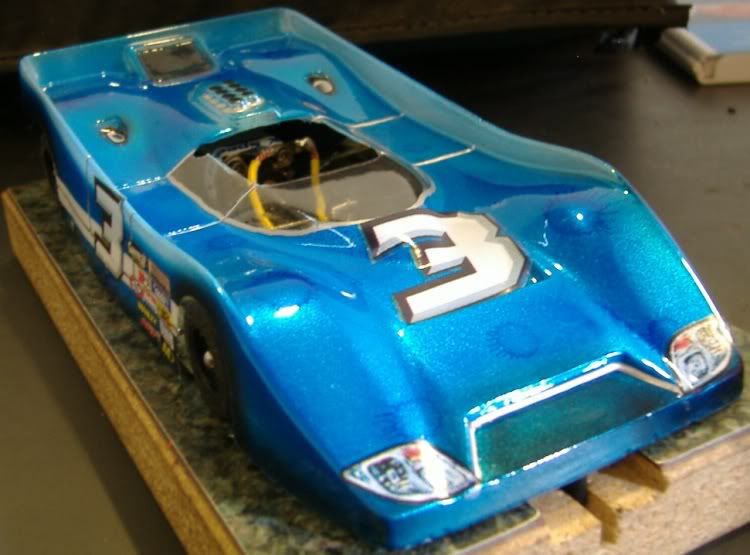
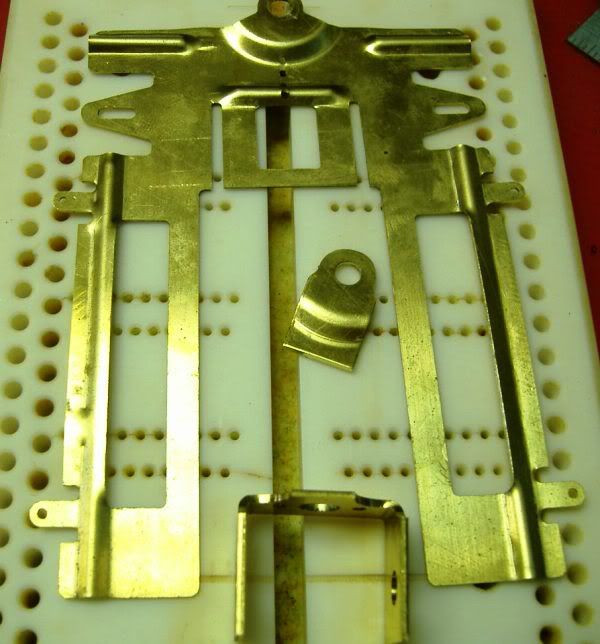
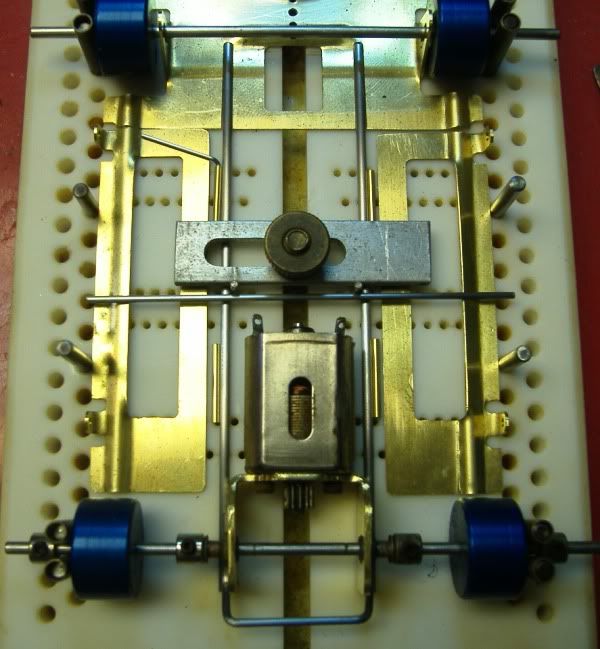
Here's the complete progress thus far,
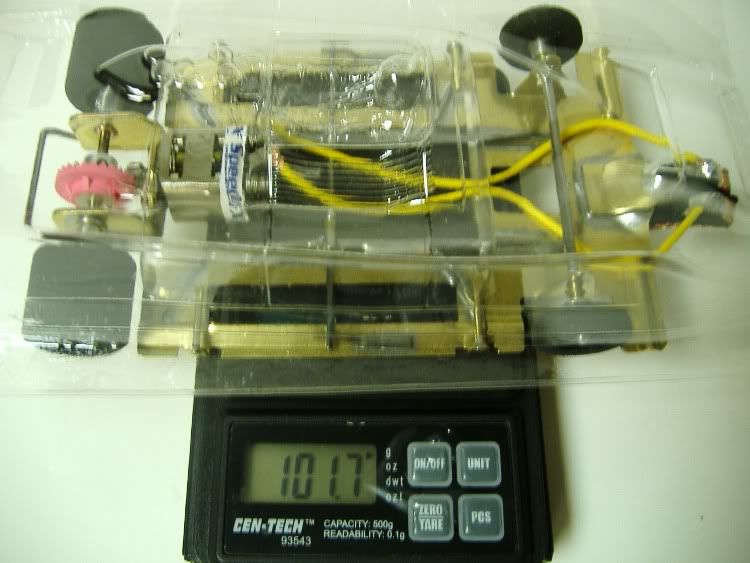
Oh,Yea, forgot to mention my patended wonky gear guard made from .062 wire.