Aristo-Craft power
#51
Posted 24 March 2008 - 06:55 PM
Getting people to scratchbuild is why we post . We think it's a lot of fun and encourage others to try it.
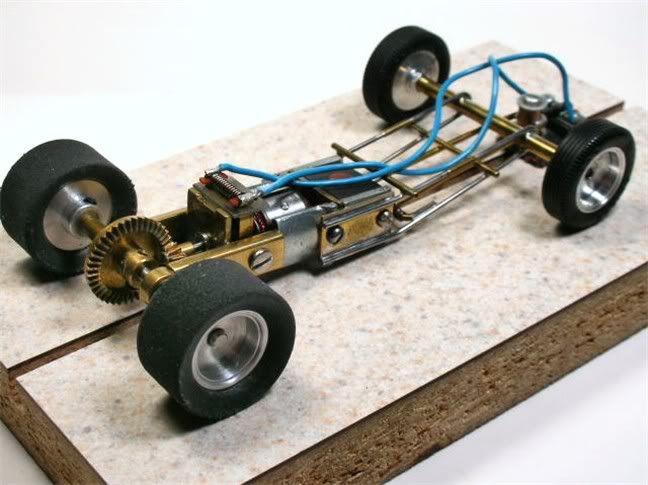
As far as the type of material I make frames from, it depends on what era I'm trying to recreate. This car is brass tube as that's what we used at our SoCal raceway in '64-5. I believe other parts of the country used piano wire. Then the Pros went to solid brass rod in 1966. Piano wire started getting added more and more to the brass rod frames into the anglewinder era until it replaced brass altogether except for pans and drop arms. This is a generalization as nothing in vintage slot cars is really that clear-cut. For example, San Francisco Thingie racers were using piano wire lightweights with aero bodies when Team Russkit was racing heavy brass rod sports cars.
Anyway, break out the soldering iron and frame material of your choice and have some fun .
Rick Thigpen
Check out Steve Okeefe's great web site at its new home here at Slotblog:
The Independent Scratchbuilder
There's much more to come...
#52
Posted 25 March 2008 - 09:42 AM
In the day, people around the country did three things, brass rod (and copper and brazing), brass tube (and tube with wire inside), and steel wire.
In the day, most people had small pencil type irons, and they didn't have the heat to do some things well. The"pros" all had better equipment. But part of the conventional wisdom was that a 40 watt iron or a 80 watt gun was more practical when at the track, or staying at a motel.
Mostly I did piano wire. I did play at least once with the wire in tube, and several times with rod, mostly to see what they felt like. Each style has its own "feel" when you drive, and each responds differently to hitting things. Almost all my chassis that survived more or less intact are piano wire.
Fate
3/6/48-1/1/12
Requiescat in Pace
#53
Posted 25 March 2008 - 09:53 AM
T
#54
Posted 29 March 2008 - 07:24 PM
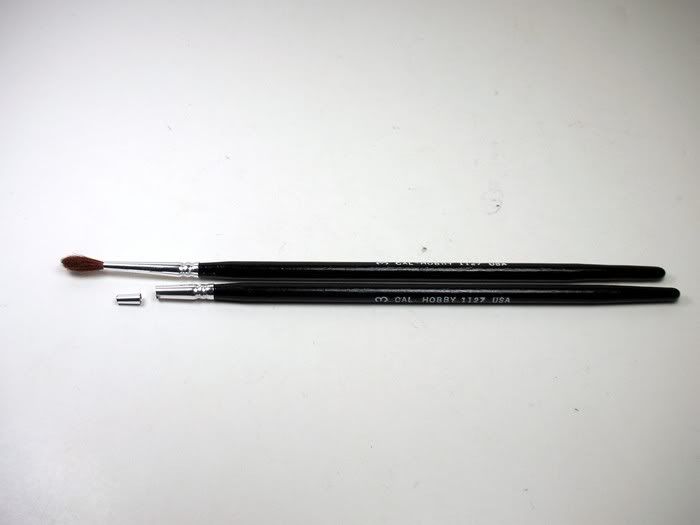
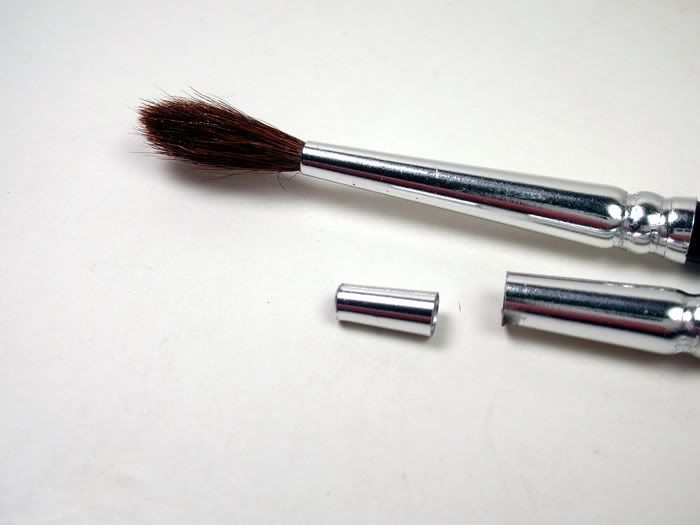
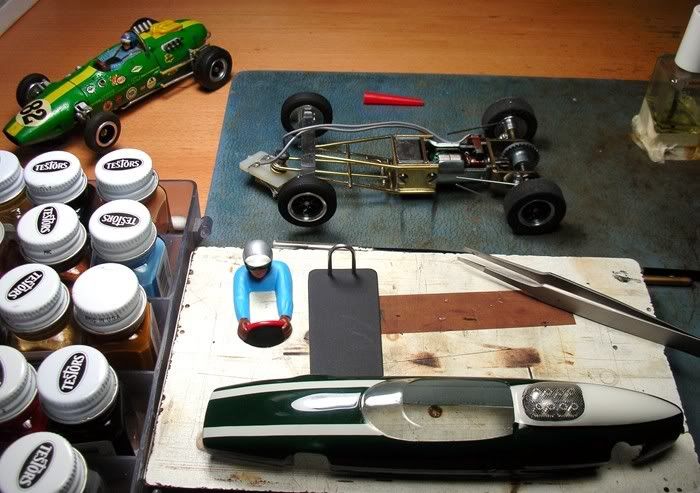
I remember reading in the old slot car magazines about making exhaust pipes out of paint brush ferrules . I thought I'd give it a try:
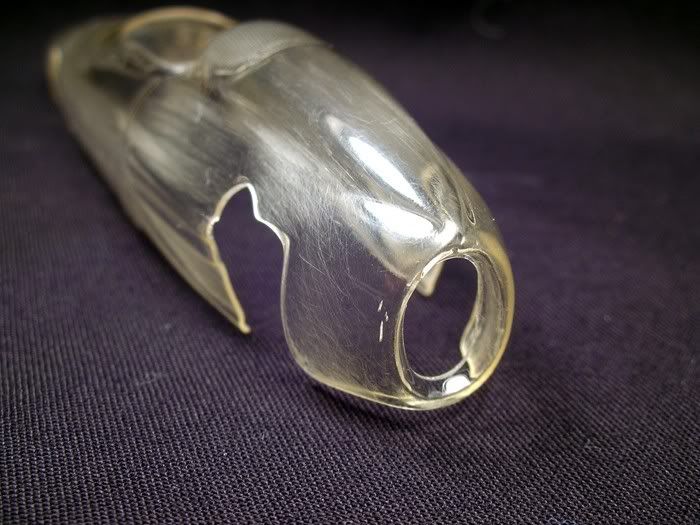
That worked out OK but when I went to drill two small holes in the back of the body I slipped and tore it . I decided to cut out the back of the body:
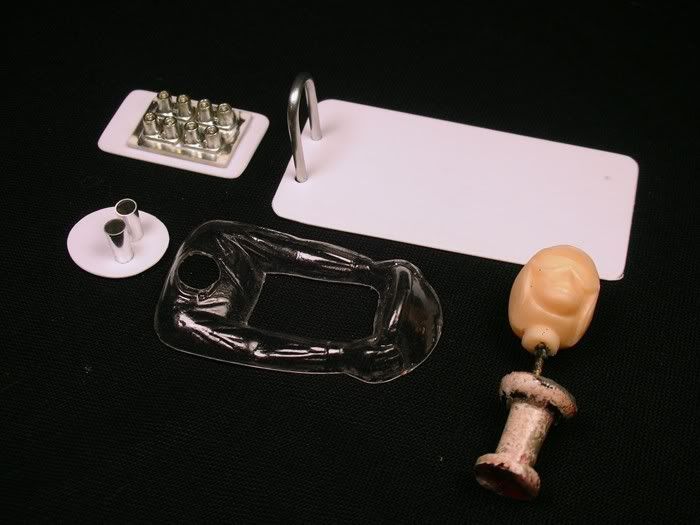
I installed the pipes on a piece of .015" thick Styrene sheet. I used the same stuff for the interior and to mount the velocity stacks:
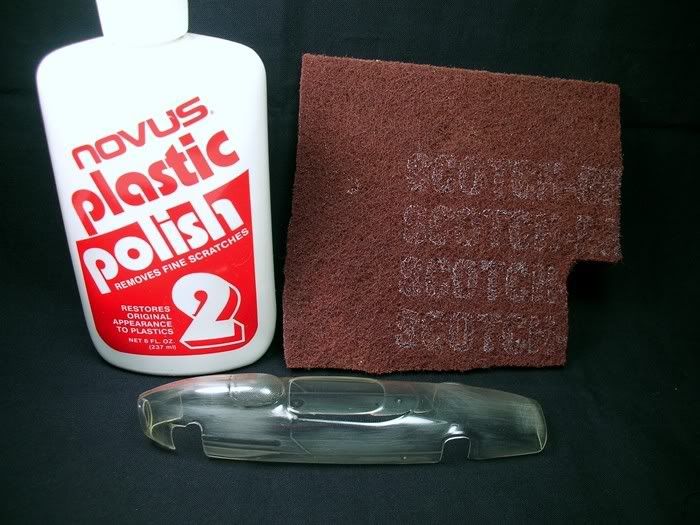
I've run out of things to make for this car and I have to paint it ... not my favorite thing to do. I'm still not sure how I'm going to neatly do the white stripe on the back and avoid the clear "screen" over the velocity stacks. Oh well. I polished out the 40 years of scratches from the outside of the body with Novus #2 plastic polish and scuffed up the inside with a ScotchBrite pad:
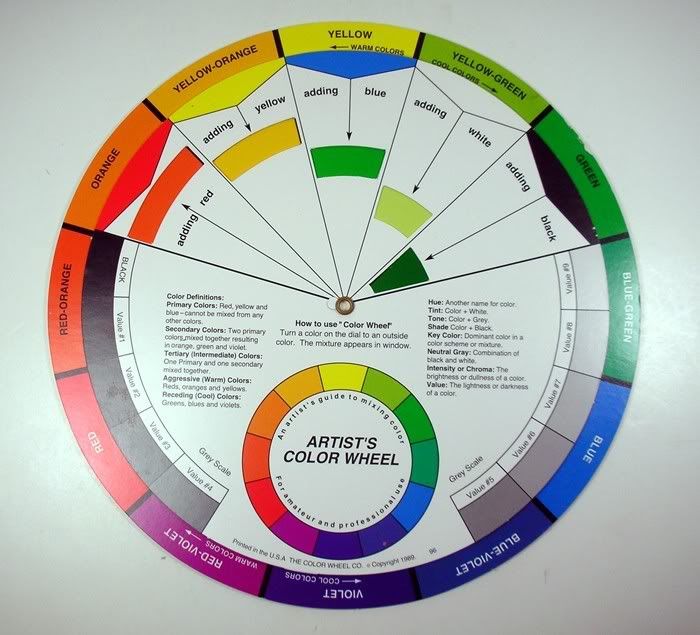
I'm no artist and for the longest time I could not figure out how to mix a "British Racing Green" out of Testors bright green. Then I ran across this while my wife was shopping at a craft store:
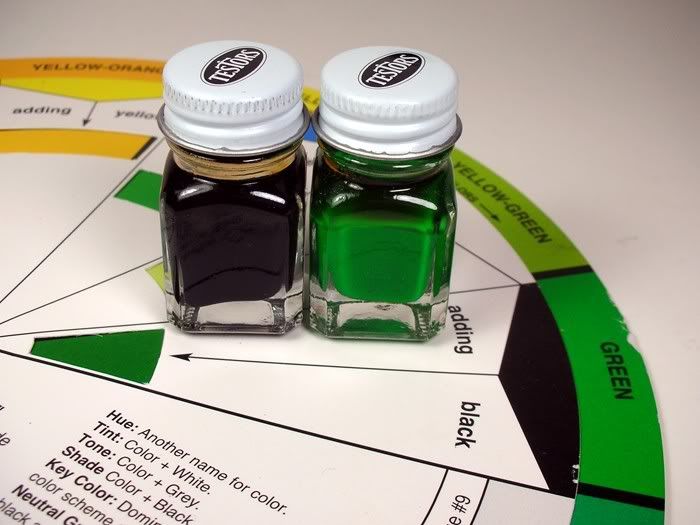
The color wheel told me to "just add some black, stupid!"
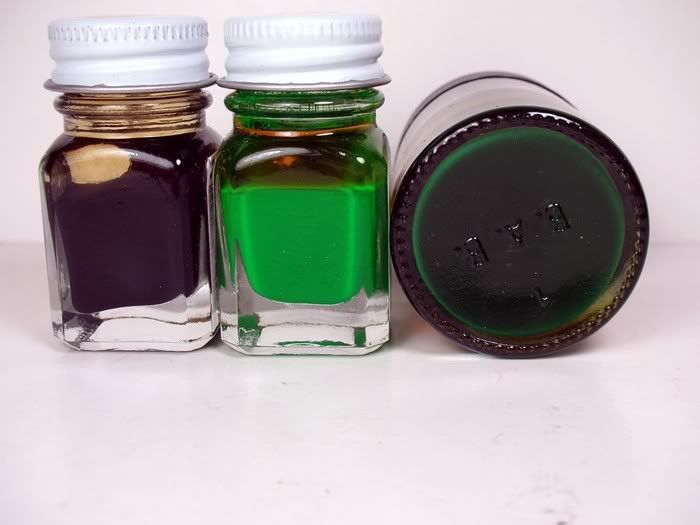
This is some I mixed up for an earlier project:
I think I'm going to go for a little darker shade than this for the Cooper:
STOP THE PRESSES! I'm out of bottles for the air brush. HAPPY DAYS! I have an excuse to start a new project until I get some more bottles.
Hmmmmmm... what's next? So many slot cars to build, so little time .
Onward!
Rick Thigpen
Check out Steve Okeefe's great web site at its new home here at Slotblog:
The Independent Scratchbuilder
There's much more to come...
#55
Posted 29 March 2008 - 07:33 PM
Glenn Orban
NJ Vintage Racing
NJ Scale Racing
C.A.R.S. Vintage Slot Car Club
#56
Posted 29 March 2008 - 08:04 PM
Rick Thigpen
Check out Steve Okeefe's great web site at its new home here at Slotblog:
The Independent Scratchbuilder
There's much more to come...
#57
Posted 11 April 2008 - 12:53 PM
Those pictures of the business-end of that Cooper are great for showing most of the rear suspension minus a couple details. Do you have any more pictures of that car? Front suspension?
Remember, two wrongs don't make a right... but three lefts do! Only you're a block over and a block behind.
#58
Posted 11 April 2008 - 02:21 PM
#59
Posted 11 April 2008 - 06:33 PM
Richard,Those pictures of the business-end of that Cooper are great for showing most of the rear suspension minus a couple details. Do you have any more pictures of that car? Front suspension?
I haven't found much in the way of pictures on the 1964 Cooper GP car and I've Googled the heck out of it . I finally decided to just more or less "free style" the suspension especially since it's the first time I've tried making it .
Rick Thigpen
Check out Steve Okeefe's great web site at its new home here at Slotblog:
The Independent Scratchbuilder
There's much more to come...
#60
Posted 12 April 2008 - 09:38 AM
EDIT: LOL! I guess if I'd bothered to actually READ the text under the pictures, I wouldn't have had to guess at some of the suspension details!
Remember, two wrongs don't make a right... but three lefts do! Only you're a block over and a block behind.
#61
Posted 12 April 2008 - 02:55 PM
If it will help, I can email you the full size (30 MB) .jpg file of my scanned Cooper R&T magazine page I posted. If you'd like it, PM me your email address .
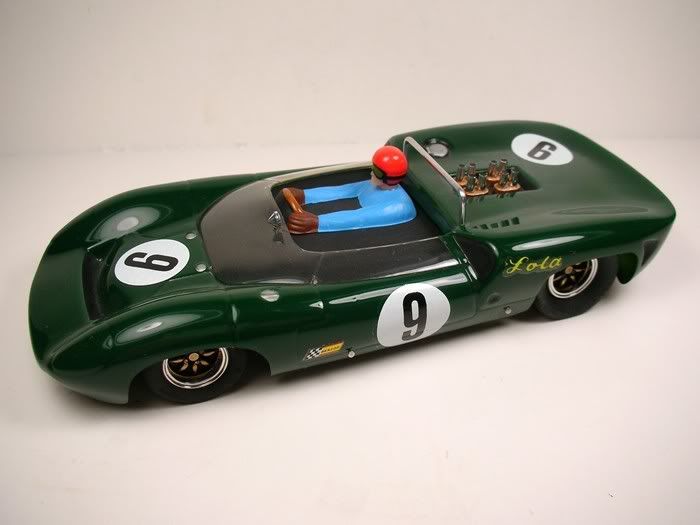
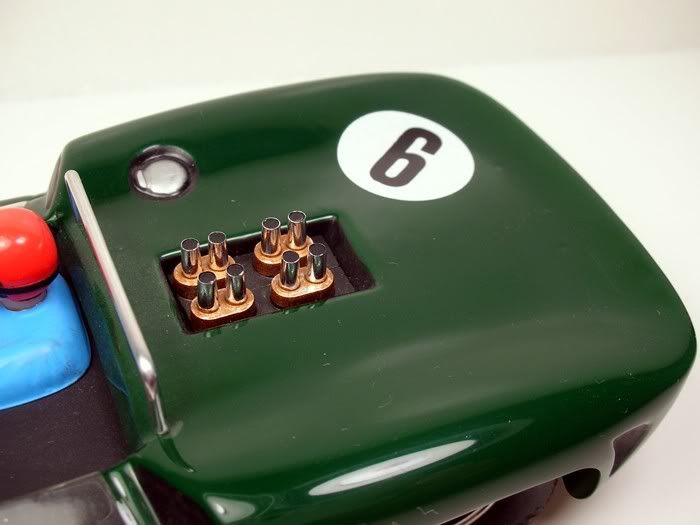
I tested my Aristo-Craft-powered Cooper at Eddie's last weekend and it's really pretty fast. My '68 Mabuchi-powered Lotus 25 "Fly Weight" will smoke it but I think the Aristo may have the legs on a Pittman 196B even with a DC-65X arm. I'll find out when I get my Lola GP with a Pittman 196-65X pictured below finished:
I ran the Aristo first without a rezap on the magnet and it ran well. I had Eddie check the gauss reading with his analog gauge and it barely moved the needle. Then he zapped it with his Trik Trax zapper and checked it again. It went from almost 0 before to almost 9 after! On the track it picked up lots of brakes and ran a little cooler. The brakes are really quite good and I don't see a need to do anything else to this motor.
I guess it’s time to paint...
Rick Thigpen
Check out Steve Okeefe's great web site at its new home here at Slotblog:
The Independent Scratchbuilder
There's much more to come...
#62
Posted 13 April 2008 - 08:11 PM
Question - when you had the motor zapped, what was the position of the motor (if you know). Was it simply put vertically (pinion pointed up, brushes toward the person zapping) between the iron bars of the Trik Trax and the bars tightened against it?
My life fades, the vison dims. All that remains are memories... from The Road Warrior
#63
Posted 13 April 2008 - 08:42 PM
I know it was zapped as would zap a 16D. The north and south poles are on the sides of the motor not the top and bottom like on a Bonner. So the brushes were not pointing at the person doing the zapping but rather pointing to the side. Is that clear as... mud
Rick Thigpen
Check out Steve Okeefe's great web site at its new home here at Slotblog:
The Independent Scratchbuilder
There's much more to come...
#64
Posted 14 April 2008 - 08:29 AM
This time with a touch of paint on the body, if you please.
#65
Posted 14 April 2008 - 12:20 PM
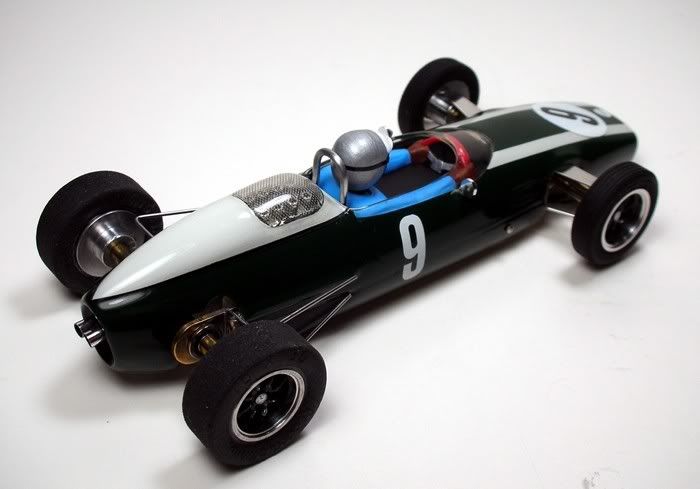
I got the dark British Racing Green and white stripes painted on the Cooper yesterday. What a struggle . I was worried about masking off the top of the engine cover which is supposed to be white. I followed Dave Larson's advice from his Thingy build on SlotForum. I burnished the heck out of the edges of the tape and didn't stretch it when I applied it.
I sprayed the green and peeled away the tape it looked great with a nice clean cut line ... wait... there's a little green overspray in there. How did that happen ? No problem, a little paint thinner on a Q-tip swab and... YIKES! I touched the cut line between the green and soon to be white and smeared it . Maybe it's not too bad. I'll spray the white now and... ARG! IT IS BAD! Now what?
In the past I would have given up on the project and put the thing in a box. I was really disgusted as that masking job really looked good before I slipped with that Q-tip. I came up with a fix I'm OK with. I was hoping to post pictures of the painted body Sunday but instead I spend hours recovering from my mistake.
I sure wish I hadn't slipped... oh well...
Rick Thigpen
Check out Steve Okeefe's great web site at its new home here at Slotblog:
The Independent Scratchbuilder
There's much more to come...
#66
Posted 14 April 2008 - 01:49 PM
Believe me, I feel your pain. On this same site I recently shared the experience of adding one final clearcoating over a perfectly striped and finished (by my standards) Strombecker Brabham body only to pick up the wrong rattle can and deliver a full blast of gold lacquer right on target. Argh! On some projects it seem like half my time is spent re-redoing.
I have had good results using a short-cut with those Pactra R/C stripes on several cars. After clearcoating it's hard to tell it's not paint and the edges are very clean.
My K&B Cooper
And if it makes you feel better, I've got a striping job I've been debating sending Jairus for months.
Eager to see your completed project.
#67
Posted 20 April 2008 - 07:58 PM
I really have been working on my Cooper . Here's where I am at now before I stop working on it and go get depressed by the evening news. :
Maybe I can finish it tomorrow...
Keep up the great work, everyone.
Rick Thigpen
Check out Steve Okeefe's great web site at its new home here at Slotblog:
The Independent Scratchbuilder
There's much more to come...
#68
Posted 20 April 2008 - 09:46 PM
Remember, two wrongs don't make a right... but three lefts do! Only you're a block over and a block behind.
#69
Posted 21 April 2008 - 06:07 PM
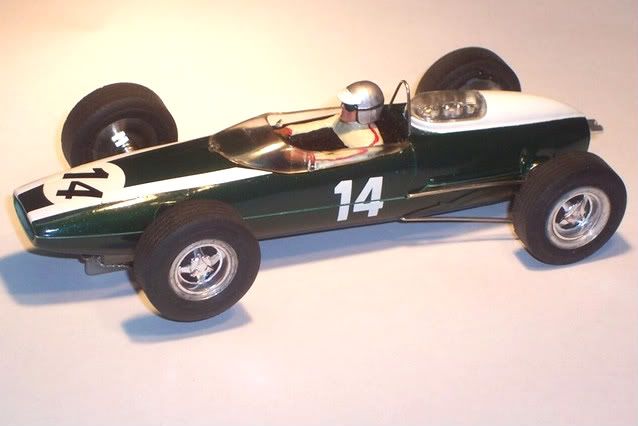
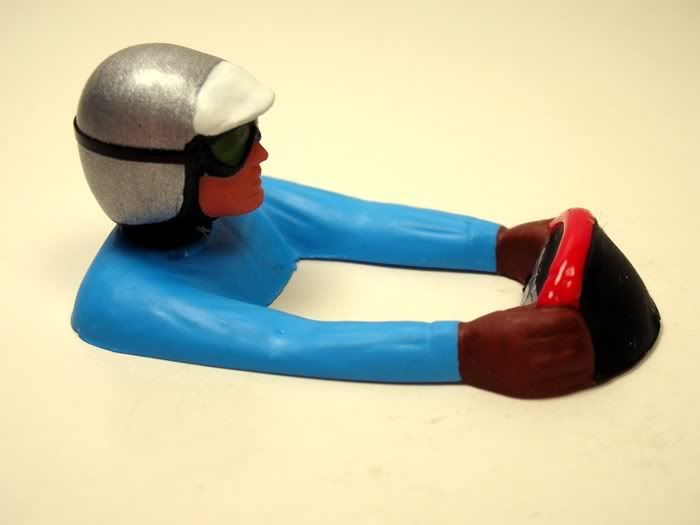
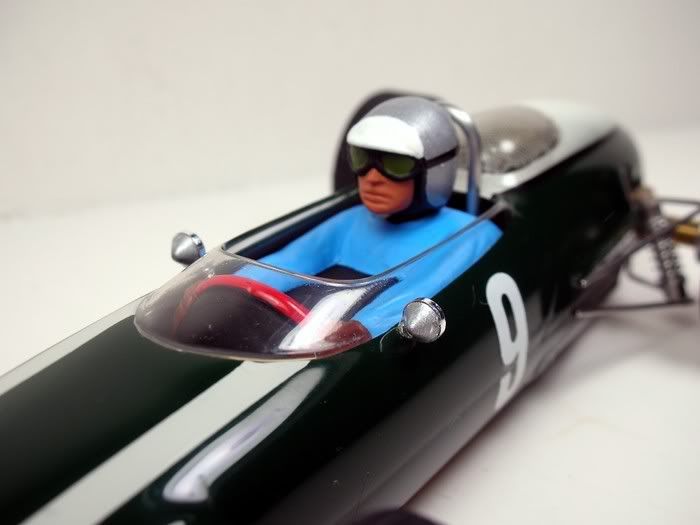
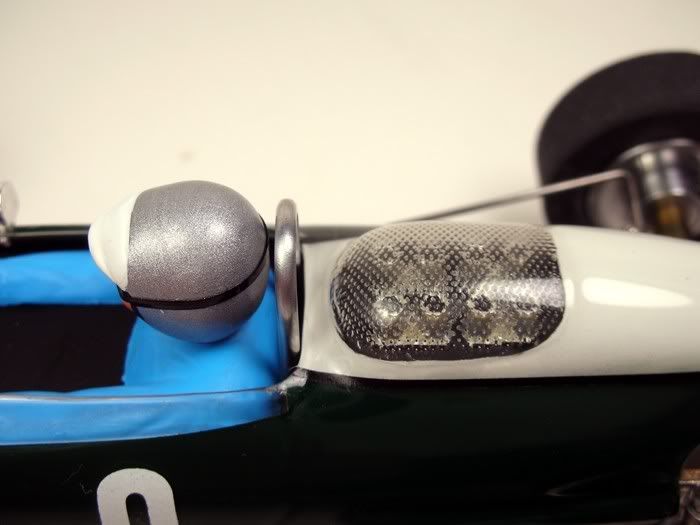
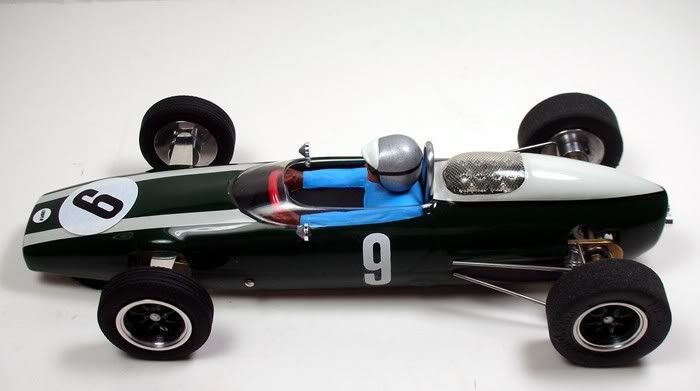
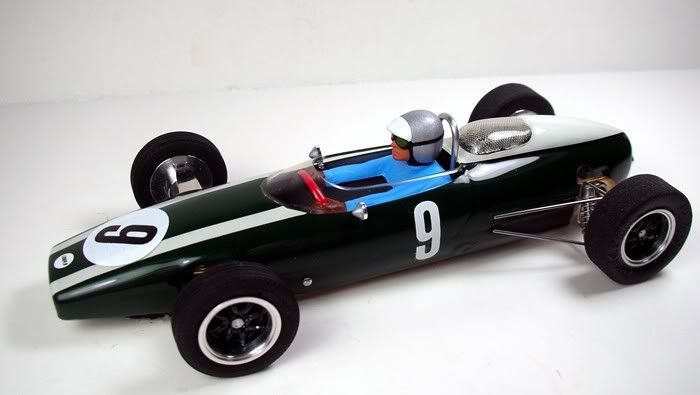
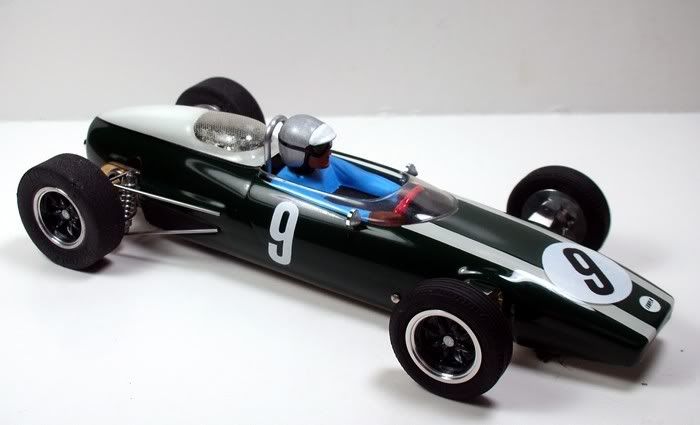
Here he is in the cockpit ready to do battle with unsuspecting Pittman's:
I decided to leave the clear plastic "screen" over the engine and put some detail under it:
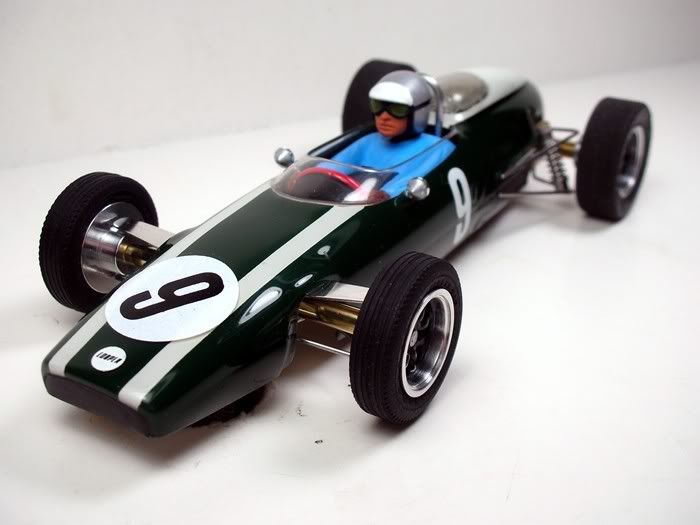
I made some boo-boos and would for sure do some things differently next time but I enjoyed this project. It was fun to build and it's a fun car to drive.
Thanks, Jairus, for the inspiration to build it that came from your BRM project and thanks to everyone who shared this project with me . Three more pictures and it's off to the next project...
Onward...
Rick Thigpen
Check out Steve Okeefe's great web site at its new home here at Slotblog:
The Independent Scratchbuilder
There's much more to come...
#70
Posted 21 April 2008 - 06:46 PM
Joe "Noose" Neumeister
Sometimes known as a serial despoiler of the clear purity of virgin Lexan bodies. Lexan is my canvas!
Noose Custom Painting - Since 1967
Chairman - IRRA® Body Committee - Roving IRRA® Tech Dude - "EVIL BUCKS Painter"
"Team Evil Bucks" Racer - 2016 Caribbean Retro Overall Champion
The only thing bad about Retro is admitting that you remember doing it originally.
#71
Posted 21 April 2008 - 06:58 PM
Oh, those pin heads . OK... Just when I thought I was finished.
Rick Thigpen
Check out Steve Okeefe's great web site at its new home here at Slotblog:
The Independent Scratchbuilder
There's much more to come...
#72
Posted 21 April 2008 - 08:36 PM
Bravo, Rick!
Remember, two wrongs don't make a right... but three lefts do! Only you're a block over and a block behind.
#73
Posted 22 April 2008 - 06:52 AM
May I h...
#74
Posted 11 December 2008 - 04:12 AM
Awesome
want one noowww!!!! how much did you say ?
#75
Posted 11 December 2008 - 01:06 PM
Time to start a build'n
Rick Thigpen
Check out Steve Okeefe's great web site at its new home here at Slotblog:
The Independent Scratchbuilder
There's much more to come...