Jump to content


Photo

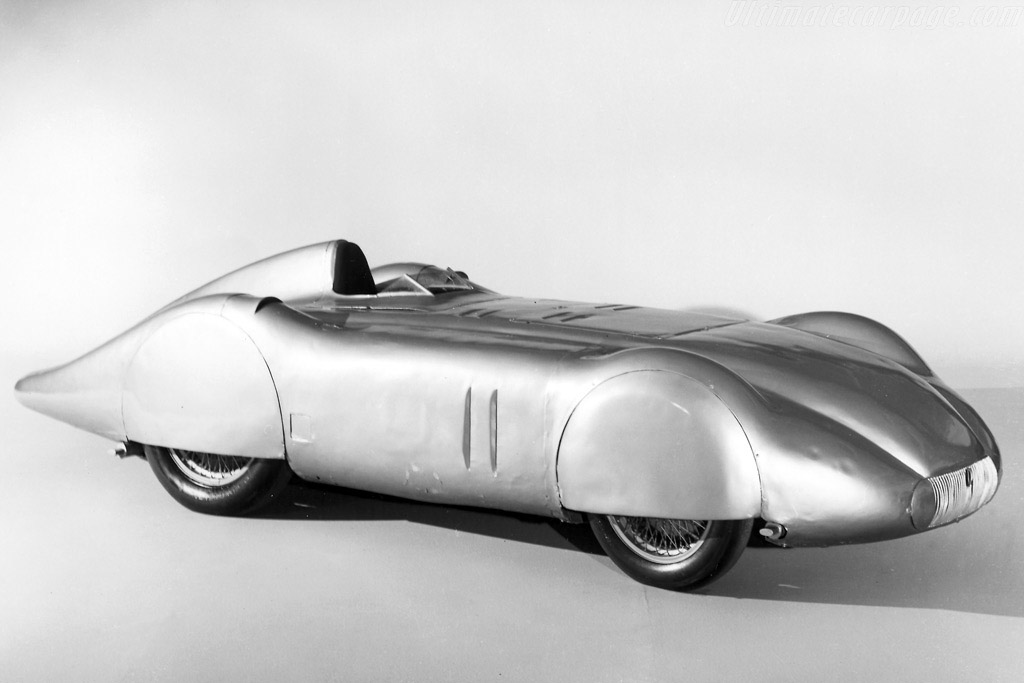
Mercedes-Benz W25 Avus Streamliner


  • Please log in to reply
49 replies to this topic

#1 Pablo

Pablo

    Builder

  • Administrator
  • PipPipPipPipPipPipPipPip
  • 18,447 posts
  • Joined: 20-February 06
  • Gender:Male
  • Location:Cleveland, Tennessee

Posted 13 June 2016 - 08:39 PM

Mercedes-Benz-W25-Avus-Streamliner-7430.jpg


WB: 3 7/8"

GL: 1 1/16"

Width: 3.125"

Motor: Havlicek 16D, 40T/27

Bracket: Russkit 26D

Front wheels: Vintage set screw with O-ring rubber, 13/16" OD

Rear wheels: Vintage set screw with Alpha Wonder Rubber, 13/16" OD

Clearance: front .032", rear .062"

Flag: Jet Flag secured with Classic weight

Chassis: ISO, tapered center section with .050" thick (drop arm) tongue, outer section/front axle: rails and tilting bat pans.

Body is an original, not a re-pop, and has a protective covering. I'm guessing it's a Betta but not sure:


IMG_2253.JPG


  • MSwiss, n.elmholt, Bud Greene and 2 others like this

Paul Wolcott


#2 Pablo

Pablo

    Builder

  • Administrator
  • PipPipPipPipPipPipPipPip
  • 18,447 posts
  • Joined: 20-February 06
  • Gender:Male
  • Location:Cleveland, Tennessee

Posted 14 June 2016 - 04:49 PM

I'm feeling very "German" today :)


1c032f105bf11303494cca622d196e72.jpg


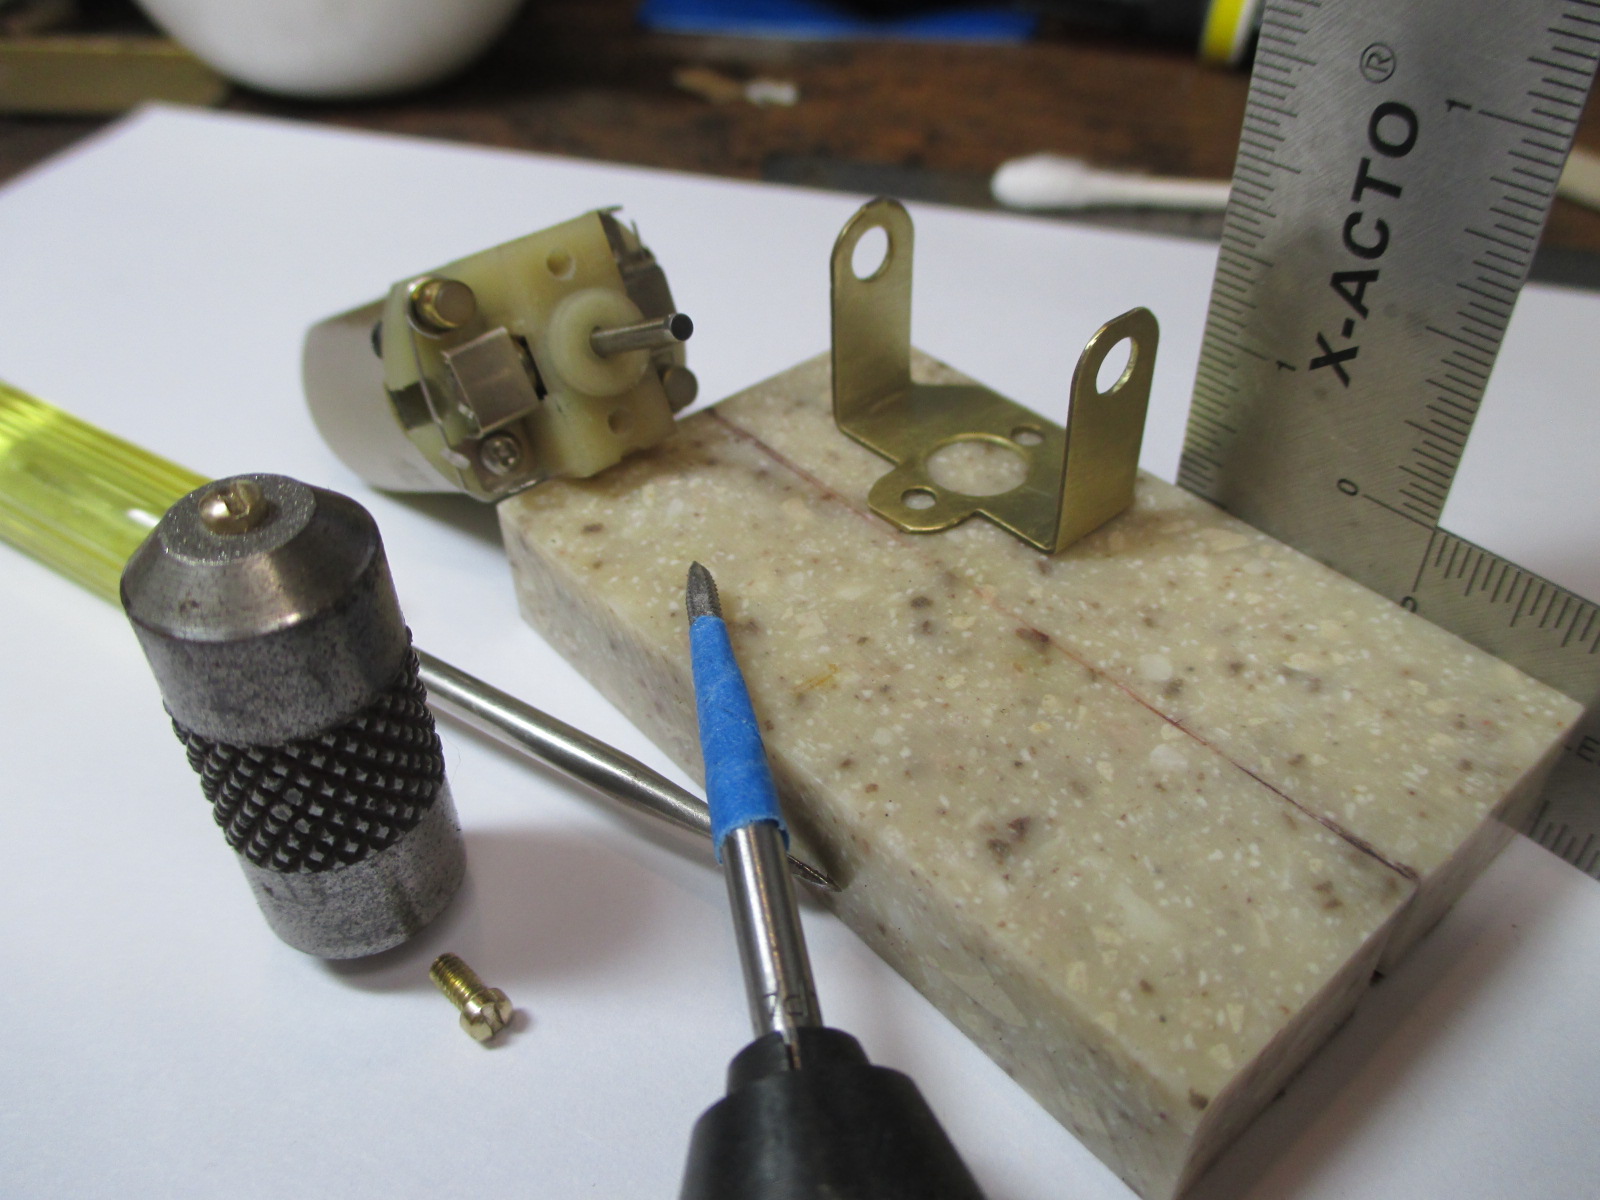
Endbell mounting holes tapped 2-56 for brass round head machine screws.

26D Russkit bracket sanded, flattened, squared and trued as usual.

Now it needs bracing to lock it in, but first I needed to trim the screws to see what will fit where. 

Turned down the heads to about .125".


I never noticed how irregular the machining under screw heads is until I looked at them with my geezer goggles.

We don't want to tweak the face of the bracket when the screws are tightened.

So I tried a new trick; they fit loose into the 3/32 Magnehone facing tool but by pressing straight down with a screwdriver and rotating them,

it removes any flash and trues up the face (between head and bracket face) nicely.


IMG_2258.JPG


  • Tex and C. J. Bupgoo like this

Paul Wolcott


#3 Pablo

Pablo

    Builder

  • Administrator
  • PipPipPipPipPipPipPipPip
  • 18,447 posts
  • Joined: 20-February 06
  • Gender:Male
  • Location:Cleveland, Tennessee

Posted 15 June 2016 - 04:41 PM

Internal bracket bracing done for now; more to follow once I get the axle tube jigged up. Typical overbuilt Pablo rear end :)

Side wires are .047", back face .032", bottom edge .039".


IMG_2276.JPG


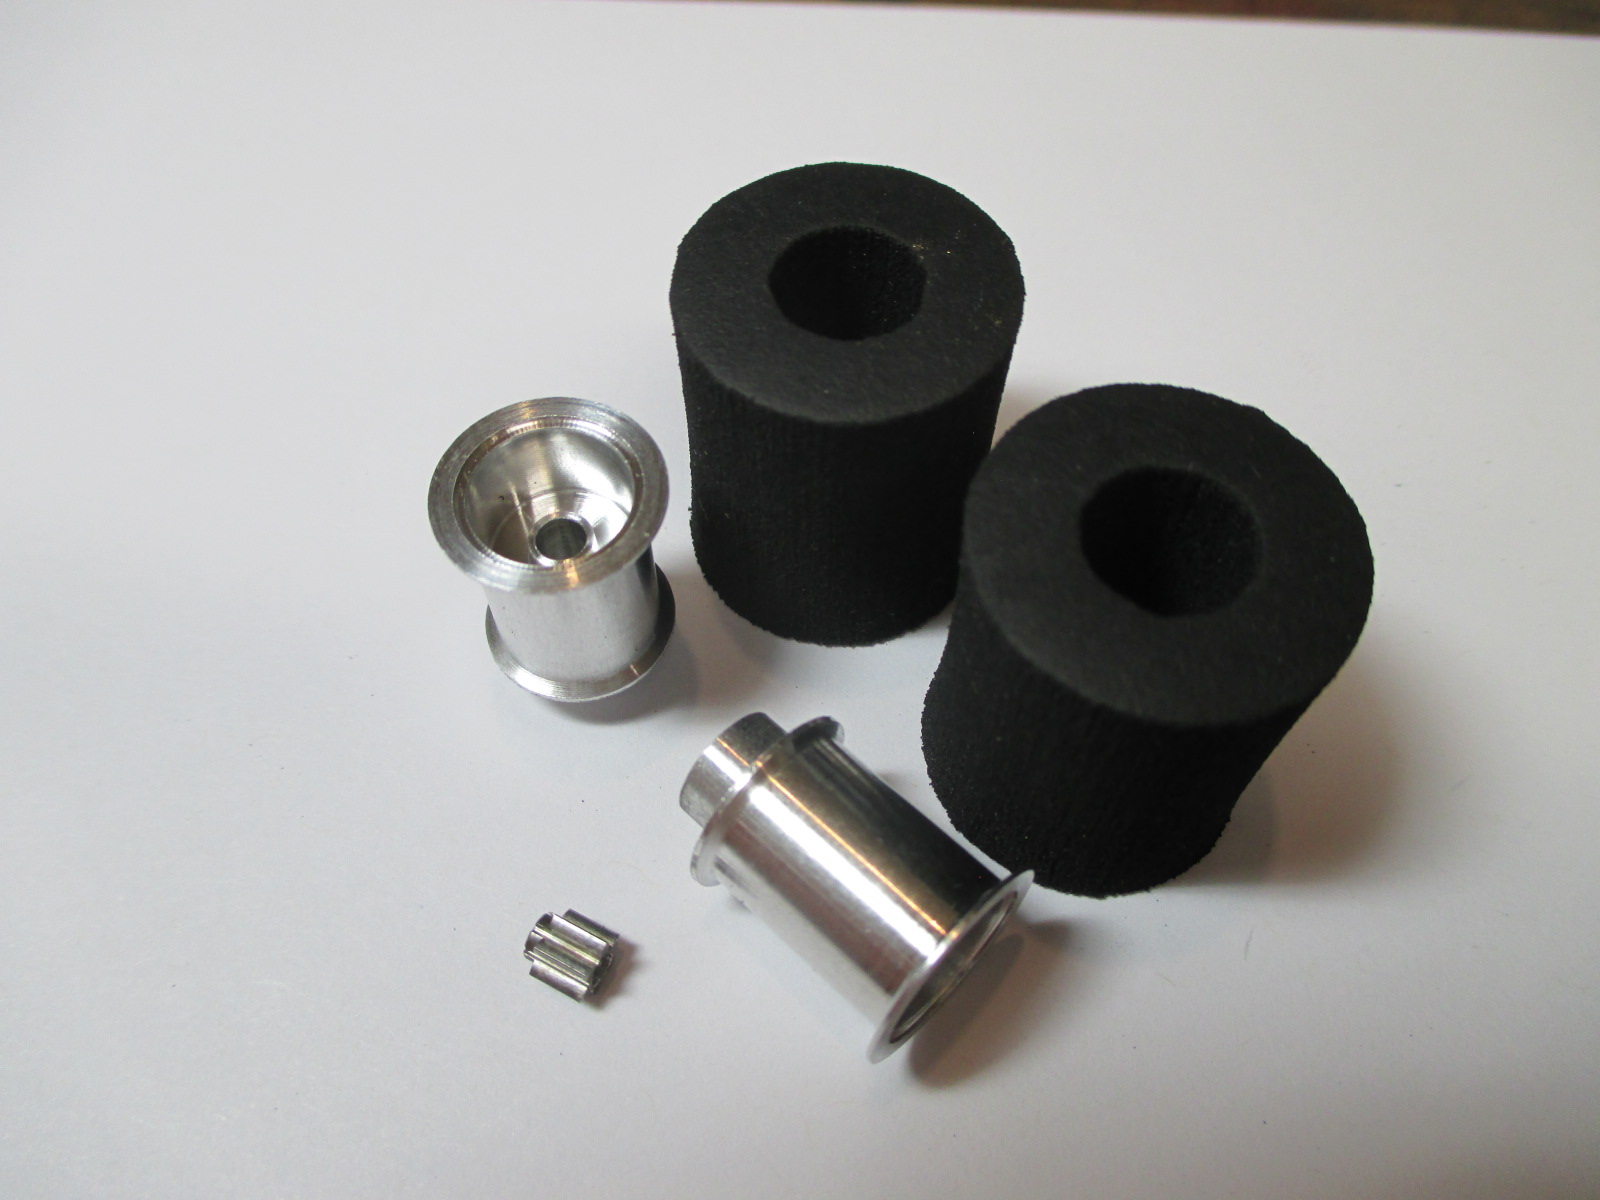
With 13/16" OD rear wheels and a 40T/27 armature, I need about a 4.8 to 1 gear ratio. ARP 6T straight steel pinion and a 29 or 30T crown should work.

All four wheels are courtesy of dc-65X ( :heart:) and the rears will be shod with Alpha Wonder Rubber:


IMG_2288.JPG


  • MSwiss and C. J. Bupgoo like this

Paul Wolcott


#4 Pablo

Pablo

    Builder

  • Administrator
  • PipPipPipPipPipPipPipPip
  • 18,447 posts
  • Joined: 20-February 06
  • Gender:Male
  • Location:Cleveland, Tennessee

Posted 16 June 2016 - 11:59 AM

"Bushings 101" - I used a fat axle and my flag sander block to set up the bushings. Tacked 'em in, then checked for perfect alignment.


IMG_2302.JPG


Bracket is done. The addition of rails will make it even stronger :aggressive:
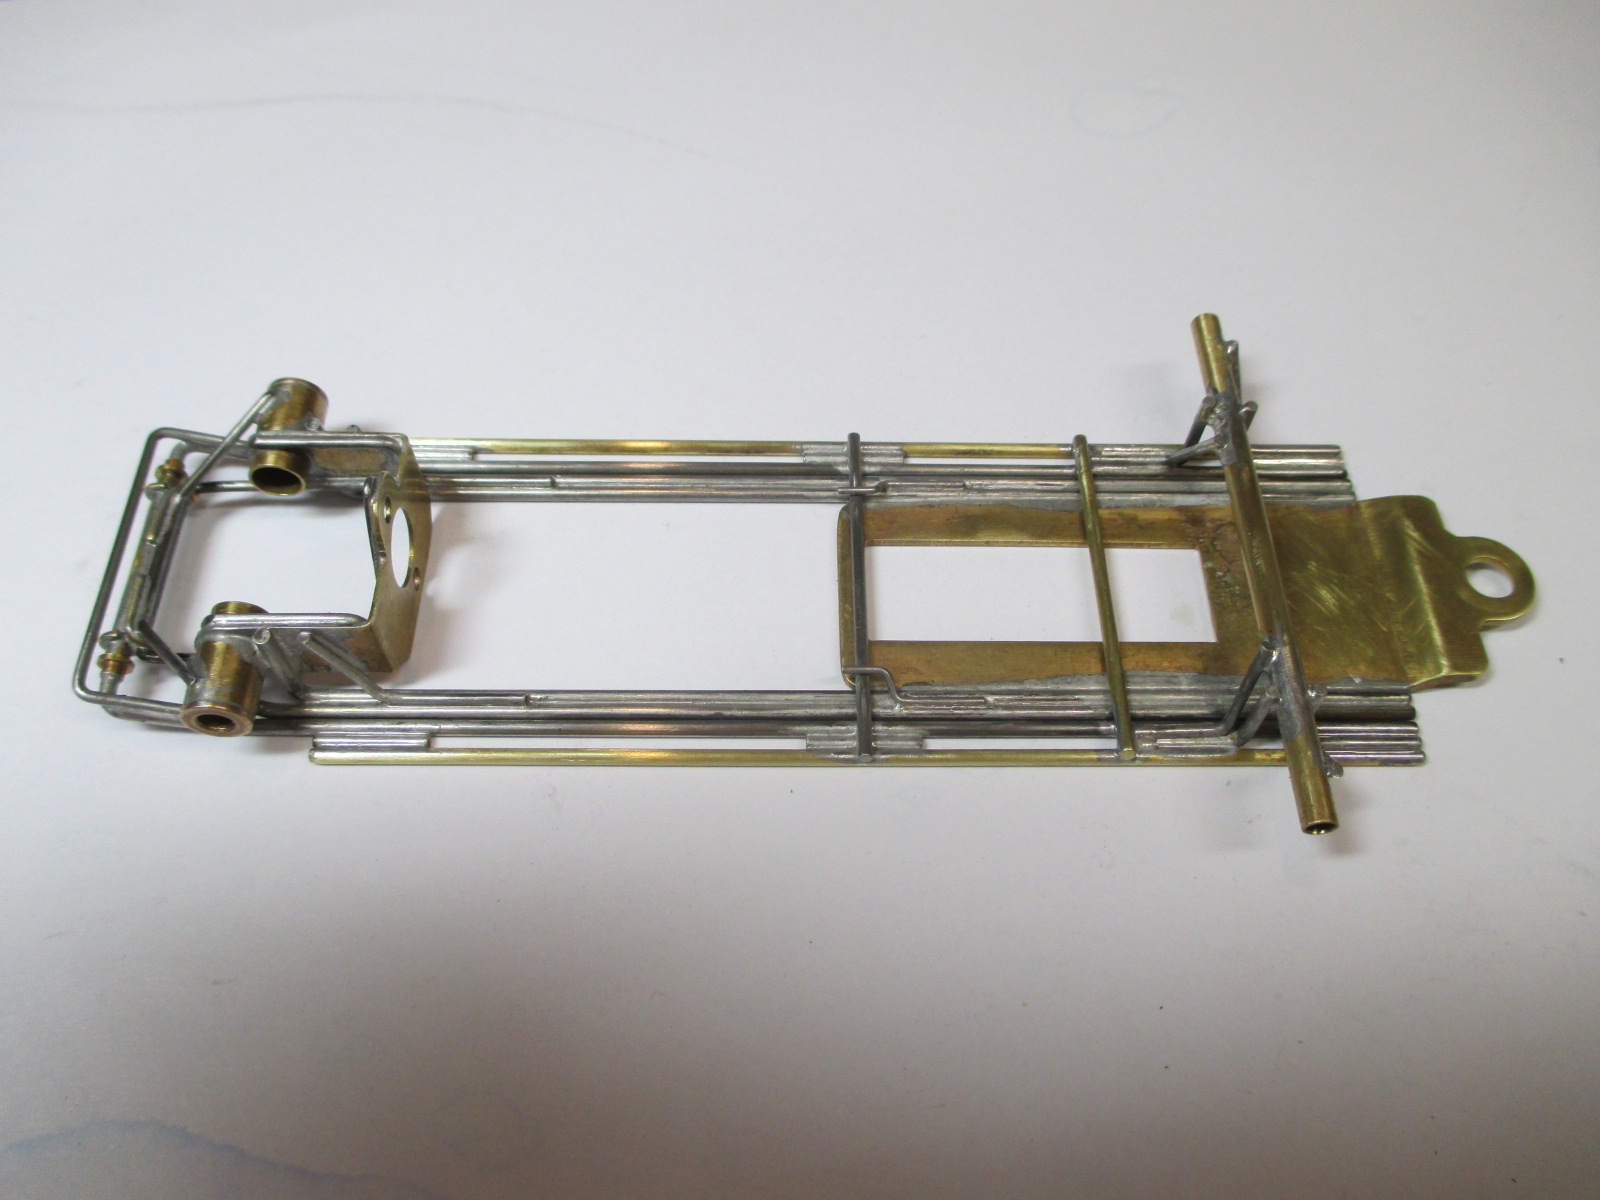
 

IMG_2307.JPG


  • Samiam and C. J. Bupgoo like this

Paul Wolcott


#5 Mark Johnson

Mark Johnson

    On The Lead Lap

  • Full Member
  • PipPipPipPip
  • 499 posts
  • Joined: 27-March 08
  • Gender:Male
  • Location:Minneapolis

Posted 16 June 2016 - 10:01 PM

looks good 


#6 Bobby Page

Bobby Page

    Racer1byu

  • Full Member
  • PipPip
  • 67 posts
  • Joined: 27-April 16
  • Gender:Male
  • Location:Saraland, AL

Posted 17 June 2016 - 03:02 PM

Looks like you may have your hands full with this one.  Can't wait to see the body painted. :victory:


Wrecking Crew says - " Give them nothing, But take from them everything " 


#7 Pablo

Pablo

    Builder

  • Administrator
  • PipPipPipPipPipPipPipPip
  • 18,447 posts
  • Joined: 20-February 06
  • Gender:Male
  • Location:Cleveland, Tennessee

Posted 17 June 2016 - 08:29 PM

The paint will be same as the SLR-300 - Tamiya Acrylic Aluminum backed with white.


Q/A inspector says "these nasty old front wheels are too wobbly for a streamliner - save them for a big heavy slow car"


DSC06737.JPG


IMG_2335.JPG


So they got labeled as such and thrown back in the vintage wheel "box of horrors" :laugh2:


IMG_2353.JPG


Front wheels, "Plan B": set screw fronts that actually match the rears and fit the spoke inserts  :dance3:

I'll put big O-rings on them and grind to 13/16" OD.

(pre-trimmed donuts on rear wheels are rough-cut only, and curing for a couple days)


IMG_2346.JPG


I cannibalized two brass sleeves from Parma pink retro crown gears and sized the widths to fit. New plan for fronts is a 3/32" axle rotating in a 1/8" tube.


IMG_2349.JPG


After a marathon late-night tinning party yesterday with the Weller 140 Watt Gun, I think it's about time to build a Streamliner chassis.


IMG_2356.JPG


  • C. J. Bupgoo likes this

Paul Wolcott


#8 Pablo

Pablo

    Builder

  • Administrator
  • PipPipPipPipPipPipPipPip
  • 18,447 posts
  • Joined: 20-February 06
  • Gender:Male
  • Location:Cleveland, Tennessee

Posted 18 June 2016 - 11:56 AM

Before I cut this drop arm, I set some tongue tilt into it as compensation for the .035"/.062" chassis clearance slope


IMG_2361.JPG


Much as I hate to mess with Havlicek's handywork, the bottom of the endbell and one post protector needed a little shaving to allow it to lay low as possible.

As long as I had it apart anyway, I soldered the hoods to the holders, tinned the wire connectors, and added one thin spacer above the comm.

A little shaving off the bottom of the bracket also, and we have nirvana - everything sits right where I want it.


IMG_2370.JPG


  • Jencar17 and C. J. Bupgoo like this

Paul Wolcott


#9 Pablo

Pablo

    Builder

  • Administrator
  • PipPipPipPipPipPipPipPip
  • 18,447 posts
  • Joined: 20-February 06
  • Gender:Male
  • Location:Cleveland, Tennessee

Posted 18 June 2016 - 06:09 PM

Drop arm needed a lot of TLC to make it true and square.

No doubt the best parts got cherry-picked back in the day. No problemo, this one is going to get cut up anyway :D

I made pencil marks where I want the inner rails to end up.


IMG_2377.JPG


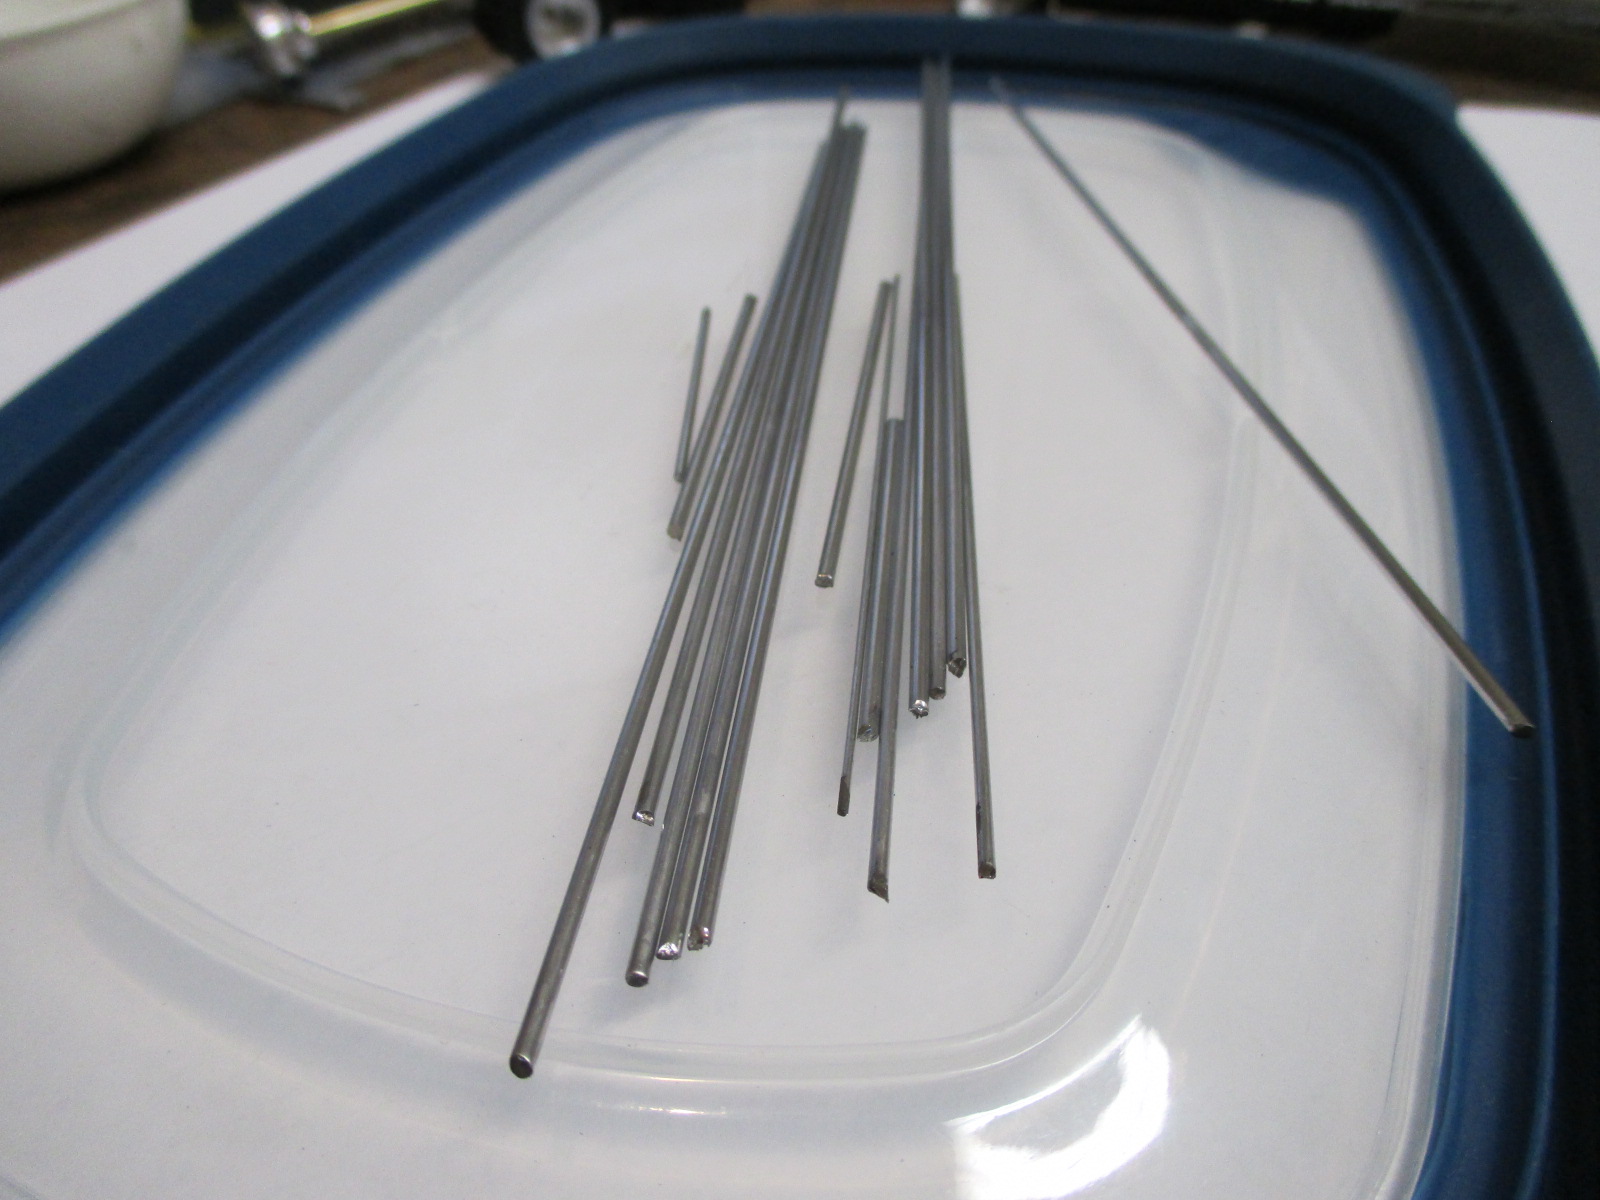
Looks like my tapered rail plan will work - .062" wires with 90 degree uprights at the rear, butted up against the bracket sides and tubes.

They clear the motor OK, so all I have to do is hit my pencil marks. The indents on Rick's Jig make nice visual reference points.


IMG_2378.JPG


Now the motor can come out and hide in it's clean baggie again  :bye:


  • Jencar17 and C. J. Bupgoo like this

Paul Wolcott


#10 Pablo

Pablo

    Builder

  • Administrator
  • PipPipPipPipPipPipPipPip
  • 18,447 posts
  • Joined: 20-February 06
  • Gender:Male
  • Location:Cleveland, Tennessee

Posted 18 June 2016 - 08:28 PM

After a 10 minute re-seat of the brushes, the motor is "good to go" :)

Havlicek has a rare talent of making small brushes work well on arms with big wire.

This motor will push the streamliner nicely :good:


IMG_2389.JPG


  • Jencar17 and C. J. Bupgoo like this

Paul Wolcott


#11 Pablo

Pablo

    Builder

  • Administrator
  • PipPipPipPipPipPipPipPip
  • 18,447 posts
  • Joined: 20-February 06
  • Gender:Male
  • Location:Cleveland, Tennessee

Posted 19 June 2016 - 09:51 AM

Changed my mind on the taper and just went straight with the drop arm.

I shortened and narrowed it, then beveled the rail edges a la dc-65x to give the solder a place to pool


IMG_2403.JPG


  • Jencar17 and C. J. Bupgoo like this

Paul Wolcott


#12 Pablo

Pablo

    Builder

  • Administrator
  • PipPipPipPipPipPipPipPip
  • 18,447 posts
  • Joined: 20-February 06
  • Gender:Male
  • Location:Cleveland, Tennessee

Posted 20 June 2016 - 01:56 PM

Twin .0625" center section wire rails with a pair of .047" stiffeners on the bracket's sides to reduce the motor's tendency to pitch.

That's just my theory. I know Jay Guard doesn't like lots of up and down flex right at the bracket face on retro F1's.

I took his hint and started adding stiffness there. It worked well on the Mercedes Benz SLR 300 and I expect it to work here also.

40T of 27 isn't exactly a Mini-Brute motor :heat: so it's something I considered.


IMG_2413.JPG


Just for fun, one of my favorite works of art, by Bob Suzuki:


frankenmotor.jpg


  • Jencar17 likes this

Paul Wolcott


#13 Pablo

Pablo

    Builder

  • Administrator
  • PipPipPipPipPipPipPipPip
  • 18,447 posts
  • Joined: 20-February 06
  • Gender:Male
  • Location:Cleveland, Tennessee

Posted 20 June 2016 - 03:52 PM

McMaster-Carr tubing cutter gizmo that dc-65x recommended takes all the guesswork out of cutting the insides of the axle tubes true :yes:

Bill from NH suggested a light pass or two on them at the desired cut point using a tubing cutter before soldering them in -

a great idea, but by that time I had already ordered the gizmo :laugh2:


IMG_2423.JPG


  • Jencar17, Humbolt and C. J. Bupgoo like this

Paul Wolcott


#14 dc-65x

dc-65x

    Grand Champion Poster

  • Subscriber
  • PipPipPipPipPipPipPipPip
  • 6,972 posts
  • Joined: 14-February 06
  • Gender:Male
  • Location:Captain Rick: The only vintage slot car nut in SW Oregon?

Posted 20 June 2016 - 07:37 PM

Looking good Pablo...... and I'm glad you like the gizmo! :D


  • Humbolt likes this

Rick Thigpen
Check out Steve Okeefe's great web site at its new home here at Slotblog:
The Independent Scratchbuilder
There's much more to come...


#15 Pablo

Pablo

    Builder

  • Administrator
  • PipPipPipPipPipPipPipPip
  • 18,447 posts
  • Joined: 20-February 06
  • Gender:Male
  • Location:Cleveland, Tennessee

Posted 22 June 2016 - 11:31 AM

Thanks, Rick :D


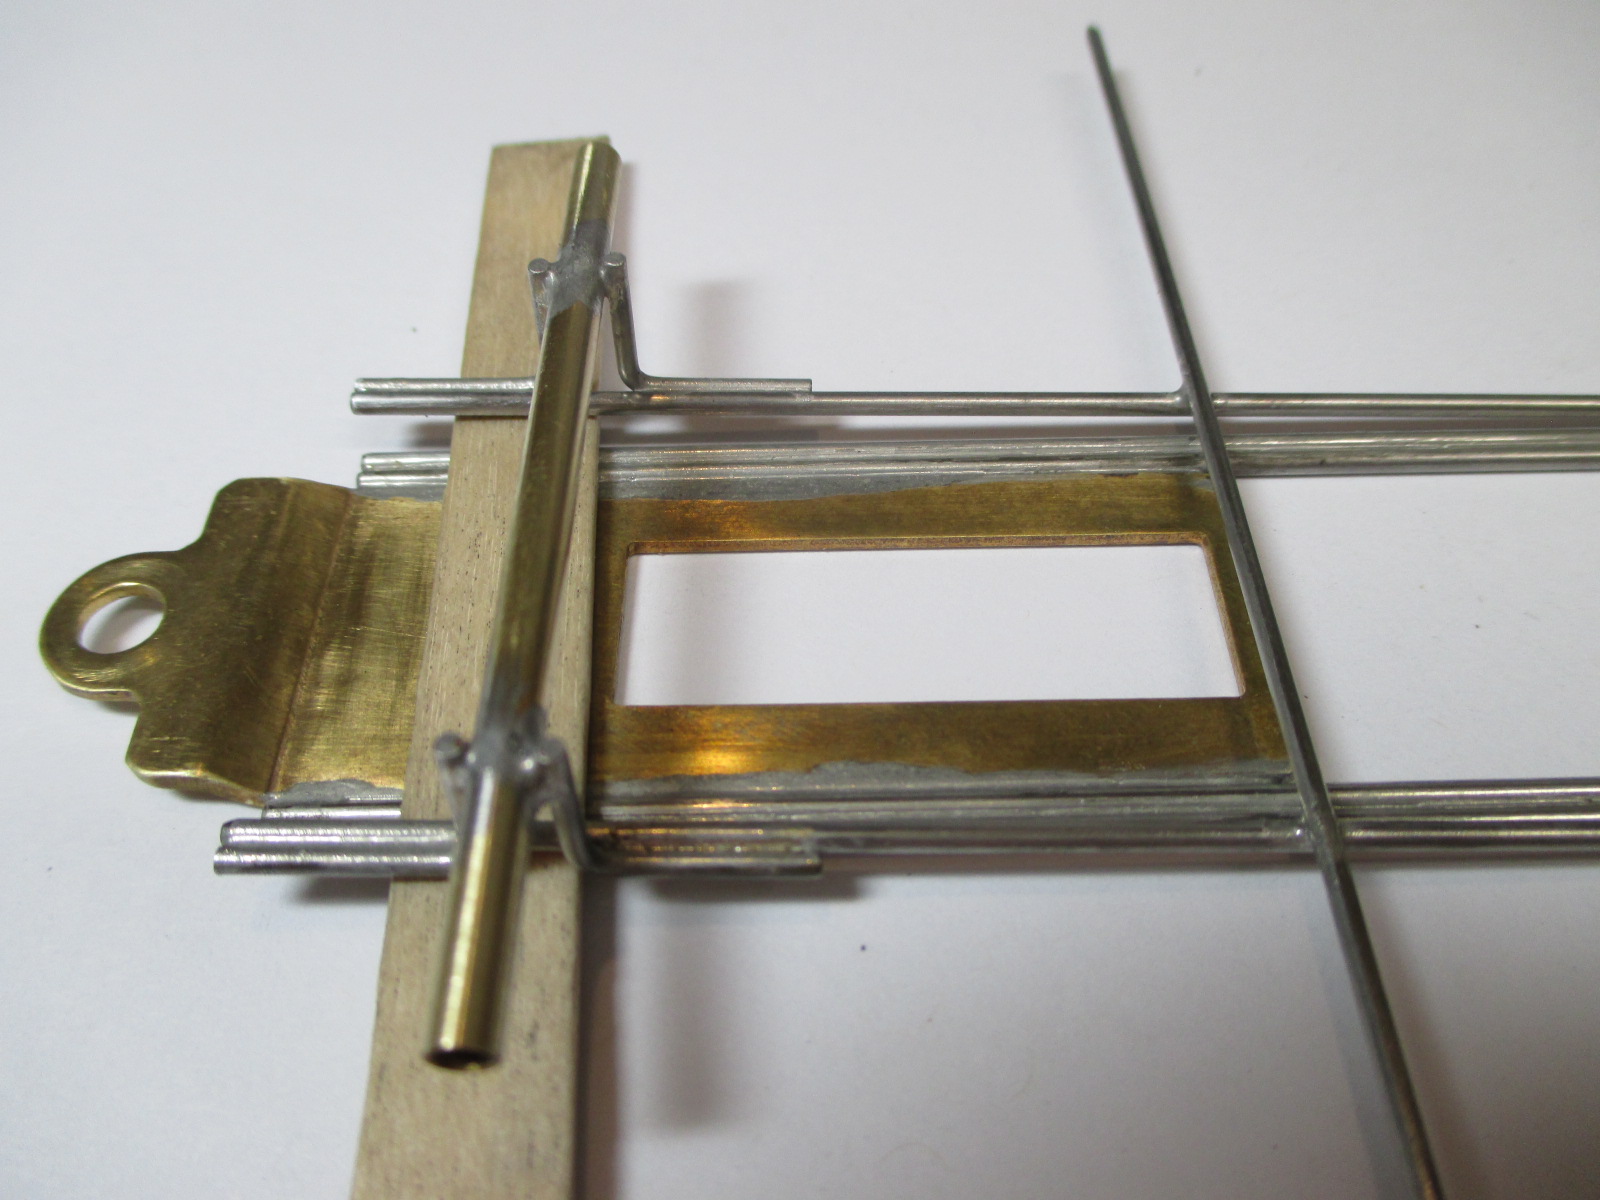
I took extra precaution to ensure the Iso hinge tube never fails with a pair of .032 brass rod wraparound gizmos.

.063" Iso rails have keepers for brass-to-brass hinge pivot points


IMG_2427.JPG


  • Jencar17 and C. J. Bupgoo like this

Paul Wolcott


#16 Pablo

Pablo

    Builder

  • Administrator
  • PipPipPipPipPipPipPipPip
  • 18,447 posts
  • Joined: 20-February 06
  • Gender:Male
  • Location:Cleveland, Tennessee

Posted 23 June 2016 - 04:03 PM

Wheels are done, all about .817" OD. Rear rubbers are Alpha Wonder, fronts are "Buna N" O-rings.

70A on the durometer scale :buba:


IMG_2475.JPG


  • Jencar17 and C. J. Bupgoo like this

Paul Wolcott


#17 Pablo

Pablo

    Builder

  • Administrator
  • PipPipPipPipPipPipPipPip
  • 18,447 posts
  • Joined: 20-February 06
  • Gender:Male
  • Location:Cleveland, Tennessee

Posted 25 June 2016 - 09:58 AM

.047" wire Iso rail cross-connector. Starting to look like a plumber's nightmare back here :laugh2:


IMG_2551.JPG


The .063" crosspiece will do double-duty as Iso rail connector and bite bar for the pans


IMG_2553.JPG


  • Jencar17 and C. J. Bupgoo like this

Paul Wolcott


#18 Pablo

Pablo

    Builder

  • Administrator
  • PipPipPipPipPipPipPipPip
  • 18,447 posts
  • Joined: 20-February 06
  • Gender:Male
  • Location:Cleveland, Tennessee

Posted 26 June 2016 - 12:54 AM

I started out with a (10 thou) piece of bulletproofing to set lift for the outer section


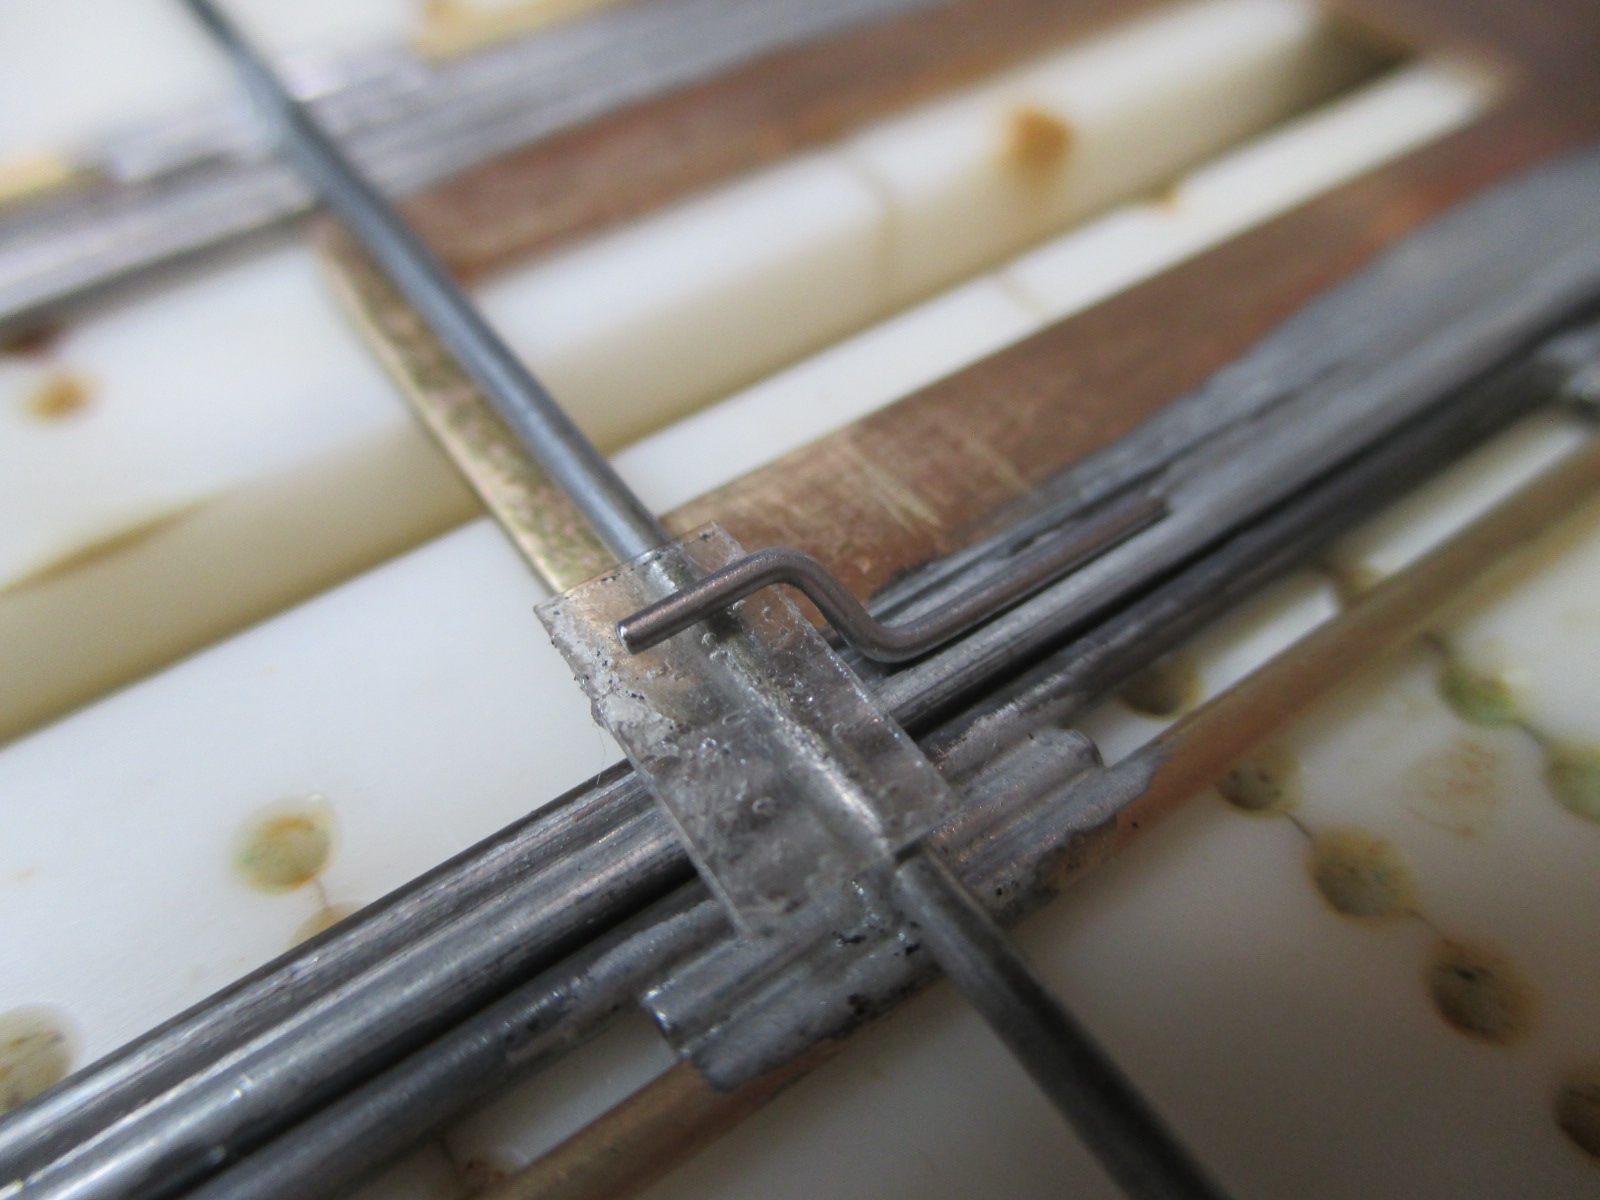
IMG_2558.JPG


Too much. Then I tried a folded piece of blue masking tape (about 4 thou).

Bingo, that's what I want - just a hair of movement :good:


IMG_2561.JPG


IMG_2566.JPG


  • Jencar17 and C. J. Bupgoo like this

Paul Wolcott


#19 Pablo

Pablo

    Builder

  • Administrator
  • PipPipPipPipPipPipPipPip
  • 18,447 posts
  • Joined: 20-February 06
  • Gender:Male
  • Location:Cleveland, Tennessee

Posted 26 June 2016 - 04:08 PM

.055" rail spacers....then a brass rail....you probably know where this is going :)

Changed my mind on bite bar placement; it will be a little further back. I cut the original and left it in place as a cross connector.

Time for a preliminary tumbling to get 'er cleaned up


IMG_2578.JPG


  • slotbaker, Jencar17 and C. J. Bupgoo like this

Paul Wolcott


#20 Pablo

Pablo

    Builder

  • Administrator
  • PipPipPipPipPipPipPipPip
  • 18,447 posts
  • Joined: 20-February 06
  • Gender:Male
  • Location:Cleveland, Tennessee

Posted 27 June 2016 - 10:30 AM

Nice n clean, my new IRRA® F1 chassis - is it legal ? :laugh2:

If it is, it won't be a few hours from now..... :D


IMG_2579.JPG


  • Jencar17 and C. J. Bupgoo like this

Paul Wolcott


#21 Pablo

Pablo

    Builder

  • Administrator
  • PipPipPipPipPipPipPipPip
  • 18,447 posts
  • Joined: 20-February 06
  • Gender:Male
  • Location:Cleveland, Tennessee

Posted 30 June 2016 - 02:49 PM

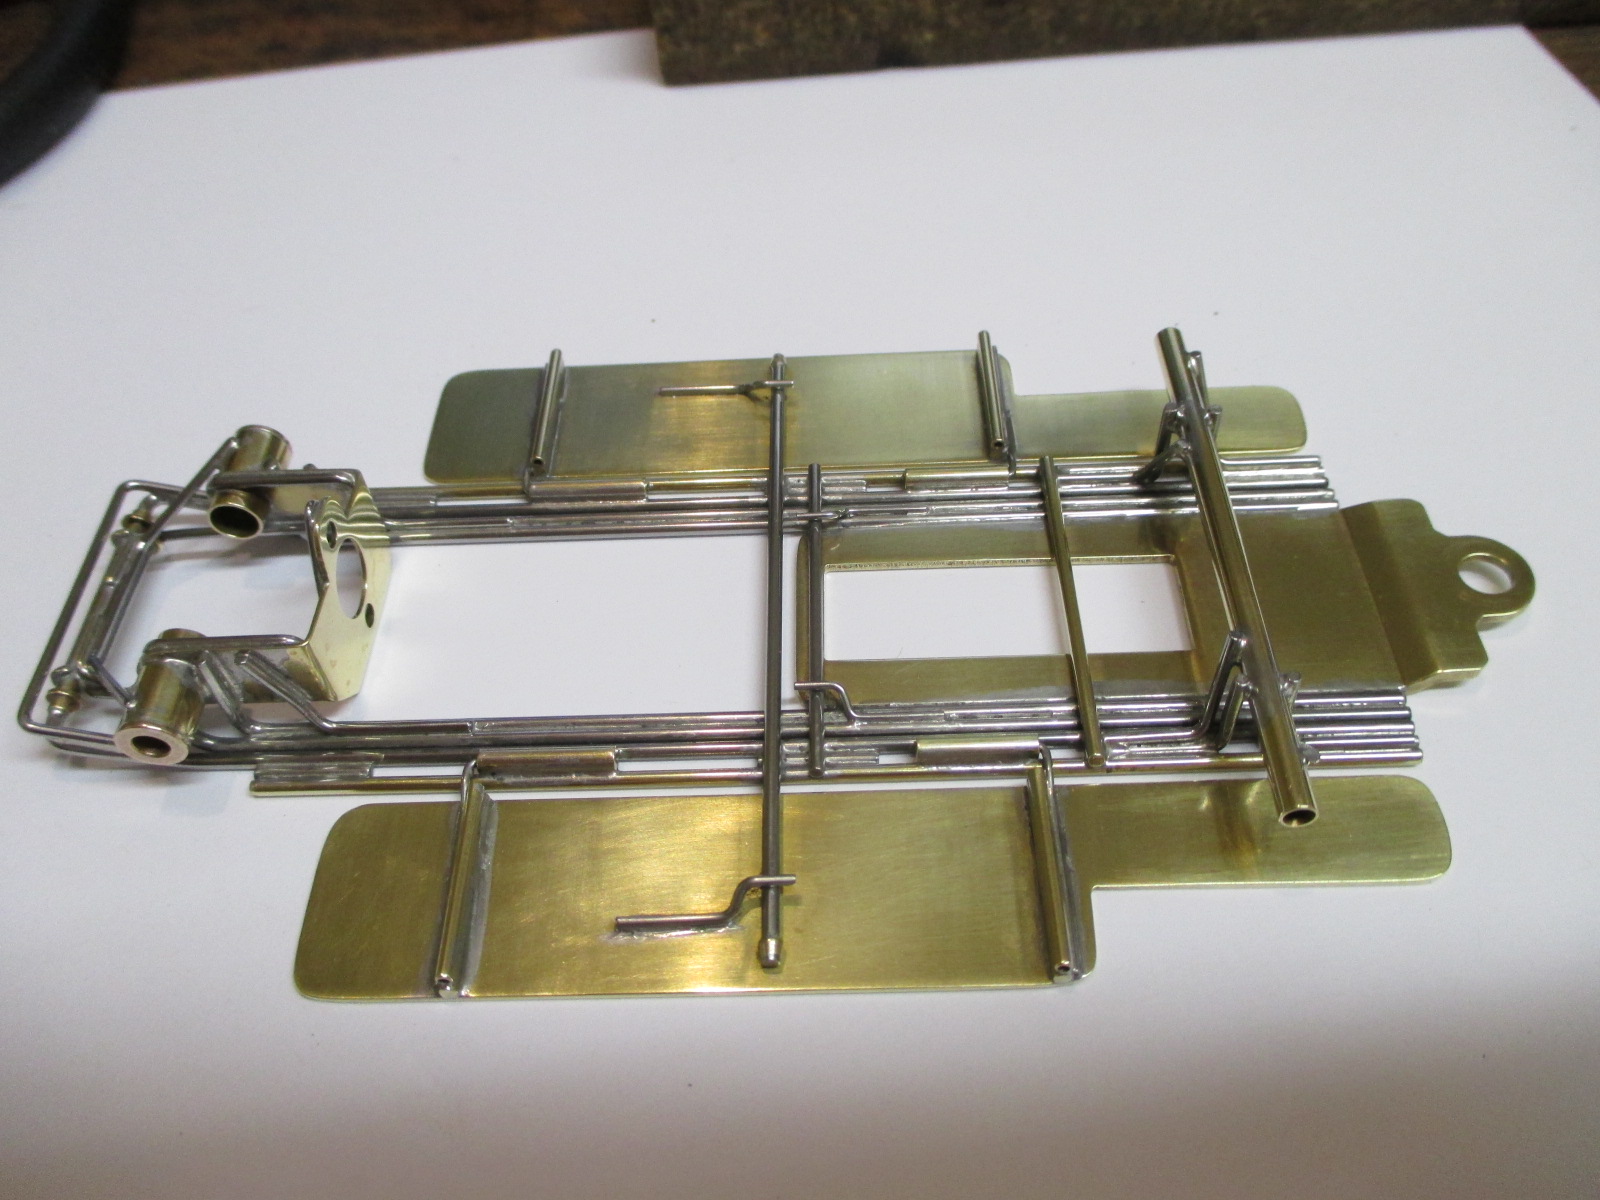
Chassis is done. .032" pans with a little tilt.


IMG_2594.JPG


Flag rotation surfaces on the vintage tongue were faced with a Magnehone, of course


IMG_2600.JPG


Brass gizmos on the .063" bite bar to keep from gouging the pans. Pan hinge tubes are doubled


IMG_2602.JPG


Iso hinge tube is NOT going anywhere :laugh2:


IMG_2607.JPG


IMG_2615.JPG


Iso hinge and outer section rails are designed to allow the rear end to wiggle waggle a little -

note the space between center and outer rail sections is visible on the stbd. side -

also, a corresponding space between the stbd. brass Iso hinge gizmo and the hinge tube.

This is simply because the outer section is shifted to that side in the photo.

The guys at Chicagoland Raceway call this "rear steer"; whatever you call it, I like a little more in the rear than the front :dance3:


IMG_2619.JPG


Now, where did I put that doggone big wire vintage H Power motor with the Hong Kong endbell ? :)


  • slotbaker, Jencar17 and C. J. Bupgoo like this

Paul Wolcott


#22 Pablo

Pablo

    Builder

  • Administrator
  • PipPipPipPipPipPipPipPip
  • 18,447 posts
  • Joined: 20-February 06
  • Gender:Male
  • Location:Cleveland, Tennessee

Posted 30 June 2016 - 06:19 PM

Ready for track test this Saturday. Double Marklin Train wires, 6/30 gears, Prime braid.

Of course it passes the drivetrain test with flying colors, and there isn't much doubt in my mind it will handle well.

This isn't the first chassis of this type I've built, so I can afford to be cocky :P


IMG_2627.JPG


But there are always a few minor bugs to work out. The left front wheel is a little wobbly; probably a sleeve issue I can fix later.

One of the nice things about an Iso is, front wheels don't bother the car near as much as other designs.


  • slotbaker, Jencar17, Tex and 1 other like this

Paul Wolcott


#23 Pablo

Pablo

    Builder

  • Administrator
  • PipPipPipPipPipPipPipPip
  • 18,447 posts
  • Joined: 20-February 06
  • Gender:Male
  • Location:Cleveland, Tennessee

Posted 02 July 2016 - 09:55 PM

For the track test, I used a suitably sized and shaped body for the test (used Choti re-pop with the rear end shortened) since the W25 body isn't ready yet.


-H Power motor is a complete home run. Perfect power, plenty potent, a nice whistling sound as it winds out. Gearing at 6/30 is good, no change needed.

-Handles real sweet, as I expected, very forgiving. It will drive hard and deep into a turn, plant it's feet and dig in without deslotting.

-No problems noted. It's fun to drive, especially watching heads turn as they hear the motor come onto it's sweet spot.


The old German font decals are coming from Patto's soon:


http://www.pattospla.../numbers424.JPG


Paul Wolcott


#24 Pablo

Pablo

    Builder

  • Administrator
  • PipPipPipPipPipPipPipPip
  • 18,447 posts
  • Joined: 20-February 06
  • Gender:Male
  • Location:Cleveland, Tennessee

Posted 06 July 2016 - 03:48 PM

Wire spokes w/ knockoffs wheel inserts


IMG_2702.JPG


  • Jencar17, Tex and C. J. Bupgoo like this

Paul Wolcott


#25 bluecars

bluecars

    Checkered Flag in Hand

  • Member at Peace
  • PipPipPipPipPipPip
  • 1,273 posts
  • Joined: 26-June 13
  • Gender:Male
  • Location:Tuskegee, AL

Posted 07 July 2016 - 06:09 AM

Super cool!!!


Robert 'Red' Valantine
9/18/51-8/30/24
Requiescat in Pace


Electric Dreams Online Shop