Jump to content


Photo

Indy cars


  • Please log in to reply
33 replies to this topic

#1 rvec

rvec

    Checkered Flag in Hand

  • Subscriber
  • PipPipPipPipPipPip
  • 1,886 posts
  • Joined: 08-April 06
  • Gender:Male
  • Location:Oregon

Posted 25 March 2020 - 07:27 AM

Here at Electron Raceway, we race True scale, plastic model cars with production chassis and sealed motors. I have chosen this route to flatten the learning curve for racers new and old and provide fun and close racing at a reasonable cost.

During my last visit to the Phoenix, AZ area, I met up with some old friends from the AZGR (Arizona Garage Racing) club for some slot racing fun. They race scale 1/24 and 1/32 cars at private tracks in the Mesa Arizona area. Dave Deuble, a tireless promotor, track owner and dedicated slot head is the honorary AZGR rule maker (a thankless task at best).

I was fortunate enough to attend several AZGR races over the span of more than a month. Dave and his crew were always kind enough to provide competitive rides. I cannot blame my poor showing on equipment, just incompetence

Of the several scale cars we raced, I was intrigued by their Indy Car class. The class is based upon an inexpensive H&R chassis. The chassis is modified for the proper wheelbase and the front end modified to accept an axle tube for a 1/8 inch axle. Power is provided by a 25K, long can Scaleauto motor. These open wheel cars were fun to drive and great looking to boot.

Below are a few images of a passel of AZGR Spec Indy Cars in various stages of construction. See the appendix for AZGR Indy Car specs.
 

18835703_1724671620896237_890494752044119726_n.jpg
 
18892899_1719509774745755_307150742057418607_n+copy.jpg
 
indy1.jpg
 
Indy3.jpg
 
Indy5.jpg
 
IMG_9495.jpg

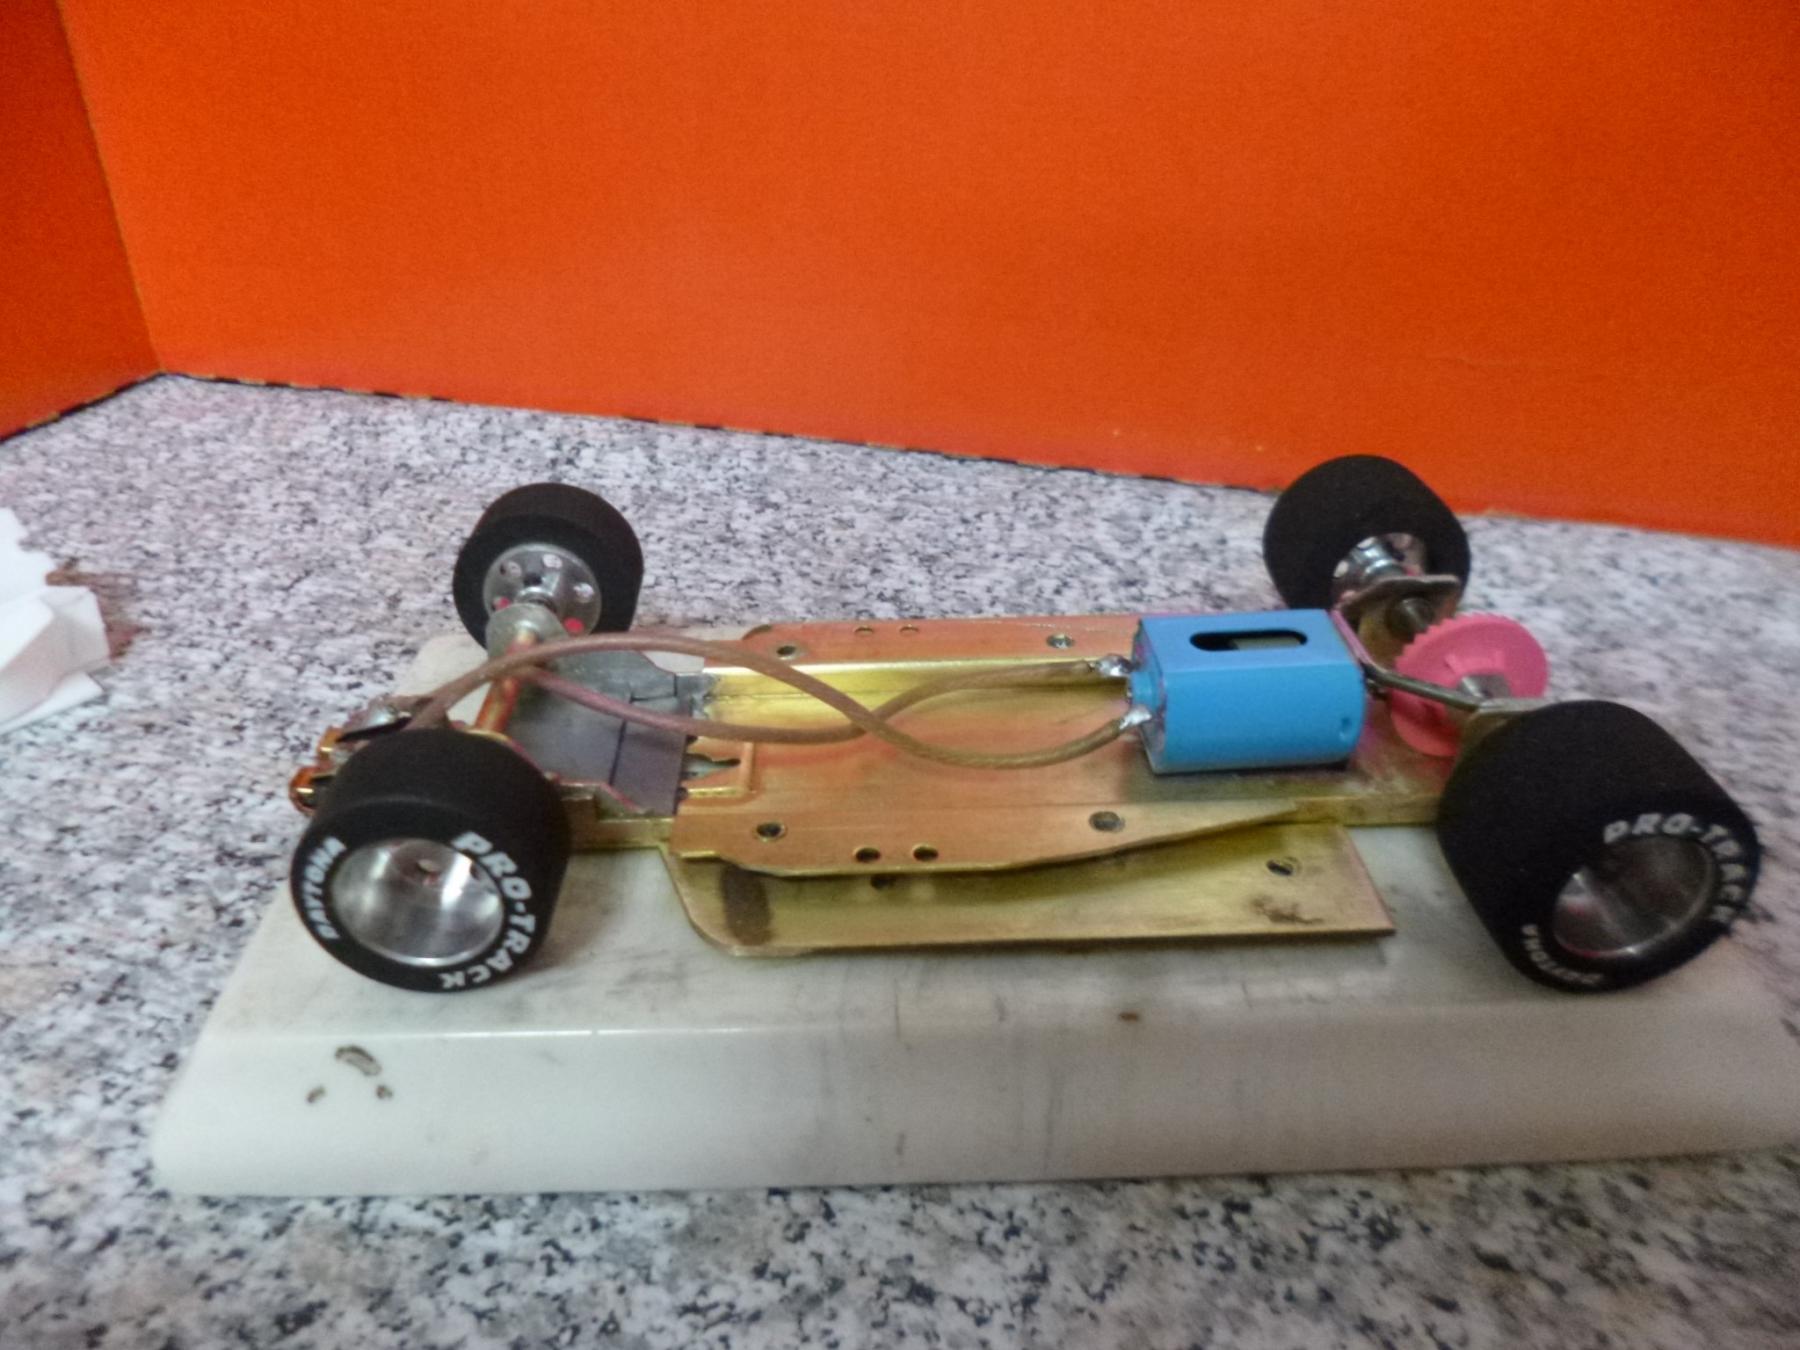
I thought it would be fun to develop an Indy Car class for racing at my track, Electron Raceway. Some of our racers have spare copies of the old ProTrack brass chassis which is a non-adjustable wheelbase version of the H&R. The ProTrack was my starting point. The ProTrack chassis wheelbase is a bit too short for the Indy class and required some modifications. Custom axle hangers must be fabricated and soldered to adjust the ProTrack wheelbase. For those who don’t have an old ProTrack gathering dust, or do not want to expend the additional effort required for a ProTrack build, an inexpensive H&R is in order.

OK, enough talk about the class of cars. It is time to get building. The first order of business was to acquire an Indy car plastic model kit. Out of production for many years, I turned to E-Bay. Monogram 1/24 kits come with several liveries and can be had for about $20 (including shipping) if you look hard and are patient. My starting point was the Mac Tools Lola (see image below). These kits are quite detailed. Unfortunately, there are, by my count, at least ten parts comprising the body. In addition, some of the underside of the model’s plastic chassis had to be cut away in order to sit flush on the H&R or ProTrack chassis. Assembly was time consuming and lots of plastic welder was required. Follow this link and watch a Youtube video of a Monogram Indy car review. It will provide some insight into the complexity of the build. https://www.youtube....h?v=gW_hFfrHaUU
 

Lola.jpg

Whether one chooses to use the ProTrack or H&R chassis, the first order of business is to assemble the model. Once the body is assembled, it must be modified to fit what will be the chassis. The bottom pan of the model must be cut to remove its center section which would otherwise interfere with mounting the body. See images below
 

Pan.jpg
 
Wing1.jpg


Whether one chooses the ProTrack or the H&R, the “ears” of the chassis must be cut to follow the contour of the Indy body. Below is an image of the stock chassis.


H&R_Stock.jpg


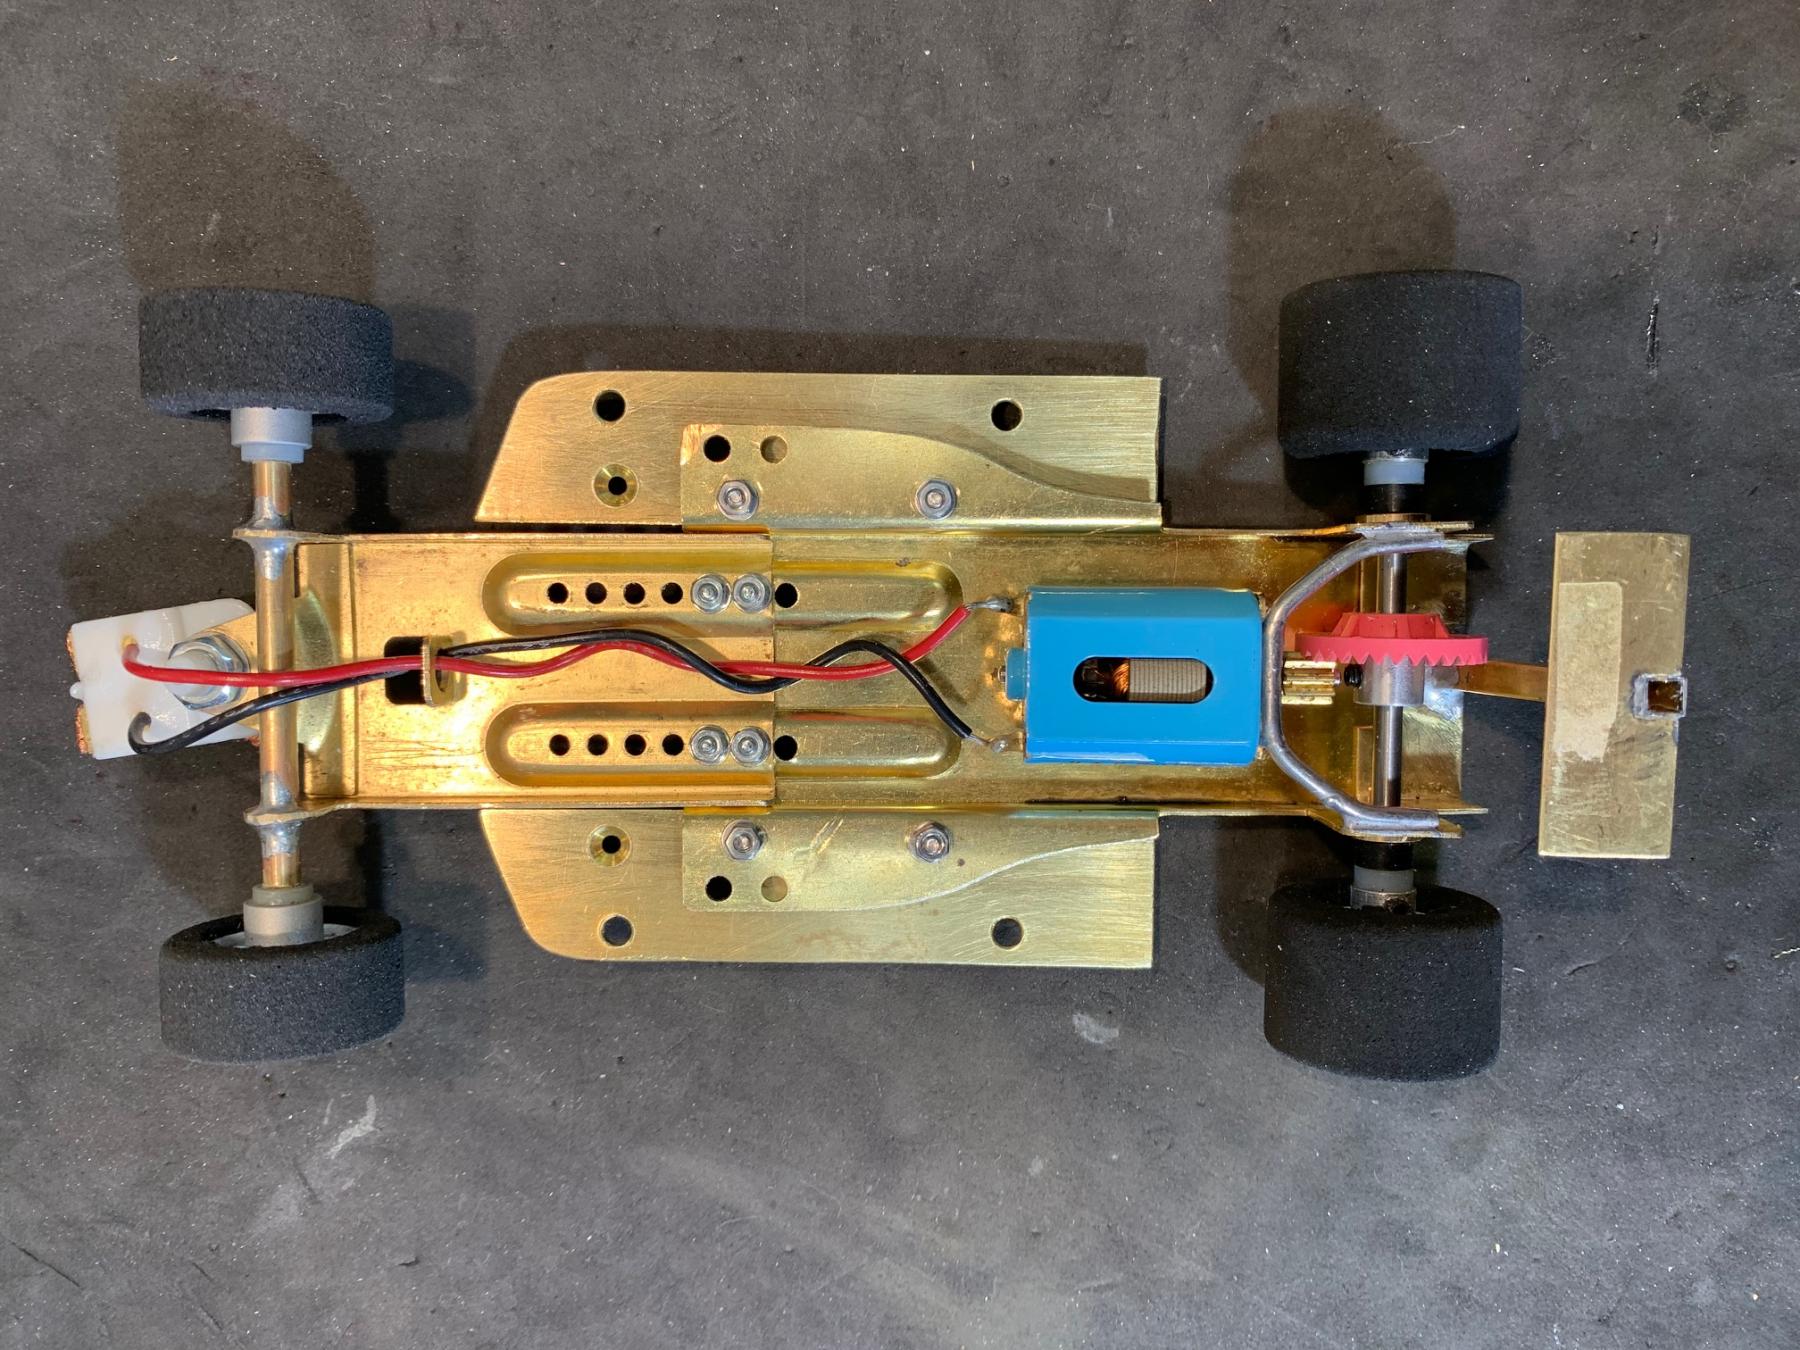
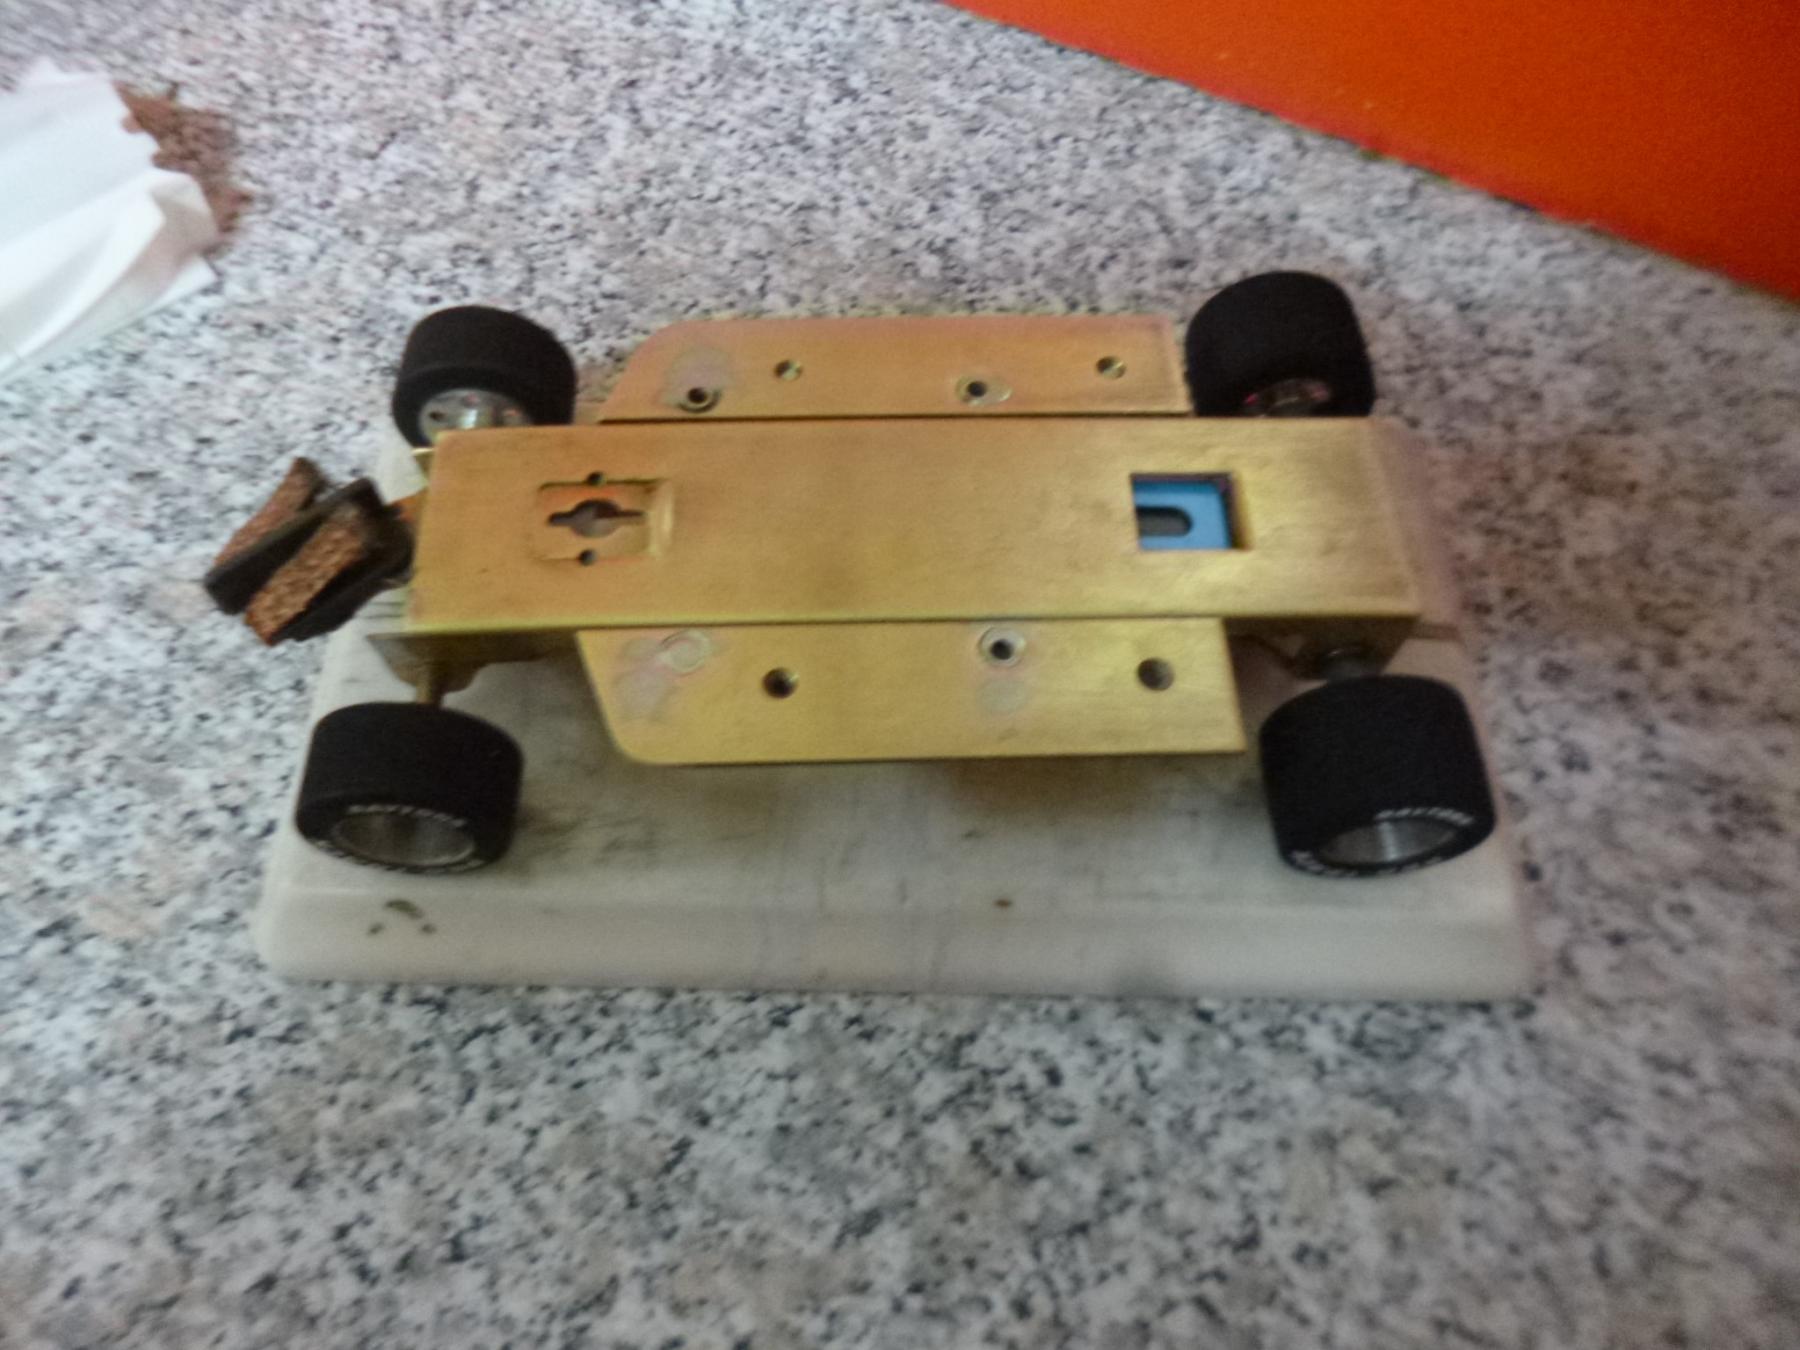
Below is an image of the modified chassis and body as shown from below.


underside.jpg


Ron came up with an easy way to add side pans without soldering. The methodology is described in the following paragraphs.
Holes were cut in the ears of the modified chassis and used as attachment points for the custom brass pans. The holes were just large enough to accept the bolts used to attach the ears of the chassis to custom fabricated pans. Ron cut the brass pans out of .062 inch thick brass to conform to the shape of the body. The pans were held against the chassis in the proper position and marked from above to line up with the holes drilled in the ears of the chassis. The pans were then drilled and countersunk. See image below for the pans with attaching bolts and for images of the chassis with side pans attached. Note that the nuts shown here act as spacers so that when the pans were attached to the ears of the chassis, the pans sat flush with the bottom of the chassis. Note the larger hole drilled adjacent to the front bolt. This hole will be used as an access point to the ear of the chassis. The body is mounted to the ear of the chassis using a screw from the bottom of the ear into the plastic body.


image1 (3).jpeg


image0 (4).jpeg

 
Note that the nuts on top of the ears would prevent the body from sitting flush on the ears. To remedy this problem holes were drilled in the body pan. See image below


image0 (5).jpeg


Below is an image of the chassis as shown from the bottom. Note the access hole and body mounting screw.
 

RonChassisBottom.jpg


Wing mounts are a matter of preference. I decided to use piano wire and tape to mount the rear wing. Below is a close up image of the mount
 

WingMount.jpg


Ron used a different approach. See images below
 

Ron1 (2).jpeg
 
image0 (1).jpeg


With the guide flag and associated wire, the front wing mount was a bit trickier. I wanted to fabricate a mount that would allow the front wing(s) to breakaway in the event of a crash. I used a piece of thin brass sheet as the mounting platform. A small amount of hot glue was used to attach the wing to the brass platform. See images below
 

Wing2.jpg
 
ReadyPaint.jpg


Ron used a carbon fiber strip attached to the body and then used double sided tape to secure the wings. Both methods allow the wings to detach in the event of a crash protecting them from breakage.
 

image3 (1).jpeg


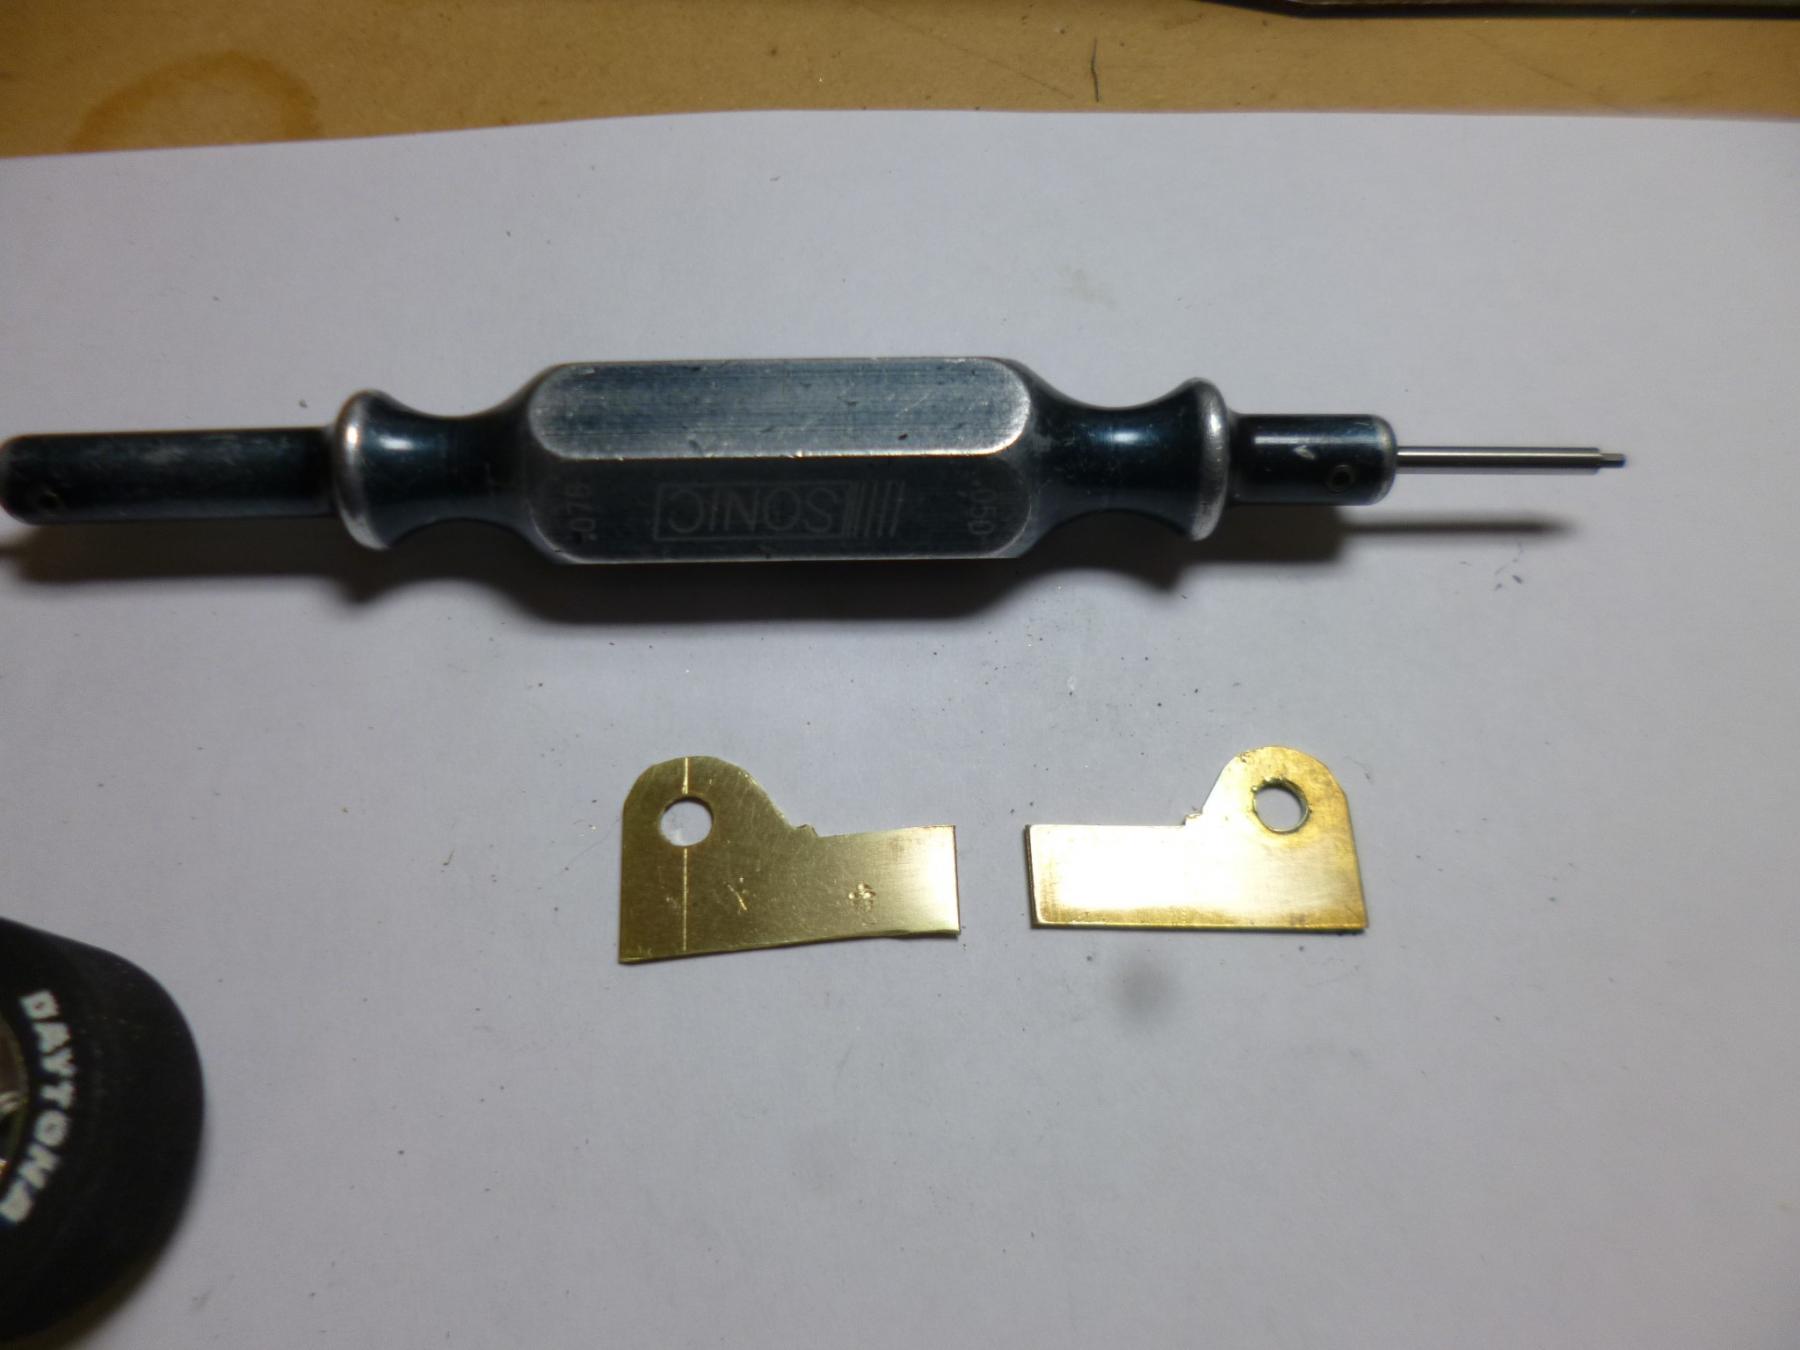
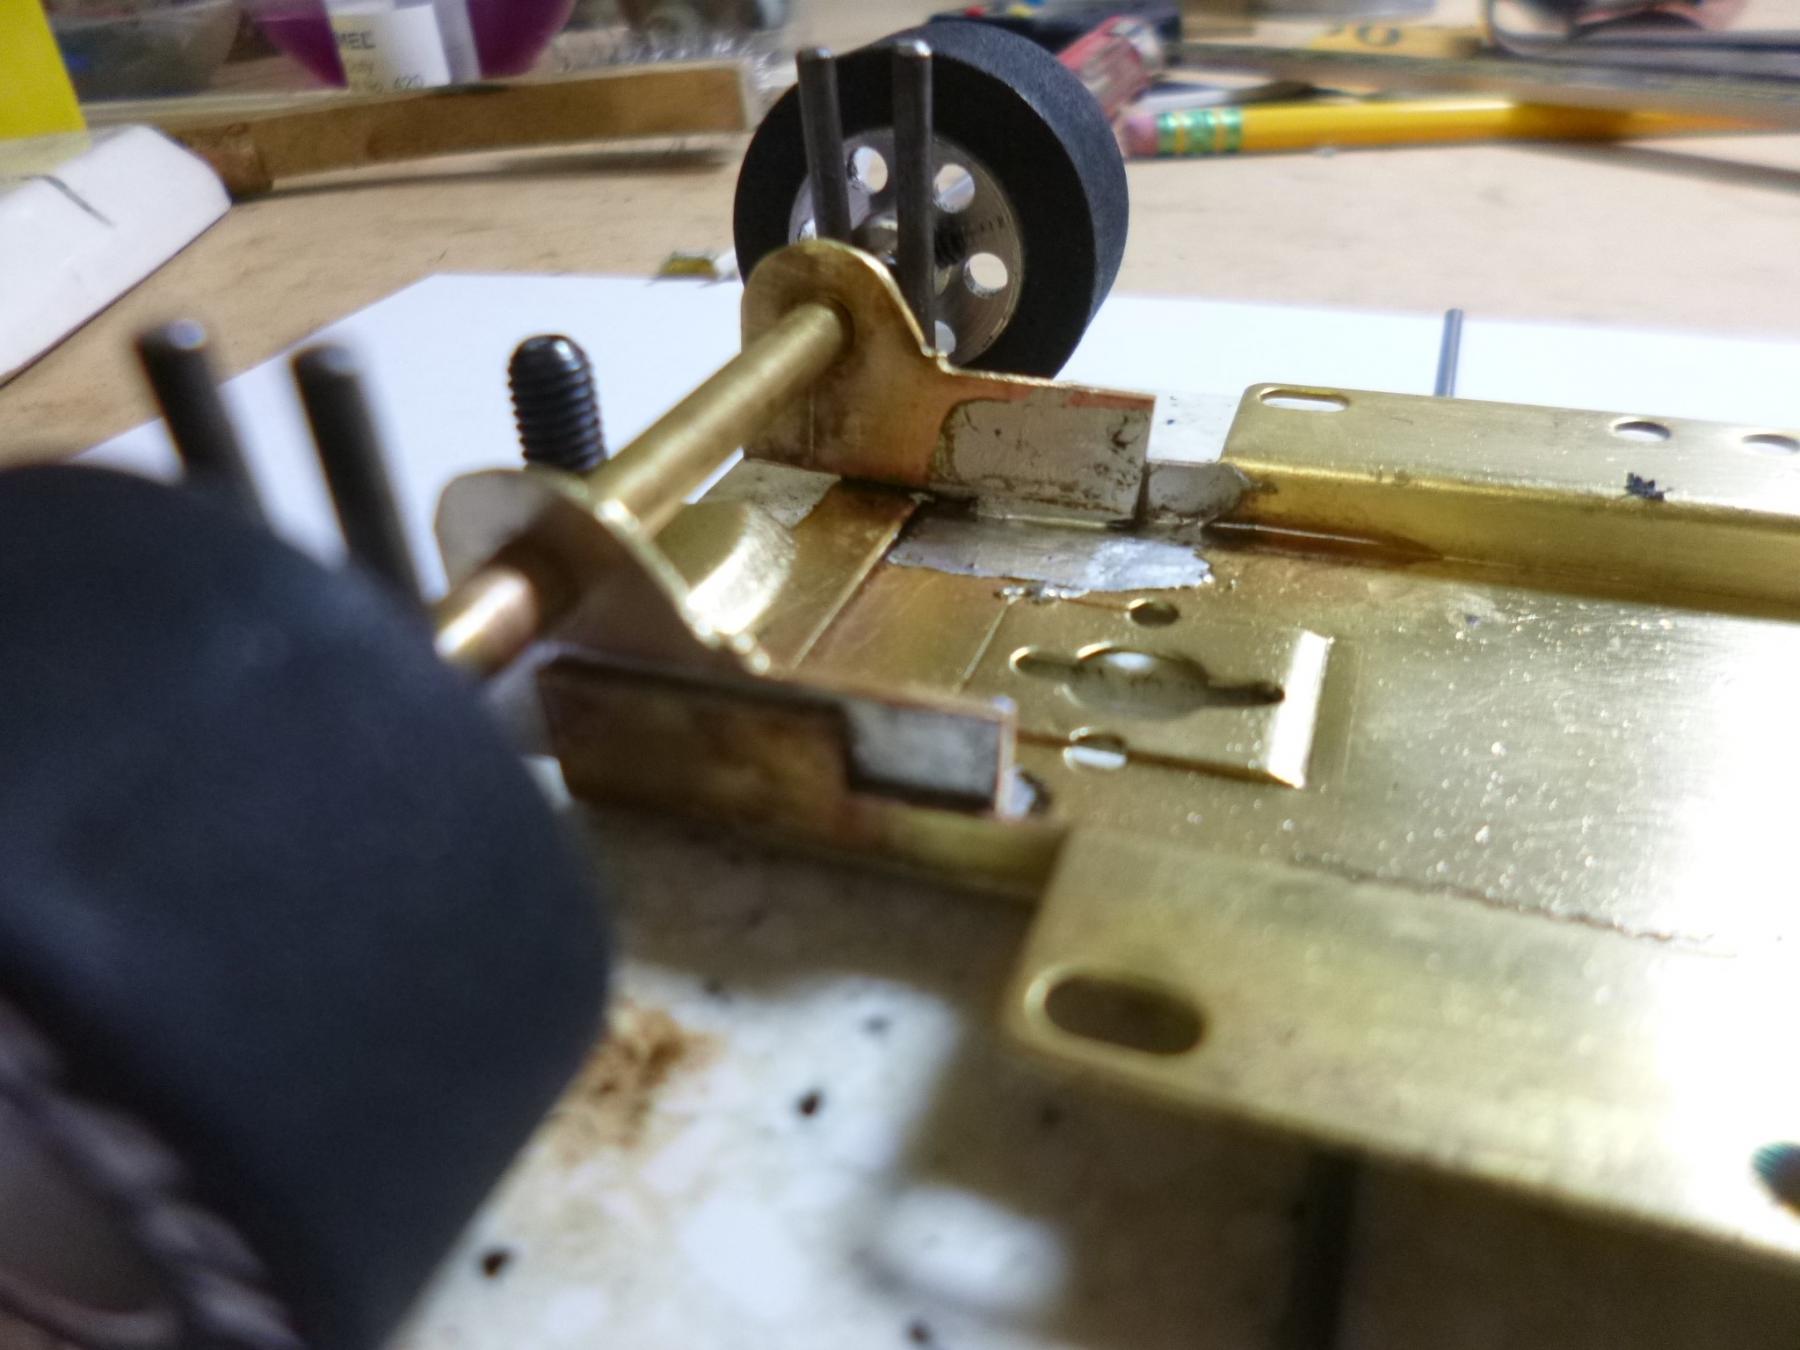
As mentioned above, the ProTrack chassis wheelbase was a bit too short for the Indy cars and presented a bit of a challenge. Since I used the ProTrack chassis as a basis for the Indy car it was necessary to fabricate custom axle hangers along with an axle tube. These were soldered in place. See images below for front end detail
 

Hangers.jpg
 
FrontEnd.jpg


Below is an image of the rolling chassis with side pans attached.
 

My4.jpg


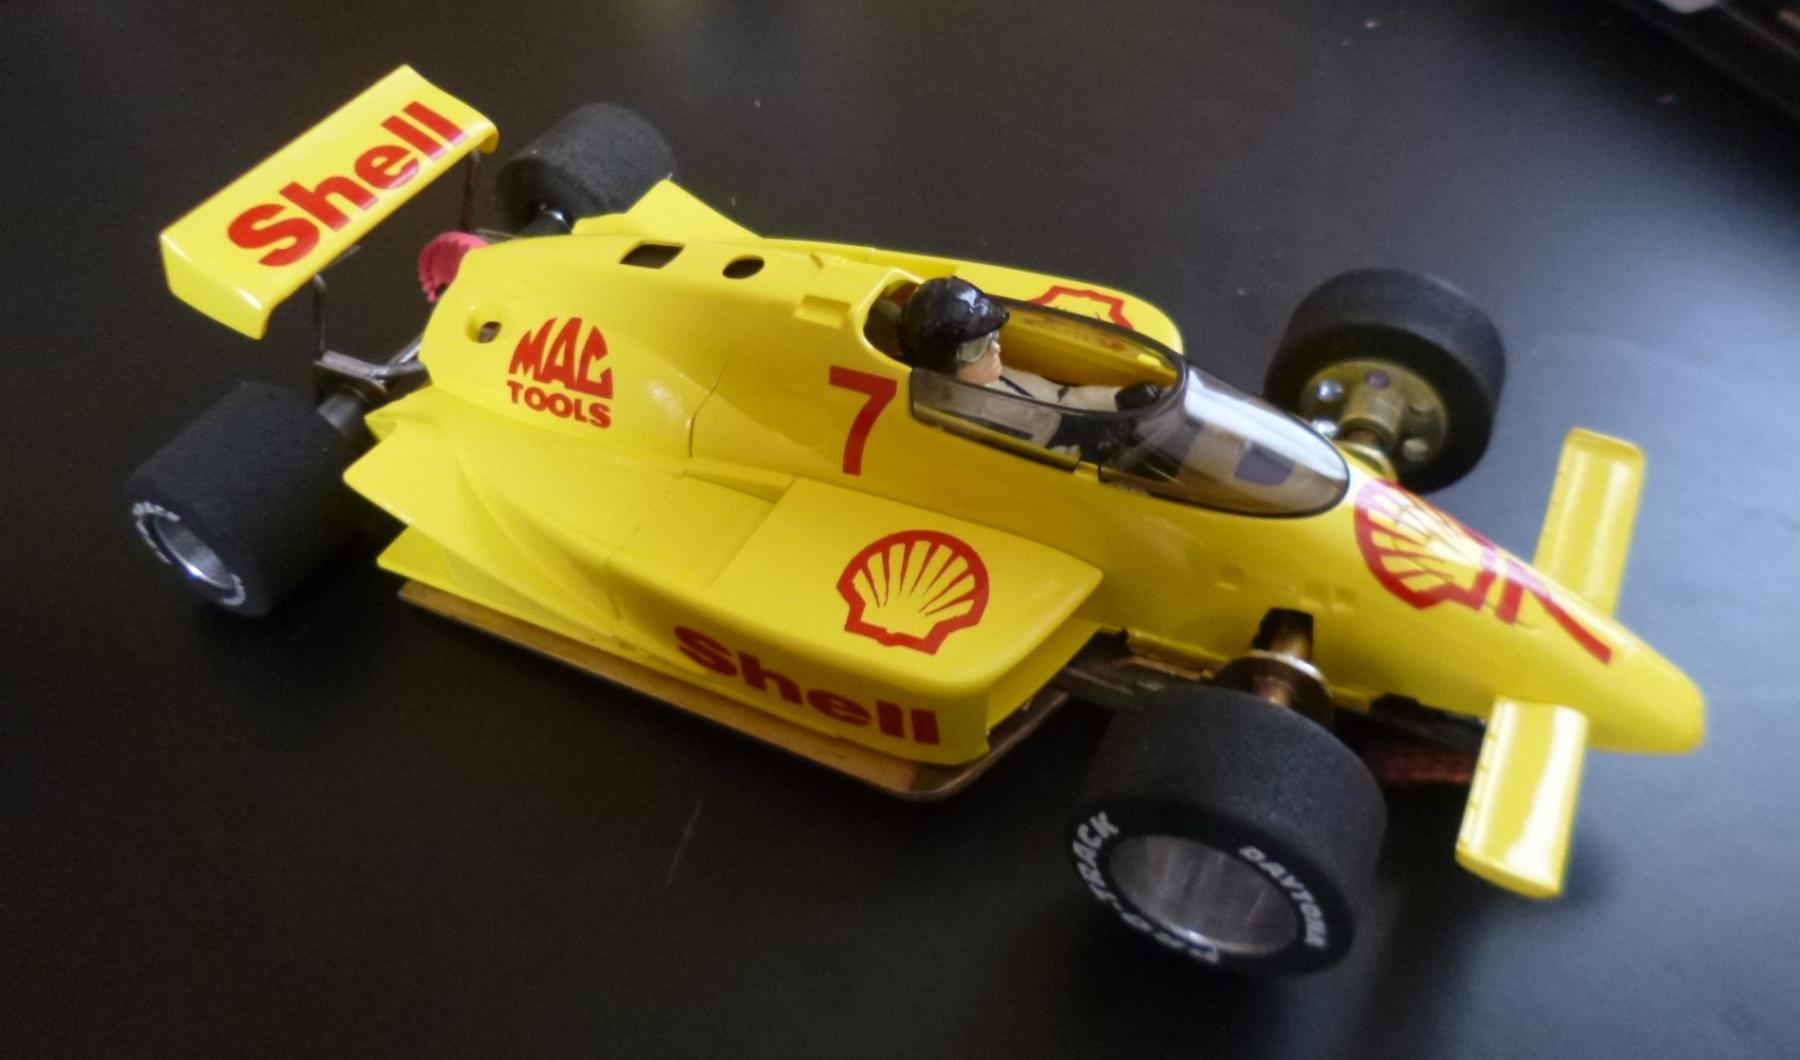
Ron, Bob and I chose to create custom decal sets instead of using those provided in the kit. Ron selected a Target livery,  I chose a Shell livery and Bob selected a Goodwrench livery. Finished products are shown below


image0 (3).jpeg

Lola1.jpg

BobsIndy.jpeg


Appendix – AZGR Indy Car Class Specs.
Bodies; Monogram 1/24th bodies work best, the 1/25th stuff sits too high on the chassis and look too small.

Tires and wheels; ProTrack Daytona (for NASCARs) - Rears 1-1/8” X 7/8”. Fronts are 27mm X 10mm. Both with 1/8’ axle. Wheelbase is 4-7/8” and Track is 3-3/8” rear and 3-3/16” in front.

Motors - We are using a 25k long (S) can motor by Scaleauto (you may want a 40K motor if more power is desired).

Gearing - We use a BRM “917” 11t (6.5mm dia. X 6.5mm length.) pinion and a 26t crown. The long pinion lets me use any crown gear without re-positioning the pinion on the motor shaft plus if it gets worn on one end you can reverse it and get fresh metal.
This combo is tall enough for Steve’s top straight with the 25k motor and may work on your track.

Chassis – We use H&R soldered together and with a piece of 3/16” X 1/4” brass bar soldered in the Bottom center. I don’t remember how long but use as much as will fit in the recess. I cut back the front uprights as shown and we tube the front axle.

Attached Images

  • Indy4.jpg
  • My1.jpg
  • My4.jpg
  • My5.jpg
  • My3.jpg
  • Paint4.jpg

  • Pappy, slotbaker, Pablo and 9 others like this

Rich Vecchio


#2 MattD

MattD

    Posting Leader

  • Full Member
  • PipPipPipPipPipPipPip
  • 3,561 posts
  • Joined: 13-August 11
  • Gender:Male
  • Location:IN

Posted 25 March 2020 - 07:54 AM

Rich, that's a great  project and race class.  ... I'd like to be there to race with guys that like Indy and  can build cars..... I have found the H&R can be made a lot better if you put  thin lead under the front extension. ....  Weight added under the sidekick up pans is also a big plus.....    If there is a track clearance, a full brass pan underneath is great. ....   There is always weight added on the top side f the frame in the center.  .....    You can make a pretty good handling chassis for  something that is basically a 1964 design. .....    We run only solid frames like H&R, Pro Track, Sprintsplus and LVJ.


I always  brag on the LVJ, you can get a brass adjustable womp style that can be modified in so many ways  that is much cheaper than the H&R.....     I have setup cars with various motors,....I find a $2 Chinese motor in the 20K range is as much as  we need to have fast cars that are about our limit,....the last of these I geared 5 to 1 to keep it in the speed range of some of the 17K motors like the "Jaws", which is one I have used a lot.   ......  You've seem my track, pretty simple with a 30 foot straight......   I can't imagine wanting more motor on a track this small.     


I haven't built any Indy cars newer than 68, ,,as I don't think I could keep all the trim on it, ,,,there would be too many trips to the wal!! 


Here is an LVJ with added bottom pan  under an old Brawner Hawk vac body. ..I've used this same combo under Watson roadster resin bodies, vac bodies, and most every style of pre-70 Indy car I've built...... This old body was pretty bad, I ended up painting fresh white inside it,,, then painting the outside , too.....It was painted yellow when I got it....


P1010005.JPG

P1010002.JPG


  • Pablo, Tim Neja, Lou E and 4 others like this

Matt Bishop


#3 Alchemist

Alchemist

    Posting Leader

  • Full Member
  • PipPipPipPipPipPipPip
  • 2,692 posts
  • Joined: 11-November 09
  • Gender:Male
  • Location:Far, far away

Posted 25 March 2020 - 11:36 AM

Hi Rich,


Looked like you had an exciting visit with the AZGR group - awesome!


Thanks for sharing.


Hi Matt,


That's a gorgeous car!


Would you have a photo of how you mounted the body to the chassis please?


Thank you for sharing!


Ernie


  • rvec likes this
Ernie Layacan

#4 MattD

MattD

    Posting Leader

  • Full Member
  • PipPipPipPipPipPipPip
  • 3,561 posts
  • Joined: 13-August 11
  • Gender:Male
  • Location:IN

Posted 25 March 2020 - 03:40 PM

Ernie that picture was during construction and I added a short pin tube in front of the motor.    I realized afterward that if I had been a better machinist, I sould hav emade the belly pan exactly the right size for the body to snap onto it.   I'm not good enough for precise work.


Matt Bishop


#5 rvec

rvec

    Checkered Flag in Hand

  • Subscriber
  • PipPipPipPipPipPip
  • 1,886 posts
  • Joined: 08-April 06
  • Gender:Male
  • Location:Oregon

Posted 25 March 2020 - 04:24 PM

Matt,

Thanks for sharing your Indy car version. Looks cool. I plan to make the front and rear wings "breakaway" I'll add to the post as I progress


Rich Vecchio


#6 MattD

MattD

    Posting Leader

  • Full Member
  • PipPipPipPipPipPipPip
  • 3,561 posts
  • Joined: 13-August 11
  • Gender:Male
  • Location:IN

Posted 25 March 2020 - 06:32 PM

Rich some of the import 1/32 cars have the wings held on by magnets.   That might be a good solution or at least something to try.


Matt Bishop


#7 Ramcatlarry

Ramcatlarry

    Posting Leader

  • Subscriber
  • PipPipPipPipPipPipPip
  • 2,943 posts
  • Joined: 08-March 06
  • Gender:Male
  • Location:St Charles, IL 60174

Posted 25 March 2020 - 07:05 PM

Our Chicago area Hardbody group is very happy with the 25K P-slot motor geared 7/33 48 pitch with the one inch tires. Many womps also use other 25K motors like the MidAmerica  E-25  FK-130.


  • MattD likes this

Larry D. Kelley, MA
retired raceway owner... Raceworld/Ramcat Raceways
racing  around Chicago-land


Diode/Omni repair specialist
USRA 2023 member # 2322
IRRA,/Sano/R4 veteran, Flat track racer/MFTS

Host 2006 Formula 2000 & ISRA/USA Nats
Great Lakes Slot Car Club (1/32) member
65+ year pin Racing rail/slot cars in America


#8 rvec

rvec

    Checkered Flag in Hand

  • Subscriber
  • PipPipPipPipPipPip
  • 1,886 posts
  • Joined: 08-April 06
  • Gender:Male
  • Location:Oregon

Posted 25 March 2020 - 08:55 PM

Rich some of the import 1/32 cars have the wings held on by magnets.   That might be a good solution or at least something to try.

Thanks


Rich Vecchio


#9 rvec

rvec

    Checkered Flag in Hand

  • Subscriber
  • PipPipPipPipPipPip
  • 1,886 posts
  • Joined: 08-April 06
  • Gender:Male
  • Location:Oregon

Posted 27 March 2020 - 11:40 AM

Ready for Paint


I have edited the original post to show the detail of the rear and front wing mounts and the car ready for paint. For those not interested in the mounting detail below is an image of the car ready


ReadyPaint.jpg


  • Alchemist and strummer like this

Rich Vecchio


#10 Dayble

Dayble

    On The Lead Lap

  • Full Member
  • PipPipPipPip
  • 455 posts
  • Joined: 02-June 06
  • Gender:Male
  • Location:AZGR

Posted 27 March 2020 - 01:12 PM

It's looking good Rich!


I must point out that the first two pictures at the very top of your post, the cars on the copper taped track and the work bench full of chassis, should be credited to Robert Taylor. Robert is a friend of mine on FB and the guy I got the idea from.  :thank_you2:


Dave Deuble

AZGR One

I'd rather be racing!

#11 rvec

rvec

    Checkered Flag in Hand

  • Subscriber
  • PipPipPipPipPipPip
  • 1,886 posts
  • Joined: 08-April 06
  • Gender:Male
  • Location:Oregon

Posted 27 March 2020 - 02:25 PM

It's looking good Rich!


I must point out that the first two pictures at the very top of your post, the cars on the copper taped track and the work bench full of chassis, should be credited to Robert Taylor. Robert is a friend of mine on FB and the guy I got the idea from.  :thank_you2:

Thanks for giving credit. AZGR is awesome!!!!!!!!!!!!!!!!!!!!!!!!!!!


  • MattD likes this

Rich Vecchio


#12 rvec

rvec

    Checkered Flag in Hand

  • Subscriber
  • PipPipPipPipPipPip
  • 1,886 posts
  • Joined: 08-April 06
  • Gender:Male
  • Location:Oregon

Posted 03 April 2020 - 07:19 AM

Below are some images of Ron's Indy Car. He started out with an H&R chassis. The motor is a stock blue H&R motor which came with the chassis. It will need to be upgraded to the 40 K motor before we start racing. Notice that Ron fabricated an extension to the rear of the chassis and mounted a brass wing mount. Note that his kit did not come with a wing and he fabricated one out of styrene.


Ron1 (1).jpeg

Ron1 (2).jpeg
 
Ron1 (4).jpeg
 
Ron1 (3).jpeg


  • Lou E, bbr and strummer like this

Rich Vecchio


#13 rvec

rvec

    Checkered Flag in Hand

  • Subscriber
  • PipPipPipPipPipPip
  • 1,886 posts
  • Joined: 08-April 06
  • Gender:Male
  • Location:Oregon

Posted 08 April 2020 - 06:55 AM

A few more images of Ron's Indy car
 

image0 (1).jpeg
 
image1 (2).jpeg
 
image1 (3).jpeg


  • Tex, tonyp and MattD like this

Rich Vecchio


#14 rvec

rvec

    Checkered Flag in Hand

  • Subscriber
  • PipPipPipPipPipPip
  • 1,886 posts
  • Joined: 08-April 06
  • Gender:Male
  • Location:Oregon

Posted 10 April 2020 - 06:34 PM

Ron's car is nearing completion. I, on other hand have been busy painting the shop and finally got around to painting my Indy car this afternoon. It is a bright yellow and I will post an image in the next day or so.


image0 (3).jpeg


  • Pappy, Dayble, Tex and 2 others like this

Rich Vecchio


#15 don.siegel

don.siegel

    Grand Champion Poster

  • Subscriber
  • PipPipPipPipPipPipPipPip
  • 5,823 posts
  • Joined: 17-February 06
  • Gender:Male
  • Location:Paris, France

Posted 11 April 2020 - 03:49 AM

Looks like a great racing/building class, thanks for all the pix! 


Don 


#16 rvec

rvec

    Checkered Flag in Hand

  • Subscriber
  • PipPipPipPipPipPip
  • 1,886 posts
  • Joined: 08-April 06
  • Gender:Male
  • Location:Oregon

Posted 11 April 2020 - 06:29 AM

Looks like a great racing/building class, thanks for all the pix! 


Don 


Thanks Don


Rich Vecchio


#17 rvec

rvec

    Checkered Flag in Hand

  • Subscriber
  • PipPipPipPipPipPip
  • 1,886 posts
  • Joined: 08-April 06
  • Gender:Male
  • Location:Oregon

Posted 11 April 2020 - 09:00 AM

Finally got around to painting the body. See below (I edited the original post as well)


Paint4.jpg


  • Pappy, Tex, cdtanner and 2 others like this

Rich Vecchio


#18 MG Brown

MG Brown

    Grand Champion Poster

  • Administrator
  • PipPipPipPipPipPipPipPip
  • 7,883 posts
  • Joined: 16-February 06
  • Gender:Male
  • Location:The Cumberland Plateau

Posted 12 April 2020 - 12:46 PM

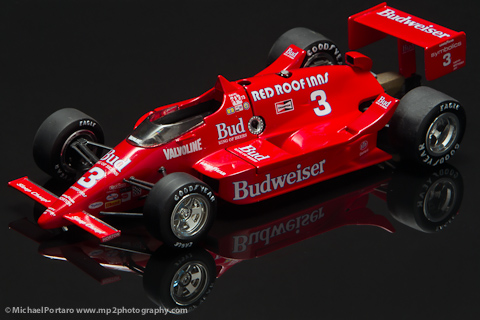
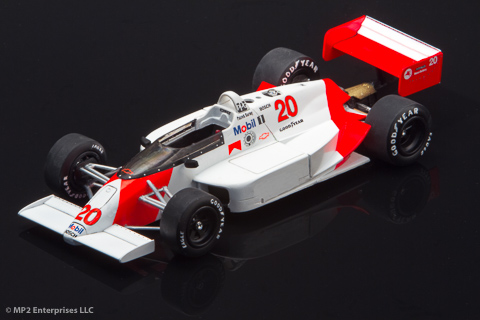
I wanted to mention those that are looking for alternate liveries or more authentic decals than what you find in the kits (some are criminally inaccurate), please check the selection at Indycals.


Below photos are a FEW of the Indycals line on static models.


86budmarch2.jpg


86-7-elevenmarch.jpg


86kracoCS.jpg


86skoalbandit2.jpg


86pennzoilmarch.jpg


87cummins2.jpg


88millerpenske2.jpg


88hertzpenske2.jpg


88domloCS.jpg


88budloCS.jpg


88stpdianeticslola.jpg


88elkhartlake2.jpg


88provimilola.jpg


88kmartlola.jpg


* Some of the models have been converted to road-course configuration using aftermarket products.


  • Jencar17, Dayble, cdtanner and 1 other like this
That's thirty minutes away. I'll be there in ten.


#19 rvec

rvec

    Checkered Flag in Hand

  • Subscriber
  • PipPipPipPipPipPip
  • 1,886 posts
  • Joined: 08-April 06
  • Gender:Male
  • Location:Oregon

Posted 13 April 2020 - 07:30 AM

I wanted to mention those that are looking for alternate liveries or more authentic decals than what you find in the kits (some are criminally inaccurate), please check the selection at Indycals.


Below photos are a FEW of the Indycals line on static models.


Thanks - some very cool decals. I will consider on my next build. 


Rich Vecchio


#20 strummer

strummer

    On The Lead Lap

  • Full Member
  • PipPipPipPip
  • 405 posts
  • Joined: 28-August 19
  • Gender:Male
  • Location:OR

Posted 13 April 2020 - 08:15 AM


Thanks - some very cool decals. I will consider on my next build. 

FWIW


I just got a set from Indycals for my 1/24 "Fuel Injection Special".


They look to be of a high quality, and were mailed in a cardboard "sleeve", so they made it here in fine shape.   :good:


Mark in Oregon


Mark Mugnai

#21 rvec

rvec

    Checkered Flag in Hand

  • Subscriber
  • PipPipPipPipPipPip
  • 1,886 posts
  • Joined: 08-April 06
  • Gender:Male
  • Location:Oregon

Posted 22 April 2020 - 01:43 PM

Guys,
It has come to my attention that not all of the Indy Car kits procured have instruction sheets. These are shown below
 

I2.jpg
 
I3.jpg
 
I4.jpg
 
I5_1.jpg


Rich Vecchio


#22 rvec

rvec

    Checkered Flag in Hand

  • Subscriber
  • PipPipPipPipPipPip
  • 1,886 posts
  • Joined: 08-April 06
  • Gender:Male
  • Location:Oregon

Posted 23 April 2020 - 09:00 AM

I have modified the original post extensively. The updated post describes a much easier way to mount the side pans without soldering (among a lot of other updates)

Below is an image of my finished product


Lola1.jpg


  • Dayble, Alchemist and strummer like this

Rich Vecchio


#23 rvec

rvec

    Checkered Flag in Hand

  • Subscriber
  • PipPipPipPipPipPip
  • 1,886 posts
  • Joined: 08-April 06
  • Gender:Male
  • Location:Oregon

Posted 24 April 2020 - 03:33 PM

Below is an image of Bob's completed Indy Car. I have also modified the original post to include the image


BobsIndy.jpeg


  • Alchemist likes this

Rich Vecchio


#24 MG Brown

MG Brown

    Grand Champion Poster

  • Administrator
  • PipPipPipPipPipPipPipPip
  • 7,883 posts
  • Joined: 16-February 06
  • Gender:Male
  • Location:The Cumberland Plateau

Posted 24 April 2020 - 05:04 PM

Guys,
It has come to my attention that not all of the Indy Car kits procured have instruction sheets. These are shown below


Some companies put their instruction sheets on the web as PDF files. Given the age of some of these kits they may or may not be available. A little searching with the search engine of your choice may yield dividends.


That's thirty minutes away. I'll be there in ten.


#25 strummer

strummer

    On The Lead Lap

  • Full Member
  • PipPipPipPip
  • 405 posts
  • Joined: 28-August 19
  • Gender:Male
  • Location:OR

Posted 26 April 2020 - 01:28 PM

FWIW


I just got a set from Indycals for my 1/24 "Fuel Injection Special".


They look to be of a high quality, and were mailed in a cardboard "sleeve", so they made it here in fine shape.   :good:


Mark in Oregon


A bit of a follow up, FWIW.


I used these the other day, and here is the result:


4:26:1.jpg


I like the fact that the yellow maintained its color, even over the dark blue; I did, however, find these rather "thick" and it was very difficult to get those large numbers to contour themselves to the tail section...even with repeated applications of Micro-Sol.


Mark in Oregon


Mark Mugnai


Electric Dreams Online Shop