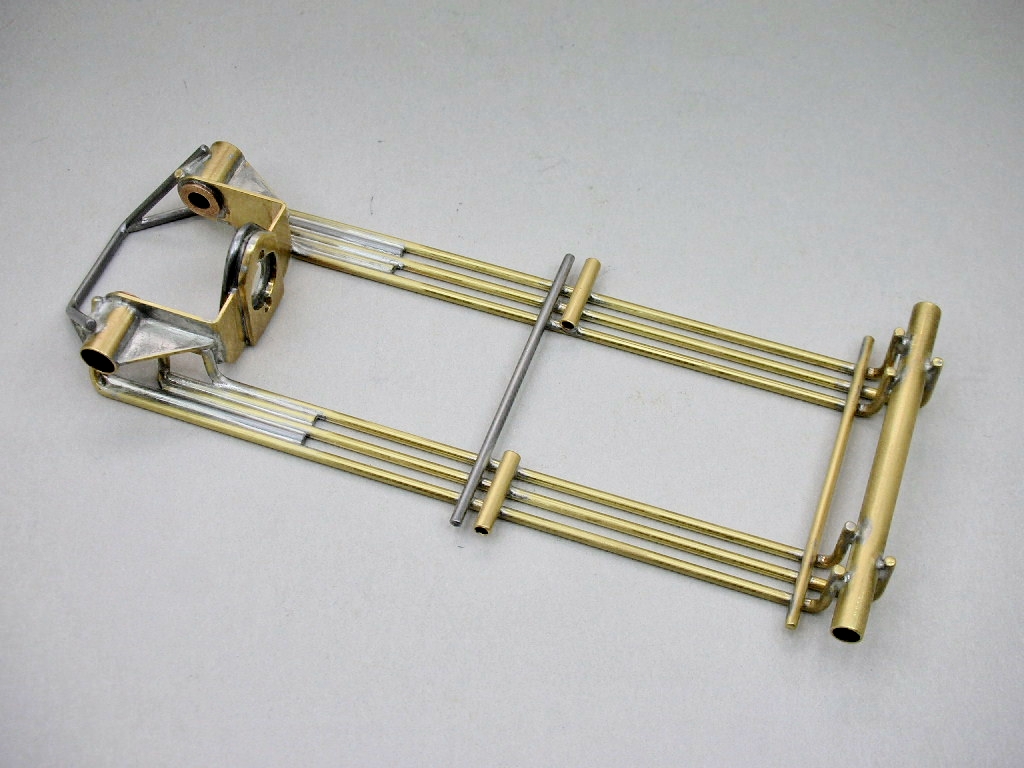
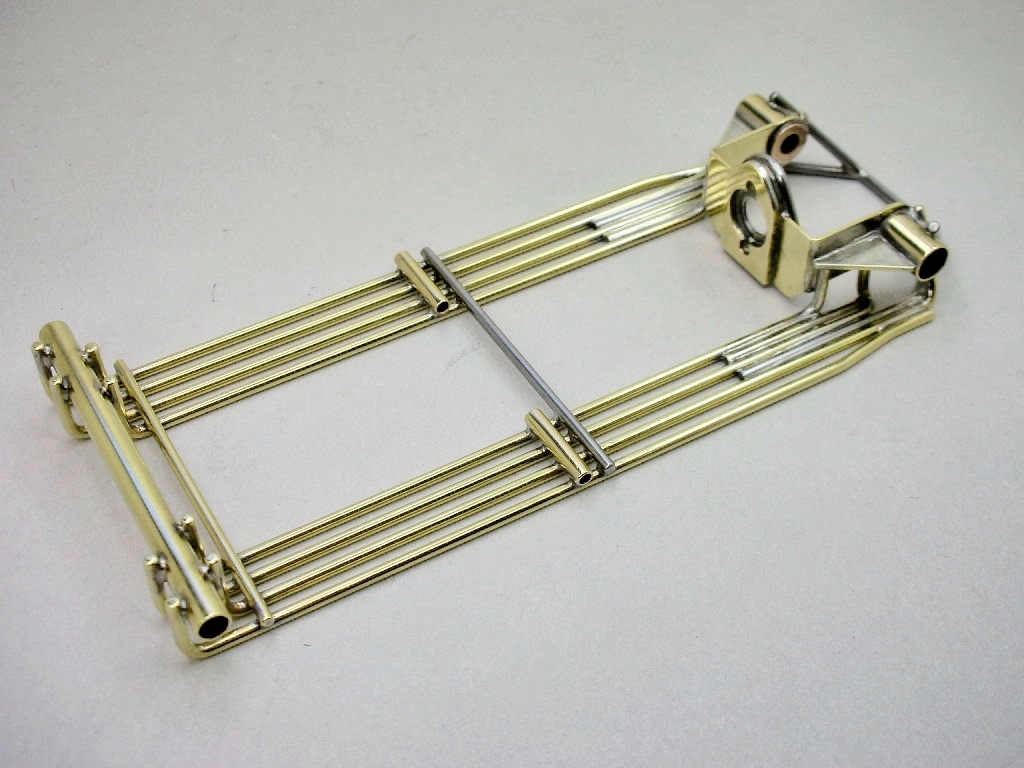
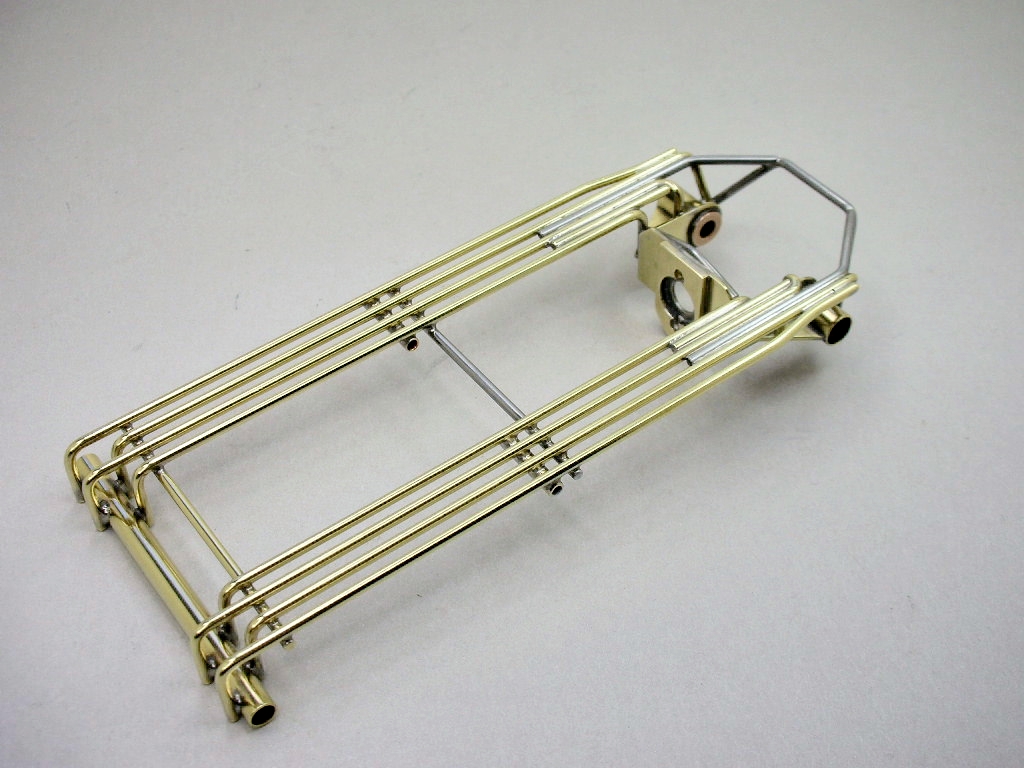
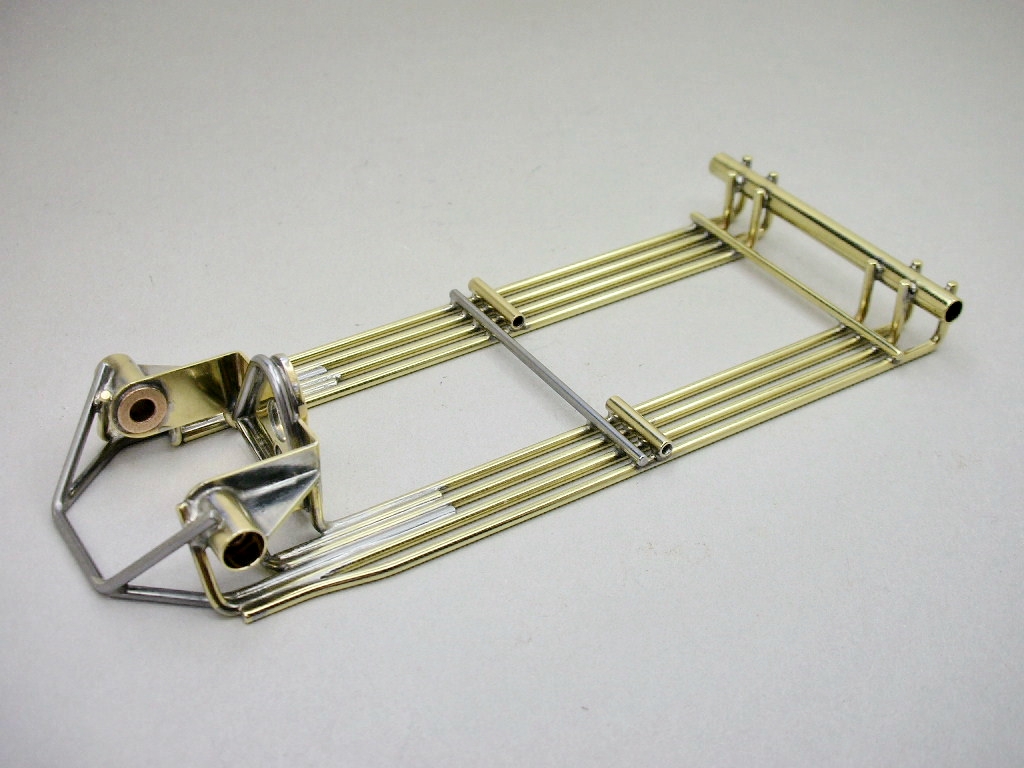
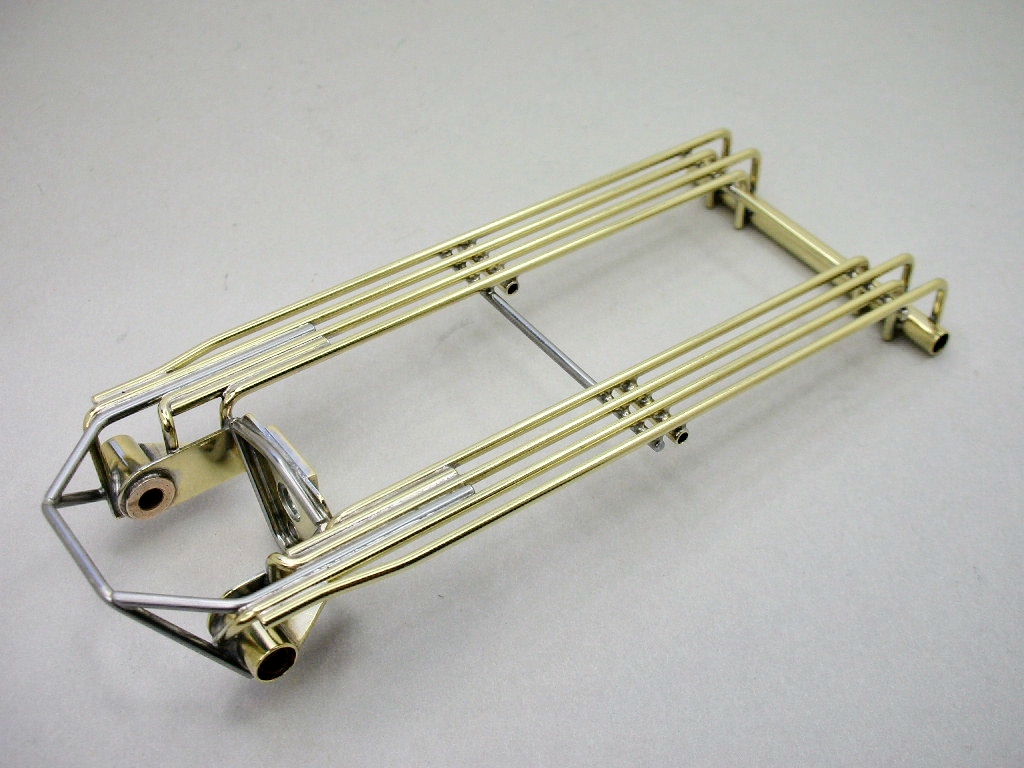
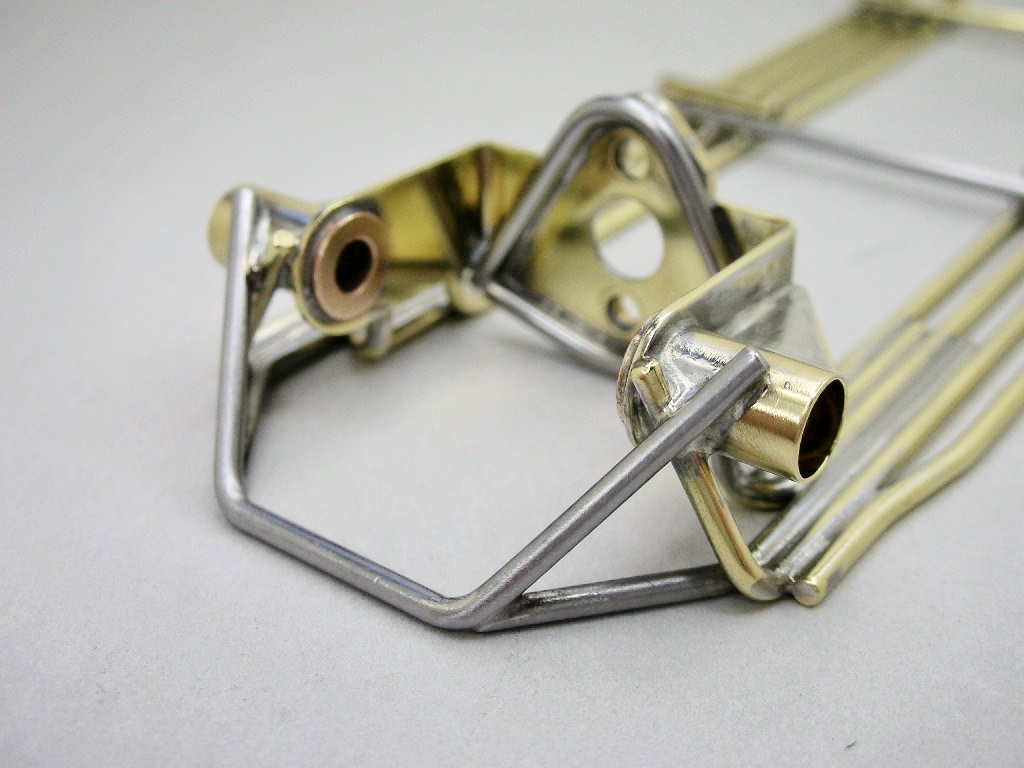
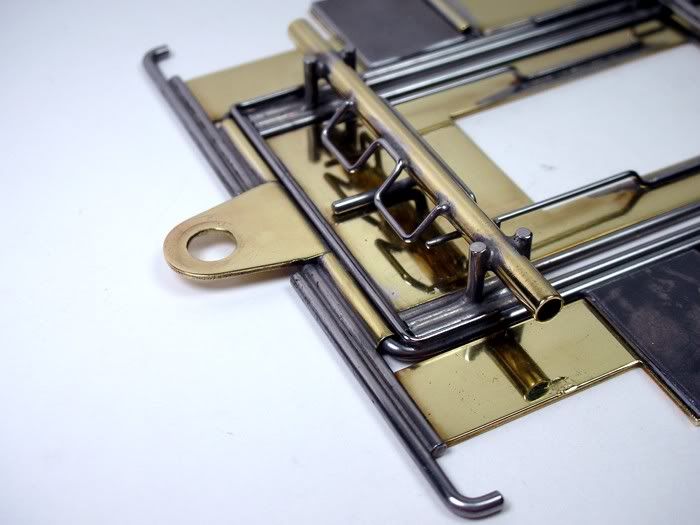
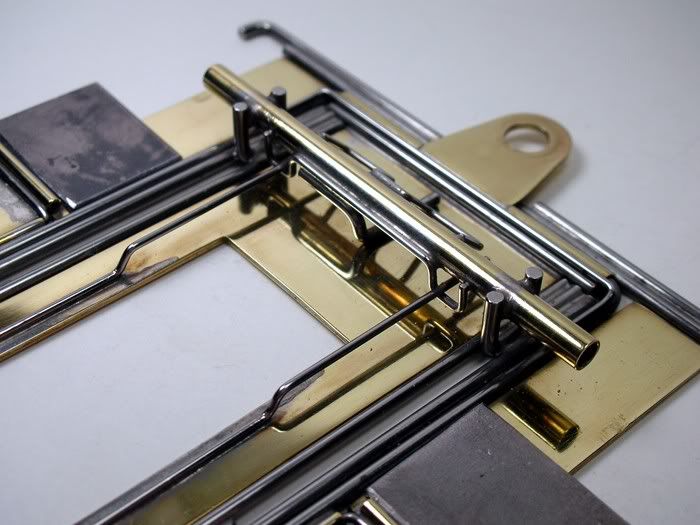
Exceptional work. I quit using gussets on my brackets ages ago when I started using piano wire struts instead. That's what everyone else was doing. Maybe I need to re-address that practice. The gusset braces the side plates (that that the axle tubes attach to) as well as keeping the axle tubes in alignment. I see that now, and can't understand why I changed my methods.

George Parks 1968 Pro chassis
#26

Posted 07 September 2023 - 11:51 AM
#27

Posted 07 September 2023 - 02:44 PM
Yup ... über cool! ![]()
#28

Posted 07 September 2023 - 03:03 PM
The Russkit bracket was paper thin (0.024) and would bend when putting on a set of tires if you weren't careful. Todays brackets are 0.040" or better and much stronger with minimal bracing needed.
Don
Don Weaver
A slot car racer who never grew up!
The supply of government exceeds demand.
L.H. Lapham
If the brain-eating amoeba invades Washington
it will starve to death...
#29

Posted 09 September 2023 - 04:09 PM
Thanks guys, now it's time to stuff a motor into the finished bracket. I have a pile-O-parts I hope to turn into one of these, the early Champion 517:
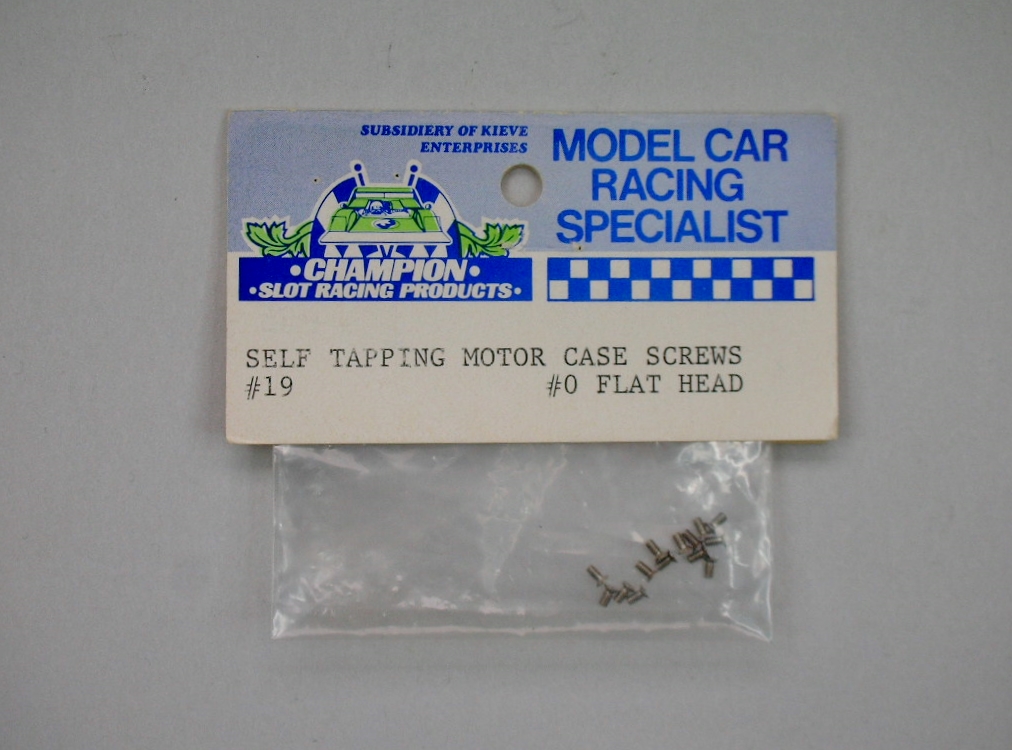
For my "jig motor" all I need is a can and end bell. But the two parts need to be fastened together usually with Champion self tapping flat head screws. These are, for the most part. "unobtainium".
Time for a showdown of screws...........a "screwdown"? ![]()
![]()
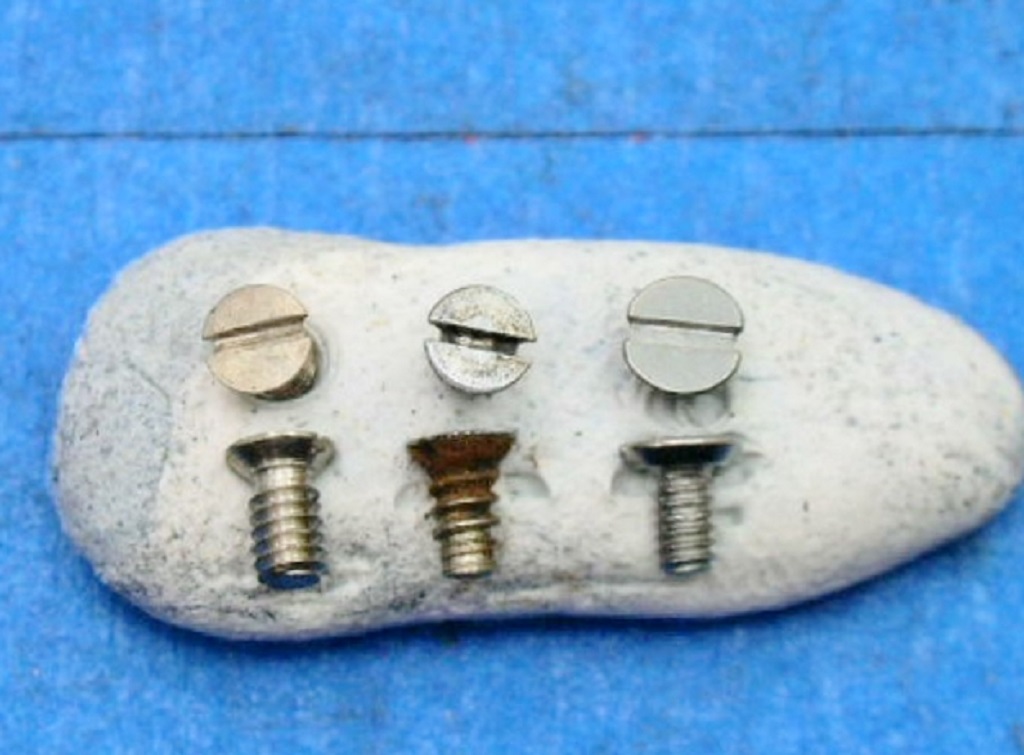
A few years back I ran across the screws pictured below:
That's the screw from the package on the left. In the center is a screw removed from an early 517 motor:
The screw on the right above is my favorite to use. It's the 0-80 stainless steel flat head fully threaded and undercut machine screw:
Now that's a mouthful but the fully threaded and undercut part is important. It gives the maximum amount of thread engagement with the thin plastic end bell. The downside of 0-80 machine screws is the very fine thread pitch which is not ideal to use in soft plastic. Using a slightly undersized tap drill helps by increasing the precentage of thread from the standard tap drill's 75%.
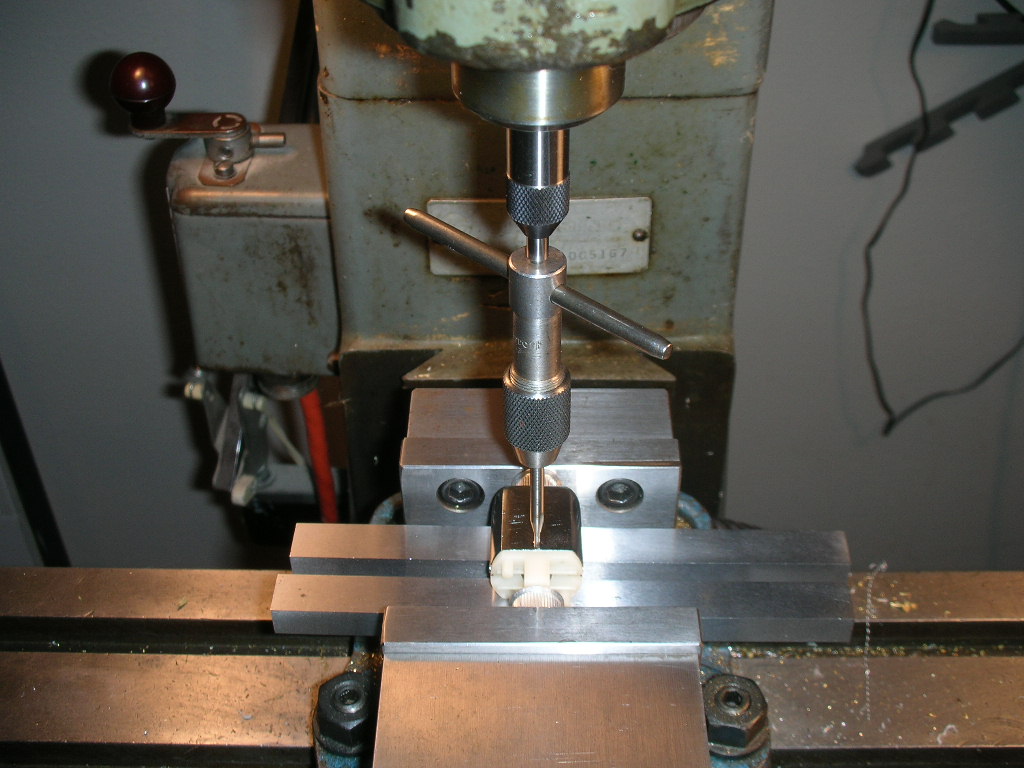
If you aren't careful when tapping and wobble around with a hand held, unguided tap handle you could get a less than ideal and "weak" thread in the end bell. A milling machine or drill press with a cross slide is ideal to use:
I can center drill, tap drill, tap and countersink the hole all in one setup and get nice results:
These screws are also tougher than either "Champion" variety. One little slip with the screwdrive and the originals are buggered up. ![]()
So endeth the "screwdown". ![]()
- Jencar17, Slot Car Rod, Peter Horvath and 2 others like this
Rick Thigpen
Check out Steve Okeefe's great web site at its new home here at Slotblog:
The Independent Scratchbuilder
There's much more to come...
#30

Posted 09 September 2023 - 04:24 PM
So endeth the "screwdown". ![]()
Glad to see there wasn't a "screw-up"...
Don Weaver
A slot car racer who never grew up!
The supply of government exceeds demand.
L.H. Lapham
If the brain-eating amoeba invades Washington
it will starve to death...
#31

Posted 11 September 2023 - 08:01 PM
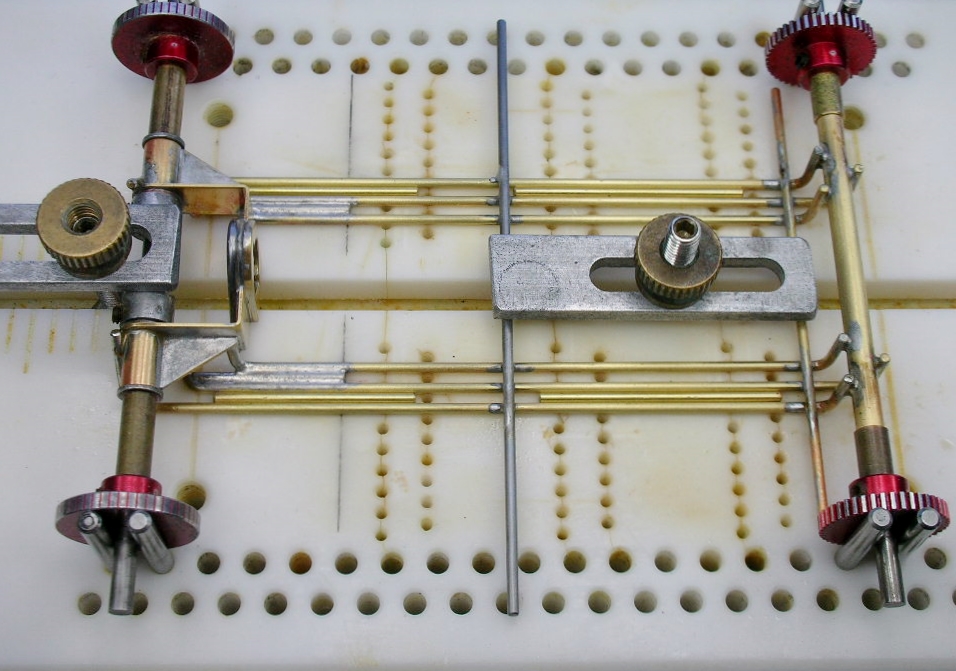
The first rails installed:
The placement of these is important as all the other rails will be spaced off of them:
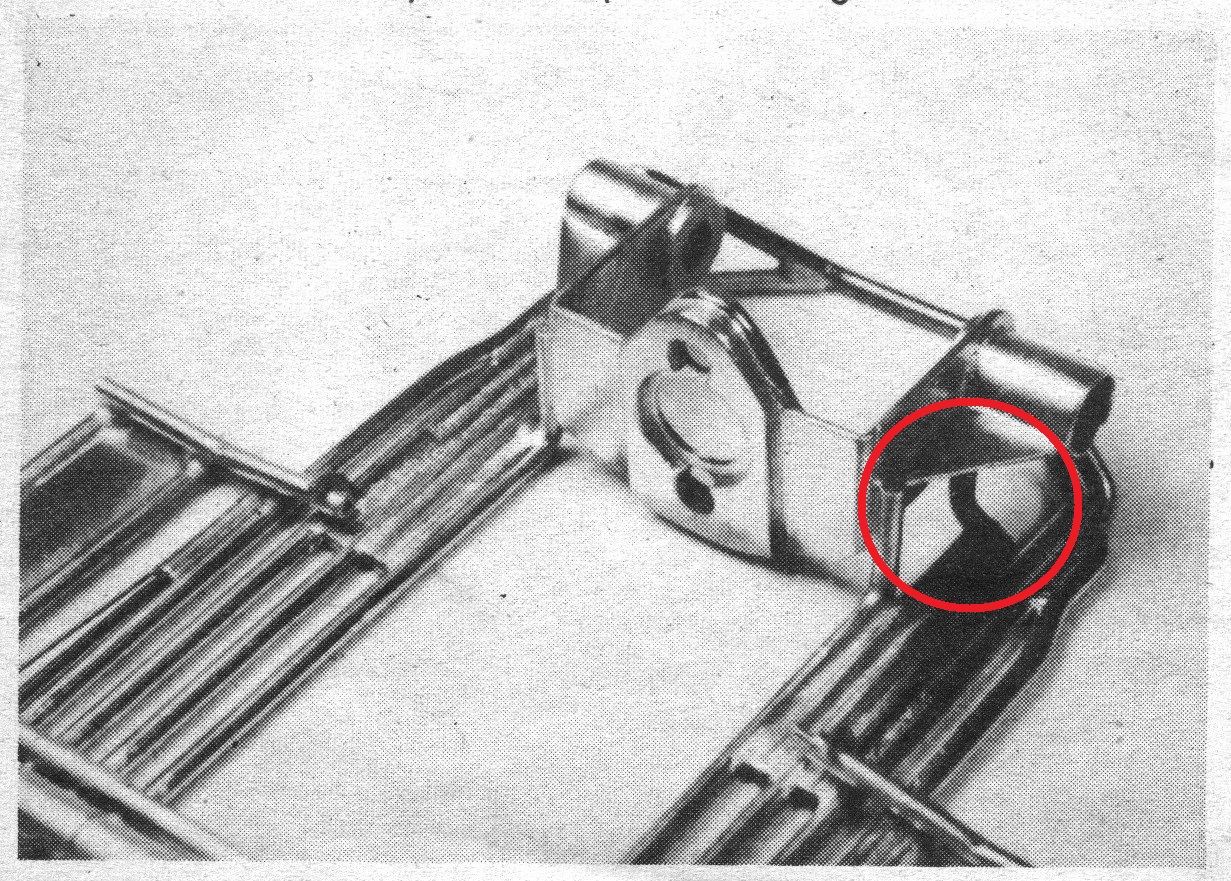
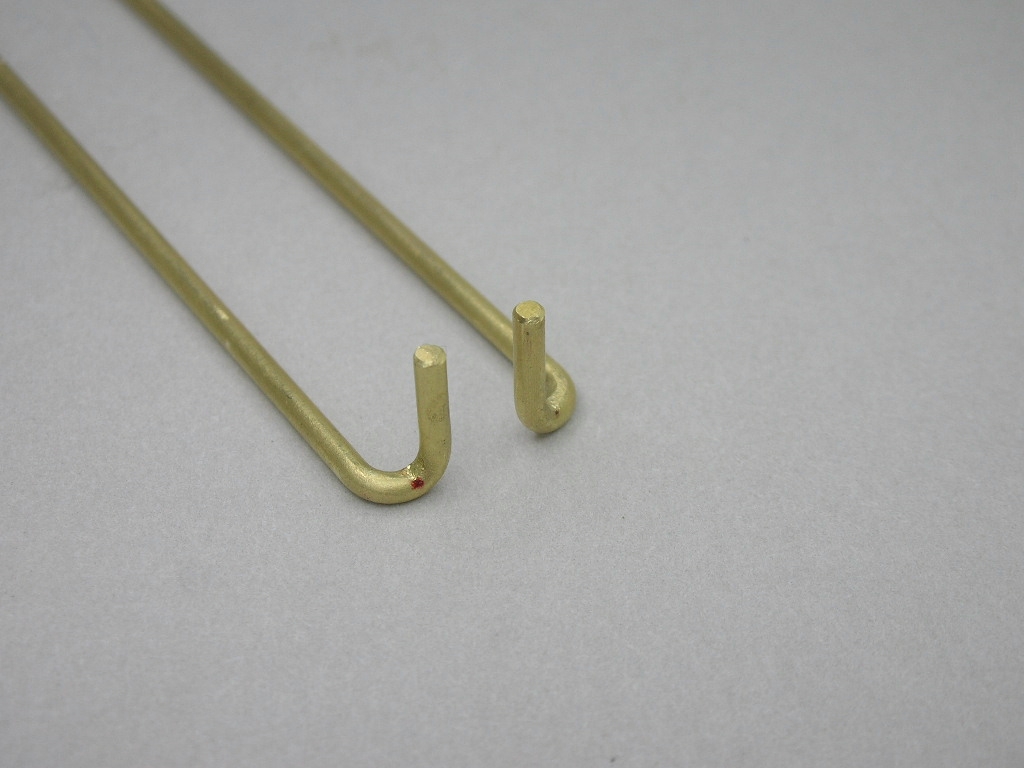
The second rails have a tricky little bend shown in the red circle:
The rail needs to snuggle up next to the bracket and flush underneath the gusset:
I love this chassis jig:
Success ![]()
A spacer rail is shaped and installed between the first and second rail:
As Rodney and I disucssed, I'm using lots of solder here for a bit of extra weight. I'll have to remelt this area after the third rail goes in so I didn't try to make it look pretty yet:
- Pablo, Tex, Slot Car Rod and 3 others like this
Rick Thigpen
Check out Steve Okeefe's great web site at its new home here at Slotblog:
The Independent Scratchbuilder
There's much more to come...
#32

Posted 12 September 2023 - 08:08 AM
A motor is only as fast as the chassis it's in.
Dominic Luongo
Like Dominator Custom Chassis on Facebook
NERR photos from 2012-April 2016
NERR photos from 2016 to now
#33

Posted 12 September 2023 - 07:53 PM
I think so too Dominic. ![]()
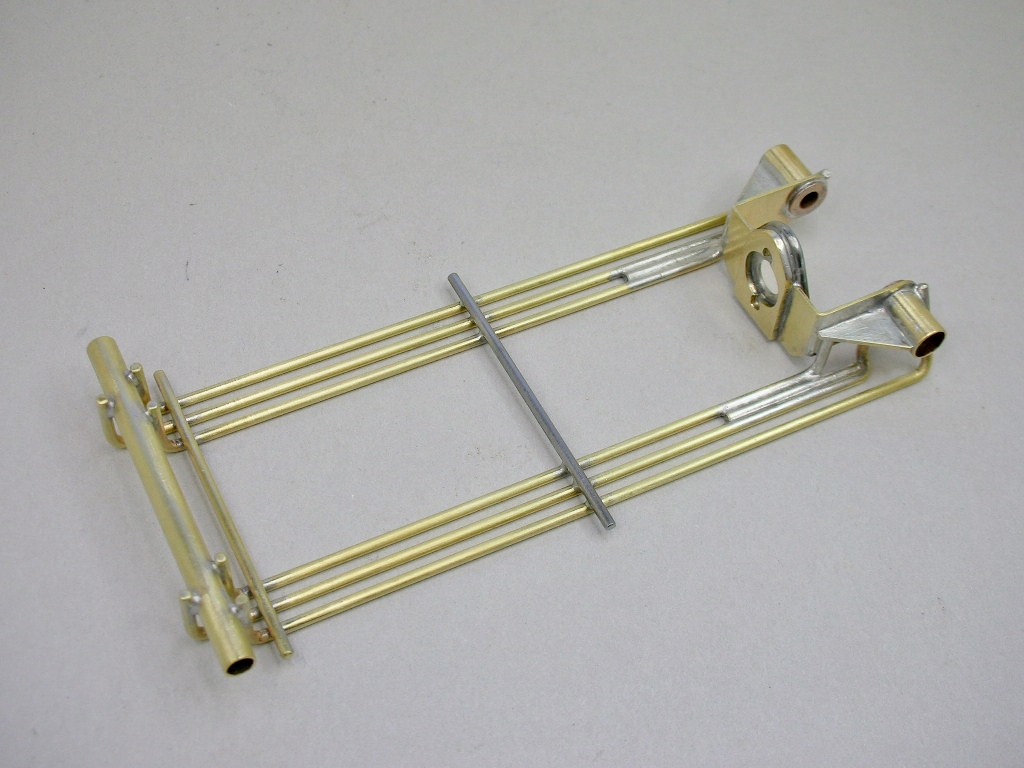
Installing the third rails:
Now that those rails are in place...........
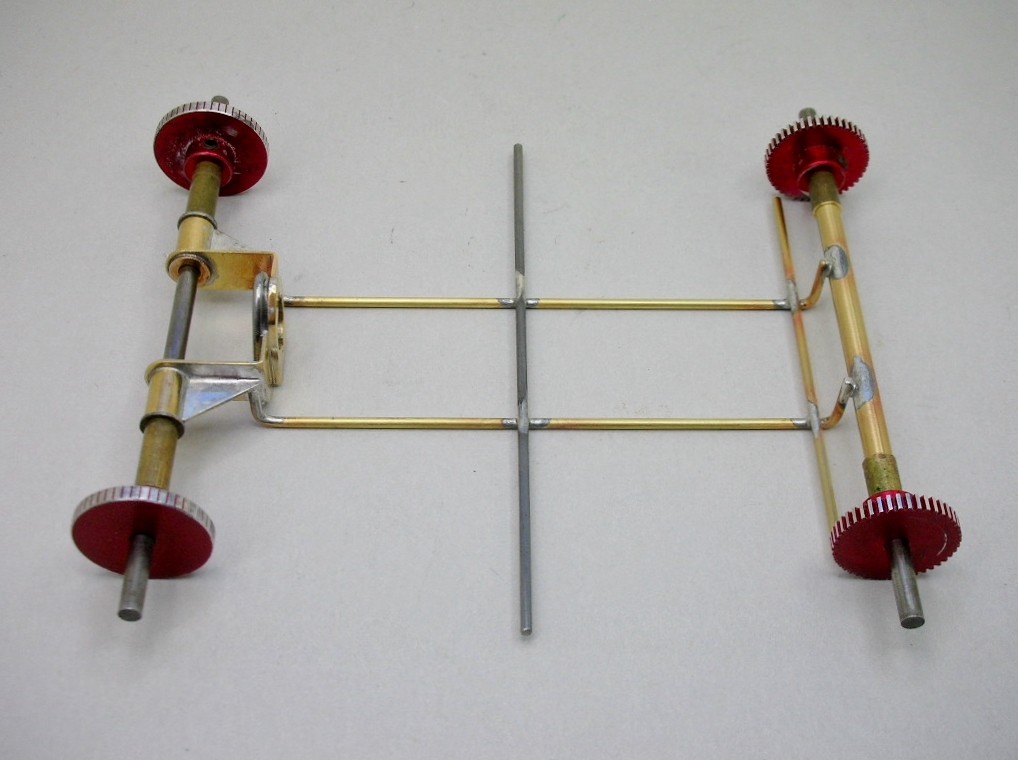
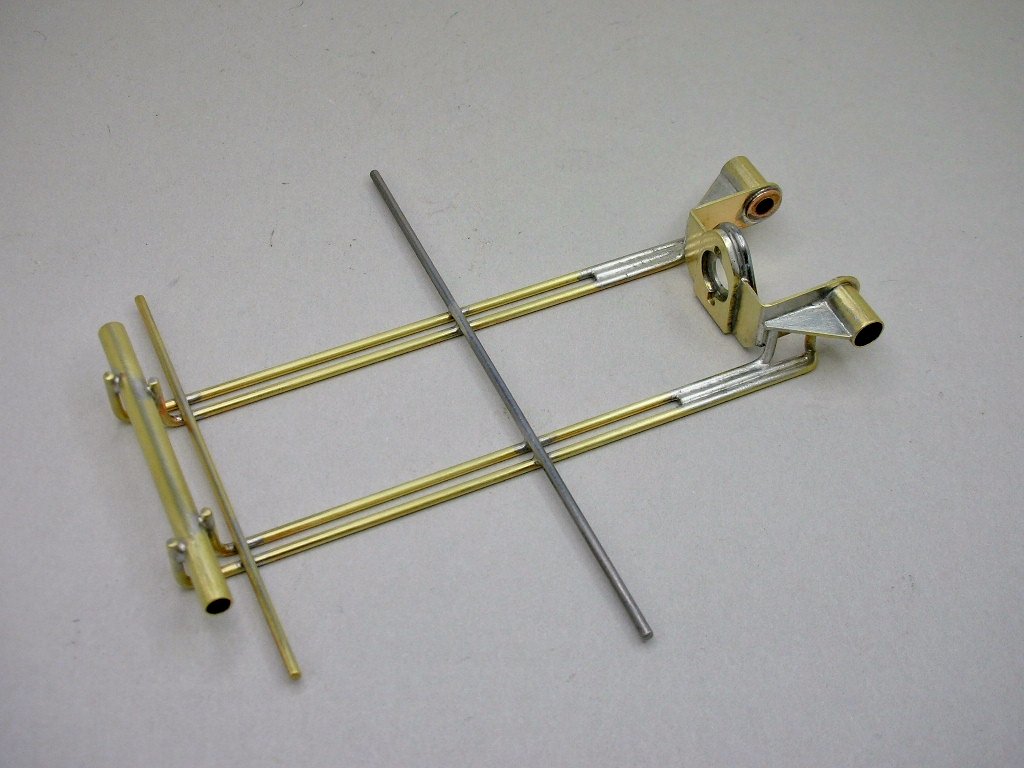
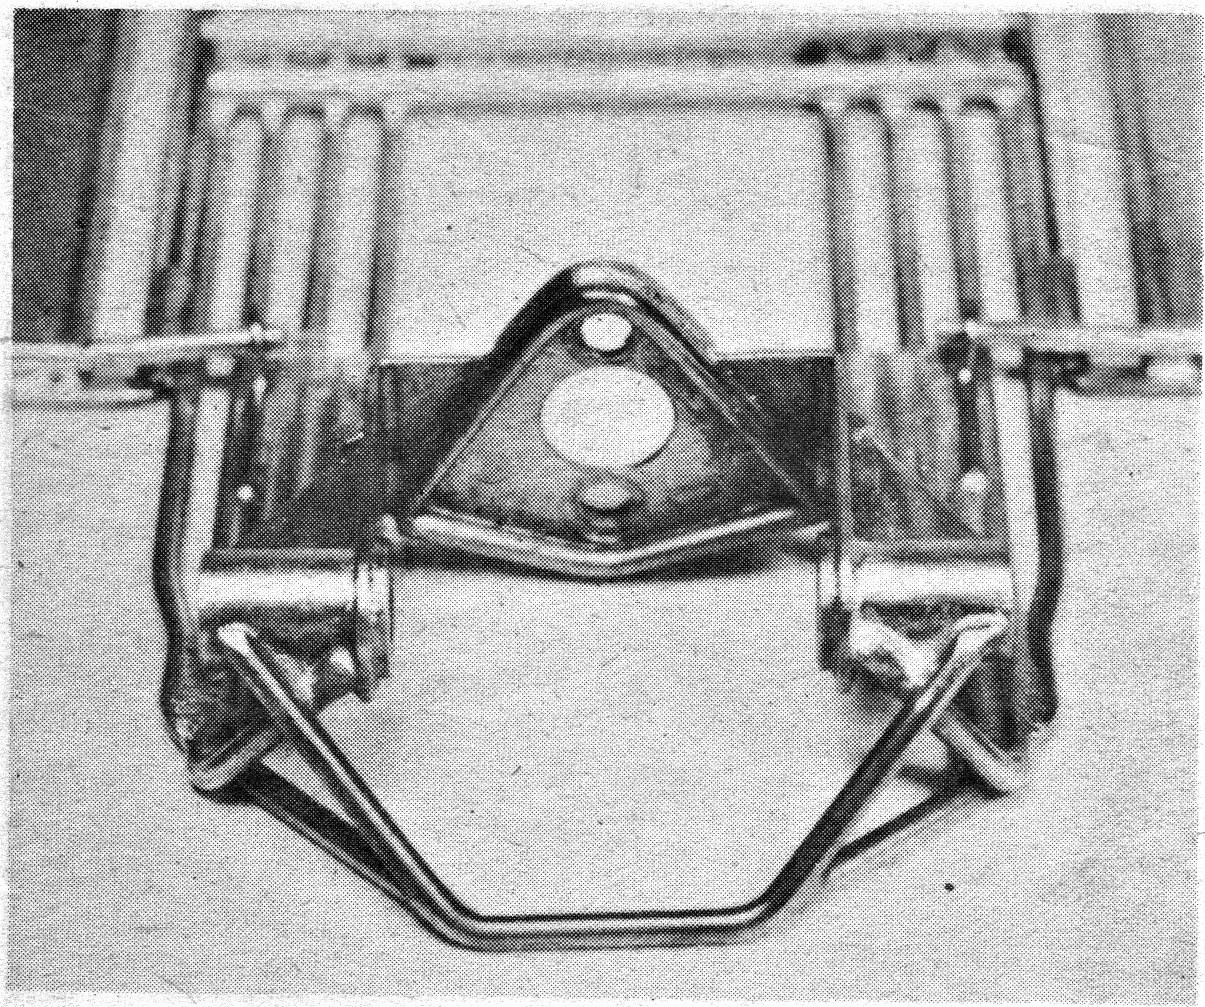
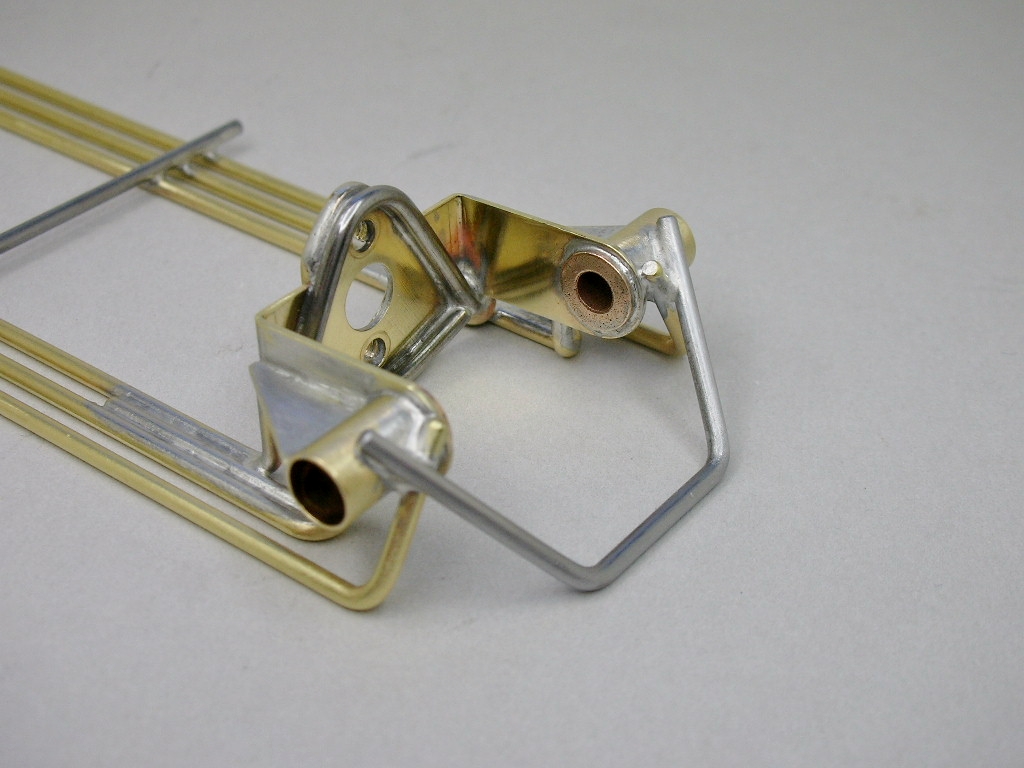
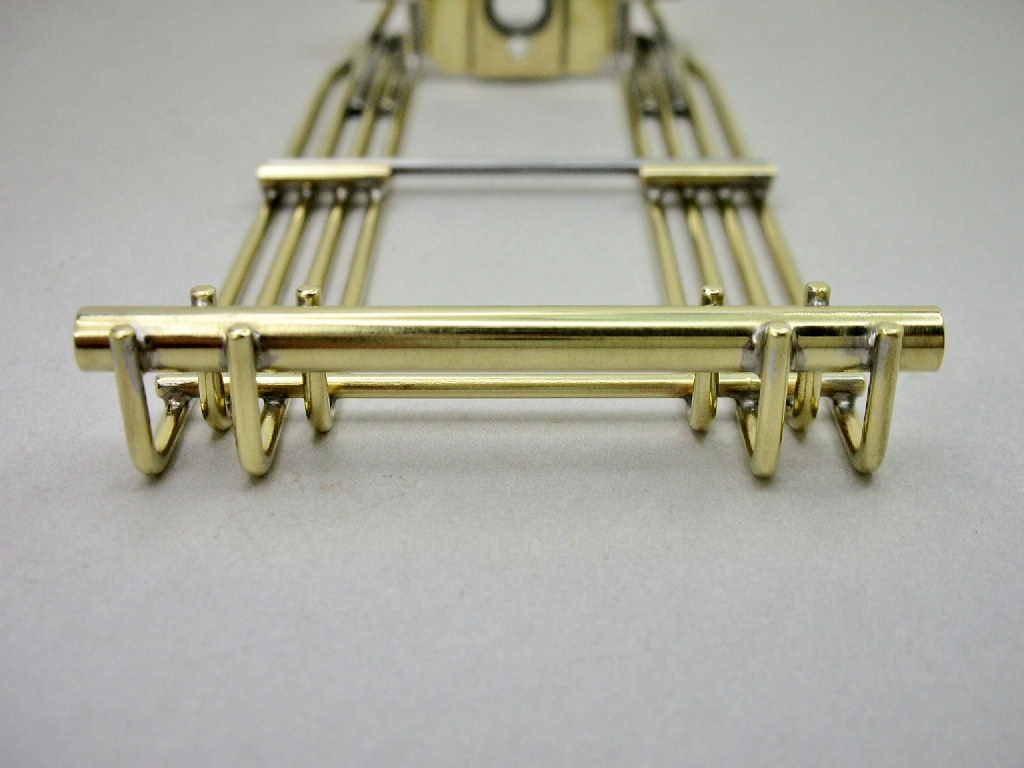
.........I can finish up the rear axle bracing with this 3-piece piano wire brace:
- Tex, NSwanberg, Slot Car Rod and 3 others like this
Rick Thigpen
Check out Steve Okeefe's great web site at its new home here at Slotblog:
The Independent Scratchbuilder
There's much more to come...
#34

Posted 14 September 2023 - 03:10 PM
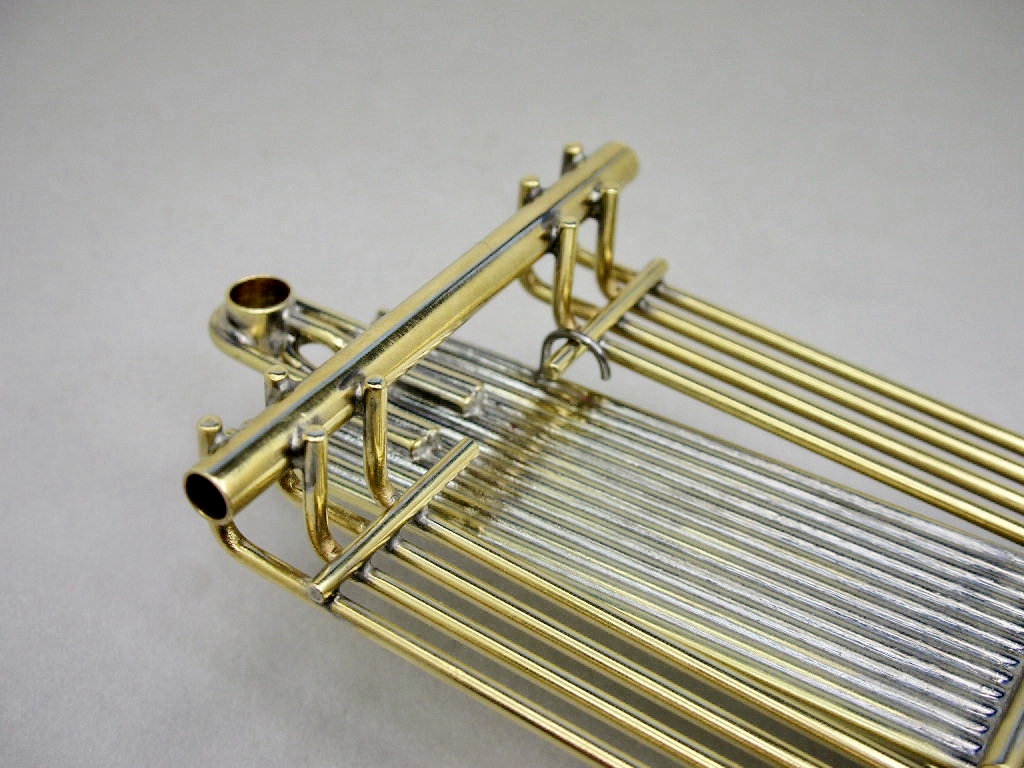
I must have looked at the picture of the rear bracing above a thousand times over the last 20 years. I always thought I saw 2 U-braces. One attached to the rear axle tubes and the other below it attached to between the 2nd and 3rd rails.
I guess I saw what I wanted to see. ![]() That's how I would have built it but George Parks made his from 3 pieces, a single U-brace on the axle tubes.........
That's how I would have built it but George Parks made his from 3 pieces, a single U-brace on the axle tubes.........
..........and a seperate lower brace on each side of the U-brace:
Time to install the 4th rails and then I need to cleanup and polish this center section.
- Peter Horvath and Larry Horner like this
Rick Thigpen
Check out Steve Okeefe's great web site at its new home here at Slotblog:
The Independent Scratchbuilder
There's much more to come...
#35

Posted 14 September 2023 - 06:45 PM
I love it when a design is both beautiful and super strong. The symmetrical spacing of the vertical support rails along the sides of the motor bracket is just gorgeous!
#36

Posted 15 September 2023 - 04:00 PM
The farther along I get with building this George Parks chassis the more little cool nuances like that I find Larry. ![]() The drop arm should be really interesting if I'm seeing what I think I'm seeing.
The drop arm should be really interesting if I'm seeing what I think I'm seeing.
I need to get the 4th rails installed before I move on to the drop arm. But first I decided it would be best to get the drop arm hinge tubes mounted to the rails:
Now for the last frame rails.............
- Pablo, Tex, Peter Horvath and 1 other like this
Rick Thigpen
Check out Steve Okeefe's great web site at its new home here at Slotblog:
The Independent Scratchbuilder
There's much more to come...
#37

Posted 16 September 2023 - 05:38 PM
- Pablo, Tex, Peter Horvath and 2 others like this
Rick Thigpen
Check out Steve Okeefe's great web site at its new home here at Slotblog:
The Independent Scratchbuilder
There's much more to come...
#38

Posted 16 September 2023 - 06:34 PM
Looks beautiful! The drop arm is very similar to the ones we built for our Jail Door Retro class for Retro East. ![]()
Mike Katz
Scratchbuilts forever!!
#39

Posted 17 September 2023 - 09:21 AM
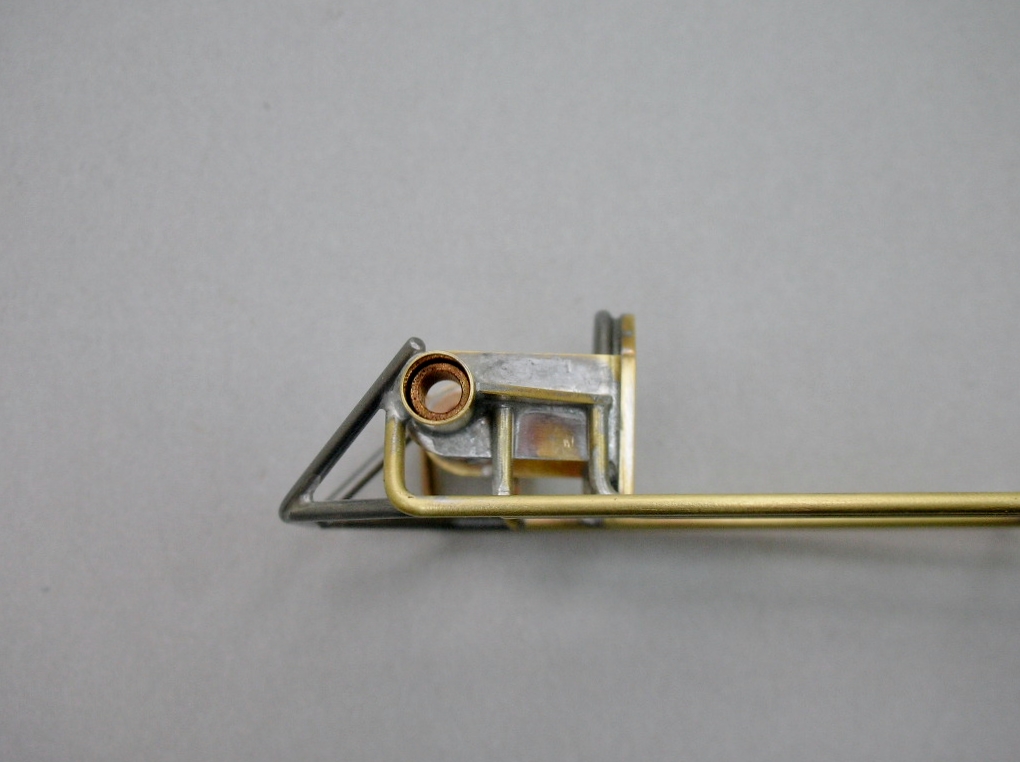
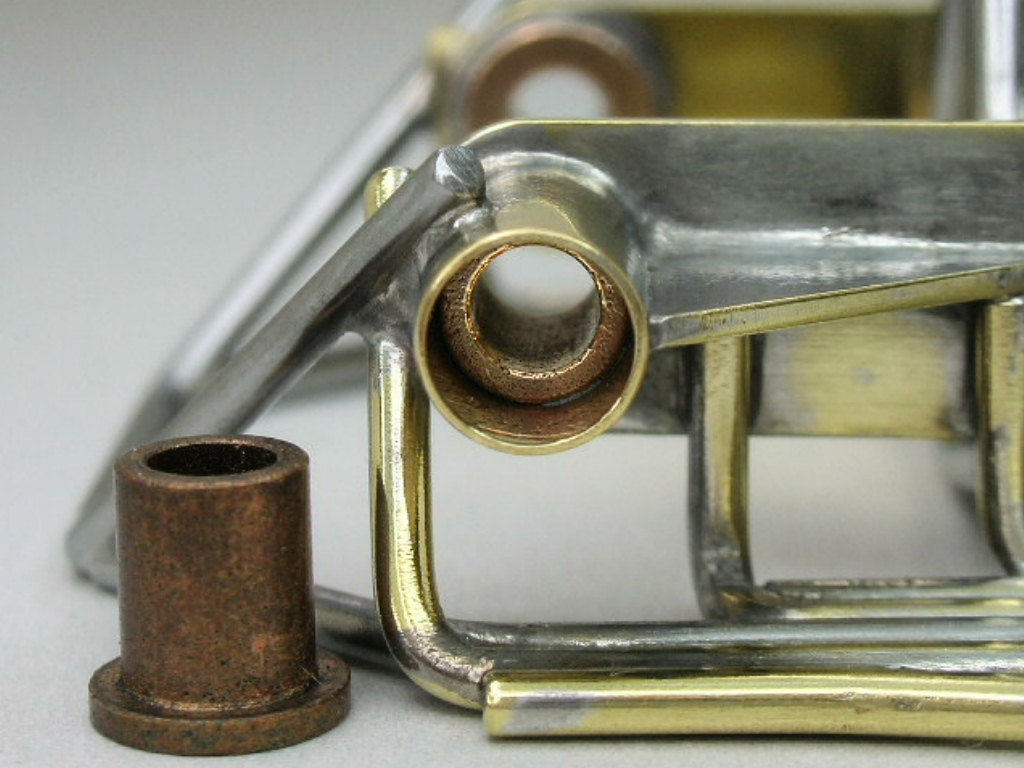
Awesome design and craftsmanship (as usual)! I spy a sleeve inside the rear axel that I didn't notice before. Is it sleeved down to 1/8"? Also notice that the sleeve stops short enough to allow for a pair of exterior bushings should you want them. So I guess my question is if the rear axel will be supported by anything other than the interior bushings?
#40

Posted 17 September 2023 - 10:55 AM
Thanks Mike. I love those multi rod drop arms too.
Larry, in one my pictures above the bearing does look funny. Must be a reflection or something.
Here's a closeup of the rear axle bearing and a loose Dynamic bearing, the type I used in the chassis:
- Pablo, Peter Horvath, ajd350 and 1 other like this
Rick Thigpen
Check out Steve Okeefe's great web site at its new home here at Slotblog:
The Independent Scratchbuilder
There's much more to come...
#41

Posted 19 September 2023 - 07:53 PM
For the drop arm I decided to build up the U-shaped rails inside the red outline below first:
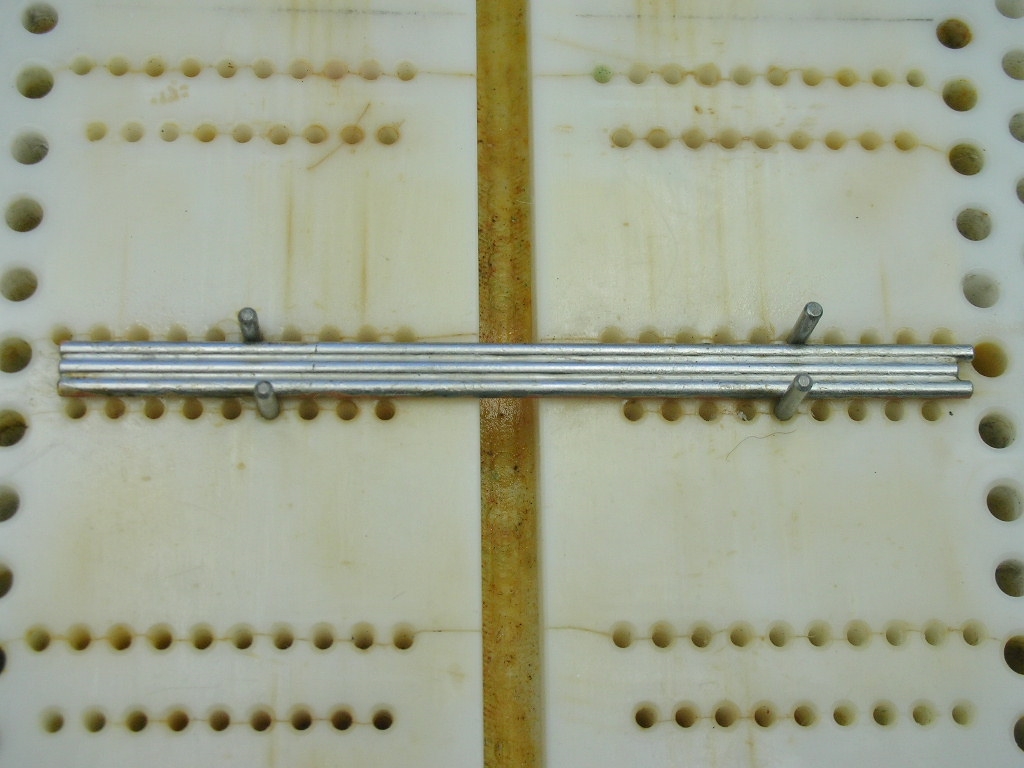
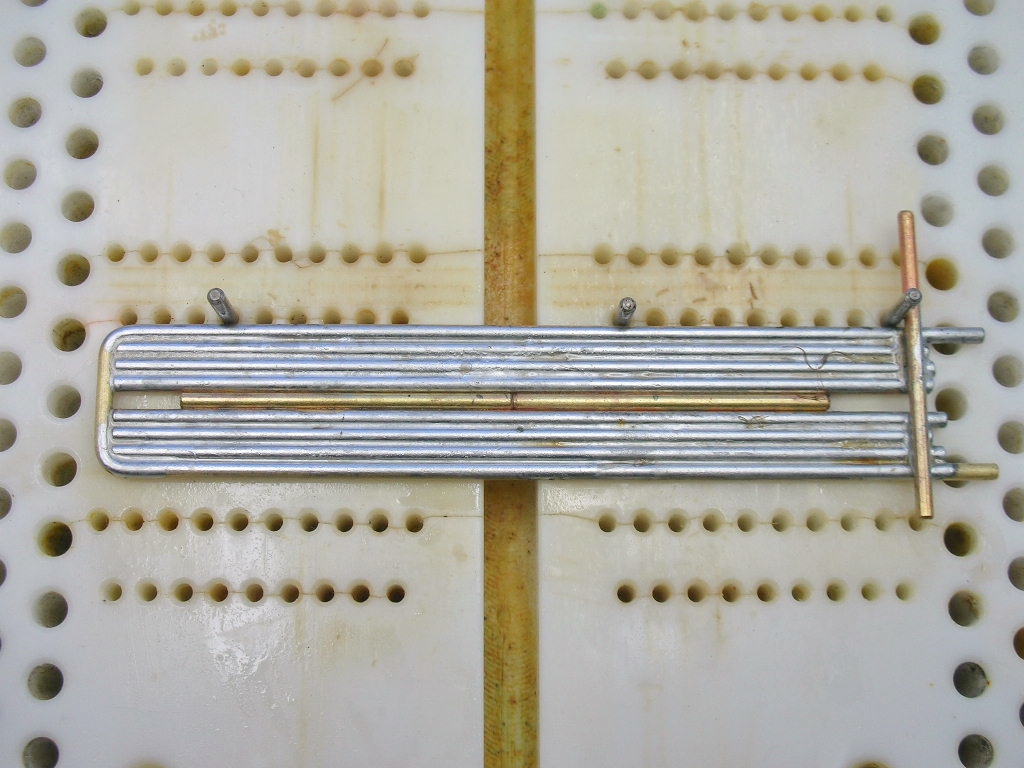
I started with soldering up two 3 rails sections. The Rick's Jig pins were ideally spaced for this:
The U-shaped piece was bent and filled in with the two 3-rail sections. A space was left for the center rail which will go in last:
Now for the guide post pivot tube:
The guide post tube is space .090" up off the block for a Cox guide. The U-shaped rail has an offset bend to raise it up to connect with the guide post tube:
A second U-shaped rail is placed inside the first one:
Finally, the center rail is added:
Here's the drop arm so far before any cleanup:
Next up are the pair of outside rails on each side that limit the guide rotation.
- Tex, Slot Car Rod, Peter Horvath and 3 others like this
Rick Thigpen
Check out Steve Okeefe's great web site at its new home here at Slotblog:
The Independent Scratchbuilder
There's much more to come...
#42

Posted 20 September 2023 - 05:50 PM
- Pablo, Tex, Peter Horvath and 1 other like this
Rick Thigpen
Check out Steve Okeefe's great web site at its new home here at Slotblog:
The Independent Scratchbuilder
There's much more to come...
#43

Posted 21 September 2023 - 07:47 PM
The drop arm is finished and installed:
I see a .030" piano wire drop arm down stop in the picture so I added one. Mine has a U-shape instead of the L-shape that Parks used:
I also see that Parks cut the center out of his drop arm up-stop bar so I did that to mine as well:
Time for the pans..........
- Pablo, Peter Horvath and Larry Horner like this
Rick Thigpen
Check out Steve Okeefe's great web site at its new home here at Slotblog:
The Independent Scratchbuilder
There's much more to come...
#44

Posted 22 September 2023 - 02:16 AM
Is that for more flexbility on the front?
#45

Posted 22 September 2023 - 09:52 AM
Boy Maurizio...........your guess is as good as mine. ![]()
![]()
Rick Thigpen
Check out Steve Okeefe's great web site at its new home here at Slotblog:
The Independent Scratchbuilder
There's much more to come...
#46

Posted 22 September 2023 - 10:09 AM
On this type of chassis there is not much flex in that area since it is right near the front axle tube but cutting the cross piece will make some difference but not much. ![]()
Mike Katz
Scratchbuilts forever!!
#47

Posted 22 September 2023 - 11:43 AM
Just for fun (no real relationship with the George Parks chassis design) I thought I'd show the "Rock and Roll" style front end that PdL pioneered:
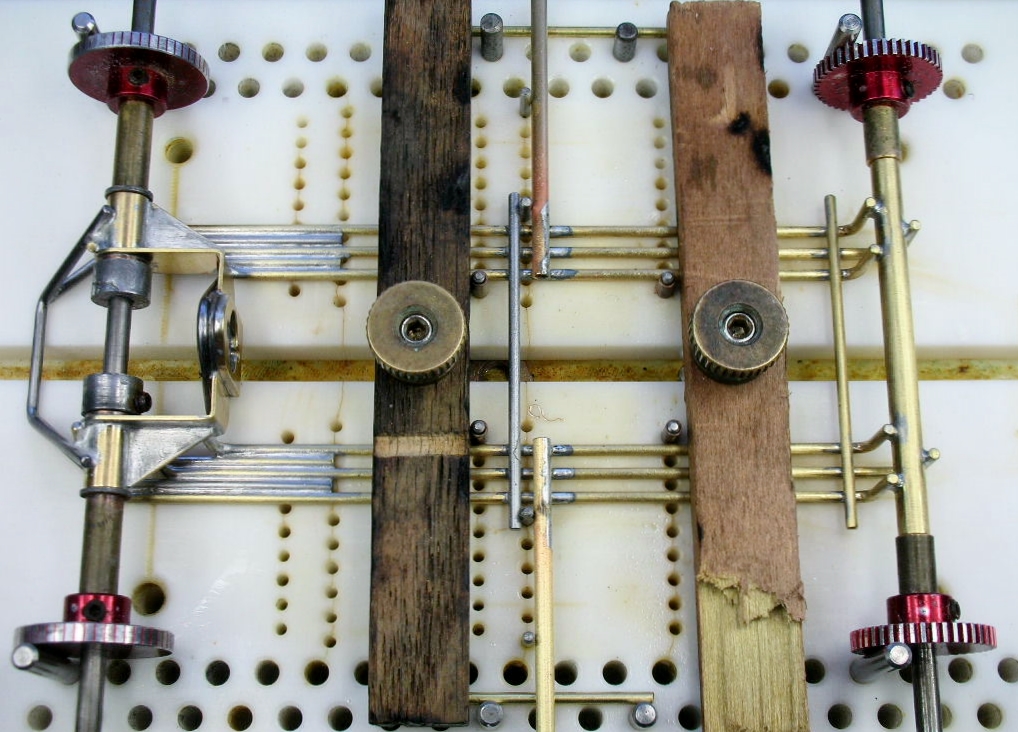
More on the motor to come but let's start with the chassis. I disassembled my 9-year-old car and checked out the chassis. I built this chassis before I started sanding all the collateral damage off my solder joints. I think it looks nice from the bottom but not as nice as the one I built for Adam a few years ago from the top. But it is nice and flat and all the hinges work smoothly so all I did was polish it up:
The most innovative thing about this design is the "rock and roll" front end. The drop arm up stop is not a wire running from one side of the chassis to the other. It is an L-shaped piece soldered to the axle tube. This allows for more flex:
The drop arm springs are hooked into little hangers from the axle tube. There are also lead wire retainers. It just looks so "Pro Car" to me
Next up, a 1972 Pro motor...
- Peter Horvath likes this
Rick Thigpen
Check out Steve Okeefe's great web site at its new home here at Slotblog:
The Independent Scratchbuilder
There's much more to come...
#48

Posted 22 September 2023 - 03:20 PM
Sort of copied it - but then came the Diamonds...
#49

Posted 22 September 2023 - 09:19 PM
Brandon Kaaren of Brooklyn, NY was using the "L" stop for droparm rock on his chassis I first saw in 1970 & may have used it sooner.
I intend to live forever! So far, so good.
#50

Posted 26 September 2023 - 10:53 AM
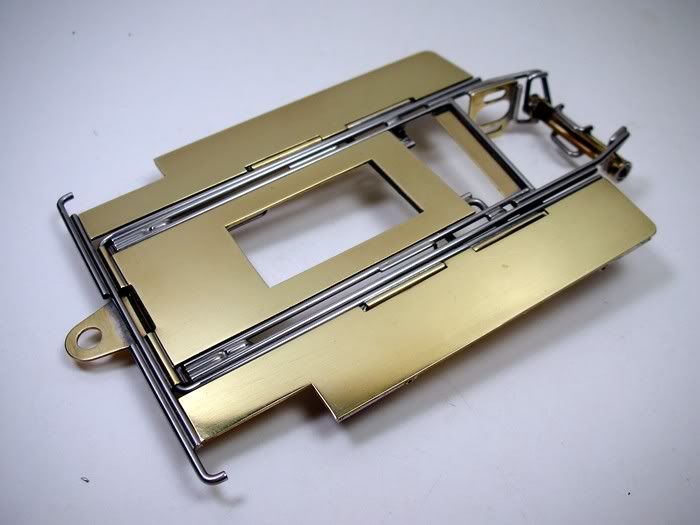
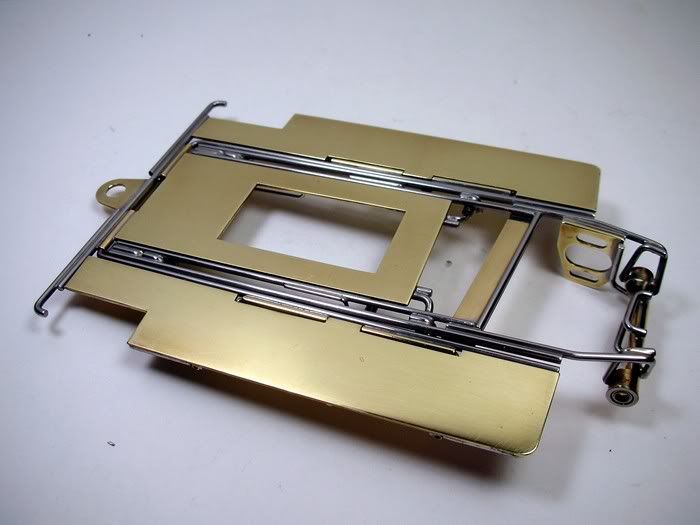
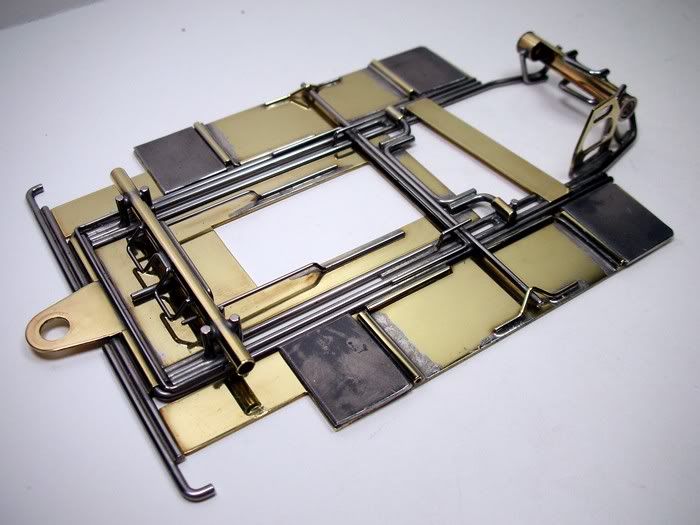
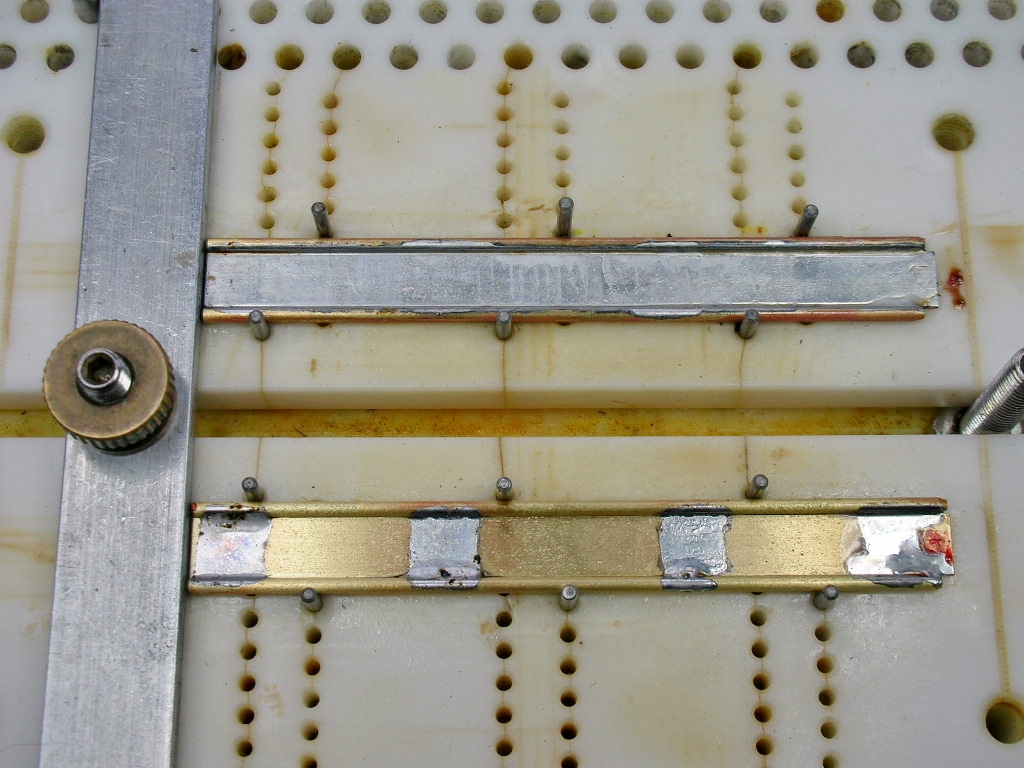
Pans. They are 1/4" X .030" brass strip with 1/16" brass rod on each side:
The Ricks jig holds the pieces in place. Slowly moving the soldering iron down the length of the pan connects the 4 "solder blobs". The extra solder is dragged to the end of the extra long pan.....
.......which is cut off to finish them:
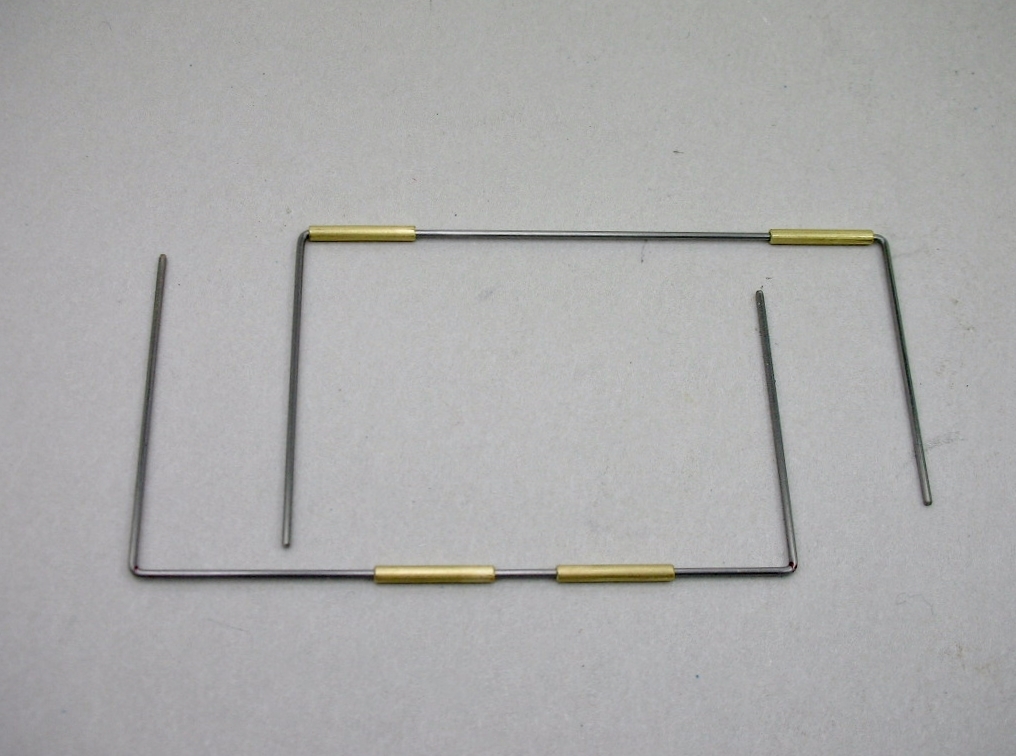
George Parks used .030" piano wire and 1/16" pin tube for pan hinges. Many Pro builders used a heavier 1/16" - 3/32" combo, even into the early angle winder era, before the smaller stuff became the norm:
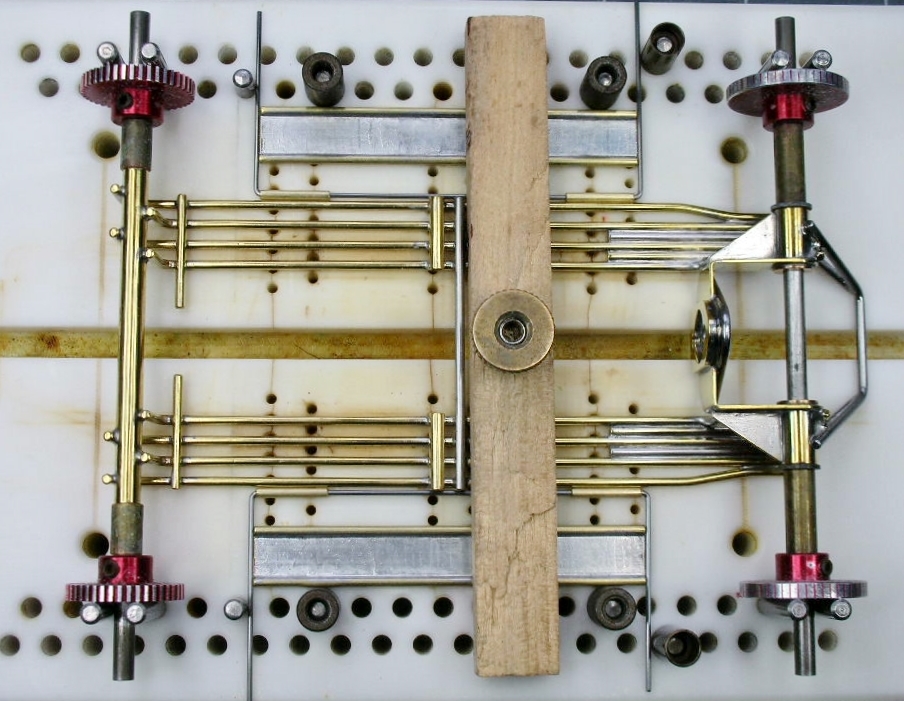
Everything in the jig ready to go:
Starting to look like something: ![]()
Body mounts are next.....
- Tex, Peter Horvath, ajd350 and 1 other like this
Rick Thigpen
Check out Steve Okeefe's great web site at its new home here at Slotblog:
The Independent Scratchbuilder
There's much more to come...


