In the last steps I will only further comment what is not straigthforward.
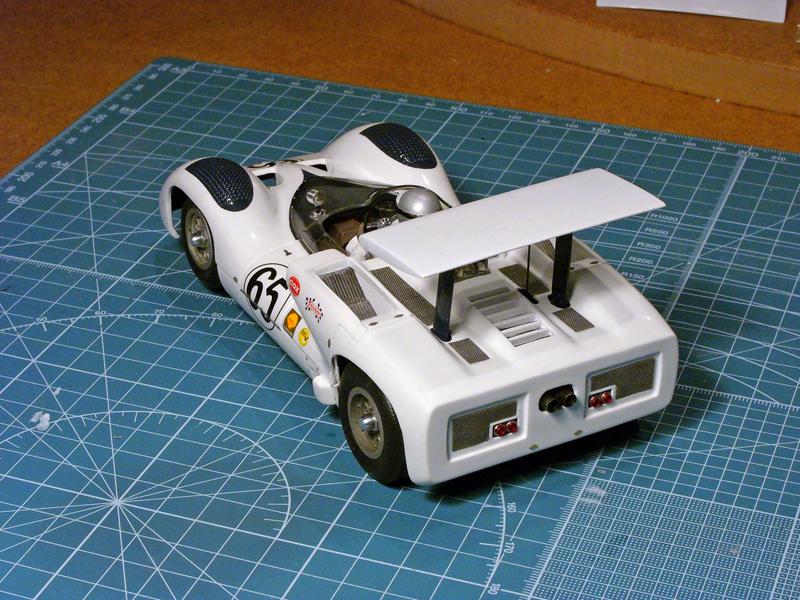
Here there is just one thing quite confusing when you will see some pictures later: I decided AFTER the painting to drill holes behind the back of the pilot, for the safety belt.
I should have made it earlier ...
As I modified during the process (and as far as for the painting surface itself the modification is not noticeable) you will see in some next steps those 2 holes suddenly appear...
For the other 2E to come (exception being made to Don's one as he does not want those holes) I will drill the holes before the white primer, of course...
2 painted bodies.

The beginning of the masking process.

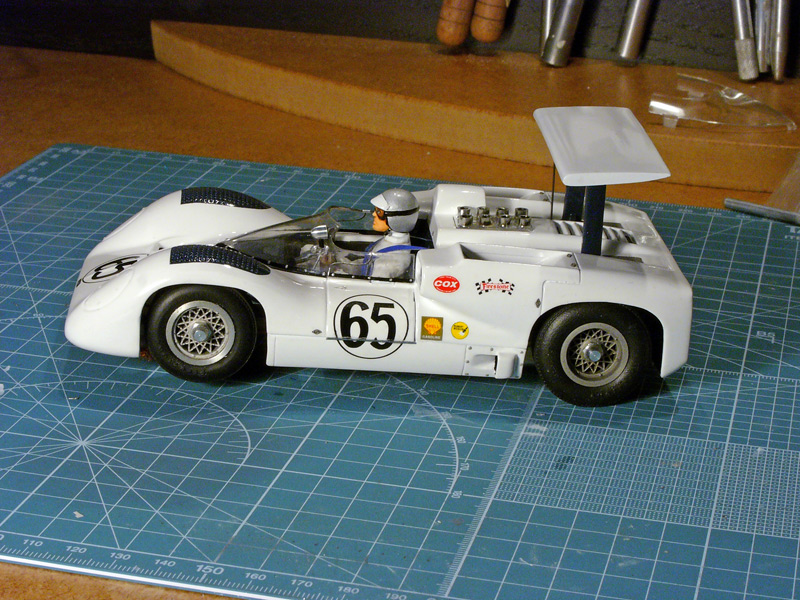
Once airbrush painted.

The decals are from Fischer, I found them on ebay. Perfect because the numbers have the correct size (the Cox are too big) which notably allows the "Chaparral" logo not to be on the vertical lower end but still in the same plan than the front race number.

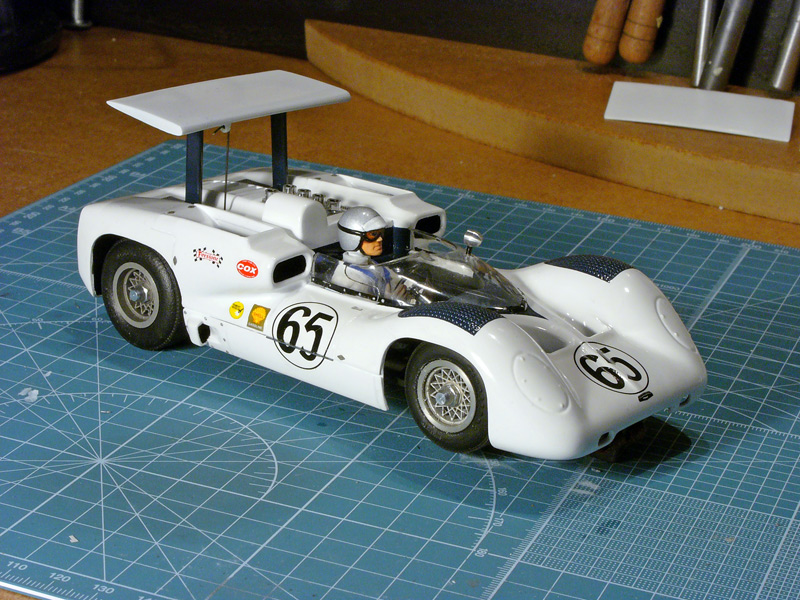
After two coats of gloss varnish for the body (no Chris, I said 2 coats, not 2 cans ...
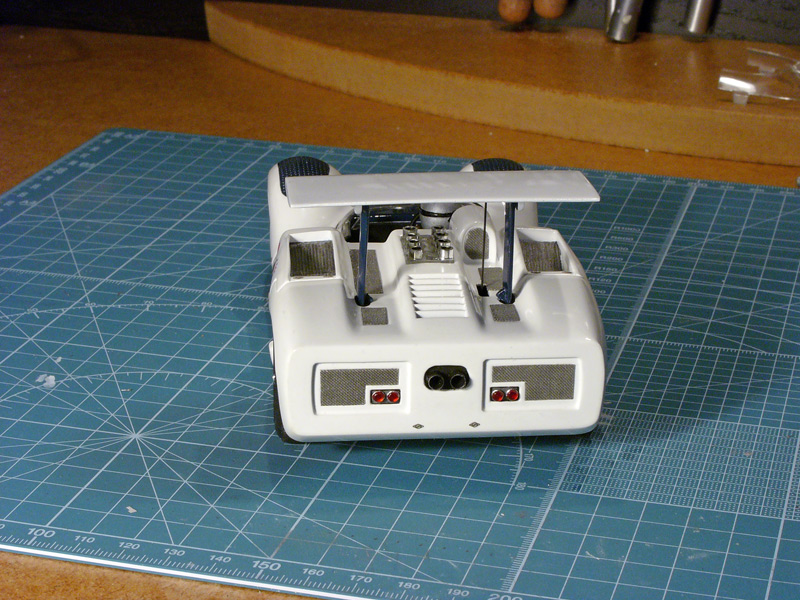
 ) I put the different meshings on. The mesh is first sprayed with mat varnish (to prevent it from rusting) before being cut and glued.
As can be seen I also added photo-etched Dzus fasteners and home-made door hinges.