

Build A Pro Motor

|
 |

Grand Champion Poster


Posted 23 July 2007 - 03:54 PM
Rick Thigpen
Check out Steve Okeefe's great web site at its new home here at Slotblog:
The Independent Scratchbuilder
There's much more to come...
The Dokktor is IN

Posted 23 July 2007 - 03:57 PM


Philippe de Lespinay
Body Painter Extraordinaire
Posted 23 July 2007 - 03:58 PM
Jairus H Watson - Artist
Need something painted, soldered, carved, or killed? - jairuswtsn@aol.com
www.slotcarsmag.com
www.jairuswatson.net
http://www.ratholecustoms.com
Check out some of the cool stuff on my Fotki!

Posted 23 July 2007 - 07:15 PM

Body Painter Extraordinaire
Posted 24 July 2007 - 03:16 PM

Jairus H Watson - Artist
Need something painted, soldered, carved, or killed? - jairuswtsn@aol.com
www.slotcarsmag.com
www.jairuswatson.net
http://www.ratholecustoms.com
Check out some of the cool stuff on my Fotki!
Body Painter Extraordinaire
Posted 24 July 2007 - 10:25 PM
Jairus H Watson - Artist
Need something painted, soldered, carved, or killed? - jairuswtsn@aol.com
www.slotcarsmag.com
www.jairuswatson.net
http://www.ratholecustoms.com
Check out some of the cool stuff on my Fotki!
Body Painter Extraordinaire
Posted 25 July 2007 - 12:41 AM
Jairus H Watson - Artist
Need something painted, soldered, carved, or killed? - jairuswtsn@aol.com
www.slotcarsmag.com
www.jairuswatson.net
http://www.ratholecustoms.com
Check out some of the cool stuff on my Fotki!
Body Painter Extraordinaire
Posted 25 July 2007 - 05:39 PM

Jairus H Watson - Artist
Need something painted, soldered, carved, or killed? - jairuswtsn@aol.com
www.slotcarsmag.com
www.jairuswatson.net
http://www.ratholecustoms.com
Check out some of the cool stuff on my Fotki!
The Dokktor is IN
Posted 25 July 2007 - 07:45 PM
Philippe de Lespinay
Race Leader

Posted 25 July 2007 - 10:13 PM
Jairus, on Jul 25 2007, 02:39 PM, said:
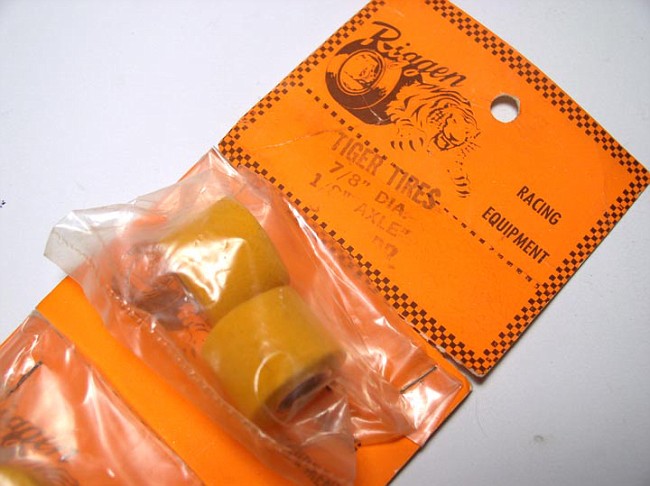
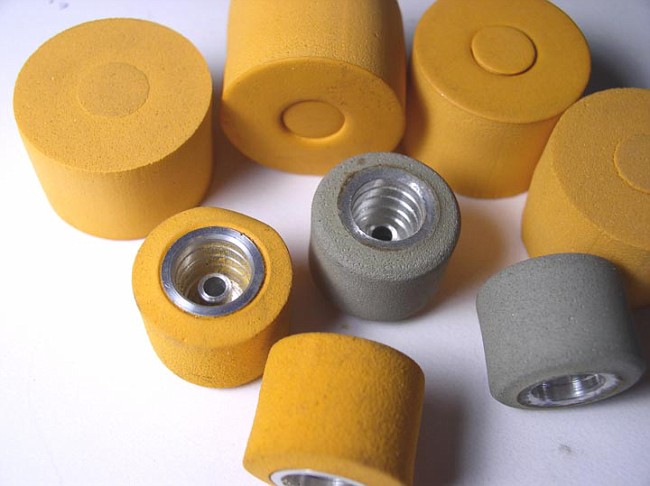
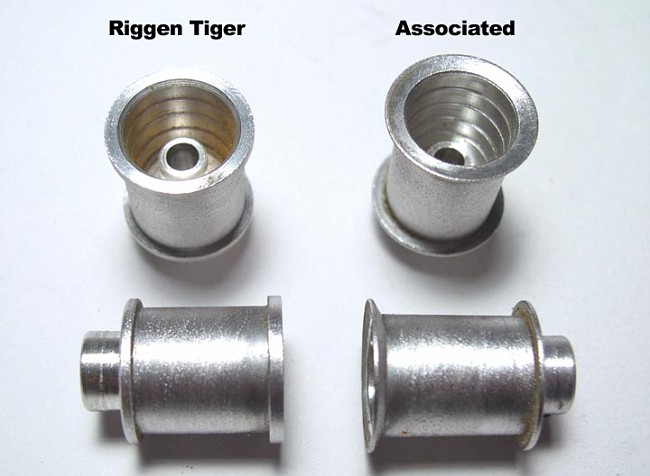
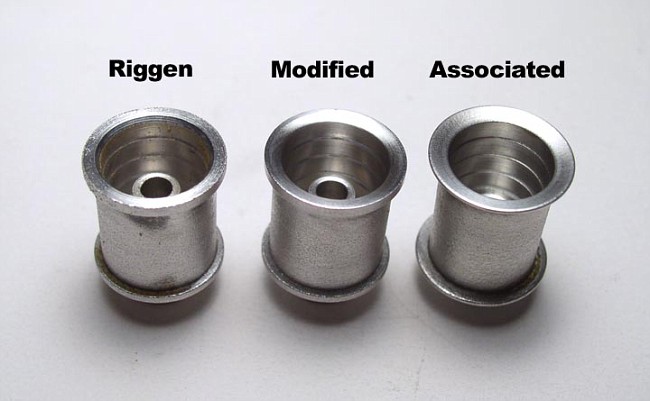
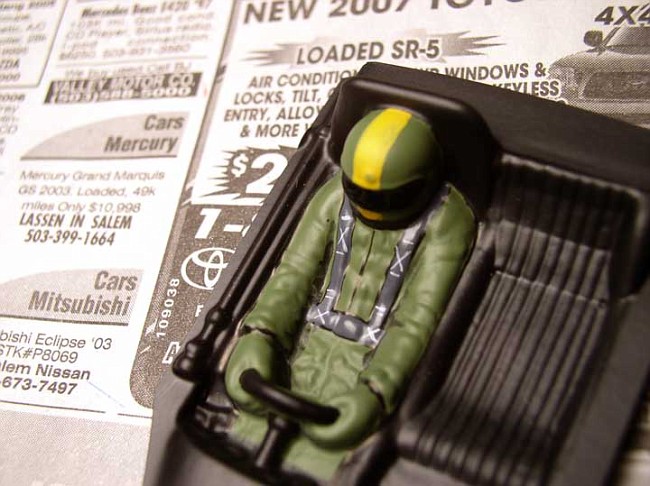
The Wheels
...How did I do it you ask? Well, not owning a lathe I chucked up the rim in my dremmel and while spinning at slow speed applied a small modeling file to grind down the face. Then re-surfaced with 220grit, 320grit, 600grit and polished with steel wool. Tada!...
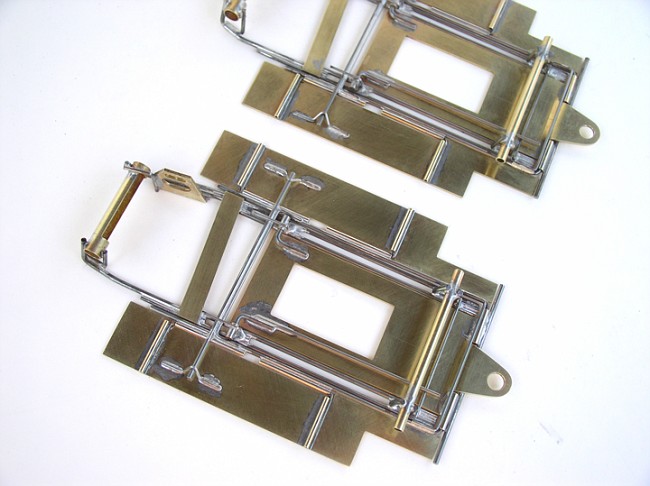
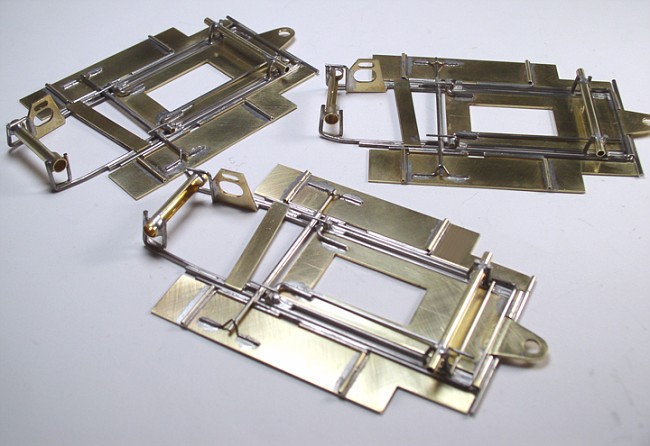
The lathe is great tool, but knowing how to do something, really 'doing without' ... is far more important. The same spirit (and talent) shown by Rick when he scratchbuilt his own Gurney NASCAR frame, cause he was short the bucks to buy one. Keep it up.
Grand Champion Poster

Posted 26 July 2007 - 07:26 AM
Anthony 'Tonyp' Przybylowicz
5/28/50-12/20/21
Requiescat in Pace
Body Painter Extraordinaire
Posted 28 July 2007 - 11:04 AM

Jairus H Watson - Artist
Need something painted, soldered, carved, or killed? - jairuswtsn@aol.com
www.slotcarsmag.com
www.jairuswatson.net
http://www.ratholecustoms.com
Check out some of the cool stuff on my Fotki!
On The Lead Lap

Posted 29 July 2007 - 02:45 AM
Marcus P. Hagen -- see below, my five favorite quotes: applicable to slot cars & life in general.
[ "Everyone is entitled to his own opinion, but not his own facts.". . Daniel Patrick Moynihan ]
[ "Time is the best teacher. Unfortunately, it kills all its students.". . . . . . . . Hector Berlioz ]
[ "There is a very fine line between 'hobby' and 'mental illness." . . . . . . . . . . . Dave Barry ]
[ "Build what you like to build, they are all doomed." . . . . . . . . . . . . . . . . . . . . Prof. Fate ]
[ "The less rules the more fun. Run what you brung." . . . . . . . . . . . . . . . . . . . . . Larry LS ]
Grand Champion Poster
Posted 29 July 2007 - 11:02 AM
Jairus, on Jul 28 2007, 09:04 AM, said:
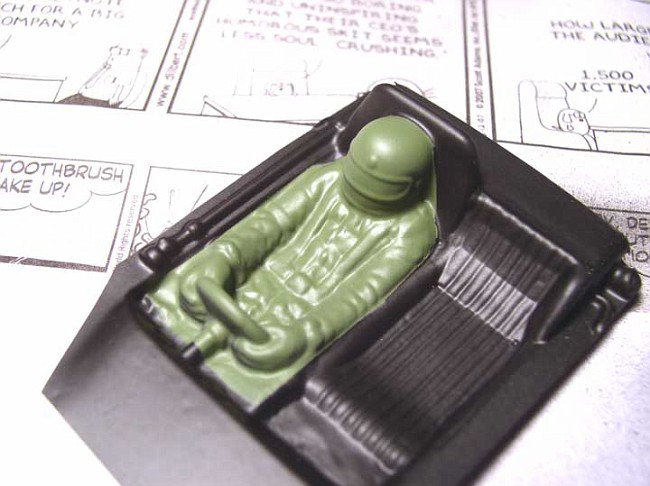
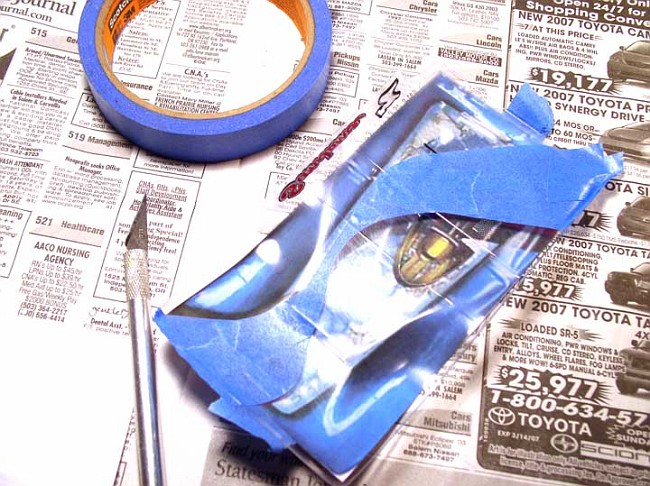
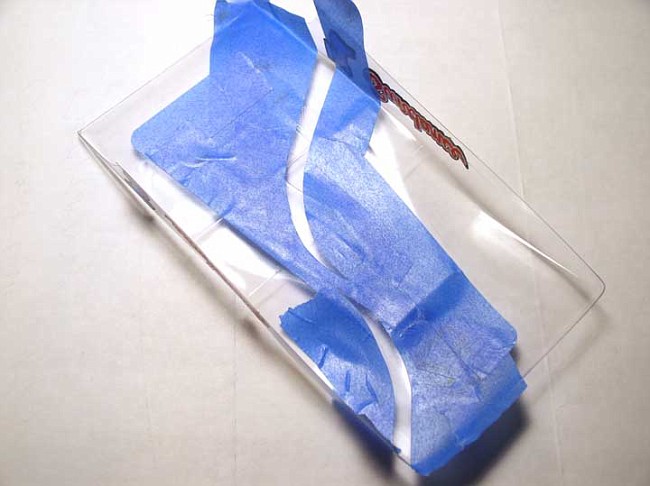
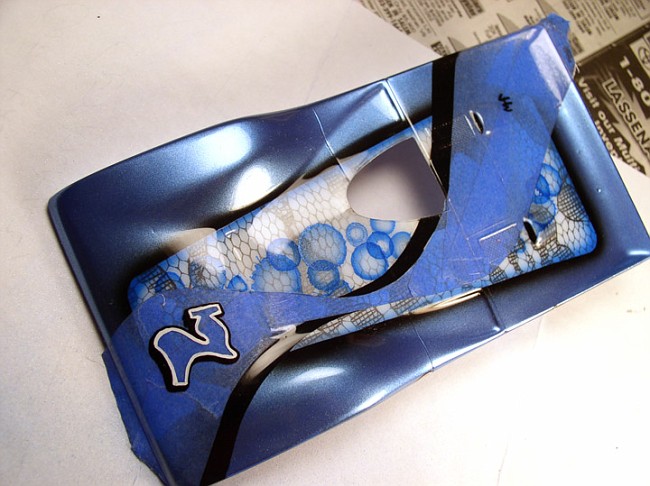
Ah, the crowning glory is about to be applied to this fantastic build. Please show us the driver too as your artistry with a brush is truly inspiring. I can't wait until we can do one of these icons together. I've photocopied every page of the Car Model series and I'm in the process of reading every word and highlighting the critical details. I've also dug deep into "my drawers"Update, Body cut
At any rate, looks like it's ready for paint!!!
 (the drawers I store my vintage parts in!) to find the Korrect parts. But, I've got a "Starship" journey to take first.
 Rick Thigpen
Check out Steve Okeefe's great web site at its new home here at Slotblog:
The Independent Scratchbuilder
There's much more to come...
Body Painter Extraordinaire
Posted 29 July 2007 - 03:23 PM
 Hope I can live up to it...

Jairus H Watson - Artist
Need something painted, soldered, carved, or killed? - jairuswtsn@aol.com
www.slotcarsmag.com
www.jairuswatson.net
http://www.ratholecustoms.com
Check out some of the cool stuff on my Fotki!
Body Painter Extraordinaire
Posted 29 July 2007 - 03:29 PM
Jairus H Watson - Artist
Need something painted, soldered, carved, or killed? - jairuswtsn@aol.com
www.slotcarsmag.com
www.jairuswatson.net
http://www.ratholecustoms.com
Check out some of the cool stuff on my Fotki!
Checkered Flag in Hand

Posted 29 July 2007 - 04:43 PM
Jairus, on Jul 29 2007, 01:29 PM, said:
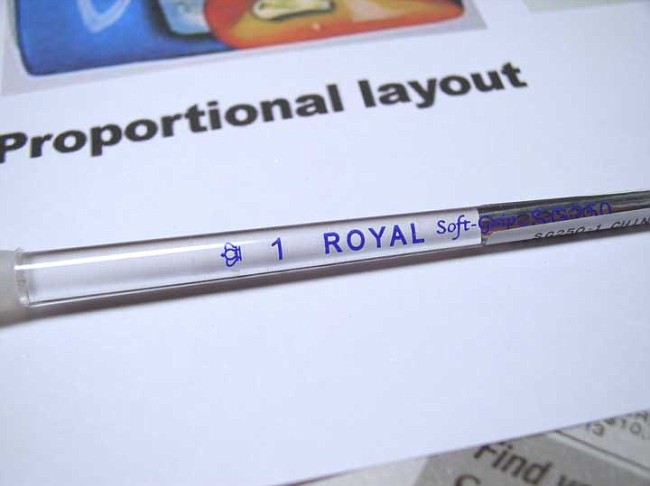
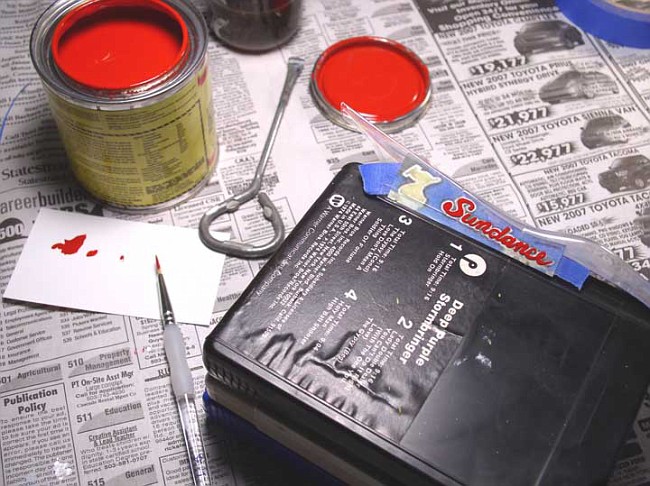
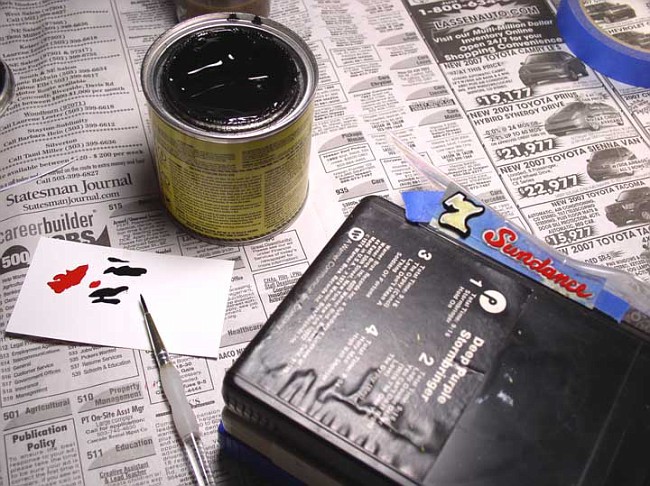
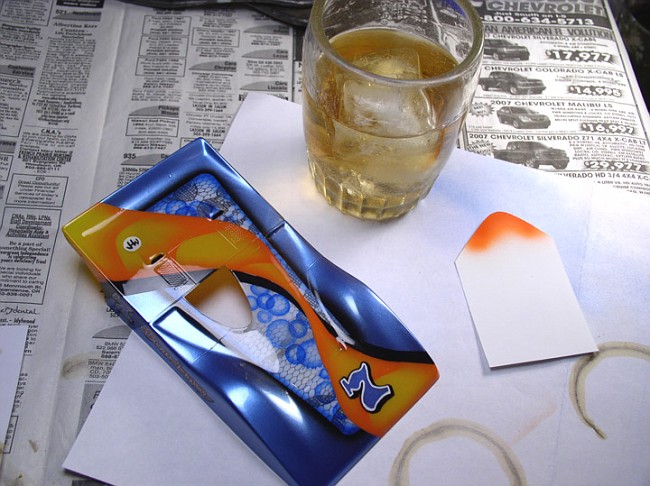
That's really important for all you aspiring hand letterers out there. Aligning the bristles and having the paint loaded properly allow for even and consistent brush strokes.Another prop is a business card to wipe the brush tip on. It prepares the tip prior to touching it to the body. For instance if I dab it on the card it billows the brush fibers and loads the tip for large fill areas.
If I roll the tip horizontally against the card, in the pool of paint, it sharpens the tip forcing the paint back up into the bristles and thus a finer tip.
Body Painter Extraordinaire
Posted 29 July 2007 - 04:54 PM
Jairus H Watson - Artist
Need something painted, soldered, carved, or killed? - jairuswtsn@aol.com
www.slotcarsmag.com
www.jairuswatson.net
http://www.ratholecustoms.com
Check out some of the cool stuff on my Fotki!
Grand Champion Poster

Posted 29 July 2007 - 06:27 PM
Body Painter Extraordinaire
Posted 29 July 2007 - 11:40 PM

Jairus H Watson - Artist
Need something painted, soldered, carved, or killed? - jairuswtsn@aol.com
www.slotcarsmag.com
www.jairuswatson.net
http://www.ratholecustoms.com
Check out some of the cool stuff on my Fotki!
Body Painter Extraordinaire
Posted 30 July 2007 - 11:16 AM
Jairus H Watson - Artist
Need something painted, soldered, carved, or killed? - jairuswtsn@aol.com
www.slotcarsmag.com
www.jairuswatson.net
http://www.ratholecustoms.com
Check out some of the cool stuff on my Fotki!
Body Painter Extraordinaire
Posted 31 July 2007 - 10:03 AM
Jairus H Watson - Artist
Need something painted, soldered, carved, or killed? - jairuswtsn@aol.com
www.slotcarsmag.com
www.jairuswatson.net
http://www.ratholecustoms.com
Check out some of the cool stuff on my Fotki!
Body Painter Extraordinaire
Posted 31 July 2007 - 04:38 PM

Jairus H Watson - Artist
Need something painted, soldered, carved, or killed? - jairuswtsn@aol.com
www.slotcarsmag.com
www.jairuswatson.net
http://www.ratholecustoms.com
Check out some of the cool stuff on my Fotki!
Body Painter Extraordinaire
Posted 31 July 2007 - 04:40 PM

Jairus H Watson - Artist
Need something painted, soldered, carved, or killed? - jairuswtsn@aol.com
www.slotcarsmag.com
www.jairuswatson.net
http://www.ratholecustoms.com
Check out some of the cool stuff on my Fotki!
Body Painter Extraordinaire
Posted 31 July 2007 - 04:41 PM

Jairus H Watson - Artist
Need something painted, soldered, carved, or killed? - jairuswtsn@aol.com
www.slotcarsmag.com
www.jairuswatson.net
http://www.ratholecustoms.com
Check out some of the cool stuff on my Fotki!


