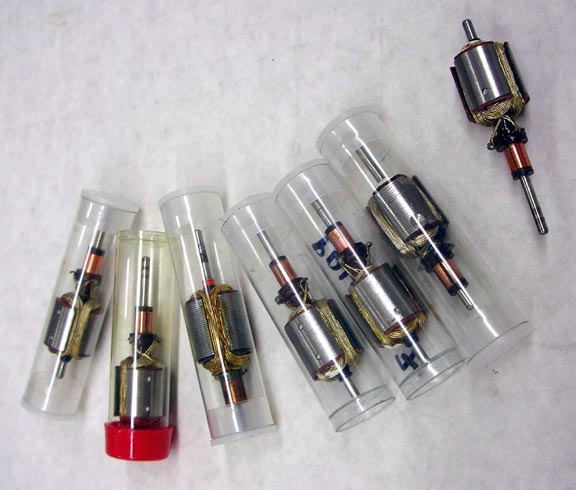
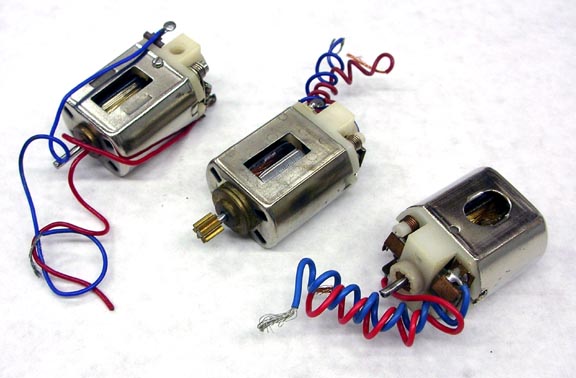
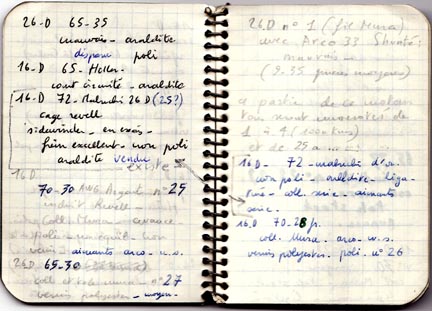
I was 16 years old in 1966 and built and entered a car in the 6th Rod & Custom Road Race. Man, I was in WAY over my head. ![]() But that's a story for another day.
But that's a story for another day. ![]()
Since I've already built these cars as a kid, I know I would have fun doing these new builds as the 63 year old retired Journeyman Machinist I am today. And, having fun building and driving these great old cars is what this is all about.
So, I'll be jumping into the time machine (with my Rick's Jig in my pocket) and traveling to 1966 to build my R&C entries. ![]()
For my motor I dug up an original period rewound Russkit 23:
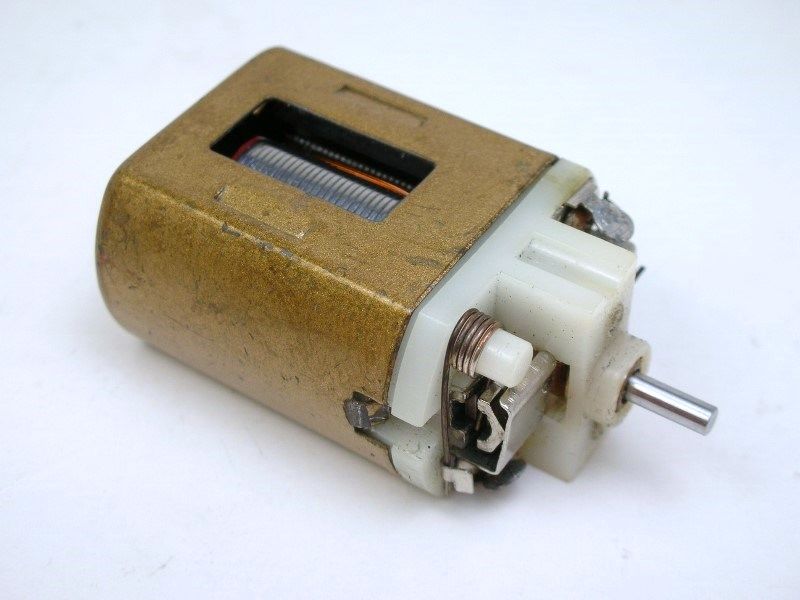
Here she is torn down. The arm was lightly epoxied and drill balanced and reads .6 ohms. It's got a French/Tradeship 11 degree comm, French/Tradeship HD magnets and HD brush springs.
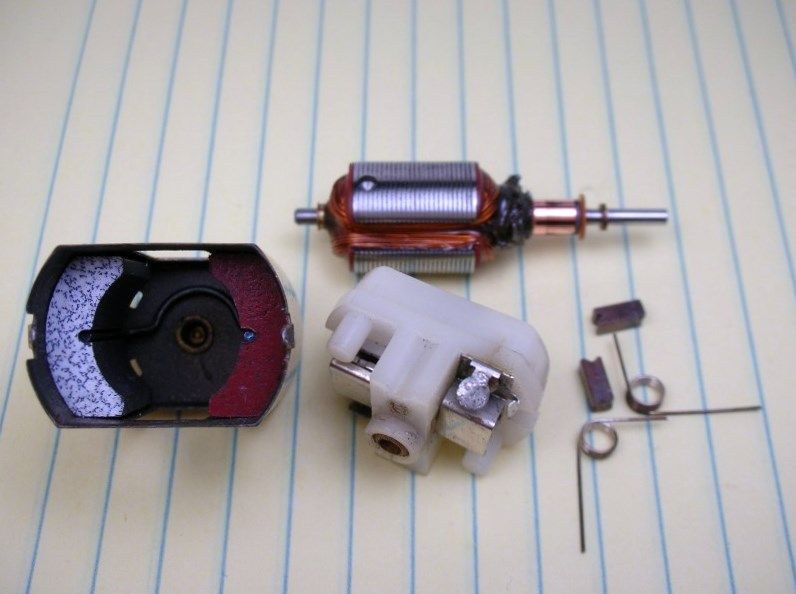
I could have just used this motor as is but what fun would that be? I decided to restore the armature and build a new setup.
The comm was a mess. I had to take .009" of the diameter to clean it up. There probably is not a lot of life left in her but she should run like new until she blows. I really enjoy experiencing how the "real deal" cars ran back in the day.....something Rodney taught me.
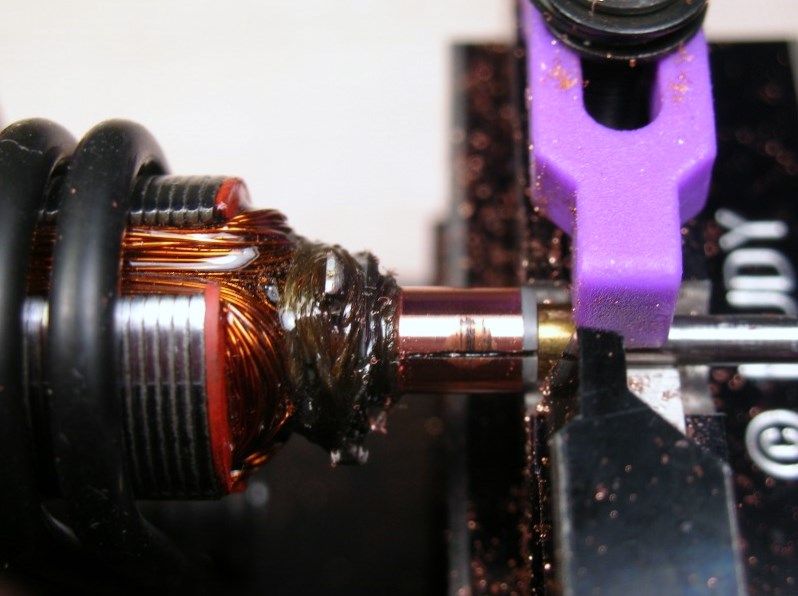
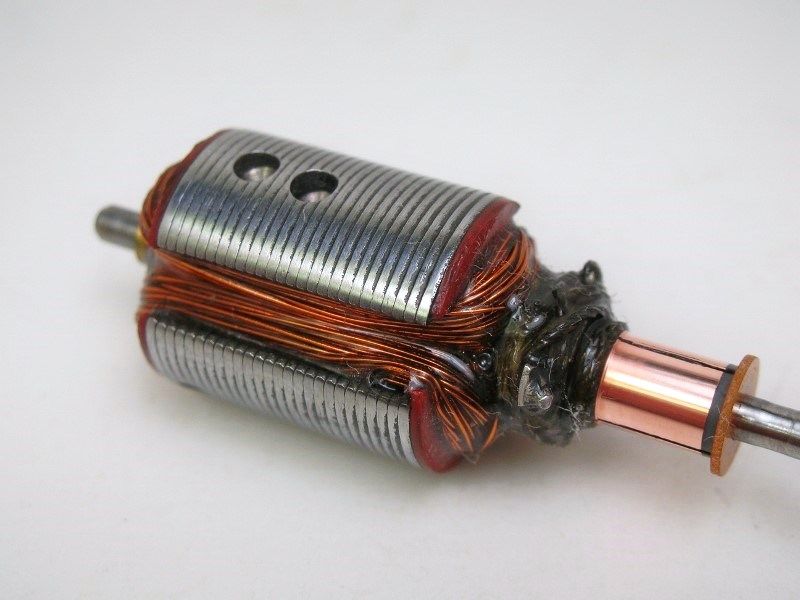
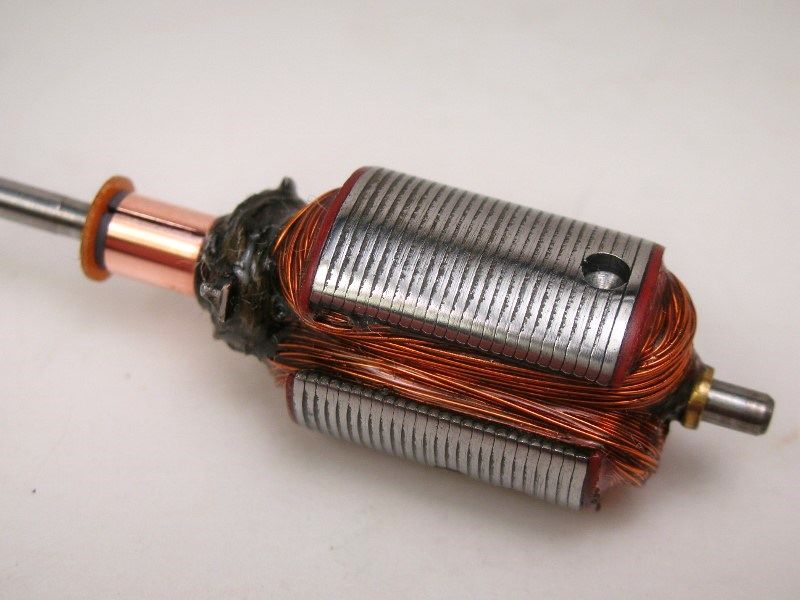
The thread wound on the comm was dry and frayed plus I needed to install a metal spacer on the back of the arm as I'm not going to run a "blind" bearing on my motor. The arm was recoated with epoxy and baked.
Here's the modified Mabuchi endbell. The brush hoods are soldered to the hex brush holders, the self taping screws were ditched for machine screws and the worn out oilite bushing replaced with a new ball bearing:
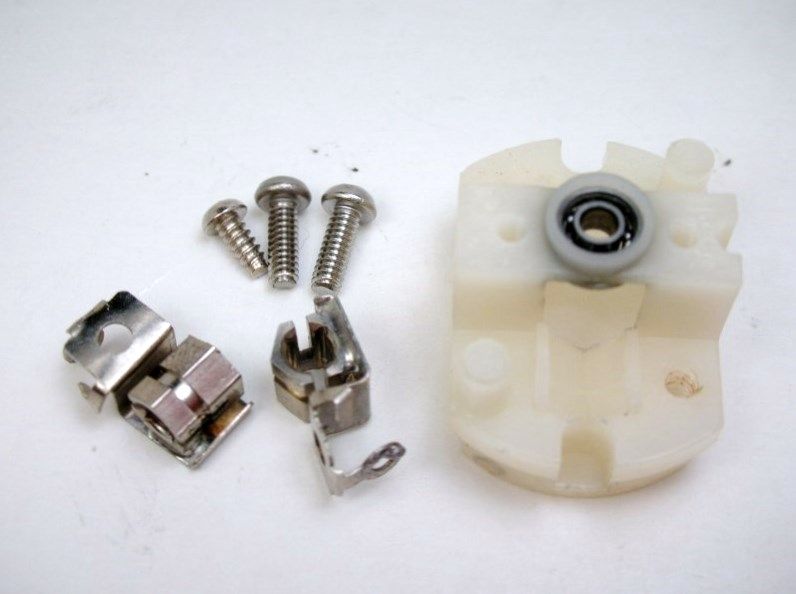
OK, ball bearings, I don't believe any of the top guys used them. Reading the race reports they talk about not using BB's in the rear axle so they will have more brakes. They even talk about setting up a tight gear mesh for more brakes.
I'm not a "top guy" and BB's were installed as part of a motor "hop-up" in all the magazines way before the R&C series. And I personally like them....I have fun building motors with them.
Machine screws vs self taping screws. Machinists generally don't like self taping screws. Using them is like driving a wedge into the hole of the brittle plastic. They are also prone to stripping out. I don't like them. They do not make me happy....machine screw do. ![]()
Soldering the brush hoods to the brush holders. I'm not sure when the first person realized this was a good idea. I had the job done before I thought about it. Hmmmmm.....maybe when I went back in time and did this, I actually started the practice ![]()
Mr Motor Can gets a ball bearing too:
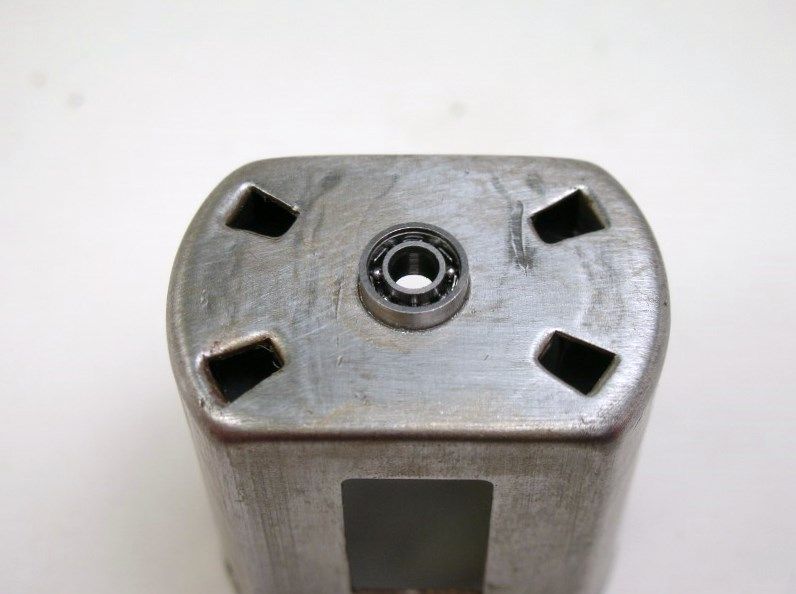
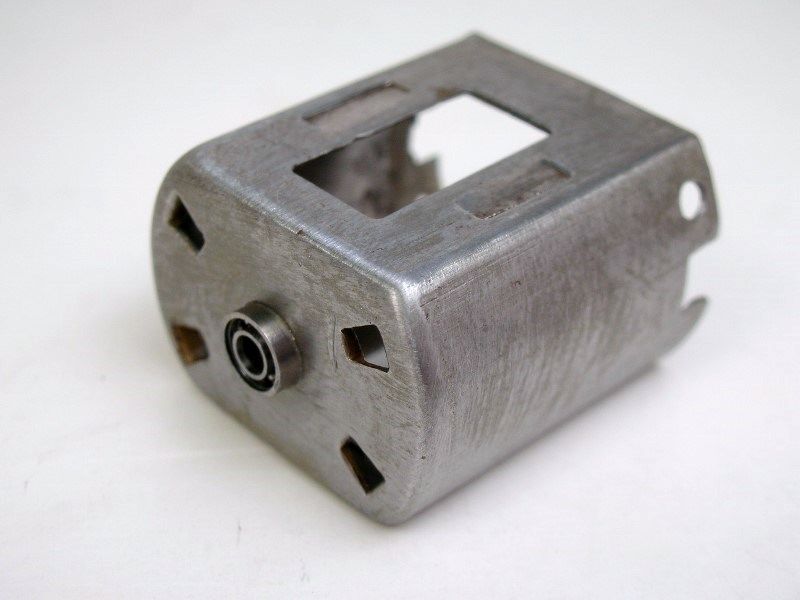
Ditching the blind bearing and replacing it with an endbell bearing was often done. This is the high end, "no brakes" version. The can is also drilled for endbell mounting screws, the magnet holding gizmo's are smashed flat and is ready for paint:
For magnets I'm using French/Tradeship like the original motor:
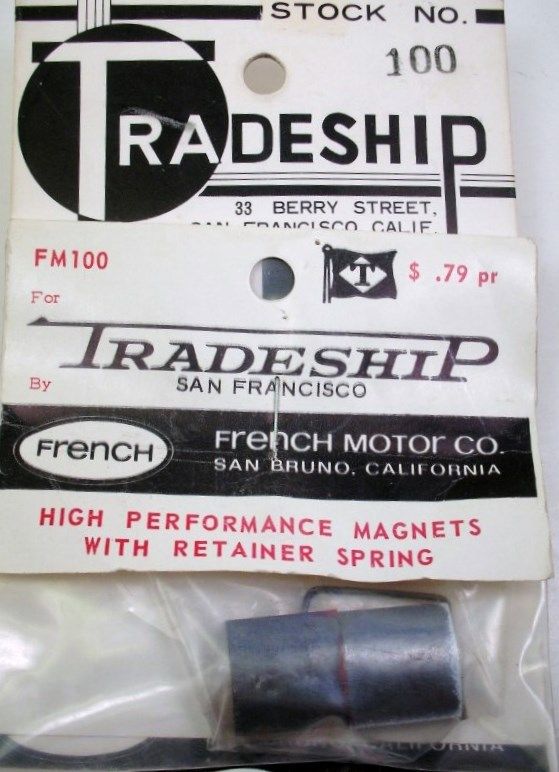
Since I have several sets I went through them with my gauss gauge to find a strong set that were matched:
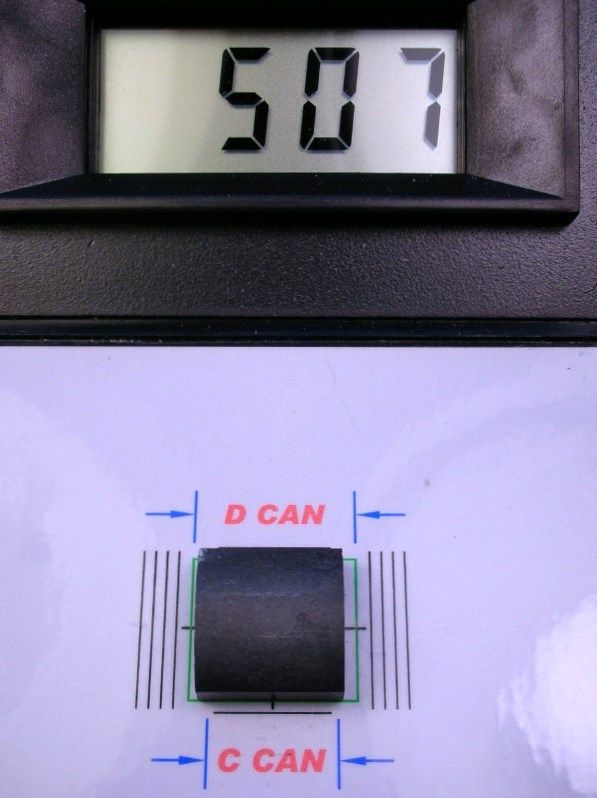
Not a bad reading. They are about as strong as Hemi's. Whatever you do, DON'T try and zap this type of magnet. It will just get weaker. If you don't believe me just ask our friend R-geo Rick!
Oh, I don't have a mechanical gauss gauge like Tom Malone used in period Car Model Magazine articles (although Eddie does!) Here are the magnets with lightly polished faces, magnet clip and .004" steel magnet shims:
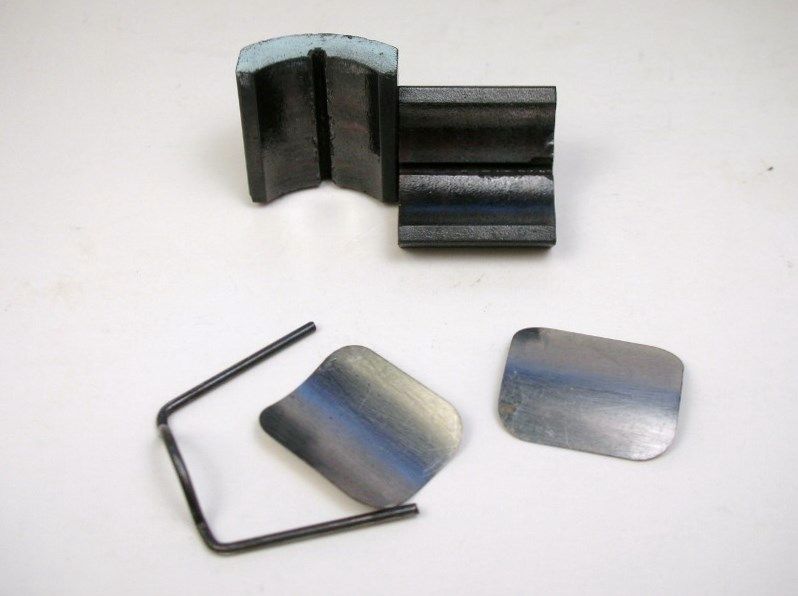
STEEL MAGNET SHIMS! ![]()
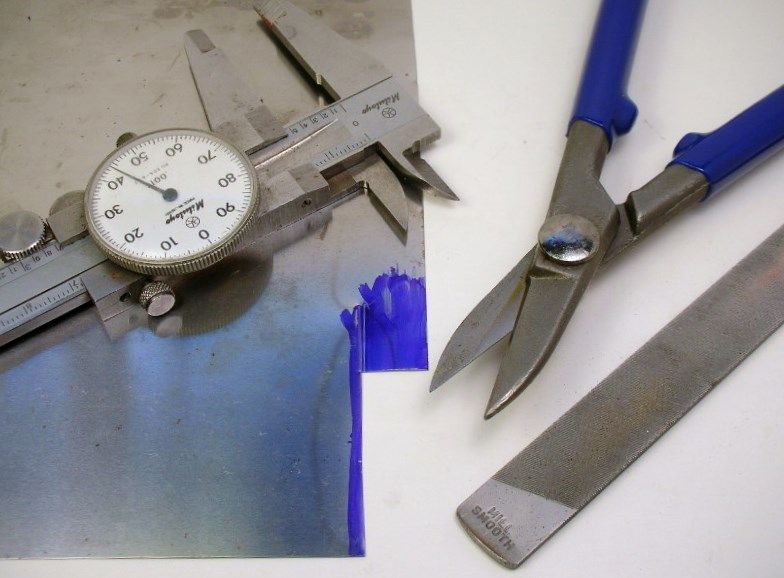
Yes, steel magnet shims. Machinists don't use masking tape. Actually, I've got period magazine articles where the author is cutting shims from old tin cans! Steel shim stock was readily available in 1966. ![]()
Here's how I made mine:
Okie Dokie, that's the motor. I'm not painting and assembling it yet. I want to use the bare can and endbell as my jig motor.
Time to build a chassis......which means I have to quit waffling on what body to use!
Onward


