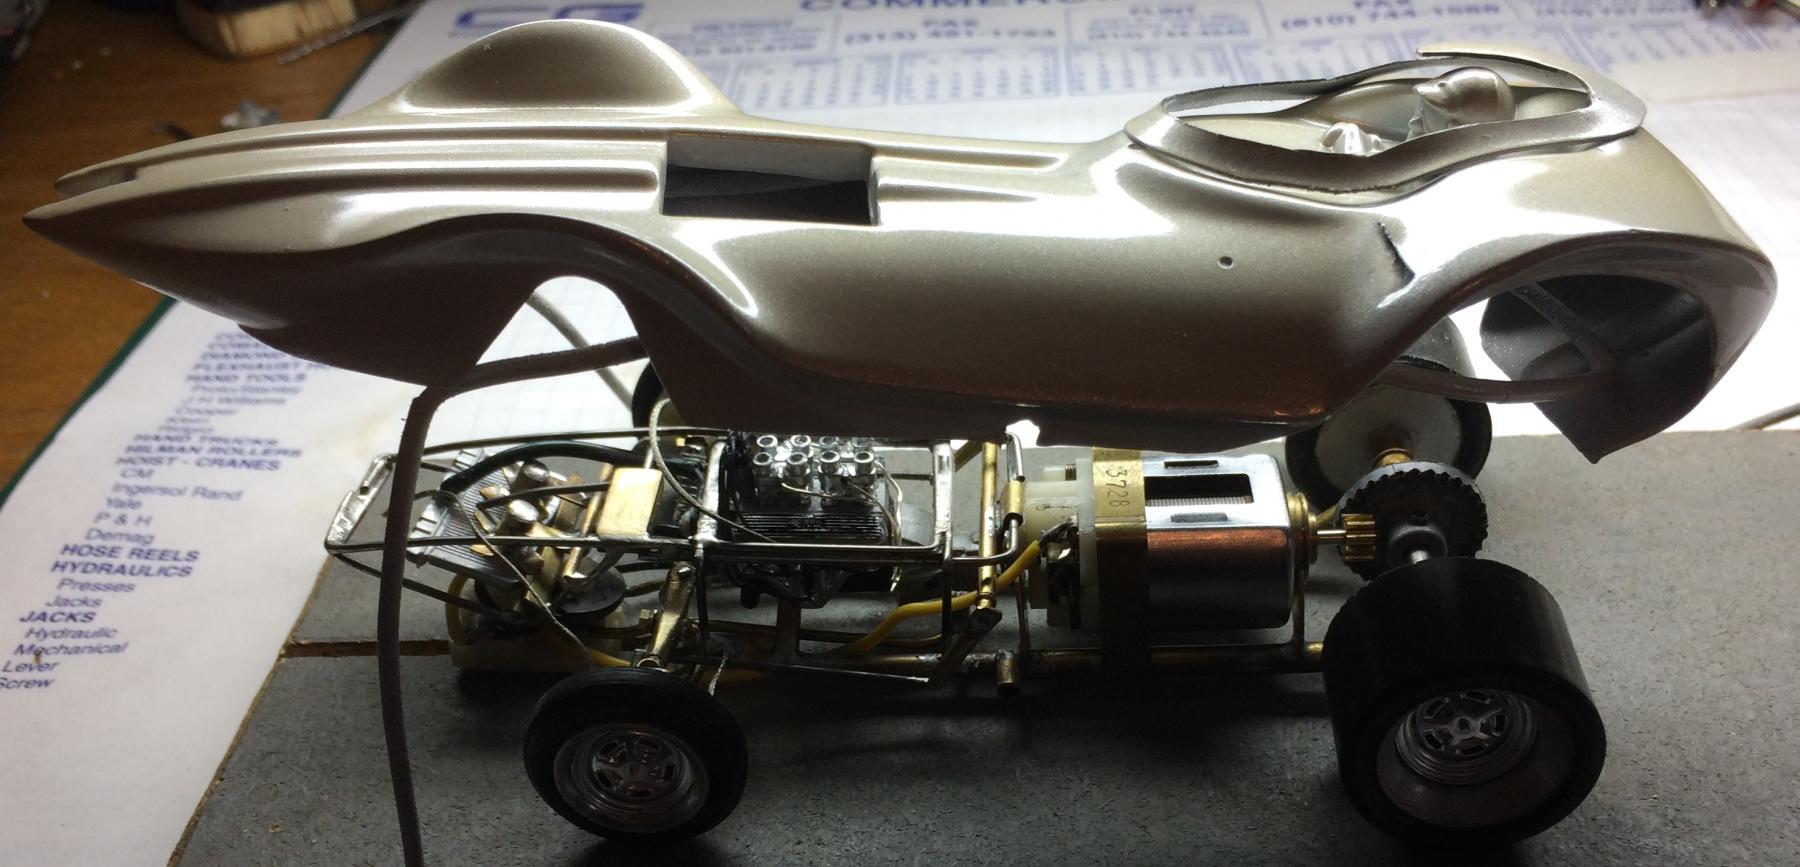
Beautiful work Dave!
Was aprehensive at first, but after seeing the front suspension.... WOW.
Keep going.
![]()

Vintage-style Dean Jeffries MantaRay
#26

Posted 20 March 2017 - 02:35 PM
Jairus H Watson - Artist
Need something painted, soldered, carved, or killed? - jairuswtsn@aol.com
www.slotcarsmag.com
www.jairuswatson.net
http://www.ratholecustoms.com
Check out some of the cool stuff on my Fotki!
#27

Posted 20 March 2017 - 03:46 PM
Why wouldn't you clear it with Testors or Tamiya clear lacquer. I have great results with those spray can clears over the same company's spray lacquers. They are slick with no rubbing necessary.
his Watson was done with testors spray can lacquer only.
- Fergy likes this
Matt Bishop
#28

Posted 21 March 2017 - 08:57 AM
Wow cool job on the Roadsters Matt! Reminds me of one of my favorite other projects I did. Sorry to stray from the question for a minute but I love these cars!
The last roadster to qualify at Indy, unfortunately it wrecked at the beginning of the race.
As for the choice in clear....I considered using a wet look clear which would have given the paint a nice deep look such as what you are showing on your cars. I actually had my Testors can on the bench when I decided to use the Pearl enamel. I have used the Pearl enamel over white in the past on my Beatnic Bandit and it gave the car an off white color that matches the picture above of the real MantaRay. I really wanted the pearl to pop more than it does from the Tamiya Pearl White alone and I wanted to soften the bright blue hue that the car has as well.
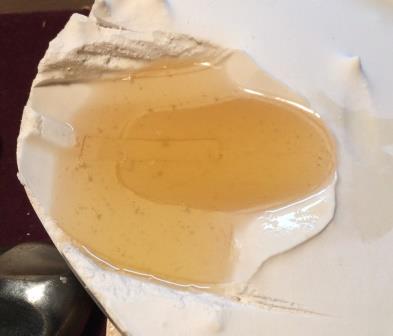
Here is what it looked like after just the Tamiya Pearl White.
#29

Posted 21 March 2017 - 09:52 AM
"Drive it like you're in it!!!"
"If everything feels under control... you are not going fast enough!"
Some people are like Slinkies... they're really good for nothing... but they still bring a smile to your face when you push them down a flight of stairs.
#31

Posted 21 March 2017 - 01:12 PM
Interestingly I used the Tamiya Pearl White lacquer and then put the enamel Clear Pearl over top.
I heard that enamel can go over a lacquer but not the other way around. I assume it is because how quickly the solvents come out of the paint but I don't know. Enamel takes forever to cure and perhaps the lacquer traps the solvents and causes problems. That is why I was worried when I put the color on.
I agree with Joseph Migliaccio that I should have chosen the Tamiya Clear Pearl to be safe. Wasn't in the cabinet, and I had no experience with it, so I chose to take the chance with the Testors enamel. I'd have been really bummed if it had backfired on me. I guess I will know when it dries.
Hard to tell Matt how the pearl is on the '63 Indy Car. It looks awesome in the picture, is the hue bright white with a blue shine to the pearl? I used the enamel pearl on my version of this car.
#33

Posted 21 March 2017 - 03:38 PM
My '63 Indy Watson actual photographs kind of silver-looking, but in reality it has the kind of blue shading as mentioned above.
Right about the enamel and lacquer paints, enamel over lacquer, but never lacquer over enamel. That applies to spray which uses thinners. I find brush painting, it doesn't matter and I can spray lacquer over brushed on enamel.
Some enamels such as Rustoleum crystal clear are so hot that if they are applied over lacquer, it is best to wait a couple weeks. Best bet is to just stick to the same product all the way through a build. I have stripped enough paint before it ever dried to have finally learned that lesson.
Matt Bishop
#34

Posted 22 March 2017 - 08:57 AM
I also have spent more timing stripping than painting I believe. Just painted some enamel on another car today a bit too heavy... argh.
Live and learn, or in my case, just keep on making the same old mistakes.
- Cheater likes this
#35

Posted 22 March 2017 - 12:11 PM
Dave,
I keep making the same mistakes, too!
- Cheater likes this
Matt Bishop
#36

Posted 27 March 2017 - 08:28 AM
Paint appears to be hardening up nicely.
I am trying to decide how I will attach the side pipes. Option 1 is to make them part of the body which will require them to be glued to the body. Option 2 is to make them part of the chassis and have the body slide in between them and the chassis rails. I am leaning to the second option as it will allow them to be tied to the chassis and routed up to the headers.
- slotbaker likes this
#37

Posted 30 March 2017 - 06:32 AM
Thanks Joe! Now I've got a direct video reference for the car attached to the thread!!!!! How many guys working on vintage thingies can say that.
I've been thinking about the fins and have already taken a first pass at trying to create them out of thin aluminum sheet. What I learned is I going to need a better plan than my normal break out a pin vice and have a go with the smallest drill I have. Precision machine work is not one of my talents. I think I saw an x-y table gathering dust on my dads work bench. Perhaps if I stack up 6 sheets and drill them all at once I can trim them to size and shape after the holes are drilled. Looking for ideas on this one. I'm not familiar with any other process like photo-etching I can do at home.
OK, so here is how it worked.
First I cut three strips of sheet aluminum into long thin strips. Then I put three holes through them with a pin vise so that I could put a pin in them to keep them lined up. I filed them so that they were closer to the same size. A quick run to the local builders supply store to get a 1/32 inch collet for my Dremel. And a trip across town to dig up the X-Y table from his work bench. Put it all together and it looks like this.
The X-Y table is like a vise that you can have the object being held move in fine increments in either direction. So I measured what I thought the distance should be and began to drill.
After all of the drilling the next step is to file them to fit the car. This should keep my busy a while.
- Cheater, Fergy and Slot_Grasshopper like this
#39

Posted 02 May 2017 - 11:32 AM
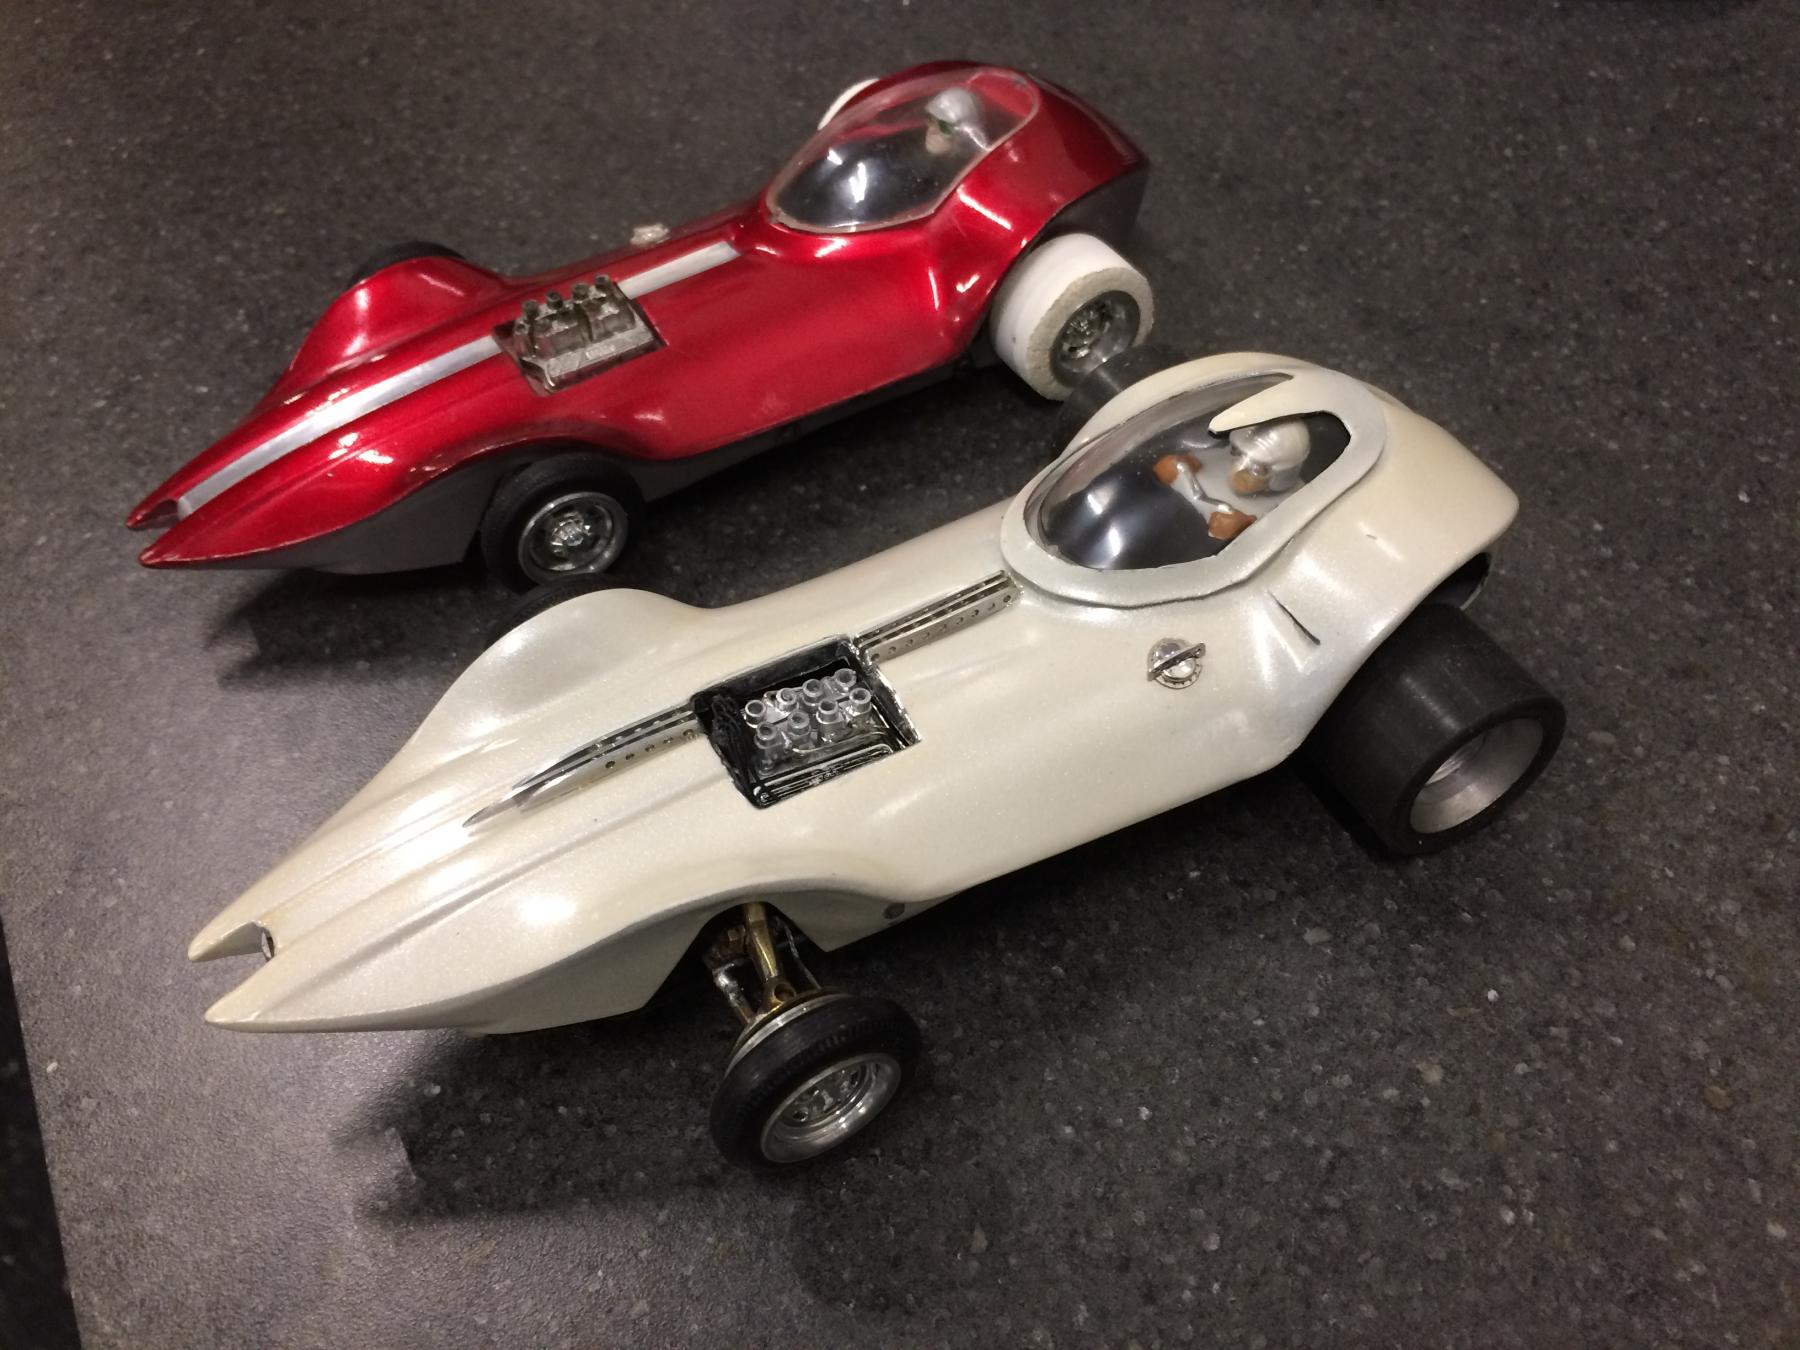
Some progress made, need to complete the side pipes and tint the canopy. Shown here along side my friend Jay's outstanding original MantaRay.
The chassis ran strong but the arm got burning hot after only a few laps. Need to investigate further.
- grooverunner likes this
#40

Posted 02 May 2017 - 03:42 PM
Good job Dave. I got kind of interested in what was out there and was really surprised none of the major kit companies never did a Manta Ray.
Matt Bishop
#41

Posted 03 May 2017 - 07:53 AM
That is an interesting question Matt. I have seen that there is a very large and expensive diecast version of the car and Hotwheels did a couple of detailed versions as well. Thanks for the compliment Matt. Very fun car to work on.


