Tony P's '68 Super Bat Pan Plumber
#26

Posted 30 June 2008 - 10:15 AM
A quick question.
Because of the way the tubes sit on top of the pans you didn't have to bend the L-shaped pan mounting wire with a little bend in it to sit flat on the bat pans?
But if the pans had a cut out for the hinge tubes you have had to bend it to sit flat, yes?
Looks great so far!!
GTP Joe Connolly
In theory there is no difference between theory and practice.
In practice there is.
#27

Posted 30 June 2008 - 10:53 AM
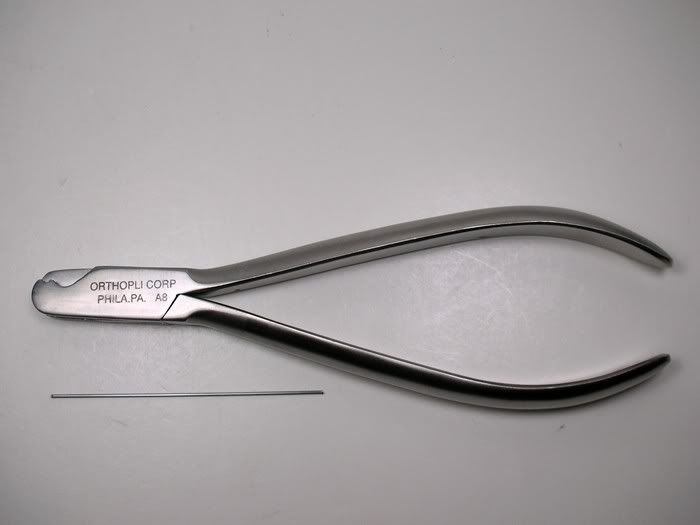
I've seen this type of plier on Ebay for $14.95. I bought my made in the USA pliers here:
#067 - Lingual Bar and Face Bow Bending Plier
They list for $70 or something but the VP Bill Jr. says he will sell them to hobby crazy slot car guys for $29.
You can also just make a mark on your needle nose pliers and make all the bends there if that works for you
------------------------------------------------------------------------------------------------------------------------------------------------------------------------------------
HEY... That was supposed to be a SECRET !!!!...
Only kidding...LOL
They also work great for bending .063 piano wire. After a few years of use, the jaws will start to spread and you may have to make a "U" shaped piece of .063 wire and solder it across the back of the two prong side of the pliers. BTW, don't try to bend .078 wire with them... That is how I broke my first pair...LOL...
12/15/40-4/21/14
Requiescat in Pace
#28

Posted 30 June 2008 - 11:03 AM
I also use that truly great British parallel-jaw pliers that I got many moons ago in a hardware store in Santa Ana.
Then I had this pair of neat wire benders that Al Riggen made for me. Unfortunately I only have the smaller one nowadays to form .032" wire to perfection. I OUGHT to build a new one for the "big" wire...
The advantage of such tools of course is to maintain a radius in the wire that does not cause fractures in this heat-treated hardened stuff.
So anything that does not break the wire is great!
Philippe de Lespinay
#29

Posted 30 June 2008 - 11:35 AM
Anthony 'Tonyp' Przybylowicz
5/28/50-12/20/21
Requiescat in Pace
#30

Posted 30 June 2008 - 01:23 PM
Sir, Thanks...
GTP Joe Connolly
In theory there is no difference between theory and practice.
In practice there is.
#31

Posted 30 June 2008 - 08:23 PM

.....this is a wire bender!"
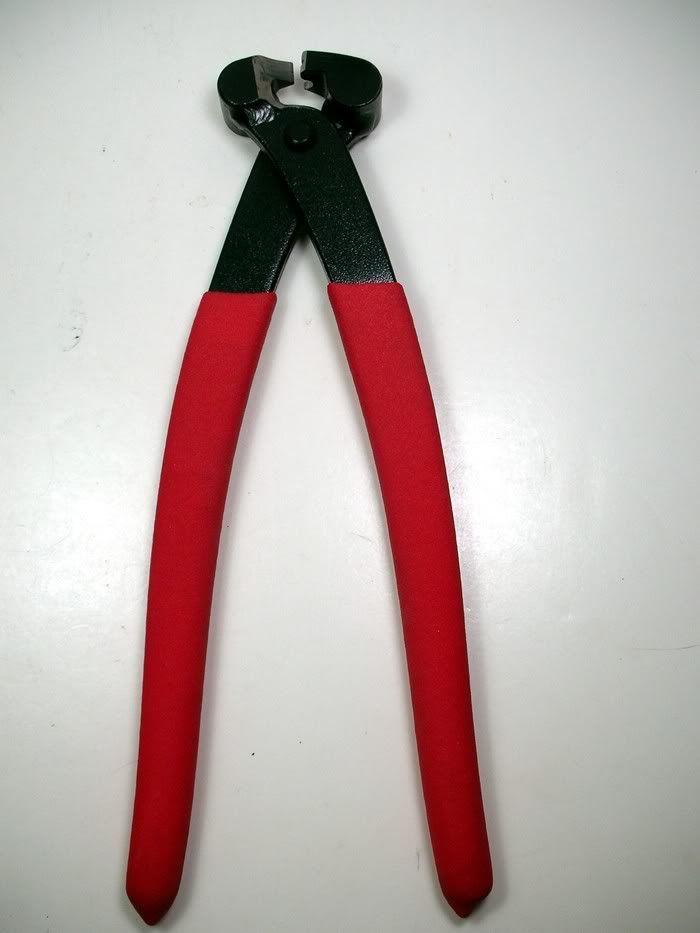
My buddy Steve Okeefe found these big beauties and modified them like so:
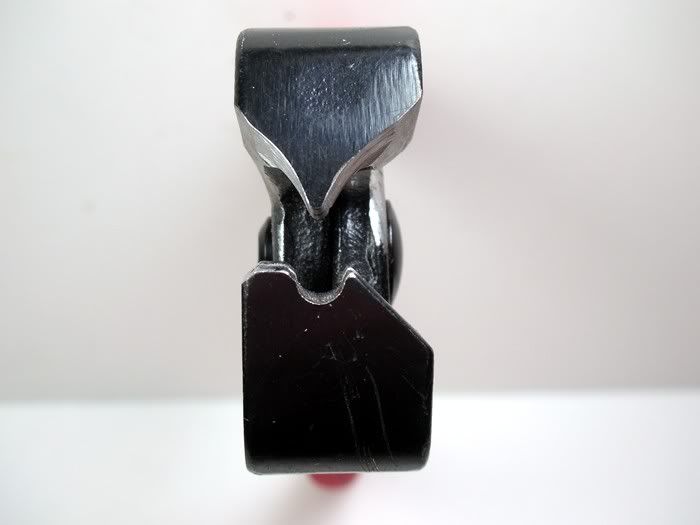
They put a nice little radius on the wire and prevent it from fracturing. Even better they allow us to make VERY accurate bends. Here is the email I sent Steve the first time I tried these out titled "HOLY FREEKING SMOKES!"
I CAN'T BELIEVE IT! EVEN THOUGH YOU TOLD ME SO I CAN'T BELIEVE IT!
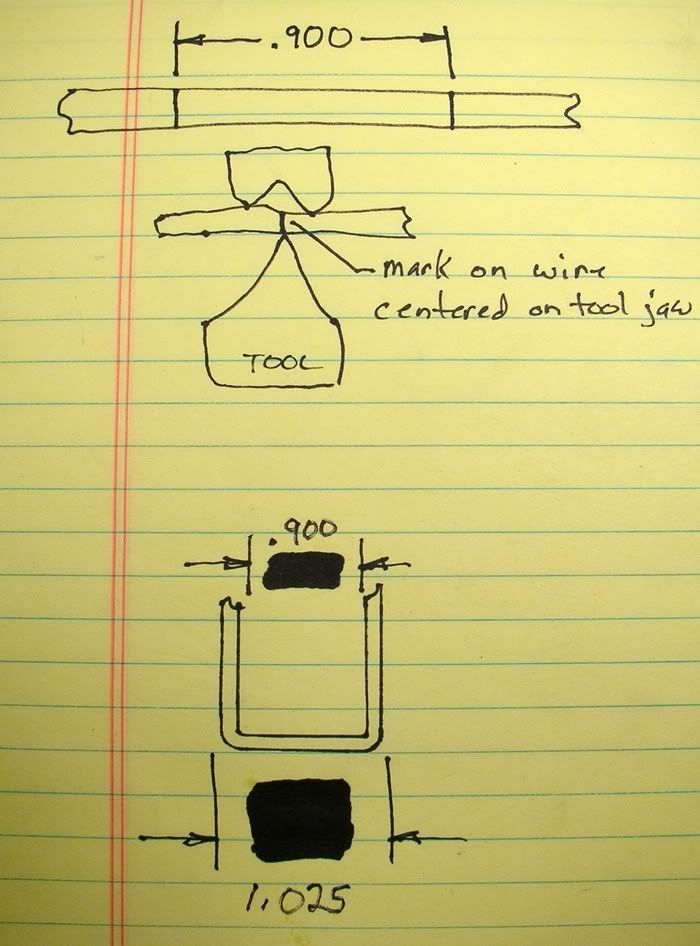
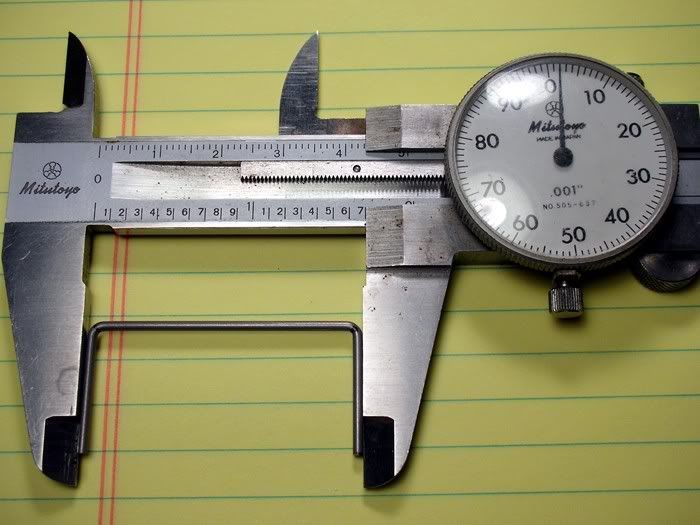
OK, OK, I'll stop yelling..........I marked a piece of 1/16" piano wire at .900" and bent it with your wire bender. It measured 1.025" on the outside, .125" greater than the marks on the outside and right on .900" on the inside.
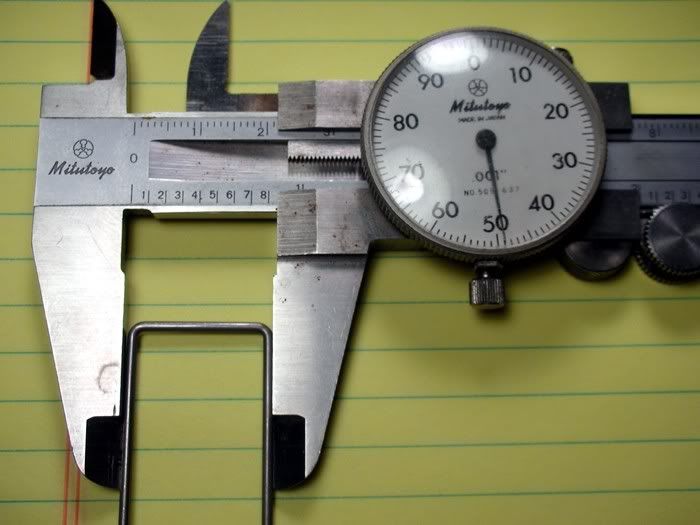
I wanted a U-shaped plumber brace to be 1.700 measured on the outside. I marked it at 1.575" and HOLY FREEKING SMOKES:
I thought it was dumb luck so I measured the inside of a Russkit bracket at about .850" and tried it again:
WEEEEEEEEEEEEEEEEEEEEEEEEEEEEE!!!!!!!!!!!!!!!!!!!!!!!!!!!!!!!!!!!!!!!!!!!!!!!!!!!!!!!!!!!!!!!!
THANK YOU STEVE!
That is indeed a wire bender
Rick Thigpen
Check out Steve Okeefe's great web site at its new home here at Slotblog:
The Independent Scratchbuilder
There's much more to come...
#32

Posted 30 June 2008 - 09:12 PM
Philippe de Lespinay
#33

Posted 04 July 2008 - 06:44 PM
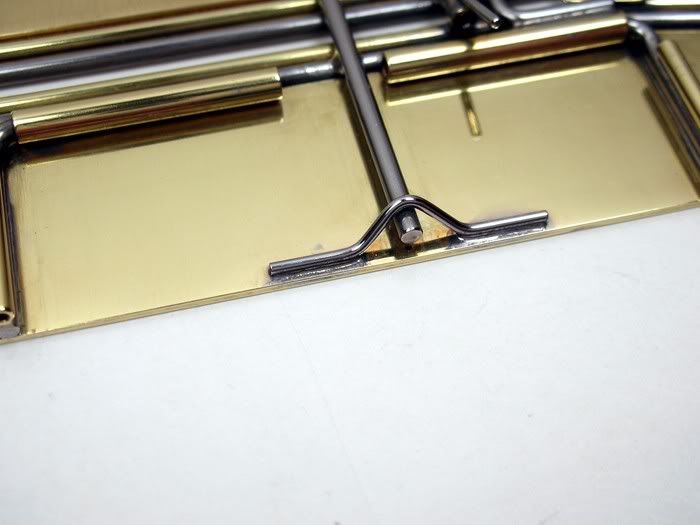
Another detail is the plumber up stop:
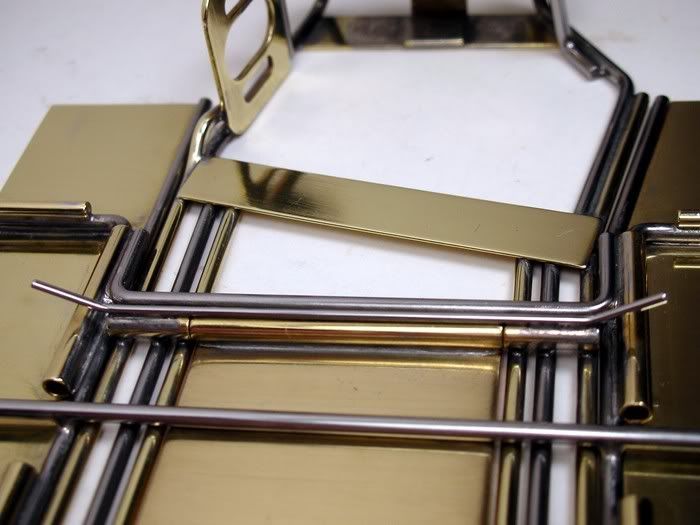
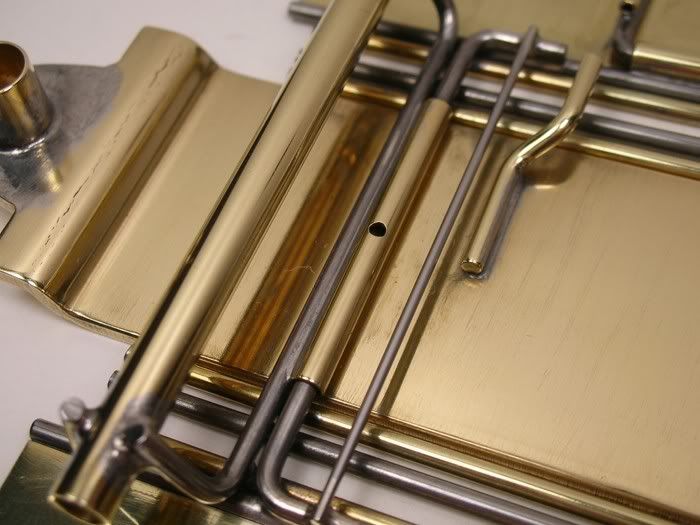
I drilled a little hole in the plumber pivot tube so I could blow out any water and also flush oil through it. The plumber slides side to side smooth as glass
The finished chassis:
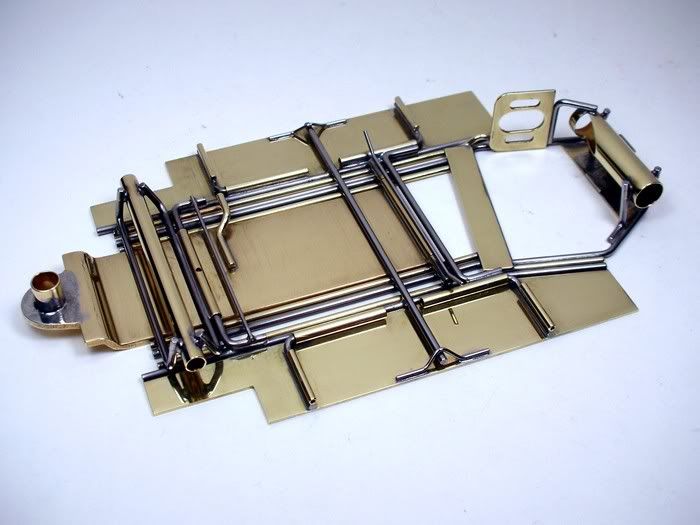
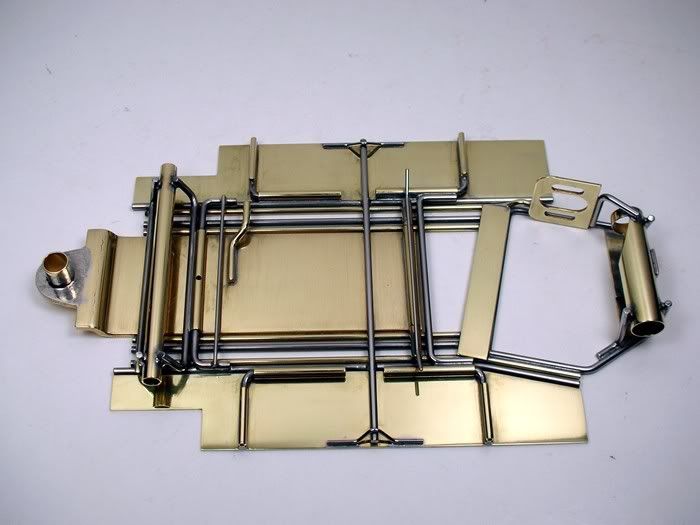
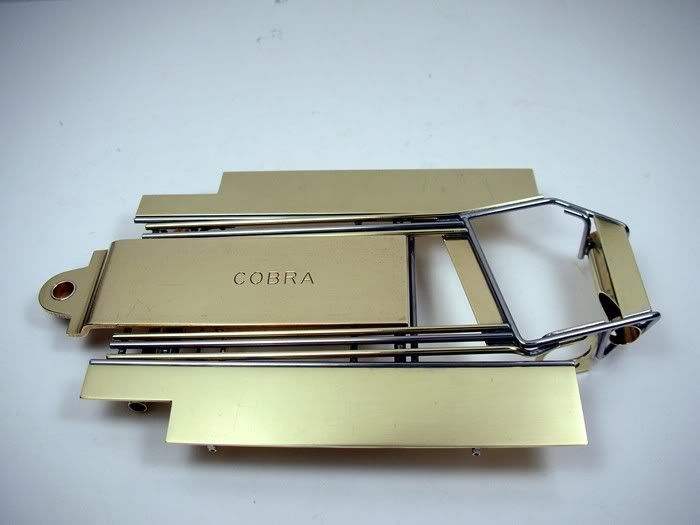
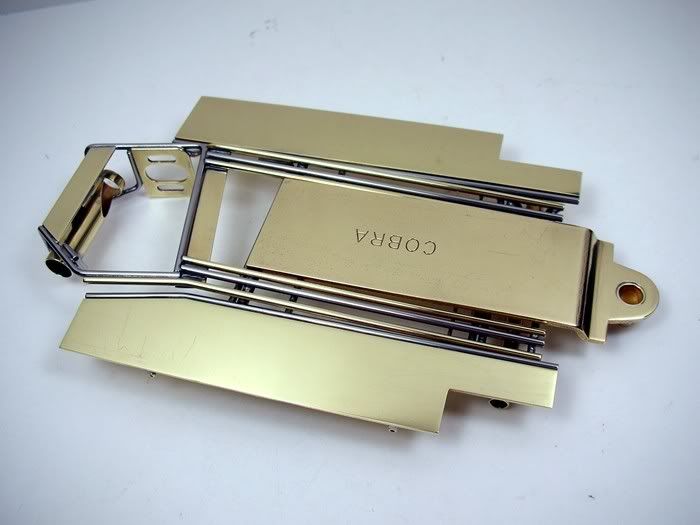
Time to build a motor.................
Rick Thigpen
Check out Steve Okeefe's great web site at its new home here at Slotblog:
The Independent Scratchbuilder
There's much more to come...
#34

Posted 04 July 2008 - 09:29 PM
Anthony 'Tonyp' Przybylowicz
5/28/50-12/20/21
Requiescat in Pace
#35

Posted 05 July 2008 - 02:21 AM
Mike Boemker
#36

Posted 05 July 2008 - 11:30 AM
11/6/54-2/13/18
Requiescat in Pace
#37

Posted 05 July 2008 - 12:13 PM
Rick Thigpen
Check out Steve Okeefe's great web site at its new home here at Slotblog:
The Independent Scratchbuilder
There's much more to come...
#38

Posted 05 July 2008 - 02:45 PM
For now, I'm off to Eddie's Slotcar World to try out my Neat Things 1972 RTR and it's restored REH 27/28 arm motor
.
That's rough duty, Rick; try to hold up somehow.
Remember, two wrongs don't make a right... but three lefts do! Only you're a block over and a block behind.
#39

Posted 09 July 2008 - 11:50 AM
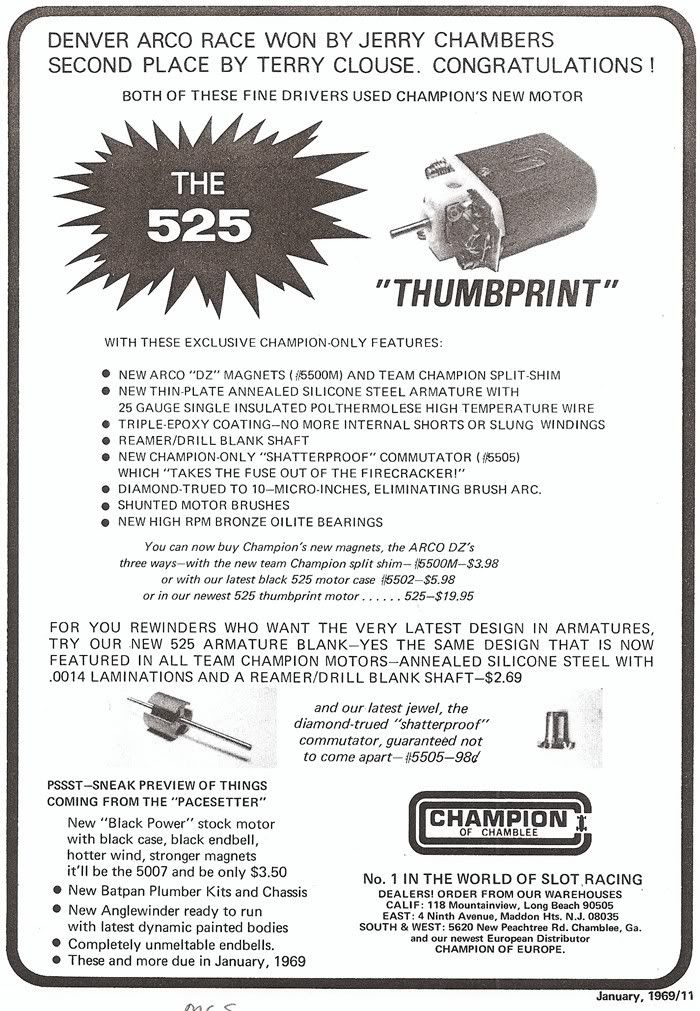
I installed this bullet proofing kit including the small bearing conversion:
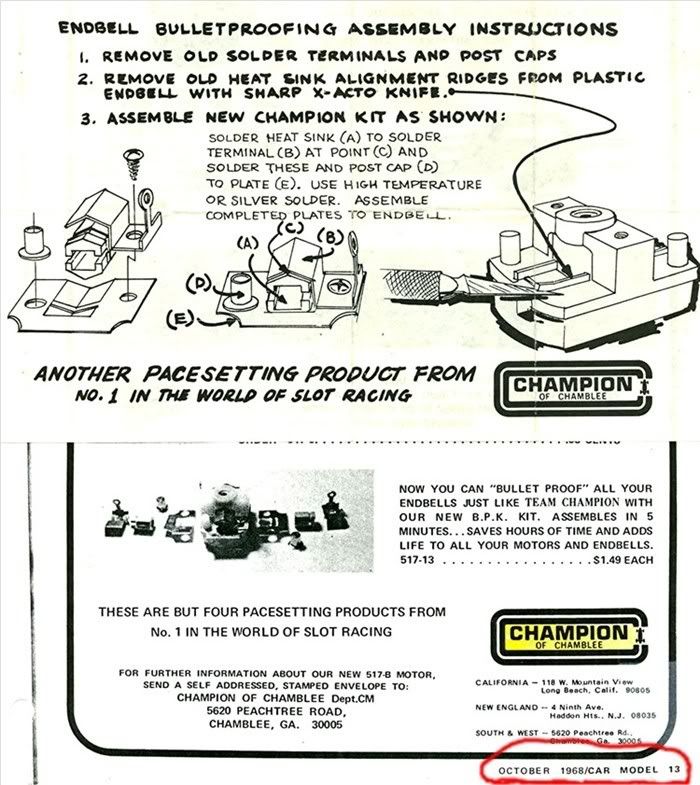
I thought I'd show some of the parts that are available from REH. When I order from REH I never know what will be in stock. Things can be out of stock one time and back in stock the next:
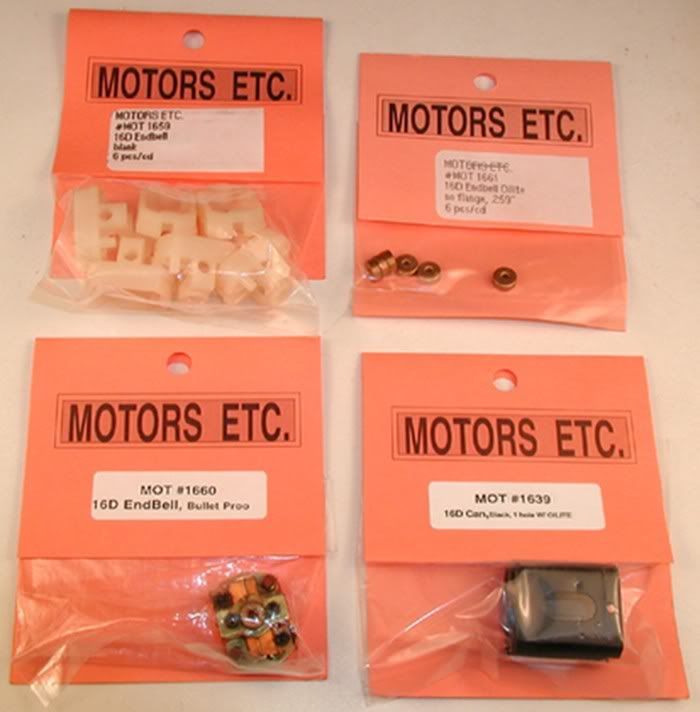
The latter large bearing cans are all that seem to be available. I think a white end bell motor should use the small gimbal bearing can but I'm save the couple I have for other projects:
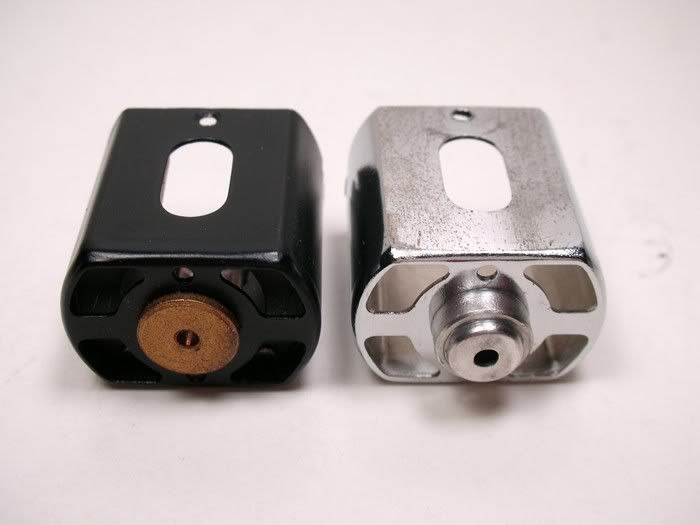
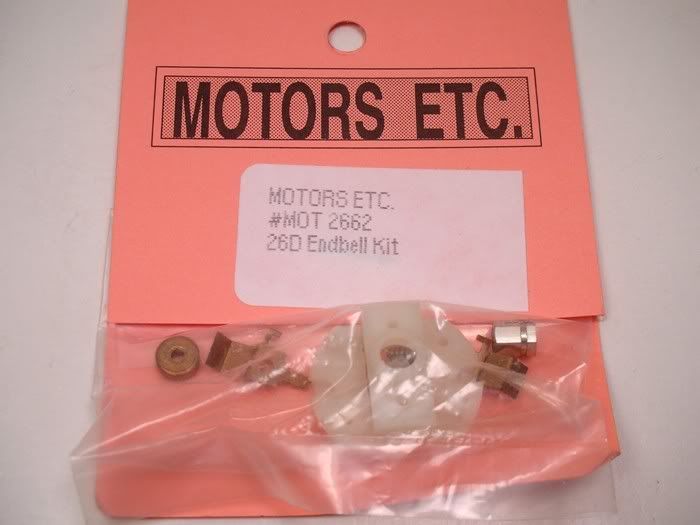
I could have used the already bullet proofed blue end bell in the lower left. I wanted the look of the earlier white end bell motor so I stripped the blue one for parts. That later blue end bell also has 36D brushed holders and the early motors used 26D's so for parts we have a 26D end bell kit:
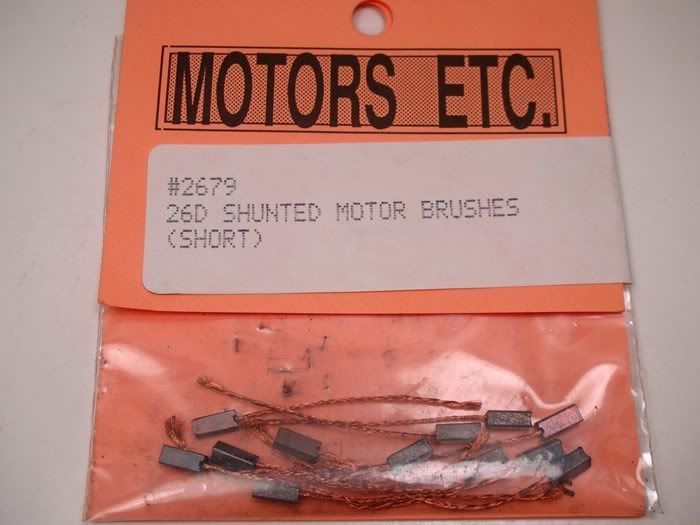
Now I can run these shunted 26D brushes (these can also be sanded down .005" per side and used in 16D brush holders):
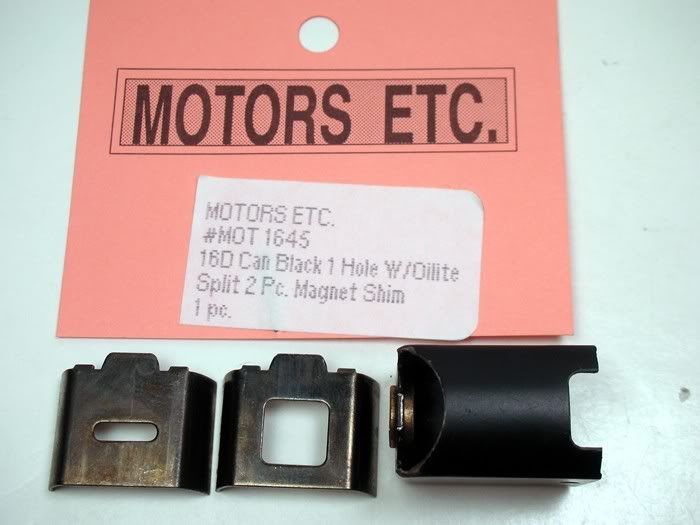
The Korrect magnet shims are available with this can. It has been cut for can drive mounting making it useless for this end bell drive project. With these shims you can use your favorite modern C-can magnets:
The end bell is a weak link in the Champion motor. The fact that the plastic is 40 years old doesn't help either. When I ran the self tapping screw in it split the end bell. Next time I'll use a 2-56 tap and gently cut some threads instead of jamming a self tapping screw in and extruding the material to the breaking point. I bond the bearing plate to the end bell with JB Weld metal filled epoxy anyway so it will still work fine. Plus the motor will be soldered to the rear axle tube so the screws will just be along for the ride anyway:
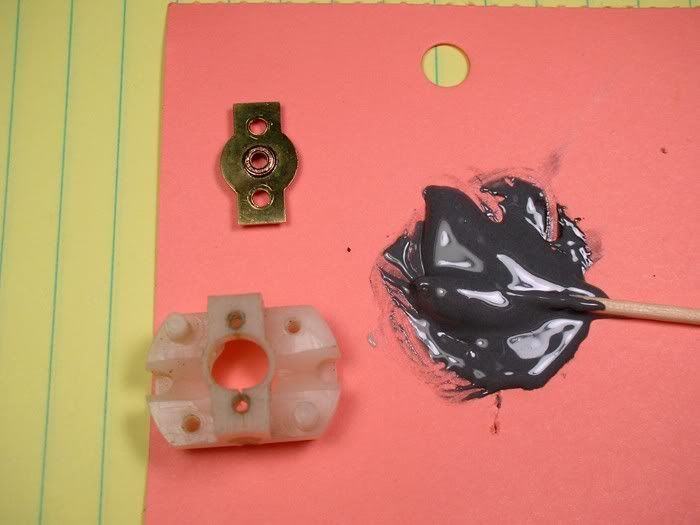
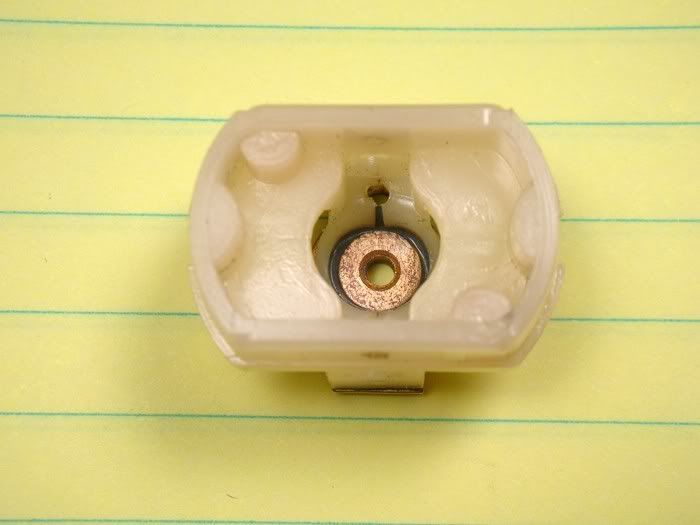
Here the crack is filled and there is a nice fillet of epoxy around the bearing:
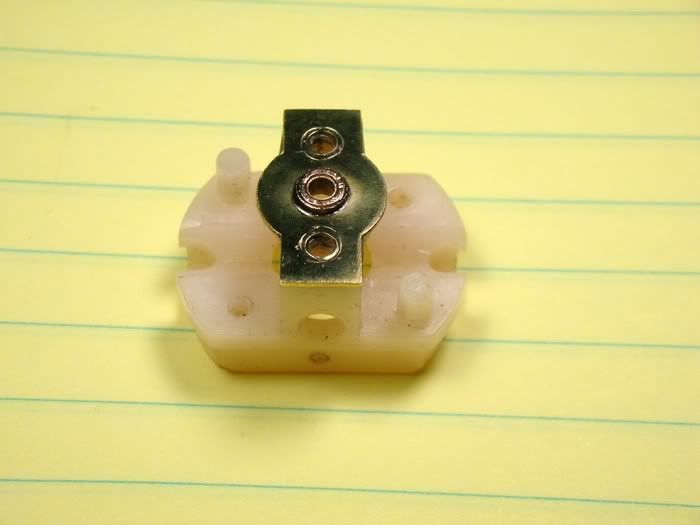
The instructions say to solder all the brush hardware to the bullet proofing plate. I decided to do it off the end bell:
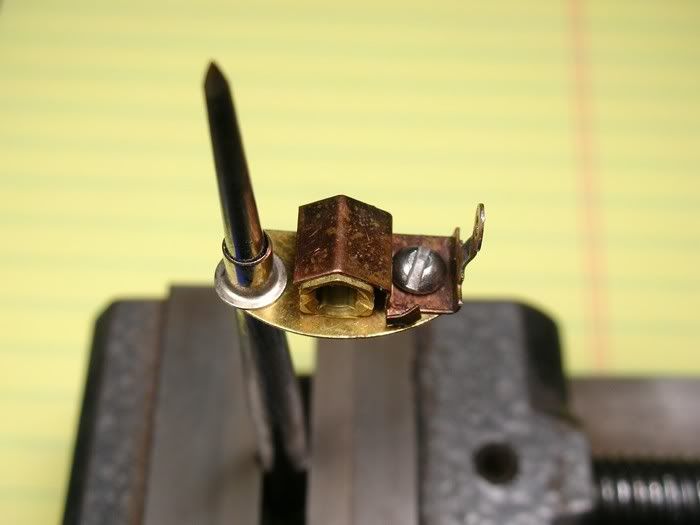
Now they're one solid lump:
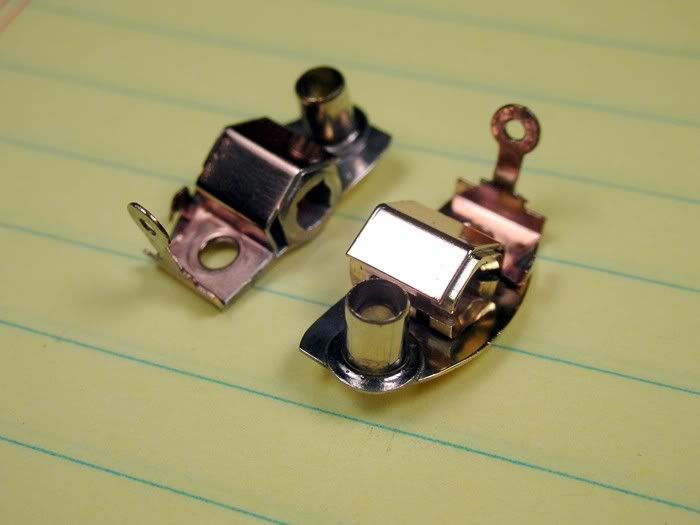
Hmmmmmmmmm..........more shiny goodness:
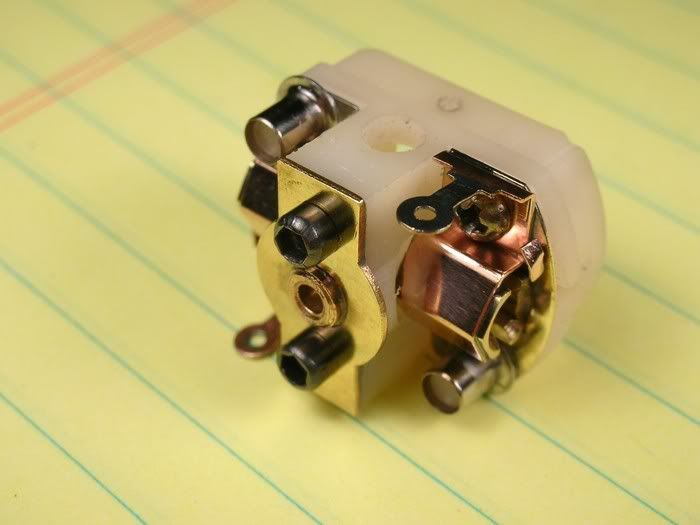
Onward.............
Rick Thigpen
Check out Steve Okeefe's great web site at its new home here at Slotblog:
The Independent Scratchbuilder
There's much more to come...
#40

Posted 09 July 2008 - 12:55 PM
Howdy again, Rick,
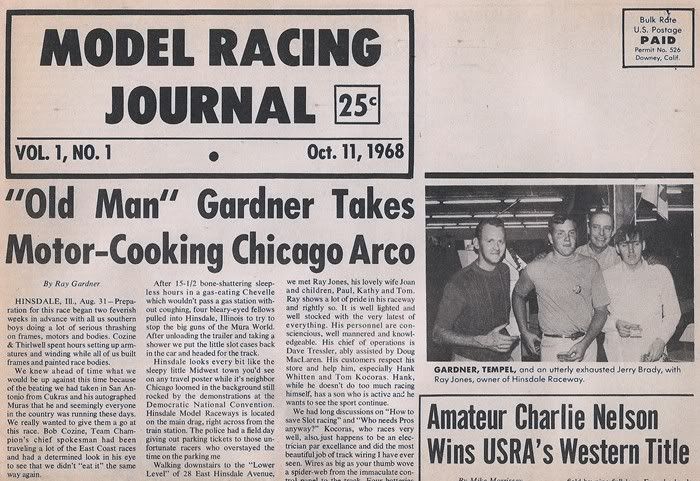
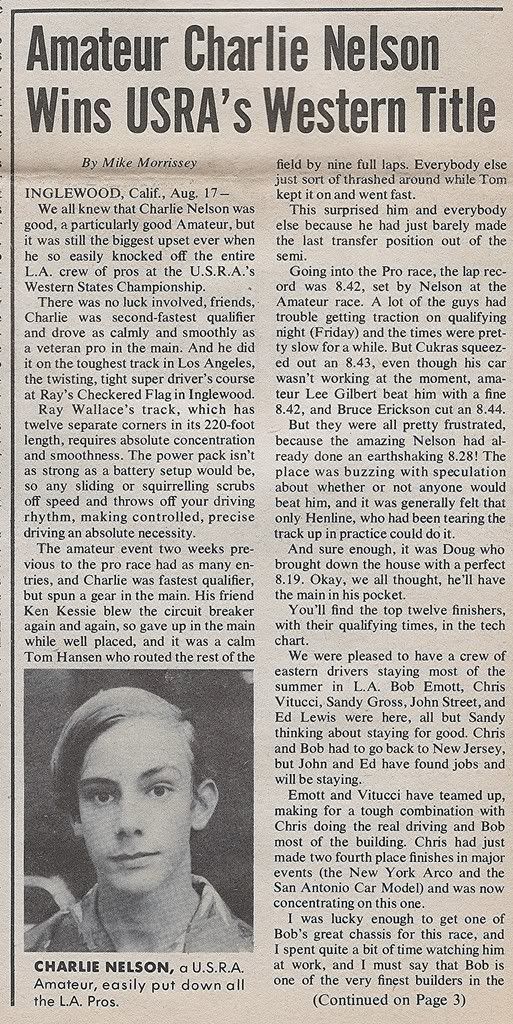
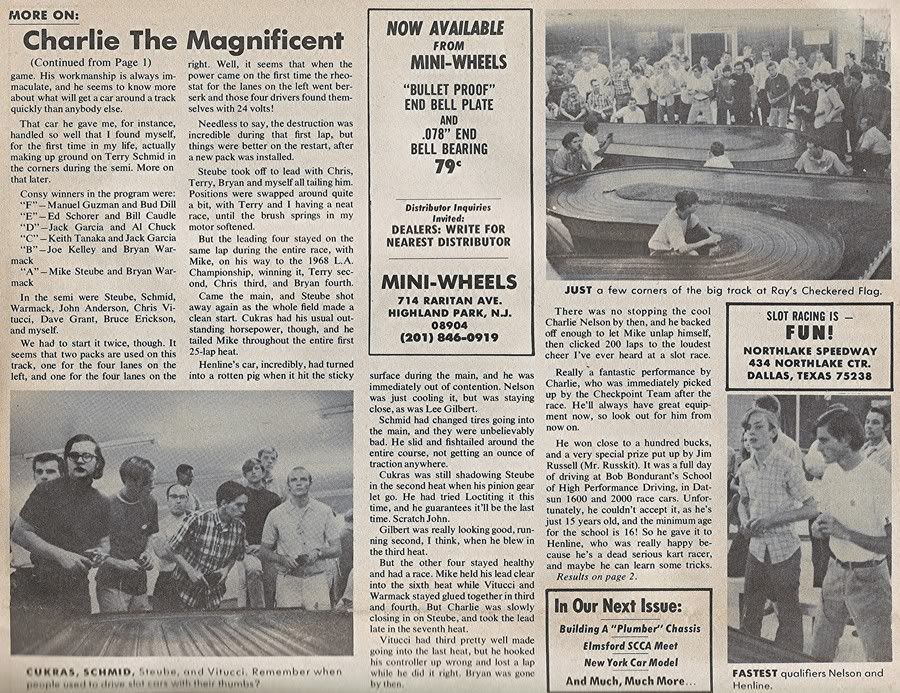
Can you post the rest of the "Amateur Charlie Nelson Wins USRA's Western States" article if and when you get the time?
8/19/54-8/?/21
Requiescat in Pace
#41

Posted 09 July 2008 - 04:48 PM
I'll scan and post the article for you. If you don't see it here by Sunday afternoon it means the old guy forgot
Rick Thigpen
Check out Steve Okeefe's great web site at its new home here at Slotblog:
The Independent Scratchbuilder
There's much more to come...
#42

Posted 19 July 2008 - 12:32 PM
Can you post the rest of the "Amateur Charlie Nelson Wins USRA's Western States" article if and when you get the time?
Hi Bob,
I forgot to post this last weekend

Rick Thigpen
Check out Steve Okeefe's great web site at its new home here at Slotblog:
The Independent Scratchbuilder
There's much more to come...
#43

Posted 19 July 2008 - 03:55 PM
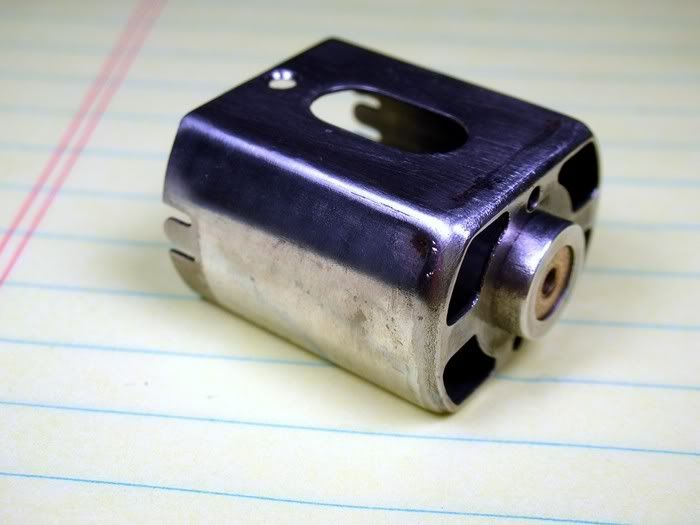
Some masking and a couple of coats of Krylon semi gloss black:
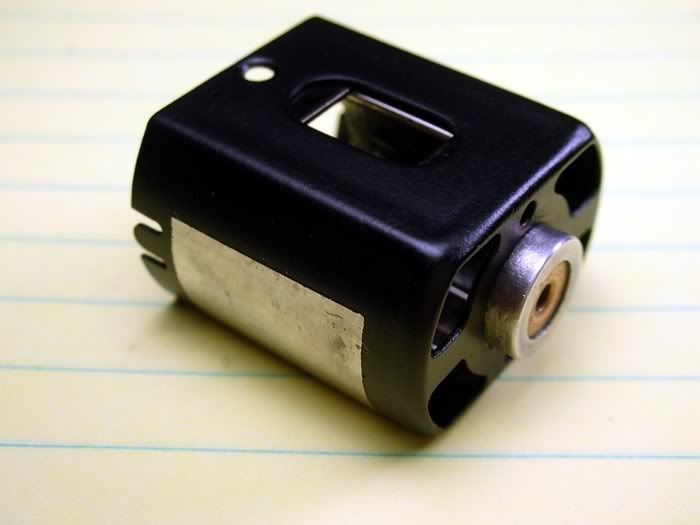
That semi gloss black is almost a perfect match for the original Champion color
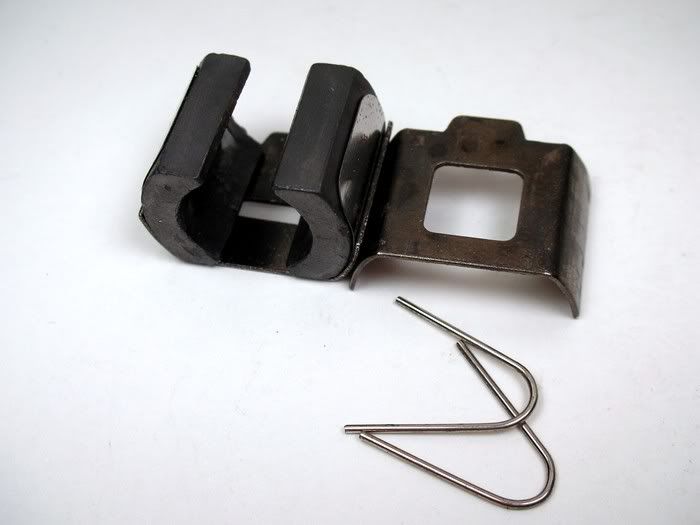
I was thinking of using my only period "Korrect" Thorp arm with phenolic wire retainers. Maybe I still will but I'm going to try this one first:
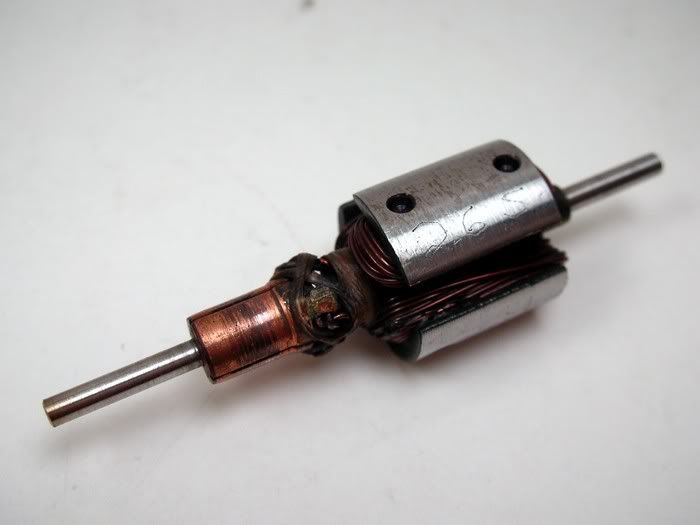
I'm guessing it is early 70's but since it's only a 26 single I'm hoping it won't overpower the chassis. It is also engraved "VUL" by the original owner. Wasn't there a "Vulcan" armature by Mura or Bob Green or?????
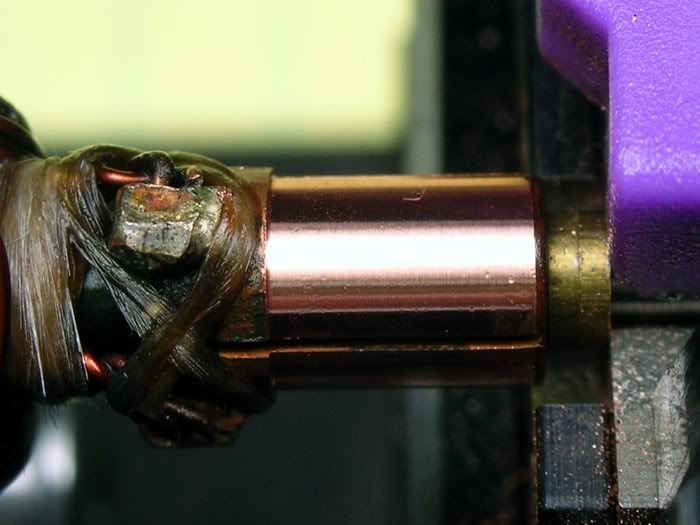
I'm still stoked over my comm lathe so I can't help but show before and after pictures
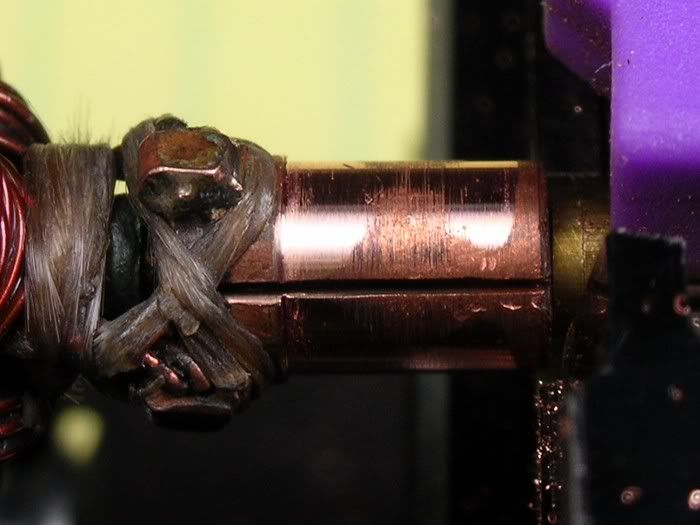
This is after the finish cut. I didn't do anything fancy, just cut with a diamond tool and use a little cutting oil. What I had handy was some Trinity light weight oil for ball bearings. You can still see a light coating of oil on the comm:
The finished arm has a coat of red machinist layout dye on the laminations. I believe this is considered not period "Korrect" but the dye was available then and a machinist-builder may have used it then....
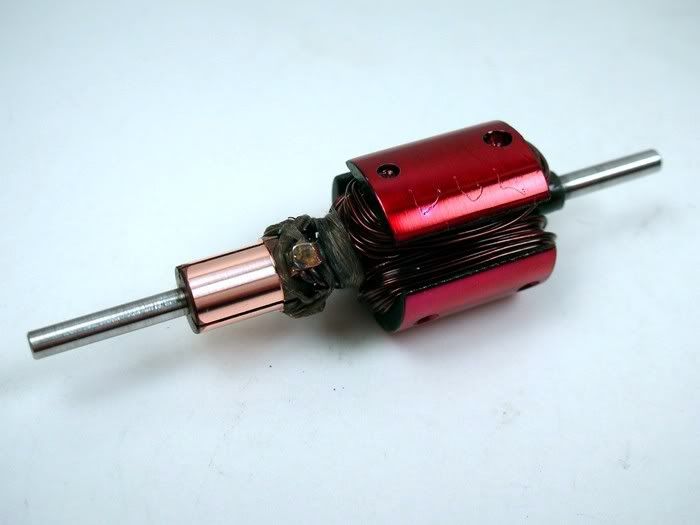
Here's the finished motor:
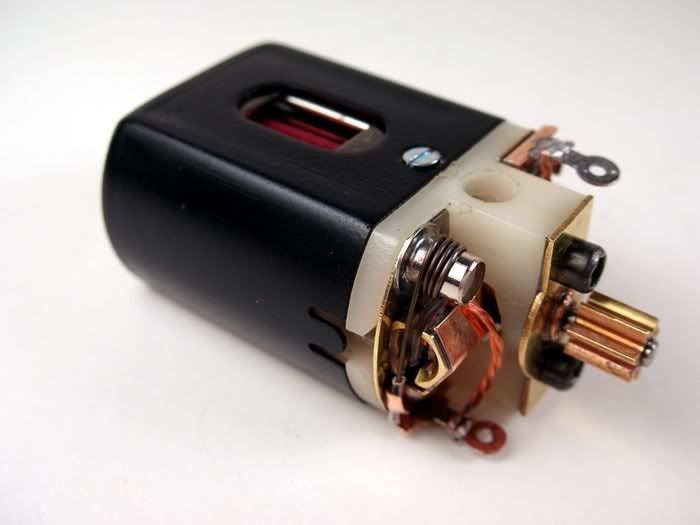
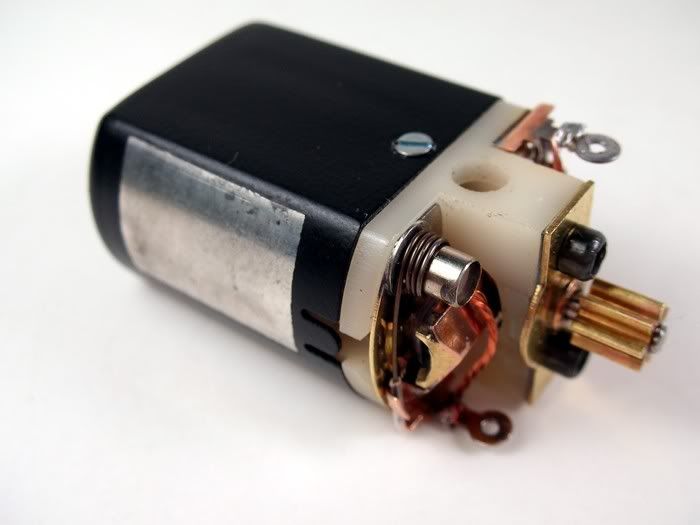
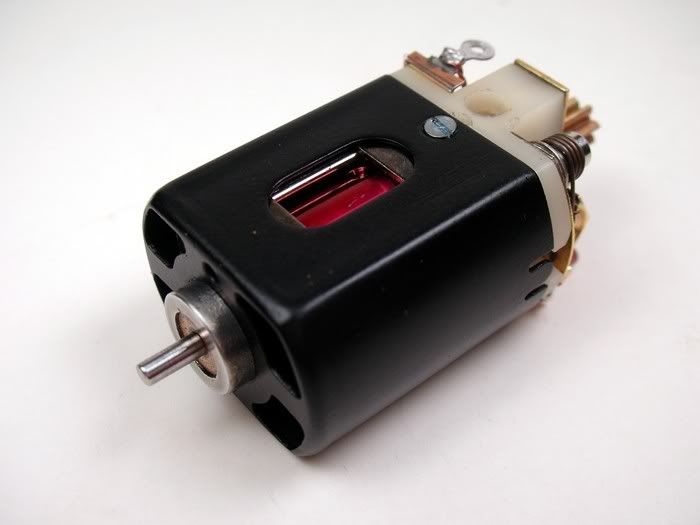
I'm using the still available REH 26D shunted brushes, original Champion brush springs and my "invisible" Teflon brush spring insulation:
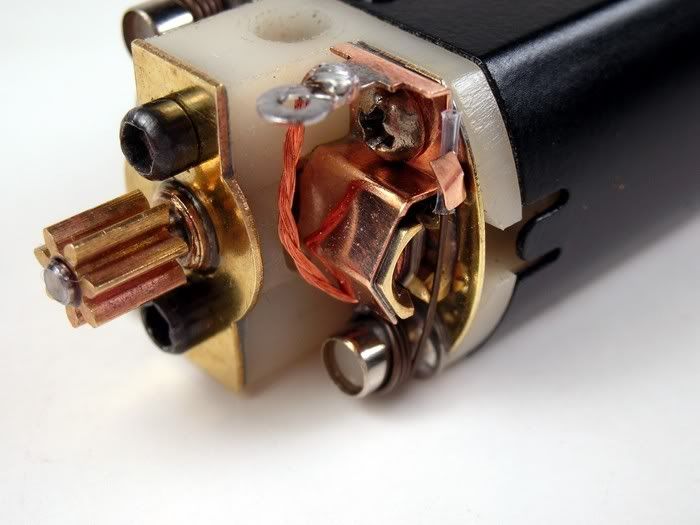
Now it's time to screw the whole thing together...................onward.
Rick Thigpen
Check out Steve Okeefe's great web site at its new home here at Slotblog:
The Independent Scratchbuilder
There's much more to come...
#44

Posted 19 July 2008 - 05:21 PM
Jairus H Watson - Artist
Need something painted, soldered, carved, or killed? - jairuswtsn@aol.com
www.slotcarsmag.com
www.jairuswatson.net
http://www.ratholecustoms.com
Check out some of the cool stuff on my Fotki!
#45

Posted 21 July 2008 - 08:52 PM
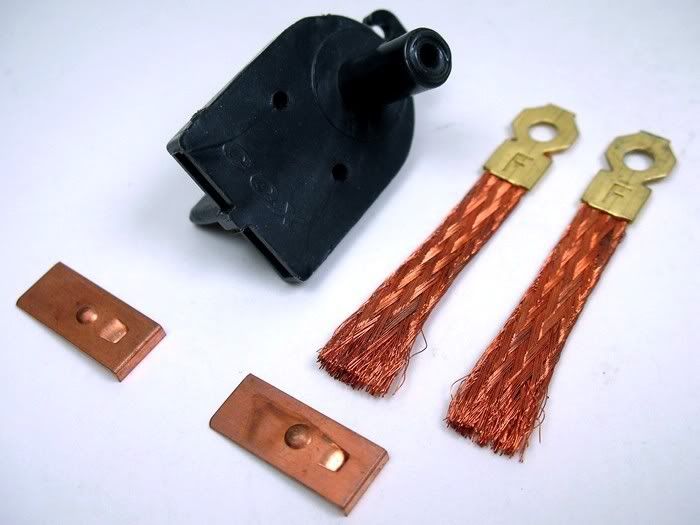
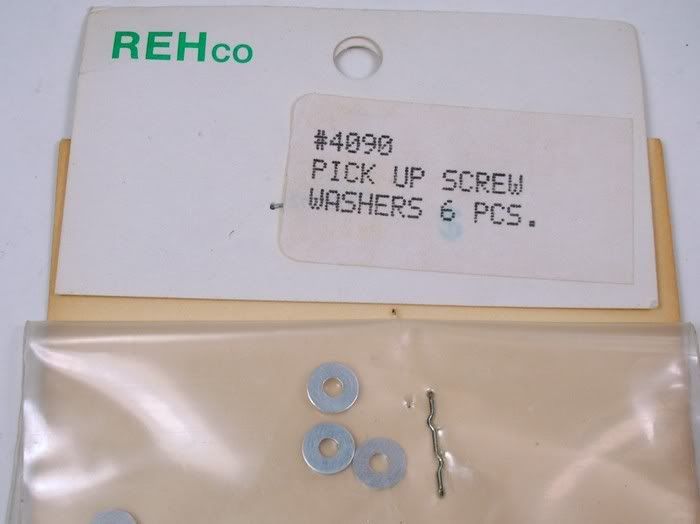
REH still has these neat-O aluminum guide washers that are a lot like the Cox originals:
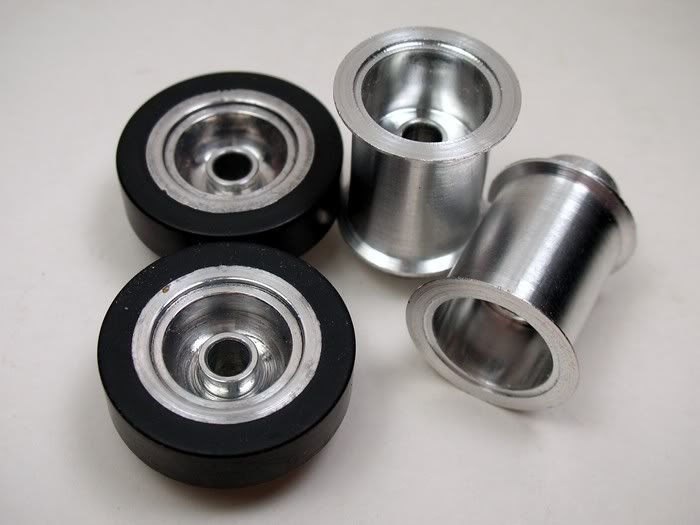
For wheels I'm using some Dart fronts from Ebay and our repop Riggen AA rears. We hope to have some matching Riggen fronts with tires available soon:
For a spur gear I'm going with a Cox 34 tooth I scored off of Ebay:
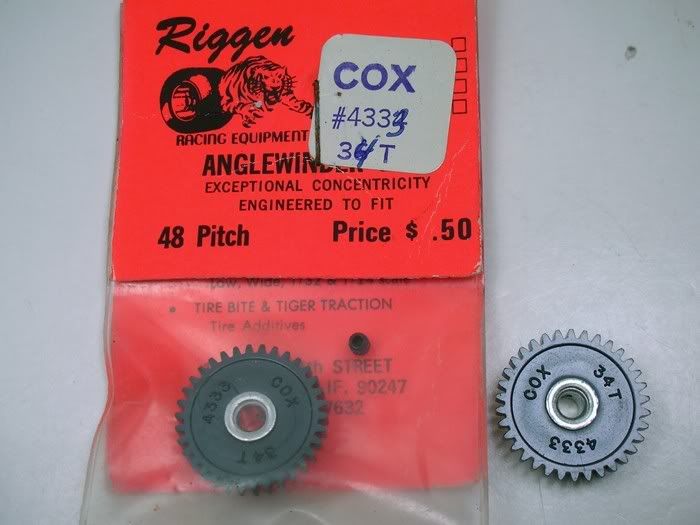
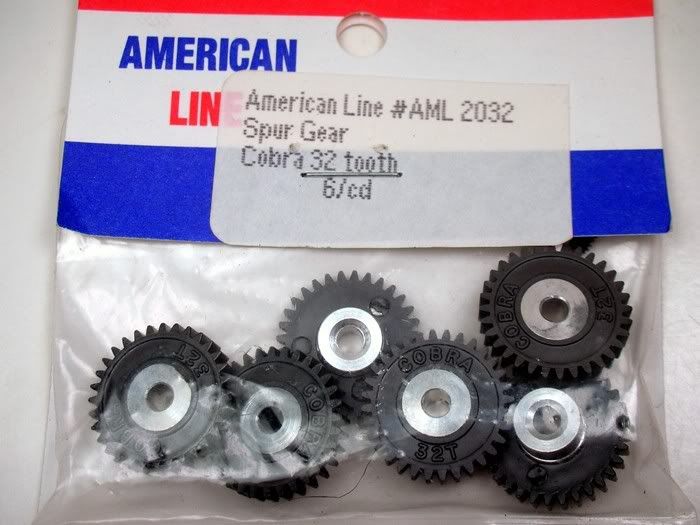
REH still has Cobra spur gears that work great too. Here is a package of 32's I just got. 32's work with 13/16" rear tires and 34's with 7/8". Part number for the 34's is 2034:
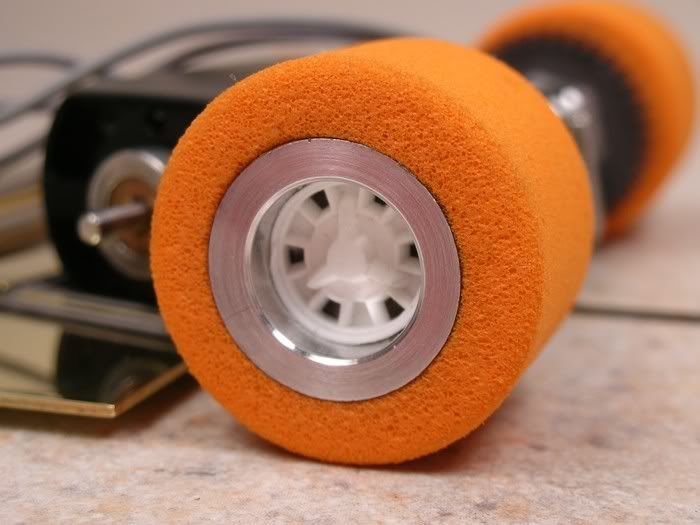
And for my fellow wheel insert fiend Edo, I'm using these EJ's repop Auto Hobbies inserts. When I decide on a body and paint scheme I'll detail paint these inserts:
The lead wires are still available Marklin train wire:
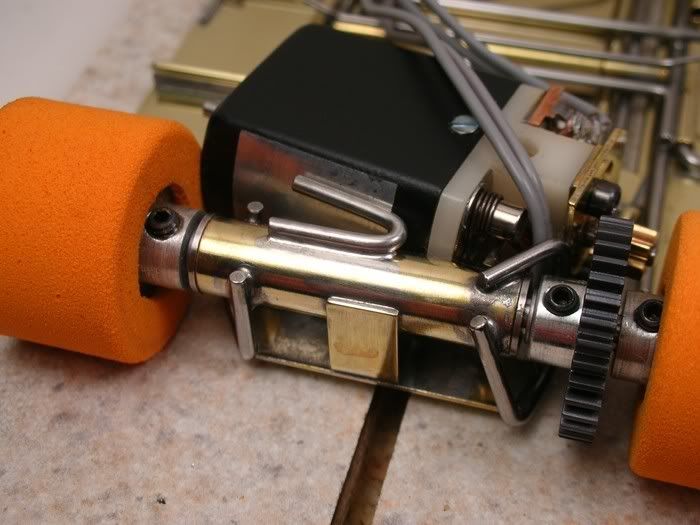
Here's the motor squeezed in place:
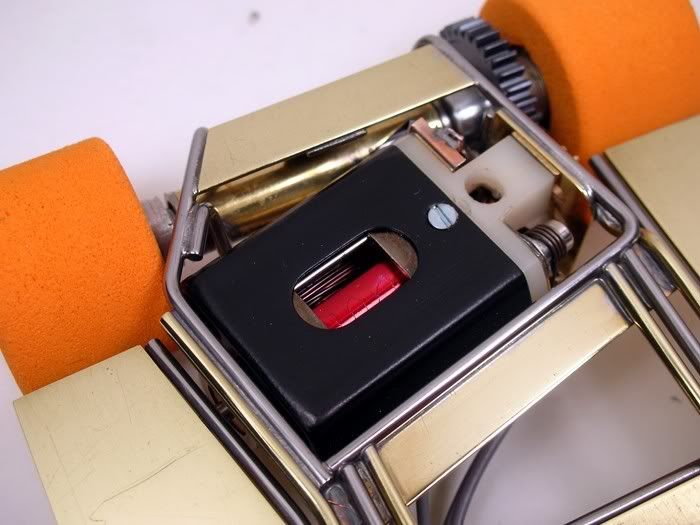
Here's the finished car waiting for a body. I'm going to see how it runs with a test body before I decide on the final version:
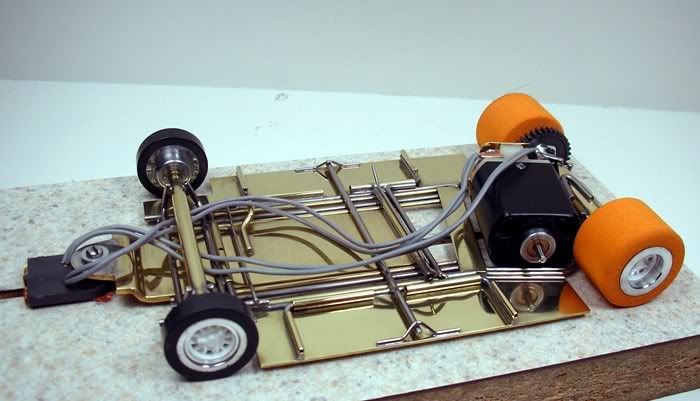
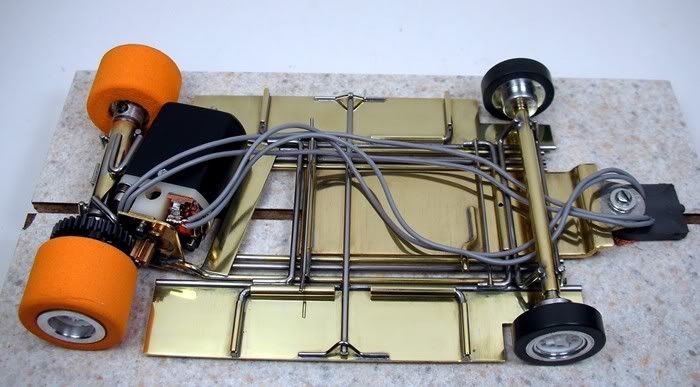
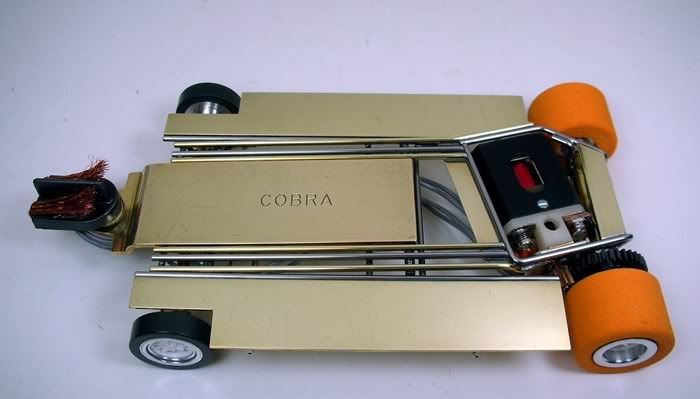
Onward to Eddie's Blue King...........
Rick Thigpen
Check out Steve Okeefe's great web site at its new home here at Slotblog:
The Independent Scratchbuilder
There's much more to come...
#47

Posted 21 July 2008 - 11:15 PM
But I can't so I won't....
Jairus H Watson - Artist
Need something painted, soldered, carved, or killed? - jairuswtsn@aol.com
www.slotcarsmag.com
www.jairuswatson.net
http://www.ratholecustoms.com
Check out some of the cool stuff on my Fotki!
#48

Posted 22 July 2008 - 06:27 AM
Remember, two wrongs don't make a right... but three lefts do! Only you're a block over and a block behind.
#49

Posted 22 July 2008 - 07:05 AM
Anthony 'Tonyp' Przybylowicz
5/28/50-12/20/21
Requiescat in Pace
#50

Posted 22 July 2008 - 08:29 AM
I hope you won't mind me asking but has Tony P. ever made an inline? If he did, will, one day, our Cap'tain make a replica?
E. (Gotta go wash my mouth after saying the "A"


