Jump to content


Photo

Early '70s style GP anglewinder


  • Please log in to reply
117 replies to this topic

#1 Pablo

Pablo

    Builder

  • Administrator
  • PipPipPipPipPipPipPipPip
  • 18,443 posts
  • Joined: 20-February 06
  • Gender:Male
  • Location:Cleveland, Tennessee

Posted 17 March 2021 - 04:51 PM

I started by consulting with an expert on the best body choice. A man who has more experience building these type cars than anyone. His #1 preference is the Dynamic Honda, at 1-3/4" width. So I have an ongoing search for the body. It could be some time before I find one.


I'm going to start with the motor. It needs to be short and compact and I've been wanting to do a "shorty C." It has to be early '70s parts with enough horsepower to push a heavy plate chassis. Probably needs a custom Havlicek short-stack made to custom fit the setup. The body will surface later and the chassis will follow.   :D 


And away we go...


  • Peter Horvath, Bob Kolenda and Jesse Gonzales like this

Paul Wolcott


#2 Pablo

Pablo

    Builder

  • Administrator
  • PipPipPipPipPipPipPipPip
  • 18,443 posts
  • Joined: 20-February 06
  • Gender:Male
  • Location:Cleveland, Tennessee

Posted 31 March 2021 - 11:48 PM

Parts gathering is coming along nicely. I opened up my mailbox this morning, and found a surprise - a pair of fresh clean blue donuts. I have some new vintage set screw wheels from a friend. Rotorranch located me a repop Lancer Lotus 49B series 875 wide body on eBay, which is en-route.  


It pays to have good friends. Life is sweet  :D  :dance3:


Paul Wolcott


#3 Pablo

Pablo

    Builder

  • Administrator
  • PipPipPipPipPipPipPipPip
  • 18,443 posts
  • Joined: 20-February 06
  • Gender:Male
  • Location:Cleveland, Tennessee

Posted 04 April 2021 - 04:17 PM

Body has arrived, very nice  :good:


IMG_8733.JPG


  • Peter Horvath likes this

Paul Wolcott


#4 Pablo

Pablo

    Builder

  • Administrator
  • PipPipPipPipPipPipPipPip
  • 18,443 posts
  • Joined: 20-February 06
  • Gender:Male
  • Location:Cleveland, Tennessee

Posted 04 April 2021 - 09:54 PM

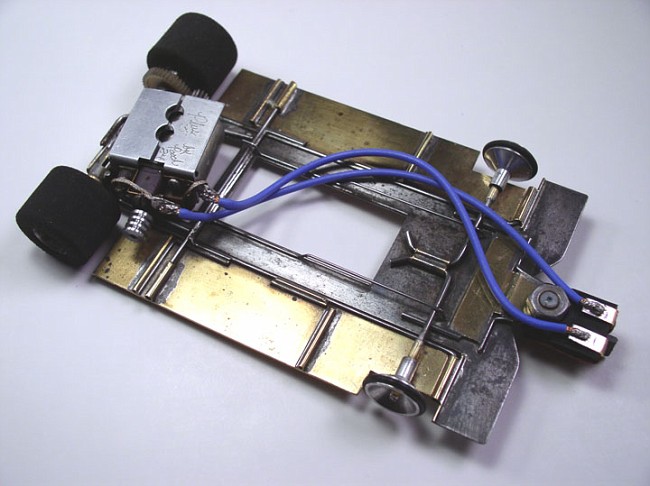
Simple car mission statement:  Duplicate the style of an early 1970's GP anglewinder. As always, lots of influence and help from the masters. Not an exact replica of any car in particular.


Starting with a Mura "C" can, I'm going to make as short a motor as possible and fit a proper endbell and magnets. If I can't find a suitable armature here at The Ranch, Havlicek will custom build me one  :D


Body paint, interior and detail for the wide Lotus body will be Noose  :dance3:


So I begin. I found a suitable (unpainted) can with new Slick 7 bushing. As double insurance against the can moving during trimming, I spot-soldered the seams with Koford silver solder across from the factory spot welds. Excess solder was sanded/smoothed.


I tinned the two chassis attachment points and smoothed them out as well. That way I can use Aero paste flux instead of acid for installation later  :)


IMG_8734.JPG


IMG_8736.JPG


  • Peter Horvath likes this

Paul Wolcott


#5 Bill from NH

Bill from NH

    Age scrubs away speed!

  • Full Member
  • PipPipPipPipPipPipPipPip
  • 14,727 posts
  • Joined: 02-August 07
  • Gender:Male
  • Location:New Boston, NH

Posted 04 April 2021 - 10:09 PM

I've never split a silver-soldered can seam, but I've split many a Slotworks 16D weld reconditioning their cans. 


Bill Fernald
 
I intend to live forever!  So far, so good.  :laugh2:  :laugh2: 

#6 Pablo

Pablo

    Builder

  • Administrator
  • PipPipPipPipPipPipPipPip
  • 18,443 posts
  • Joined: 20-February 06
  • Gender:Male
  • Location:Cleveland, Tennessee

Posted 04 April 2021 - 10:14 PM

Once the magnets are glued in, the can becomes pretty strong, eh?  :)


Paul Wolcott


#7 Pablo

Pablo

    Builder

  • Administrator
  • PipPipPipPipPipPipPipPip
  • 18,443 posts
  • Joined: 20-February 06
  • Gender:Male
  • Location:Cleveland, Tennessee

Posted 05 April 2021 - 07:14 PM

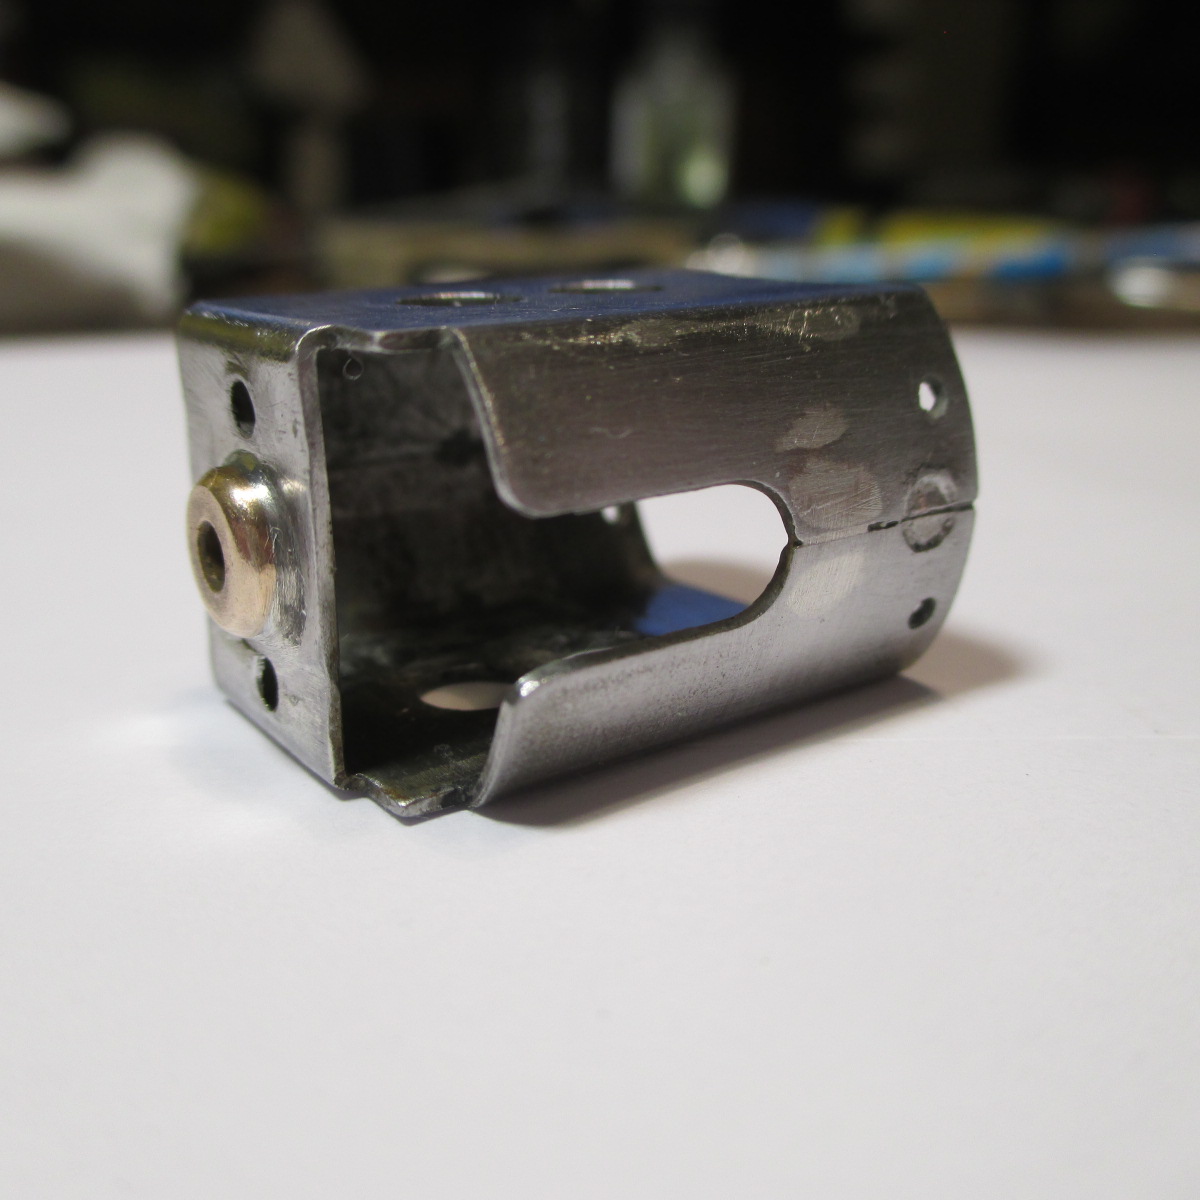
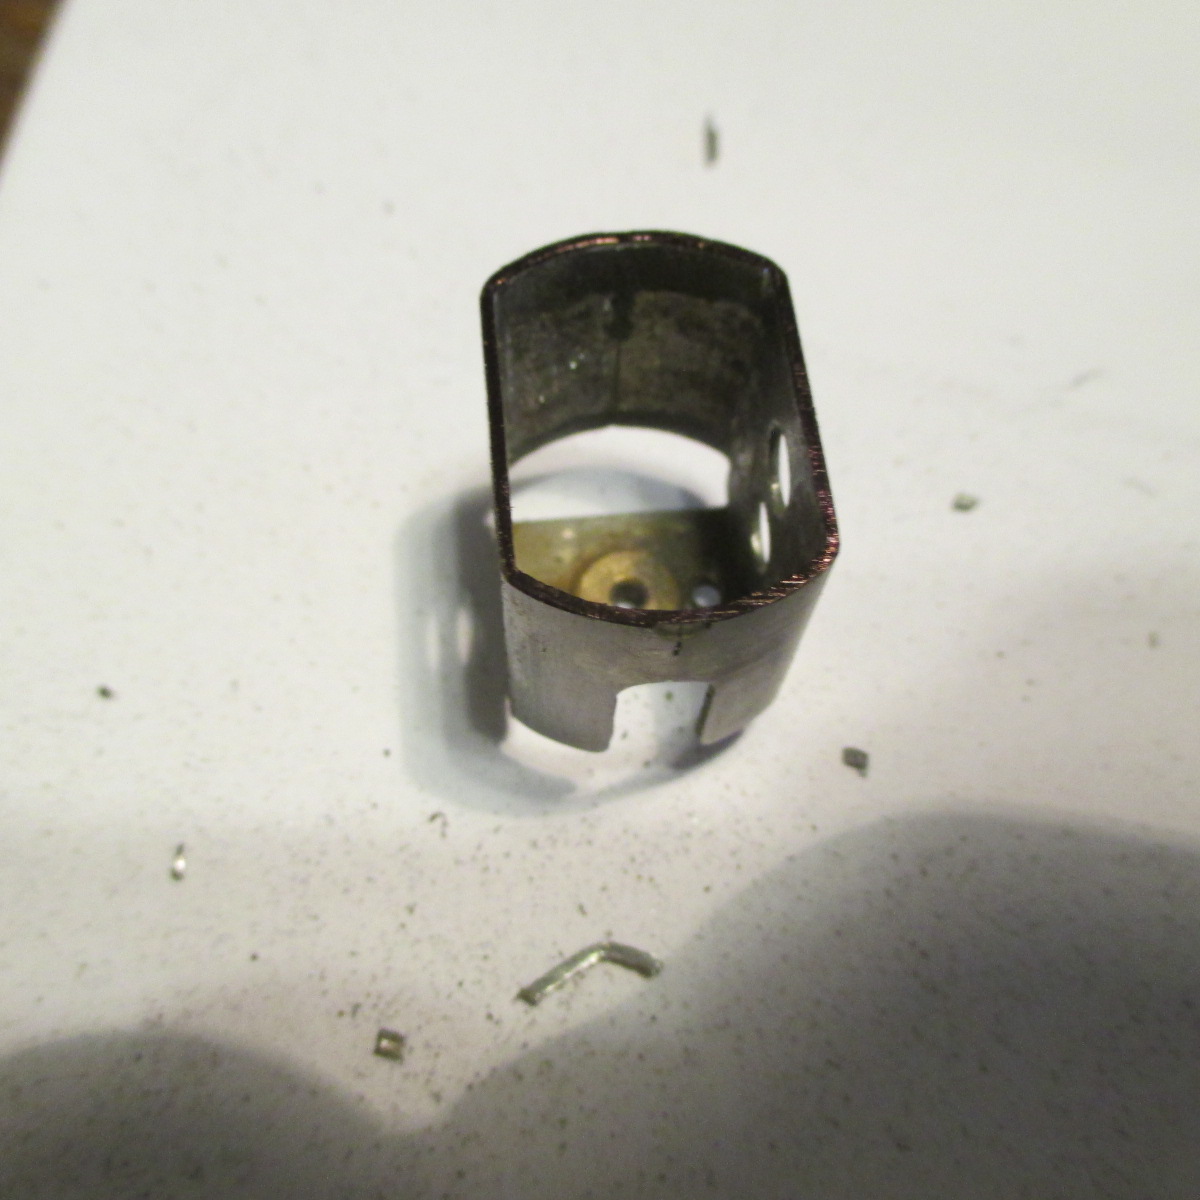
I cut my can very much like dc-65x, and I'm glad I did. Rough cut with Dremel 409, Sharpied the edge, finished on the disc sander until the black was gone. About halfway down the spot weld - approx. .115" of material removed


IMG_8778.JPG


Found a new in bag endbell. With a little coaxing she fits perfect and already passes the bushing alignment test 100%


IMG_8781.JPG


  • Tex likes this

Paul Wolcott


#8 Pablo

Pablo

    Builder

  • Administrator
  • PipPipPipPipPipPipPipPip
  • 18,443 posts
  • Joined: 20-February 06
  • Gender:Male
  • Location:Cleveland, Tennessee

Posted 06 April 2021 - 12:55 PM

Always looking for better ways to do things, I secured a "C" can straightening tool in my vice with the Mura can over it to punch the endbell attachment hole locations. Then pilot holes, etc. 


IMG_8785.JPG


Diagonally opposed Koford allen head self tappers complete. Alignment tool falls right through


IMG_8792.JPG


  • Tex, Peter Horvath and olescratch like this

Paul Wolcott


#9 Pablo

Pablo

    Builder

  • Administrator
  • PipPipPipPipPipPipPipPip
  • 18,443 posts
  • Joined: 20-February 06
  • Gender:Male
  • Location:Cleveland, Tennessee

Posted 06 April 2021 - 10:46 PM

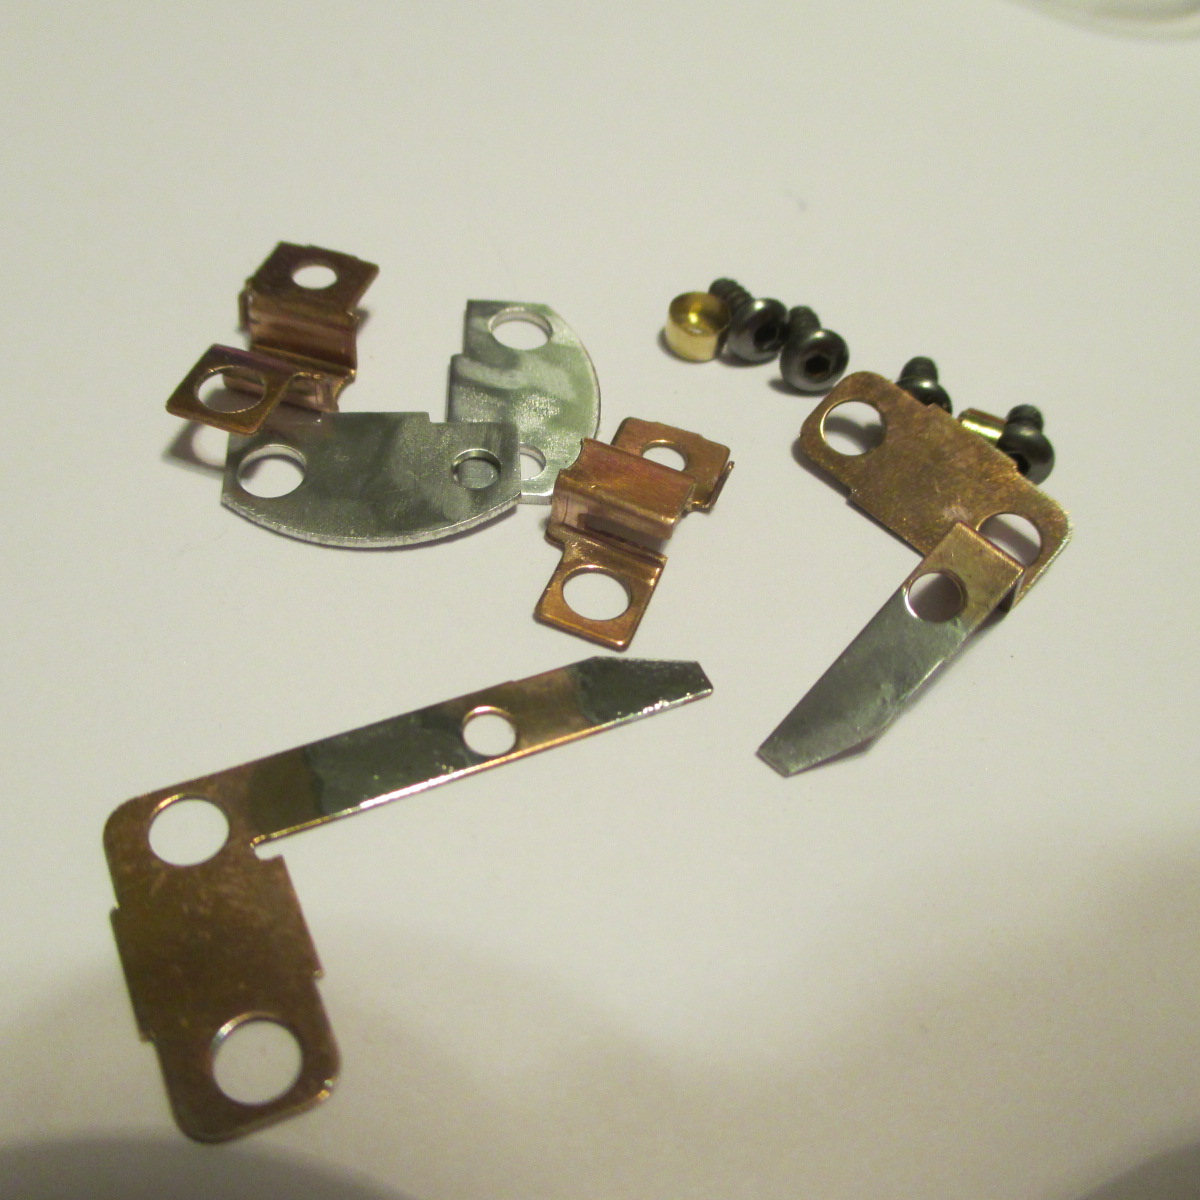
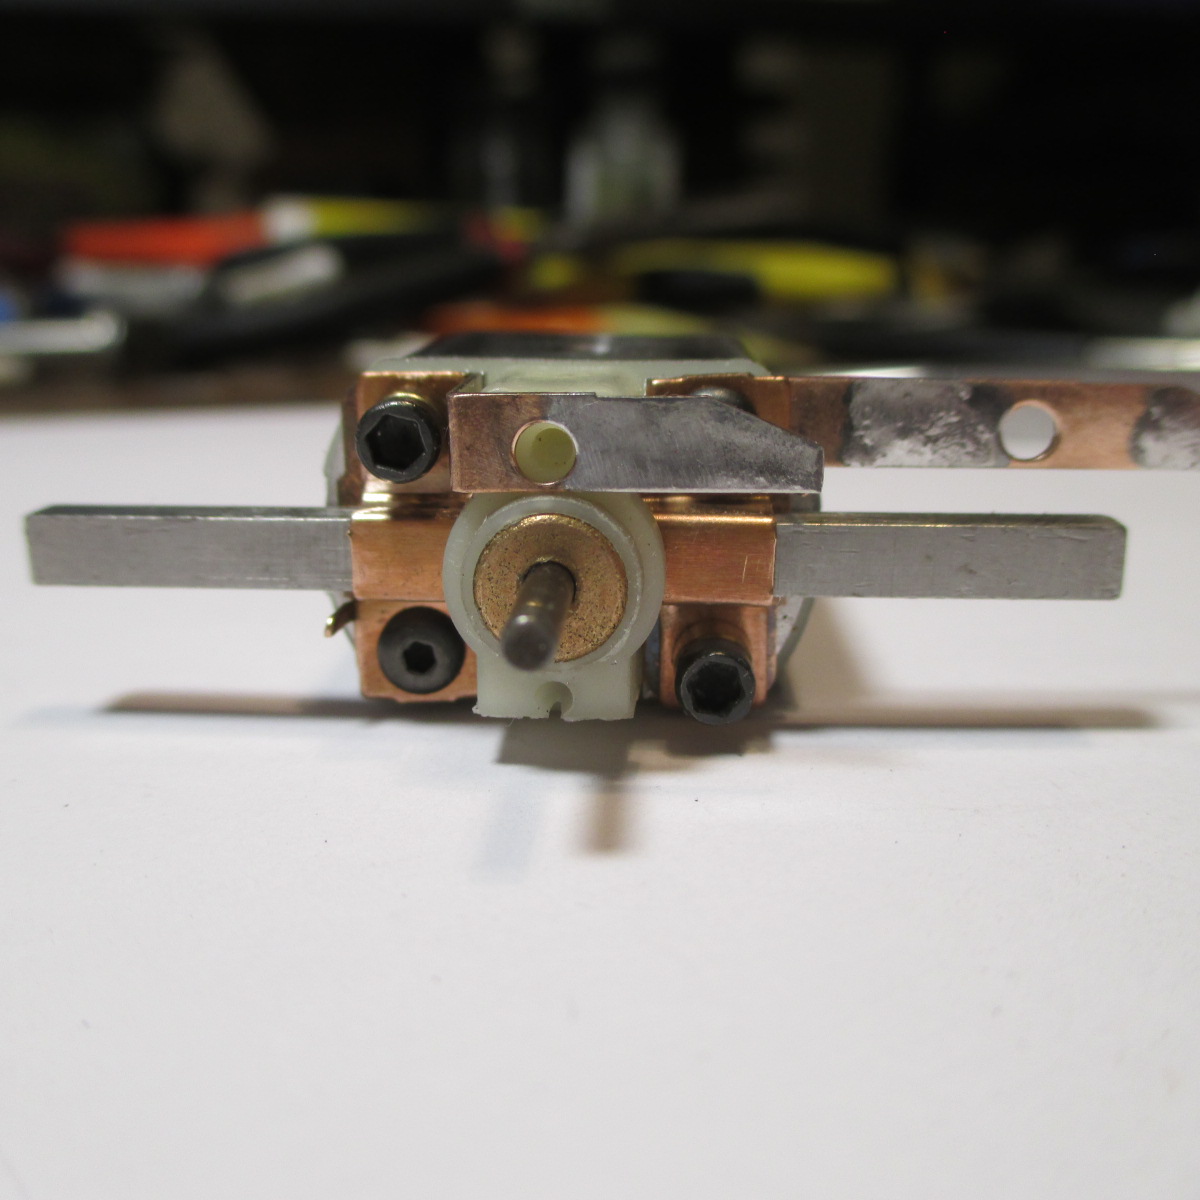
Buss bar solder points for shunts and lead wires acid tinned, then cleaned. Brush holder shunt entrances hogged out slightly. All EB hardware hit with a wire wheel to remove 50 years of patina for good electrical and heat transfer connections


IMG_8797.JPG


A tip for the very few motor building freaks still among us - Bunky, make sure your EB hardware attachment screws never touch the can screws. It can drive you nuts trying to find out why your blueprinted motor won't run right. Mine were close on this motor, so I used allen self tappers, which are short enough to miss shorting out  :)


bunky-idea_910.jpg


Usually, trying to make a 50 year old motor adhere to modern standards with modern tools is practically impossible. But this setup passed the test naturally, no forcing


IMG_8805.JPG


  • Tex and Peter Horvath like this

Paul Wolcott


#10 Bill from NH

Bill from NH

    Age scrubs away speed!

  • Full Member
  • PipPipPipPipPipPipPipPip
  • 14,727 posts
  • Joined: 02-August 07
  • Gender:Male
  • Location:New Boston, NH

Posted 07 April 2021 - 06:24 AM

No speed item, but I liked twisting ~3/32" of tips of sheet metal buss bars 90 degrees to make a "shelf" for the leadwires. I always found it easier to solder the wires to a horizontal surface than a vertical surface, during a motor change..


  • Pablo, tonyp and Jesse Gonzales like this
Bill Fernald
 
I intend to live forever!  So far, so good.  :laugh2:  :laugh2: 

#11 Jairus

Jairus

    Body Painter Extraordinaire

  • Subscriber
  • PipPipPipPipPipPipPipPip
  • 10,174 posts
  • Joined: 16-February 06
  • Gender:Male
  • Location:Salem, OR

Posted 07 April 2021 - 08:37 AM

Also, cut the forward buss bar short.
That's what the pro's did.

2vBt58VTxubMLY.jpg


  • Pablo, Bill from NH and Peter Horvath like this

Jairus H Watson - Artist
Need something painted, soldered, carved, or killed? - jairuswtsn@aol.com

www.slotcarsmag.com

www.jairuswatson.net
http://www.ratholecustoms.com
Check out some of the cool stuff on my Fotki!


#12 Pablo

Pablo

    Builder

  • Administrator
  • PipPipPipPipPipPipPipPip
  • 18,443 posts
  • Joined: 20-February 06
  • Gender:Male
  • Location:Cleveland, Tennessee

Posted 07 April 2021 - 05:40 PM

Thanks, I may cut the long one later after I see how the body mounts up.


Setup is en-route to Havlicek for a custom short stack .513-ish OD can drive arm, 27 wire, 35 deg. timing with modern ProSlot "C" mags 


  • olescratch likes this

Paul Wolcott


#13 Pablo

Pablo

    Builder

  • Administrator
  • PipPipPipPipPipPipPipPip
  • 18,443 posts
  • Joined: 20-February 06
  • Gender:Male
  • Location:Cleveland, Tennessee

Posted 12 April 2021 - 06:32 PM

After studying the rulesets of the era, I have decided to go with the following specs:


WB 3 7/8", GL 1.0", Front and rear wheel track widths, 3.0"

Front axle slop 1/8" total

Front wheel width 3/16" min 3/4" min OD

Rear wheel widths 11/16", OD 13/16

Chassis width 1 3/4". Clearance 1/16" level front to rear


Paul Wolcott


#14 Half Fast

Half Fast

    Keeper Of Odd Knowledge

  • Subscriber
  • PipPipPipPipPipPipPip
  • 2,628 posts
  • Joined: 02-May 07
  • Gender:Male
  • Location:NYC, Long Island

Posted 12 April 2021 - 08:22 PM

PW-


Didn't the Car Model rules as posted by Jairus specify front axle slop 1/8" from center total? (not per side)


Cheers


PS: Anyway I'm glad that Bunky made it through Covid


  • Pablo likes this

Bill Botjer

Faster then, wiser now.

The most dangerous form of ignorance is not knowing that you don't know anything!

Never attribute to malice that which is adequately explained by stupidity


#15 Pablo

Pablo

    Builder

  • Administrator
  • PipPipPipPipPipPipPipPip
  • 18,443 posts
  • Joined: 20-February 06
  • Gender:Male
  • Location:Cleveland, Tennessee

Posted 12 April 2021 - 08:36 PM

Hi Bill  :)  Good question. Things were changing so fast back then ........


Here are the rules I'm using:


http://slotblog.net/...mpionship-1969/


See Rule # 23 for the answer. It specifically states "-front axle/wheel assembly may move up to 1/8" to either side of center position"


Thanks for asking about Bunky, he is a survivor  :laugh2:


  • Half Fast likes this

Paul Wolcott


#16 Bill from NH

Bill from NH

    Age scrubs away speed!

  • Full Member
  • PipPipPipPipPipPipPipPip
  • 14,727 posts
  • Joined: 02-August 07
  • Gender:Male
  • Location:New Boston, NH

Posted 12 April 2021 - 10:28 PM

I don't interpret than to mean 1/8" to each side of center at the same time. It's at one side or the other. The original "Cukras Slop" was 1/8" @ the front axle.


  • Pablo, tonyp, Rotorranch and 1 other like this
Bill Fernald
 
I intend to live forever!  So far, so good.  :laugh2:  :laugh2: 

#17 Martin

Martin

    Posting Leader

  • Full Member
  • PipPipPipPipPipPipPip
  • 4,193 posts
  • Joined: 22-February 09
  • Gender:Male
  • Location:US

Posted 13 April 2021 - 12:32 AM

I read those rules too. I interpret it to mean 1/8" total movement also.


" front axle assembly may move up to 1/8" TO EITHER side of center position"


Not 1/8'' on both sides. IMO. :)


  • Pablo, tonyp and Rotorranch like this
Martin Windmill

#18 Pablo

Pablo

    Builder

  • Administrator
  • PipPipPipPipPipPipPipPip
  • 18,443 posts
  • Joined: 20-February 06
  • Gender:Male
  • Location:Cleveland, Tennessee

Posted 13 April 2021 - 08:51 AM

If you are right, why don't the rules simply say "1/8" total side to side movement"?


Paul Wolcott


#19 zipper

zipper

    Checkered Flag in Hand

  • Full Member
  • PipPipPipPipPipPip
  • 1,081 posts
  • Joined: 11-August 10
  • Gender:Male
  • Location:Finland

Posted 13 April 2021 - 08:56 AM

We did have similar rules - and then some dck did change the chassis max width to 2" something. But we didn't have any bodies that wide! I had to take two, cut and tape them together...


  • Pablo likes this
Pekka Sippola

#20 old & gray

old & gray

    Checkered Flag in Hand

  • Full Member
  • PipPipPipPipPipPip
  • 1,203 posts
  • Joined: 15-April 11
  • Gender:Male
  • Location:CT

Posted 13 April 2021 - 09:41 AM

Paul,


As I remember, and it is only memory no documentation I can find, the front axle slide was 1/8" total. 


Of course some wise guy set up a car with all the slide on one side so that the front wheel would hang out the left side of the body in the donut. 


  • Pablo likes this
Bob Schlain

#21 Pablo

Pablo

    Builder

  • Administrator
  • PipPipPipPipPipPipPipPip
  • 18,443 posts
  • Joined: 20-February 06
  • Gender:Male
  • Location:Cleveland, Tennessee

Posted 13 April 2021 - 10:58 AM

OK I bow to the wisdom of the masters and thanks for correcting me, I appreciate it (especially when you correct me before I make my mistakes)  :sun_bespectacled:  1/8 total slop it is. Here are the (3/32 axle) wheels I plan to use


IMG_8866.JPG


Paul Wolcott


#22 dc-65x

dc-65x

    Grand Champion Poster

  • Subscriber
  • PipPipPipPipPipPipPipPip
  • 6,956 posts
  • Joined: 14-February 06
  • Gender:Male
  • Location:Captain Rick: The only vintage slot car nut in SW Oregon?

Posted 13 April 2021 - 11:16 AM

Alright Pablo! Someone is finally going to use our repop Associated wheels. 


  • Pablo likes this

Rick Thigpen
Check out Steve Okeefe's great web site at its new home here at Slotblog:
The Independent Scratchbuilder
There's much more to come...


#23 Pablo

Pablo

    Builder

  • Administrator
  • PipPipPipPipPipPipPipPip
  • 18,443 posts
  • Joined: 20-February 06
  • Gender:Male
  • Location:Cleveland, Tennessee

Posted 13 April 2021 - 01:24 PM

Parts gathering continues. I promise to be a better listener  :pardon:


Jet Flag, TQ 20 gauge lead wire, PCH precision axles (to be custom cut), and a used .040 x 1 1/4" wide drop arm stamped "THE 888"


IMG_8872.JPG


Paul Wolcott


#24 Bill from NH

Bill from NH

    Age scrubs away speed!

  • Full Member
  • PipPipPipPipPipPipPipPip
  • 14,727 posts
  • Joined: 02-August 07
  • Gender:Male
  • Location:New Boston, NH

Posted 13 April 2021 - 01:34 PM

If you don't already know, the drop arm is a Parma used by Jan Limpach or one of his friends.  :)


Bill Fernald
 
I intend to live forever!  So far, so good.  :laugh2:  :laugh2: 

#25 Pablo

Pablo

    Builder

  • Administrator
  • PipPipPipPipPipPipPipPip
  • 18,443 posts
  • Joined: 20-February 06
  • Gender:Male
  • Location:Cleveland, Tennessee

Posted 13 April 2021 - 02:15 PM

Cool. I hope it will work for this build, and I think it will. 


Paul Wolcott


Electric Dreams Online Shop