Beautiful job Rick!

Ram's 3-volt beast - a road-race version
#26

Posted 21 May 2021 - 11:43 AM
Barney Poynor
12/26/51-1/31/22
Requiescat in Pace
#27

Posted 21 May 2021 - 03:45 PM
Thanks guys.
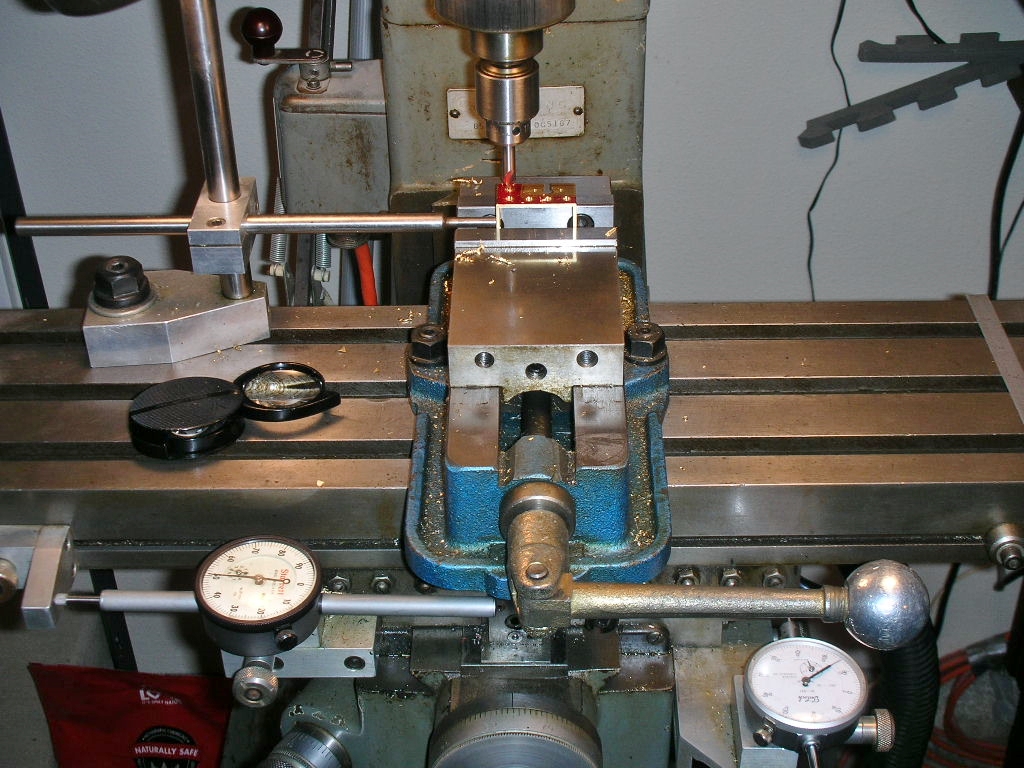
Joe, I did a rudimentary check of the balance point of the motor and it seem very close to its centerline. That's a good thing because I've already drilled the mounting holes in the axle bracket to center the motor.
And speaking of the motor bracket, I bought the metal for this project mostly from OnlineMetals.com (link below). They will custom saw cut by the inch for small orders like mine:
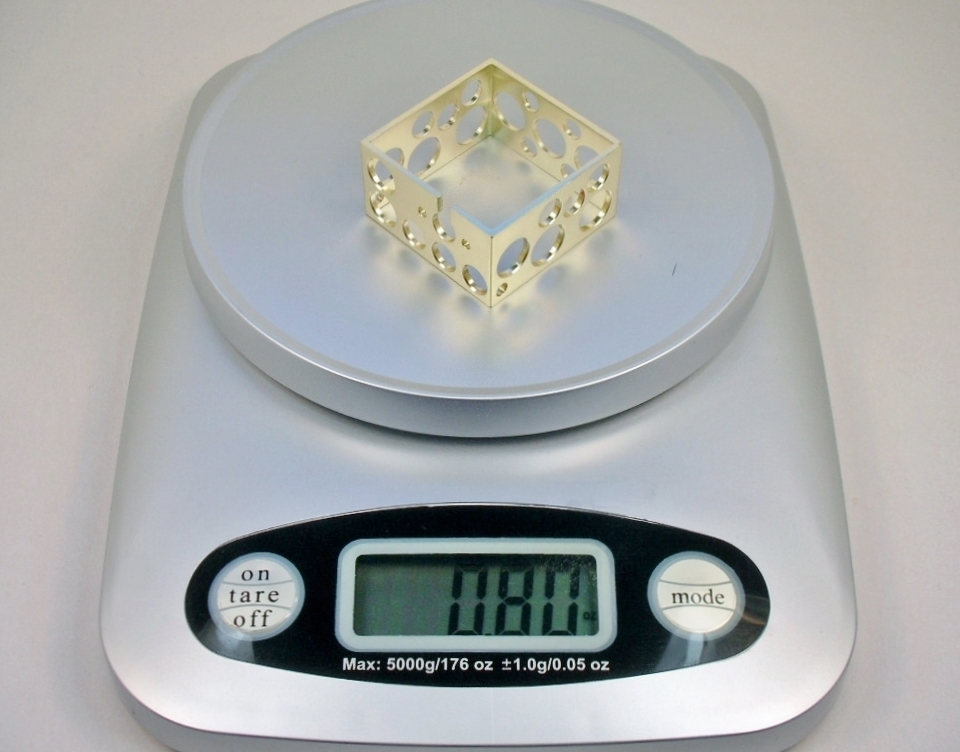
That square tube is about the same width as the motor and its length is perfect for mounting the motor in the center of the car like Rodney and I discussed. It's plenty stout with its 1/16" wall thickness and the square shape acts like a built in rear axle brace.
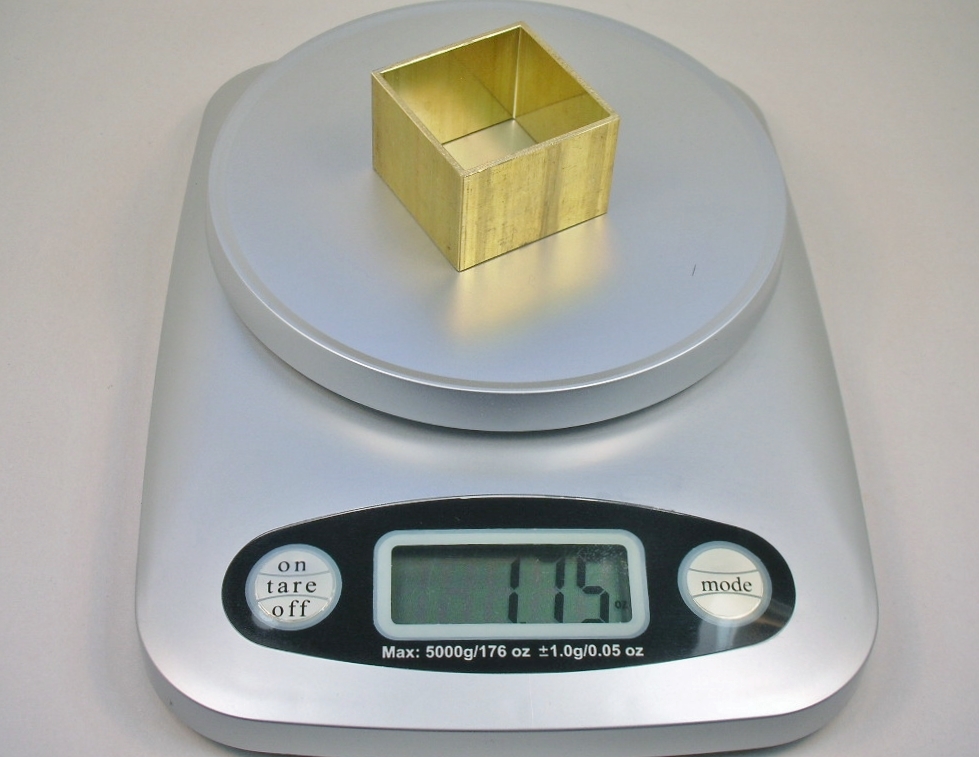
The problem is that it is HEAVY at 1 3/4 ounces:
To fix that we need...............
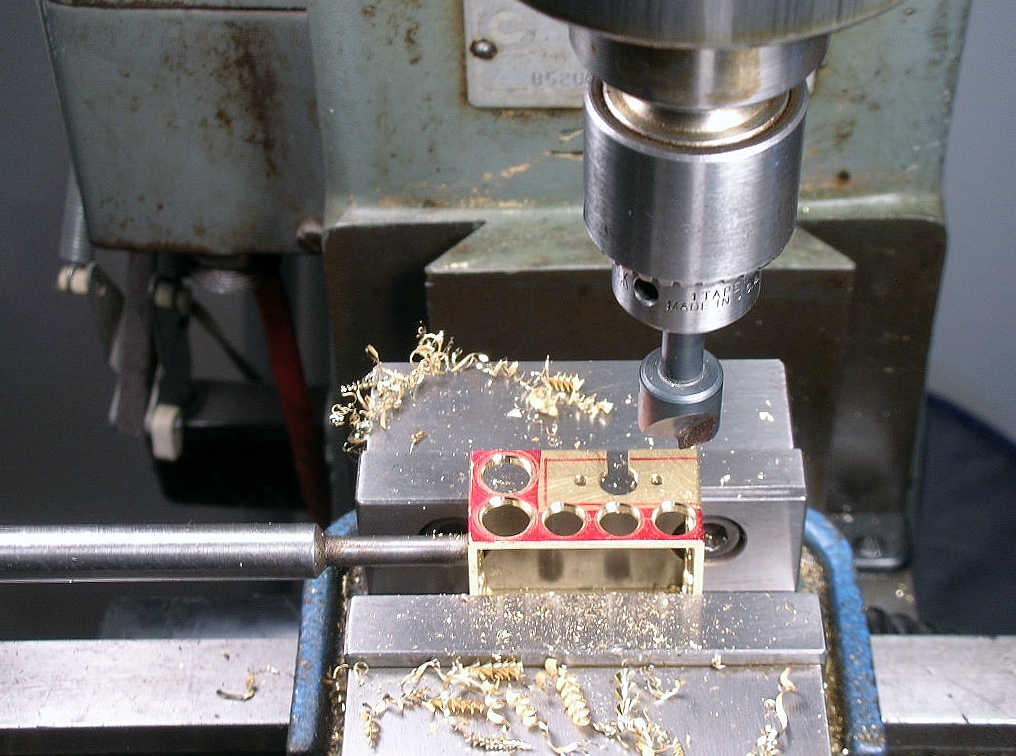
..........no, no, we need HOLES. LOTS OF HOLES. ![]()
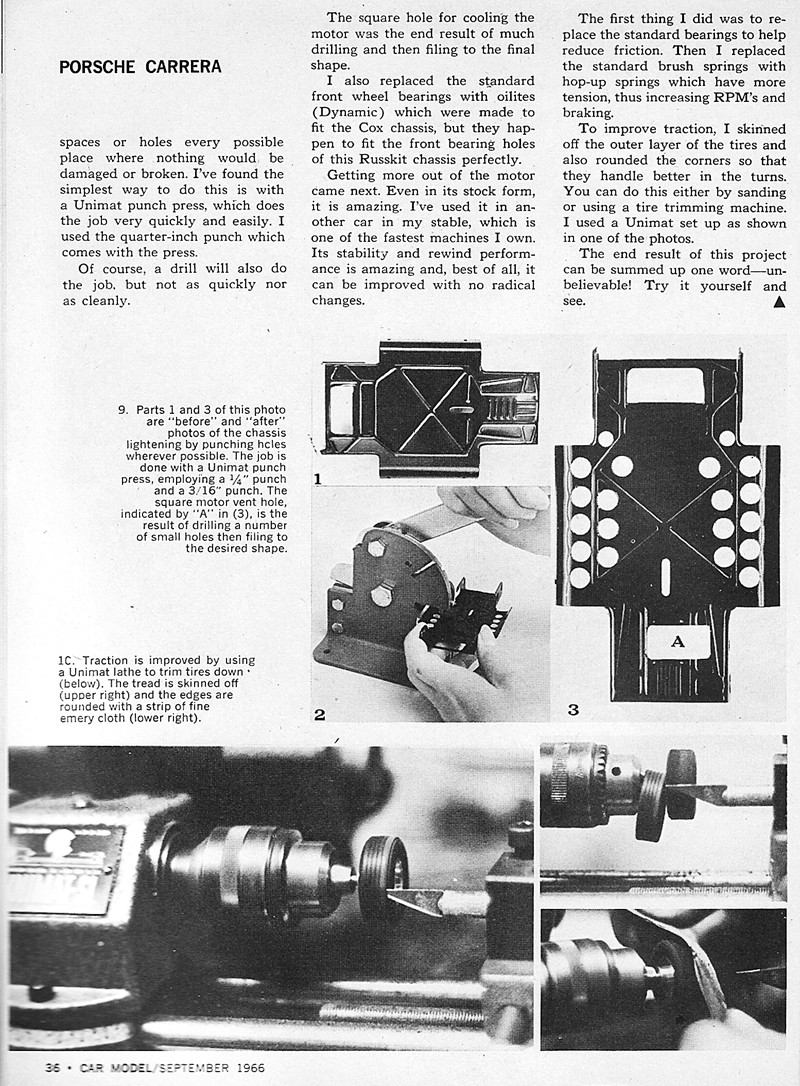
The early magazine "hop up" articles show holes drilled everywhere. One of my favorite is this modification to an thin aluminum sheet Russkit Carrera chassis:
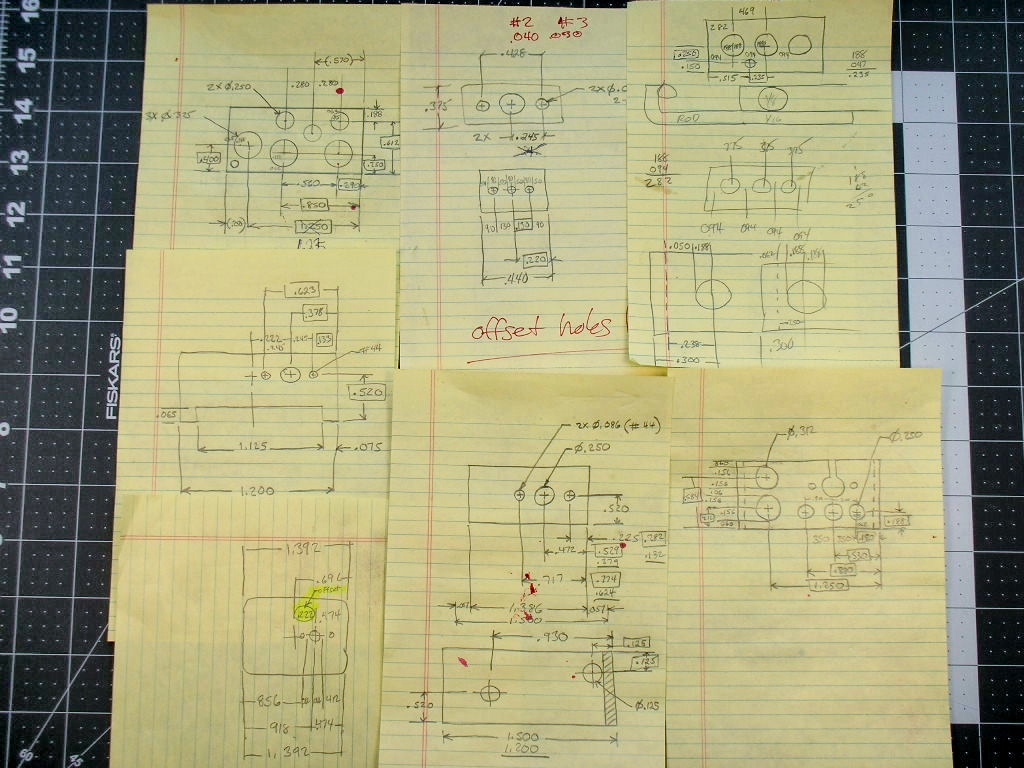
The weight savings calculate out to less than 1/10 of a gram. With my thick brass piece I saved much more. The different hole patterns for each side would have taken only minutes to do with a CAD system. I spent hours moving around various size washers on the bracket to see where similar sized hole could be placed, measuring their location and making sketches.........lots of sketches:
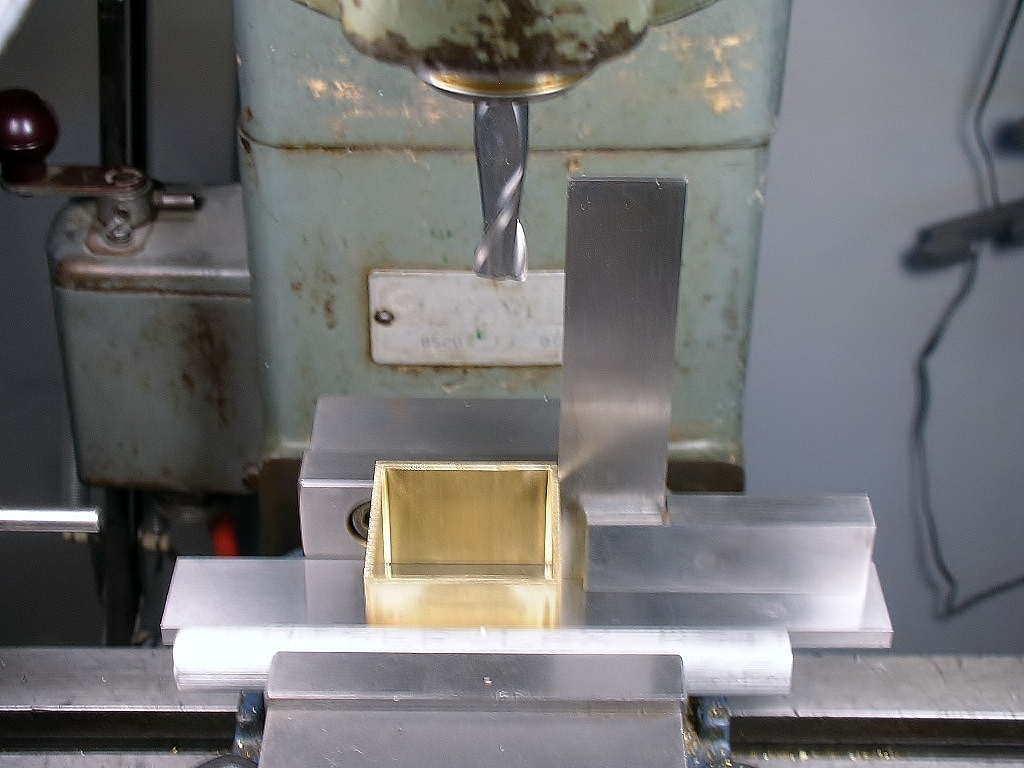
First thing that 1" hunk of tube had to be cut down and squared up:
No CNC mill, just cranking handles and reading analog travel dials:
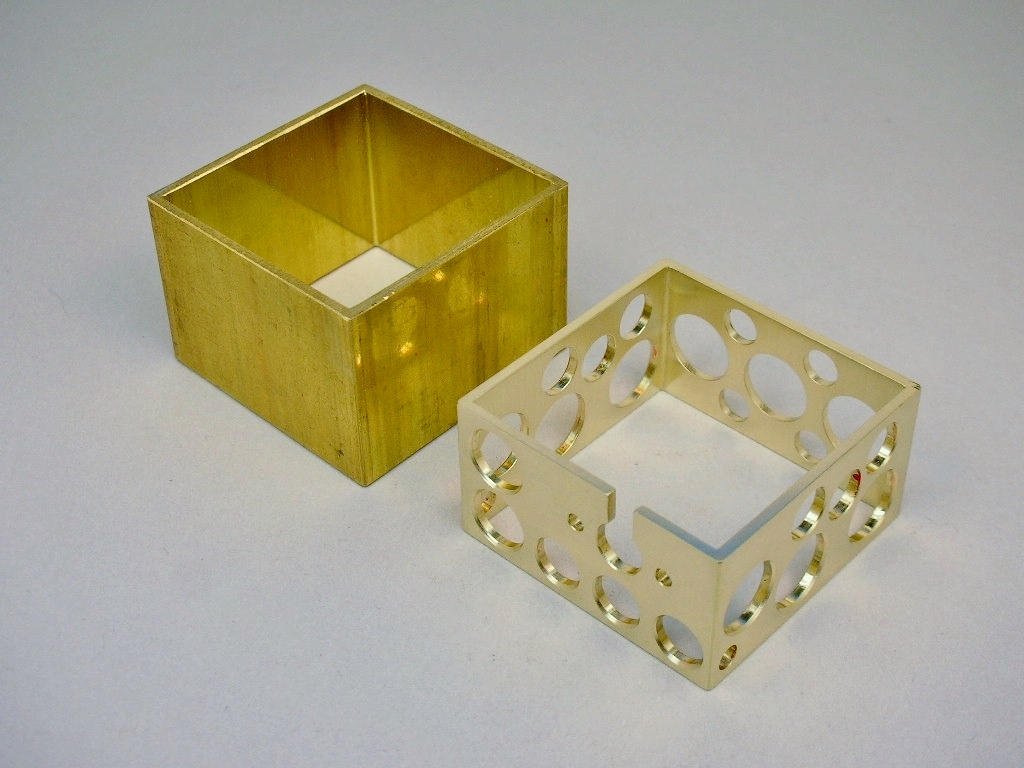
It took hours of work but I think the results were worth it. The motor bracket weight was cut by more than half:
It's a big square beast for the back of the chassis......shaped just like the back of the beast of a body I'll be using for this build.
- Pablo, justDave, Slot Car Rod and 2 others like this
Rick Thigpen
Check out Steve Okeefe's great web site at its new home here at Slotblog:
The Independent Scratchbuilder
There's much more to come...
#28

Posted 21 May 2021 - 04:32 PM
Yikes! Wonderful.
Love the chamfering. It's all in the details.
Kinda puts me in the mood for a grilled Swiss and a pickle.
Never saw that Carrera article. Now I know why there are so many of these chassis ruined by amateurs on Ebay.
- Pablo likes this
Joe Lupo
#29

Posted 21 May 2021 - 04:58 PM
It doesn't get any sicker (in a good way of course) than that ![]()
![]()
![]()
![]()
Paul Wolcott
#30

Posted 22 May 2021 - 06:12 PM
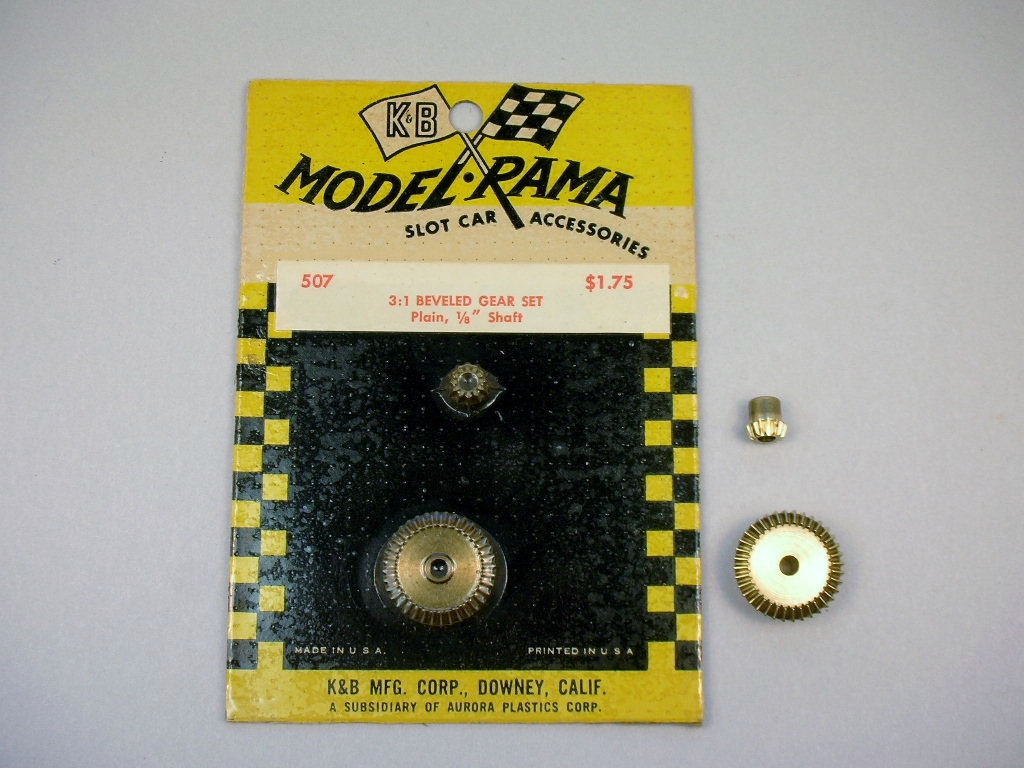
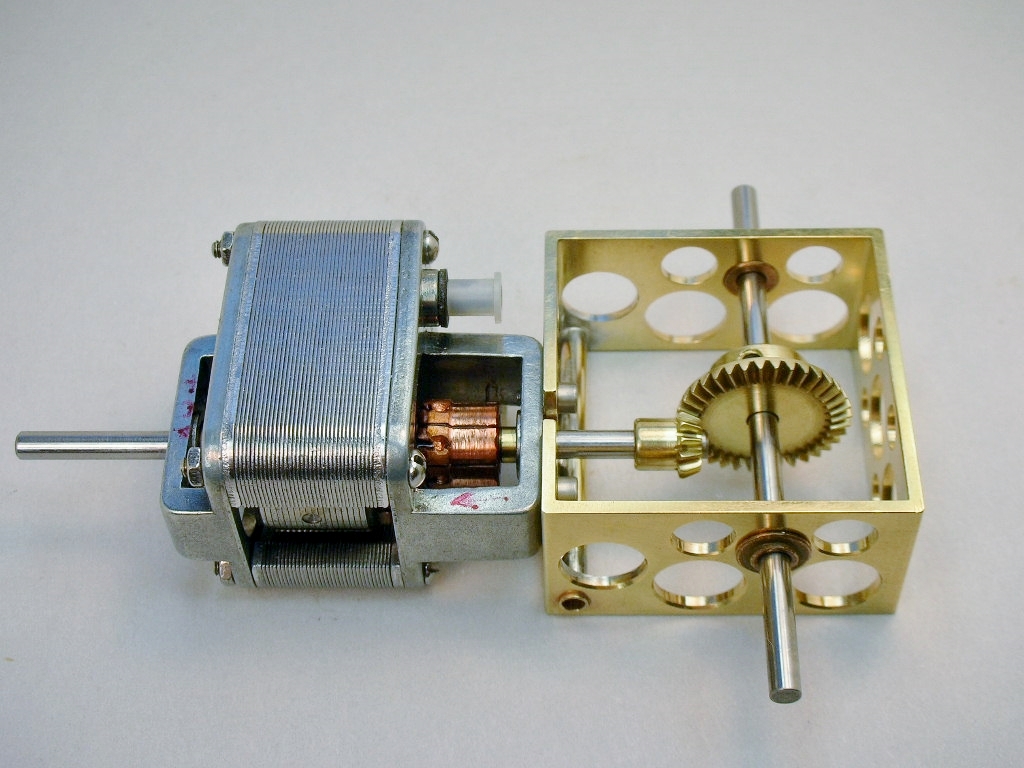
Here are the gears to handle the torque of this beast:
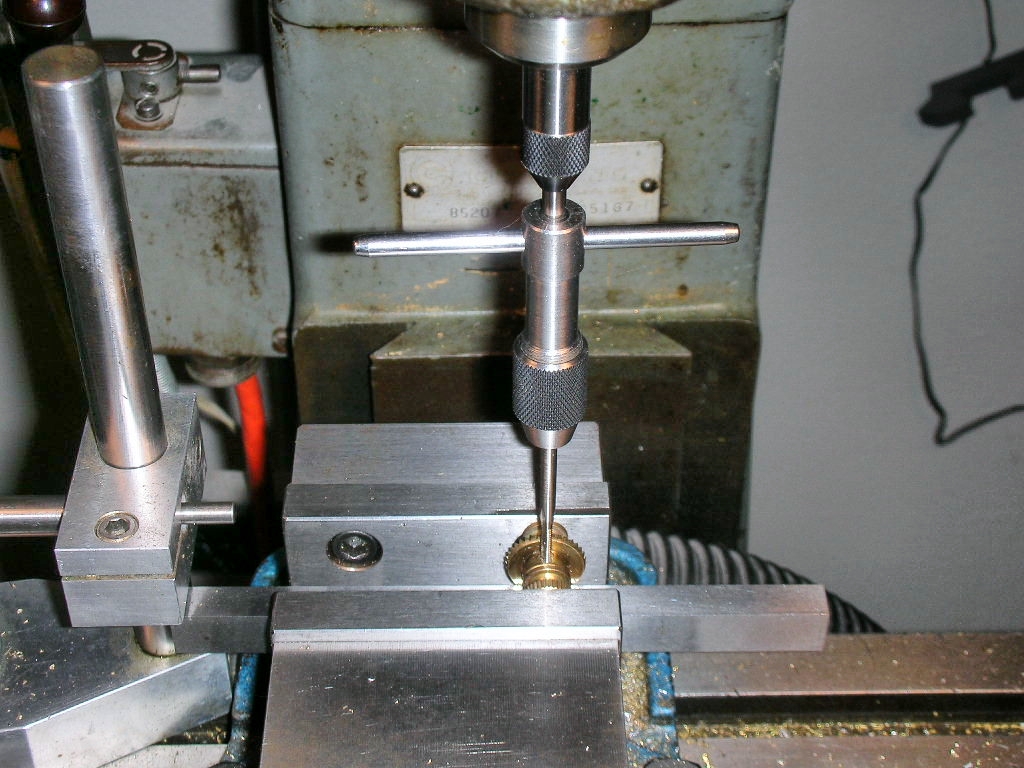
These are solder on gears but I chose to add a 4-40 set screw to the crown gear:
Here's the big butt end of the ISO center section:
- Peter Horvath likes this
Rick Thigpen
Check out Steve Okeefe's great web site at its new home here at Slotblog:
The Independent Scratchbuilder
There's much more to come...
#31

Posted 22 May 2021 - 07:15 PM
Sir, you may consider giving the FBI a heads up about this build so they won't come knocking unannounced. I'm sure the major automobile manufacturers, in the transition to electric, are already watching you ![]()
Paul Wolcott
#32

Posted 22 May 2021 - 08:44 PM
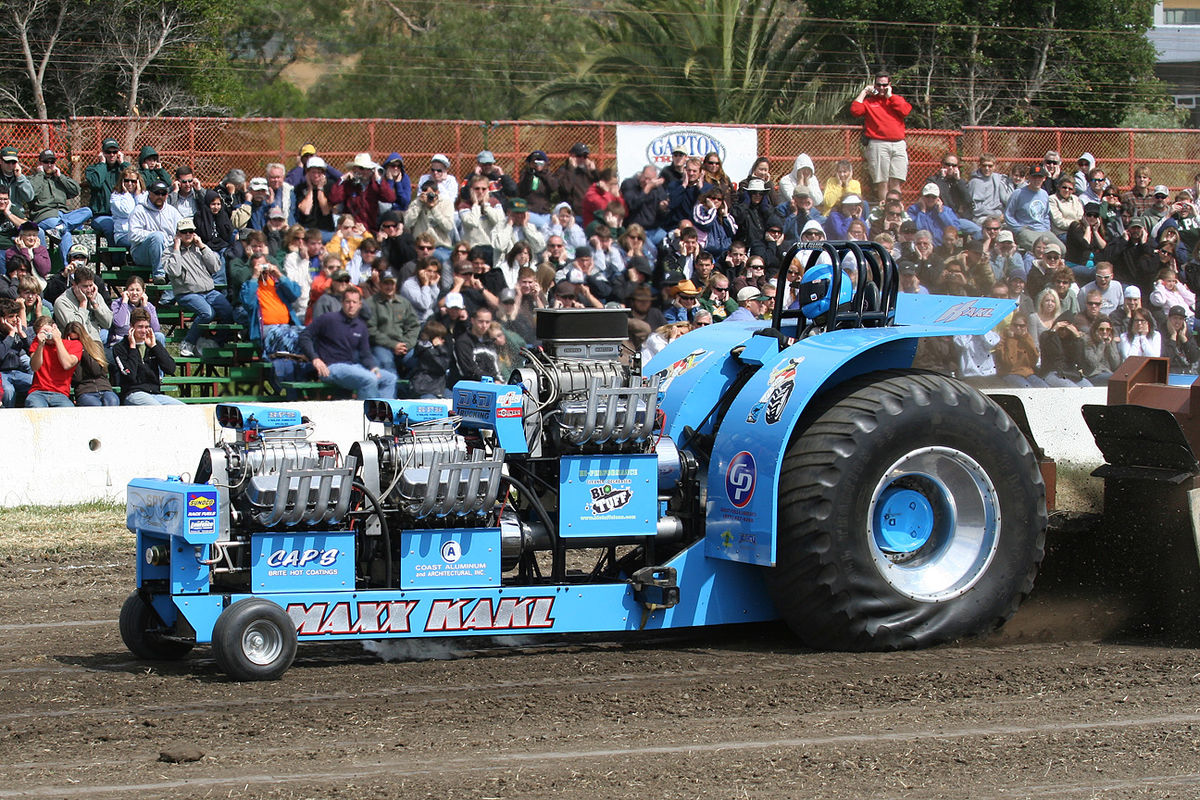
The nose weights on the Cobra remind me of the tractors used in tractor pulls.
- Bill from NH likes this
#33

Posted 23 May 2021 - 04:47 PM
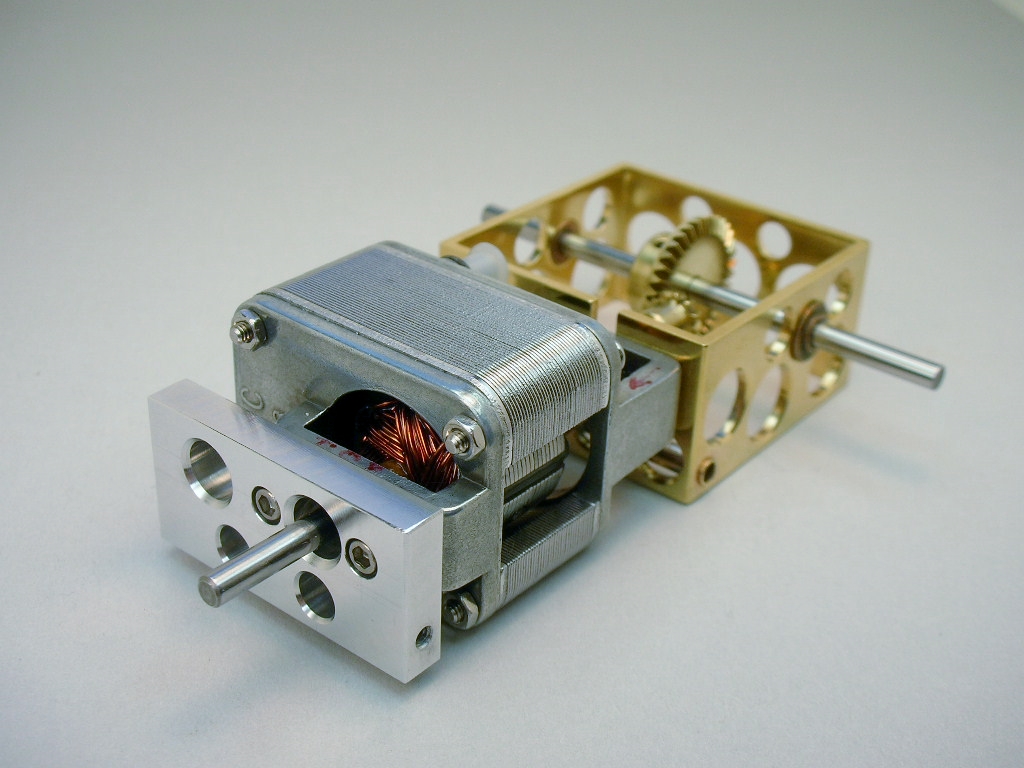
Guys, it's time to get the front end of this ISO center section in place. The front and rear will be connected only by the motor:
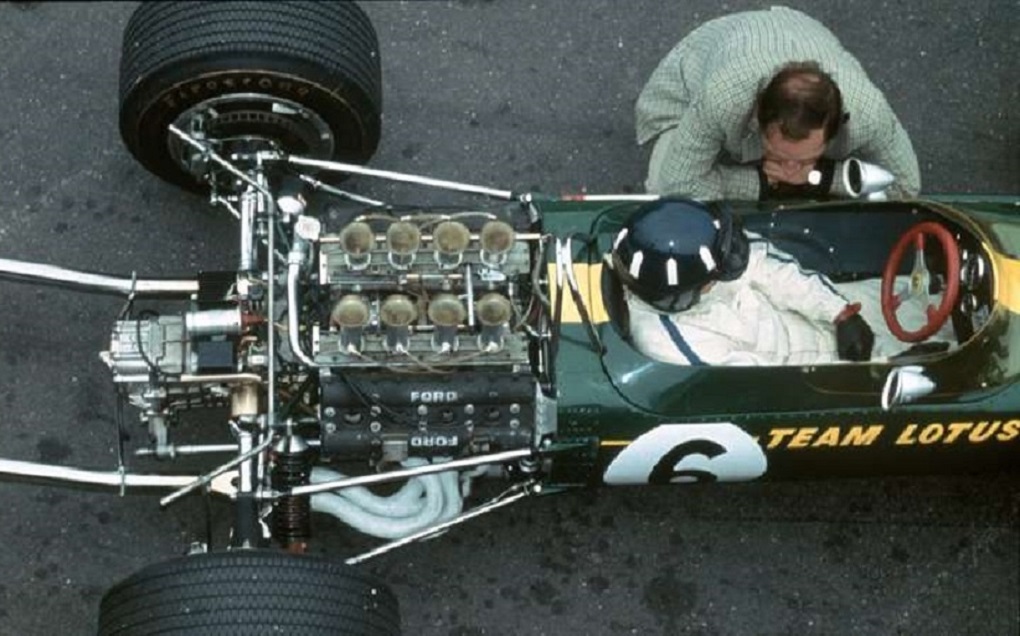
No, No ...........that's what we don't want it to do. Like a Lotus 49:
"The first thing to know about the Lotus 49’s usage of the DFV engine is that Team Lotus built the car around it. Not metaphorically, literally. The engine was a genuine stress-bearing member of the car, bolted between the monocoque and suspension/gearbox. Stiffness, already a major string to the 25’s bow? That was boosted, and with the issue of anti-vibration mounts now a non-factor, the 49 was lighter for it. Effectively all Formula One cars followed this technique, the first ever-present standard the 49 introduced to open-wheel racing’s elite series."
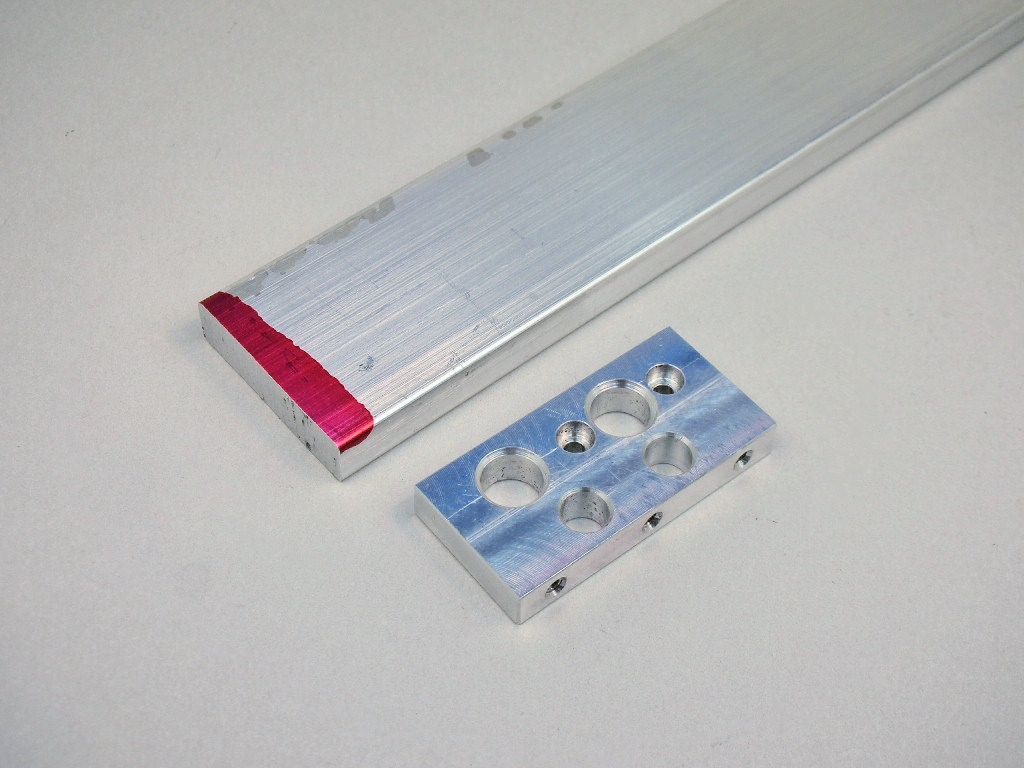
I chose a hunk of 6061-T6 aluminum bar stock............
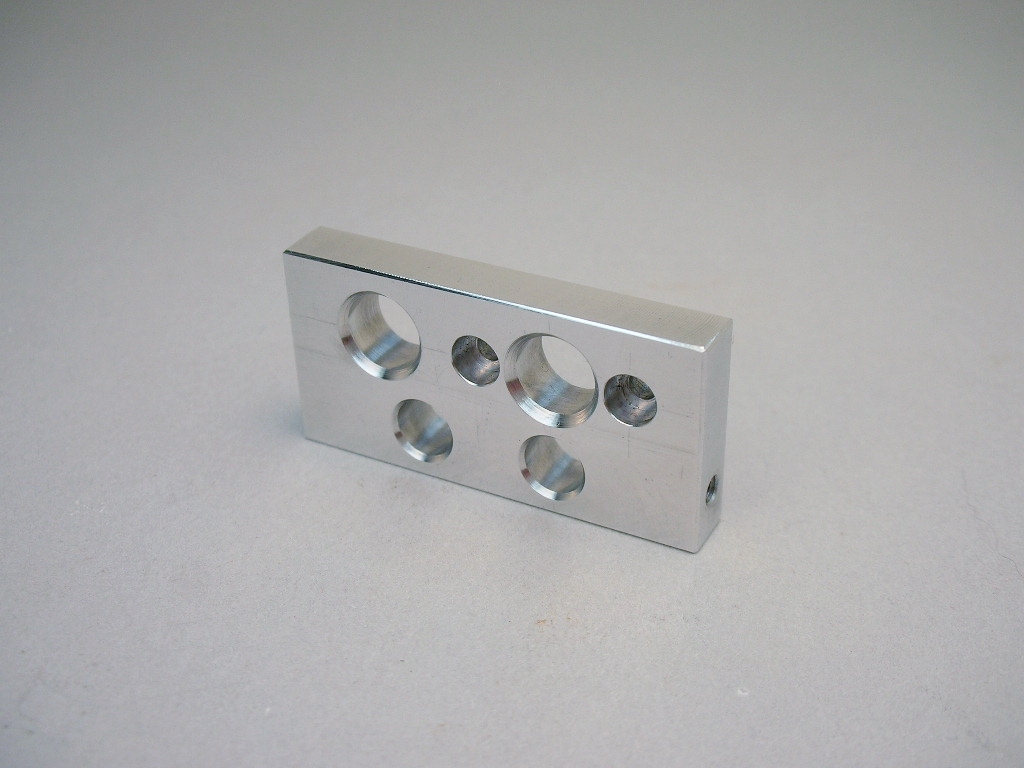
............and machined away everything until it appeared. Of course it had to have lightening holes drilled in it too:
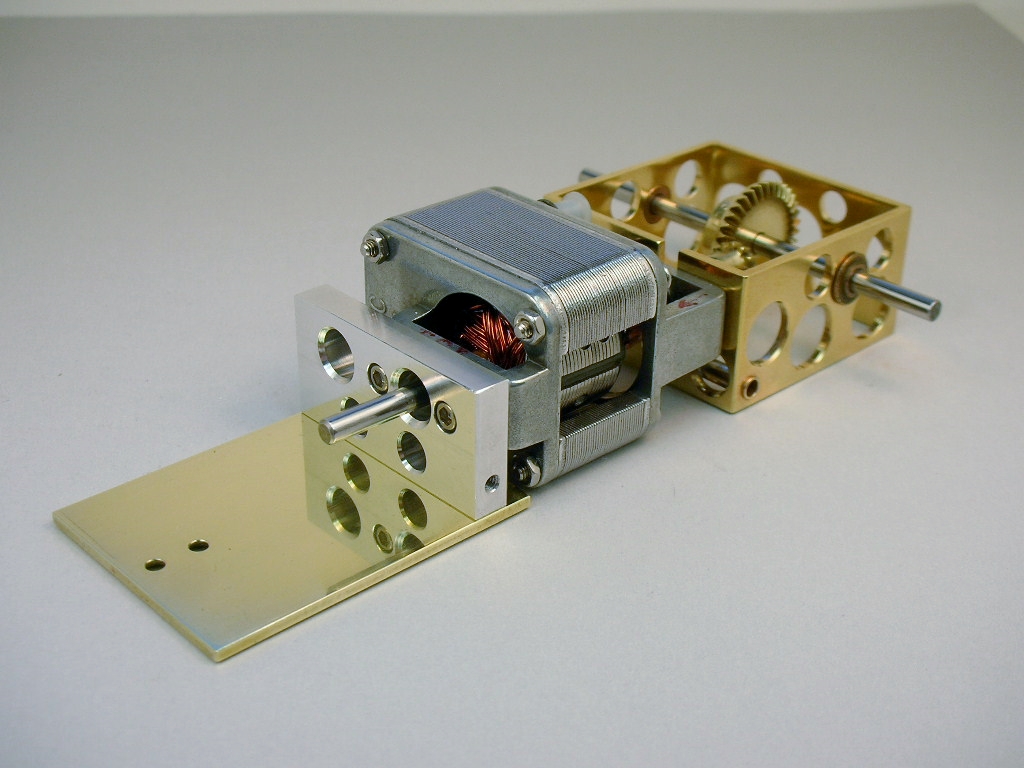
Bolted up to the front of the motor waiting for the next piece to be screwed on to those 3 tapped holes on the bottom:
- Pablo, Peter Horvath and Tom Katsanis like this
Rick Thigpen
Check out Steve Okeefe's great web site at its new home here at Slotblog:
The Independent Scratchbuilder
There's much more to come...
#34

Posted 23 May 2021 - 08:50 PM
![]()
Paul Wolcott
#35

Posted 24 May 2021 - 05:42 AM
3 tapped holes Rick? I see the two big ones on the bottom and one small one on the side, but none seems tapped for now - are those the 3?
Nice Swiss Cheese Special in any case!
Don
#36

Posted 24 May 2021 - 06:37 AM
#37

Posted 24 May 2021 - 06:52 AM
Ah, thanks Tom.
Indeed, it's my keen sense of observation that's made me the famous writer I am today...
Don
- Eddie Fleming likes this
#38

Posted 24 May 2021 - 11:58 AM
Here's the next piece that attaches to the front motor bracket:
Everything is big, blocky and, well, beastly ![]()
- Tex, Peter Horvath, Rotorranch and 1 other like this
Rick Thigpen
Check out Steve Okeefe's great web site at its new home here at Slotblog:
The Independent Scratchbuilder
There's much more to come...
#39

Posted 24 May 2021 - 02:57 PM
it DOES look beastly, in a good way! don't get in THIS bad boy's way, or else!
Remember, two wrongs don't make a right... but three lefts do! Only you're a block over and a block behind.
#40

Posted 24 May 2021 - 09:18 PM
Tex, the ISO center section is going to be finished soon and will need some rear wheels and tires.
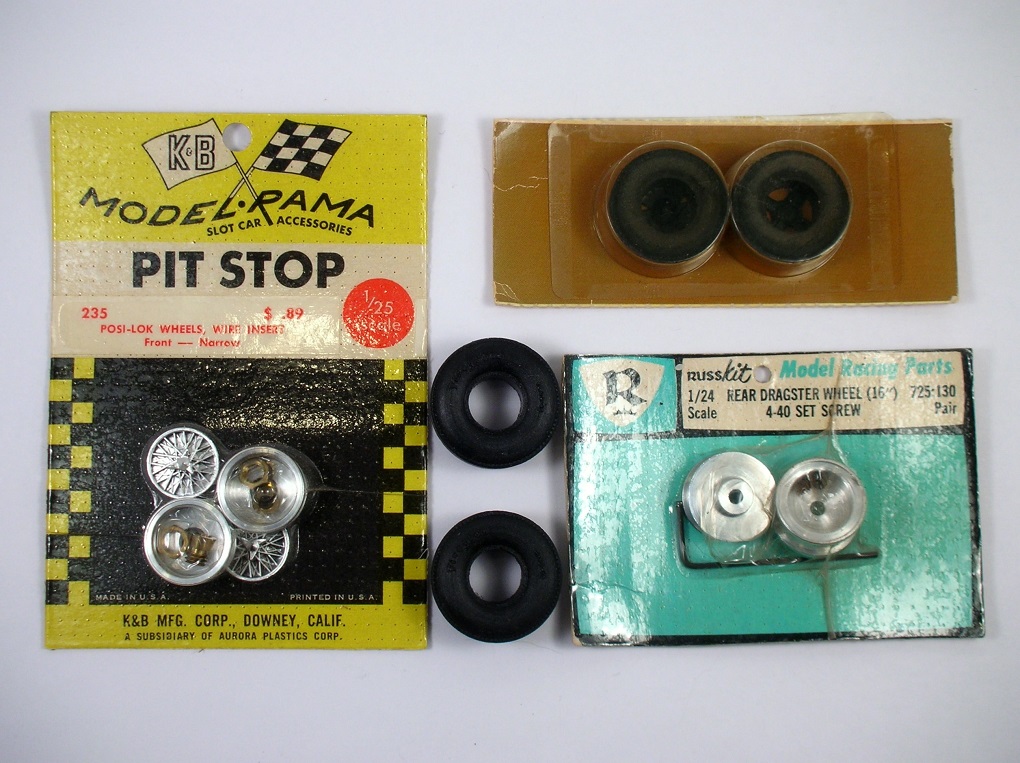
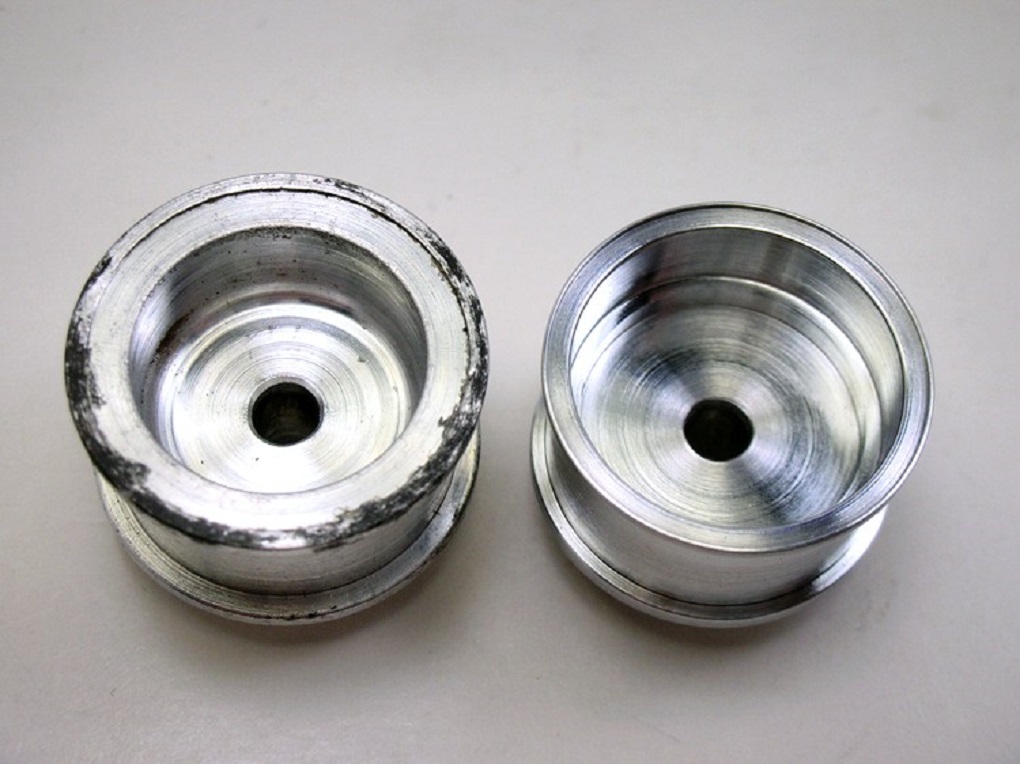
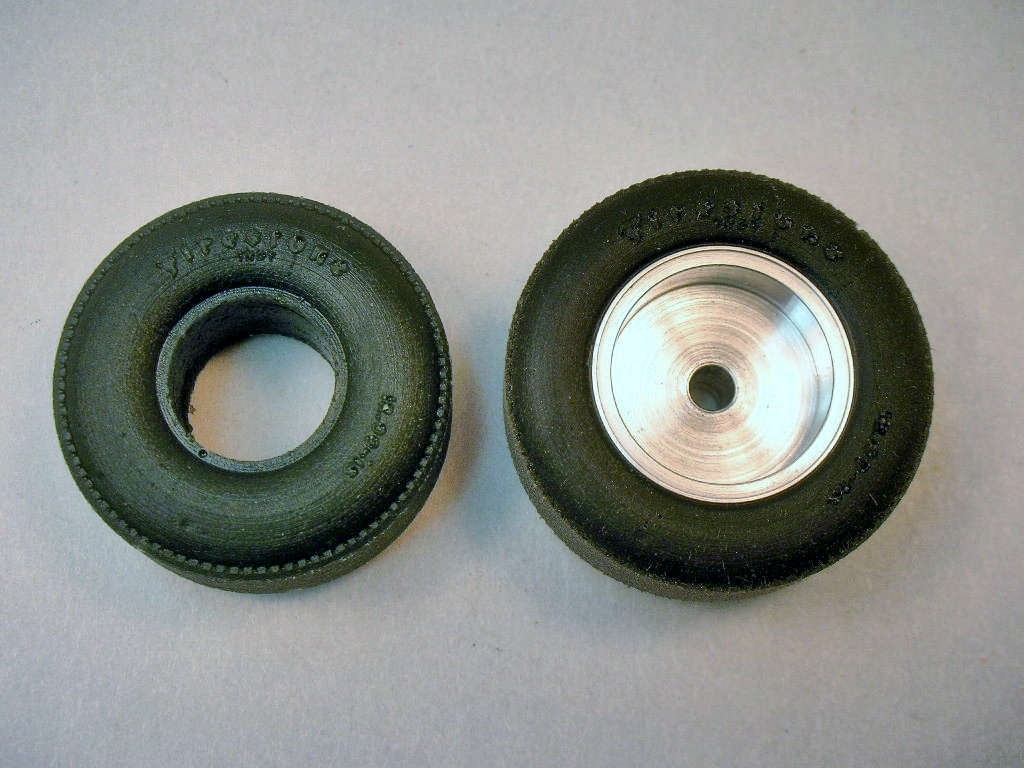
I'm using K&B front wheels, Russkit drag rear wheels and Cox front and rear Chaparral Firestones. The rears are urethane versions from Paul's Slot Car Tires:
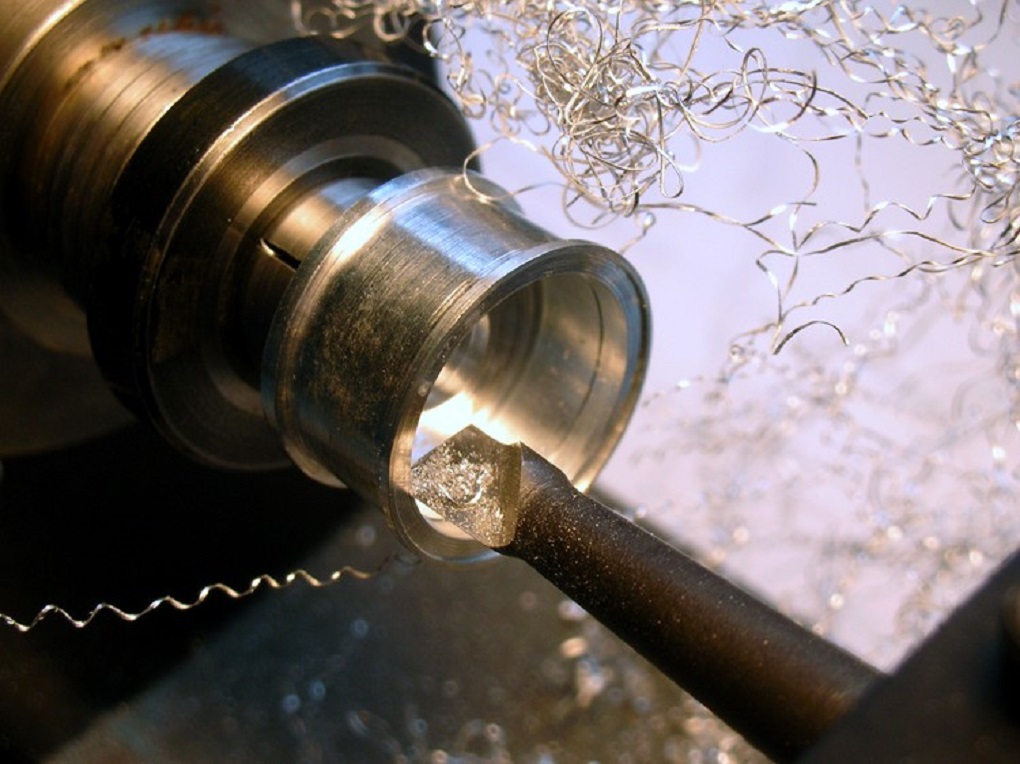
I machined the Russkit drag wheels to the same specs as K&B rear wheels:
The stock Russkit wheel on the left and the machined K&B look alike version on the right:
The Paul's urethane tire and the finished wheel and tire combo:
Time to finish off this ISO center section..........
- Peter Horvath likes this
Rick Thigpen
Check out Steve Okeefe's great web site at its new home here at Slotblog:
The Independent Scratchbuilder
There's much more to come...
#41

Posted 25 May 2021 - 11:39 AM
it DOES look beastly, in a good way! don't get in THIS bad boy's way, or else!
For sure. When you factor in mass and velocity, it should be pretty intimidating!
#42

Posted 26 May 2021 - 08:30 PM
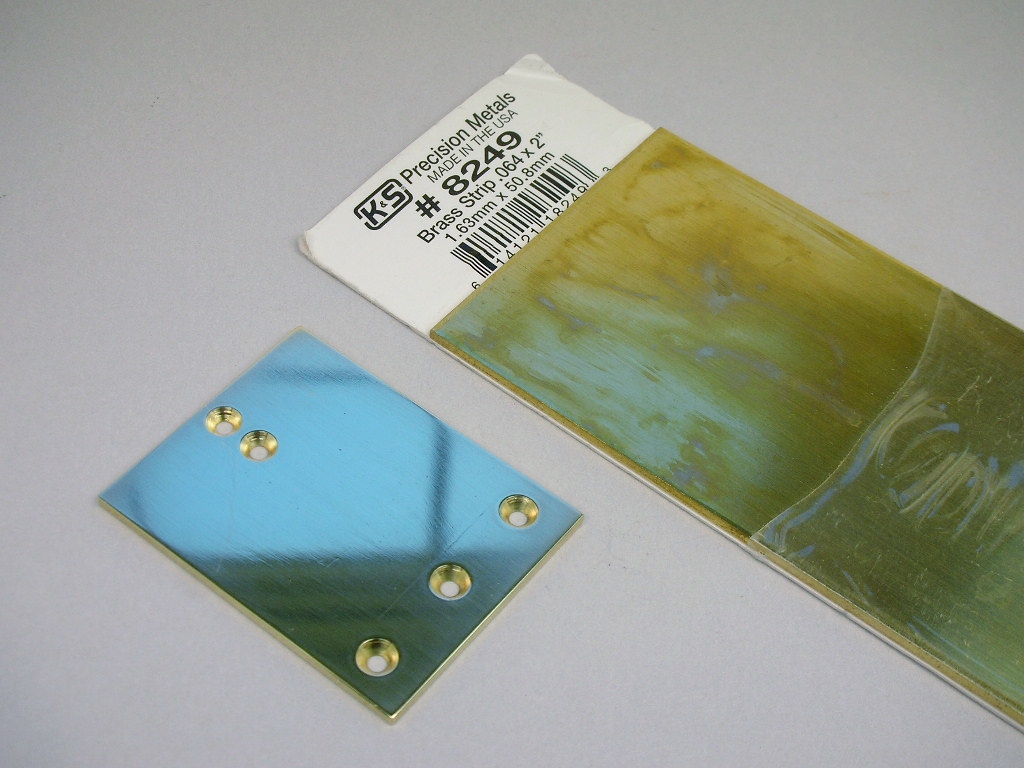
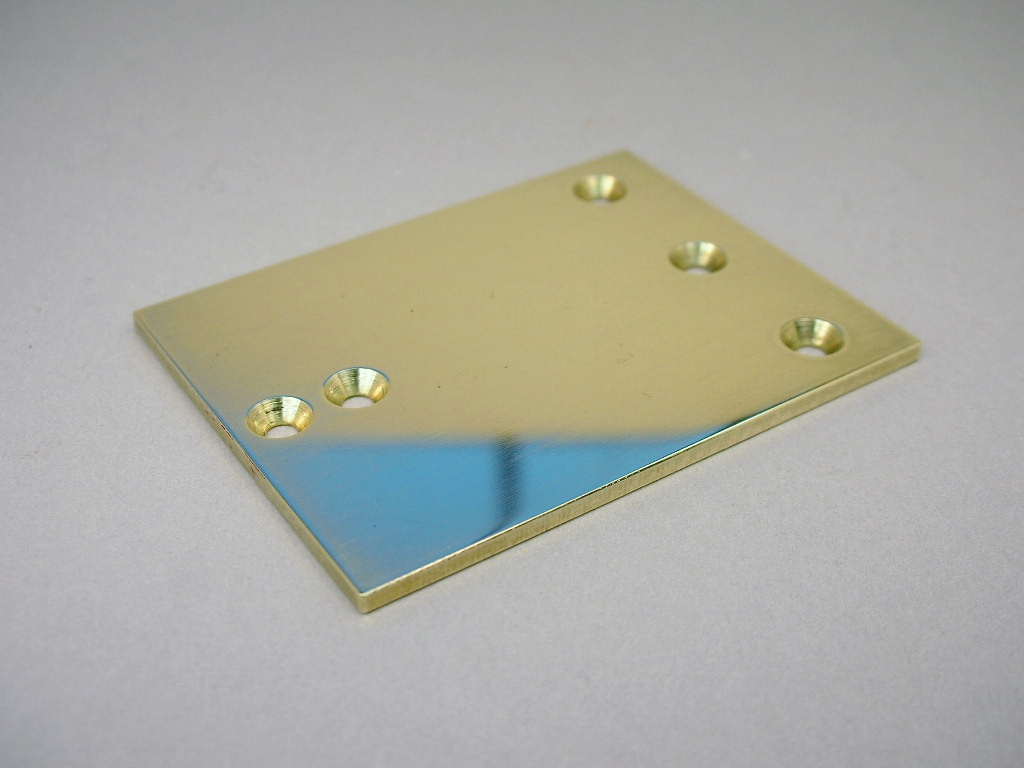
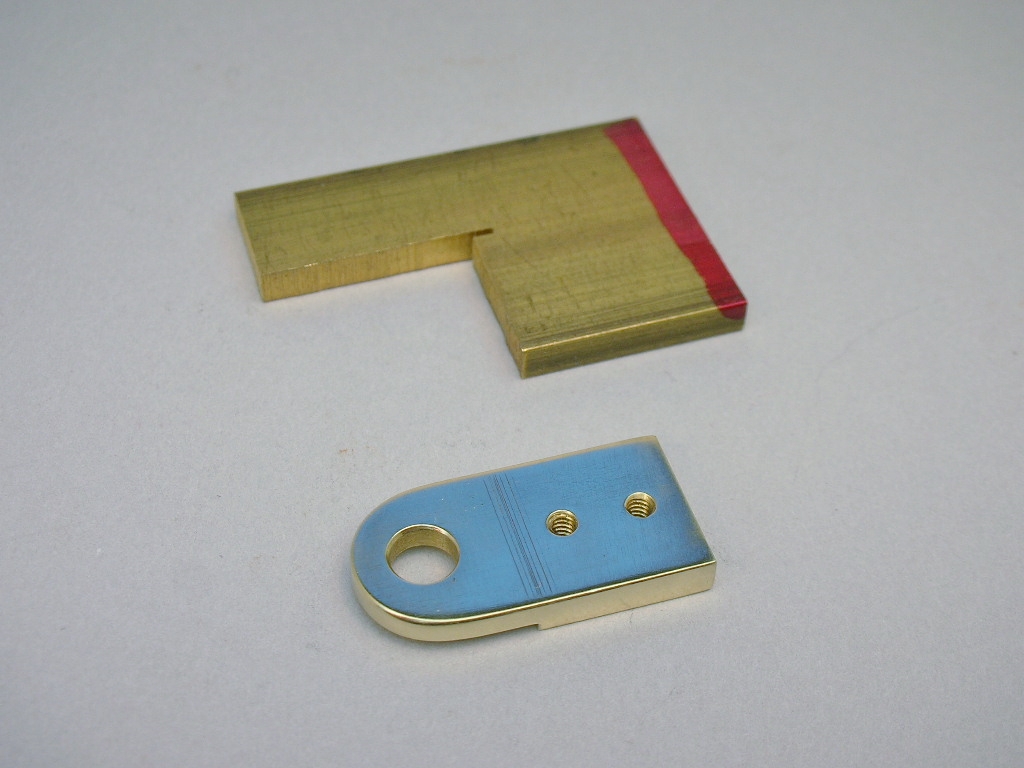
The last piece to fabricate for the ISO center section was the guide tongue cut from 1/8" thick brass bar stock:
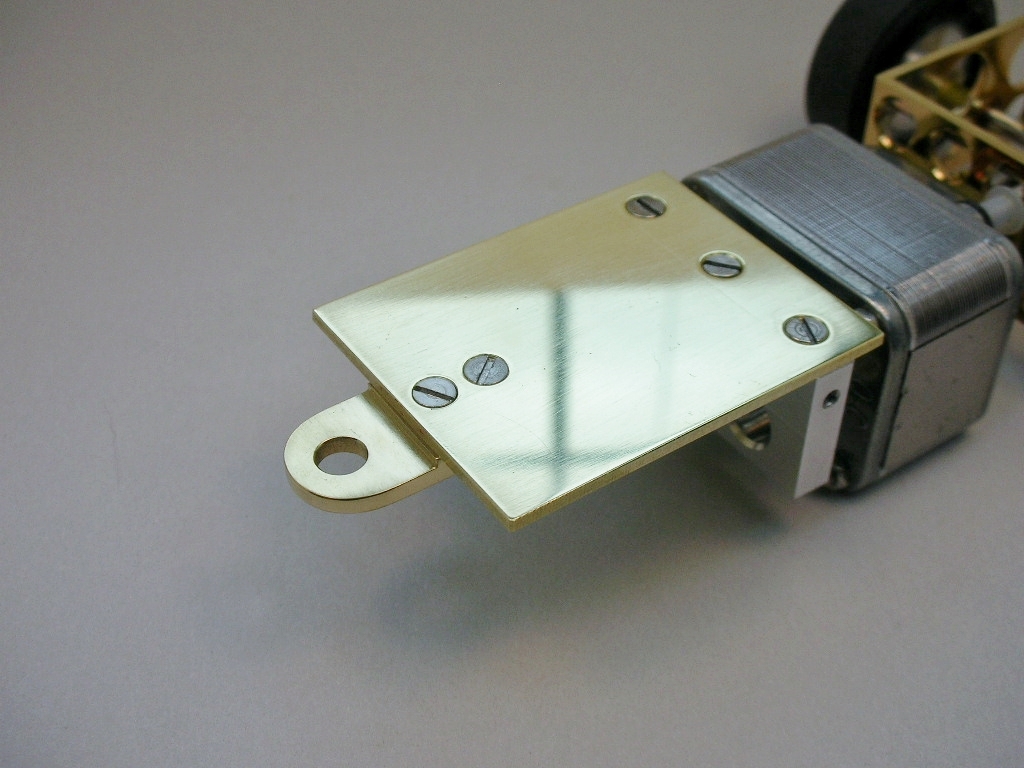
Dynamic style flat head screws holding things together:
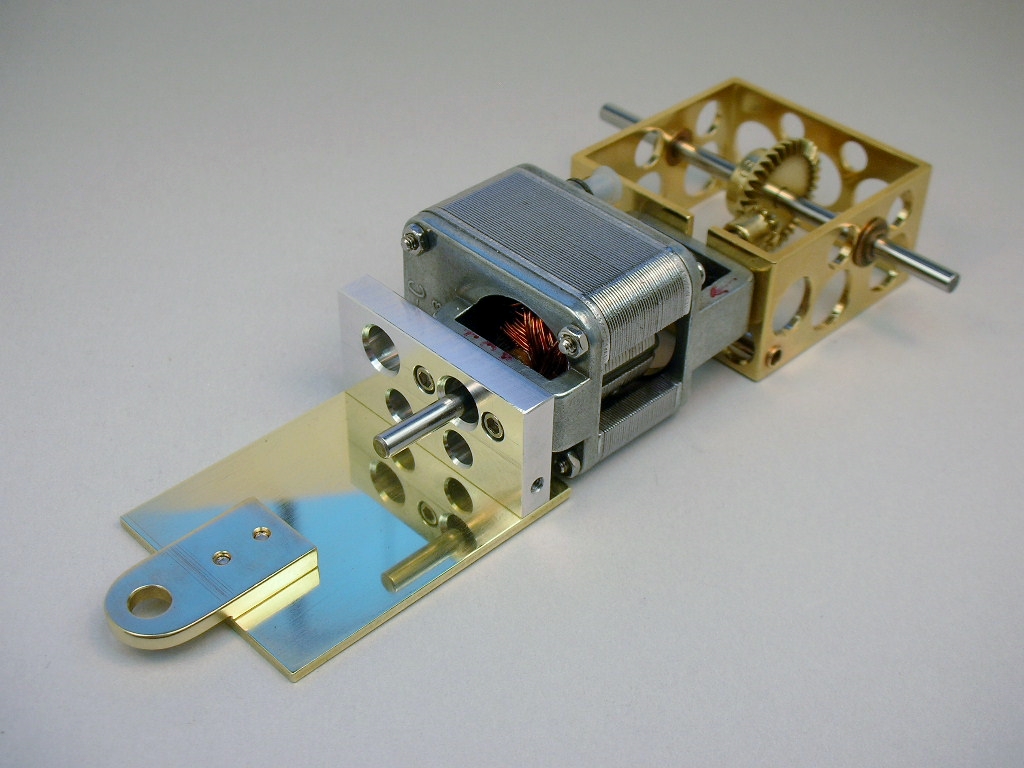
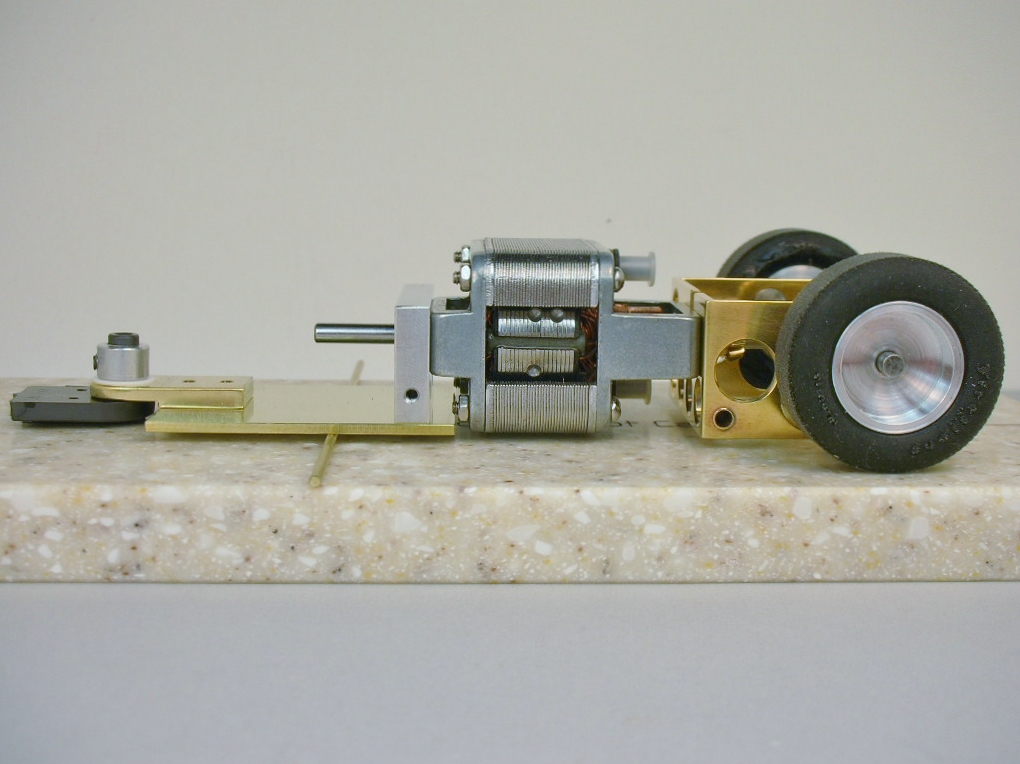
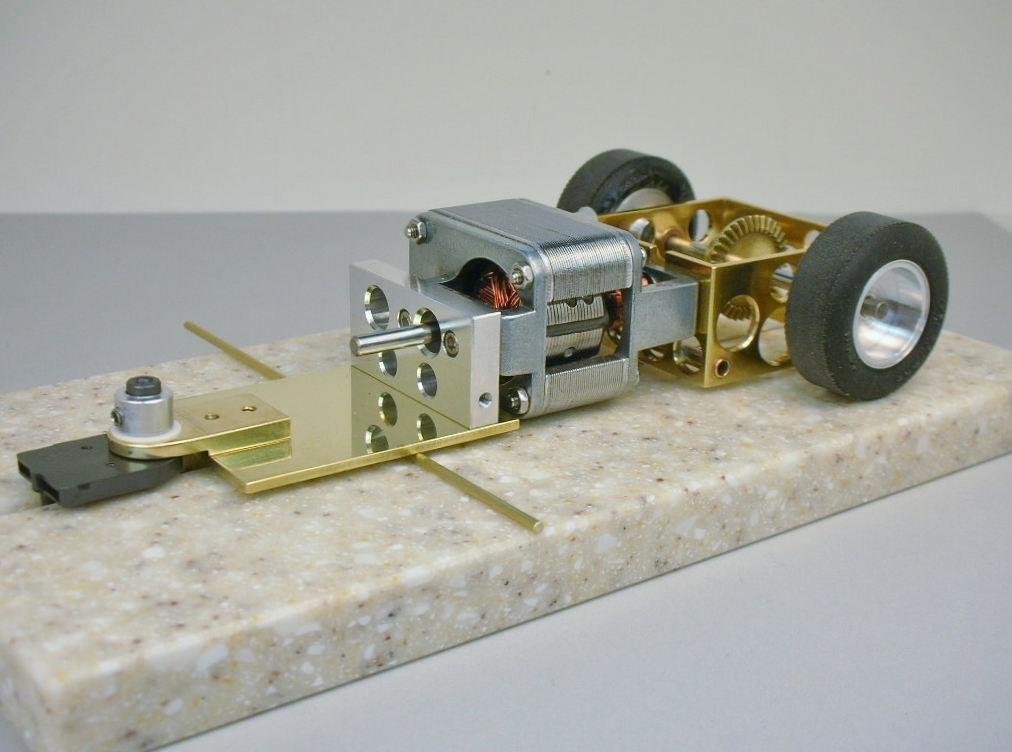
The finished ISO center section:
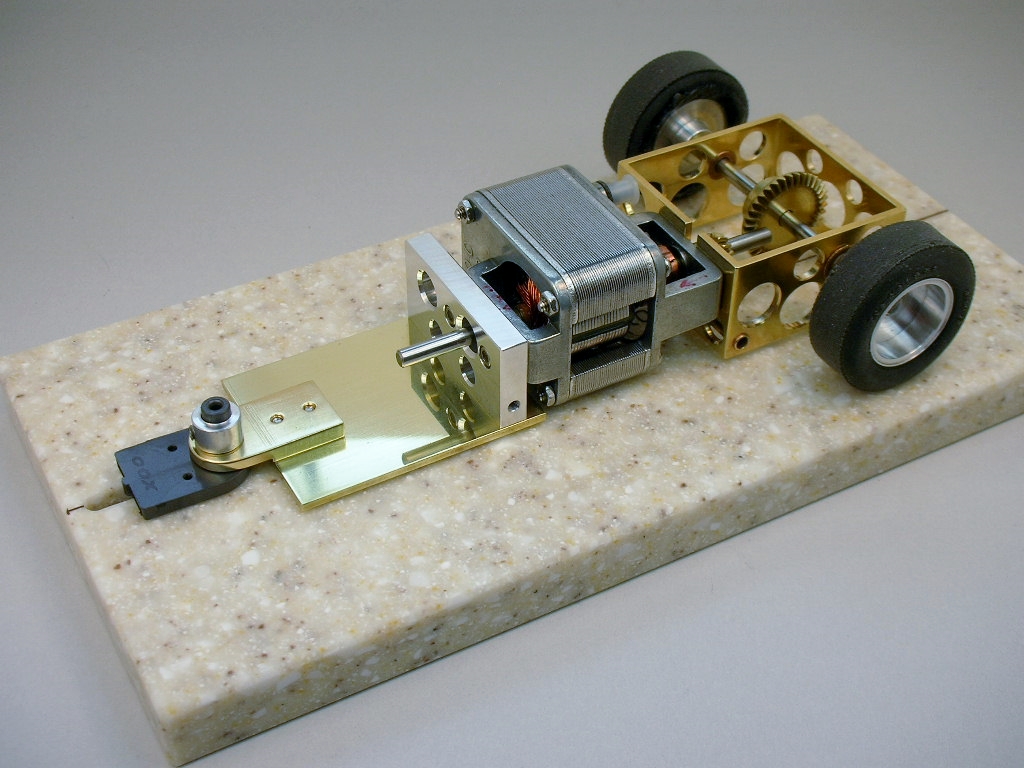
I thought I'd see what it looks like with the guide and rear wheels on.........
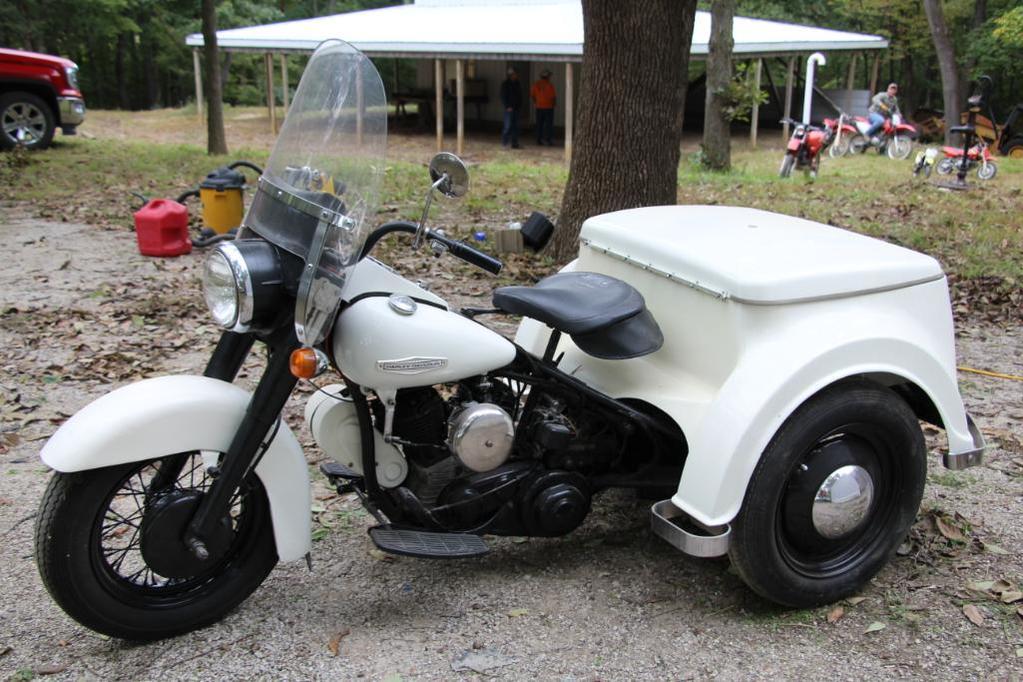
........and saw an unflattering familiarity with:
NO! Not a Meter Maid Harley trike! It's supposed to be a BEAST. ![]()
- Peter Horvath, boxerdog, Rotorranch and 1 other like this
Rick Thigpen
Check out Steve Okeefe's great web site at its new home here at Slotblog:
The Independent Scratchbuilder
There's much more to come...
#43

Posted 26 May 2021 - 08:48 PM
You didn't bend any uplift in that guide tongue did you? ![]()
- Pablo likes this
I intend to live forever! So far, so good.
#46

Posted 26 May 2021 - 09:56 PM
Is it actually going to sit that low when finished?
And I agree with Pablo, it looks like a tractor puller.
#47

Posted 26 May 2021 - 10:18 PM
Up here, meter maids walk. The Mancherster police had a couple Harley trikes, 30 years ago. I know a NH lady in the town north of me who drives a pulling tractor with three hemi engines, Her name is Roselyn Knox, she previously raced funny cars.
I intend to live forever! So far, so good.
#48

Posted 27 May 2021 - 11:01 AM
You didn't bend any uplift in that guide tongue did you?
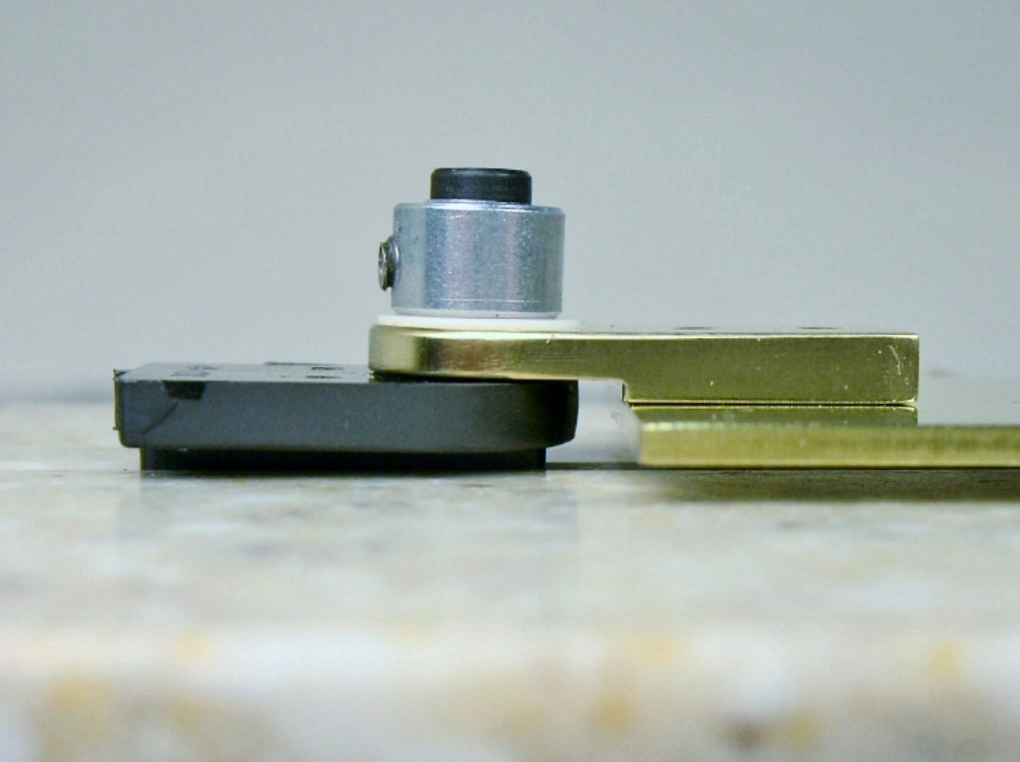
Bill, oh ye of little faith. ![]() You didn't notice the faint marks across the top of the guide tongue in the first picture in post #42. They were caused by me clamping the tongue in a vise and beating a slight angle into it:
You didn't notice the faint marks across the top of the guide tongue in the first picture in post #42. They were caused by me clamping the tongue in a vise and beating a slight angle into it:
Is it actually going to sit that low when finished?
Isaac, the guide will be set to hold the front of the ISO center section up with 1/16" clearance and the rear tire diameter (1.160") holds the rear end up the same:
The Beast will look lots better when the rest of the chassis is attached........I hope! ![]()
- Peter Horvath and boxerdog like this
Rick Thigpen
Check out Steve Okeefe's great web site at its new home here at Slotblog:
The Independent Scratchbuilder
There's much more to come...
#49

Posted 27 May 2021 - 07:10 PM
I thought those were grind marks on the tongue. ![]() Is the 1/8" brass used "half hard" or something else?
Is the 1/8" brass used "half hard" or something else?
I intend to live forever! So far, so good.
#50

Posted 27 May 2021 - 08:00 PM
Okay, makes more sense


