Scratchbuilding a Champion 'Jail Door' Lotus 40
#26

Posted 14 December 2021 - 03:29 PM
#27

Posted 15 December 2021 - 06:48 PM
- Joe Mig, Tim Neja, Phil Smith and 3 others like this
Rick Thigpen
Check out Steve Okeefe's great web site at its new home here at Slotblog:
The Independent Scratchbuilder
There's much more to come...
#28

Posted 15 December 2021 - 08:49 PM
Looks great, It is going to turn out much better than a stock Champion built car.
#29

Posted 15 December 2021 - 11:02 PM
Looks like jewelry to me ![]()
How do you do the neat bevel on the ends of the tube ![]() Is there a cup tool, sort of a reverse countersink?
Is there a cup tool, sort of a reverse countersink?
- Phil Smith likes this
#30

Posted 16 December 2021 - 01:58 PM
Thanks Isaac, it's been fun to "roll my own" chassis.
I just use a file to bevel the ends of the rails Martin. That's why each rail doesn't look exactly the same in the super closeup pictures. To the naked eye they look nice and are very smooth to the touch with no sharp edges.
- Pablo likes this
Rick Thigpen
Check out Steve Okeefe's great web site at its new home here at Slotblog:
The Independent Scratchbuilder
There's much more to come...
#31

Posted 16 December 2021 - 09:22 PM
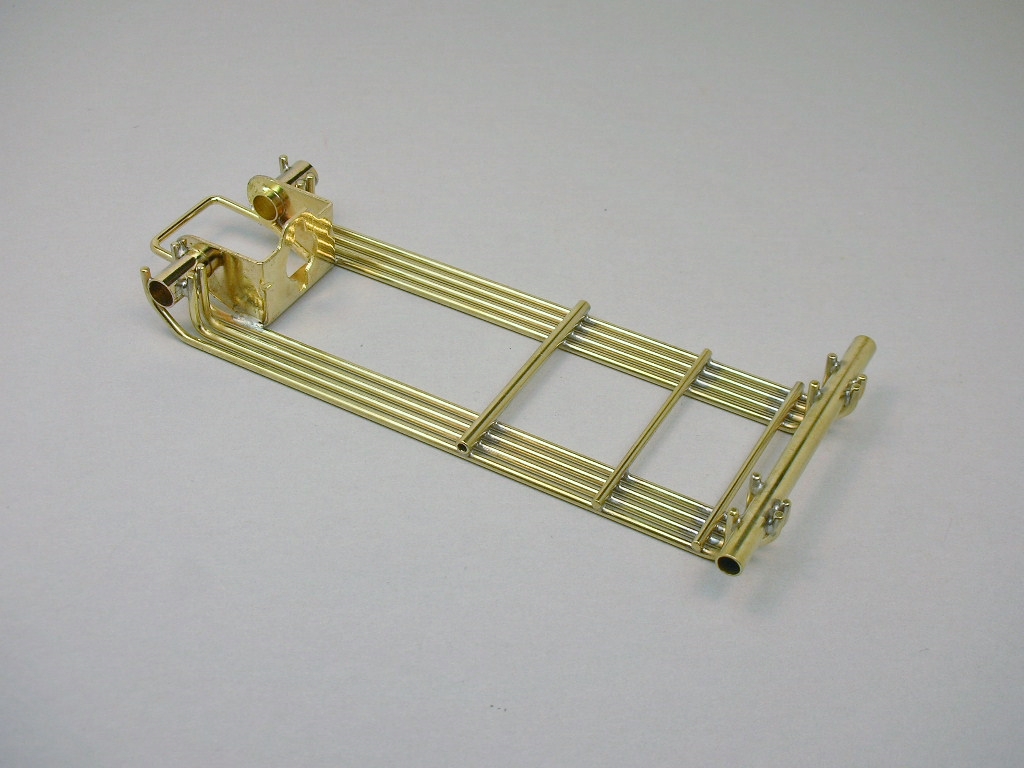
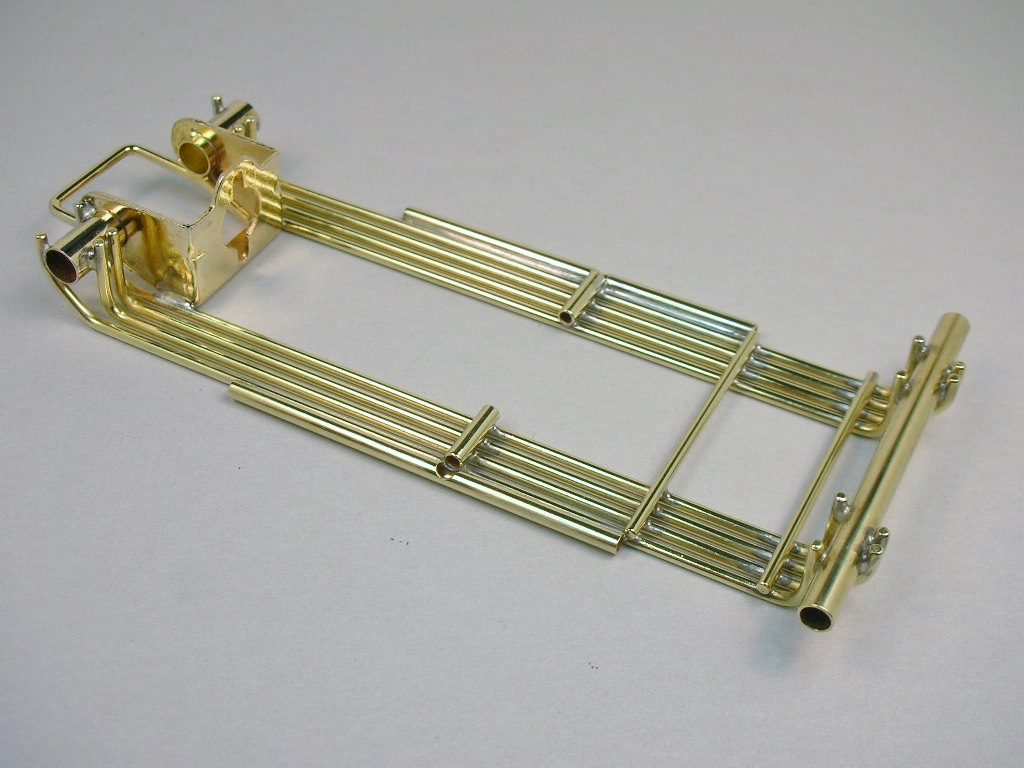
I soldered the guide flag tube and the drop arm hinge tube in the same setup:
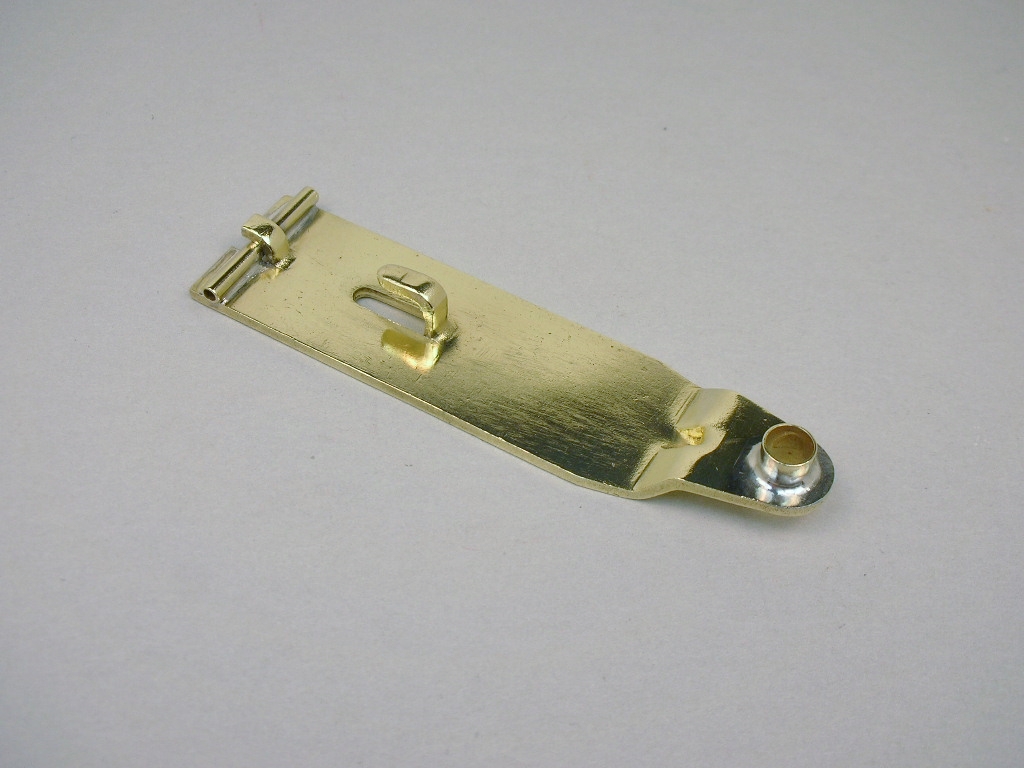
A quick comment on Champion's use of a plate drop arm on their last gen inline frame. When floppy pan inlines first came about both multi rod and plate drop arms were in use. But this frame came to market later, in fact months into the angle winder revolution. At that time plate arms were pretty much becoming the standard operating procedure.
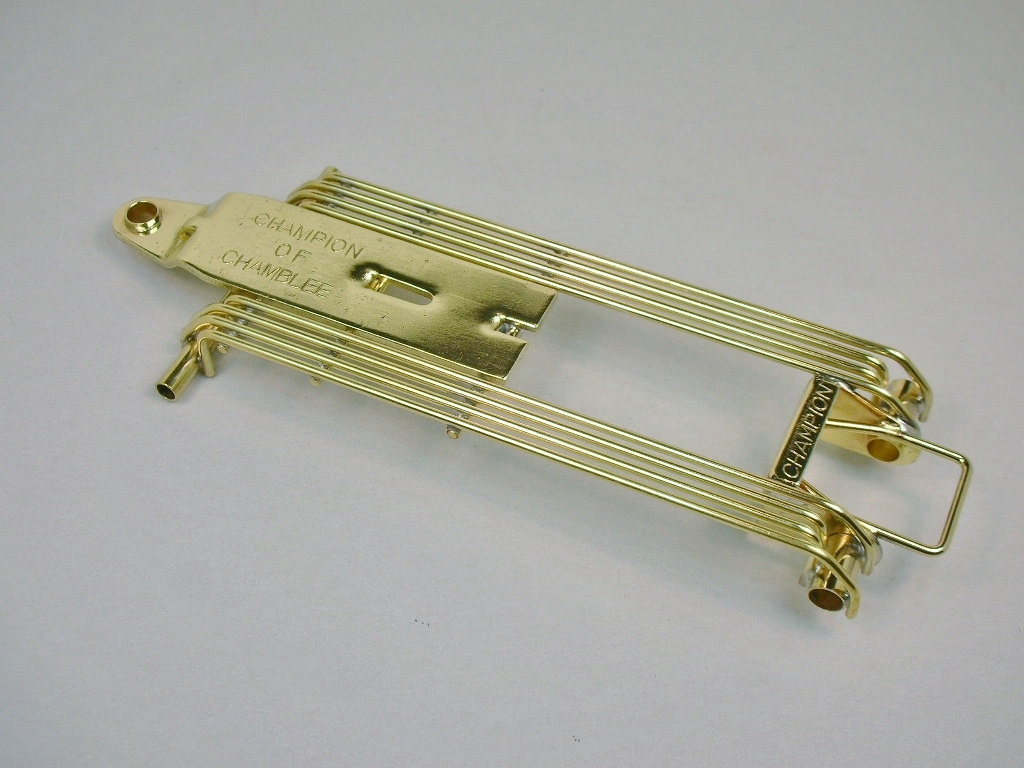
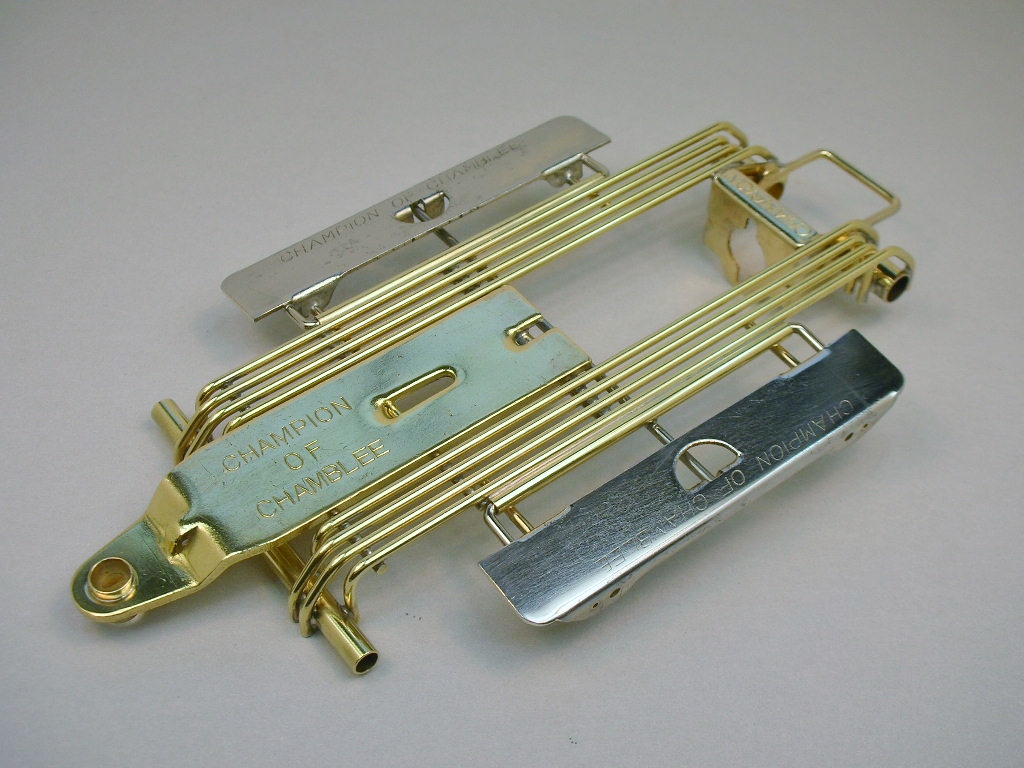
I think the finished drop arm looks cool with it's Champion logo:
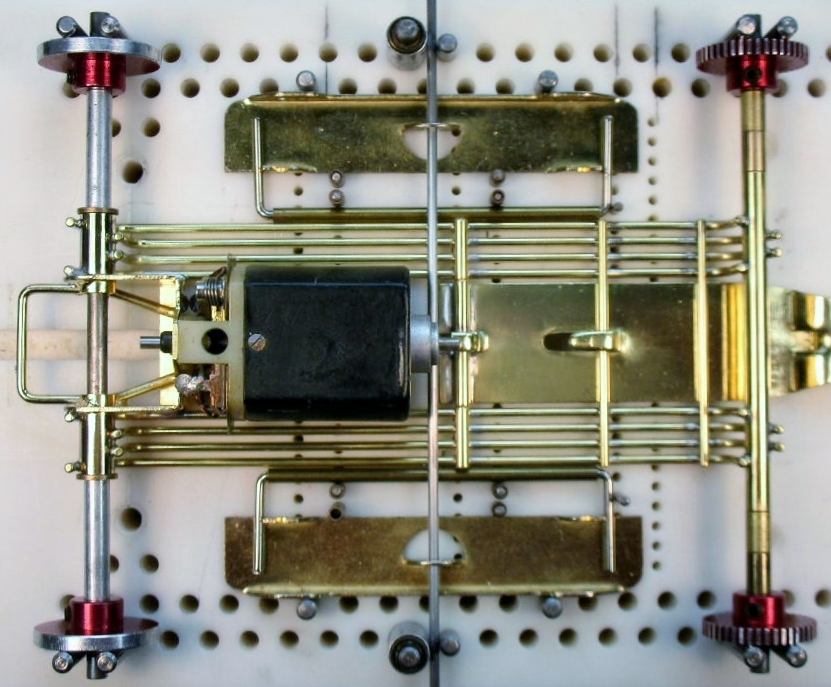
Here is it at home in its frame:
The "Floating body mount kit" is next.....
- Pablo, Peter Horvath, ajd350 and 2 others like this
Rick Thigpen
Check out Steve Okeefe's great web site at its new home here at Slotblog:
The Independent Scratchbuilder
There's much more to come...
#32

Posted 16 December 2021 - 09:47 PM
#33

Posted 16 December 2021 - 10:46 PM
Pure gold
Paul Wolcott
#34

Posted 18 December 2021 - 01:08 PM
The pans won't be so shiny as they are a "gold" plated steel. Unfortunately the bottom surface of the pans was rusty. I had to sand and polish them to bare steel to get it off.
Anyway, here are the installation instructions:
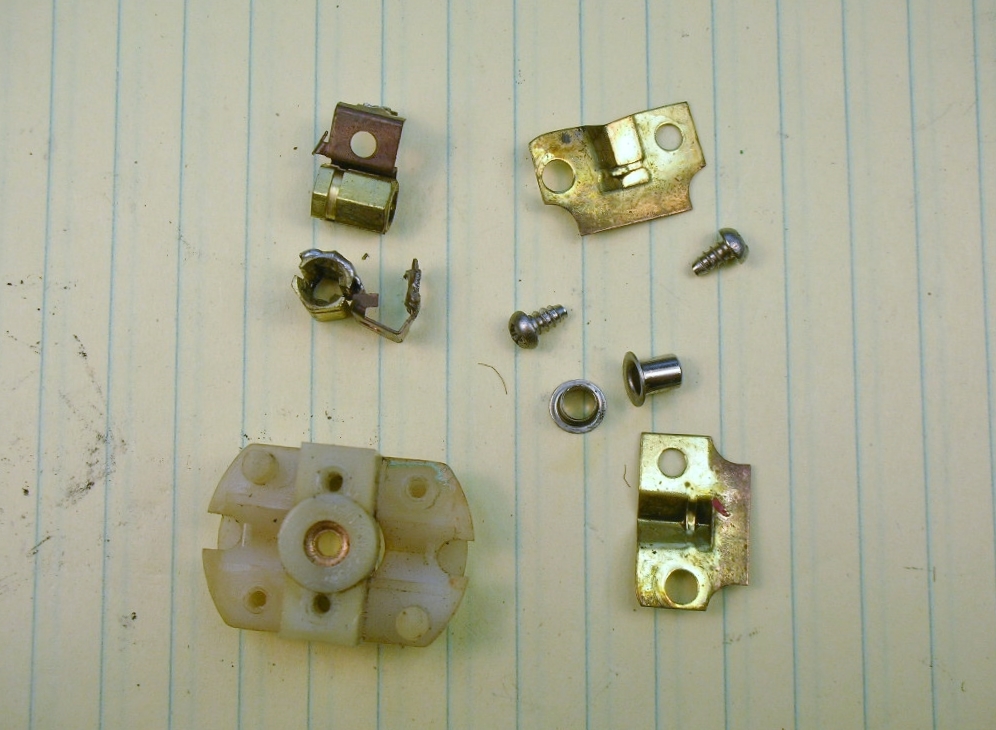
The kit pieces:
jigging things up to see what goes where:
I've got to make sure the cross bar clears the motor bearing and the pans pin tubes will clear the drop arm down stop rod.....
- Pablo, Peter Horvath, SpeedyNH and 1 other like this
Rick Thigpen
Check out Steve Okeefe's great web site at its new home here at Slotblog:
The Independent Scratchbuilder
There's much more to come...
#35

Posted 19 December 2021 - 01:29 PM
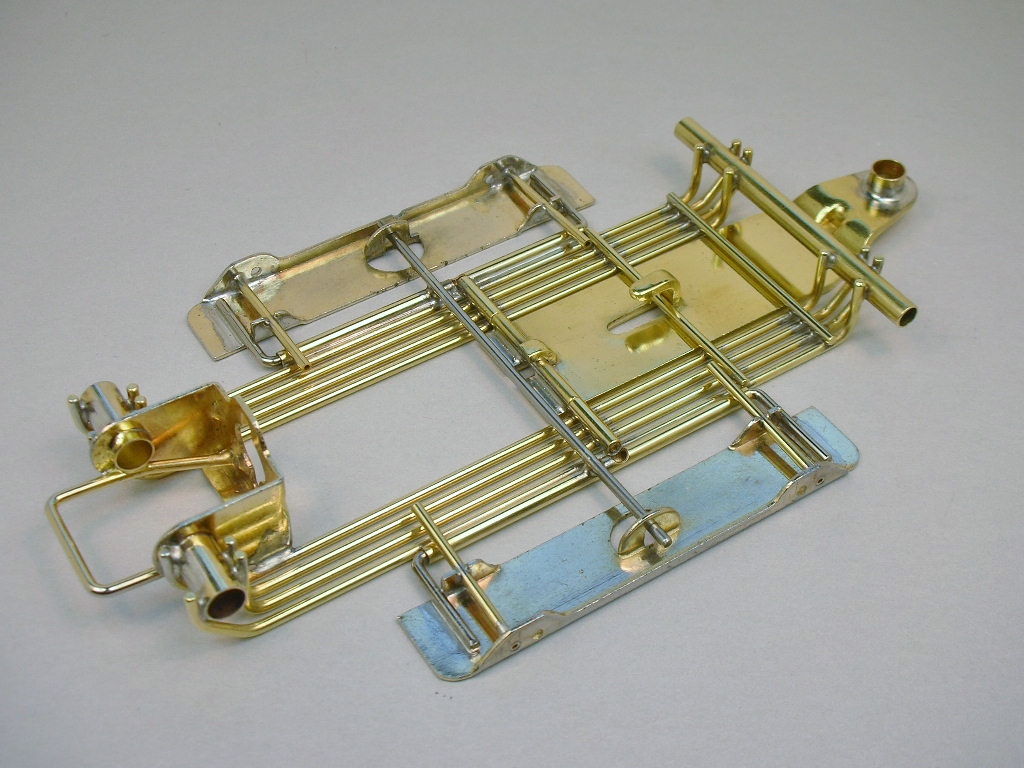
Per the instructions and to make the pans level with the bottom of the chassis rails I used .015" shims covered with Kapton tape to space the pan hinge tubes:
I also cut a "blow hole" in the tube to flush out crap-o-la and to allow access to the drop arm hinge tube:
Ready to hang the pans:
Almost a finished chassis.
- Phil Smith, NY Nick, Slot Car Rod and 2 others like this
Rick Thigpen
Check out Steve Okeefe's great web site at its new home here at Slotblog:
The Independent Scratchbuilder
There's much more to come...
#36

Posted 19 December 2021 - 06:59 PM
Looks like jewelry to me
How do you do the neat bevel on the ends of the tube
Is there a cup tool, sort of a reverse countersink?
That's a great idea.
???-2/31/23
Requiescat in Pace
#37

Posted 20 December 2021 - 11:35 AM
The pans went on easy peasy........
.........and the chassis is finished:
I set the chassis width to 3 1/16" instead of the instructions 3" to better fit the body:
The bottom of the pans were rusty and are now polished bare steel instead of plated "gold":
- Jencar17, Phil Smith, Peter Horvath and 5 others like this
Rick Thigpen
Check out Steve Okeefe's great web site at its new home here at Slotblog:
The Independent Scratchbuilder
There's much more to come...
#38

Posted 20 December 2021 - 05:55 PM
I've always loved the elegant simplicity of jail door chassis and this one is gorgeous ... nicely done Rick!
Me thinks I might need to build one of these. ![]()
#39

Posted 20 December 2021 - 09:35 PM
Thanks Larry and yes, you should build one. ![]() This has been a fun build.
This has been a fun build.
Rebuilding this 517-26 motor is next. I'm going to refurbish it but no radical modifications:
The armature will get cleaned, polished and the comm cut. I'll also try to get the brush tracking adjusted:
I'm going to replace the end bell and tap it for 2-56 stainless steel machine screws:
All the hardware will be cleaned and polished:
The scratched up can is getting sanded down and a fresh coat of Rust-Oleum satin black paint....
- Pablo, Alchemist, Peter Horvath and 1 other like this
Rick Thigpen
Check out Steve Okeefe's great web site at its new home here at Slotblog:
The Independent Scratchbuilder
There's much more to come...
#40

Posted 20 December 2021 - 10:01 PM
Wheeeeee! I never get tired of seeing it! ![]()
![]()
![]()
![]()
Paul Wolcott
#41

Posted 20 December 2021 - 10:47 PM
Is the epoxy normally that dark? Or was did it get really hot at some point in it's life? Very cool motor though.
#42

Posted 20 December 2021 - 11:02 PM
Grasshopper, windings and epoxy on vintage arms vary in color. Typically they are dark like that.
The comm brush track color is much more important as an indicator than epoxy and windings color. I'm guessing from the photo, but it looks like that comm track is simply dirty and will probably clean up nicely.
I'll bet Capt. Rick agrees?
Paul Wolcott
#43

Posted 20 December 2021 - 11:40 PM
It's very possible that is true. I know that with Mura arms when they get really hot they turn from a reddish-brown to a dark brown like this arm.
#44

Posted 21 December 2021 - 12:29 AM
Comments for the peanut galley: the com track looks pretty high, either the magnets need to be closer to the endbell or the bullet proofing plates are lifting the hoods. When did Champion change from the grind balance to drill holes?
That motor in that frame could be a handful, just like it was in the 60's.
#45

Posted 21 December 2021 - 09:13 AM
If that arm was mine, I'd have it rebalanced too. It appears to just have the original factory balancing. The old epoxies, regardless of color, allowed windings to move around more than today's epoxies do. My assumption is the arm is probably out of balance & needs more attention than a comm cut.
- old & gray likes this
I intend to live forever! So far, so good.
#46

Posted 21 December 2021 - 12:02 PM
The armature will get cleaned, polished and the comm cut. I'll also try to get the brush tracking adjusted:

I love these old "rewound" motors. Here's the armature after my cleanup:

Looks like I can set the arm up for proper brush tracking with spacers. If not I'll have to make some modifications:

Note the mild (by todays standards) timing:

The armature looks like new now which is what I was hoping for.
- Pablo, B.C., Alchemist and 1 other like this
Rick Thigpen
Check out Steve Okeefe's great web site at its new home here at Slotblog:
The Independent Scratchbuilder
There's much more to come...
#47

Posted 23 December 2021 - 11:54 AM
I'm replacing this end bell.....
......with a NOS factory fresh one:
It needs to be modified with the factory bullet proofing kit:
Here are the instructions for the kit:
The shunted brushes used are 26D:
The new end bell, brushes and cleaned up original brush springs:
The can is next......
- Pablo, B.C., Alchemist and 1 other like this
Rick Thigpen
Check out Steve Okeefe's great web site at its new home here at Slotblog:
The Independent Scratchbuilder
There's much more to come...
#48

Posted 24 December 2021 - 08:53 PM
The can contained the dark colored 1-piece shim and ARCO magnets:
They still showed a pretty strong gauss reading after 50 years:
They perked up a bit after a good zapping:
I used hard to find NOS self tapping flat head screws to reattach the can and end bell:
The finished motor with a fresh coat of satin black and the Champion sticker reapplied:
- Jairus, Jencar17, Tex and 6 others like this
Rick Thigpen
Check out Steve Okeefe's great web site at its new home here at Slotblog:
The Independent Scratchbuilder
There's much more to come...
#49

Posted 26 December 2021 - 02:53 PM
That's fantastic Rick!
Please let us know how it spins on the power supply!
Ernie
#50

Posted 28 December 2021 - 09:26 PM
The motor sings Ernie. It draws 1.2 amps at 4 volts and doesn't get hot.
To get the rolling chassis up and running I'm using Champion "baby moon" hubcap style wheels. Here they are new in the package along with the restored used ones with fresh tires for this build:
I added some gold accents to them to go with the paint scheme I'm planning for the body:
The fronts are ground to 13/16" and the rears to 7/8":
I'm also using an Arcolight front axle:
I'm using a modern Koford drill blank rear axle but I thought I'd share this cool Champion marked piece:
For a guide I've got a repackaged by Champion Cox quick change:
OK, time to get this car assembled.......
- milmilhas, Pablo and Larry Horner like this
Rick Thigpen
Check out Steve Okeefe's great web site at its new home here at Slotblog:
The Independent Scratchbuilder
There's much more to come...


