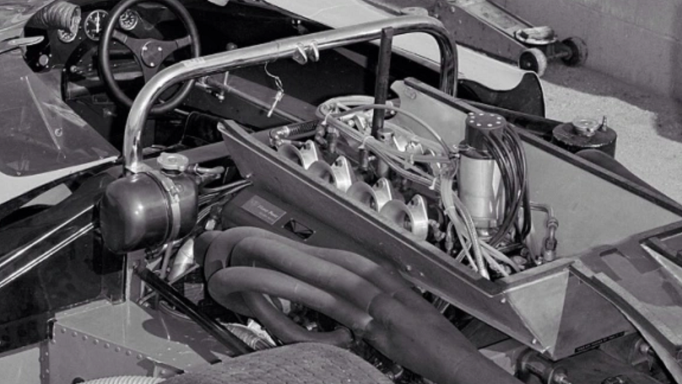
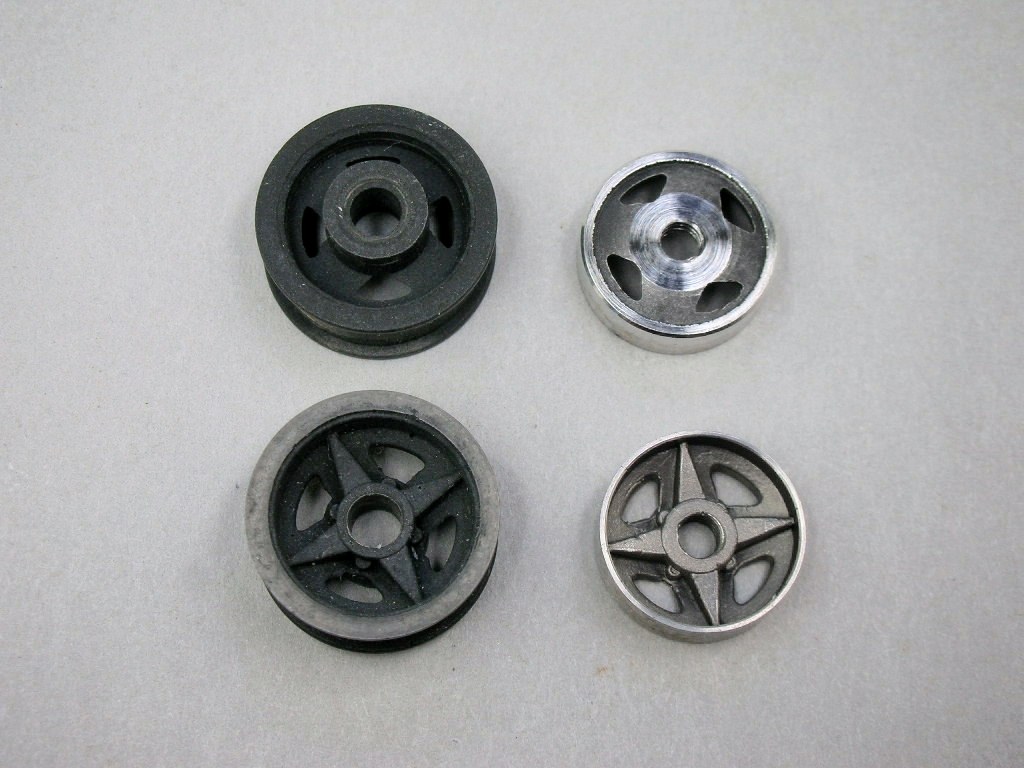
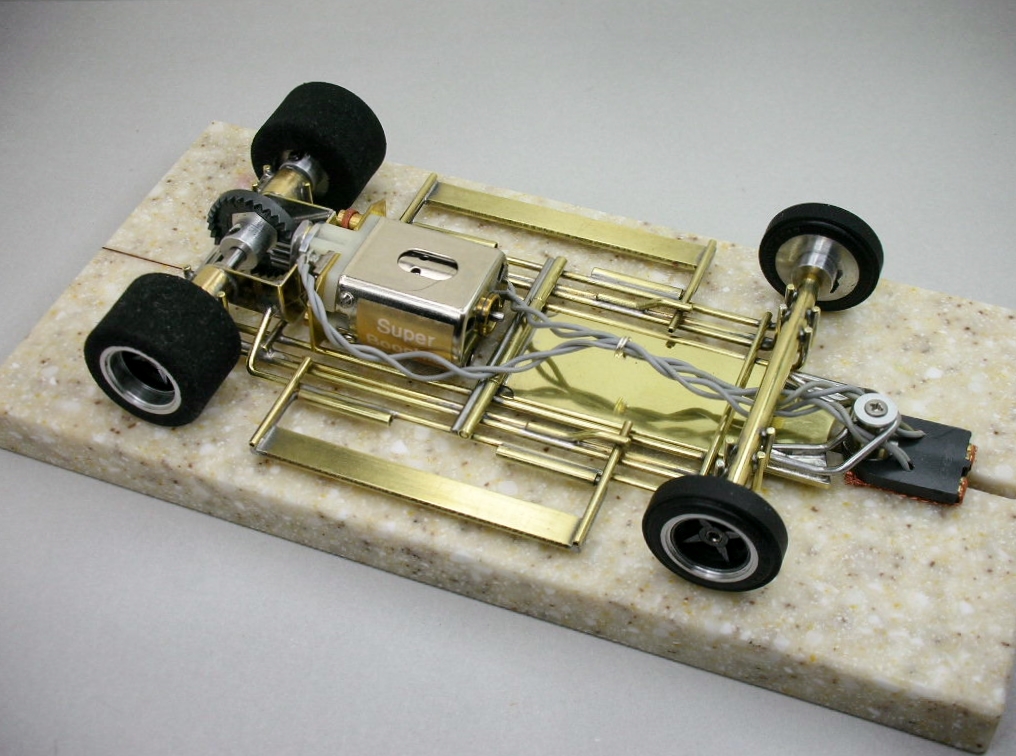
Found these pics too guys, I thought the "flower power" label was interesting.

Lancer McLaren, Gross chassis, & Super-Boochie power
#51

Posted 20 September 2022 - 12:43 PM
#52

Posted 20 September 2022 - 02:02 PM
Hi Larry,
I've used Shapeways parts for transaxles before.
Martin, I have this Pro Tech pre wired vertex magneto for the build. I'll find out soon if I'm going to use it:
- Alchemist likes this
Rick Thigpen
Check out Steve Okeefe's great web site at its new home here at Slotblog:
The Independent Scratchbuilder
There's much more to come...
#53

Posted 20 September 2022 - 03:27 PM
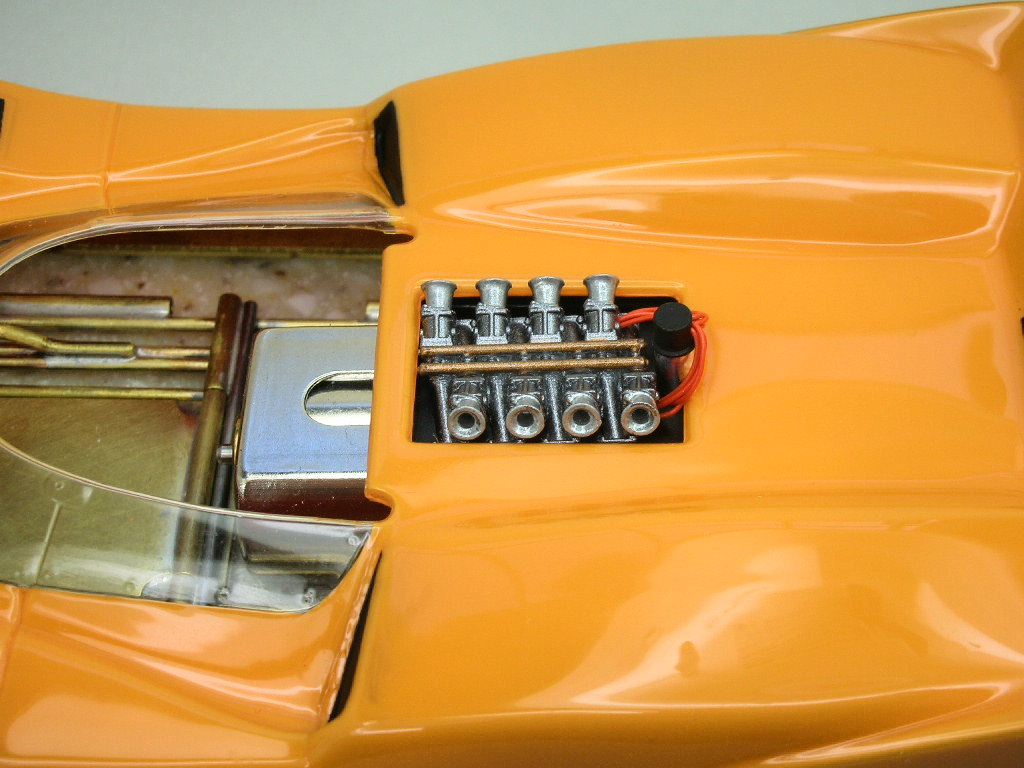
That would add some power to this flower ![]() Probably should have black wires though?
Probably should have black wires though?
#54

Posted 20 September 2022 - 03:36 PM
Probably should have black wires though?
At the first practice session for the Times Grand Prix at Riverside Raceway on June 25, 1968 red wires were used. But they were later changed to black wires for the race. ![]()
Just kidding..... ![]()
- don.siegel, Chris Stemman, Fergy and 2 others like this
Rick Thigpen
Check out Steve Okeefe's great web site at its new home here at Slotblog:
The Independent Scratchbuilder
There's much more to come...
#56

Posted 20 September 2022 - 04:07 PM
First Can Am Car with fuel injection according to some. Nice detail Rick.
#57

Posted 29 September 2022 - 09:04 PM
Thanks Rodney.
I know I've been really slow and erratic with my building and posting this car. I've been having health issues that have interfered with the process.
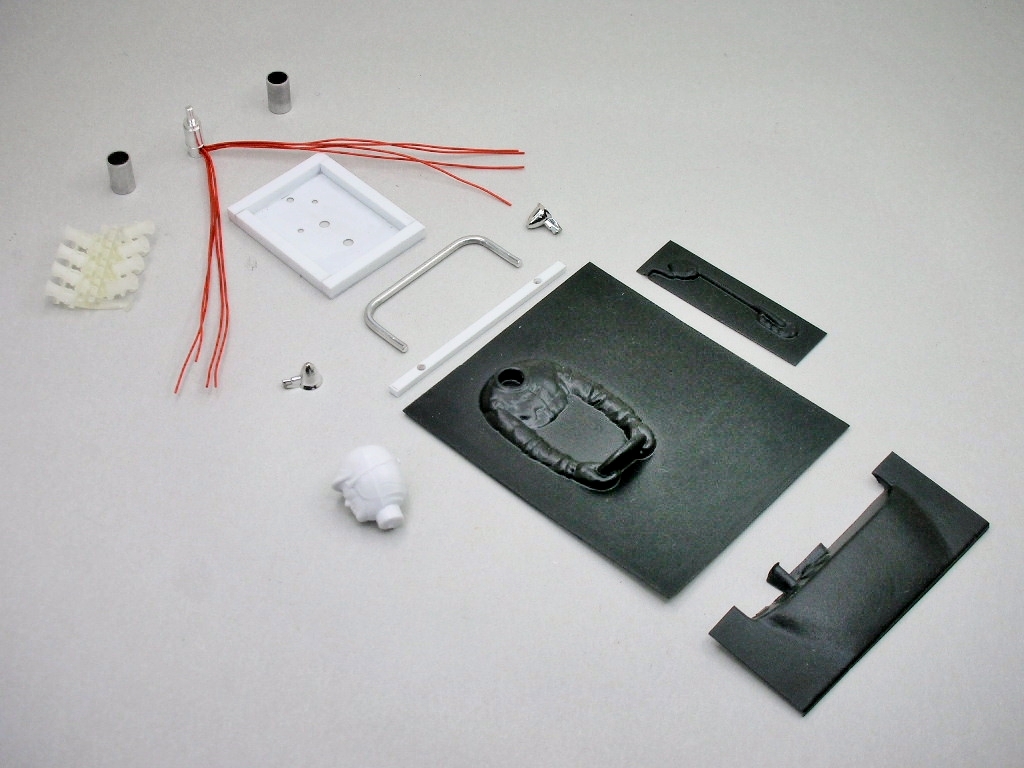
During this delay I kept staring at the interior below that I had put together...........and I just don't like it. The motor box is to small for the magneto to fit, the interior had to be heated and raised up to fit around the Super-Boochie motor and the driver's head would be sitting up to high in the cockpit:
I redid everything:
I hope I can put it all together soon..........
- Alchemist and Peter Horvath like this
Rick Thigpen
Check out Steve Okeefe's great web site at its new home here at Slotblog:
The Independent Scratchbuilder
There's much more to come...
#58

Posted 29 September 2022 - 09:19 PM
Get healthy Rick. The older we get, the longer it sometimes takes to recover.
- Fred Garvin likes this
I intend to live forever! So far, so good.
#59

Posted 30 September 2022 - 02:11 AM
Yep, take care Rick.
Don
#60

Posted 06 October 2022 - 08:36 PM
Thanks Bill and Don. I'm getting around better now and I was able to work on the McLaren body.
This body is butyrate so I needed to mix up some enamel paint to resemble the McLaren factory color. I used a spray out of Tamiya laquer paint called Camel to try and match:
I used Testors flat yellow, carefully added a little Testors flat red and air brushed it on.
Time to start detailing.......
- Jencar17, Tex, Phil Smith and 4 others like this
Rick Thigpen
Check out Steve Okeefe's great web site at its new home here at Slotblog:
The Independent Scratchbuilder
There's much more to come...
#61

Posted 07 October 2022 - 11:10 AM
You nailed it Rick, Glad you are "up and at'em".
I spent many hours in art class at school painting an M6 and trying to get that color on canvas.
- Fergy likes this
#62

Posted 07 October 2022 - 11:38 AM
So glad to hear your back in action Rick! Can't wait to see this one come together.
#63

Posted 07 October 2022 - 08:45 PM
Thank you Martin and Larry. I got the main color sprayed on the interior and engine detail pieces. Tamiya gloss aluminum on the interior, semi gloss black on the instrument panel and "motor box", silver mica for the driver's helmet and light gun metal on the injectors:
The body got all the flat black detail painting done:
- Jencar17, Tex, Slot Car Rod and 2 others like this
Rick Thigpen
Check out Steve Okeefe's great web site at its new home here at Slotblog:
The Independent Scratchbuilder
There's much more to come...
#64

Posted 09 October 2022 - 04:41 PM
- Jencar17, Tex, Bill from NH and 5 others like this
Rick Thigpen
Check out Steve Okeefe's great web site at its new home here at Slotblog:
The Independent Scratchbuilder
There's much more to come...
#65

Posted 09 October 2022 - 04:52 PM
That looks really nice Rick. You hit it on the head!
Don
#66

Posted 10 October 2022 - 01:29 PM
Hi Rick,
Glad to know you're feeling better.
That's some "redo". . . phenomenal to say the least; the engine detail is "pulchritudinous!" and that color mix is gorrrrrrgeous! ! !
More pix please!
Thanks Rick.
Ernie
#67

Posted 11 October 2022 - 12:23 PM
Thanks guys. ![]()
I'm really pleased at the way a few detail pieces can transform a vac Pro car body. I think that's why I always the Russkit bodies with all the injection molded detail pieces, full interiors, roll bar and decals.
Speaking of decals, I have these from Pattos Place (the large sheet) and Indycals:
I'm using vintage Auto World and Dynamic sheets for the small sponsor decals.
After the decals I need to get some wheel inserts made up.........
- Pablo, Tex, Alchemist and 1 other like this
Rick Thigpen
Check out Steve Okeefe's great web site at its new home here at Slotblog:
The Independent Scratchbuilder
There's much more to come...
#68

Posted 11 October 2022 - 05:51 PM
Rick, what kind of paint do you use for the flat black and how do you apply it so evenly and neatly?
#69

Posted 12 October 2022 - 11:45 AM
Hi Rodney,
I am not a good detail painter. All my paint brushes have the shakes so I'm using a method I call "FLOW ON - WIPE OFF EXCESS". This works well if the body has nice crisp deep detail features like the Lancer Super Comp McLaren I'm building now.
I use Testors flat black enamel with a bit of thinner added if it has thickened up over time. The paint has to be thin enough to flow but thick enough to have good coverage.
I quickly flow the paint into the body cavity with a cheap soft #2 brush. This leaves no lumpy brush marks in the paint.
I don't worry about slopping the paint outside the edges of the cavity as a quick "finger wipe" along the cavity edge cleans it off and leave a nice straight edge.
If the "finger wipe" also removes a bit of paint, say from the MIDDLE of a grill opening, again QUICKLY touch it up with one stroke of the paint brush. The idea is to do this quickly enough so the touched up paint blends in without brush strokes.
After the paint dries the edge can be further refined with a cotton swab dipped in thinner if necessary.
Here's an example:
For parts of the body without a deep depression to flow paint into I have to mask off the area to create straight edges.
Some areas I use a combination of both methods:
I'm sure talented painters will find this amusing but I can't paint a straight line with a brush so I had to come up with a method that works for me.
- Alchemist, Slot Car Rod and Peter Horvath like this
Rick Thigpen
Check out Steve Okeefe's great web site at its new home here at Slotblog:
The Independent Scratchbuilder
There's much more to come...
#70

Posted 12 October 2022 - 11:59 AM
Rick, you might be doing it the original Lancer way. Their flat black areas had the "flow look" without brush marks too.
I intend to live forever! So far, so good.
#71

Posted 12 October 2022 - 12:00 PM
Excellent method!
Thanks for sharing Rick.
Ernie
#72

Posted 12 October 2022 - 12:36 PM
Thanks Rick. Great painting tips.
Please share again what type of masking tape you use.
#73

Posted 12 October 2022 - 01:35 PM
3M 5480 Gray PTFE Skived Film Tape Roll - 0.5 in. x 15 ft.
3M Teflon tape:
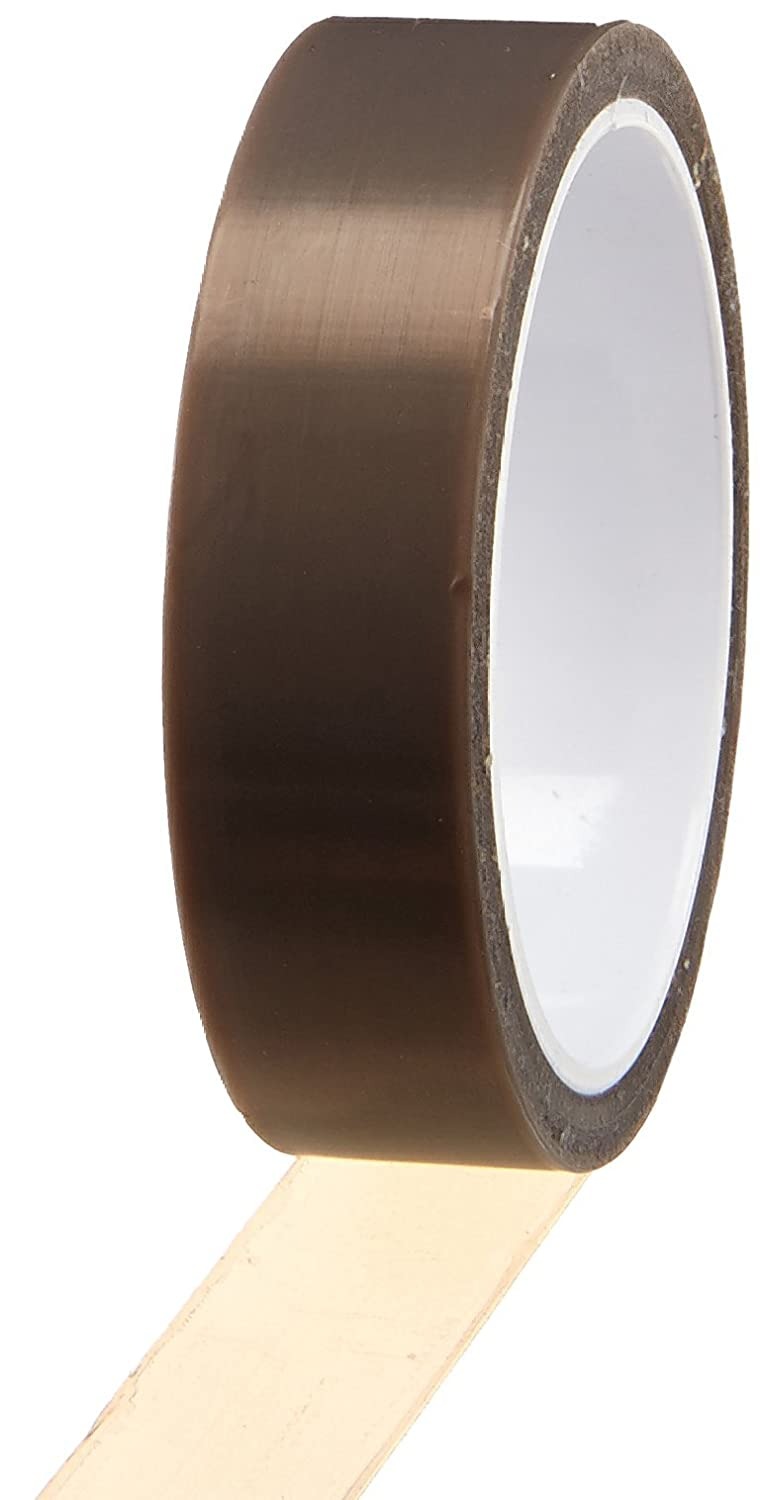
This stuff is very thin, flexible and very very expensive.
But if burnished down properly won't let paint bleed through and leaves a very crisp line. You can also easily see through it to trim out windows. It can be cut into narrow strips and bends around corners well as shown below:


Painting bodies is difficult for me and I will take advantage of anything I can if it helps me. This tape definitely helps "mask" (pun intended) my lack of painting skill.I don't paint a large number of bodies so I splurge on my masking tape.
If "normal" masking tapes work for you that's great. But if you are having trouble with them you should splurge on a small roll of this stuff and give it a try.
- Pablo, Phil Smith, Slot Car Rod and 1 other like this
Rick Thigpen
Check out Steve Okeefe's great web site at its new home here at Slotblog:
The Independent Scratchbuilder
There's much more to come...
#74

Posted 12 October 2022 - 01:57 PM
Thanks Rick. Ordered a roll today.
#75

Posted 14 October 2022 - 07:56 PM
The McLaren wheels are a 4-spoke style:
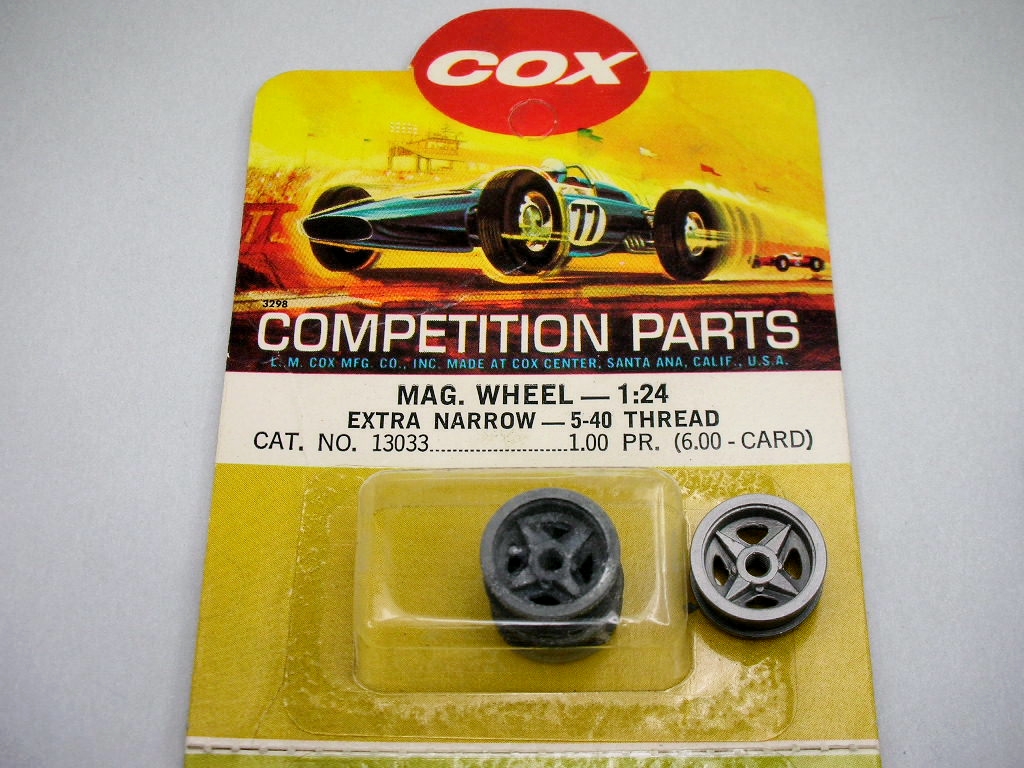
I'm using a Cox Lotus 40 wheel as a donor for my wheel inserts. The spoke shape is a bit different but at least there are 4 of them. Below the wheel on the right has been micro bead blasted to remove the oxidation without changing the surface finish to a "sand blasted" look like normal bead blasting:
On the left are the stock wheels and on the right are the front and back of the finished wheel inserts:
The finished wheels. The inserts were spray painted with Tamiya Light Gunmetal. Then Testors flat black brushed on and the spokes exposed with a "finger wipe":
The finished roller ready for the body:
- don.siegel, Jencar17, Tex and 4 others like this
Rick Thigpen
Check out Steve Okeefe's great web site at its new home here at Slotblog:
The Independent Scratchbuilder
There's much more to come...


