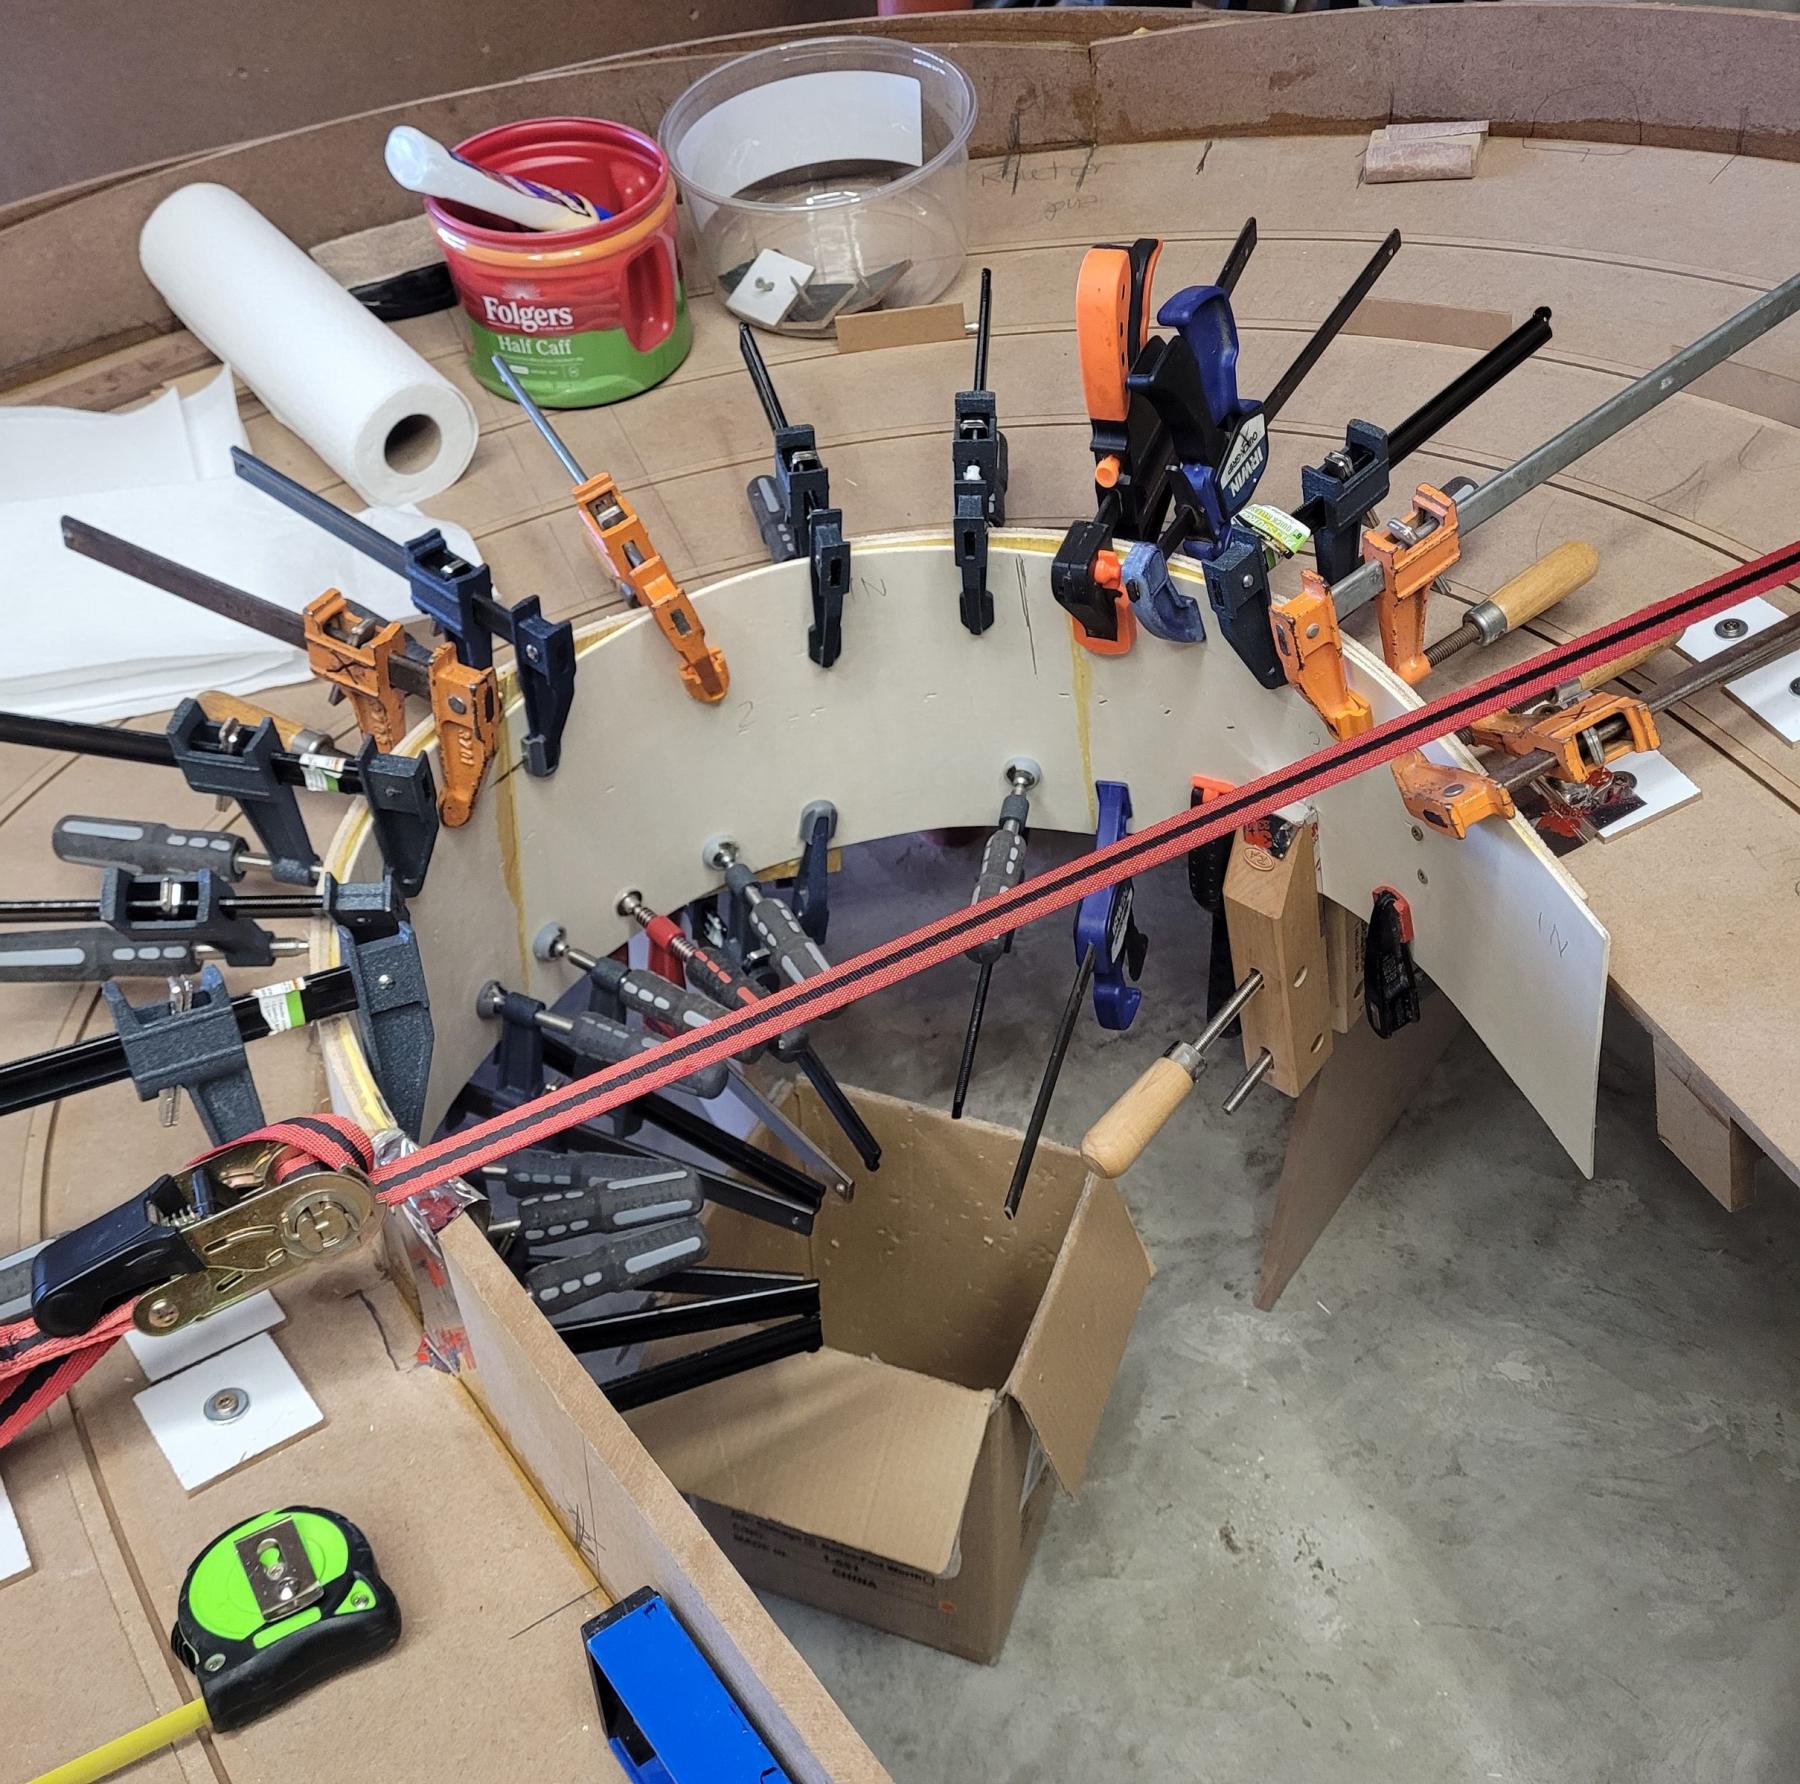
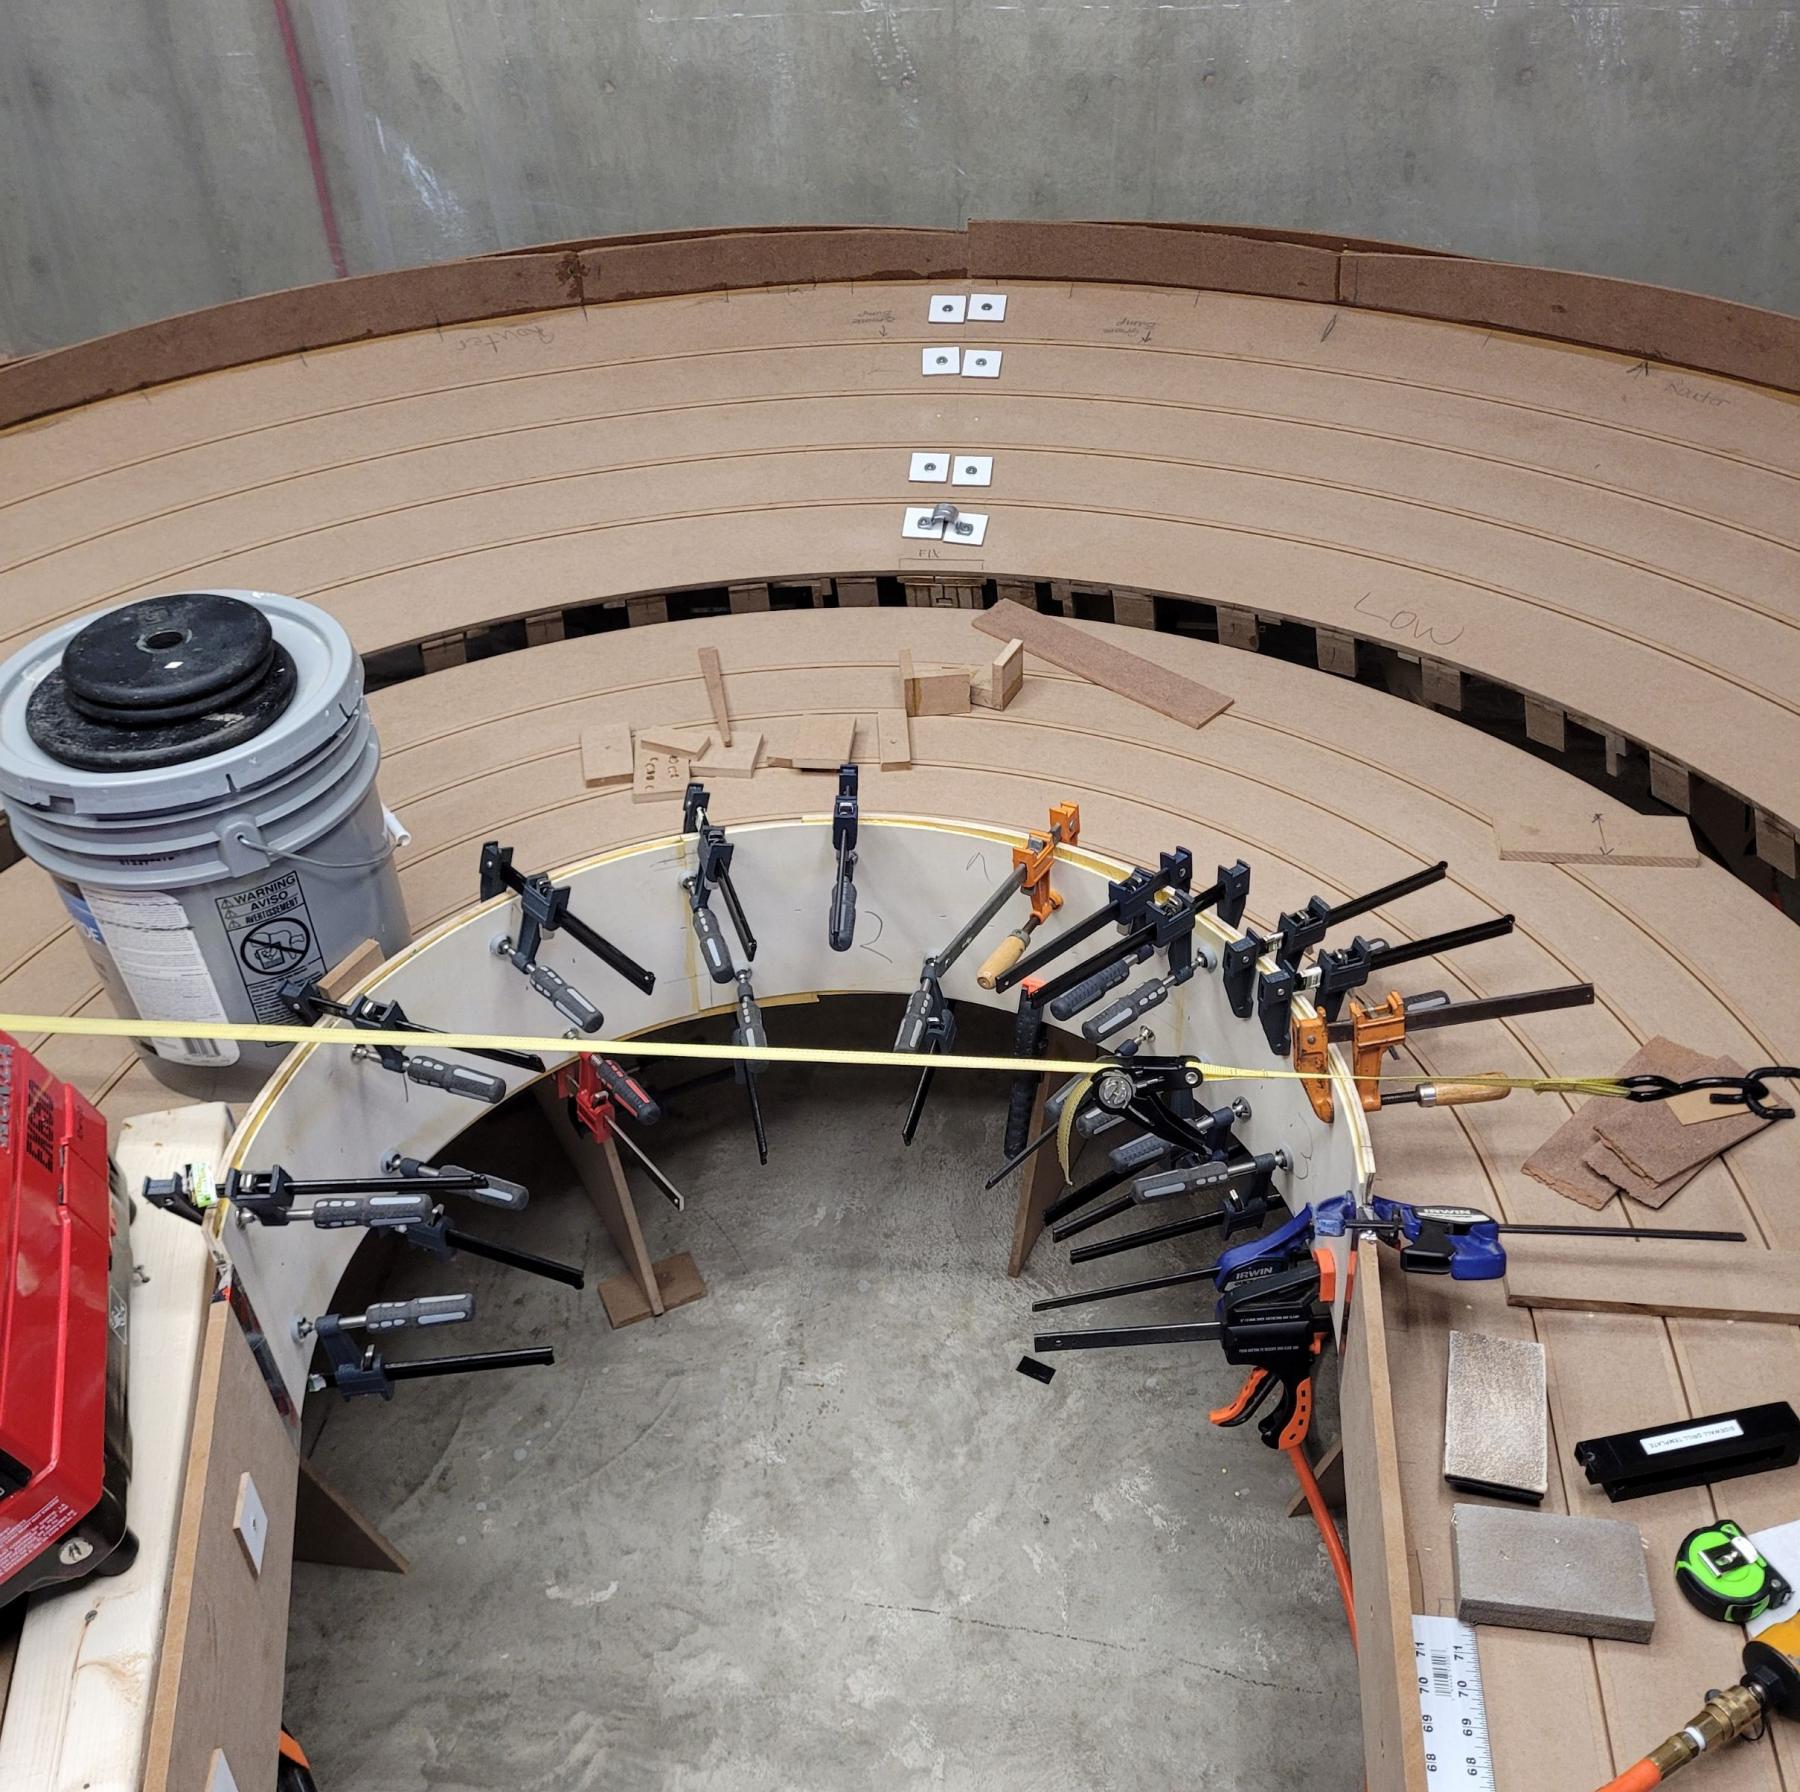
Rob:
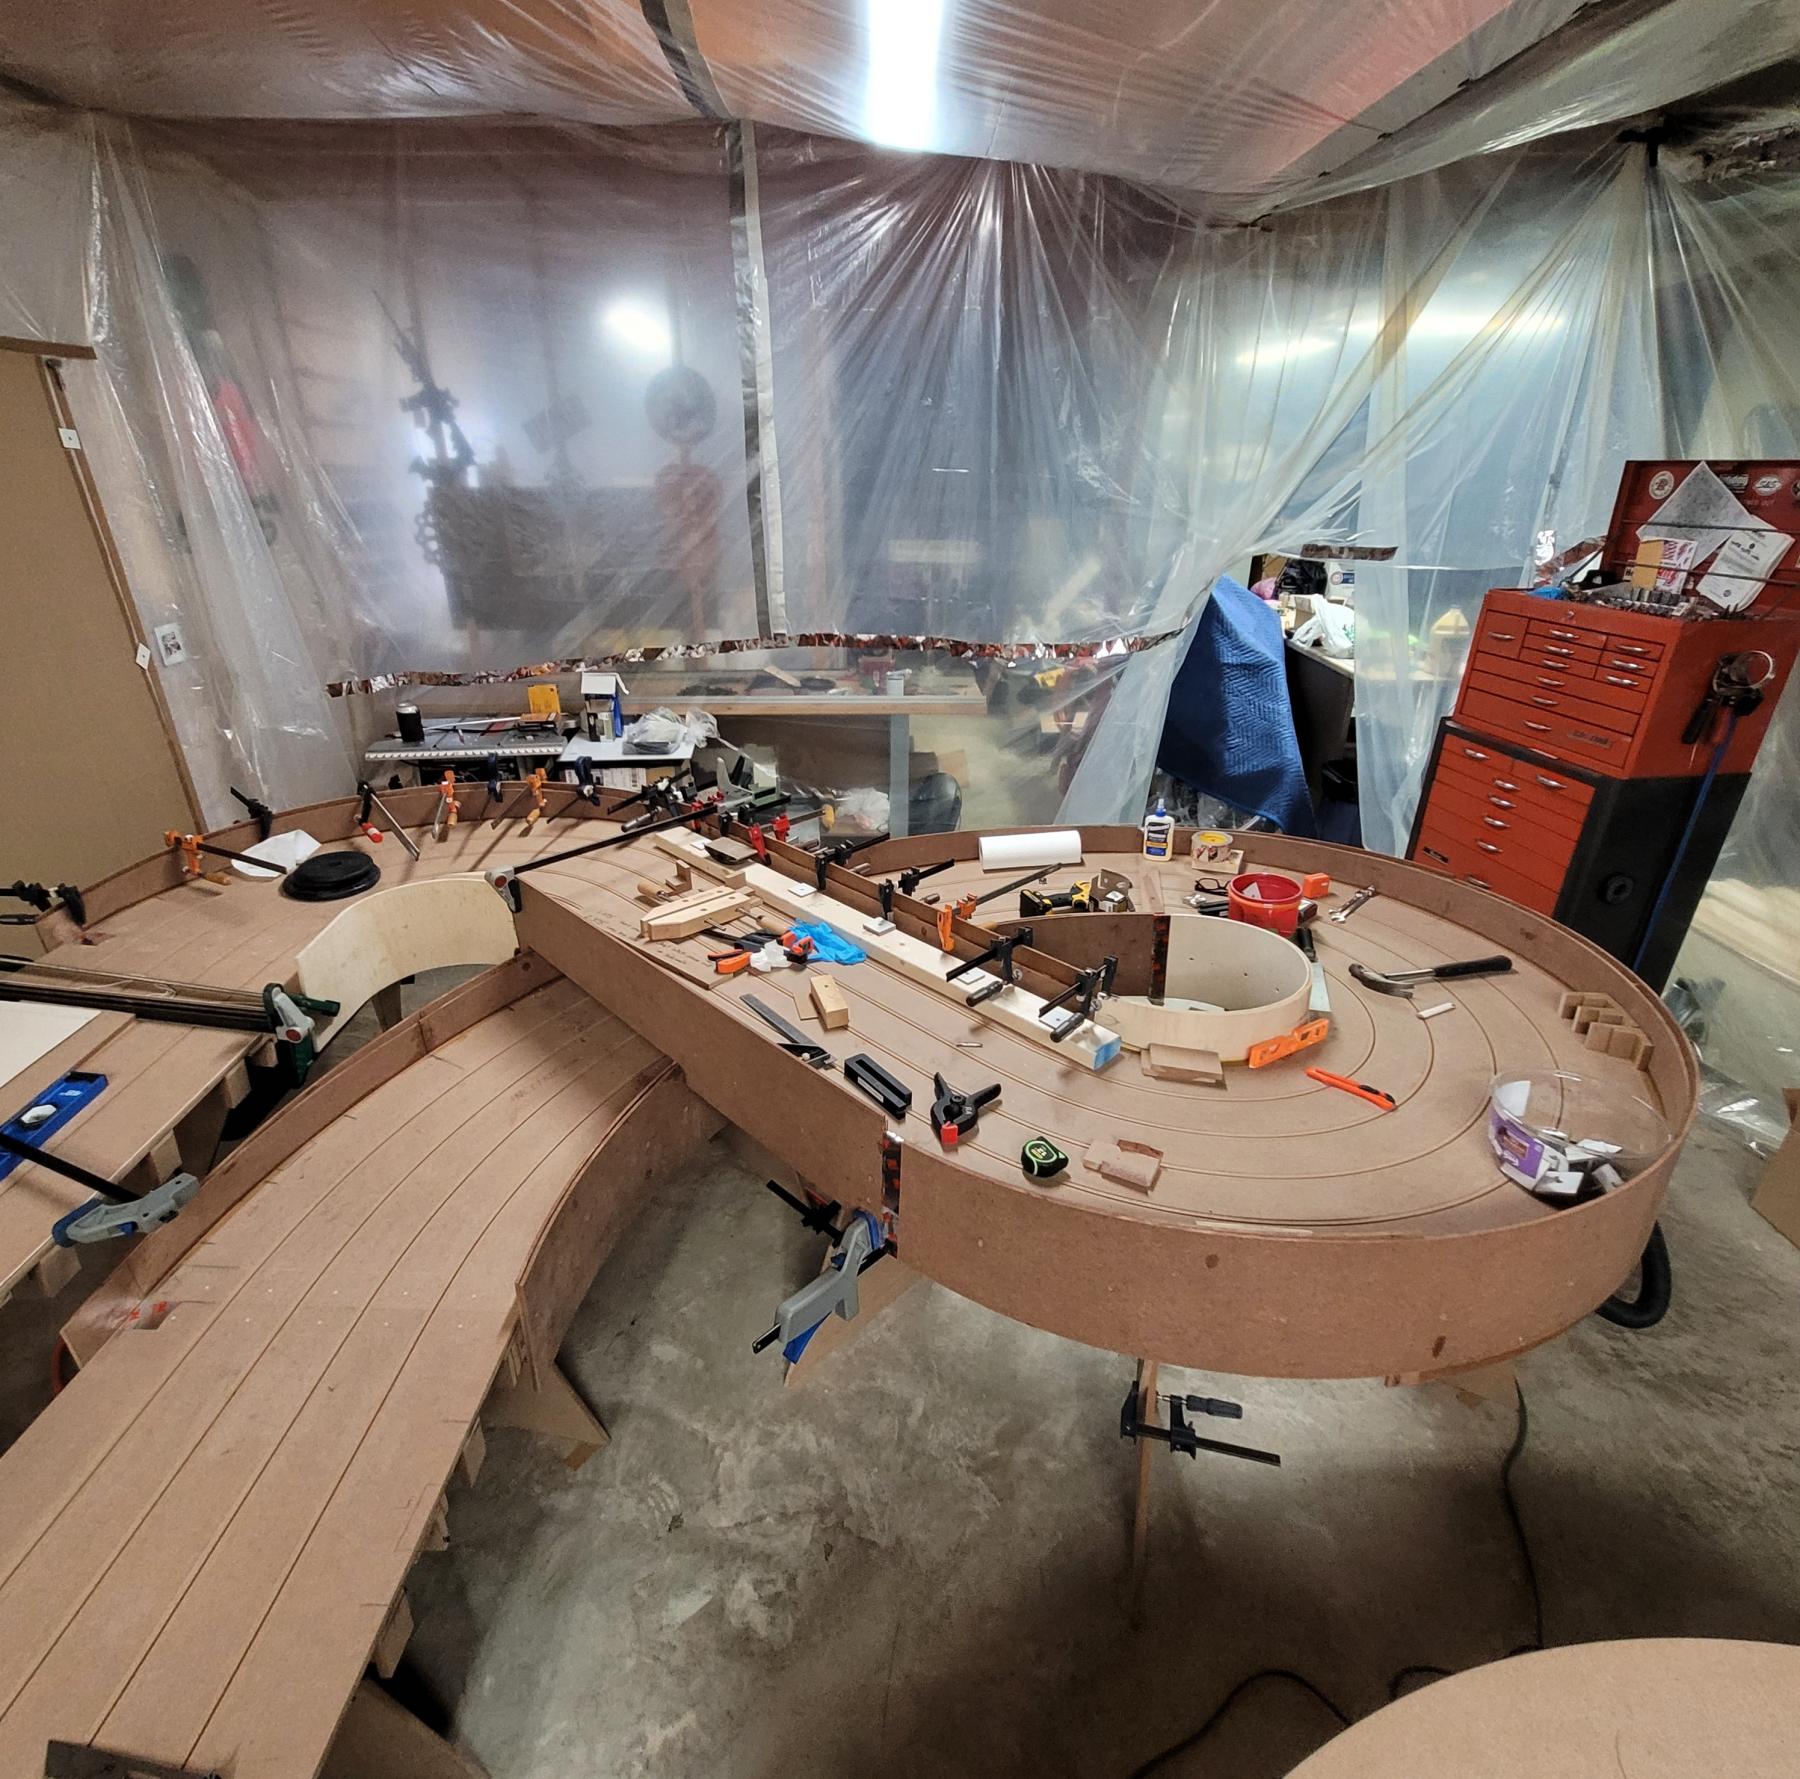
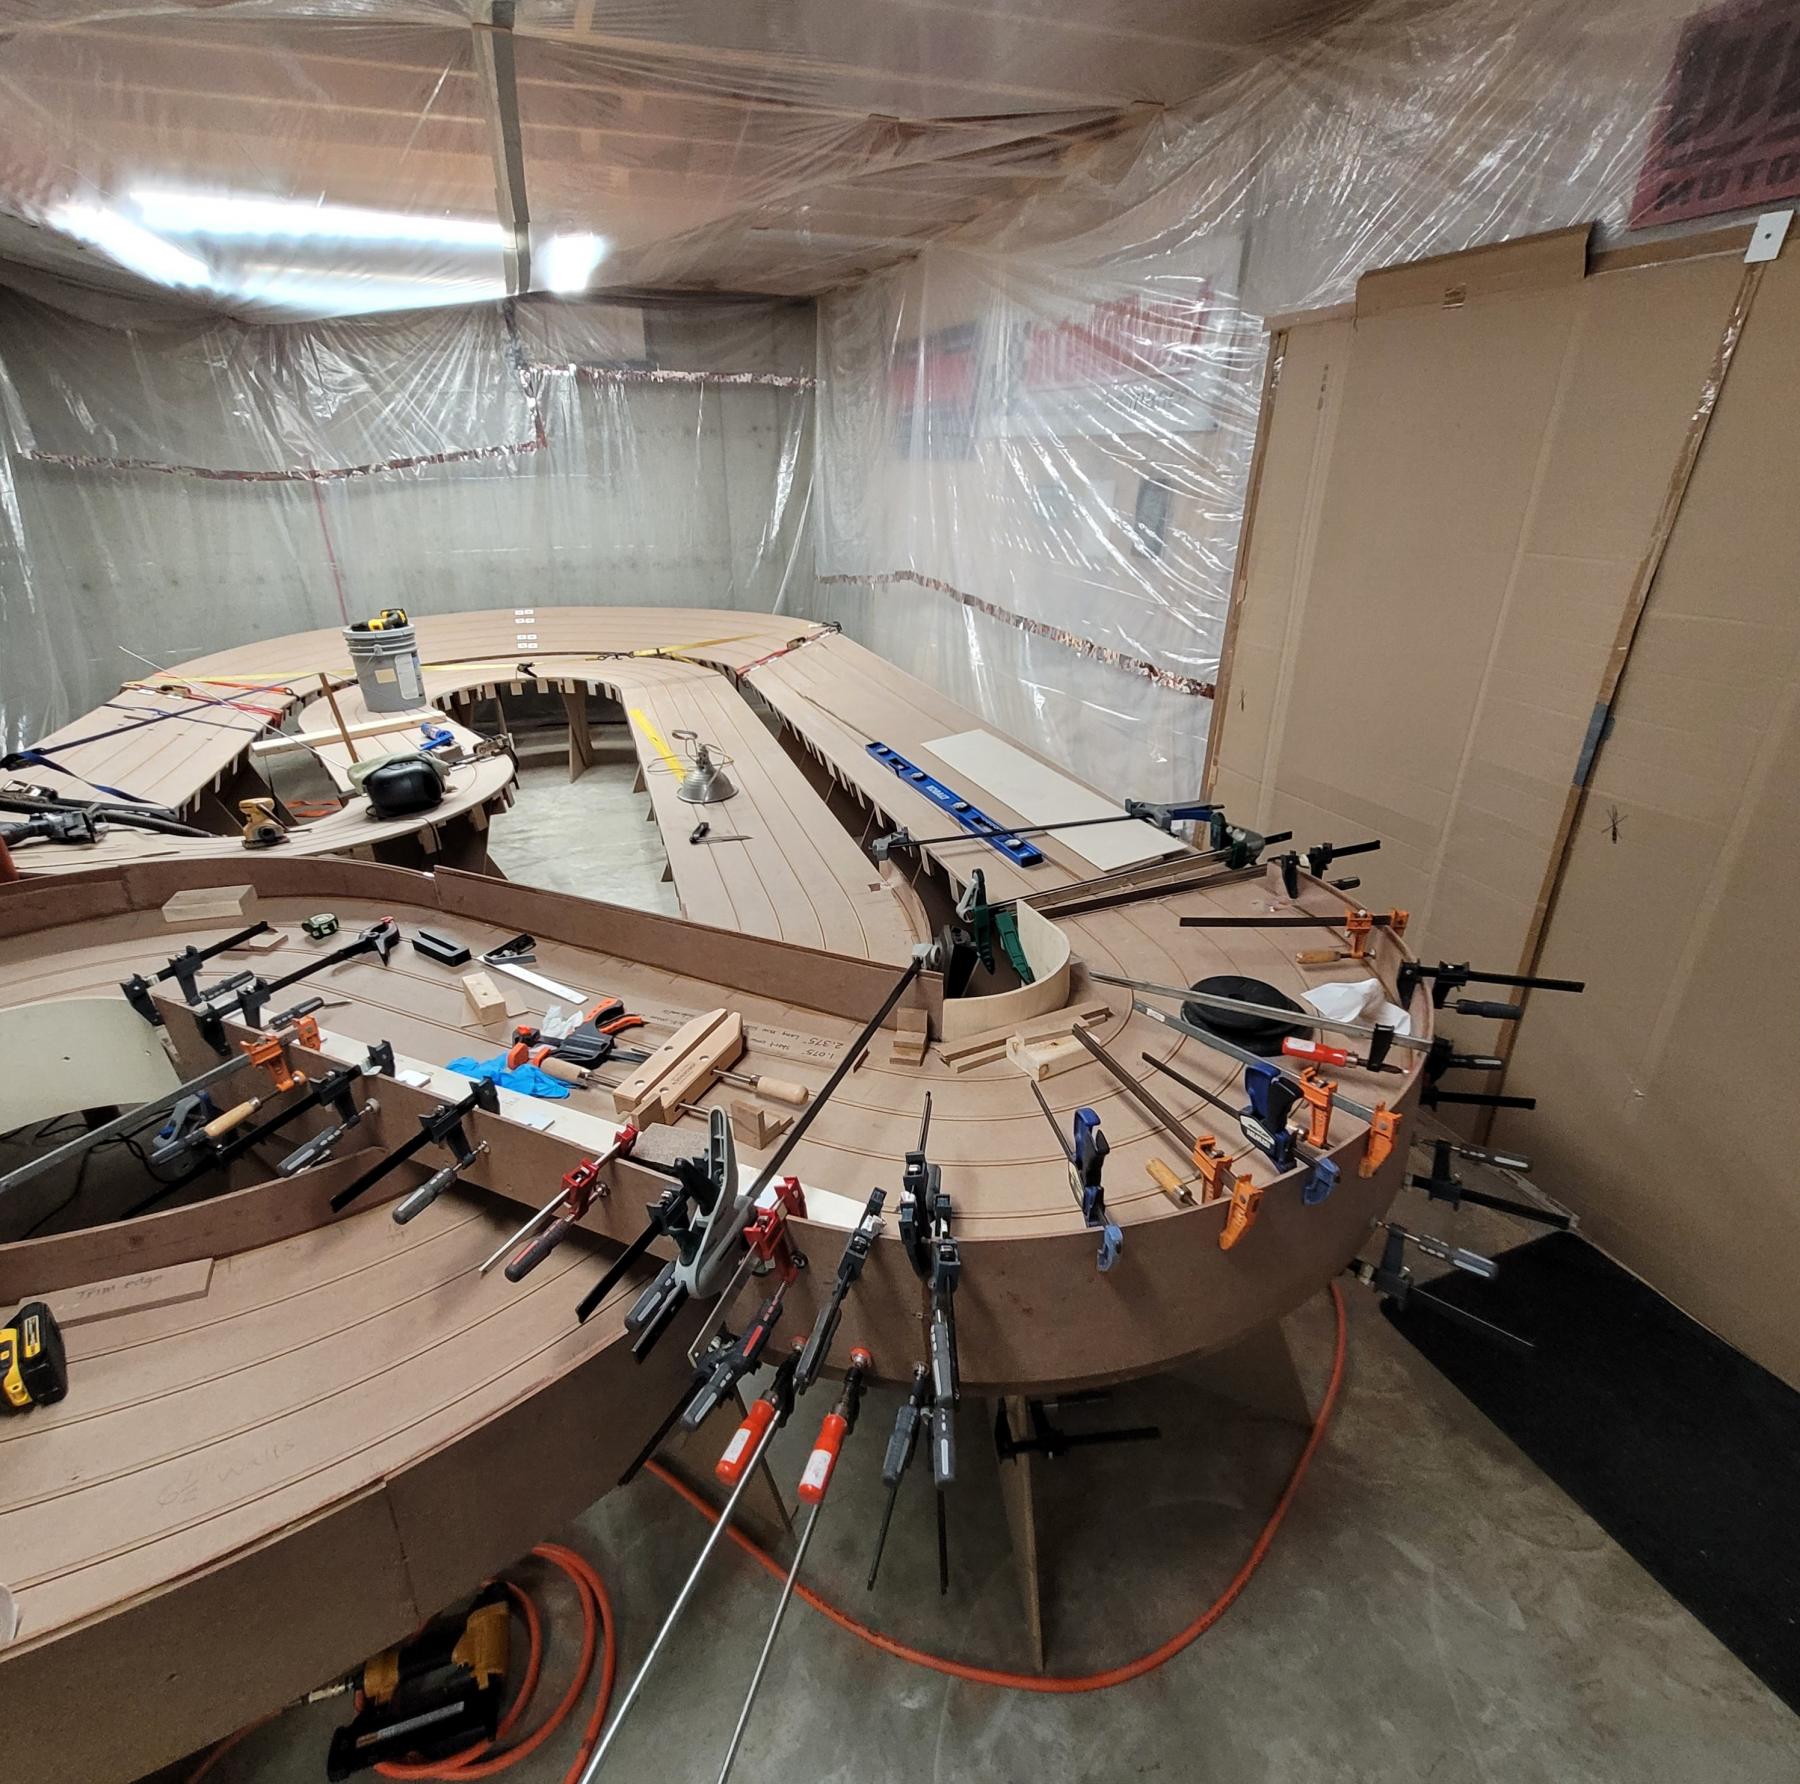
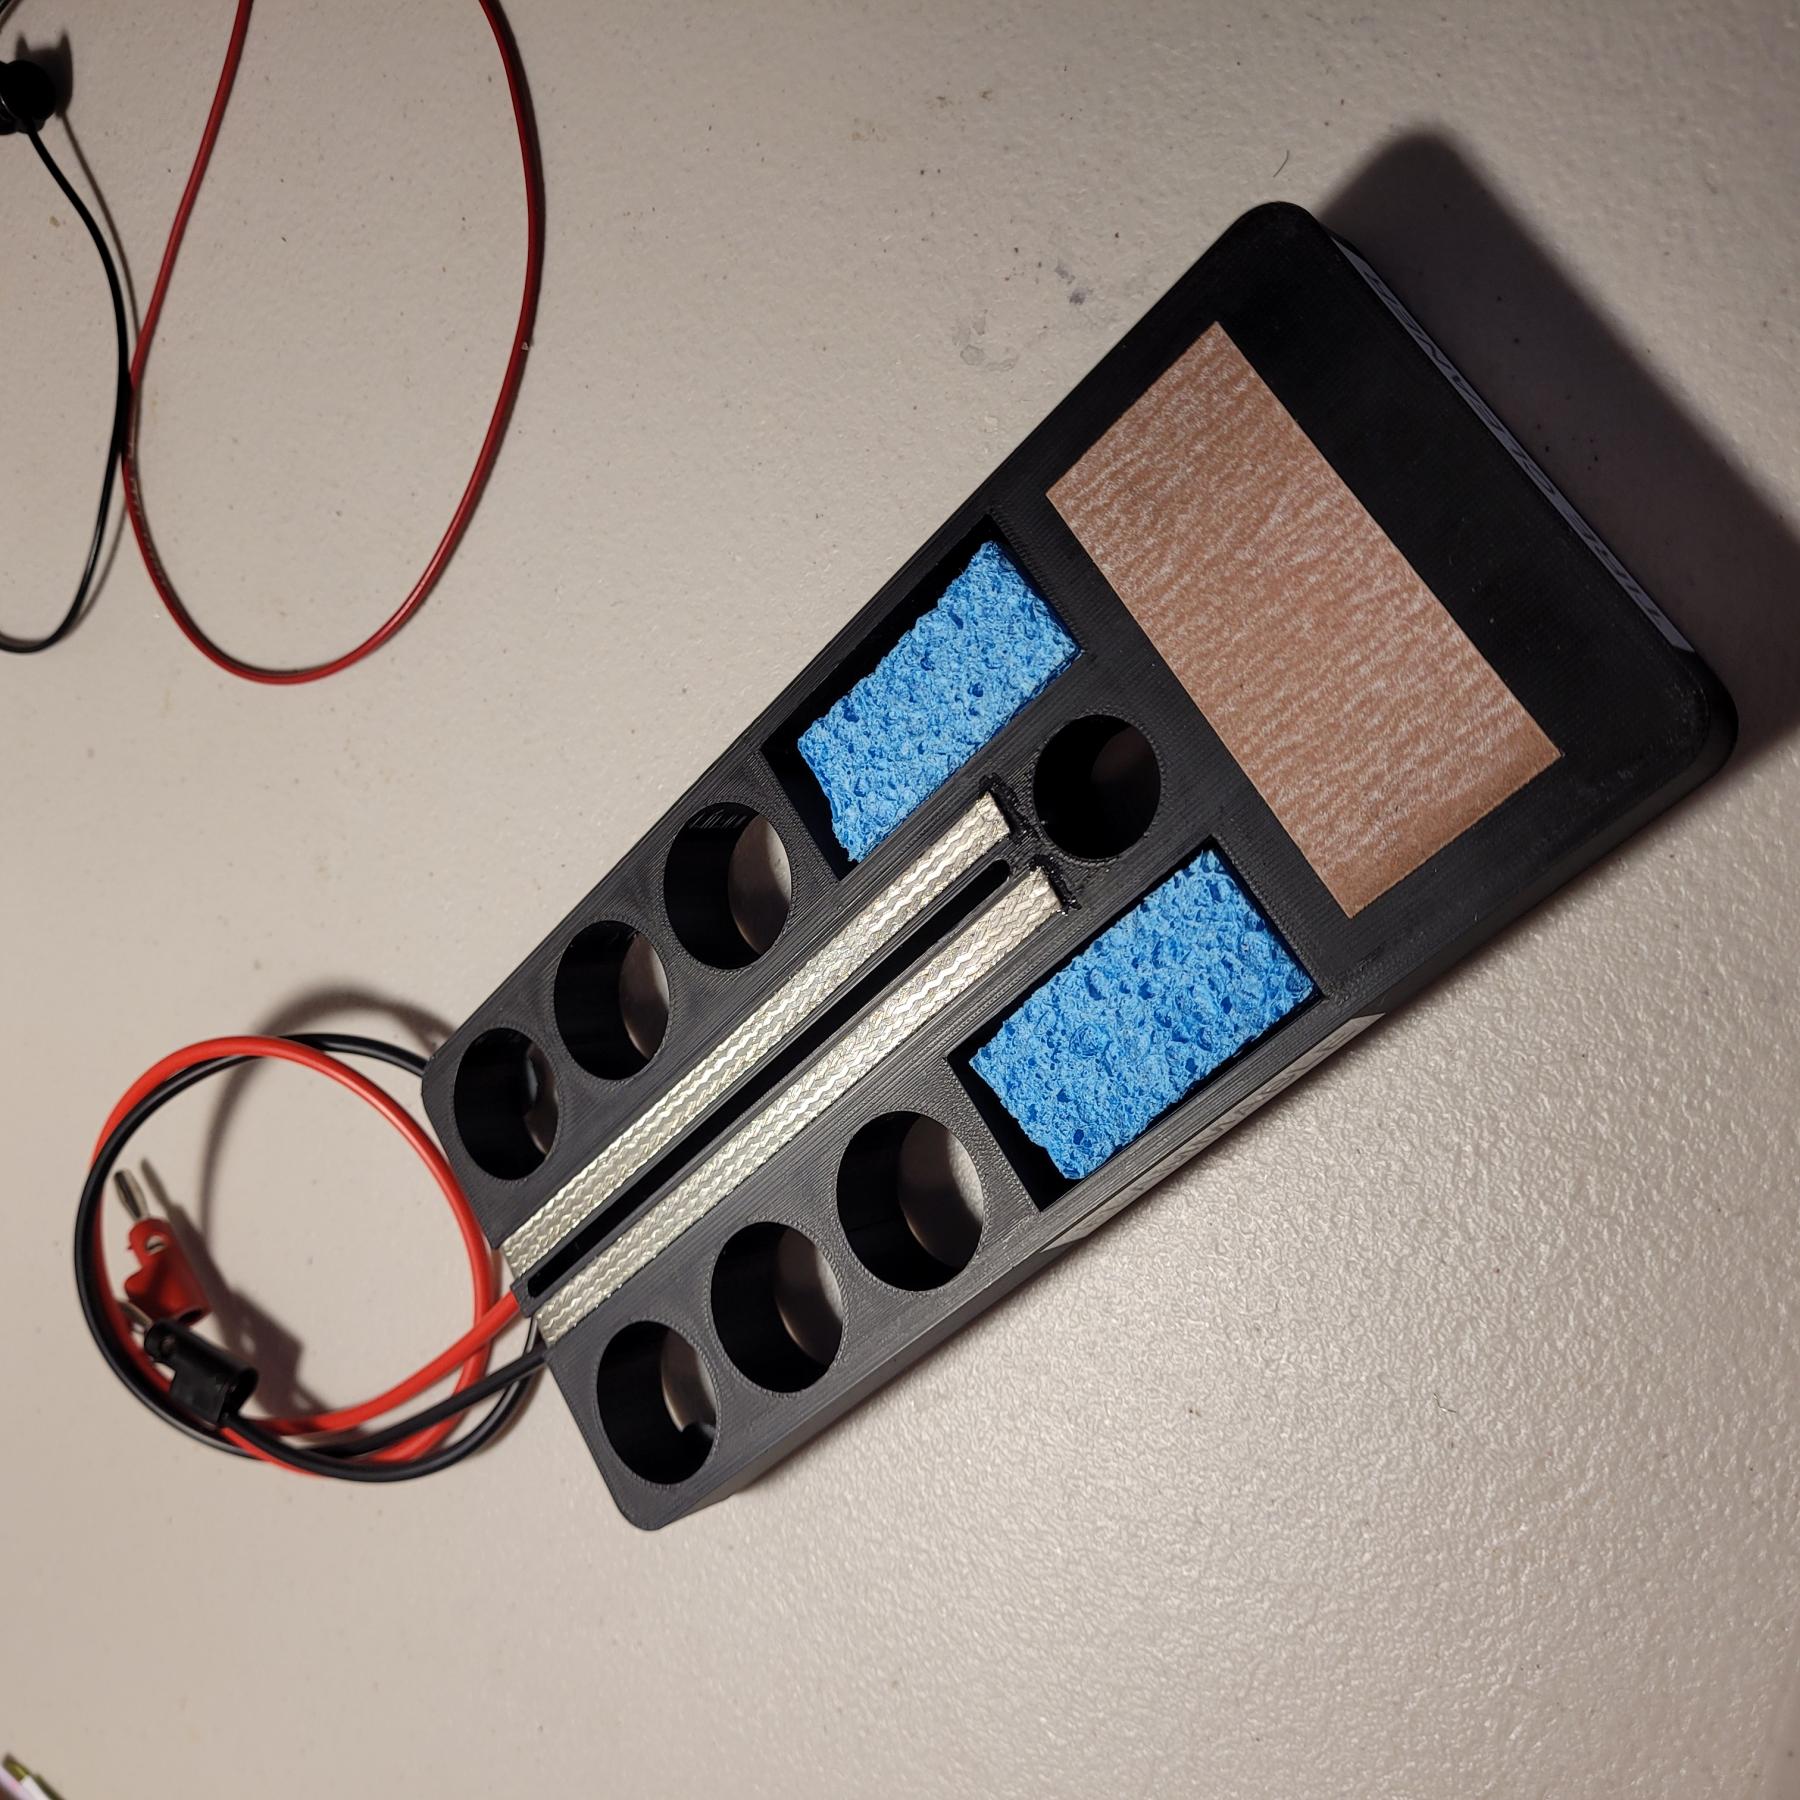
After you drill the holes for the braid drops you may want to consider taking a square file to the tops of the holes and "square" them out. This allows the braid to make a perfect 90 degree drop instead of having the braid kind of curl up at the sides as it goes down the through the round hole. Most guys don't take the time to do this and it seems to work out OK, but I did it on my track and the cars seem to run smoother at the joints with zero lift.