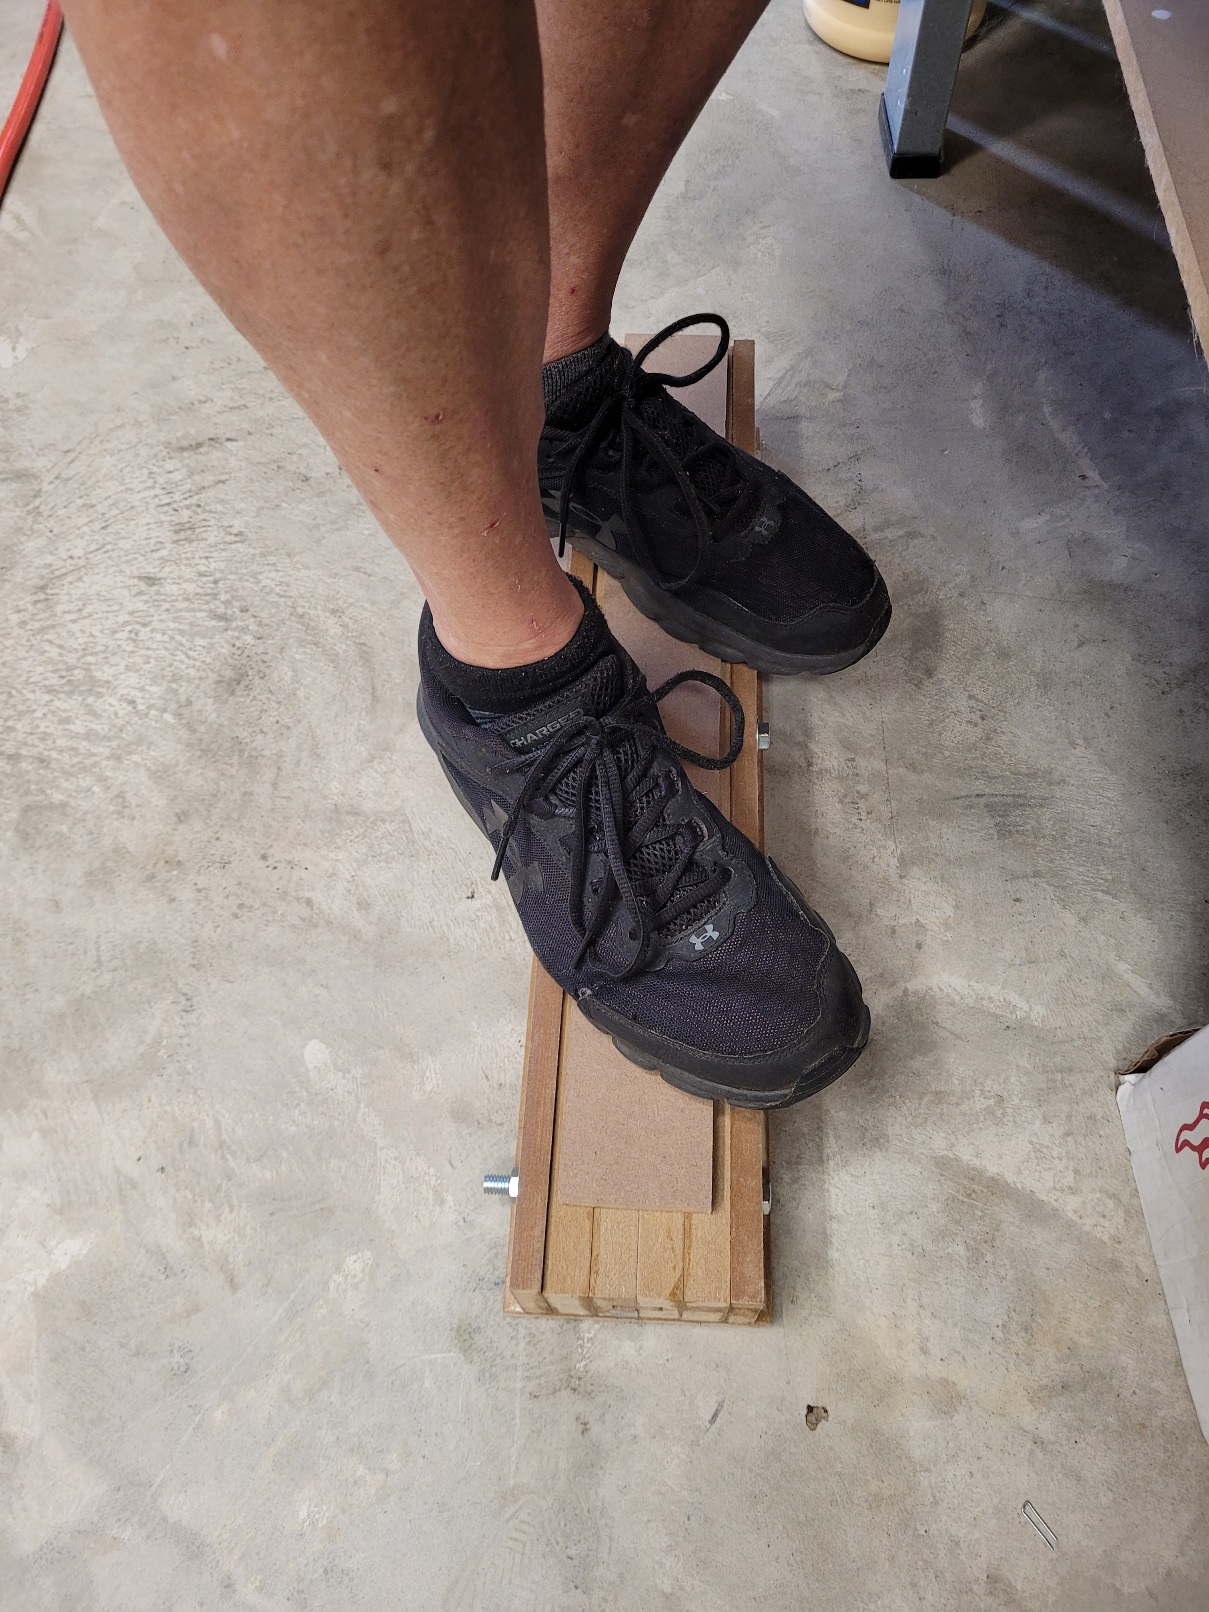
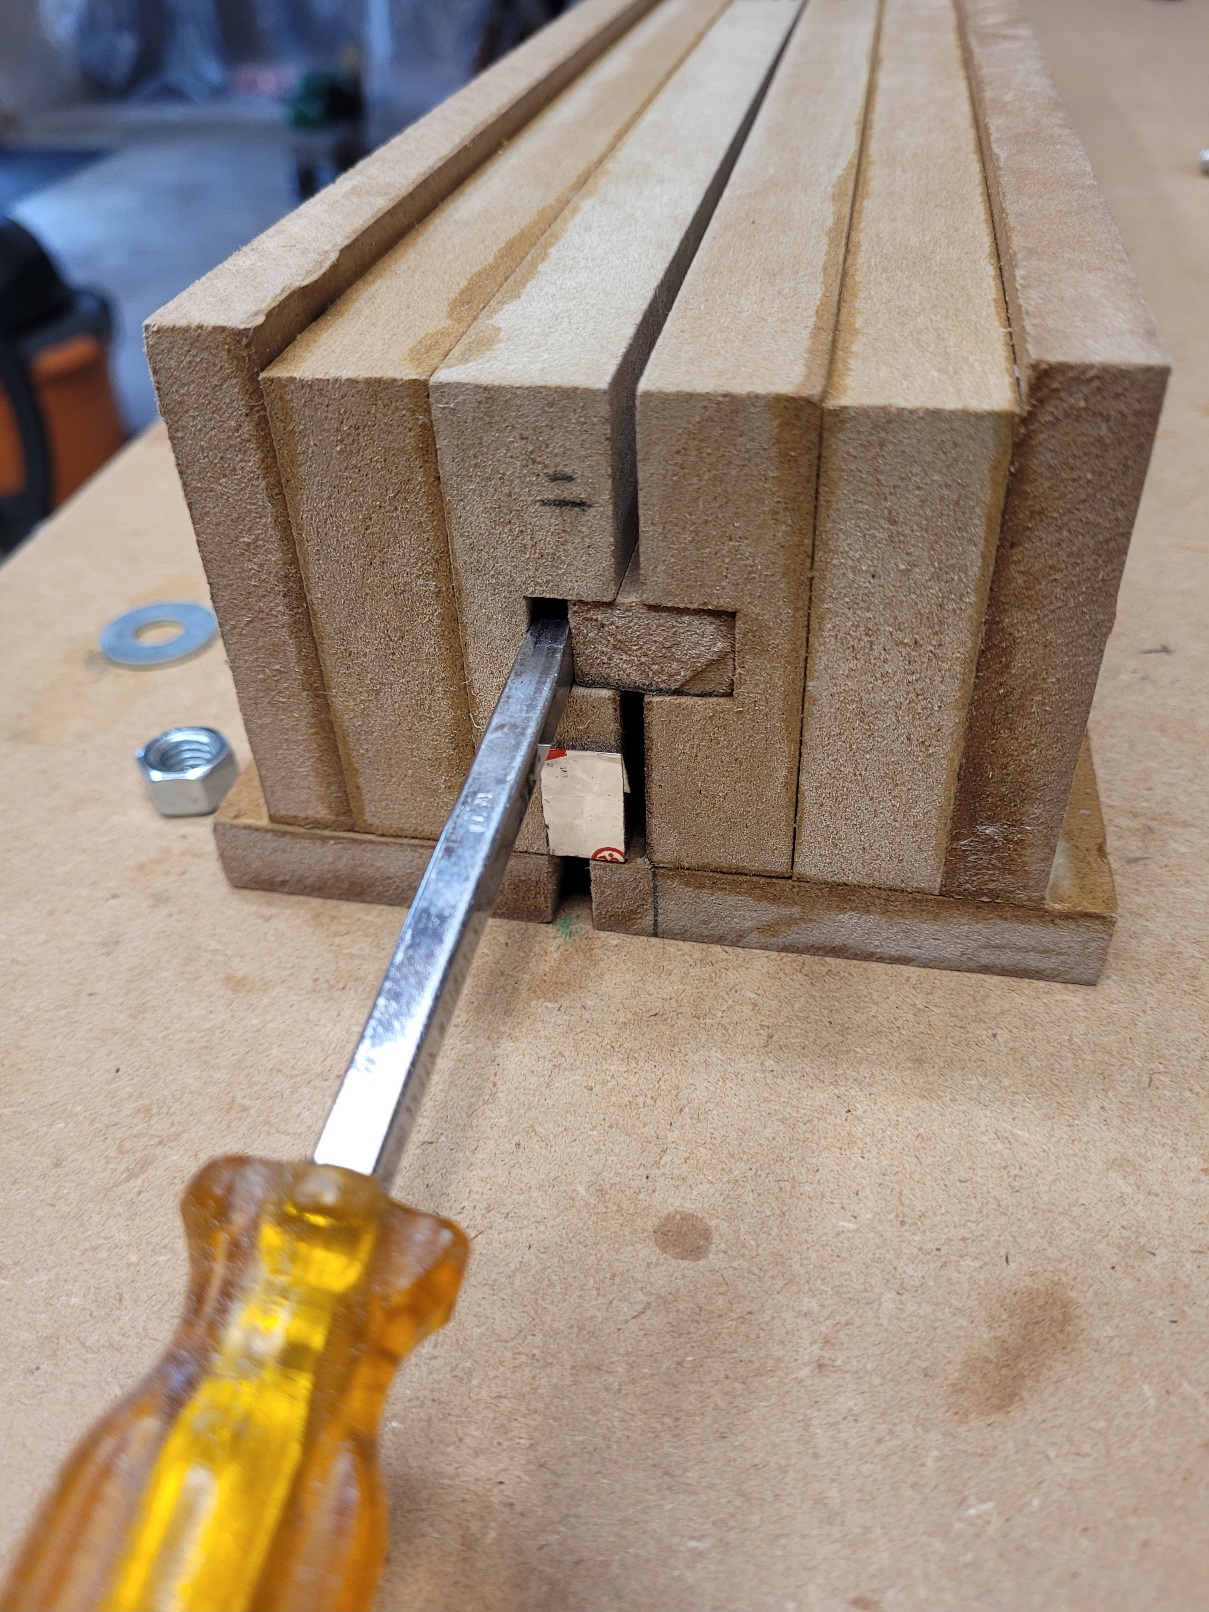
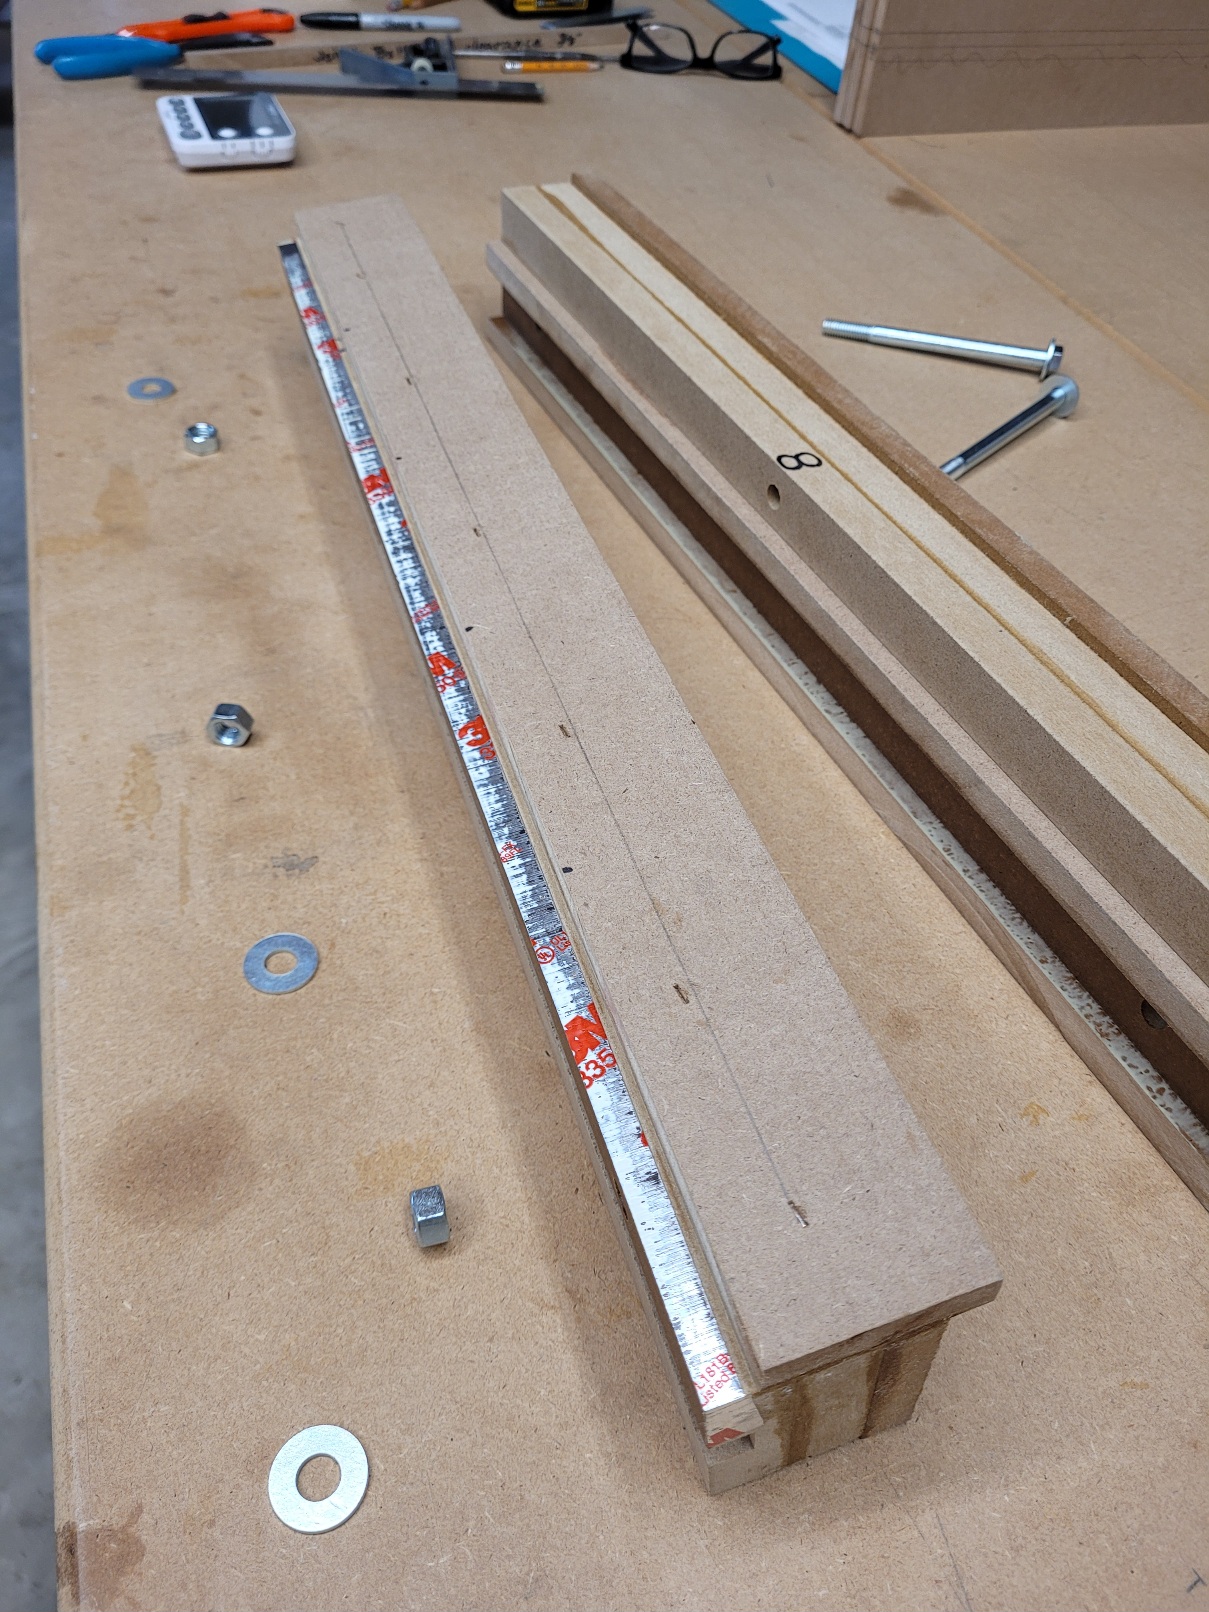
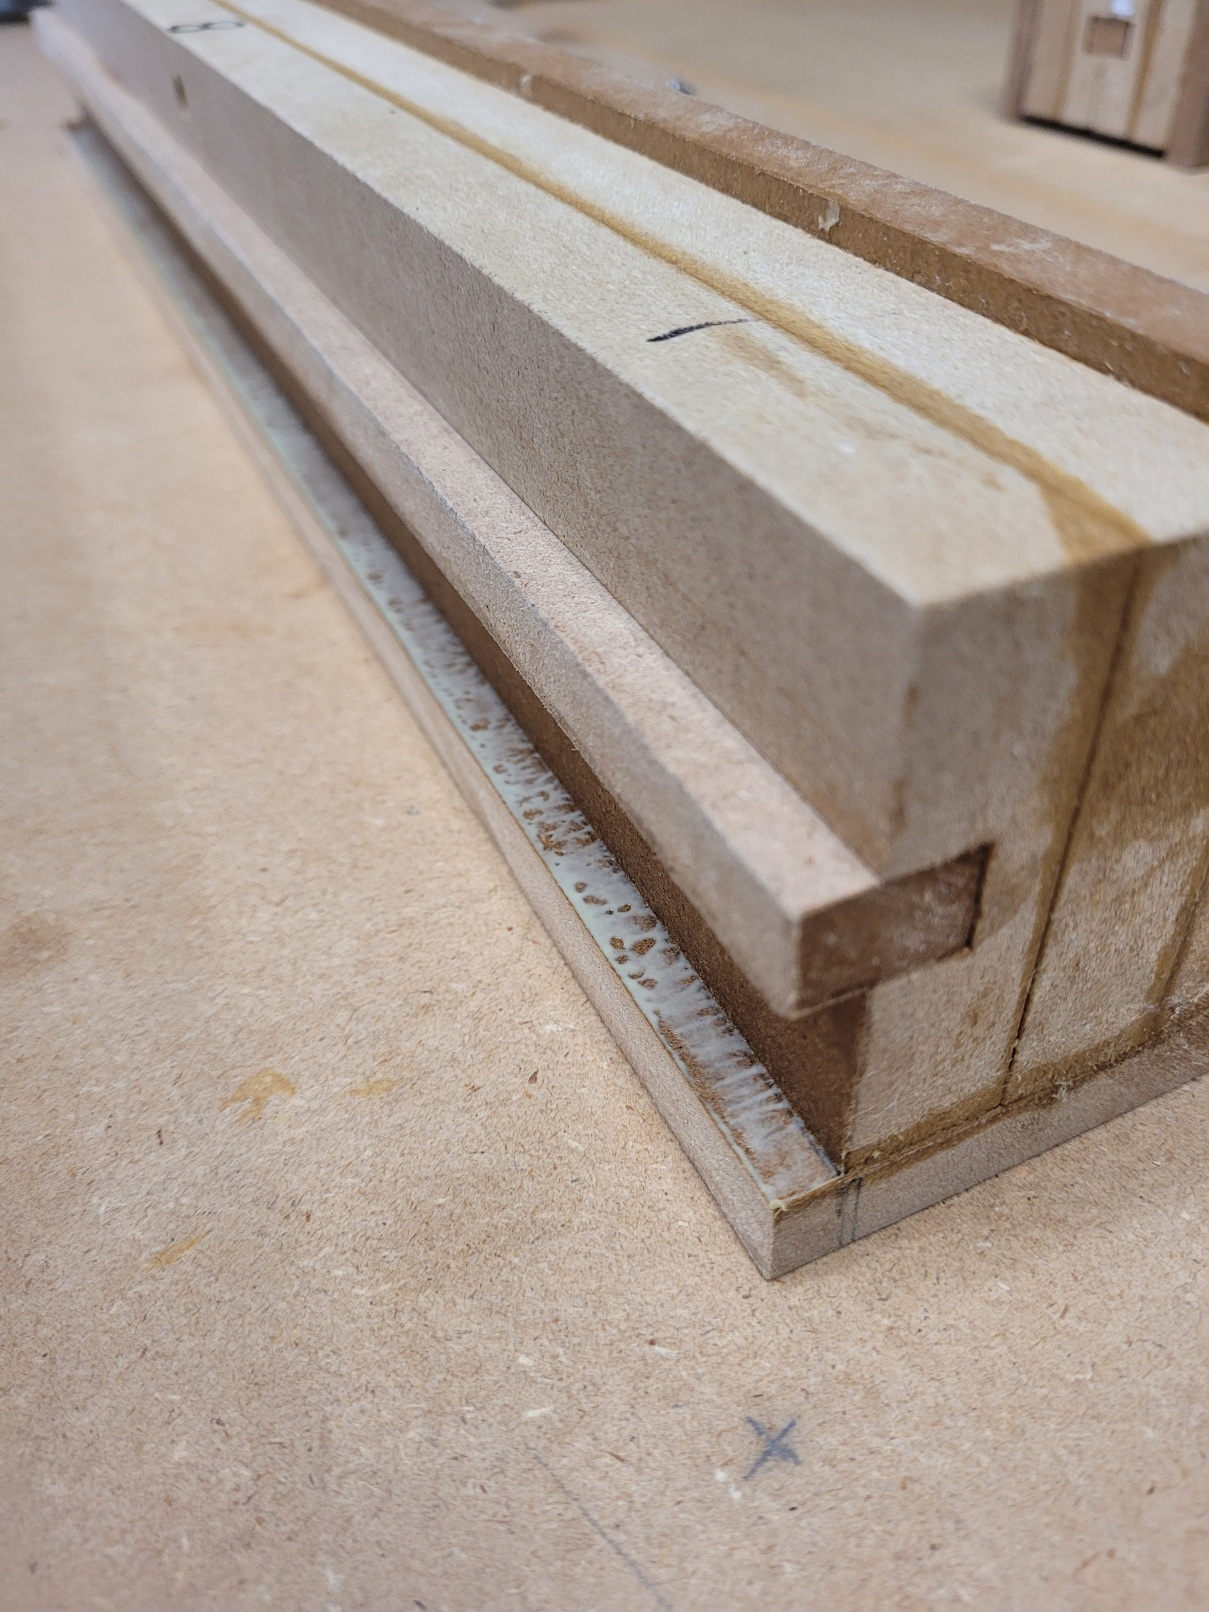
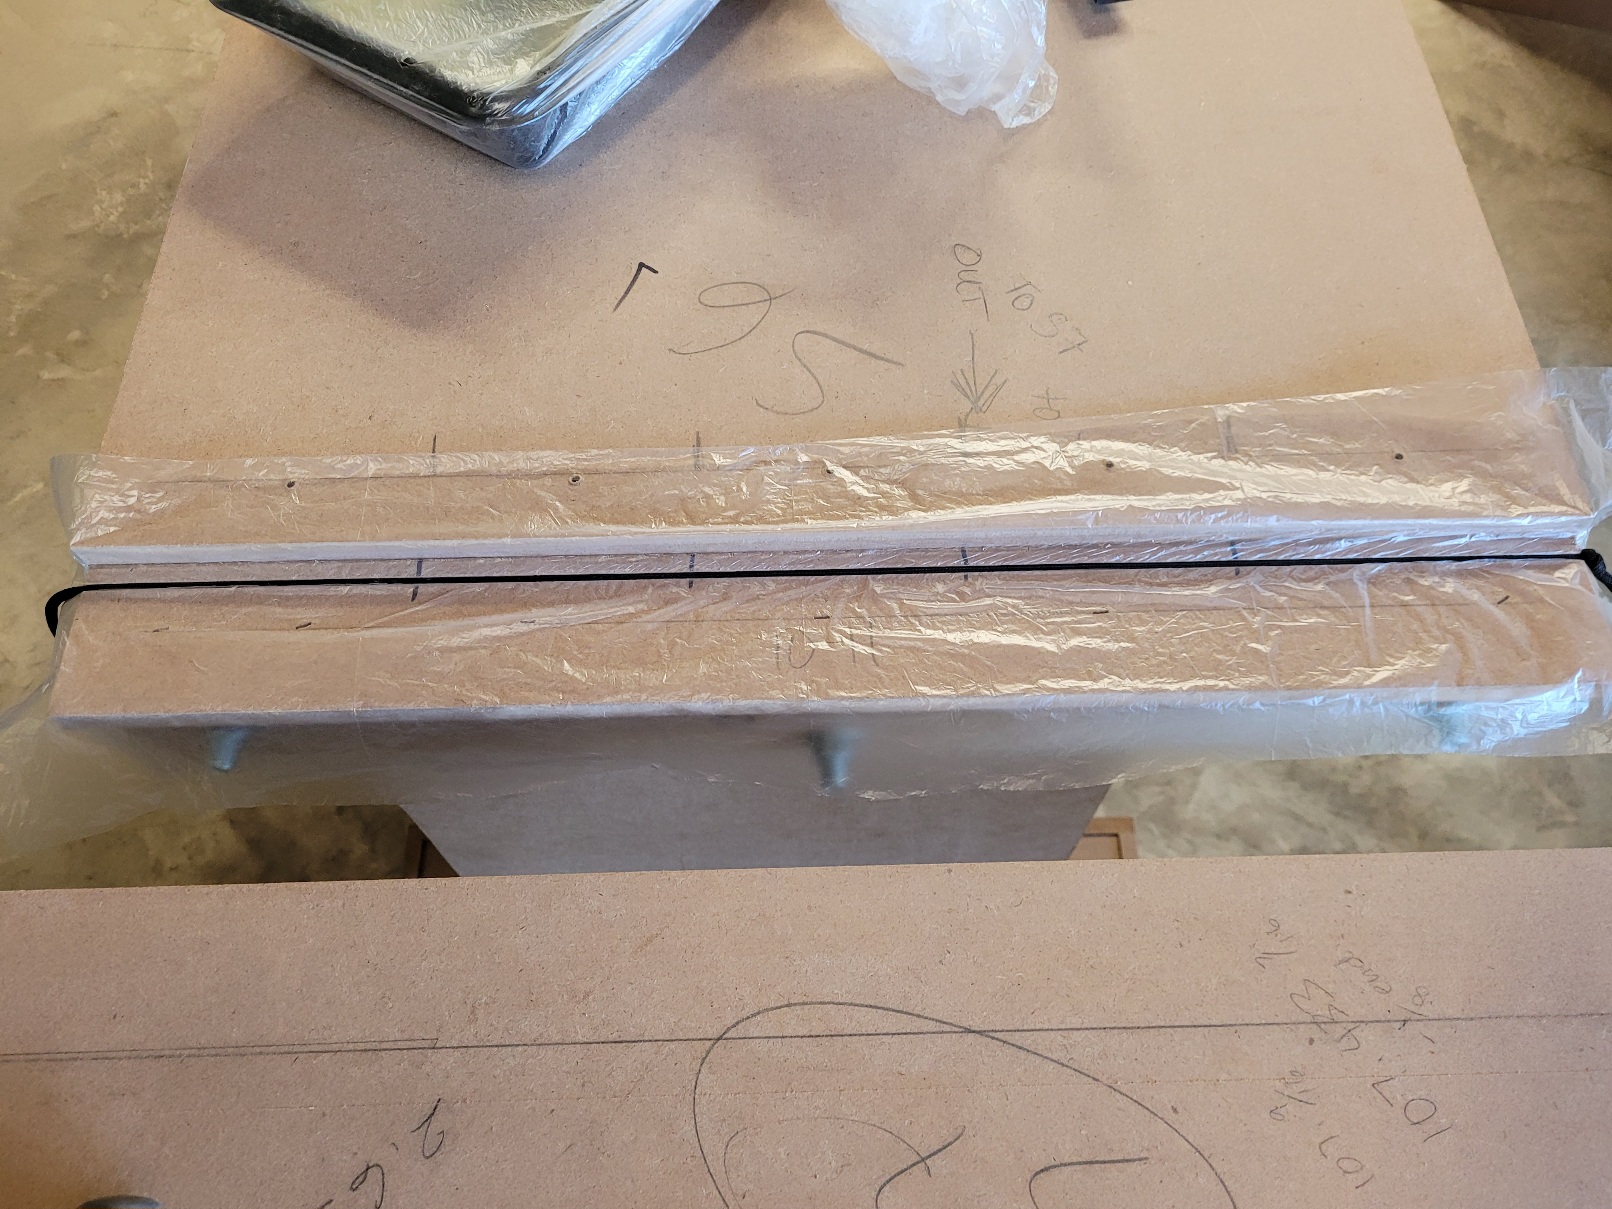
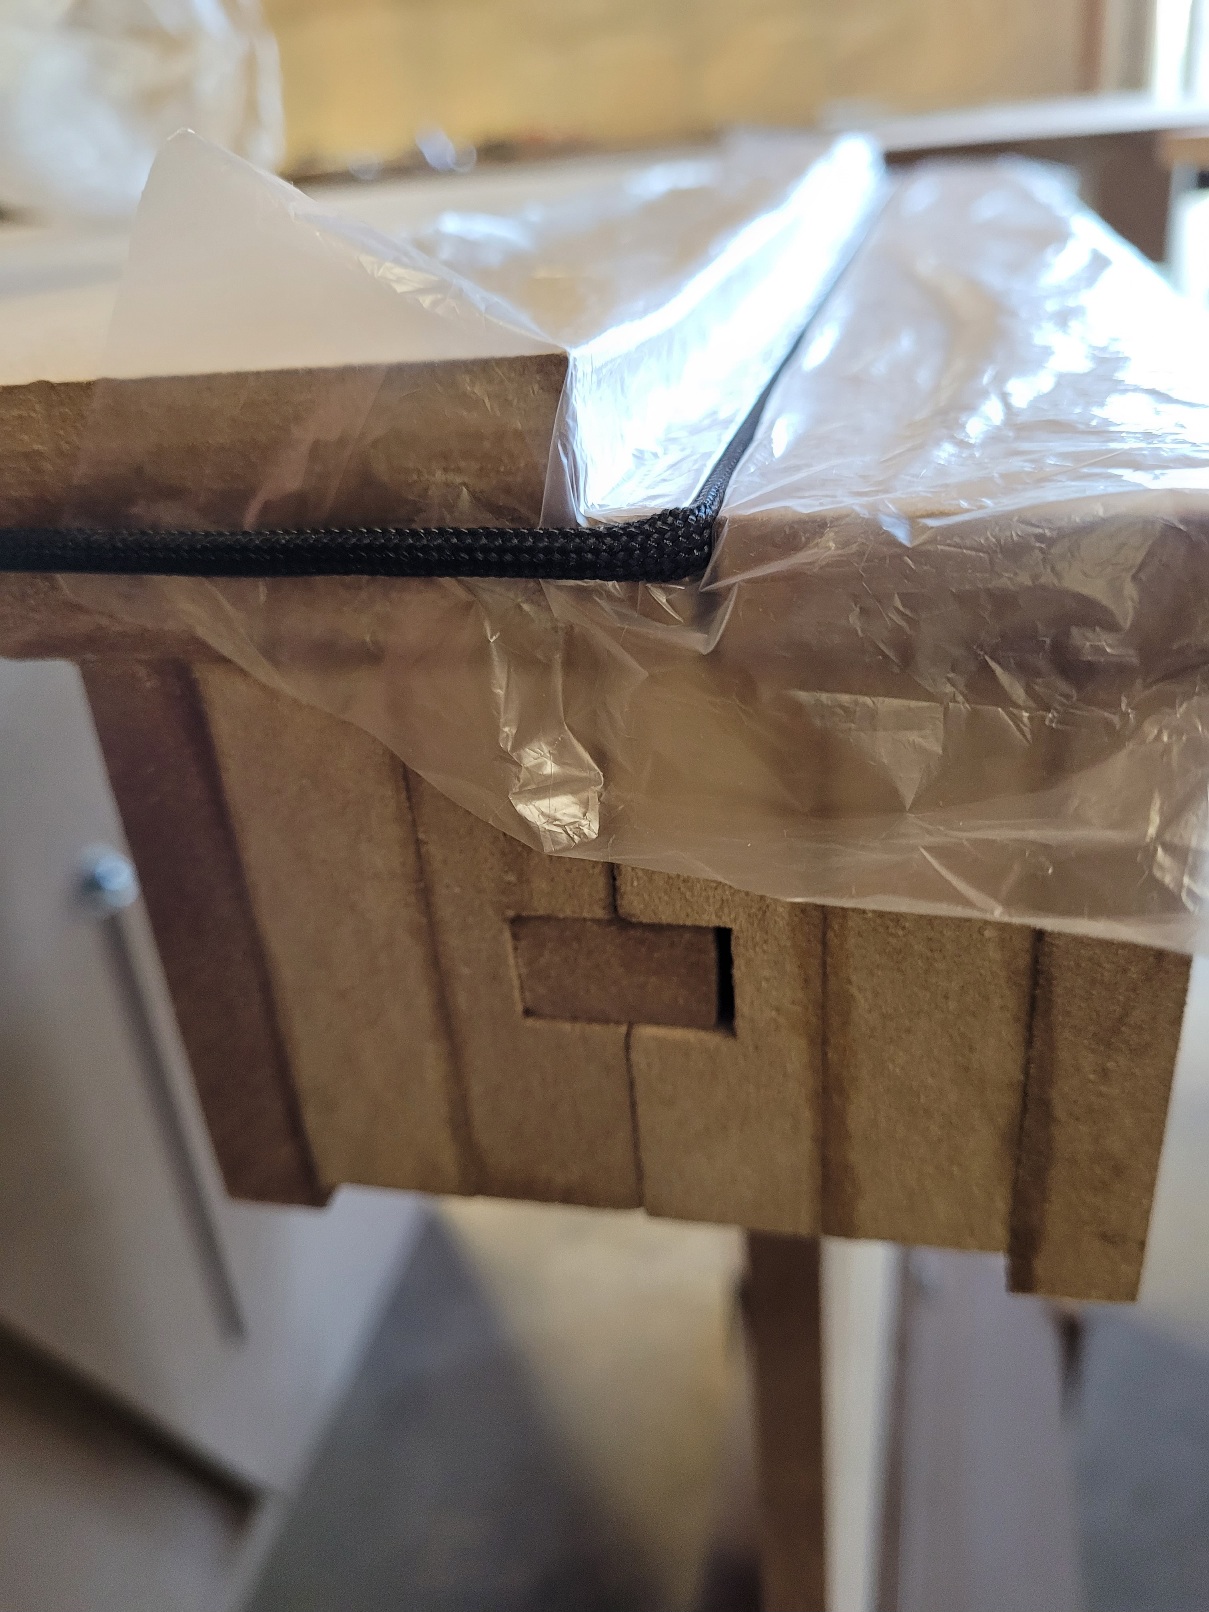
I don't know if I was the first to connect the drop braid under the track this way but here's how I did it, works great and can be easily disconnected and reconnected without any damage to the braid.

First-time build questions for a wood four-lane track
#126

Posted 29 August 2024 - 03:47 PM
- Tim Neja, Eddie Fleming and Sloter like this
Jay Guard
IRRA Board of Directors (2022-Present),
Gator Region Retro Racing Director (2021-Present)
SERRA Co-Director (2009-2013)
IRRA BoD advisor (2007-2010)
Team Slick 7 member (1998-2001)
Way too serious Retro racer
#127

Posted 05 September 2024 - 08:02 AM
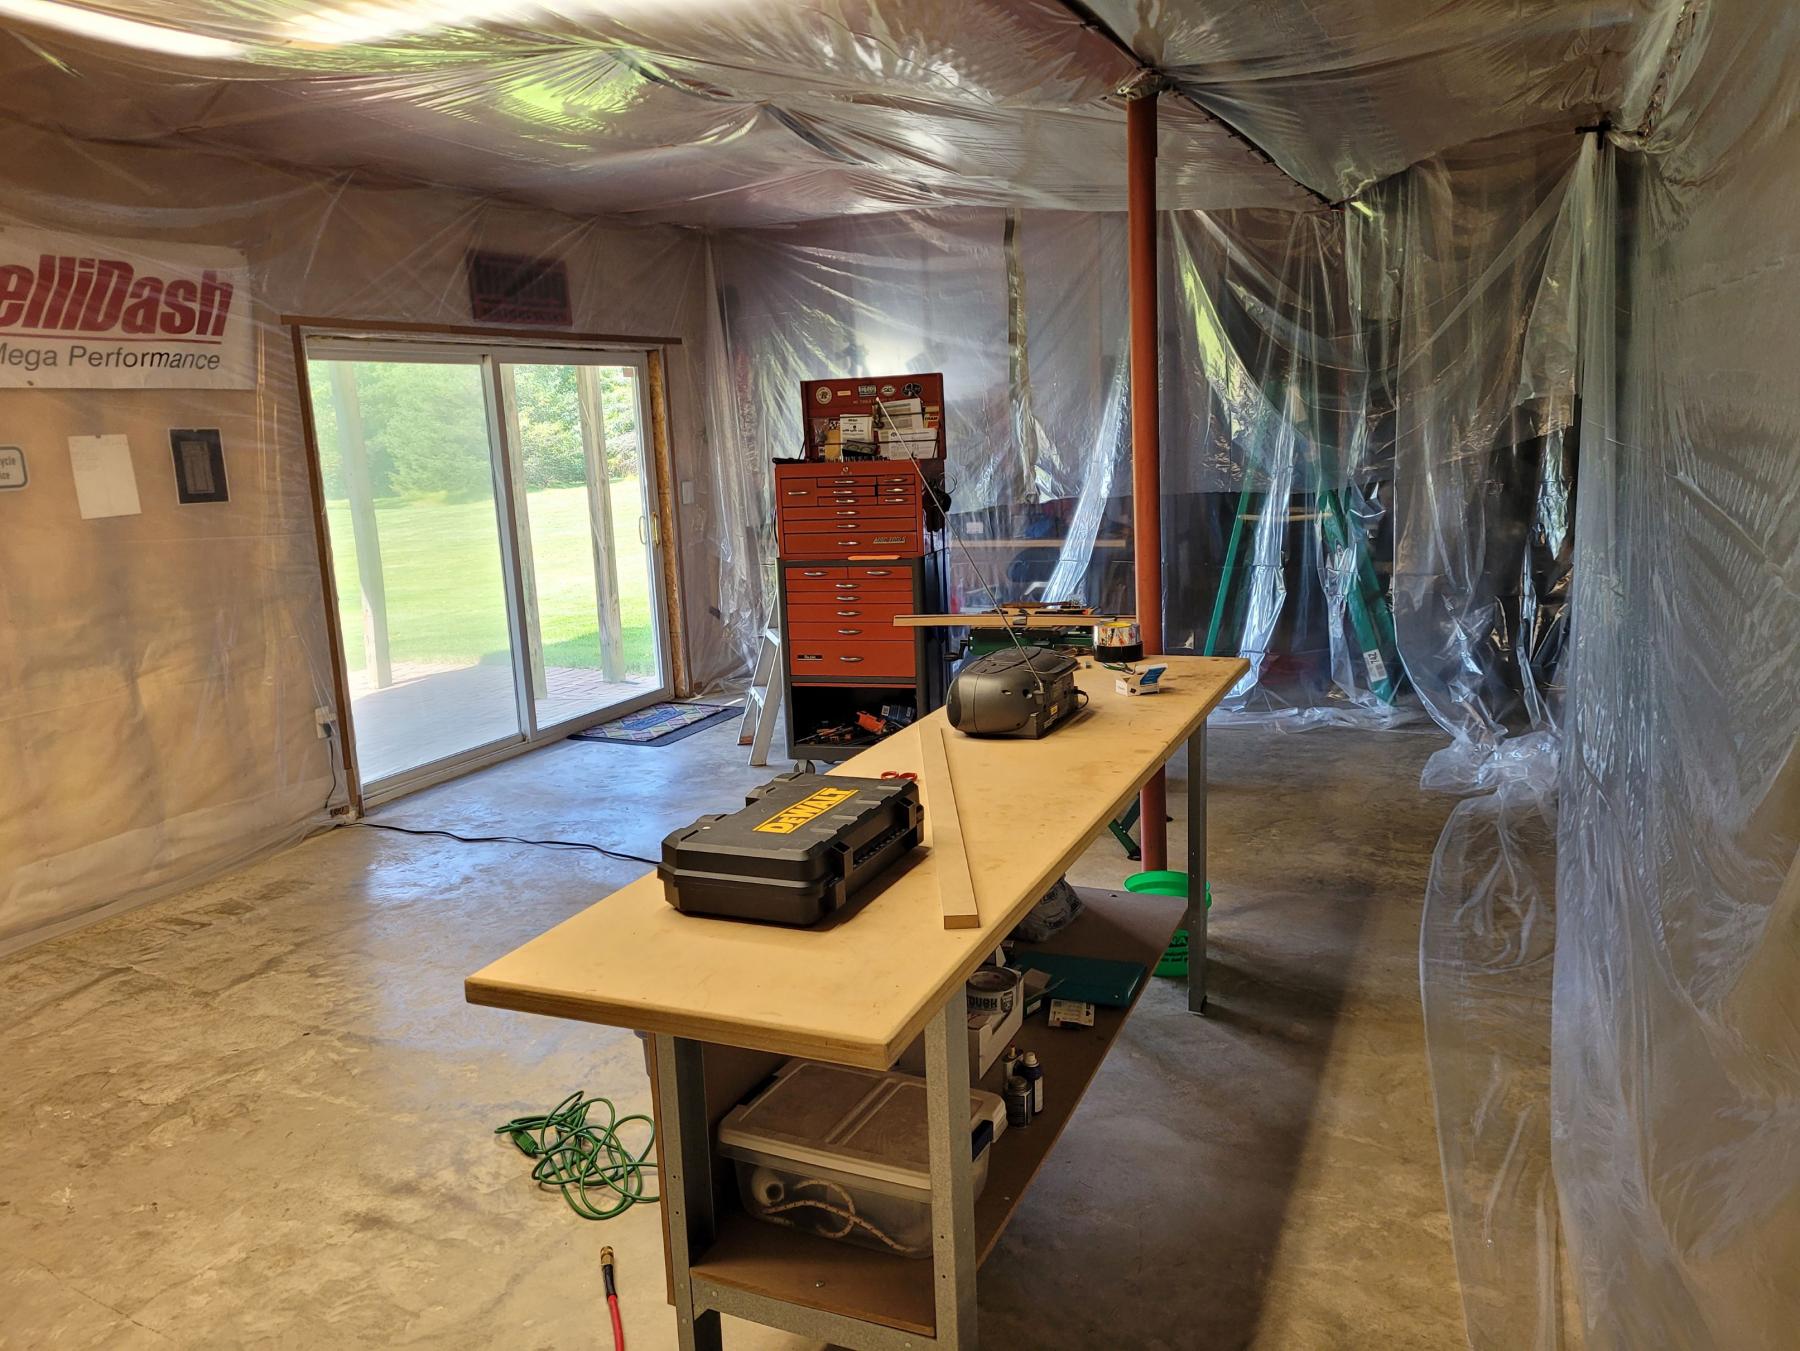
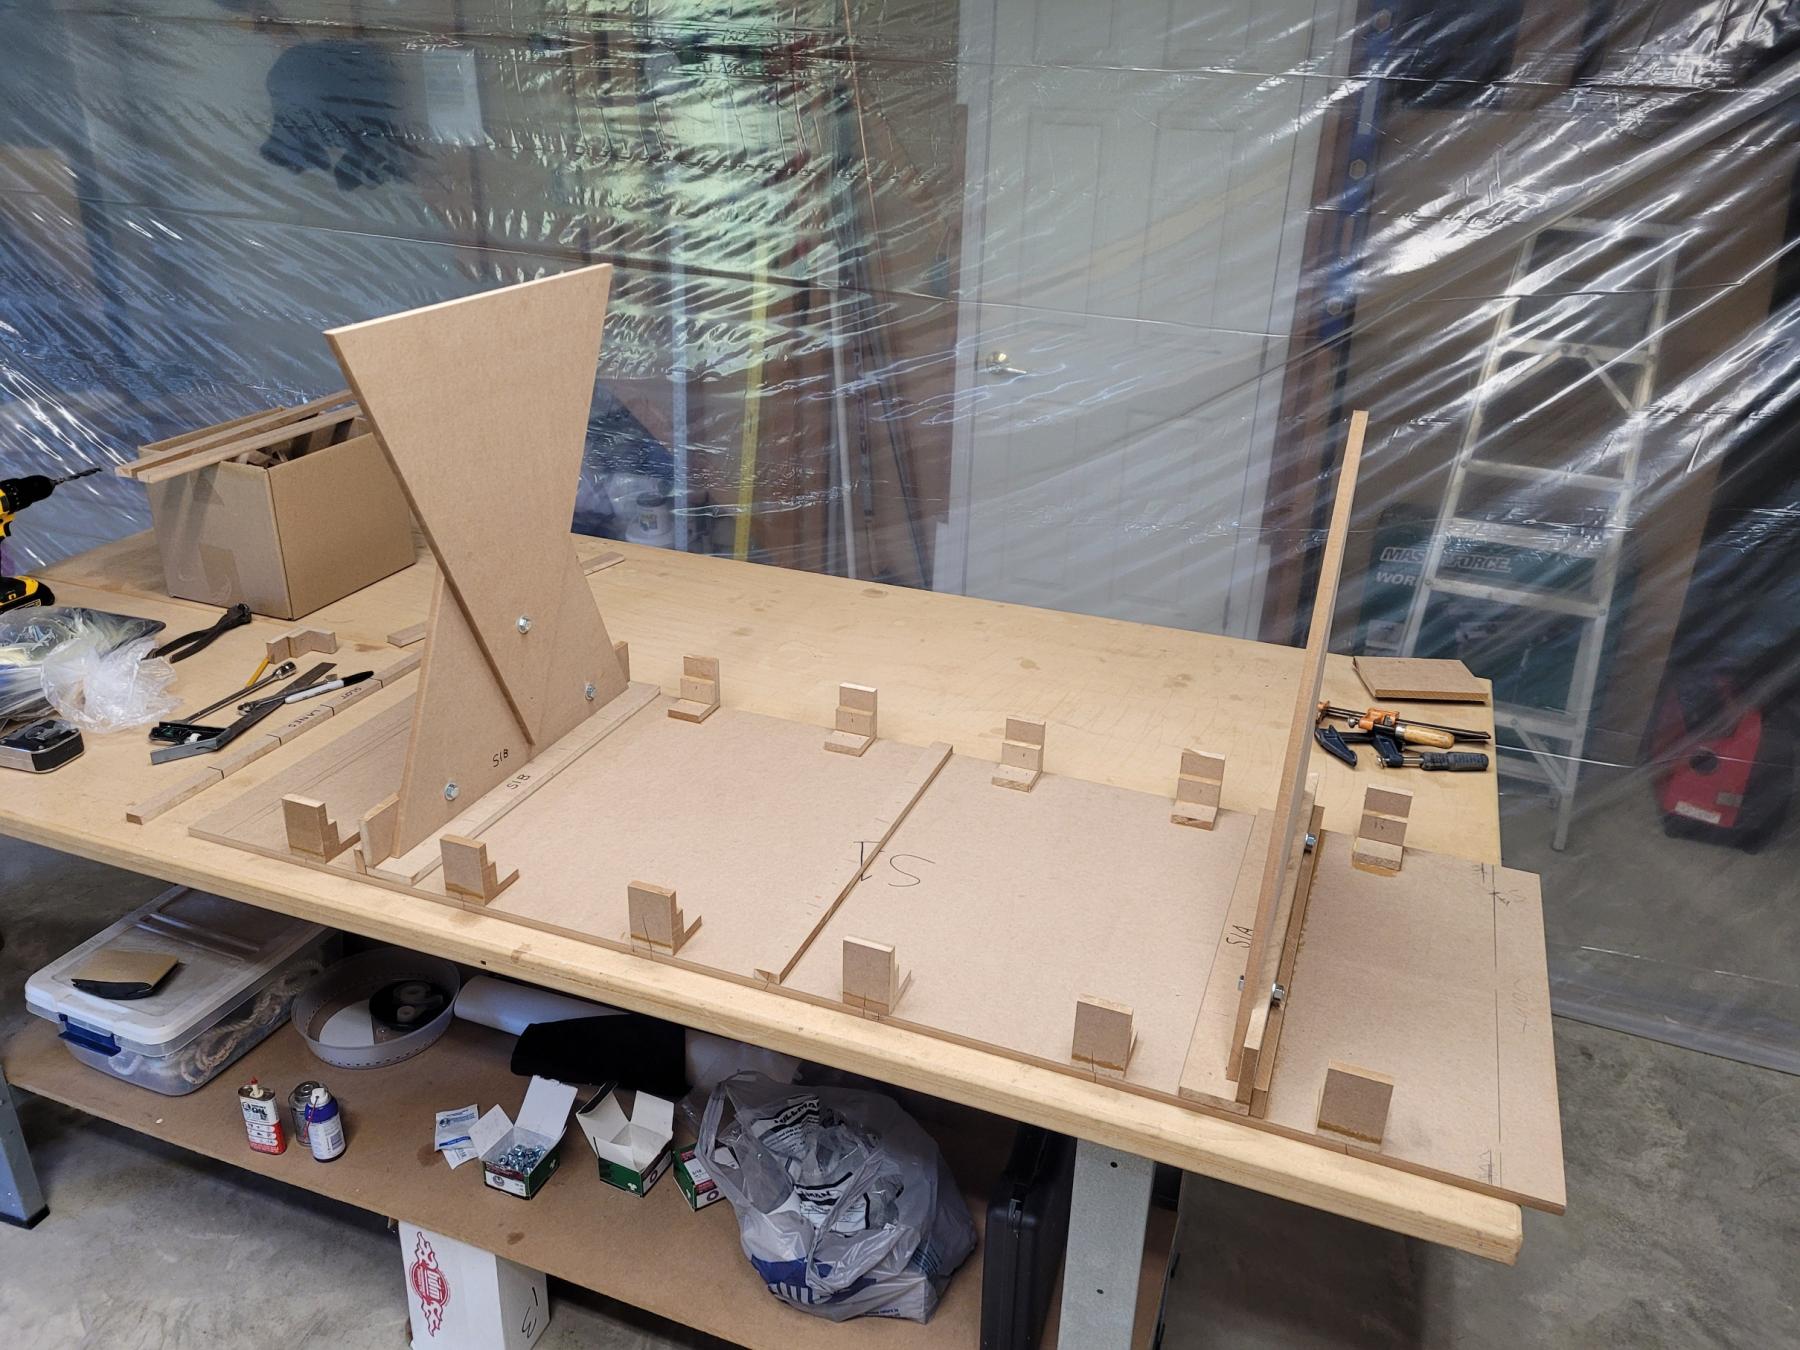
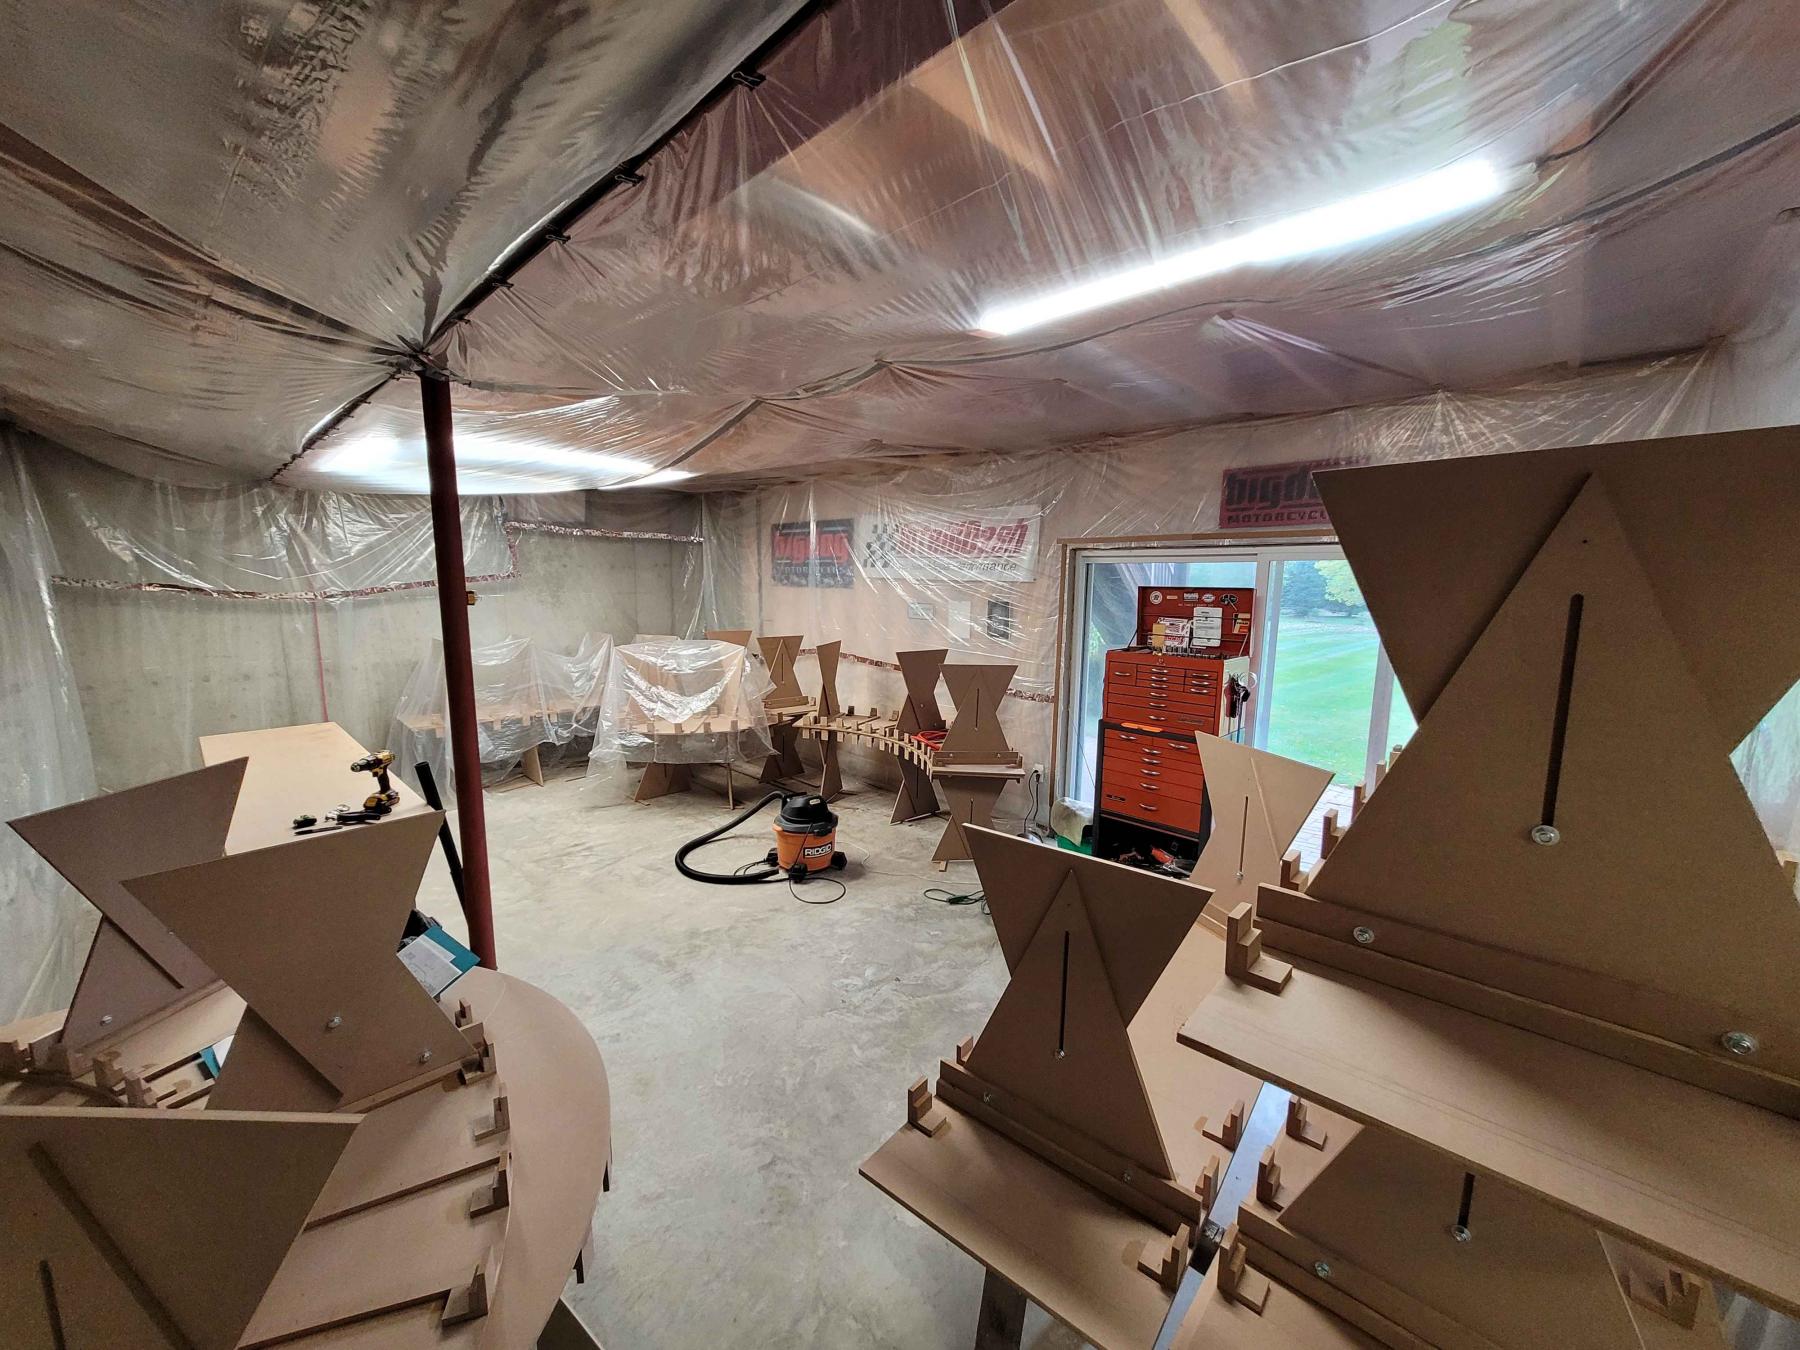
Well I have the enclosed build area in the basement finished so I have been beginning the leg mounting brackets for under the track. Making an assembly fixture to speed along the assembly. About a four day interruption in the build but it will be all worth it so I can build in a controlled environment.
#128

Posted 05 September 2024 - 08:31 AM
I don't know if I was the first to connect the drop braid under the track this way but here's how I did it, works great and can be easily disconnected and reconnected without any damage to the braid.
Hi Jay,
Another good way for a joint connection, just keepem separated.
#131

Posted 26 September 2024 - 03:07 PM
UPDATE:
Been busy putting things together. Made much progress and have all the track sections assembled with the leg mounts, ribs and L-brackets. The track edges with the glued/stapled parts have been belt sanded flush to the edge for a tight sidewall fit. Here are some pics showing my progress and build detail on a few things. Thirteen joint blocks to finish then I can start setting the sections with legs on the floor to check layout sizing.
- Steve Ogilvie likes this
#132

Posted 26 September 2024 - 03:12 PM
Looking good Rob!
I intend to live forever! So far, so good.
#133

Posted 26 September 2024 - 03:20 PM
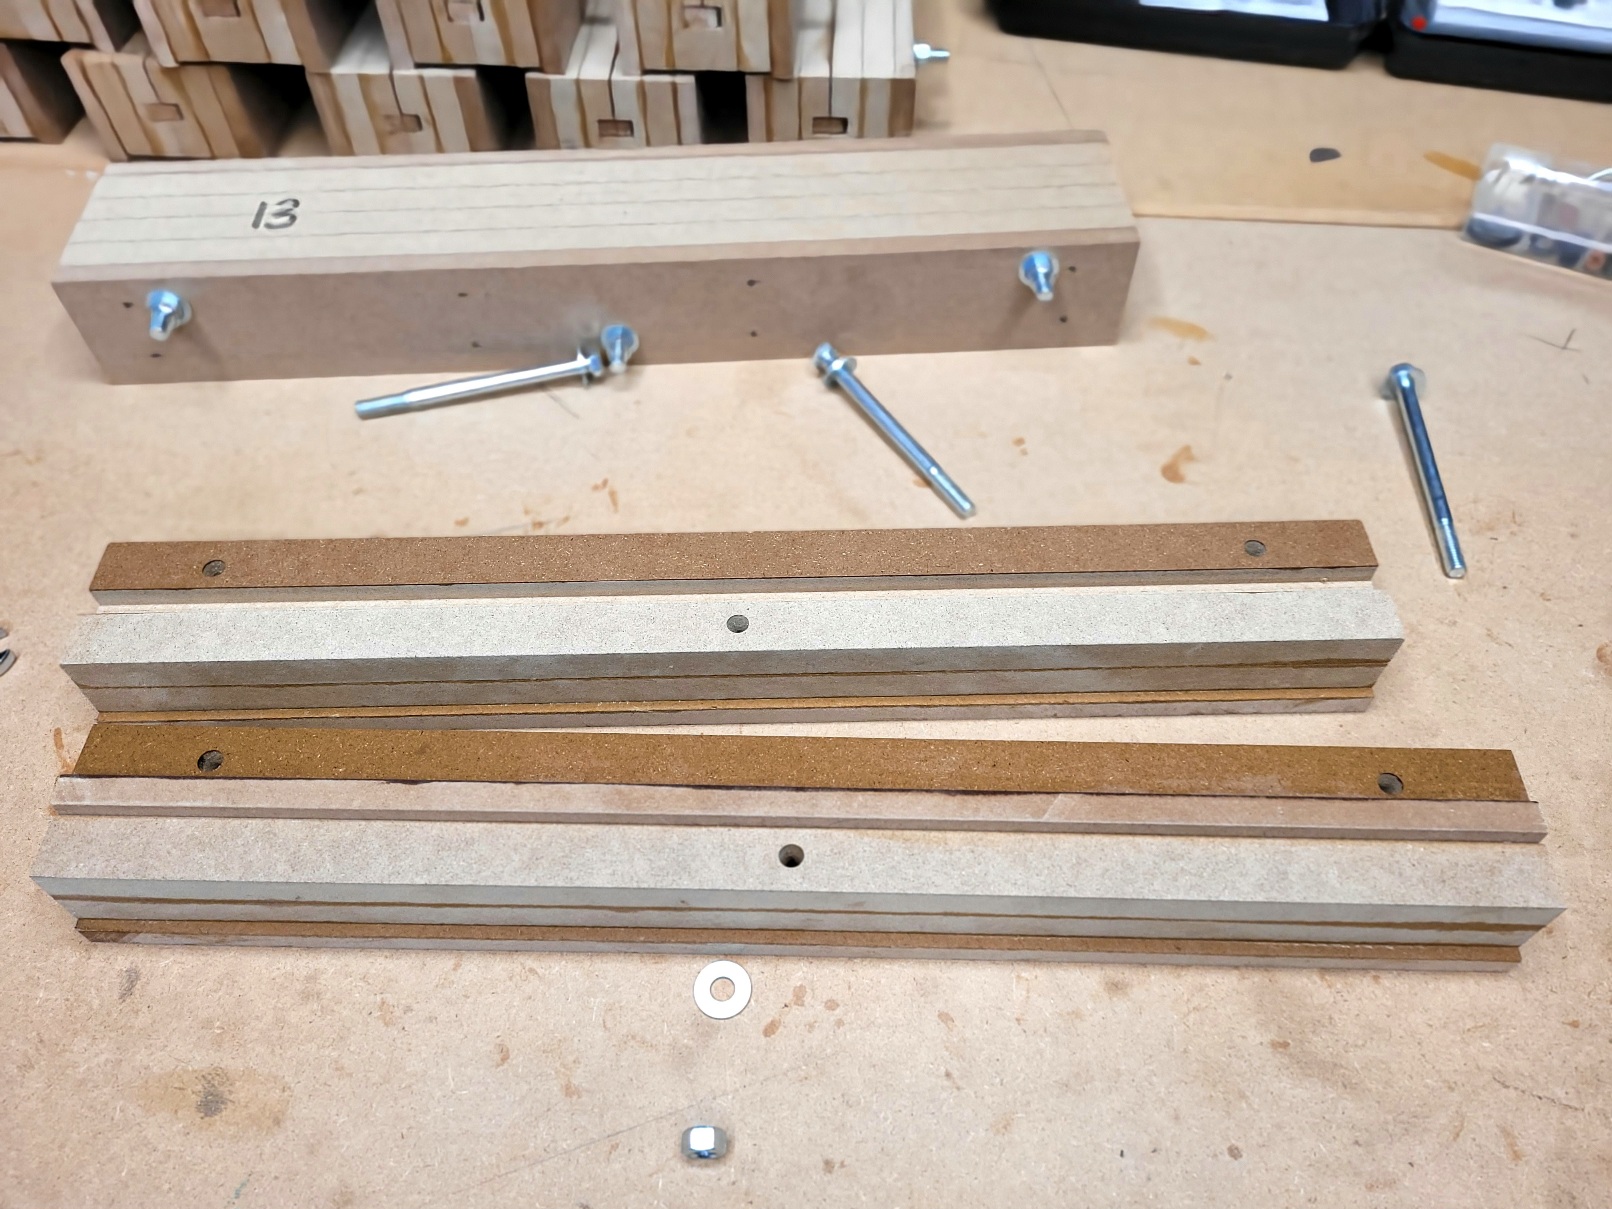
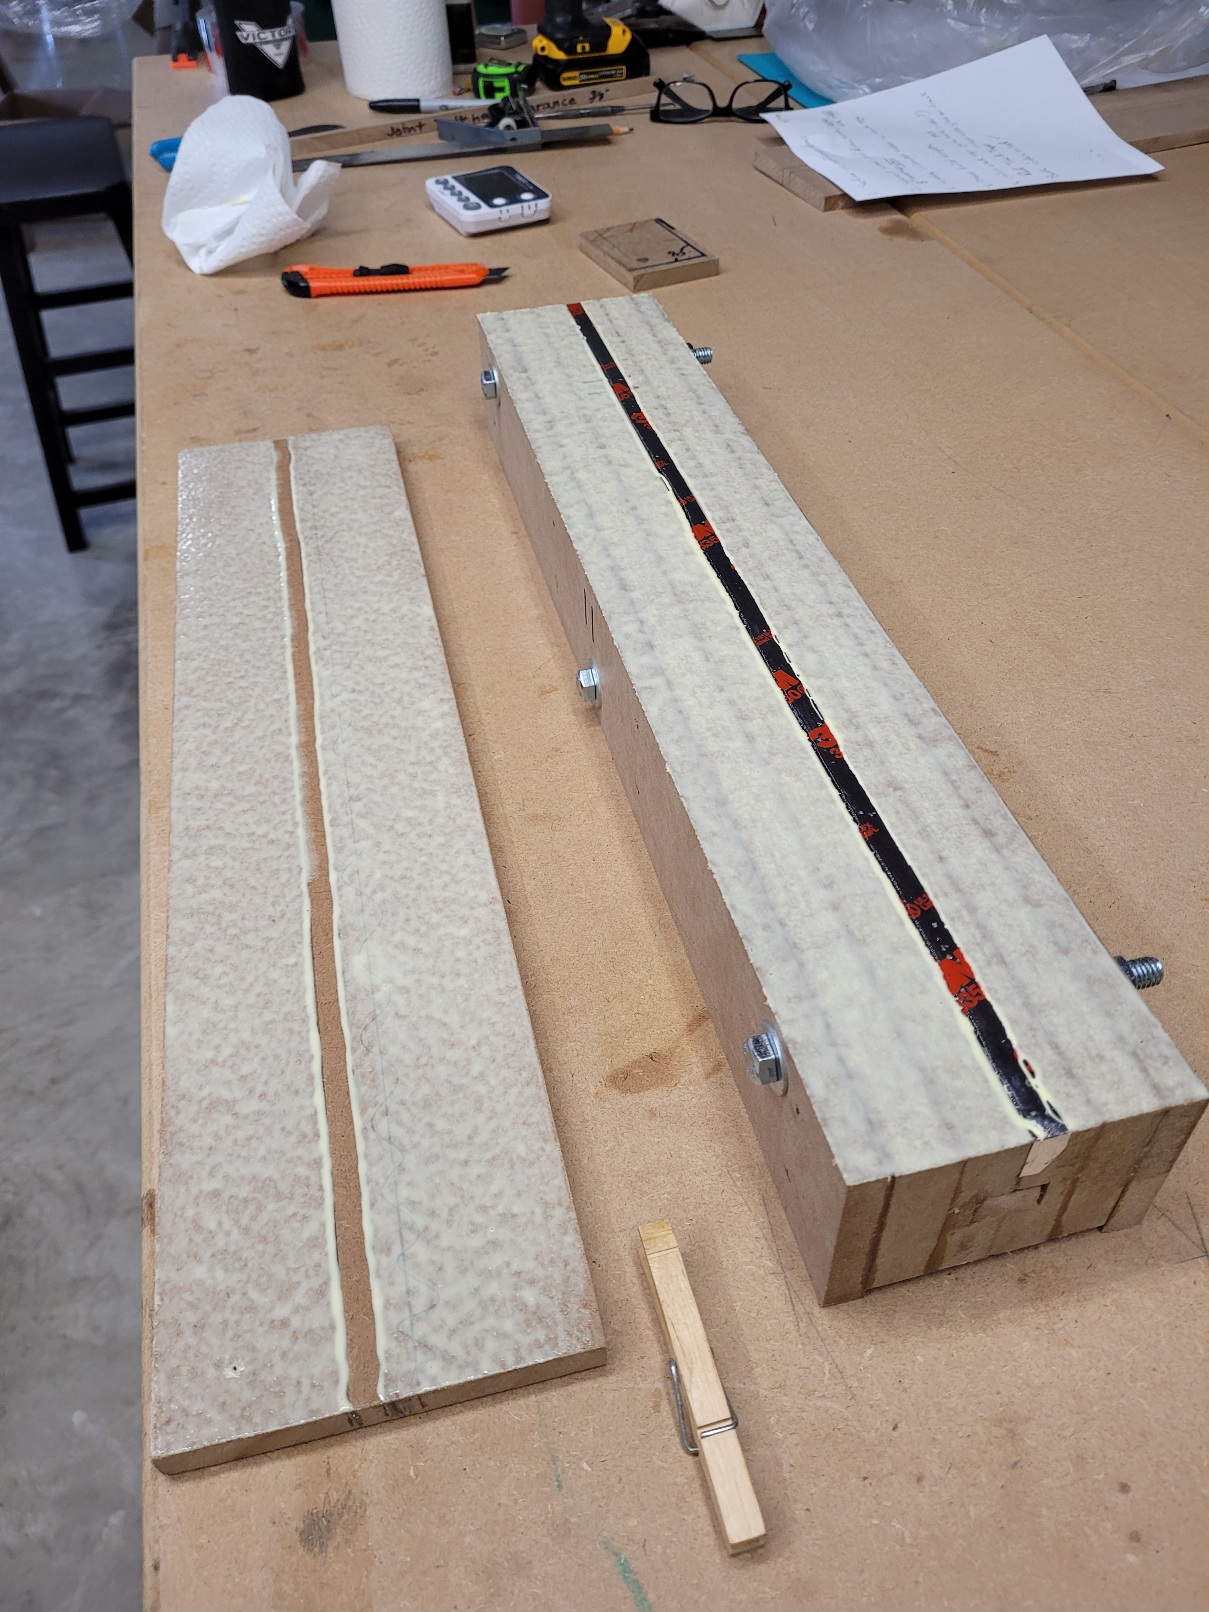
Here are two more pictures of the joint and oil process. I am limited to picture posting size.
The second picture shows the joint block reassembled with the oiled center split joint.
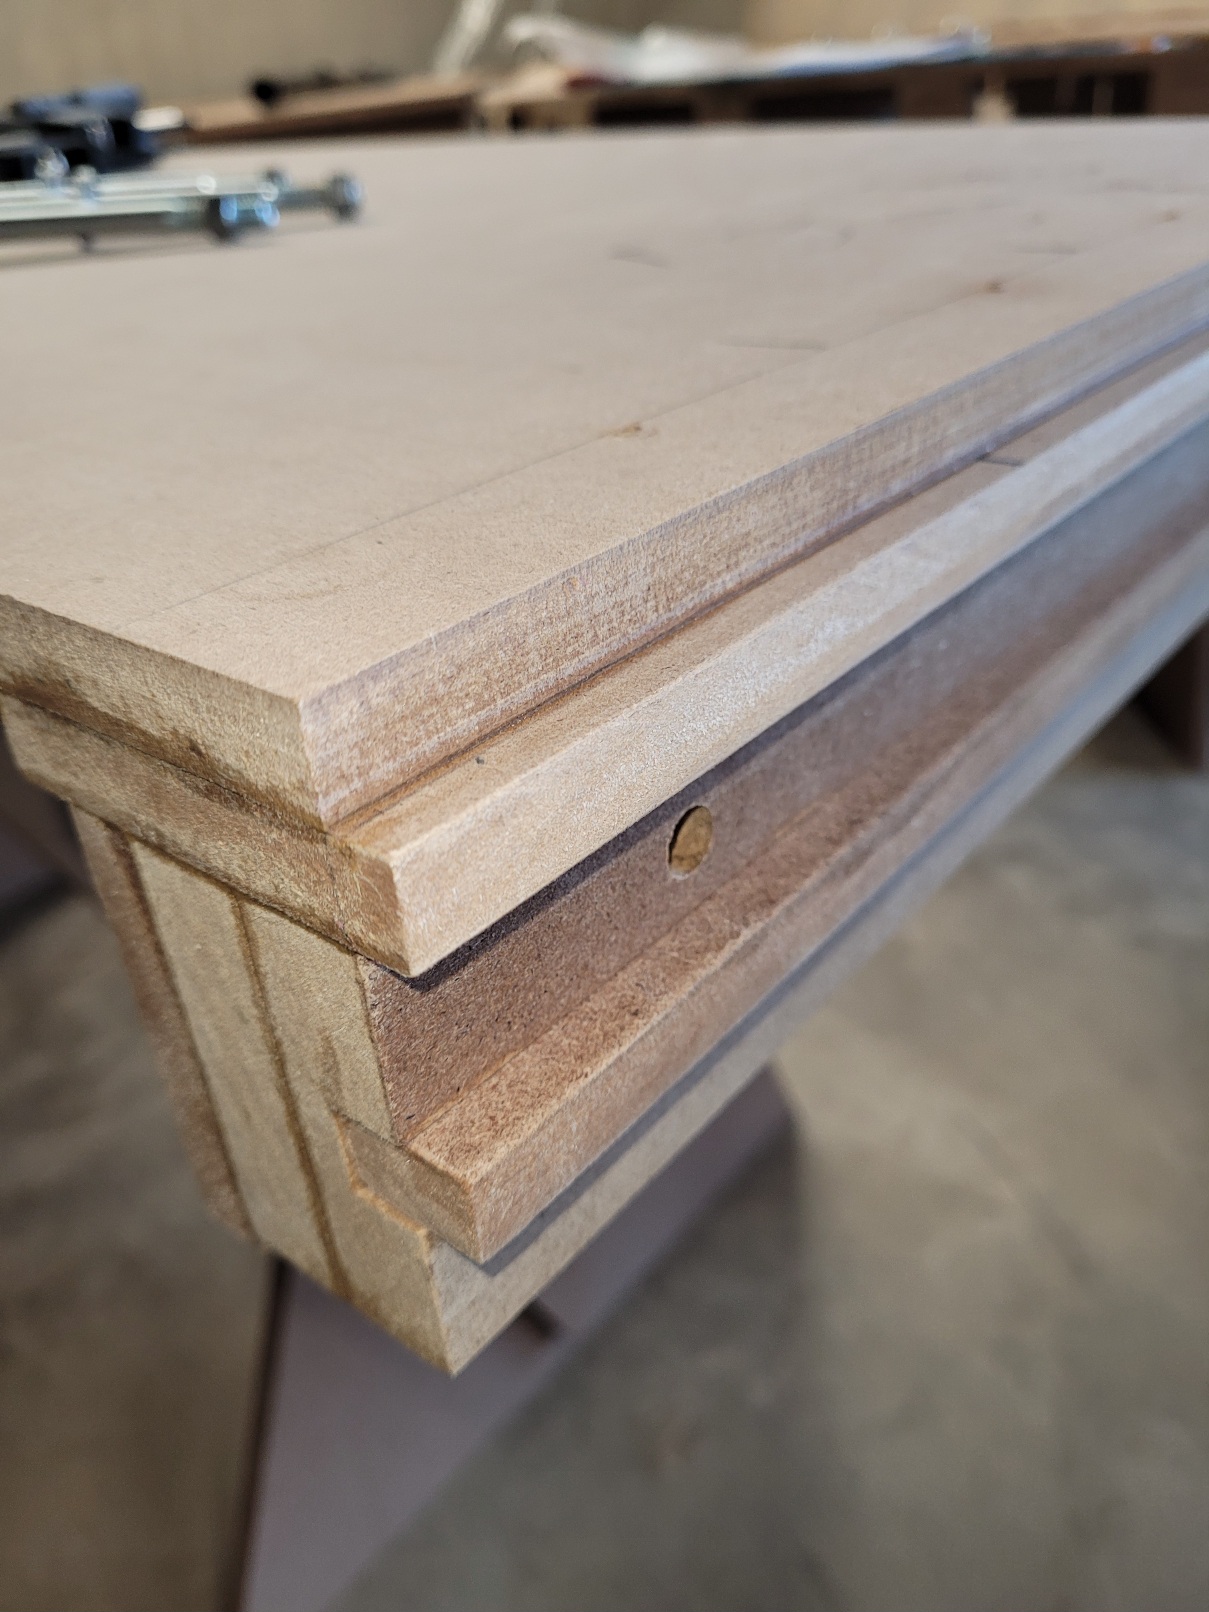
The last picture shows sanded track edge to clean up and overhangs of the added parts. The wood above the parts is another track section stacked above it....saving space.
#134

Posted 01 October 2024 - 08:20 AM
I have now finished the 13 joint blocks. I glued and stapled the top cover plates. After 20 to 30 minutesI slit the joint on the table saw and separated the joint halfs. I cleaned off the glue from the underside of the MDF tounge with a damp rag. Removed the tape and sanded the edges and blew it off with air. I then bolted the joint back together and stacked on the bench.
#135

Posted 01 October 2024 - 08:27 AM
After glue and staple I stood on the blocks for extra pressure on the joint.
20 to 30 minutes of drying time. I found that 30 minutes still allows you to easily split the joint.
Slit the joint on the tablesaw and cut deep enough to just cut thru the tape.
Then remove the bolts and split the joint.
Remove the 3M HVAC seal tape (very thin plastic and the Titebond wood glue easily came off.
Wipe off the underside lip glue with a damp cloth till clean. Not too much water!
#137

Posted 02 October 2024 - 09:53 AM
Nice work and great attention to detail. It will make your track that much more enjoyable.
If it's not a Caveman, It's HISTORY! Support Your local raceways!
#138

Posted 04 October 2024 - 09:03 AM
Attached all the leg assemblies to the track sections the other day and have set all the sections on their legs on the floor. I have started to position the layout and check for fitment on the flat sections. Once I feel comfortable with the fitment I can begin attaching the joint blocks.
- Paul Menkens and Sloter like this
#139

Posted 04 October 2024 - 11:43 AM
Your track photos look good Rob.
- Paul Menkens likes this
I intend to live forever! So far, so good.
#140

Posted 18 October 2024 - 07:38 AM
I have been busy building my track and have finished attaching the 13 joint blocks to the outbound ends of the track sections. The process went smoothly with the gluing and temporary screw pre-drilling and screws. The larger half of the joints are now done and I'm beginning the attachment of the track sections to the short side of the joints.
I used a straight edge located in the saw cut split groove with some setup blocks to locate the amount out stick out for the joint plate past the edge of the track. I marked a line with a slot groove marker stick butted against the set blocks and drew a line the width of the track. This was used to indicate where the temporary attachment screw were to be placed so the would screw into a good location in the joint block.
I glued both sides of the lamination and got good squeeze out. The excess glue on the top tounge was scraped off with a sharp edged right angle piece of MDF to get into the inner corner. The remaining glue was cleaned of with a damp rag leaving the surface very clean when it dried. Not too much water mind you!
The white squares are 1/4" MDF cut 2" x 2" with a 1/4" hole drilled in each. I found a small whiteboard/chalkboard panel 30" x 24" at Lowe's for $10 or so that was very stiff and worked well for the backer plates as temporary screw anchors while the glue dried.
#141

Posted 18 October 2024 - 08:11 AM
Here are a few more pictures of the process. The straight edge and set blocks made this process go quickly. The SLOT stick I used was cut to a width so the screw line lined up with the center of the 3/4" MDF vertical lam in the joint block. All holes are pre-drilled with a tight fitting sized drill.
#142

Posted 18 October 2024 - 08:41 AM
I started by prepping the underside adjoining track section by sanding in a tiny chamfer, enough to clean off any sharp edges and burrs that will form the upper tounge. The joint blocks were prepped upon their completion weeks back.
The next process is to glue the adjoining section of track to the short side of the joint blocks. Doing this made me nervous as I was concerned about accidentally gluing the track section to the block. This is a process I came up with and is combined with that of Steve Ogilvie's method of using motor oil on the joint faces to keep the glue from sticking. Not entirely sure if oiling the block faces helps when using my method. I came up with this method after I had already oiled the joint blocks.
My method used some very thin plastic sheeting .0005" thick trash container bags I had laying around for years. I cut them up into about 10" strips about 24" wide. I used some on-hand squishy paracord and did some testing. I tie a knot in one end of the cord so it gets caught in the cut slot when I pull some slight tension on it while placing the cord in the groove.
To assemble the joint I laid the plastic over the joint and cut groove then placed the paracord over the saw cut groove and pressed the paracord into the groove so that it was just flush with the top of the MDF block top plate. Once that was done I straightened out the plastic over the finished portion of the track and tucked the plastic sheeting down into the track surface MDF step. Then I folded over the plastic over the paracord and back onto the exsisting track and tucked it nicely into the step as well. This formed a very thin glue barrier and will not interfer with the mating track edge.
I applied glue to the joint block top plate trying to keep the plastic clean from glue. I also applied a light coat of glue to the underside of the mating track section keeping away from the track butt edge by about 3/8" to 1/2" so as not to have a lot of squeeze out. I feel a light wet coat of glue to the underside helps wet the wood and it gets to soak into the MDF. Plus it gives a little extra glue for the joint gap.
I did only one joint this way as a test and waited 24 hours for it to dry. The next morning I separated the joint block and it came apart easily with a very clean joint. The plastic and paracord pulled easily fron the glued joint area.
#144

Posted 18 October 2024 - 09:35 AM
More pictures of the completed joint block.
The paracord and plastic sitting on the track after I removed it from the joint. I haven't caught on to the Full Editor functionallity yet. It would be nice to be able to upload more than one picture at a time here.
After finishing the section joints I will need to clean up the joint block ends FLUSH to the track sides without getting into the track sides with the belt sander. The track edge must be pristine to run the routher guide pins along it without any divits or deviations.
The plastic pulled away for a clean joint. This method worked very well for me, it spead things up and was easier to do in my opinion. Nice tight and flush joints are the goal...right?
The wife always laughs when I tell her I'm going to the basement to do a few joints!
#146

Posted 19 October 2024 - 07:25 AM
good stuff! very clever
- Sloter likes this
Steve Lang
#147

Posted 20 October 2024 - 04:02 PM
Build Correction Update to post #142....too bad I cannot go back and continue to edit my threads past postings so....
"This is a process I came up with and is combined with that of Steve Ogilvie's method of using motor oil on the joint faces to keep the glue from sticking. Not entirely sure if oiling the block faces helps when using my method. I came up with this method after I had already oiled the joint blocks."
Steve Ogilvie's oil method is needed but only for the joint block top cap installation. Oiling the joint doesn't help anything on this later process of attaching the adjoining track section to the joint block as I mentioned earlier. I was in error on my comment. I believe this to be accurate.
#148

Posted 21 October 2024 - 11:09 AM
The reason I use the oil method while assembling the joint blocks to the track sections is to avoid the extra slop caused by using tape. This helps eliminate uneveness where the joint goes together. I also only ever aplied glue to the joint block using a small paint roller.It is not needed to put glue on the underside of the track section. When gluing the top plate to the block I do use some thin cello tape to prevent glue sticking where you do not want it.The oil method does not work on a porous mdf block. I have built around 500 joint blocks using the oil method and never had a problem taking them apart.
#149

Posted 25 October 2024 - 12:21 PM
Hi Steve, Thanks! I applied just a very light wetting coat of glue to the underside portion of the track joints so the MDF could quickly soak it up.
UPDATE:
The last eight or so joints attaching the final adjacent track section to the smaller side of the joint block I modified my process. I placed the paracord just below the cut groove enough to catch a piece of card stock wall shim I had and used it as a gluing shield. This helped from getting excess glue over onto the plastic sheet and under the track lip overlap. It worked very well and the end result is nice almost flush joints to the top surface within .010 inches. I will knock those higher joints down when I block sand the joints. I will palm sander the temporary screw holes that held the track to the joint.
I am preparing for the sanding and hole fill job next.
- breese likes this
#150

Posted 29 October 2024 - 07:57 AM
Update:
Fall cleanup and life has been pulling me away from the track build the last few days.
I have been filling the screw holes and sanding flush the section joints. I am very pleased that the section joints are nearly perfect after knocking down the screw hole bumps and a light sanding on the joint. I have been using the sanding screen material used for drywall instead of sandpaper so my palm sander will vacuum away any dust. The sanding screen works great on the MDF and plastic wood filler. The joints are not fully tightend together yet.
Here are a few pictures of my progress. I have had to move sections around in the small work space and prep for routing in the slots.


