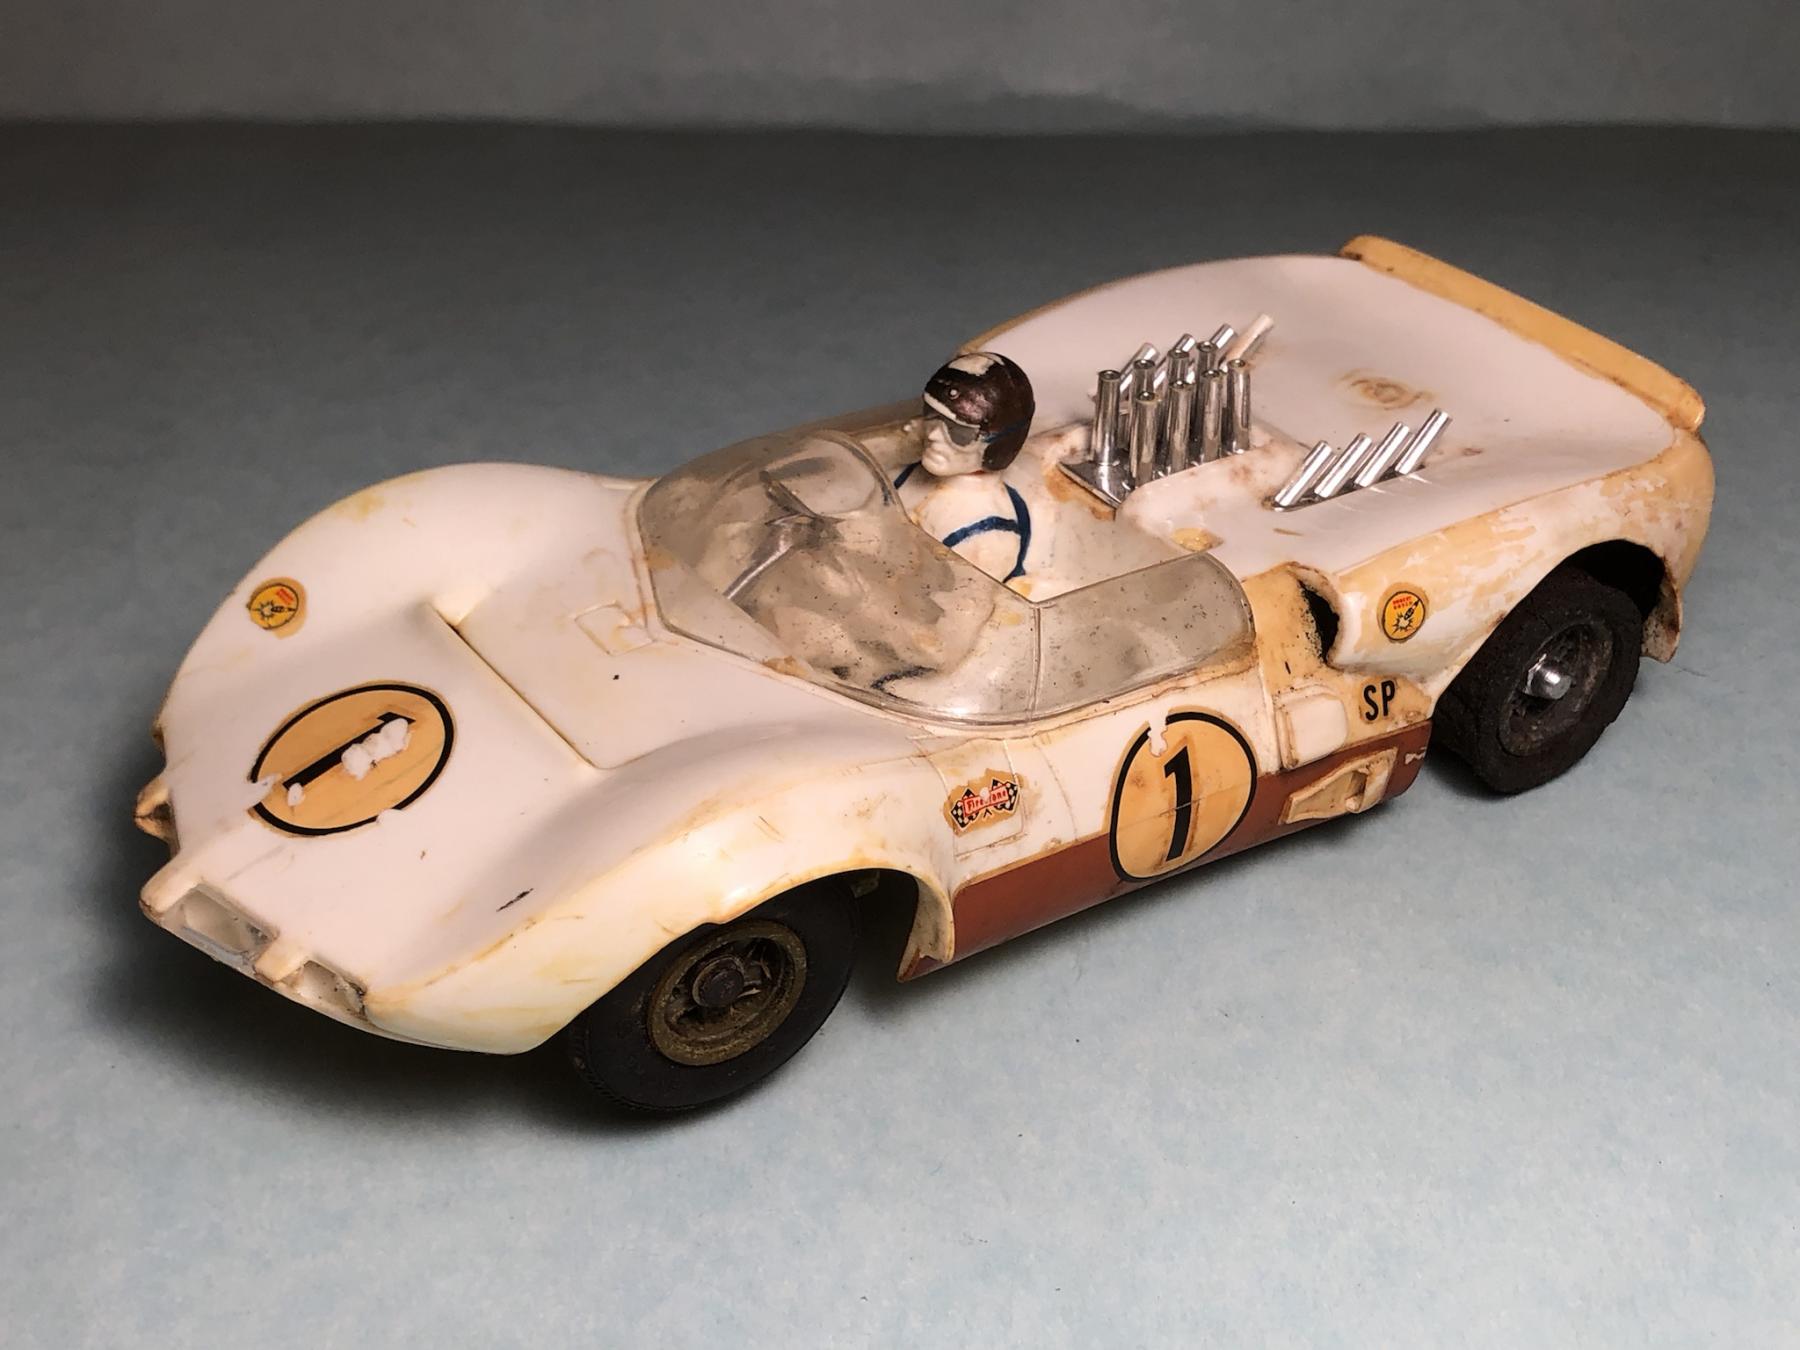
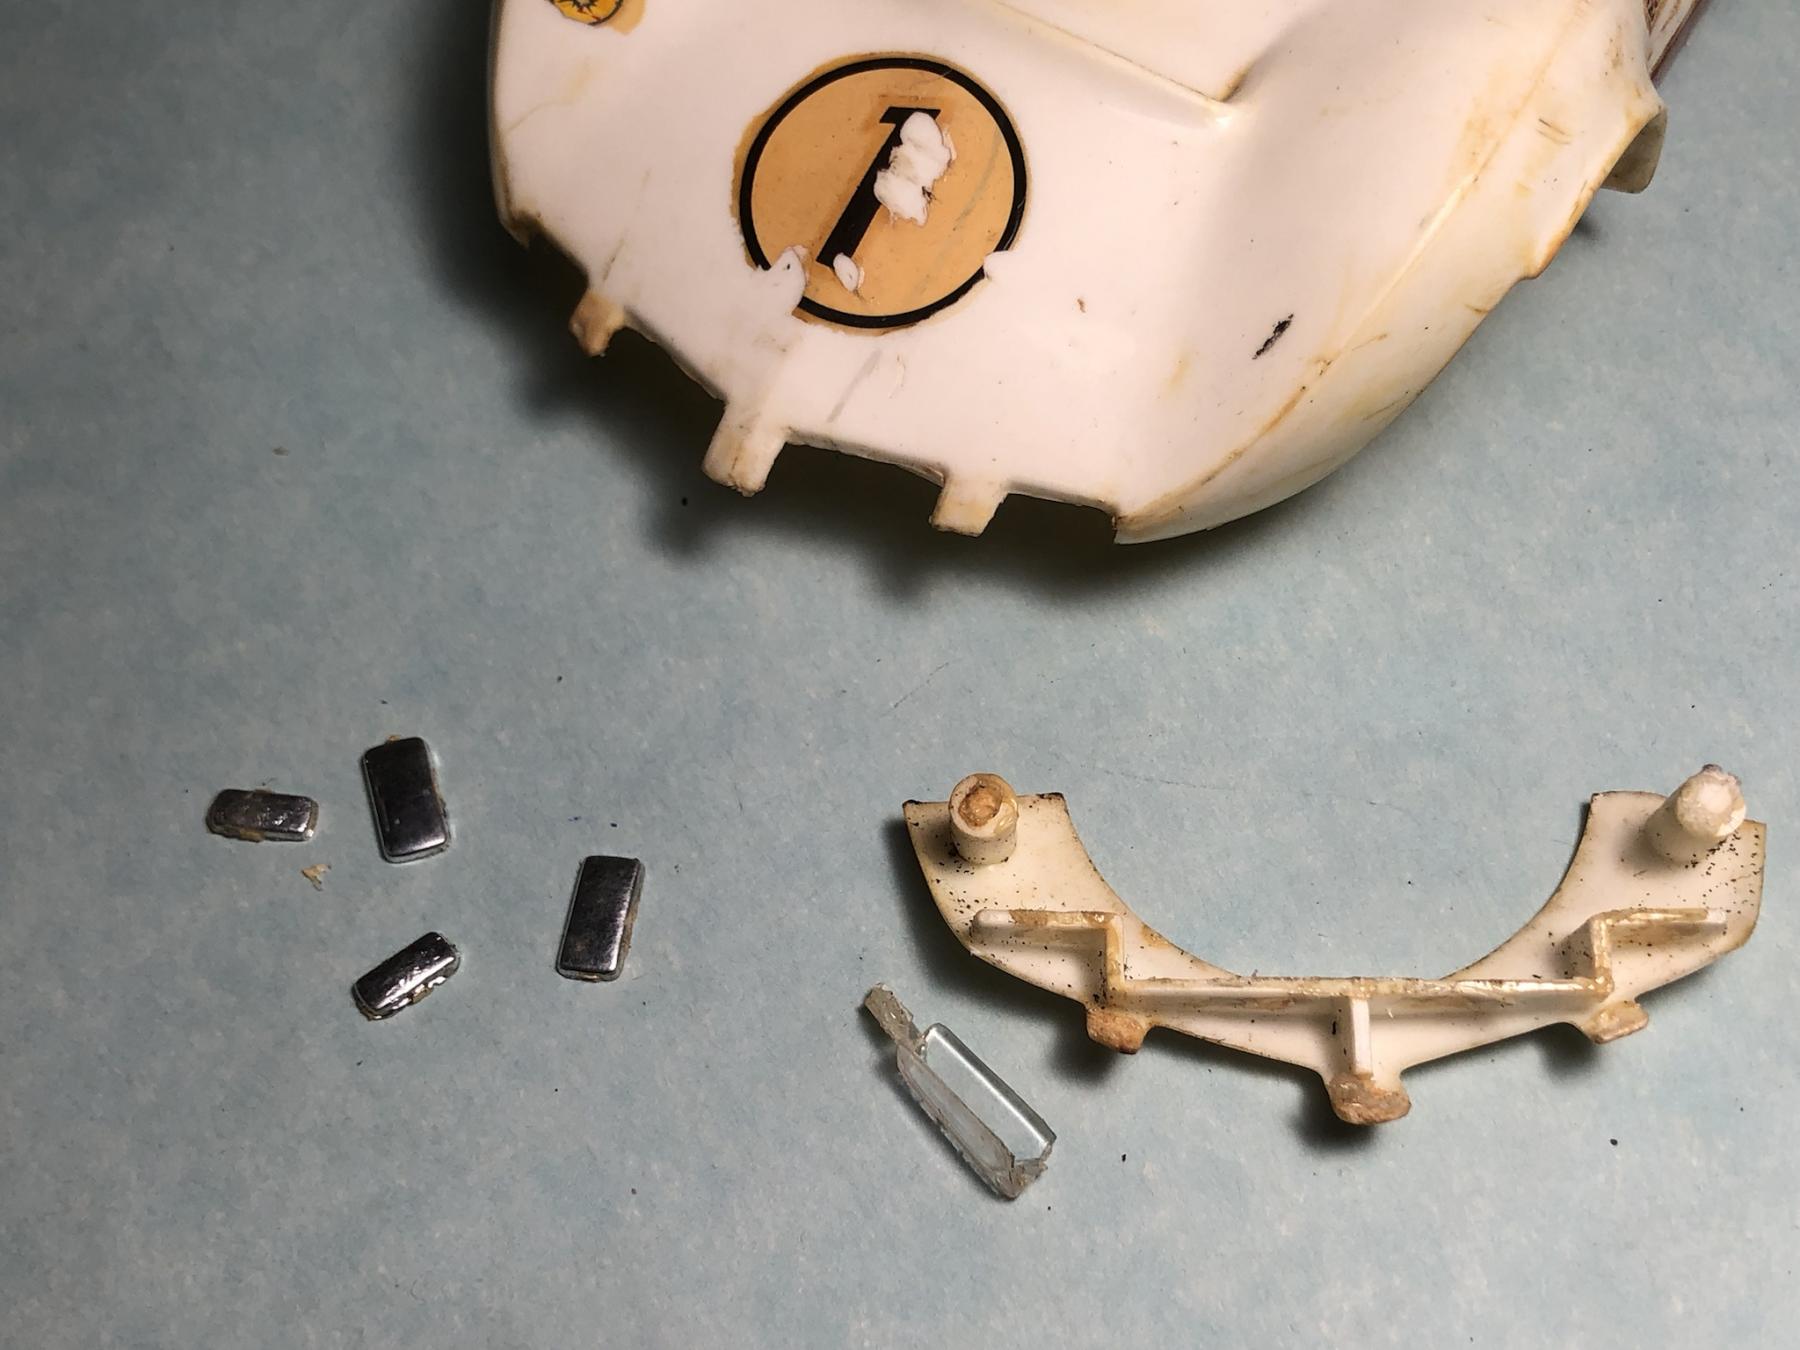
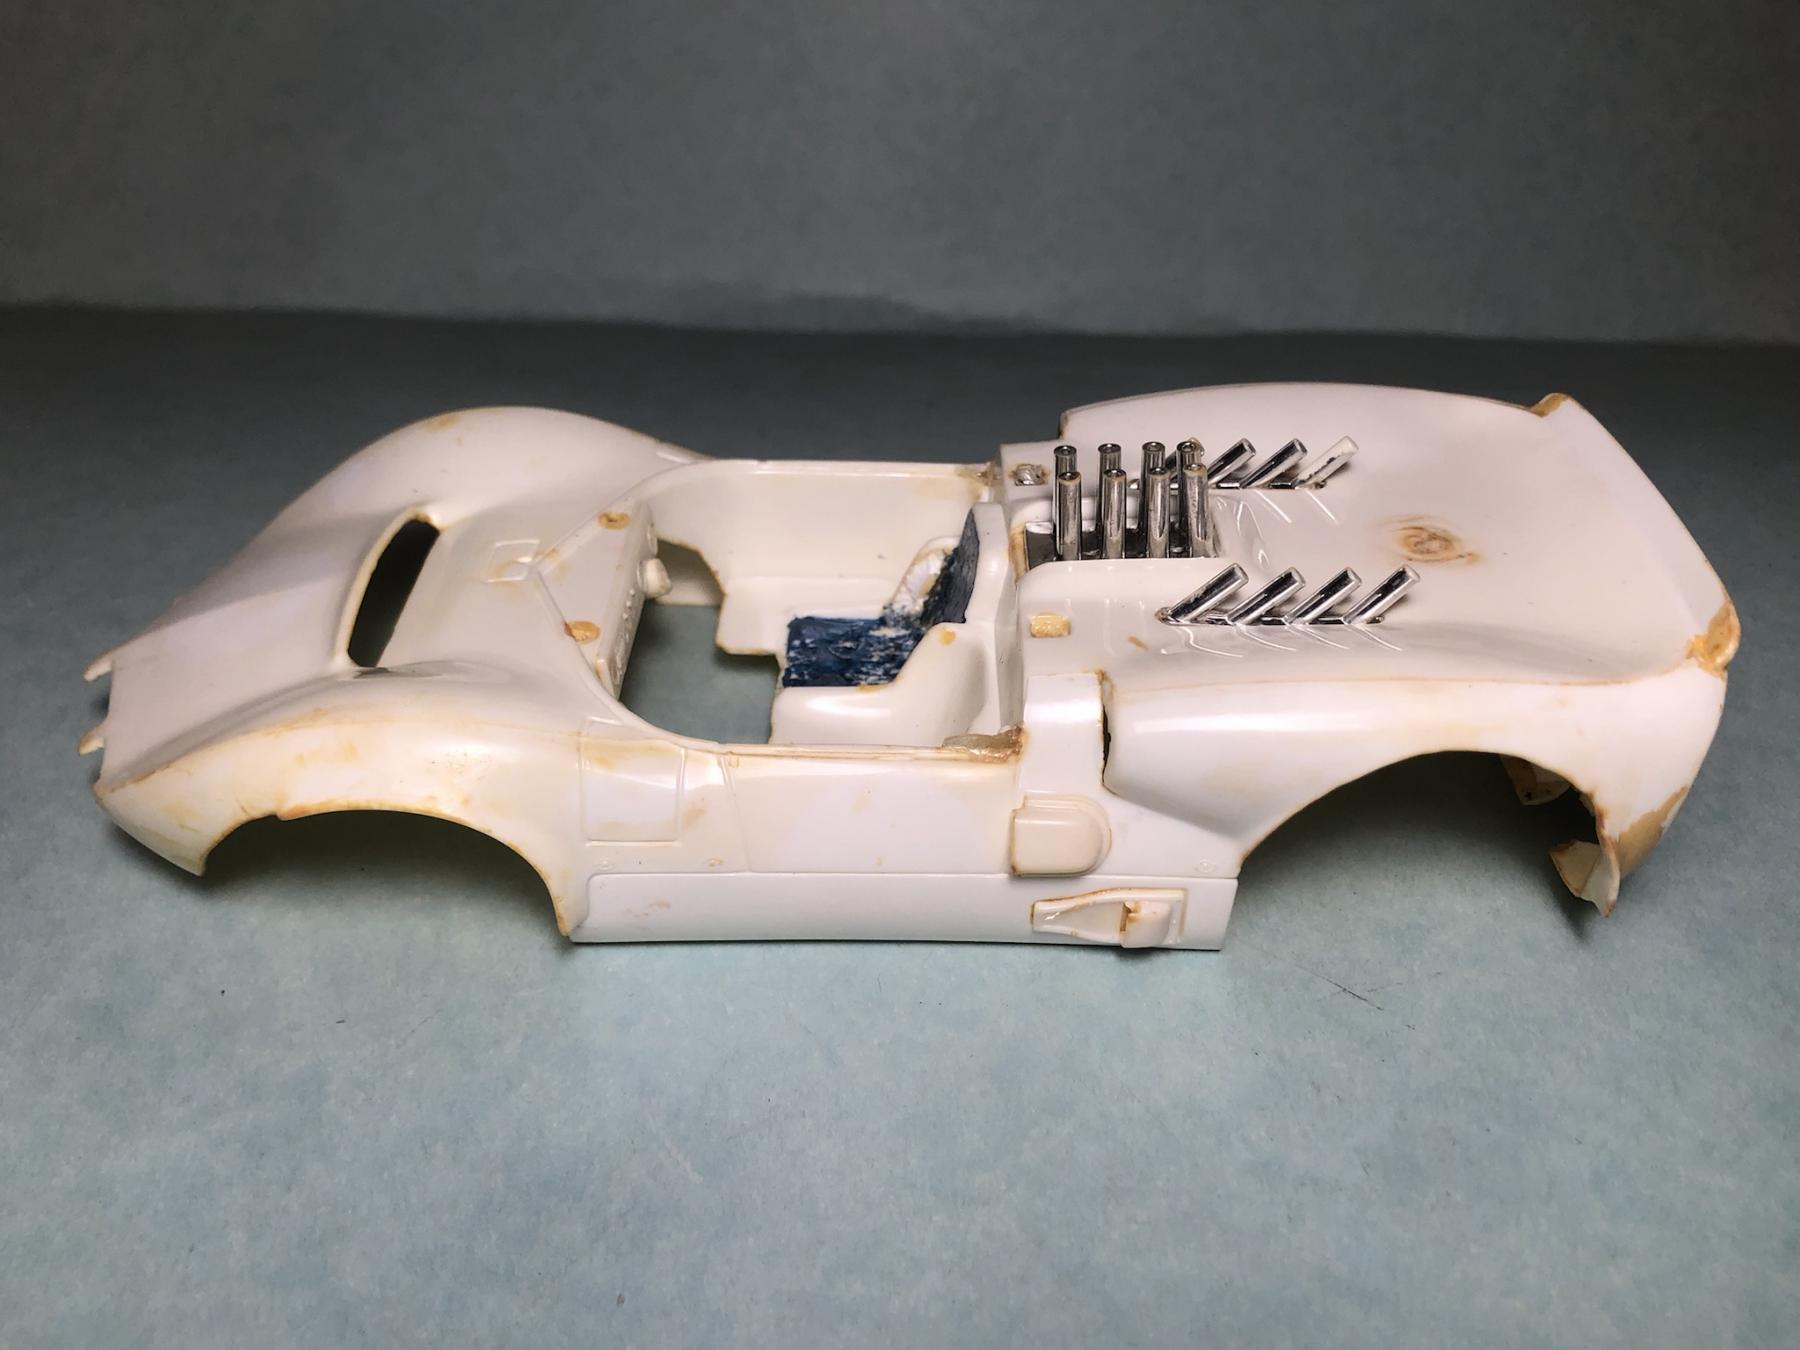
looks like someone painted clearcoat all over the rear quarters and it has yellowed over the years
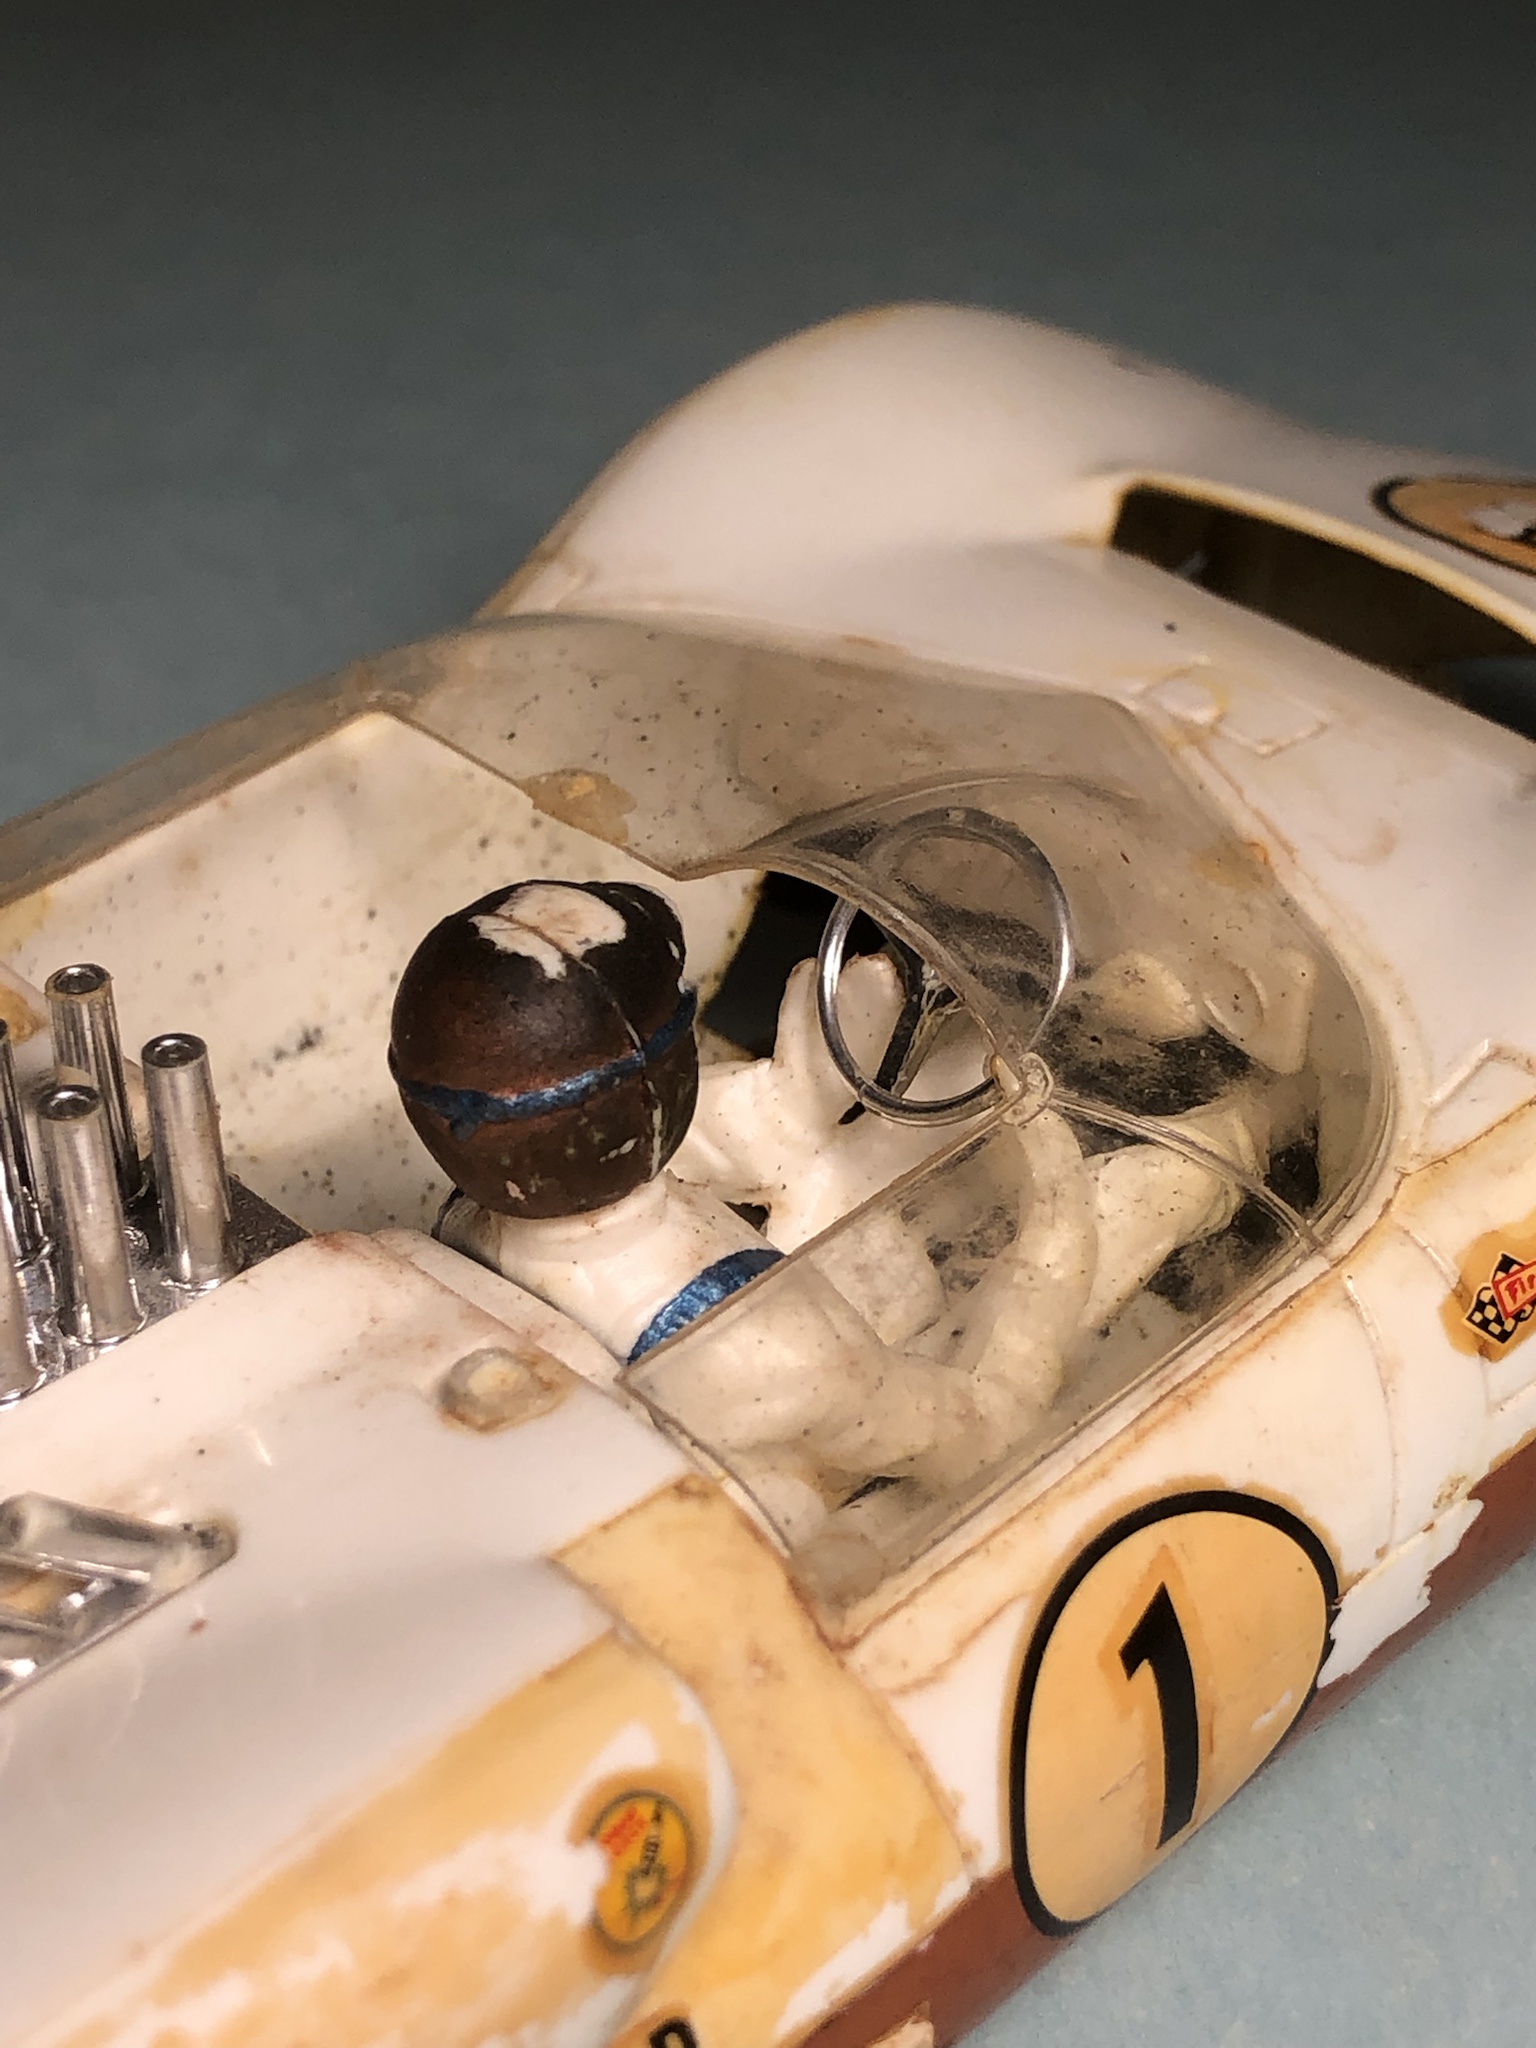
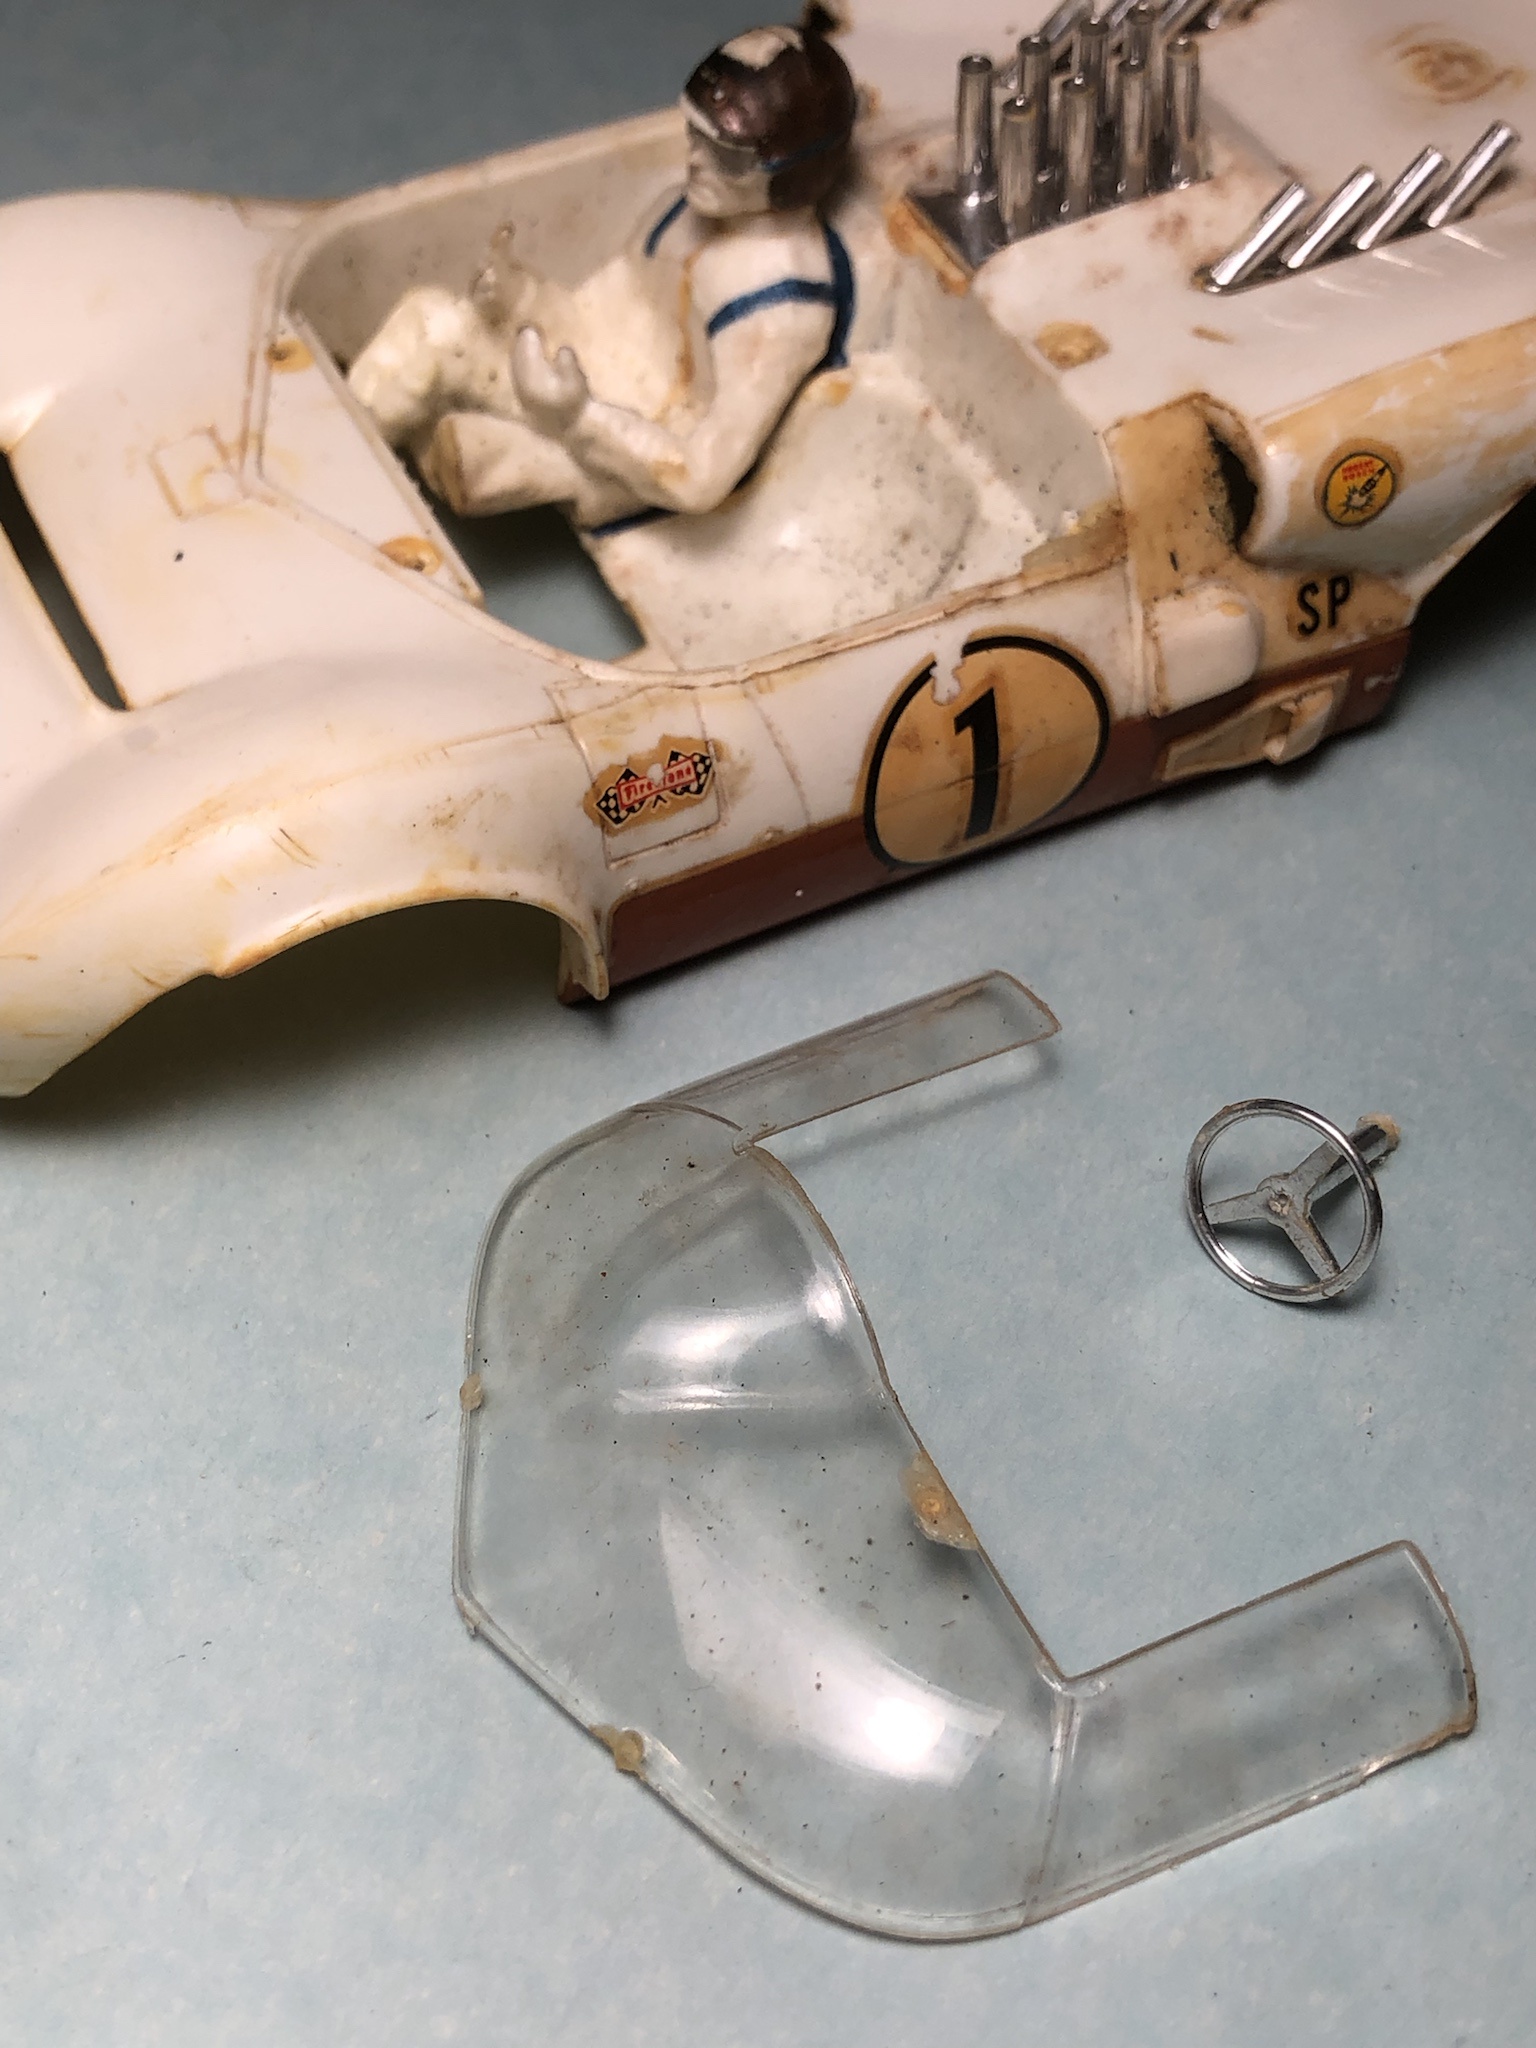
nicer cockpit and windshield than last car. edge of cockpit where windshield attaches is nice and dash is nice.
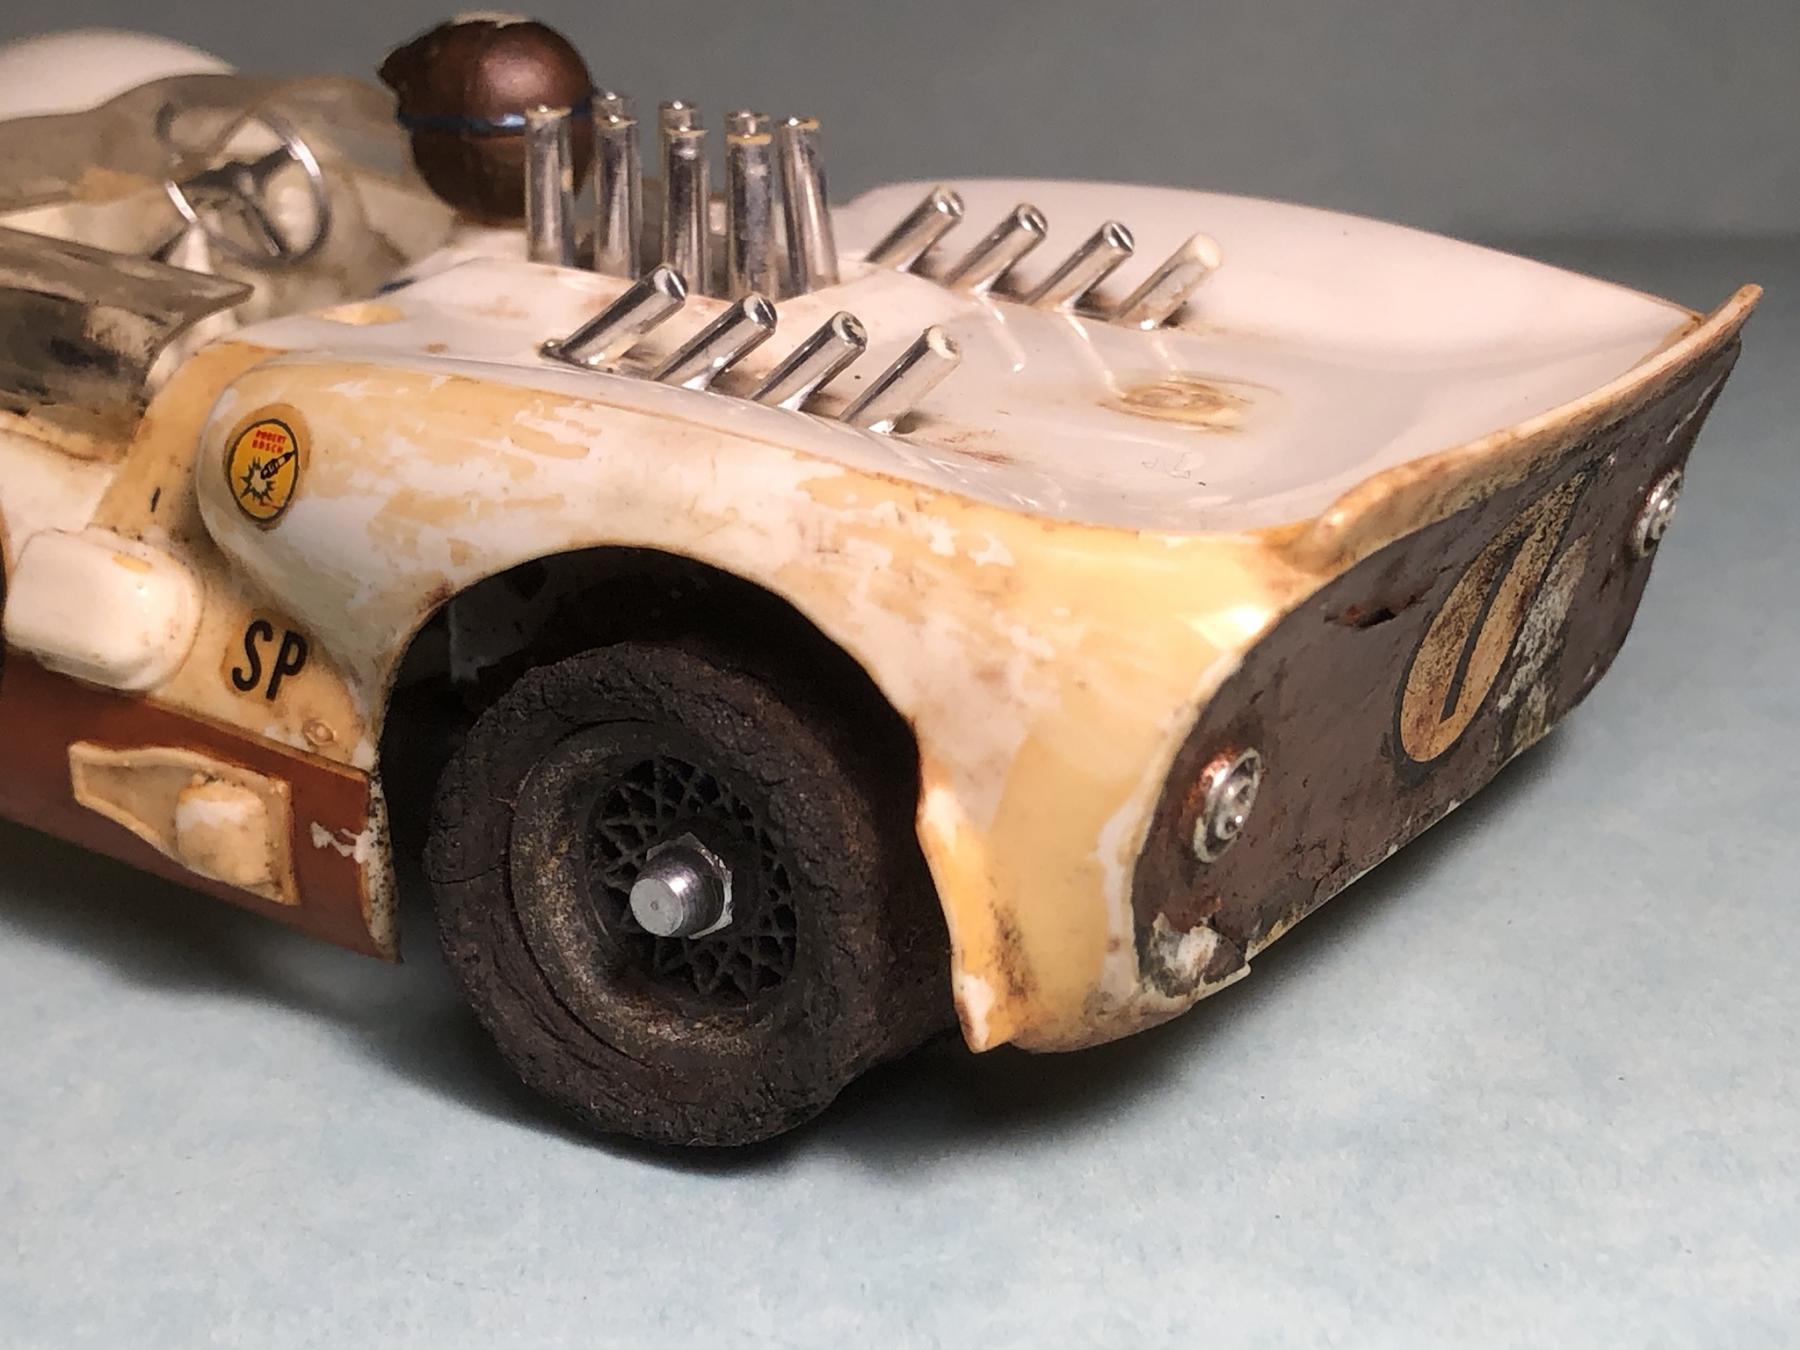
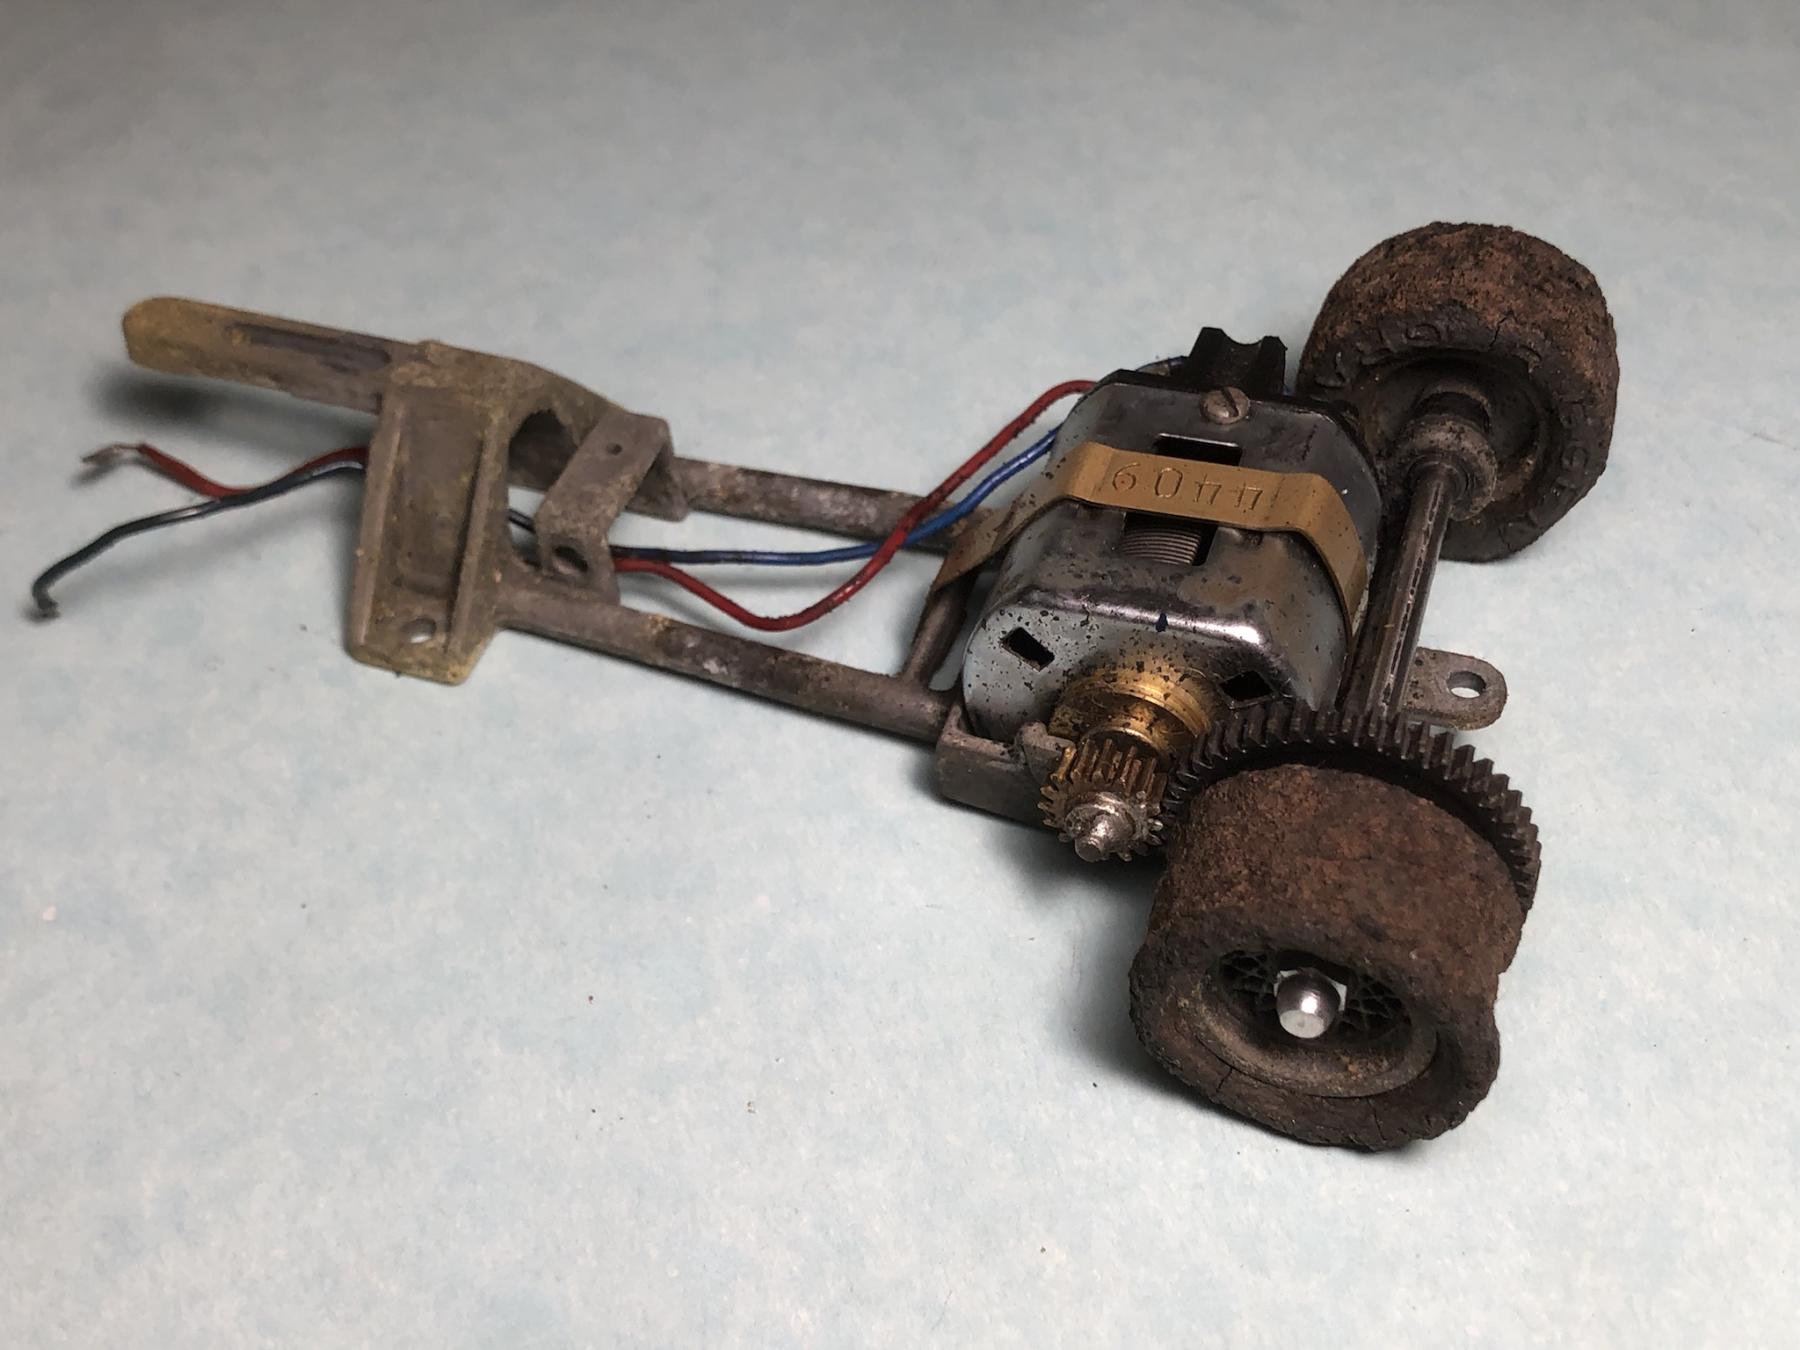
Crusty
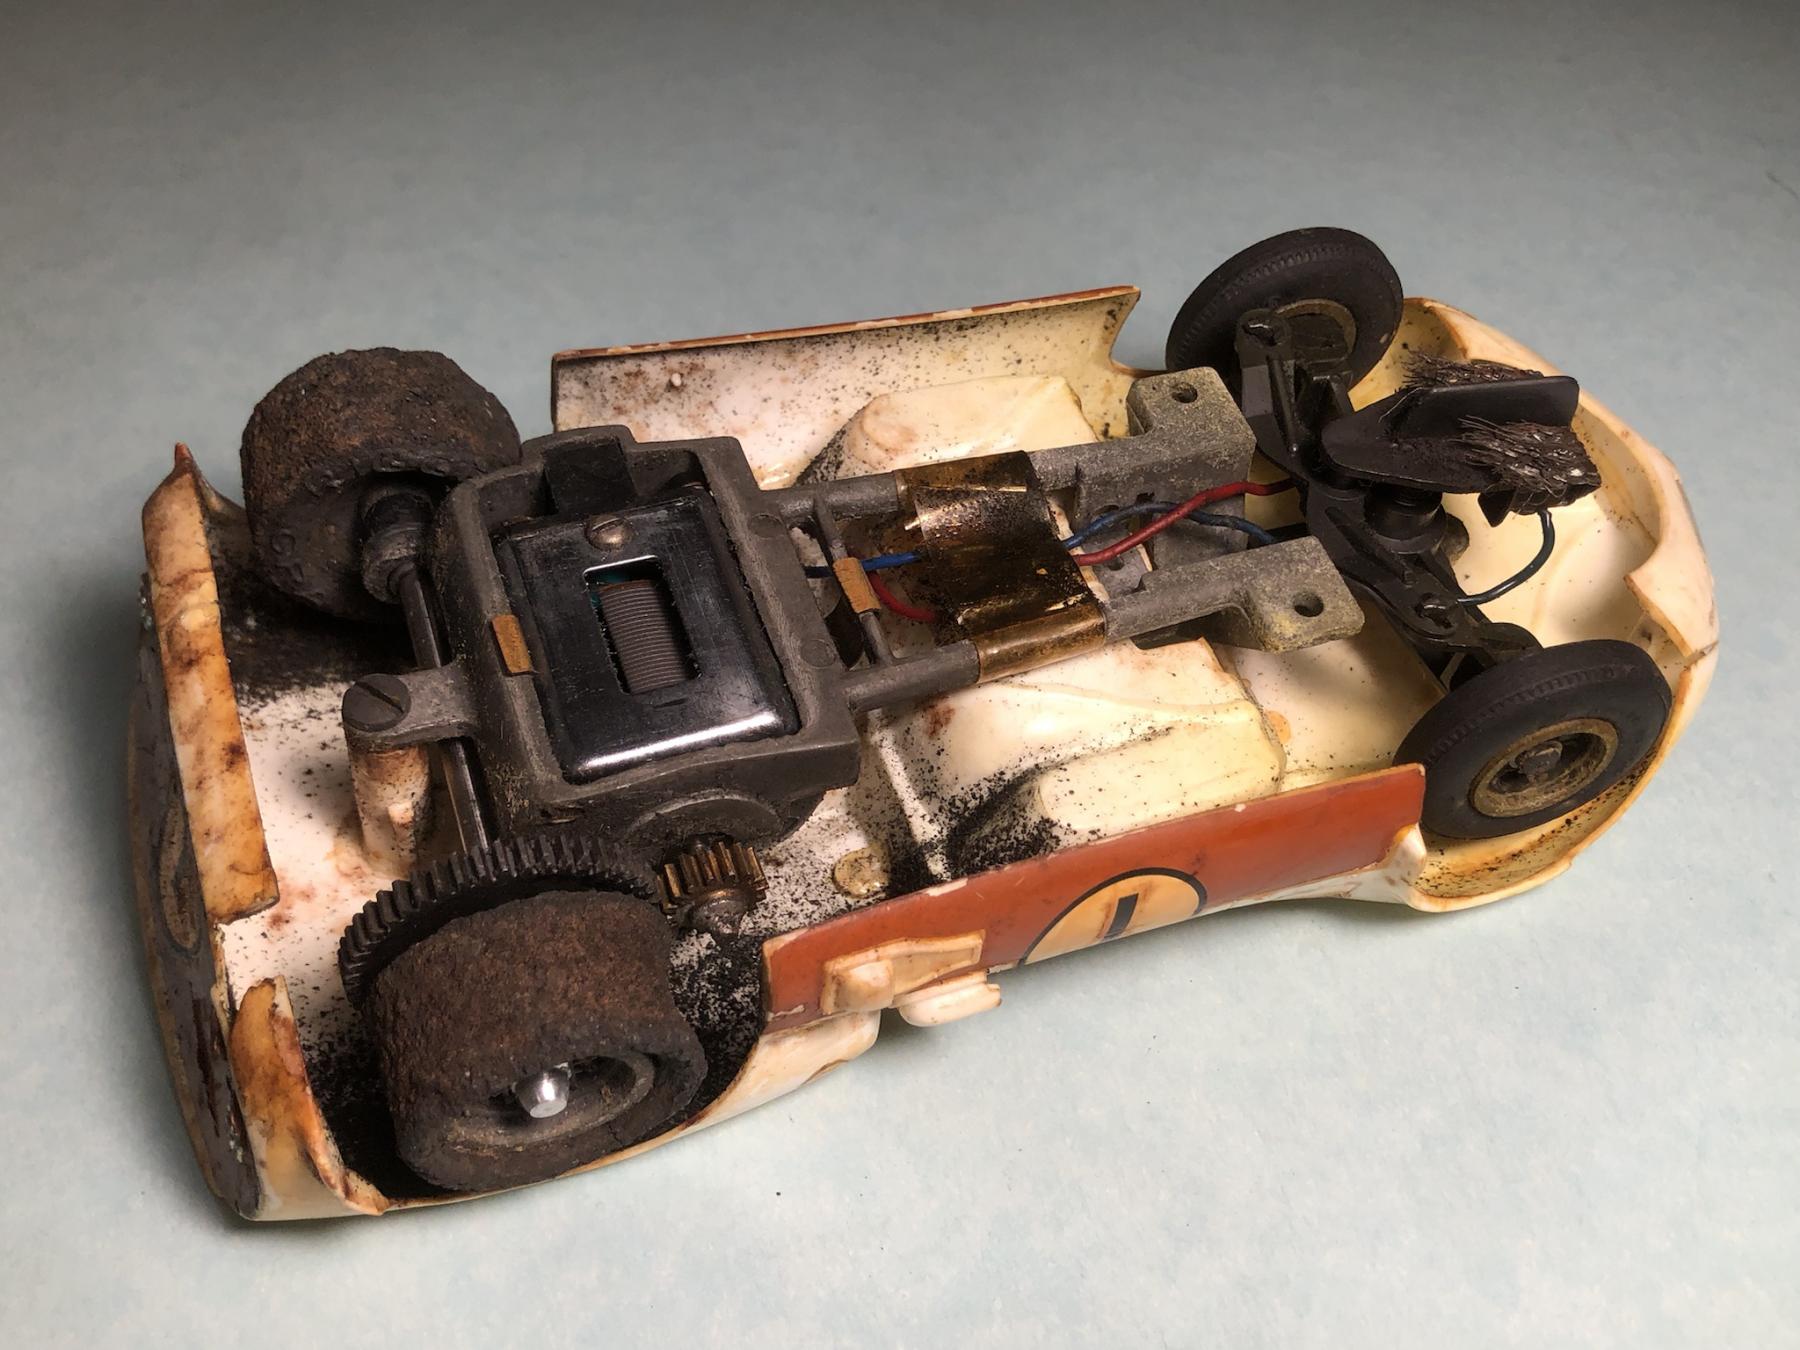

Posted 20 July 2024 - 04:22 PM


Posted 20 July 2024 - 07:43 PM
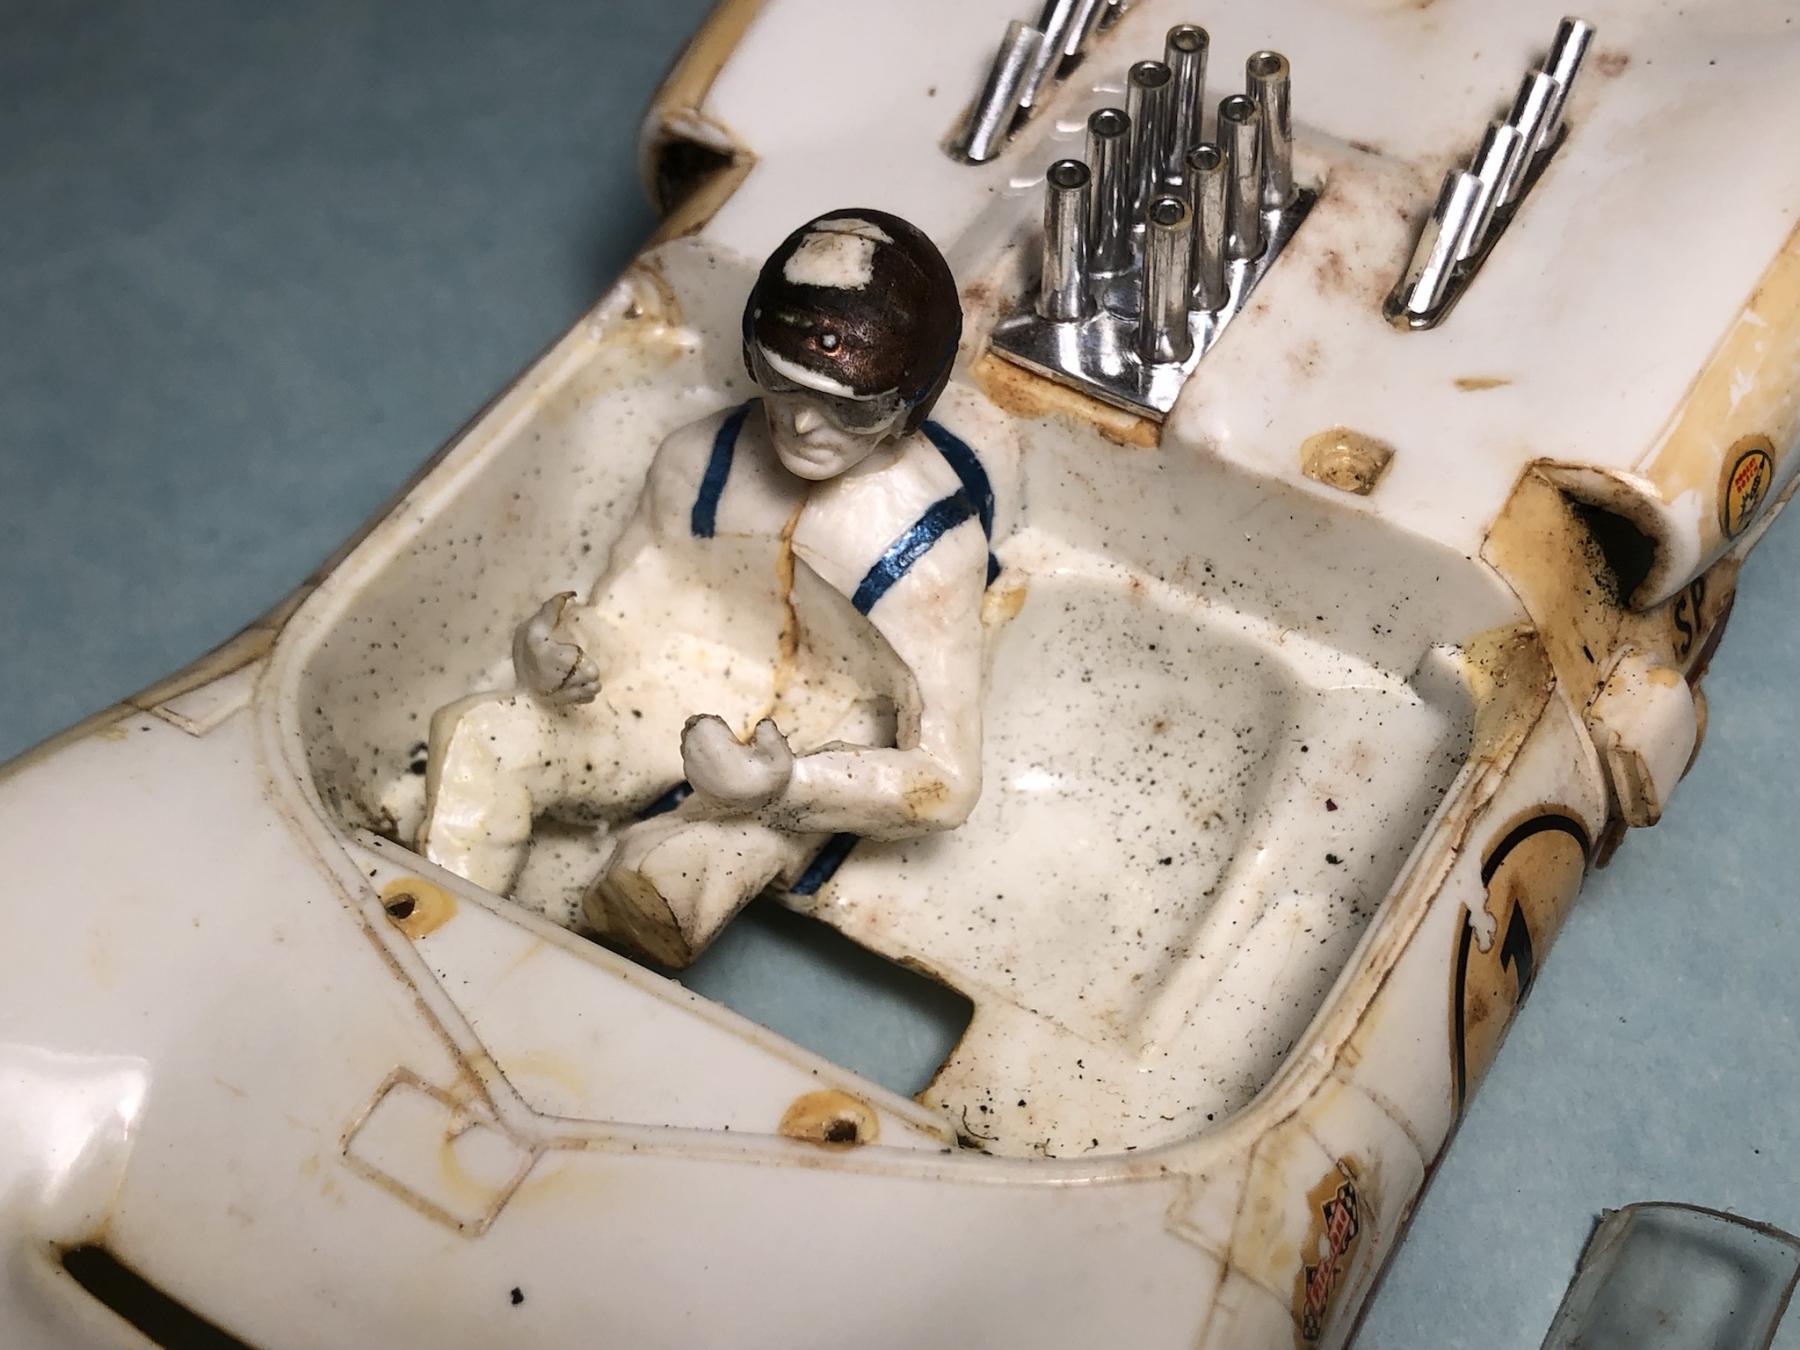
I like the paint rubbed off the top of the helmet!
Posted 20 July 2024 - 08:02 PM
The chrome parts appear to be in nice shape. Credit the missing roll bar for the missing helmet paint.
Posted 20 July 2024 - 08:07 PM
Posted 20 July 2024 - 08:15 PM

Posted 20 July 2024 - 09:13 PM
Posted 21 July 2024 - 11:26 AM
Posted 21 July 2024 - 11:29 AM
Posted 21 July 2024 - 05:32 PM
Hey, fun project, thanks for the credits.
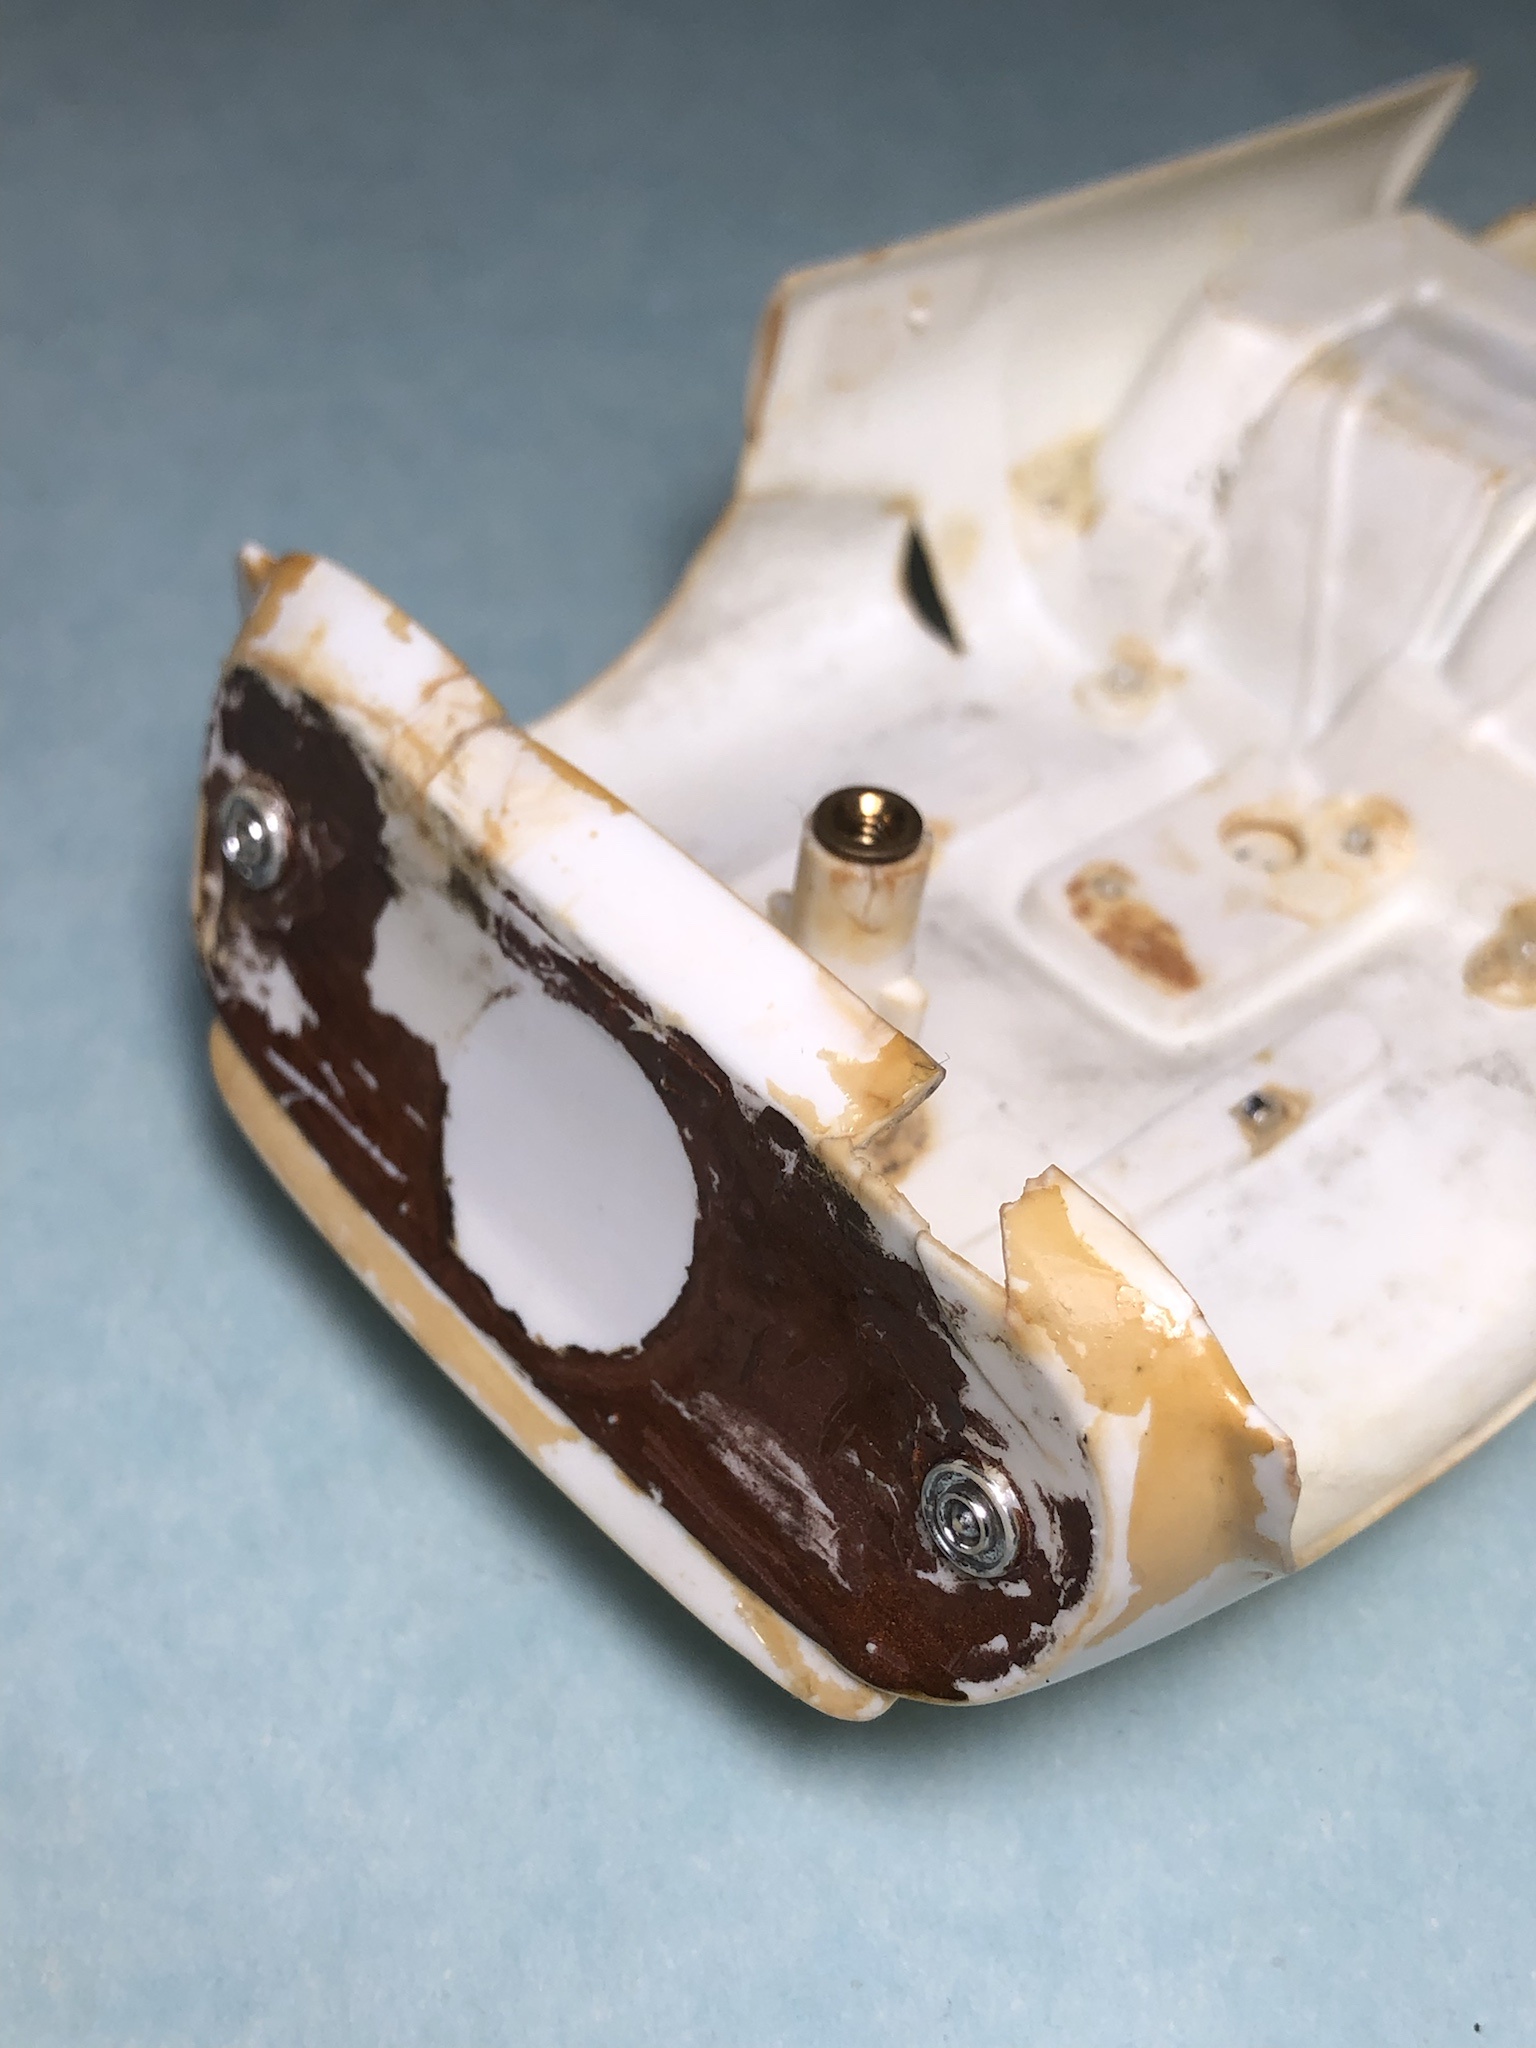
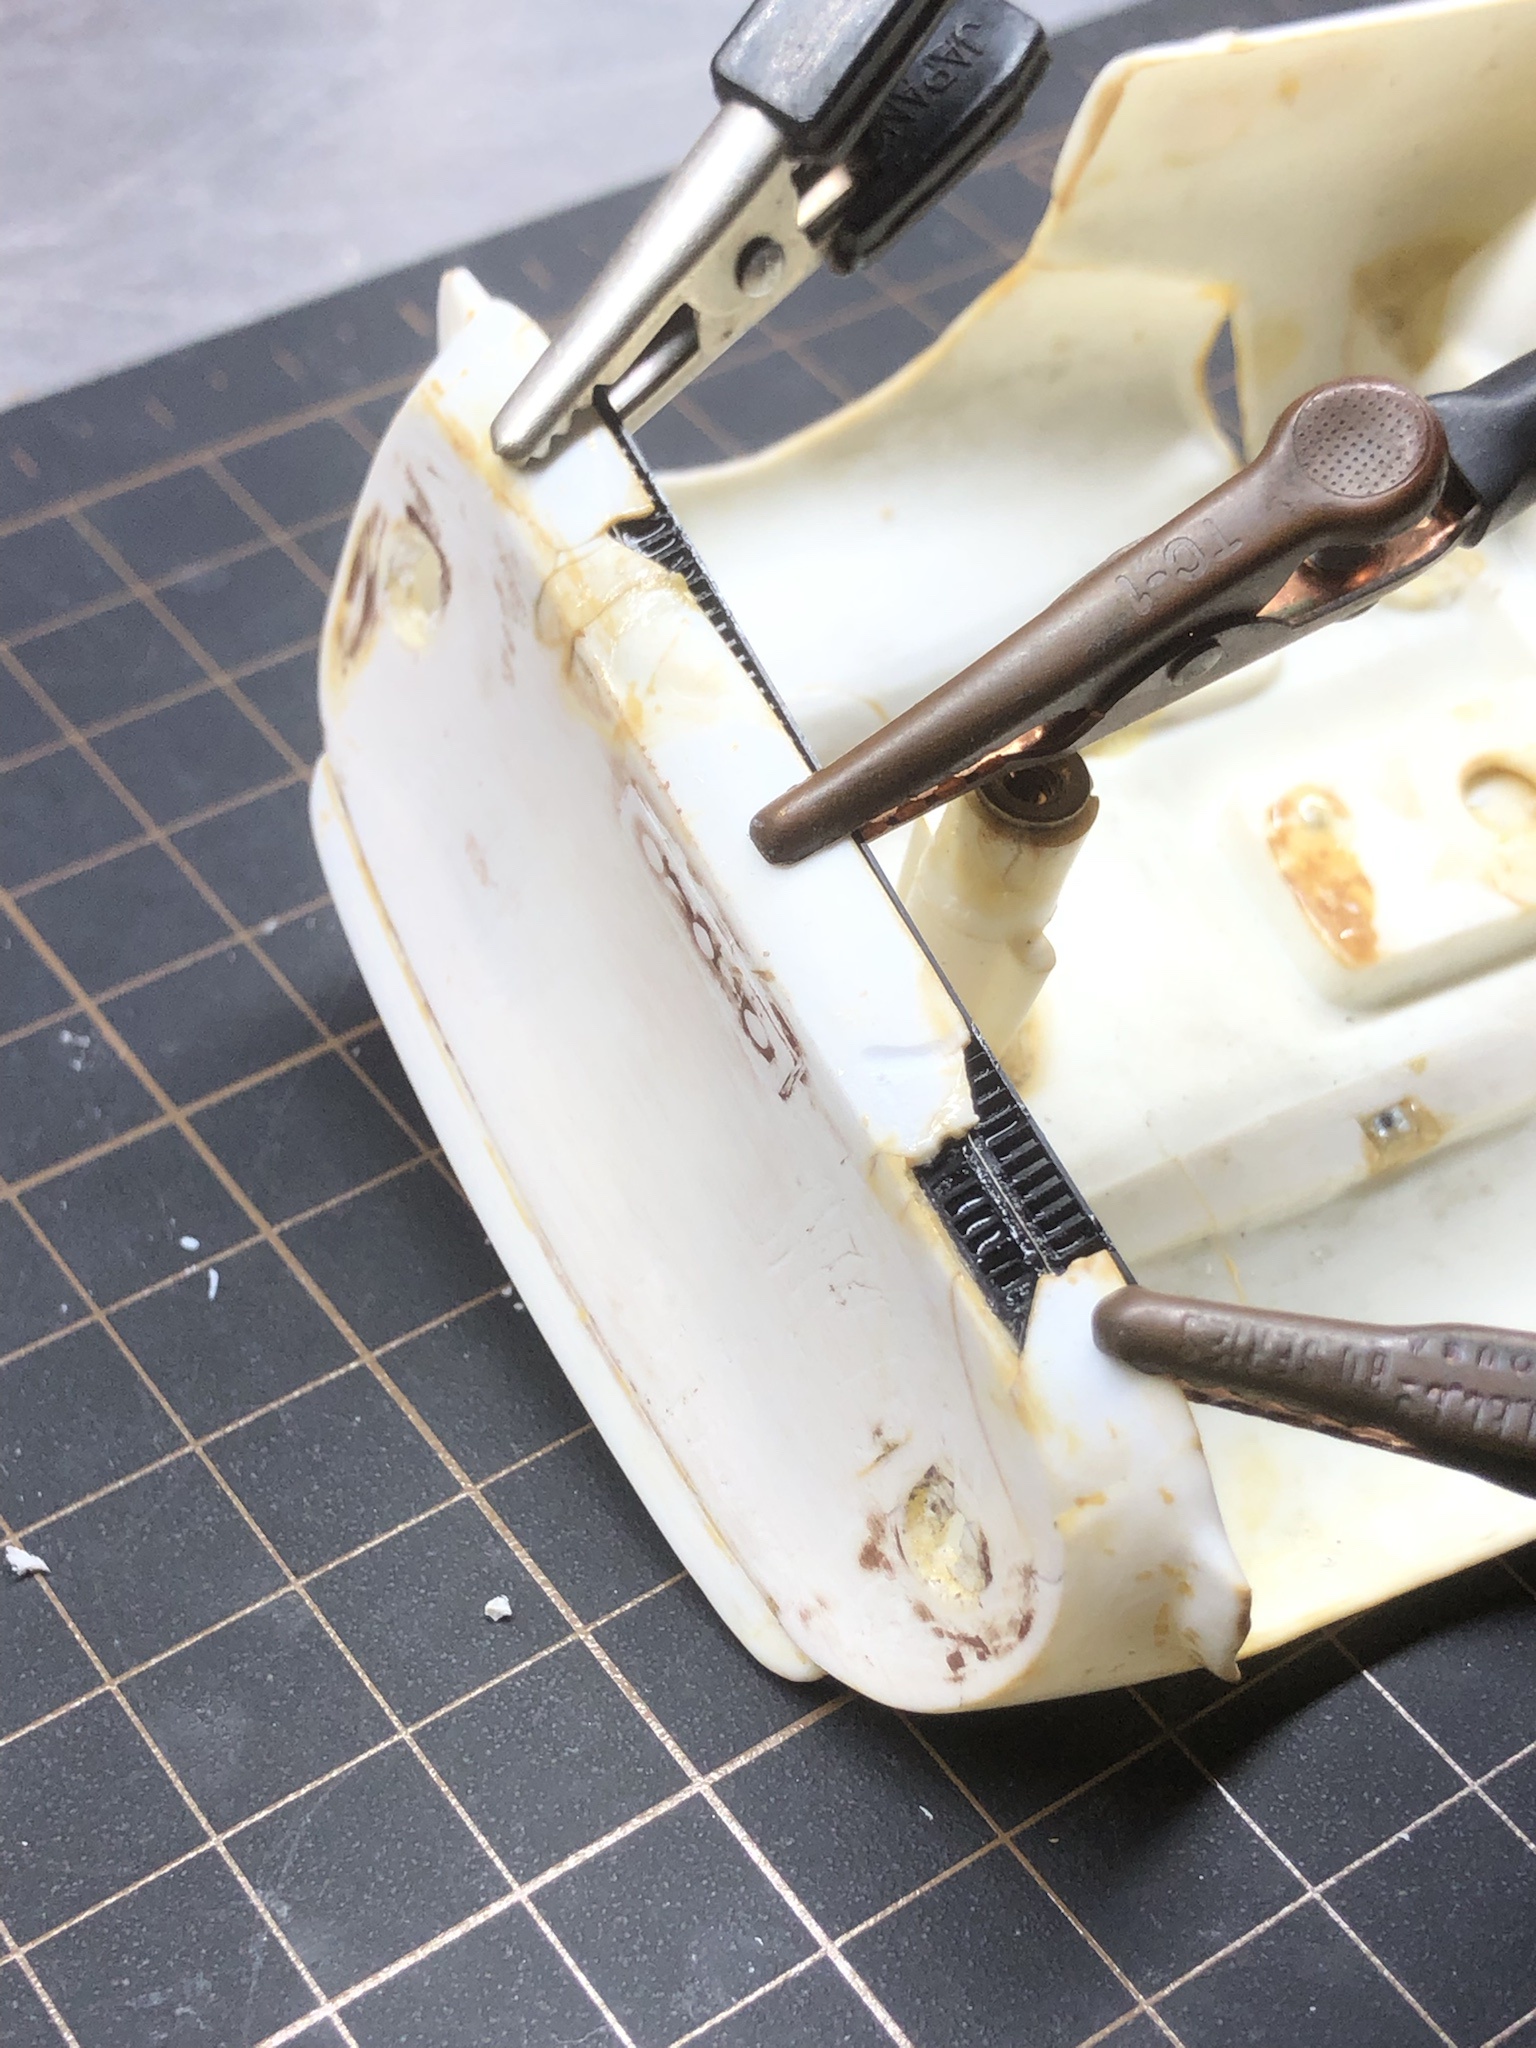
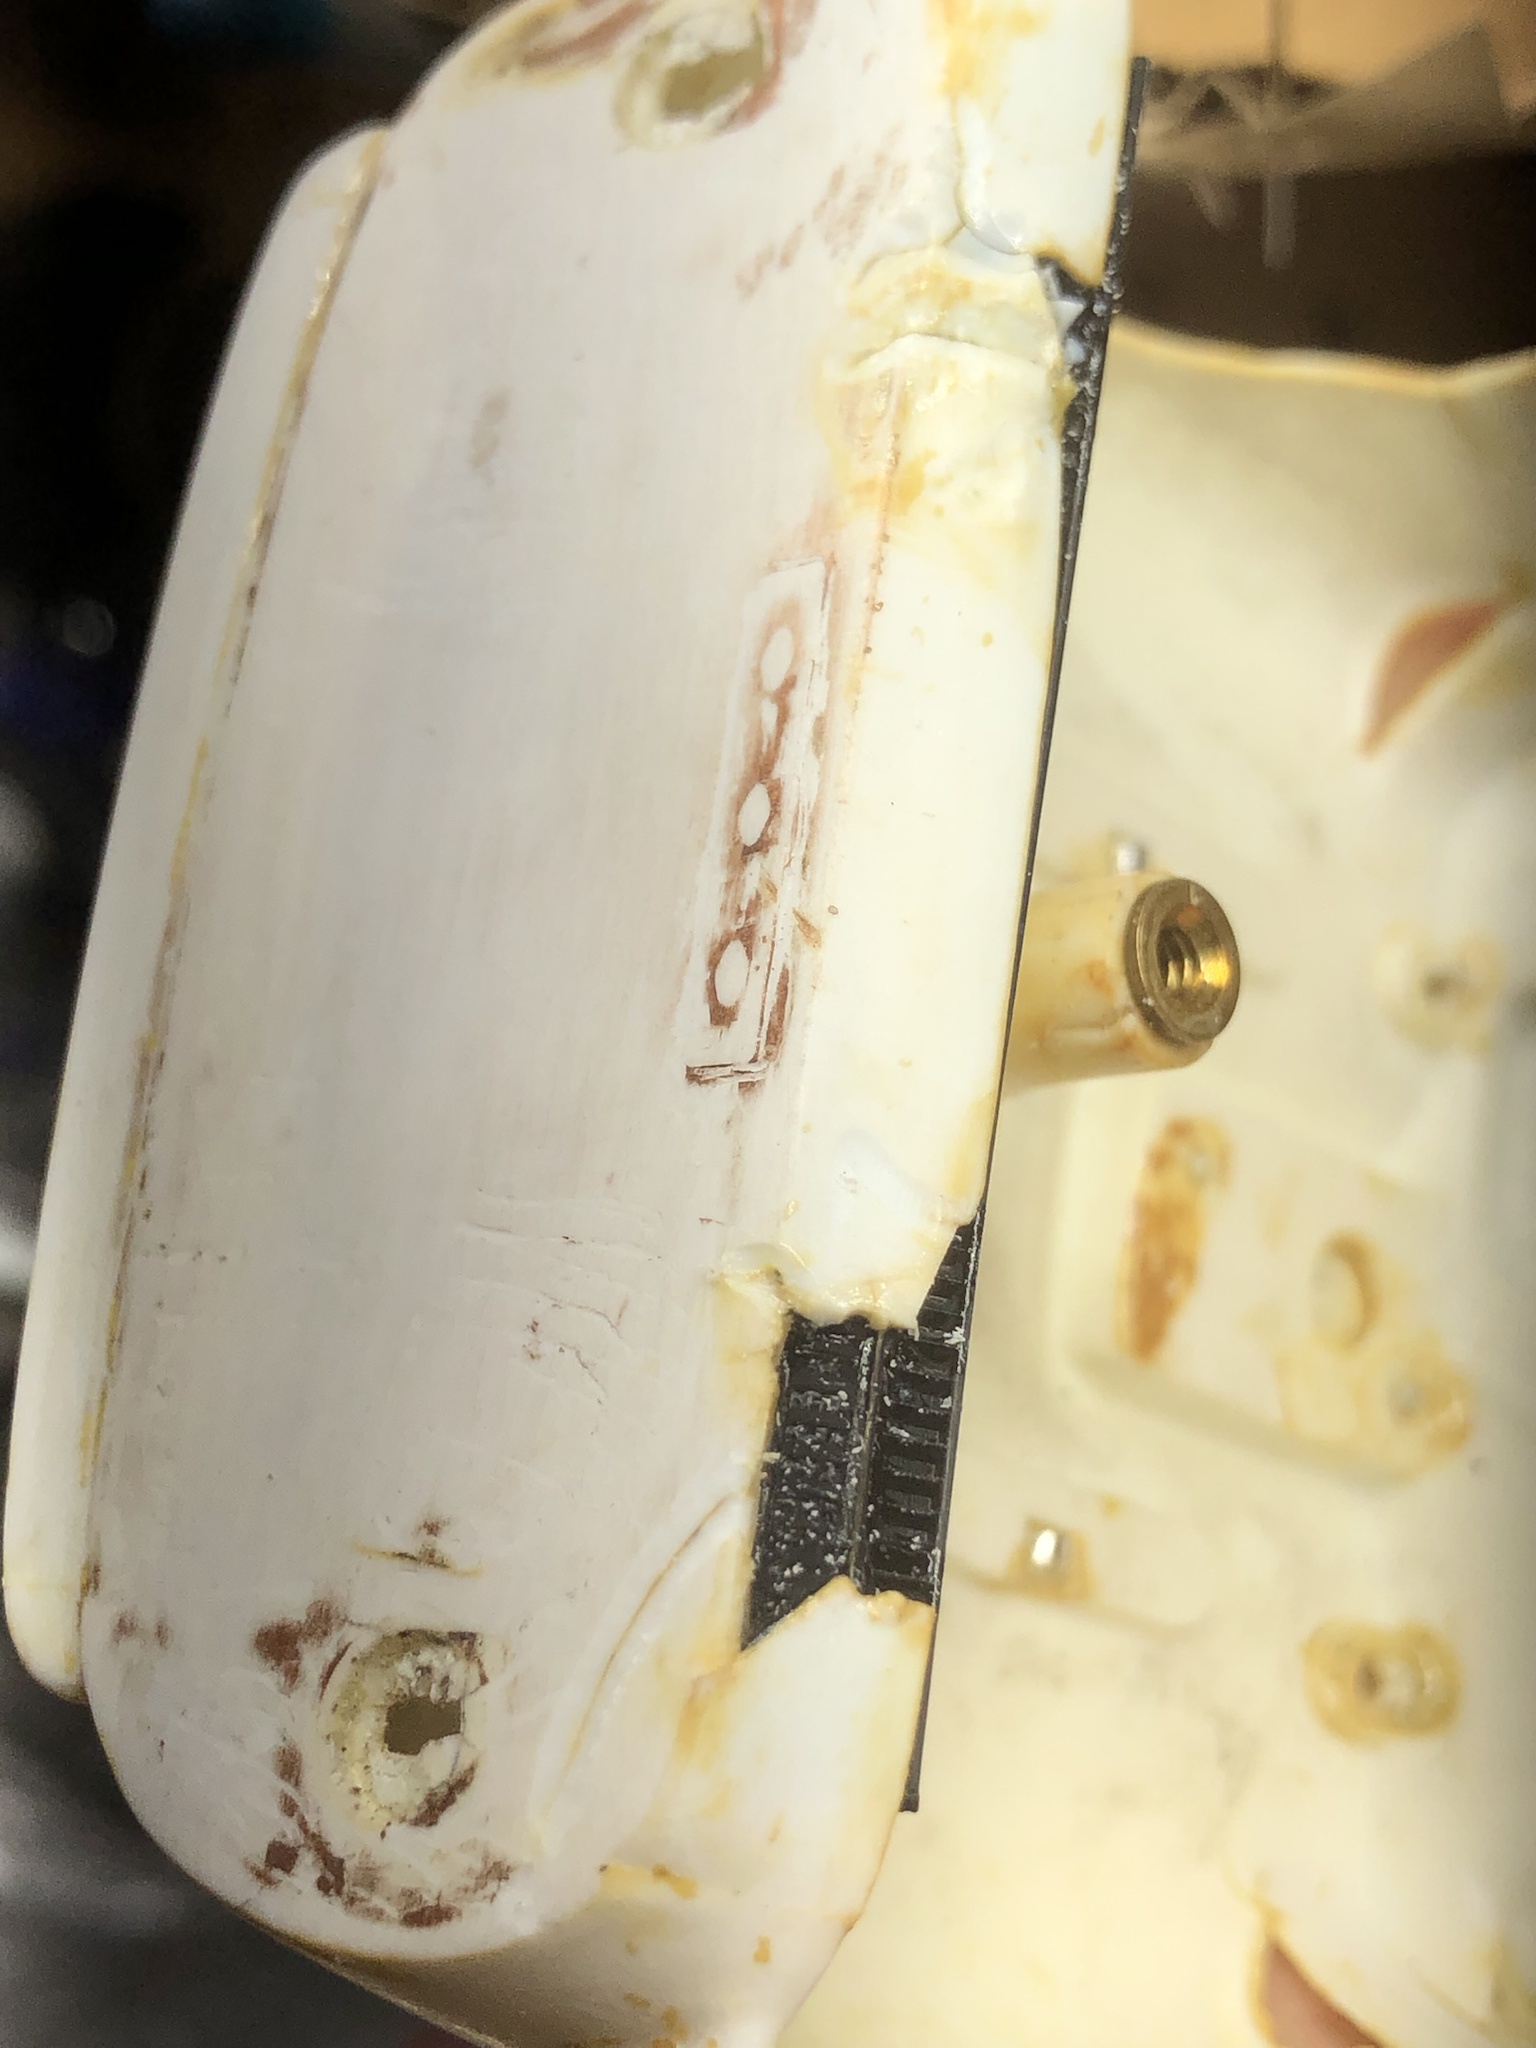
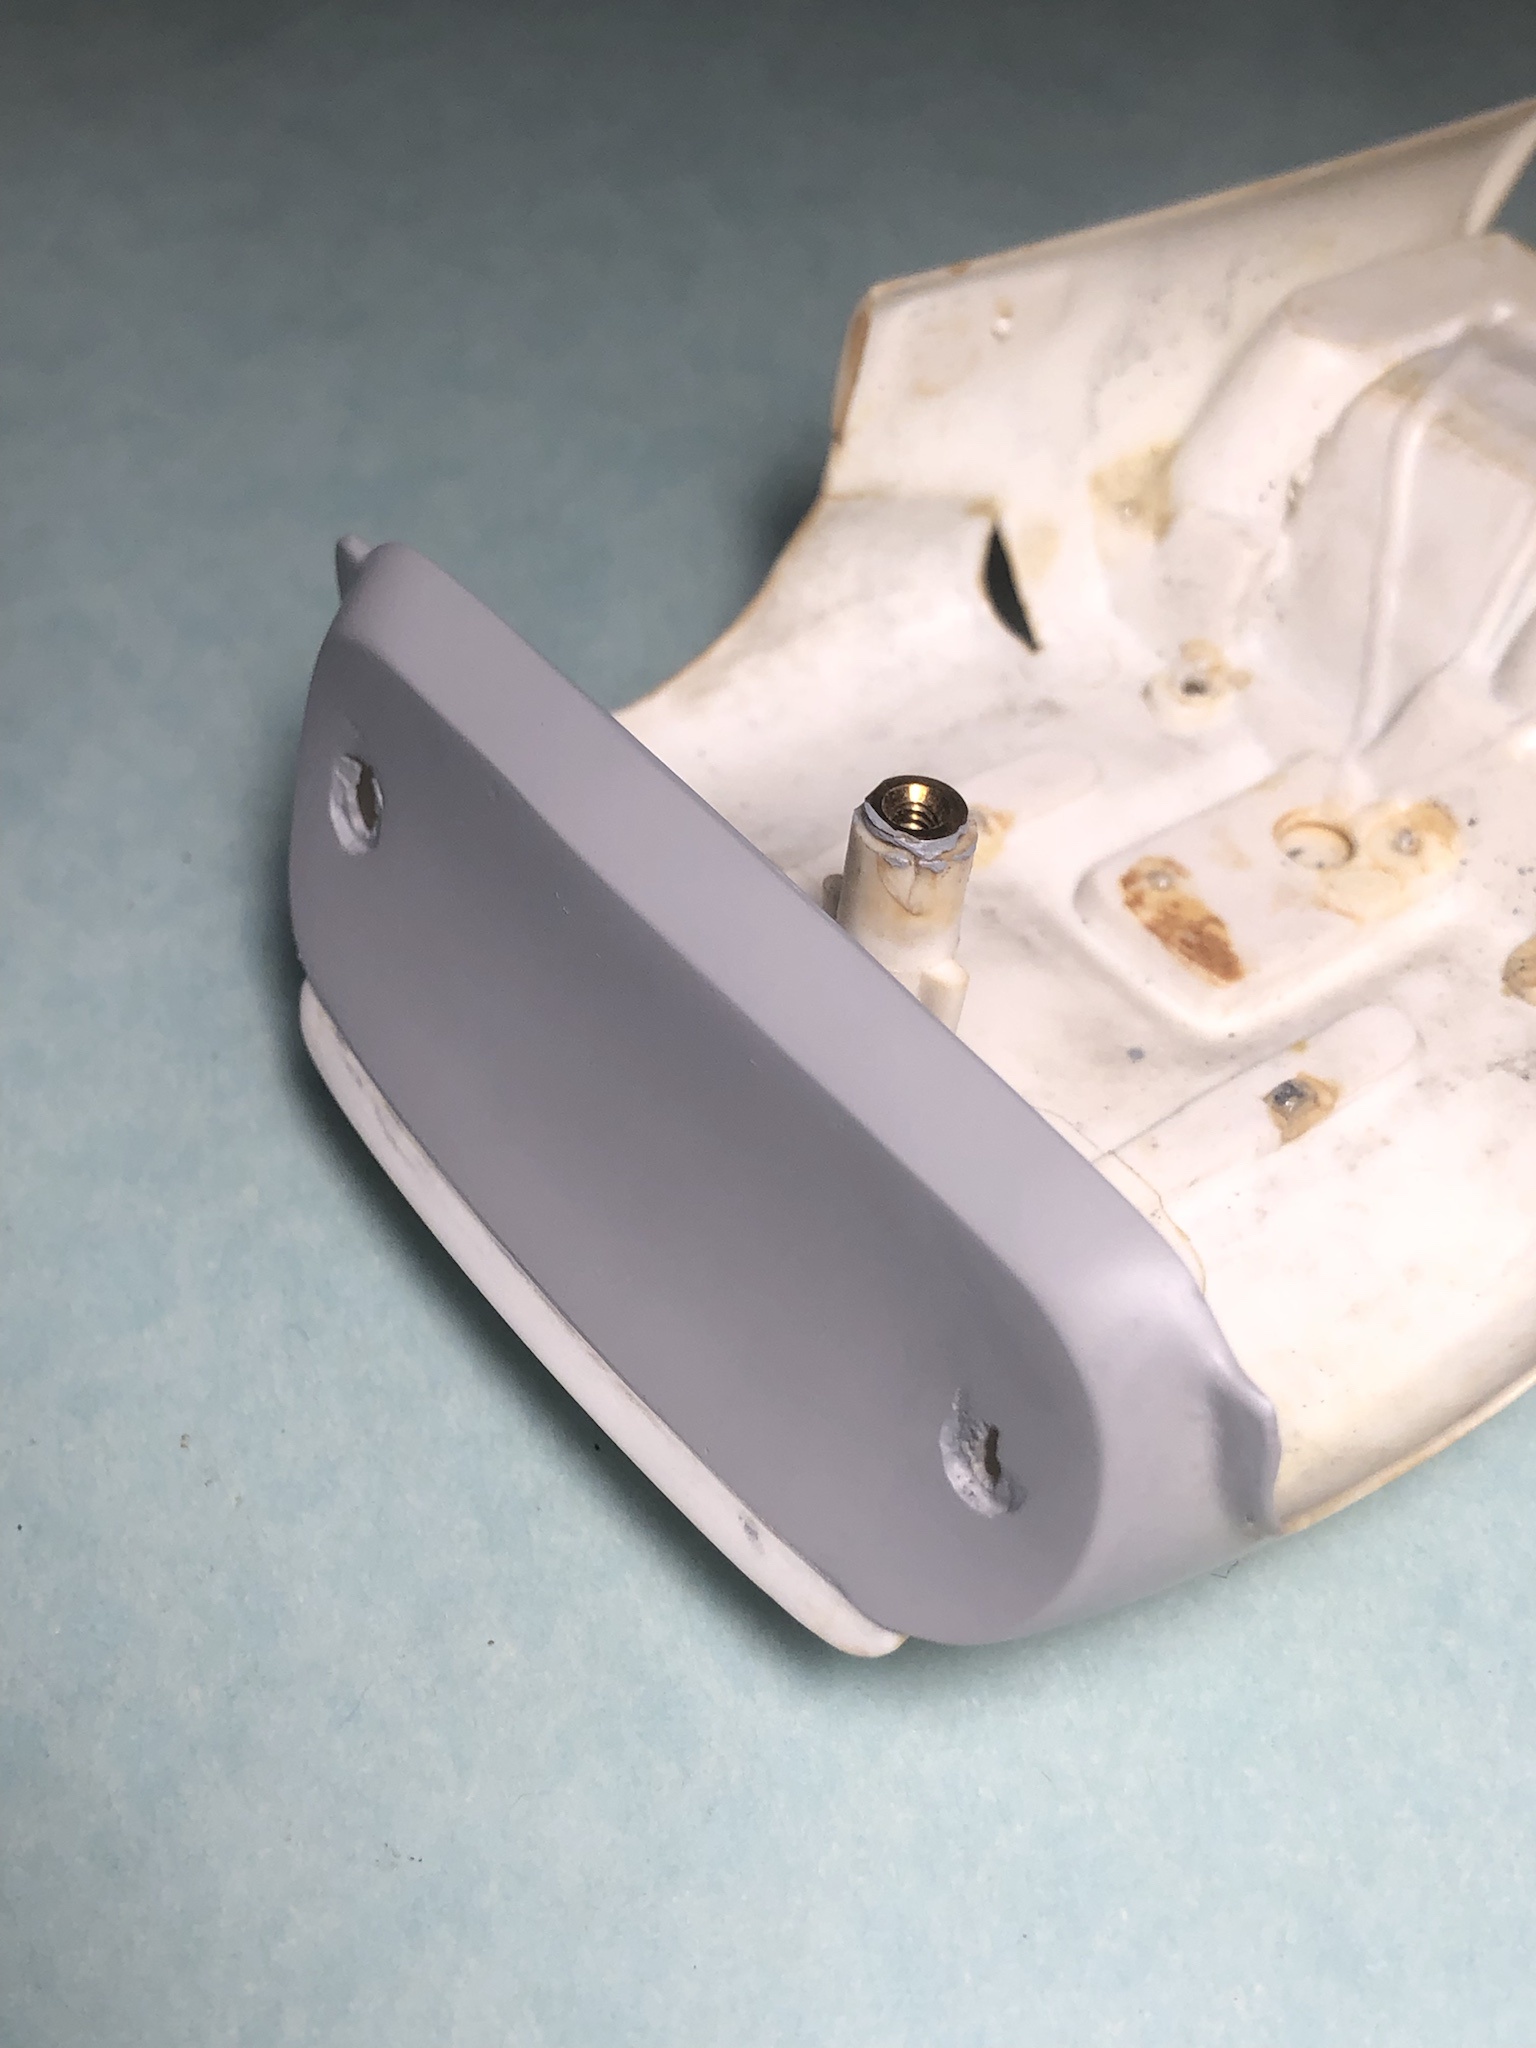
I am looking the rear valance and what I would do is cut out all the damaged and split parts until I had clean plastic then cut fresh sterene to replace those missing parts.
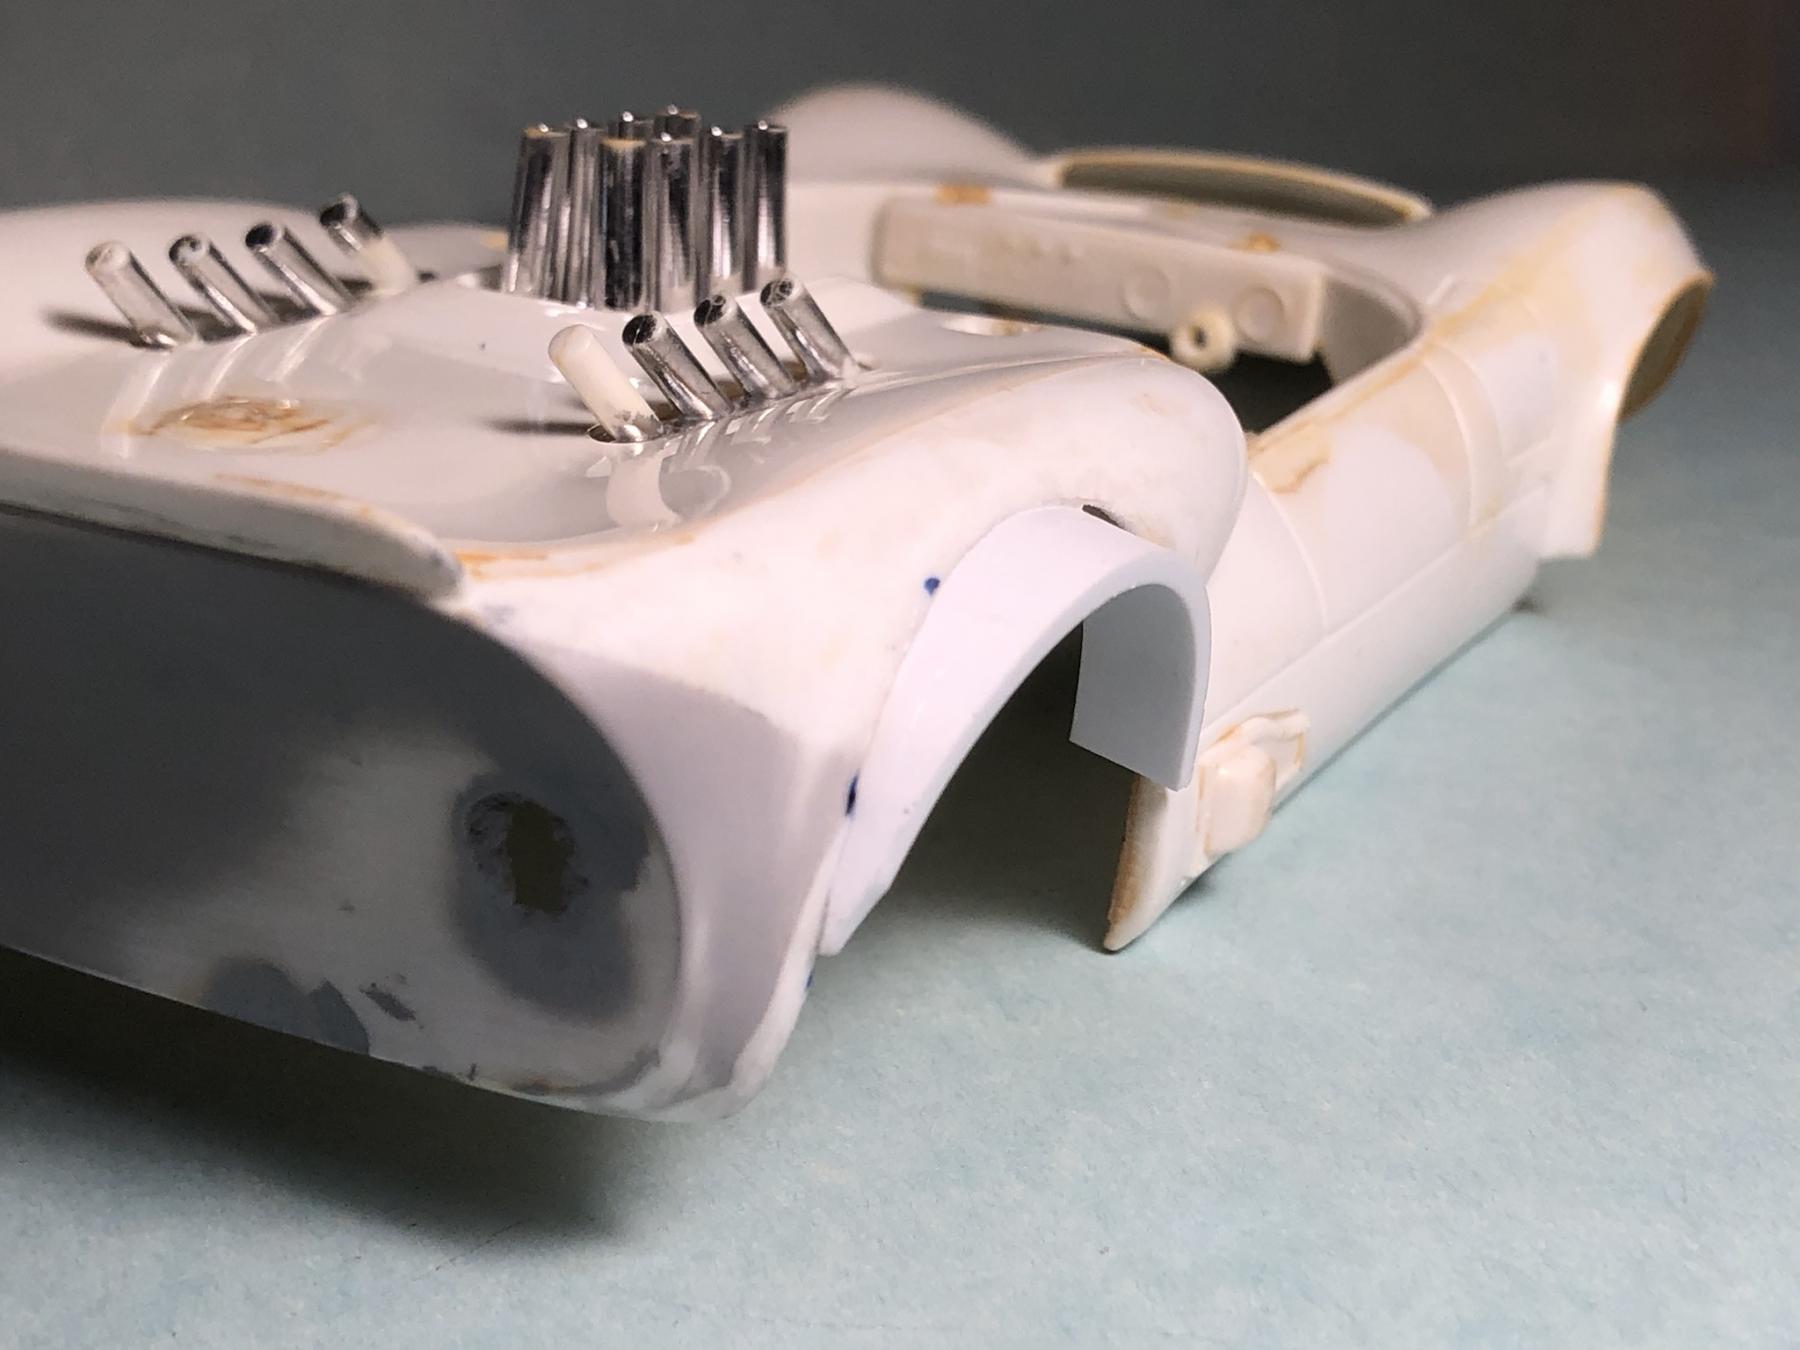
It is always a thought process when it comes to any repair, but when it comes to fender flares my plan would be to cut and bend a semicircle of styrene using a slightly bigger temporary wheel and tire as a fixture. Use it to position and glue the base of a new flare.
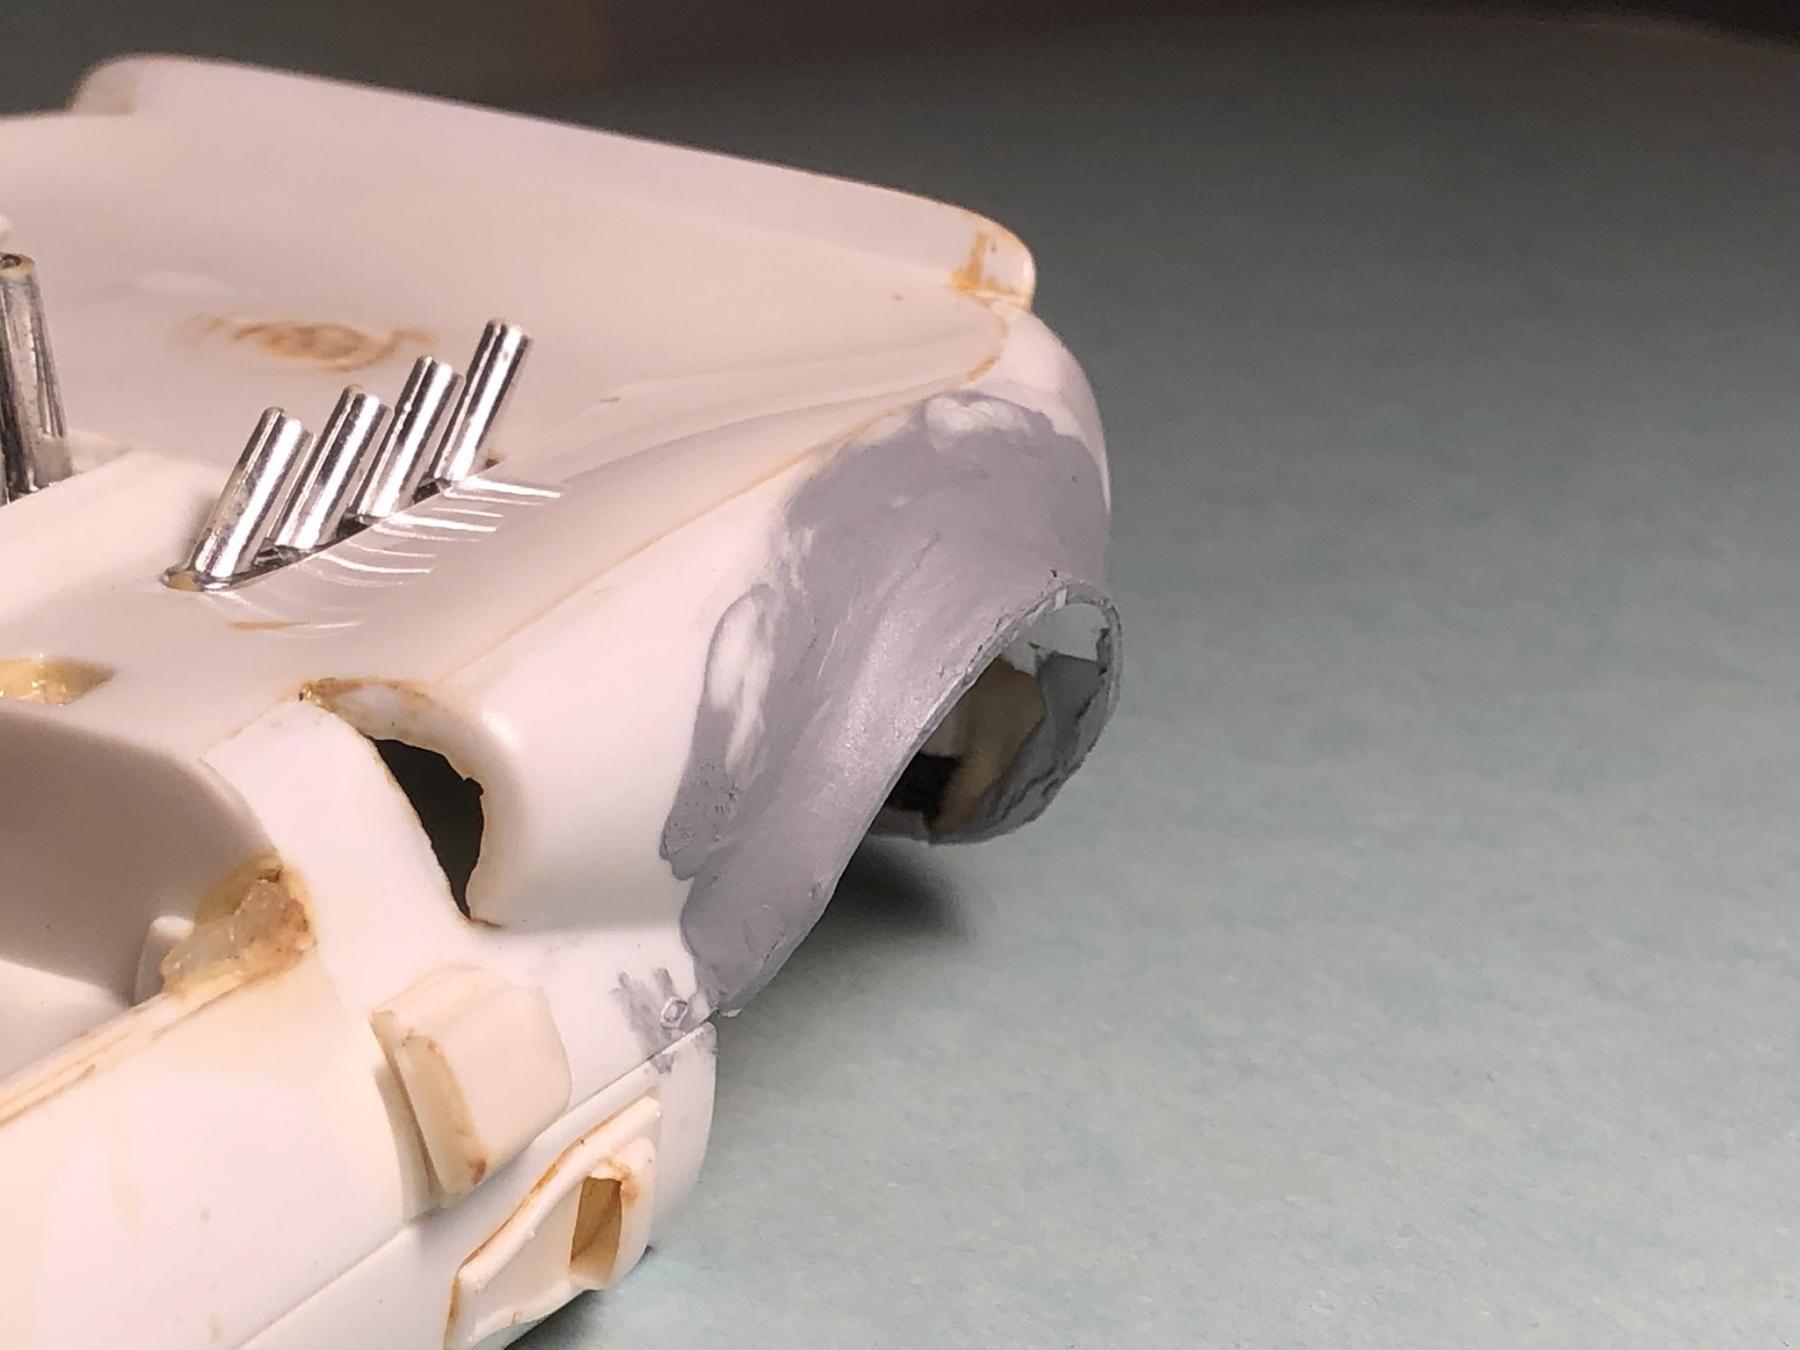
I try and keep the fillers to a minimum. But at least you will a good solid styrene base on center to work with. Once you have your base your finger will be the best tool to blend into the roughed up body.
Have fun.
Happy to help you any time. ![]()
Martin.
Posted 21 July 2024 - 05:38 PM
I reread your last post.
I do use the mold process if I want to capture details that would be hard to model any other way.
But reply above (post 9 ) was assuming you would do a more normal flare (full semicircle), not try and replicate the 3/4 add on fenderette found on the Cox car ?
Posted 21 July 2024 - 07:25 PM
i looked for mold making putty and couldnt find any only liquid pour over silicone mold stuff. i bought some styrene, think Ill just make my own and like you said mount some oversized rear tires to get the flare centered and go from there.I reread your last post.
I do use the mold process if I want to capture details that would be hard to model any other way.
But reply above (post 9 ) was assuming you would do a more normal flare (full semicircle), not try and replicate the 3/4 add on fenderette found on the Cox car ?
Posted 21 July 2024 - 09:22 PM
Thanks Martin. so I tried using styrene for the first time and it’s harder to work with than people make it look. i have .060 x .250 strips and I can’t get smooth contours with it. I got it close and tried tacking it with tamiya thin cement and my flare just cracked where I applied the glue. Guess I need special styrene glue. anyone know if zap a gap ca works on it?That looks great Mark.
Here are a couple of pics of flares I did on the K&B Cobra the method I mentioned.
102_5479.JPG
102_5586.JPG
This is the product I use for a quick transfer of details.
A1U0MjPN87L._AC_SY879_.jpg
Posted 22 July 2024 - 12:17 AM
It was hard for me to find a difference in these products I tested. They all melt/weld styrene about the same. Some work fast, some too fast. The weld type products will soften the styrene. It will turn soft if wetted. And 2 wetted parts will bond forever.Welded ![]()
If you take your strips, lay them over a round shape close to what you want and warm with a heat gun, it goes fast. Careful.
I only do this far away from the body. Hot water works too, just takes longer. ![]()
CAs will work too.Not as good as a welded bond though.
I have a range of, super thin, thin, standard, gap filling and even the black CA with rubber. None Shown here.You probably have them anyway? They all have there purpose as I am sure you know.
Seems like it depends on if I am filling a gap or want a glue that will flow in a crack or even weld rough styrene shapes to re-shape.
Test with scraps until you find what works for you.
Oh yea, and do not sniff it ![]()
Posted 22 July 2024 - 10:33 AM
Thank you sir and nice cars! got some roughed out flares to lay some putty on. Not super happy with the radius but this material is thick enough that I can shape it a little. main concern is making them solid.Nice filler work, Mark.
Zap makes a CA specifically for styrene. It's call Plasti-Zap. I've been using it for years on hard body cars, and it can take a super solid hit and not break.
IMG_0584.JPG
IMG_0589.JPG
IMG_0201.JPG
Works on resin bodies;
006.JPG
005.JPG
I even used it to make this little cutie;
IMG_0601.JPG
Posted 22 July 2024 - 12:08 PM
Thank you sir and nice cars! got some roughed out flares to lay some putty on. Not super happy with the radius but this material is thick enough that I can shape it a little. main concern is making them solid.
85D156F2-9398-49C8-9000-10F1F6E4056F.jpeg
Exactly. The less filler, the better.
Posted 22 July 2024 - 01:16 PM
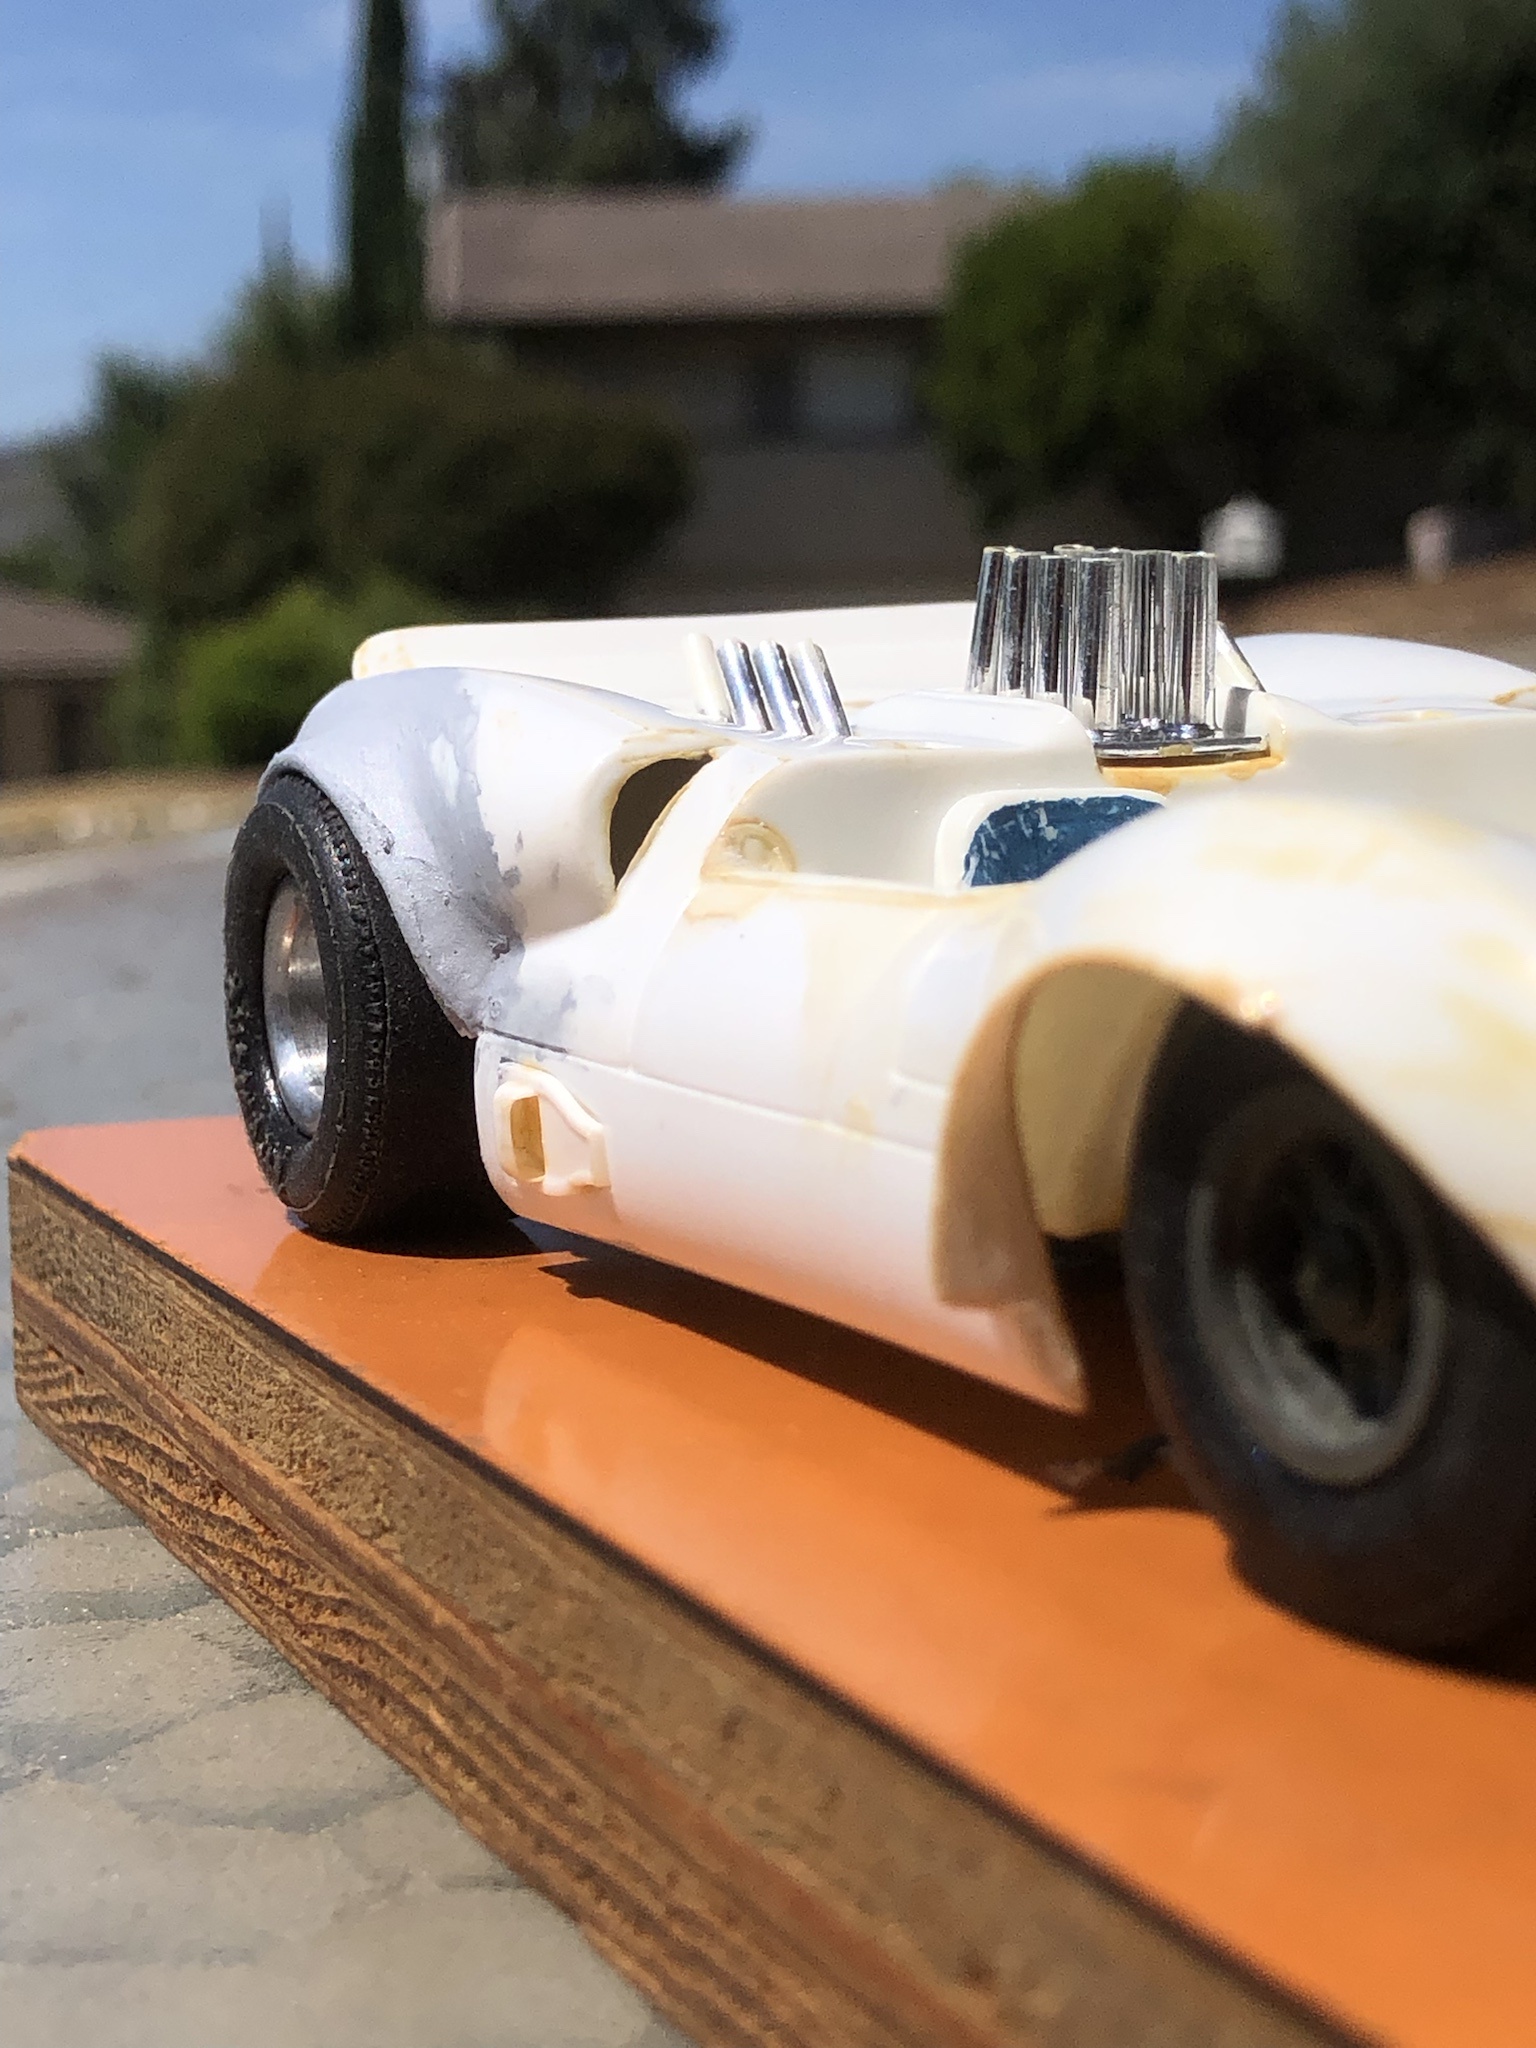
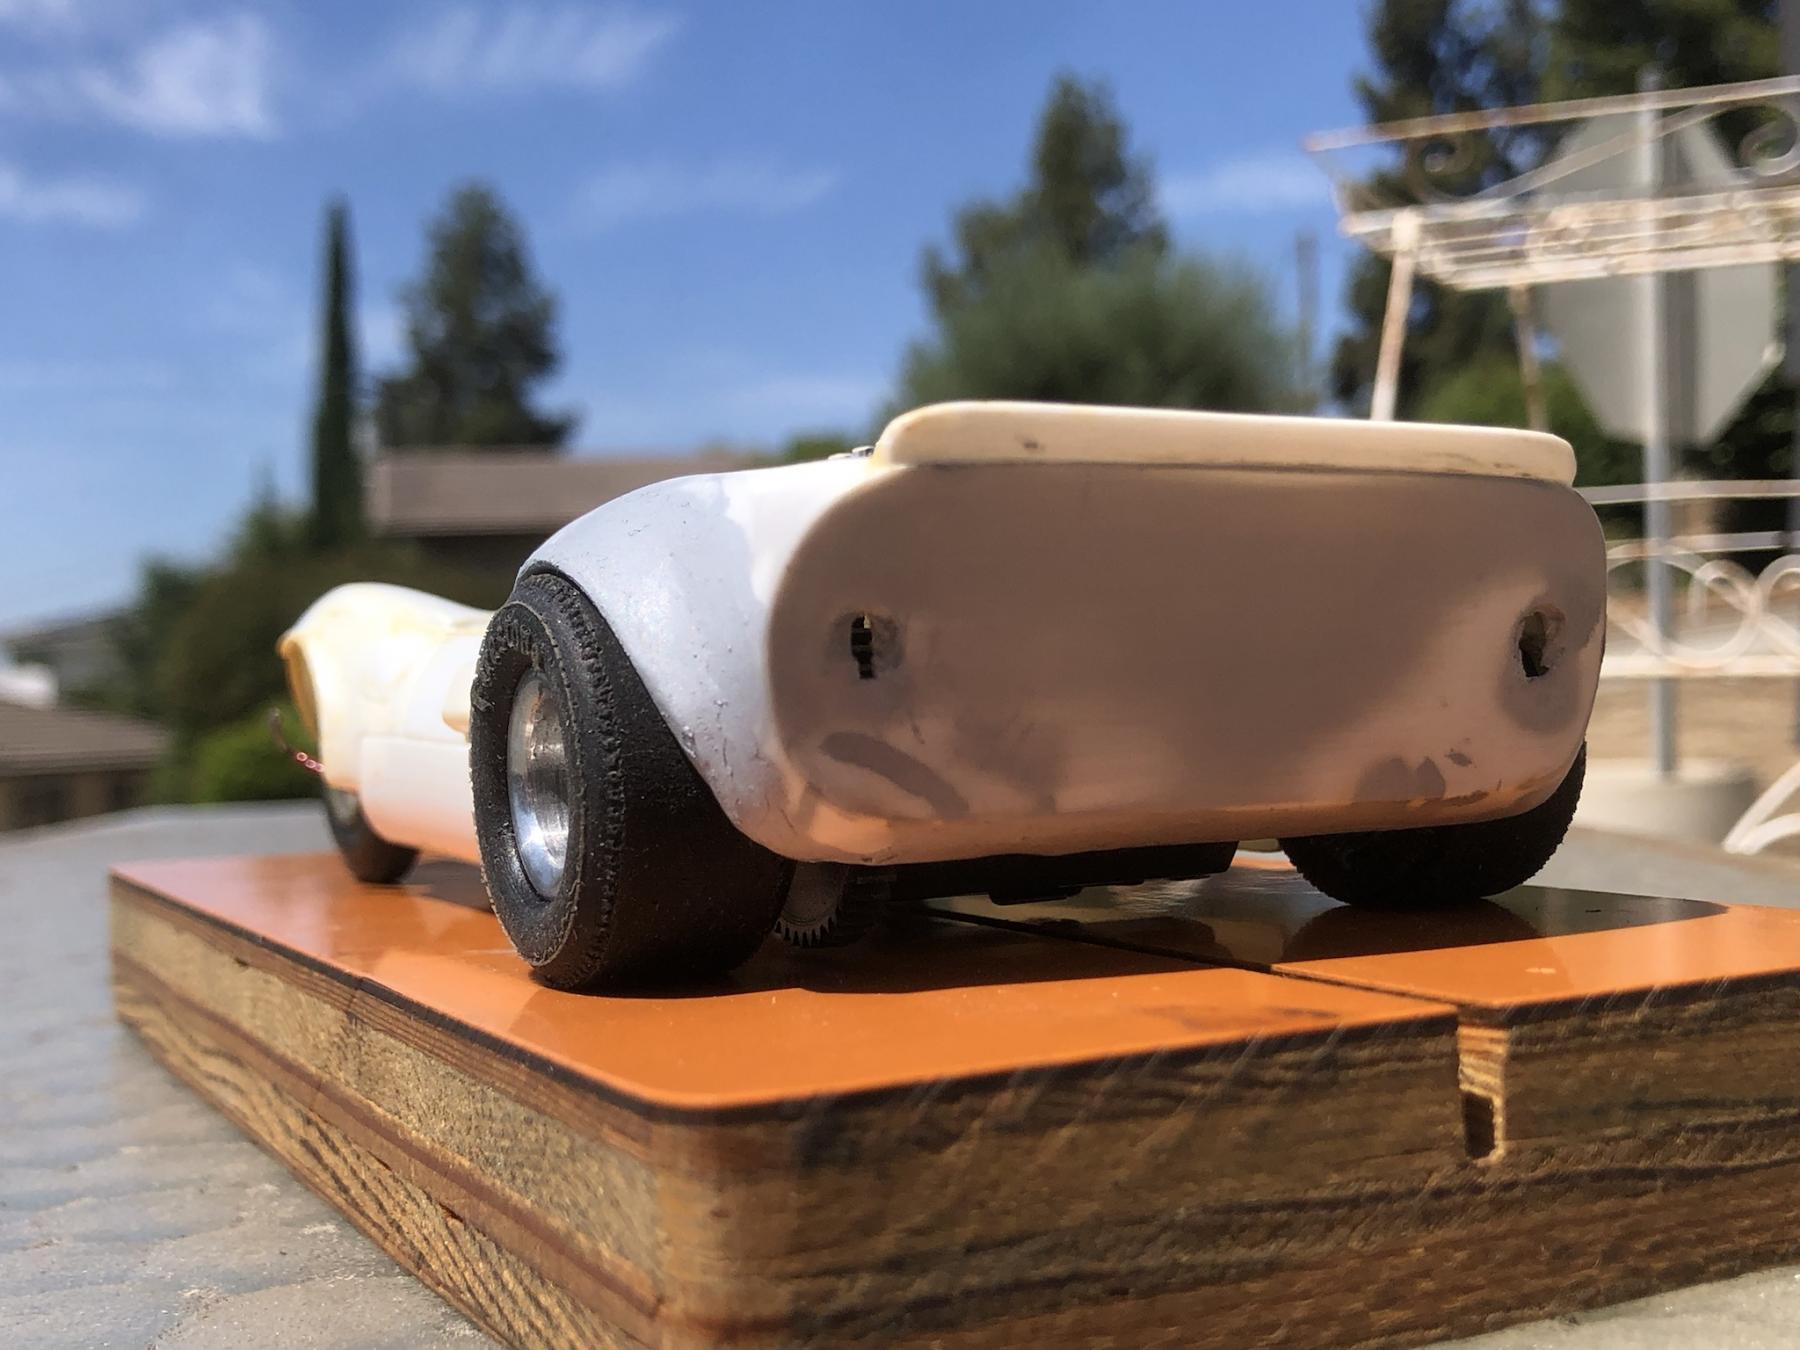
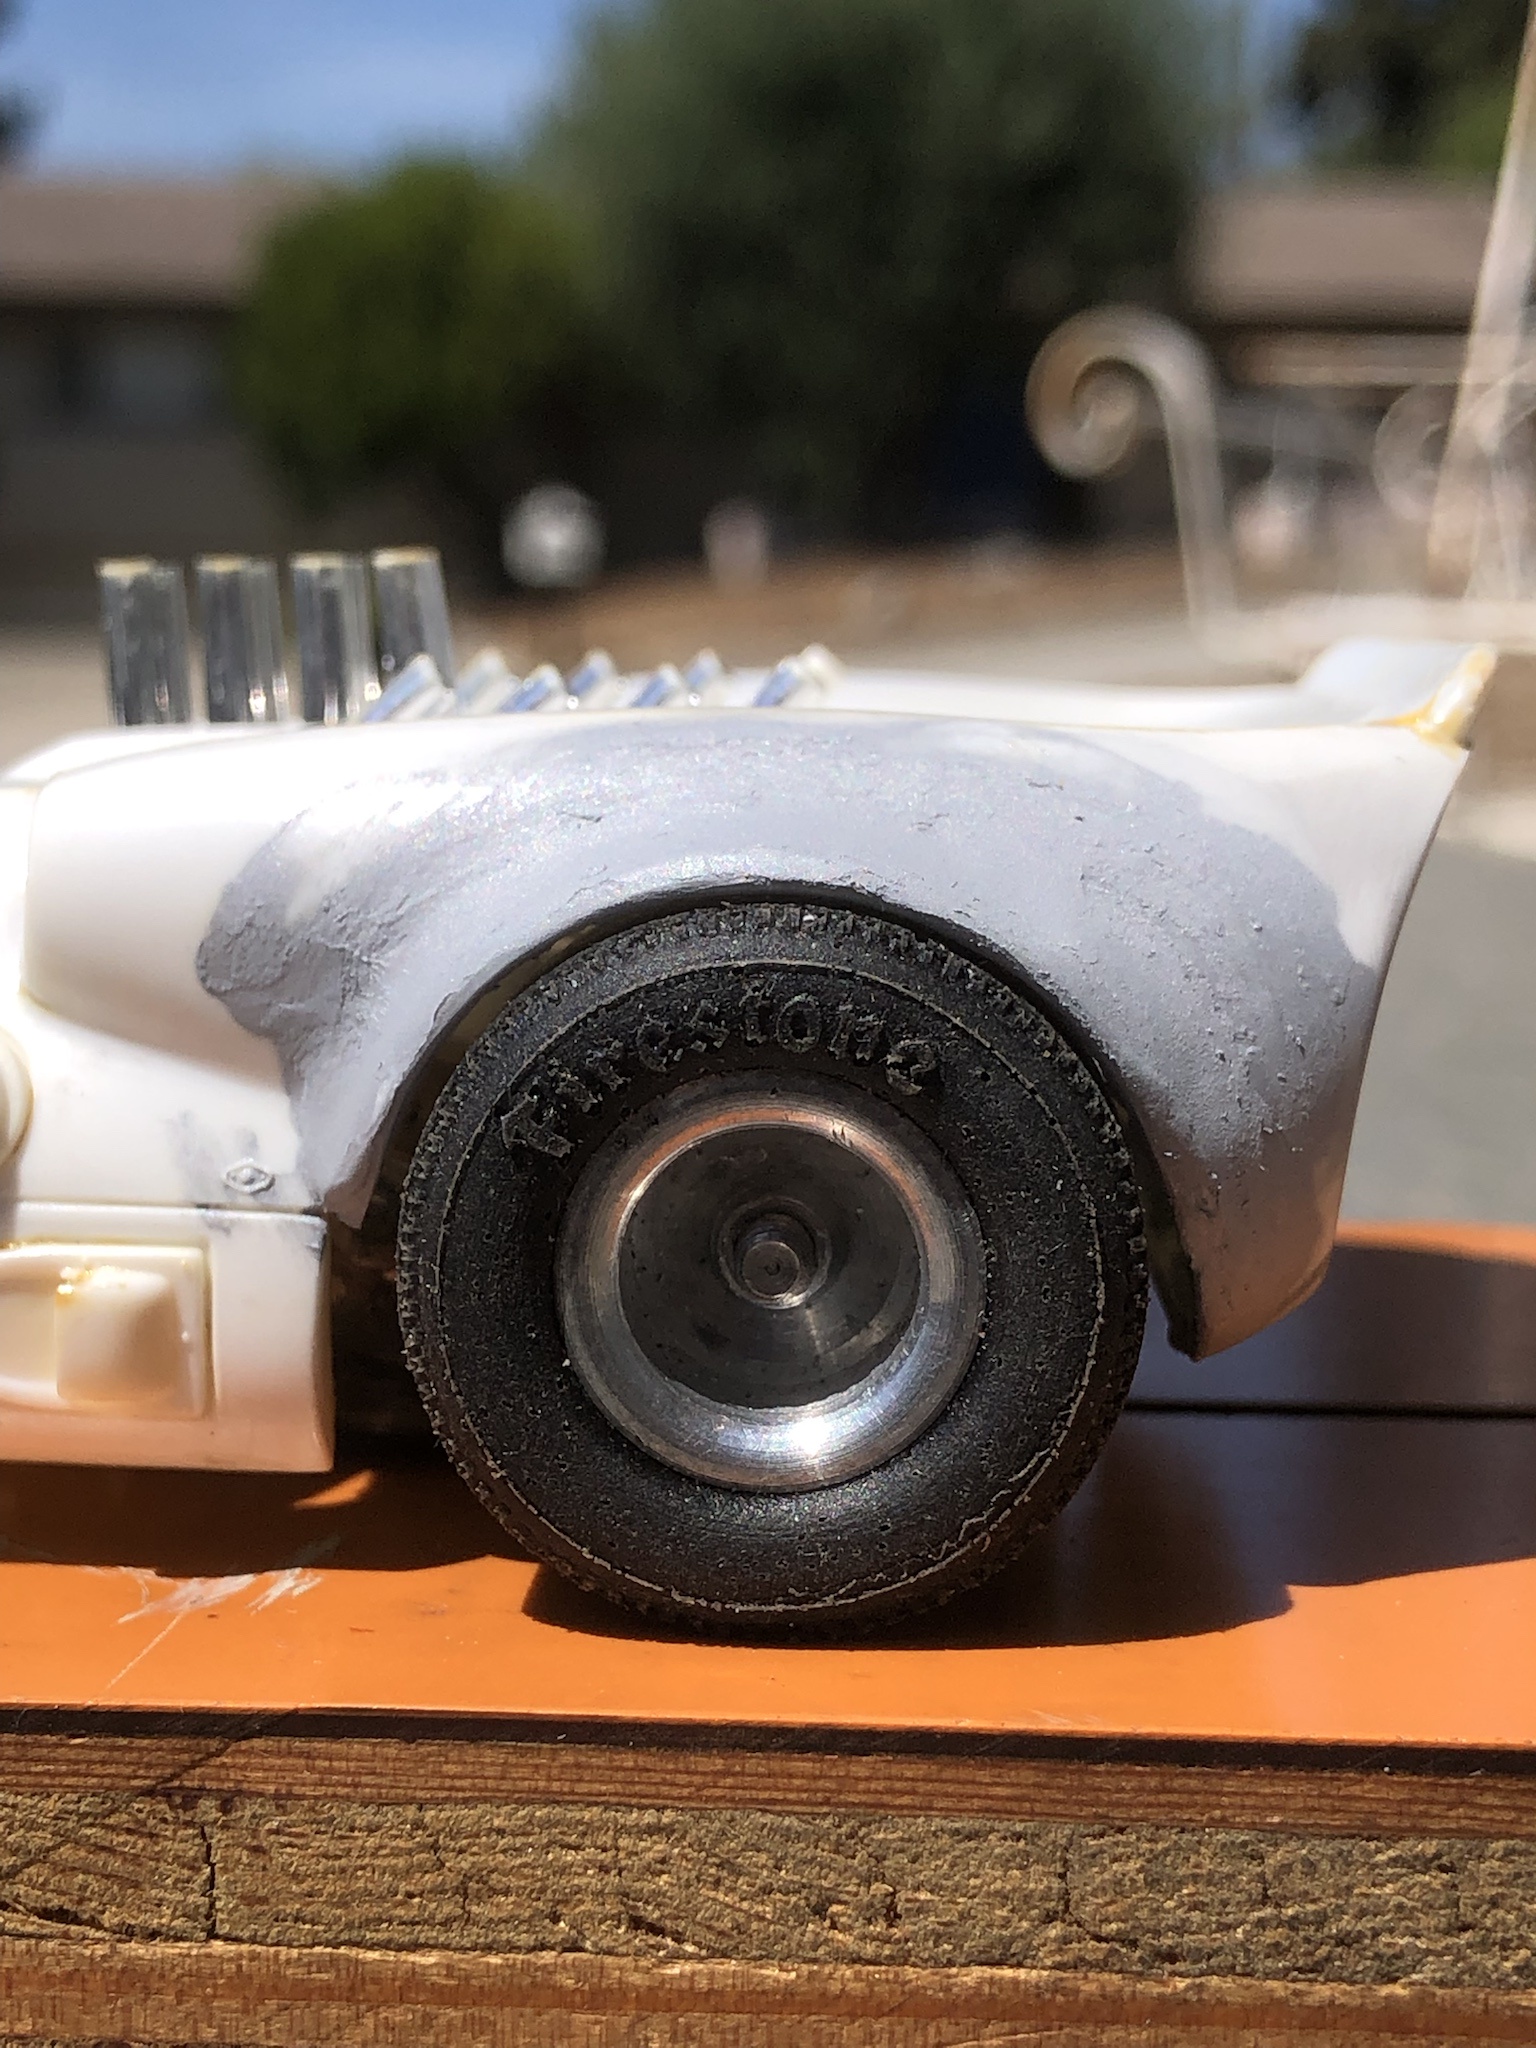
Posted 22 July 2024 - 08:39 PM
Now that is really looking good Mark. ![]()
Just the way it happened in real life 1/1 racing too. As they came out with wider tires bodies got wider to accommodate.
This is going to be great. ![]()
Posted 22 July 2024 - 09:08 PM
Now that is really looking good Mark.
Just the way it happened in real life 1/1 racing too. As they came out with wider tires bodies got wider to accommodate.
This is going to be great.
thanks! They are coming out pretty good so far. almost done with bondo smoothing on rear.
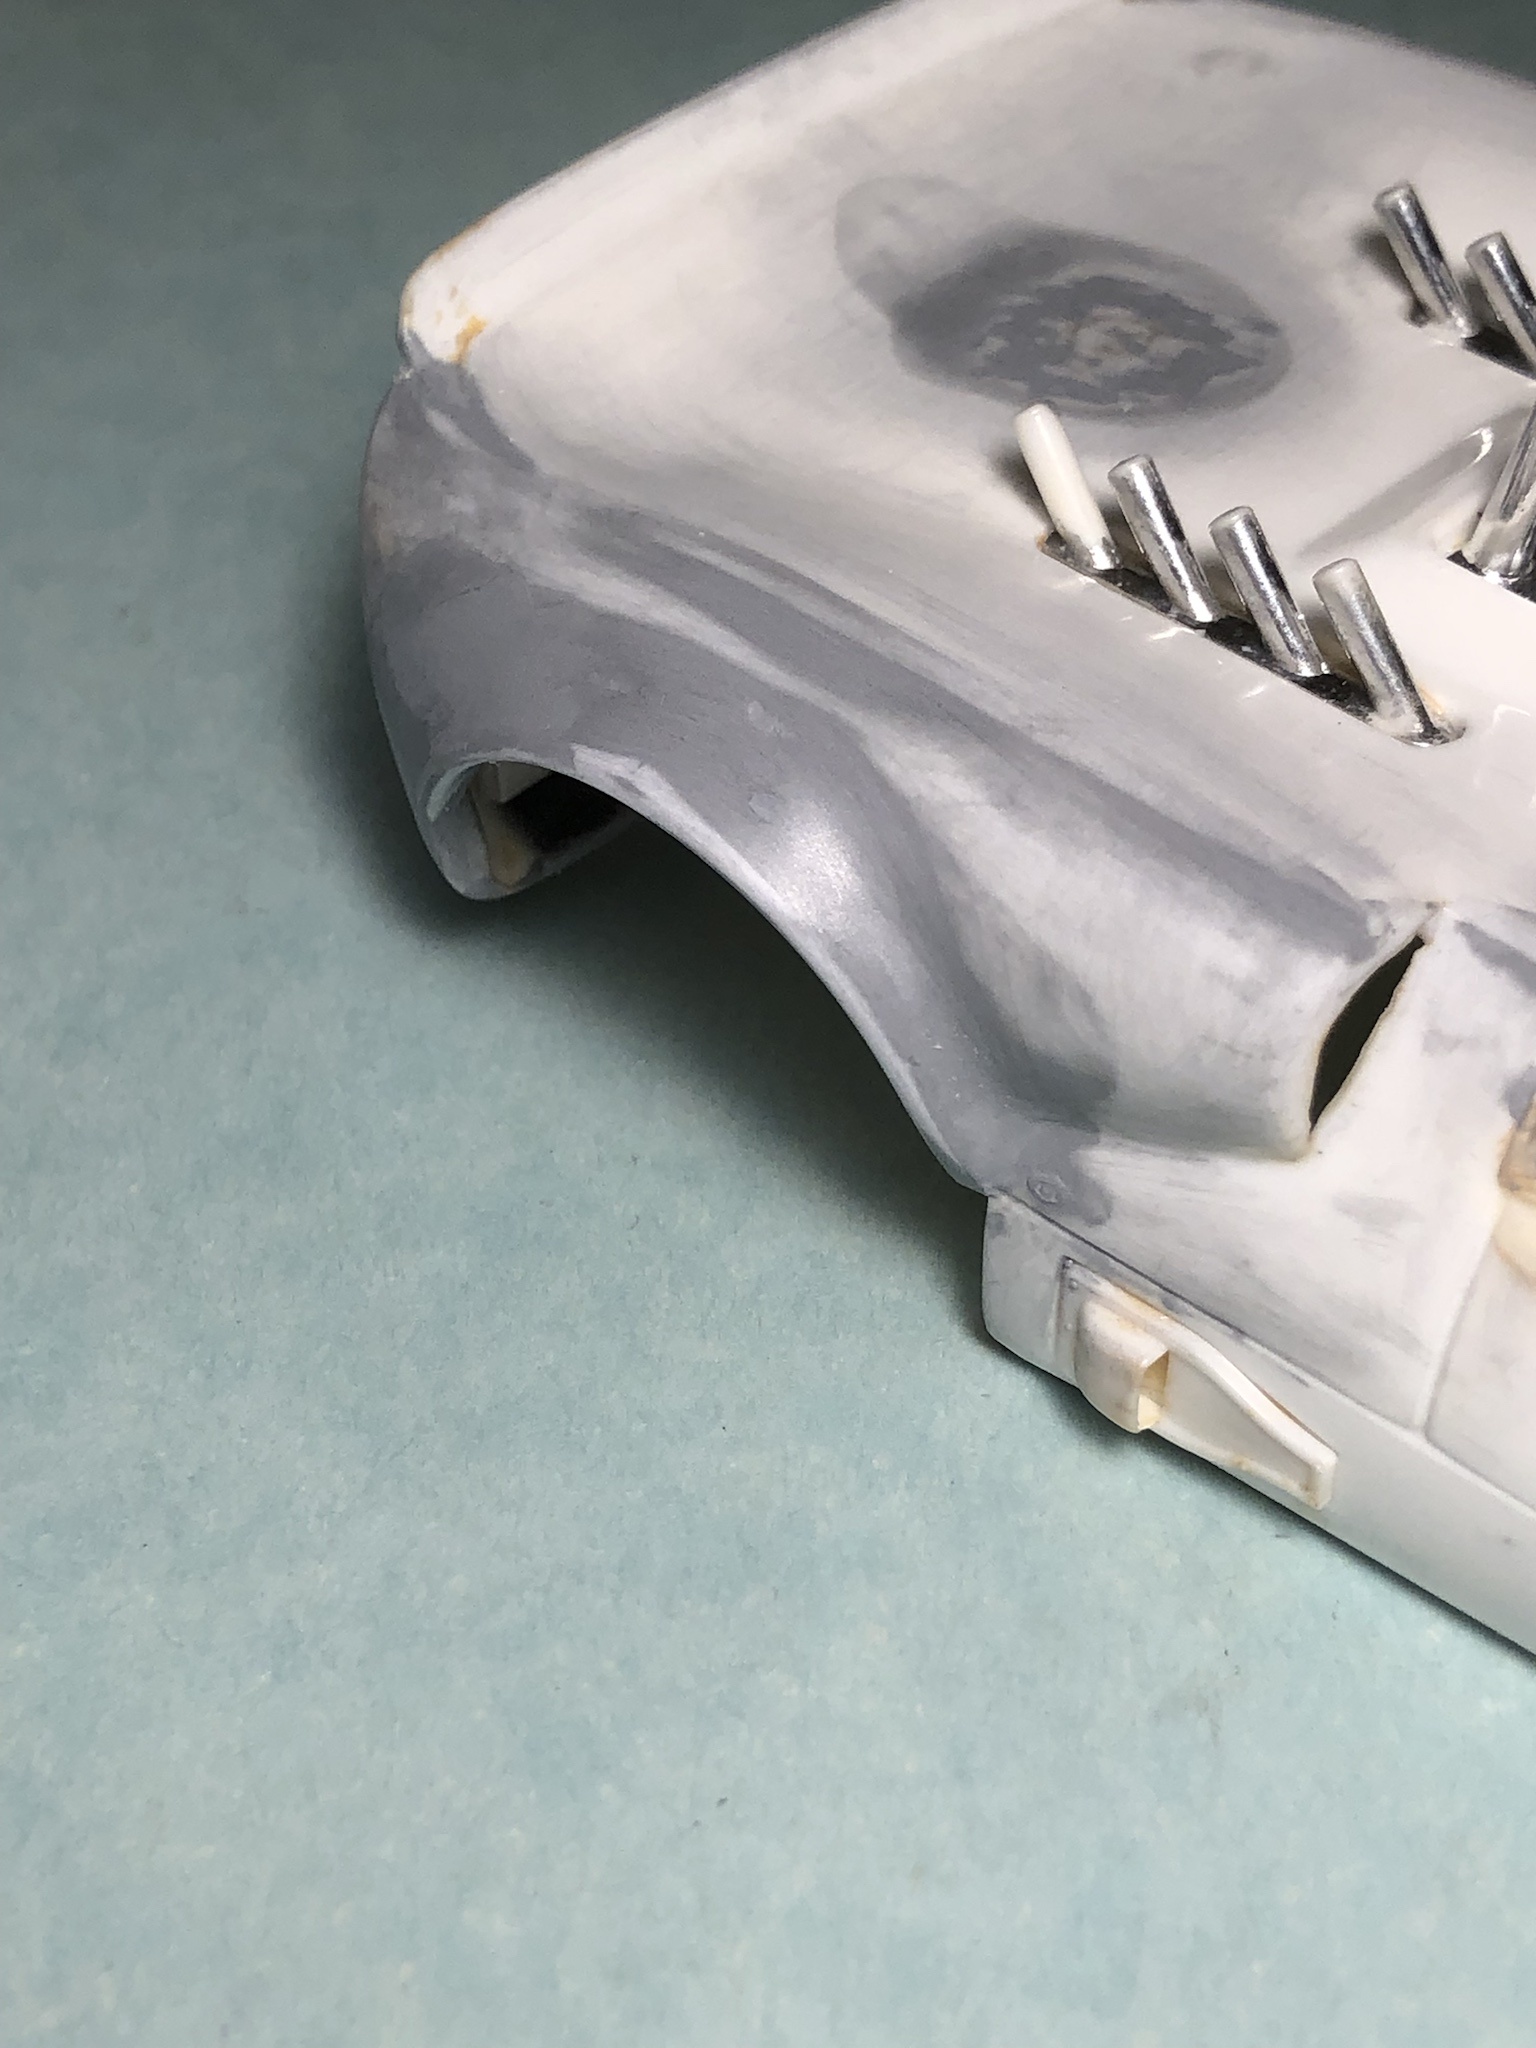
Just starting on molding nose in. so far so good.
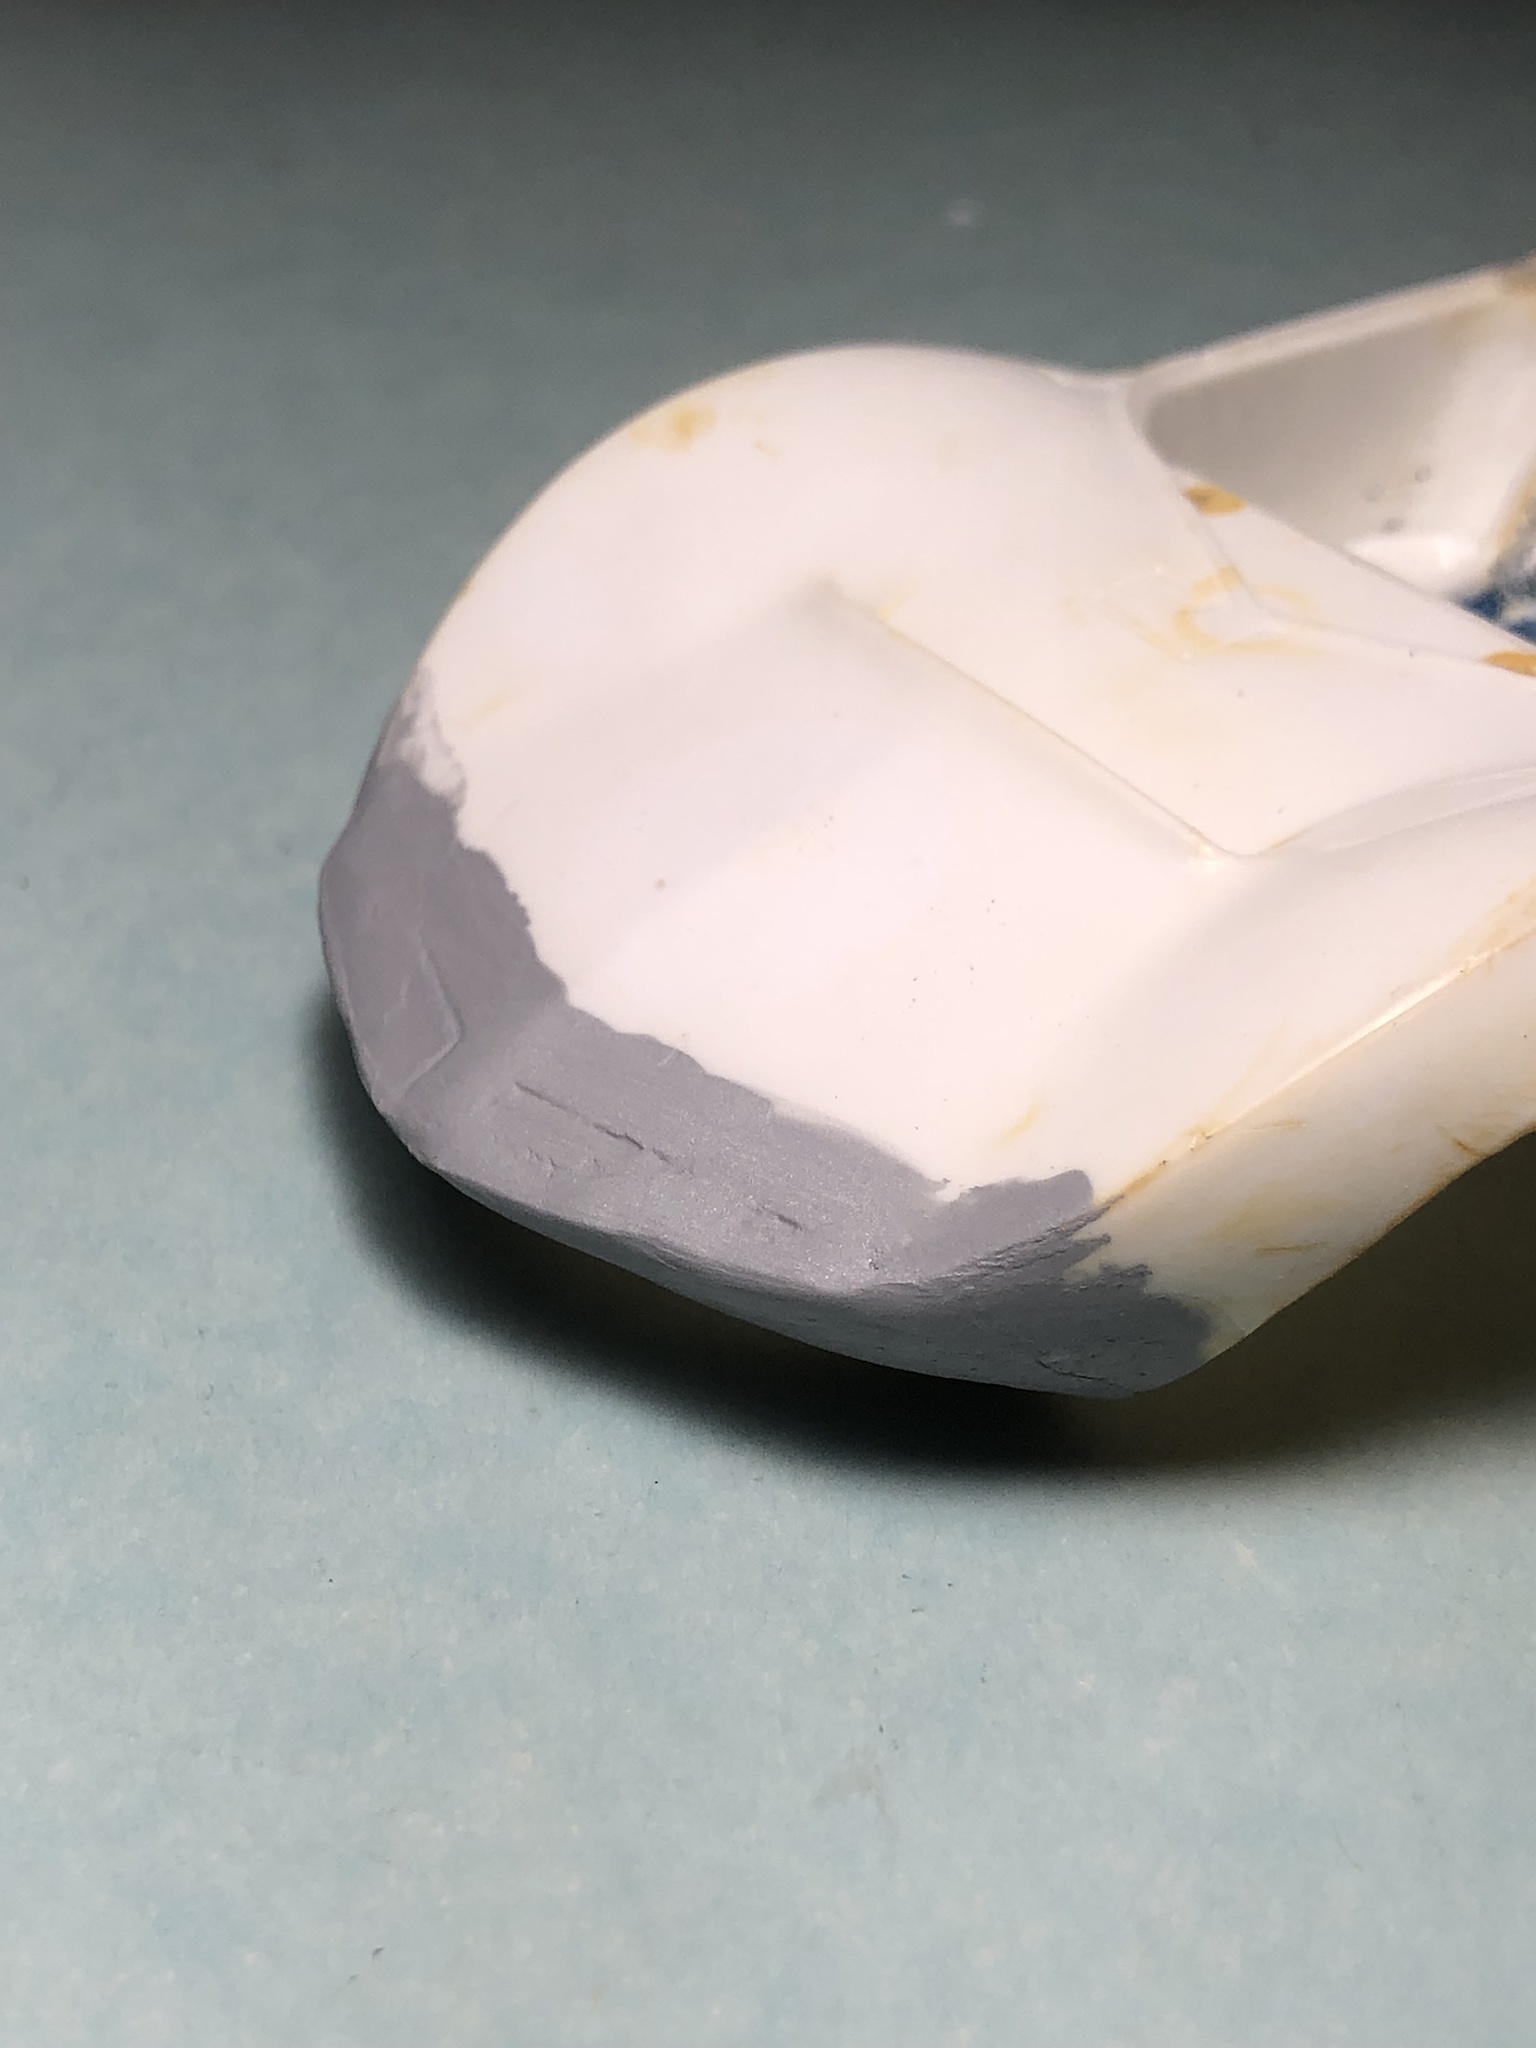
Posted 23 July 2024 - 09:53 AM
The Russkit clear Chaparral body had the vent that went up & over the wind screen.
Posted 23 July 2024 - 10:19 AM
i was quite tempted to add a diaplane on the front to match the aggressive flares but if I run this car I just feel it will be a wall/breakage magnet. so far molded in front end is looking good. not sure I’ll even scribe headlight outlines (I don’t really know how). maybe just paint something and outline it.Some alternate schnozzles if you want to do something different;
achap5.JPG
achap6.JPG
achap7.JPG
Posted 23 July 2024 - 10:25 AM