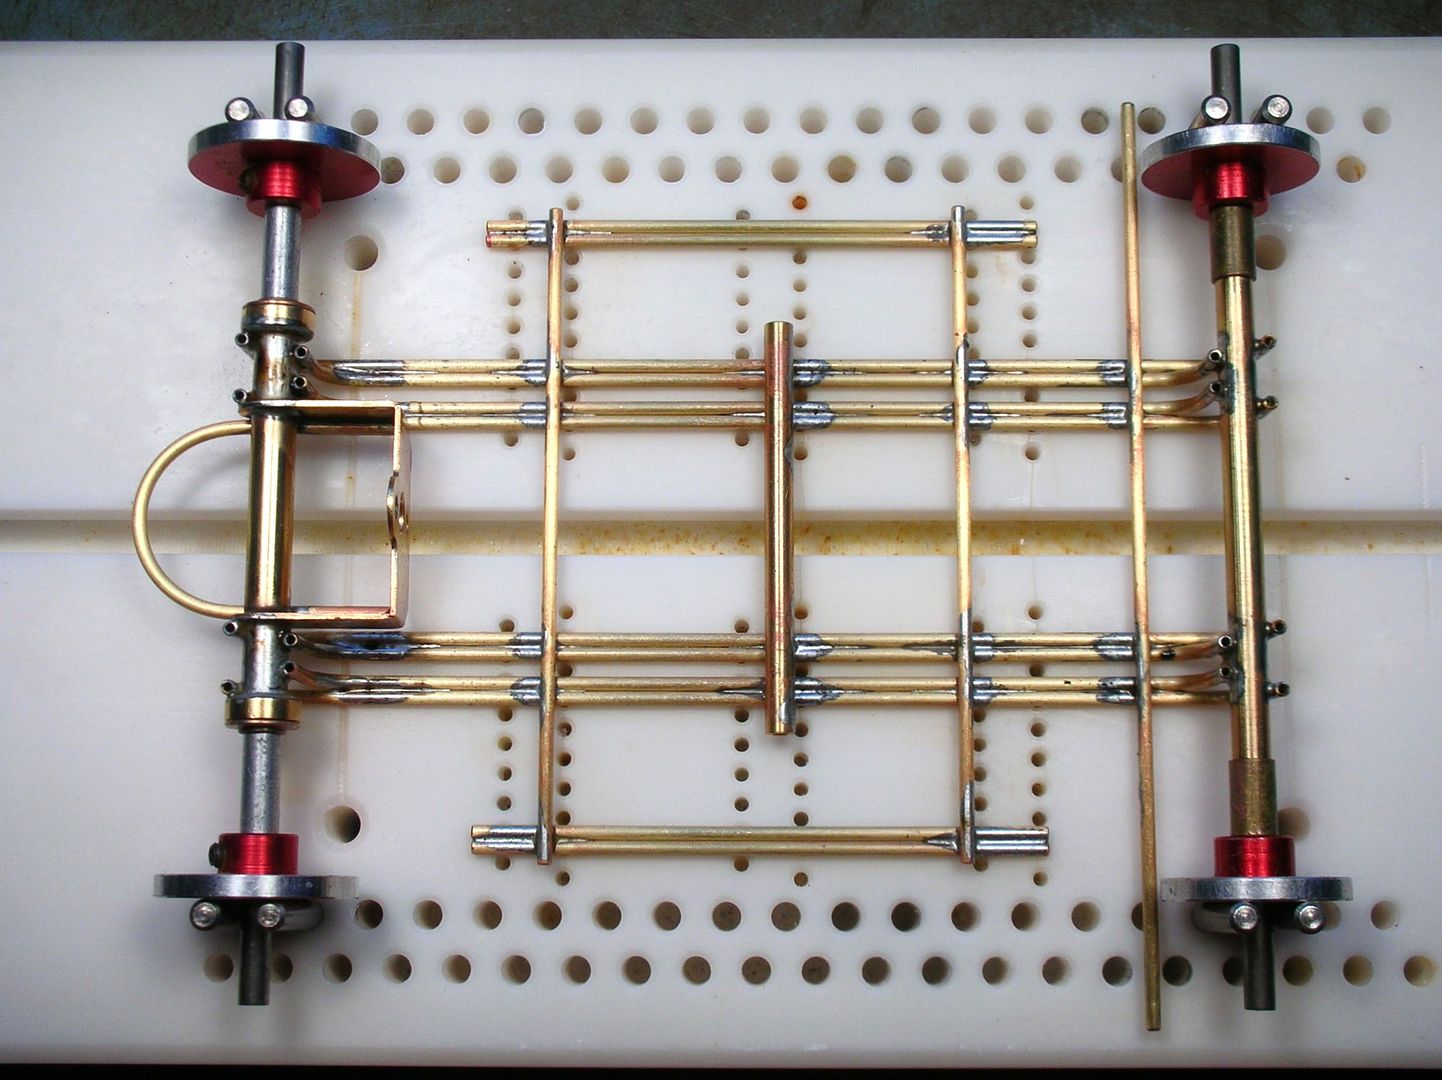
All soldered up:
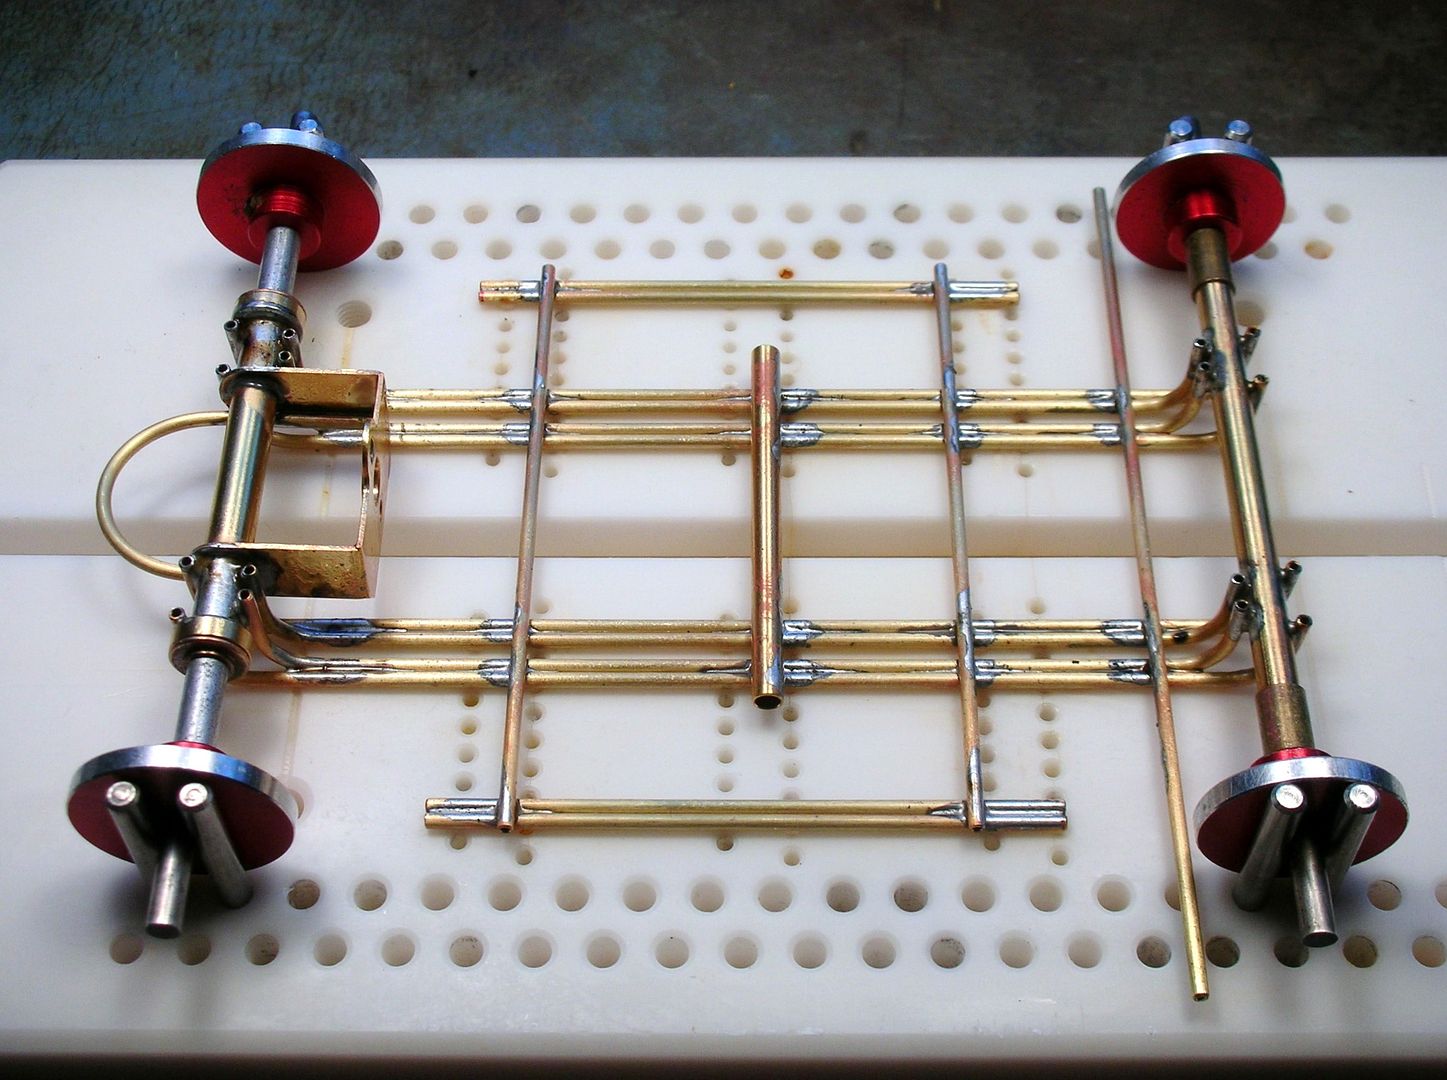
Now to trim off the extra crap-O-la and buff it up:

Posted 18 February 2018 - 09:07 PM
All soldered up:

Now to trim off the extra crap-O-la and buff it up:

Rick Thigpen
Check out Steve Okeefe's great web site at its new home here at Slotblog:
The Independent Scratchbuilder
There's much more to come...
Posted 19 February 2018 - 03:17 PM
Posted 19 February 2018 - 03:50 PM
A good friend made me a tube bending gizmo that works great:
That gizmo on the right is a custom made tube bender made for me by the best scratch builder in the world.....thanks again Man!.
It's a little disk with a 1/16" groove......it works!
Rick Thigpen
Check out Steve Okeefe's great web site at its new home here at Slotblog:
The Independent Scratchbuilder
There's much more to come...
Posted 20 February 2018 - 07:55 PM
All trimmed up and buffed:
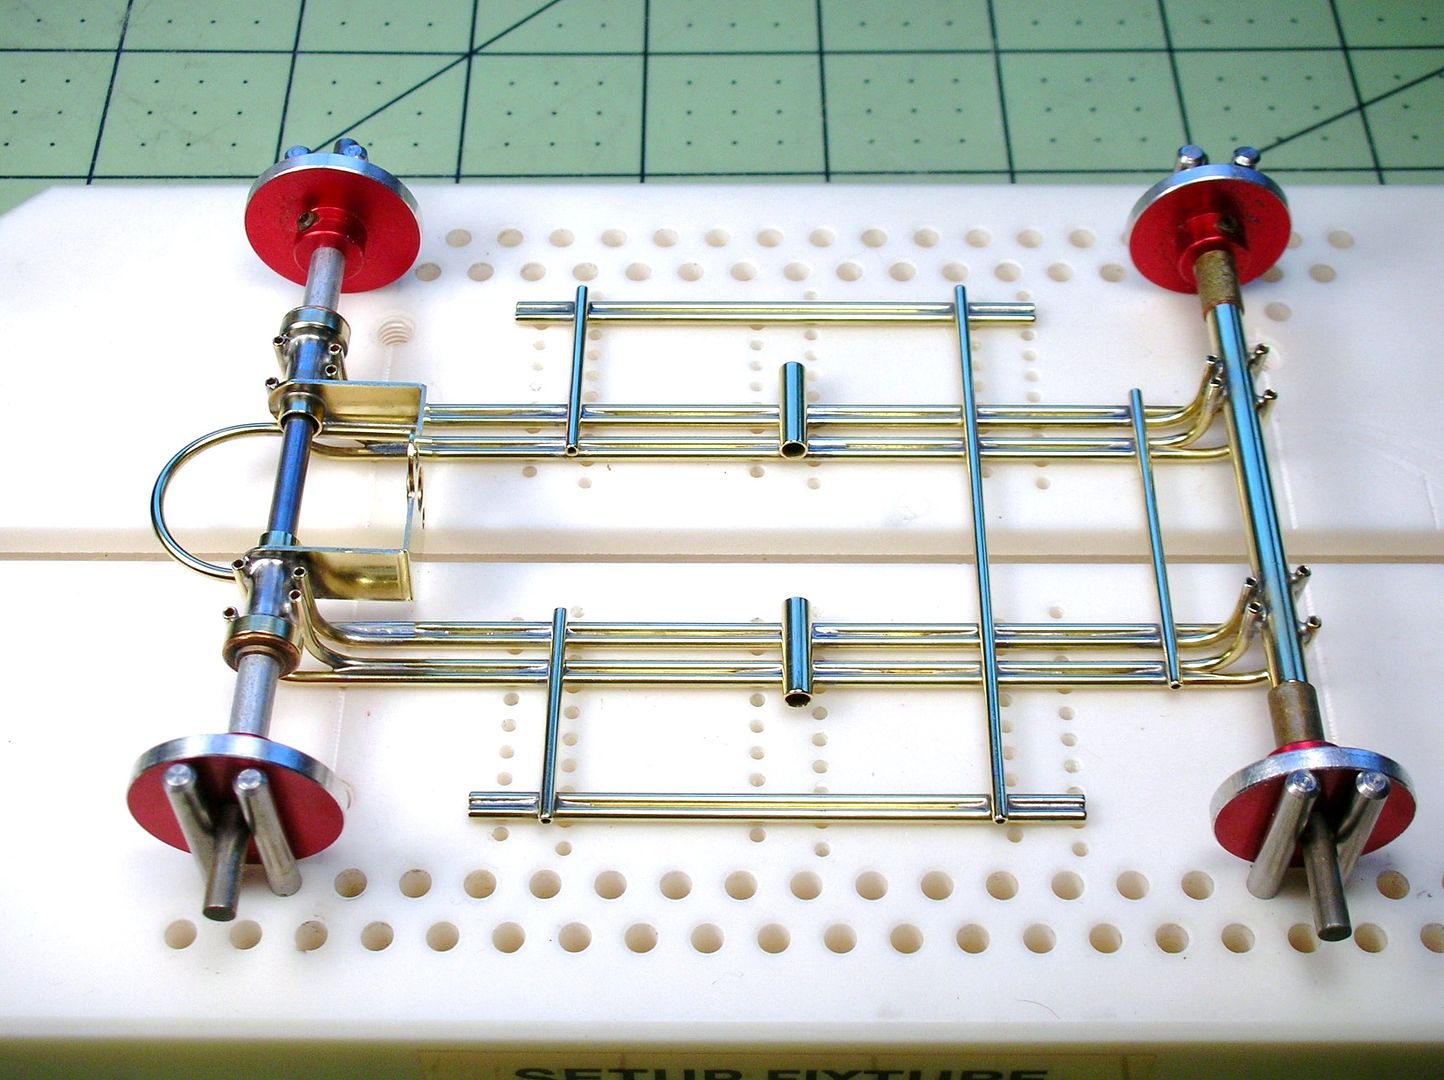
Drop arm time...........
Rick Thigpen
Check out Steve Okeefe's great web site at its new home here at Slotblog:
The Independent Scratchbuilder
There's much more to come...
Posted 21 February 2018 - 05:18 PM
Your tube bender is better than the K&S kit with the springs, as it provides consistency. Well done! ![]()
Philippe de Lespinay
Posted 21 February 2018 - 06:51 PM
Your tube bender is better than the K&S kit with the springs, as it provides consistency. Well done!
Posted 21 February 2018 - 07:16 PM
Very nice Mr. Artist! ![]()
Jairus H Watson - Artist
Need something painted, soldered, carved, or killed? - jairuswtsn@aol.com
www.slotcarsmag.com
www.jairuswatson.net
http://www.ratholecustoms.com
Check out some of the cool stuff on my Fotki!
Posted 22 February 2018 - 09:58 AM
![]()
Paul Wolcott
Posted 23 February 2018 - 01:09 PM
Thanks! ![]()
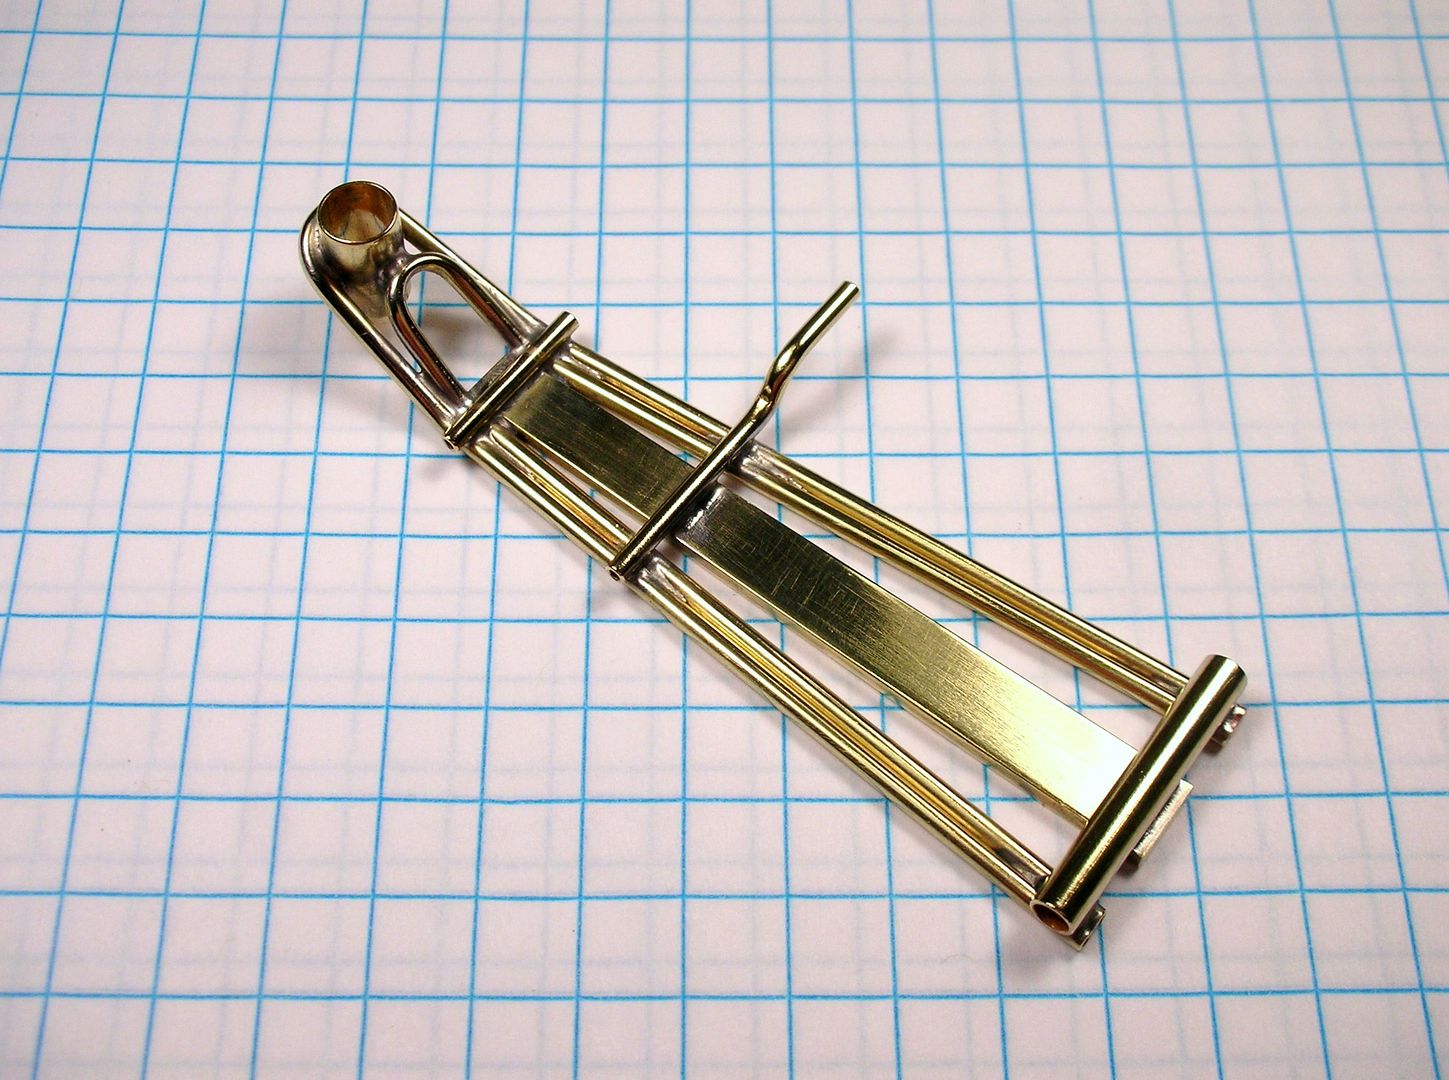
Here's the "before the buff" drop arm. The center brass strip was left long to drag the excess solder out of the pivot tube joint:
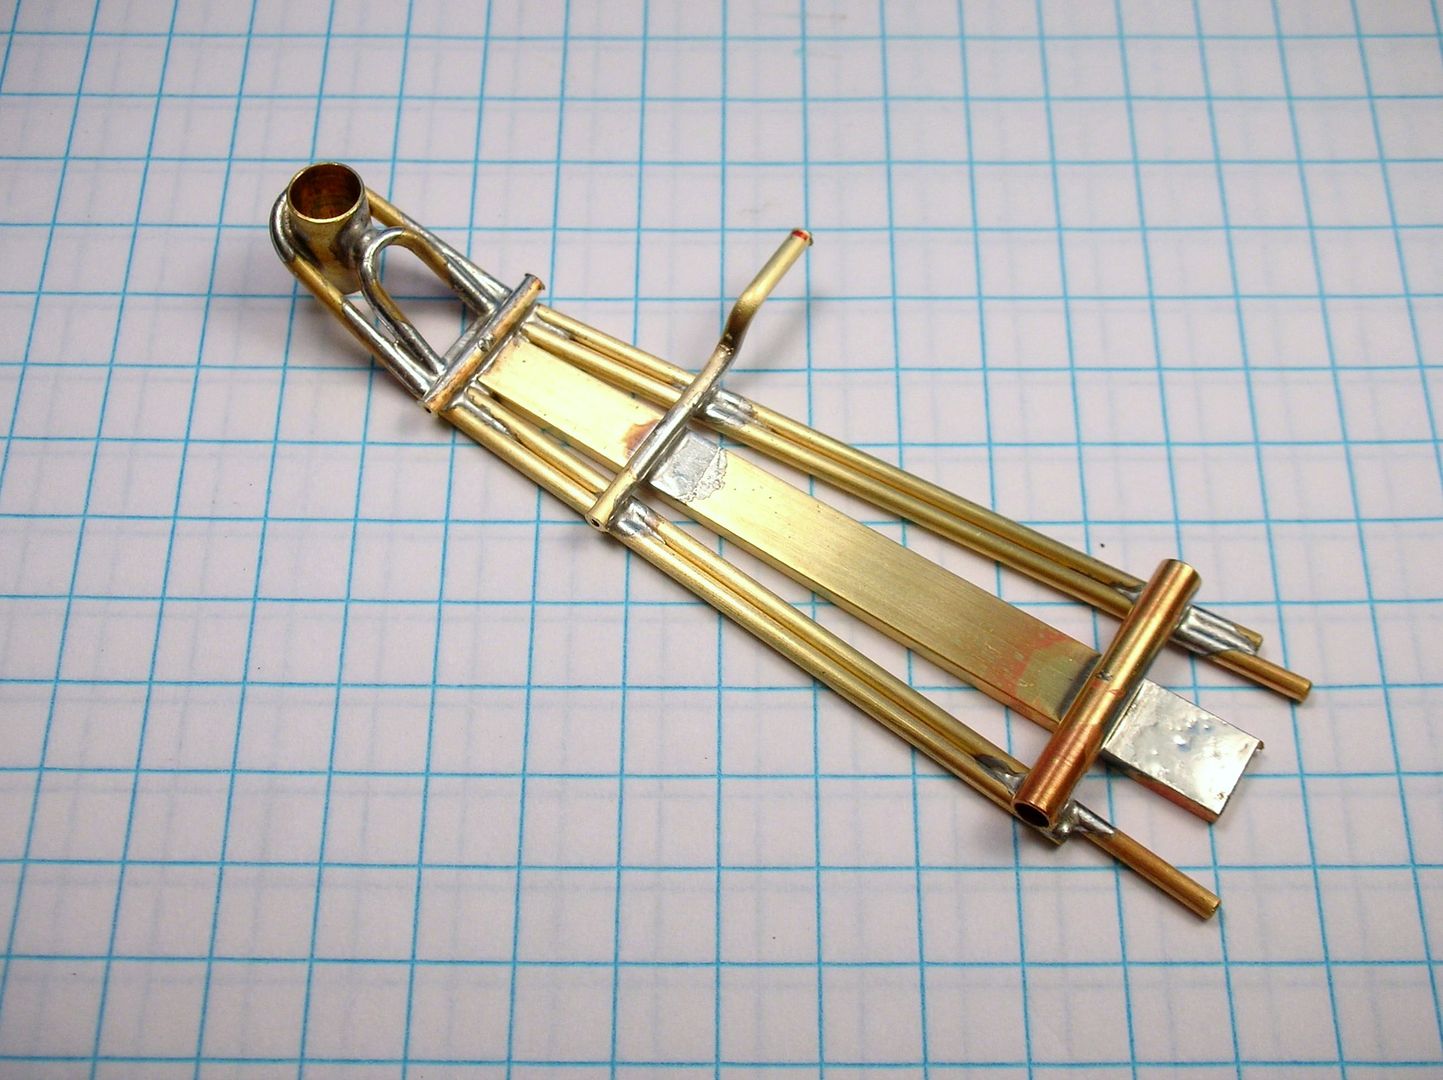
All trimmed and buffed up:
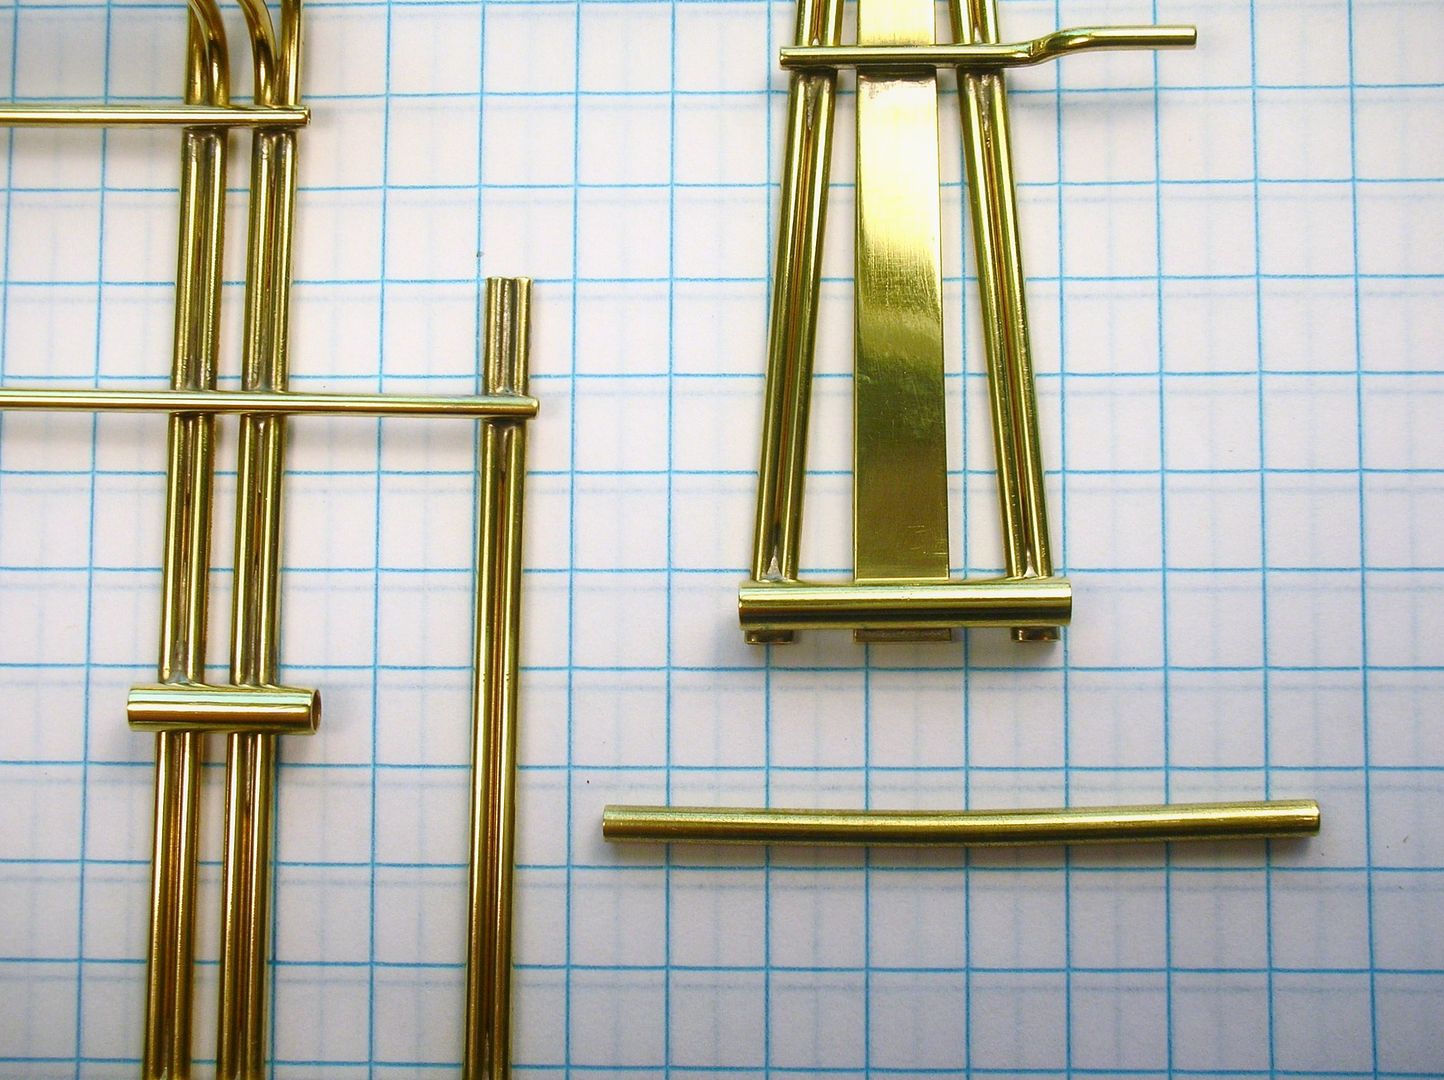
Notice the bend in the 3/32" drop arm pivot tube. This seemingly crude move really takes the slop out of the drop arm while not reducing its pivoting movement one bit:
The finished chassis:
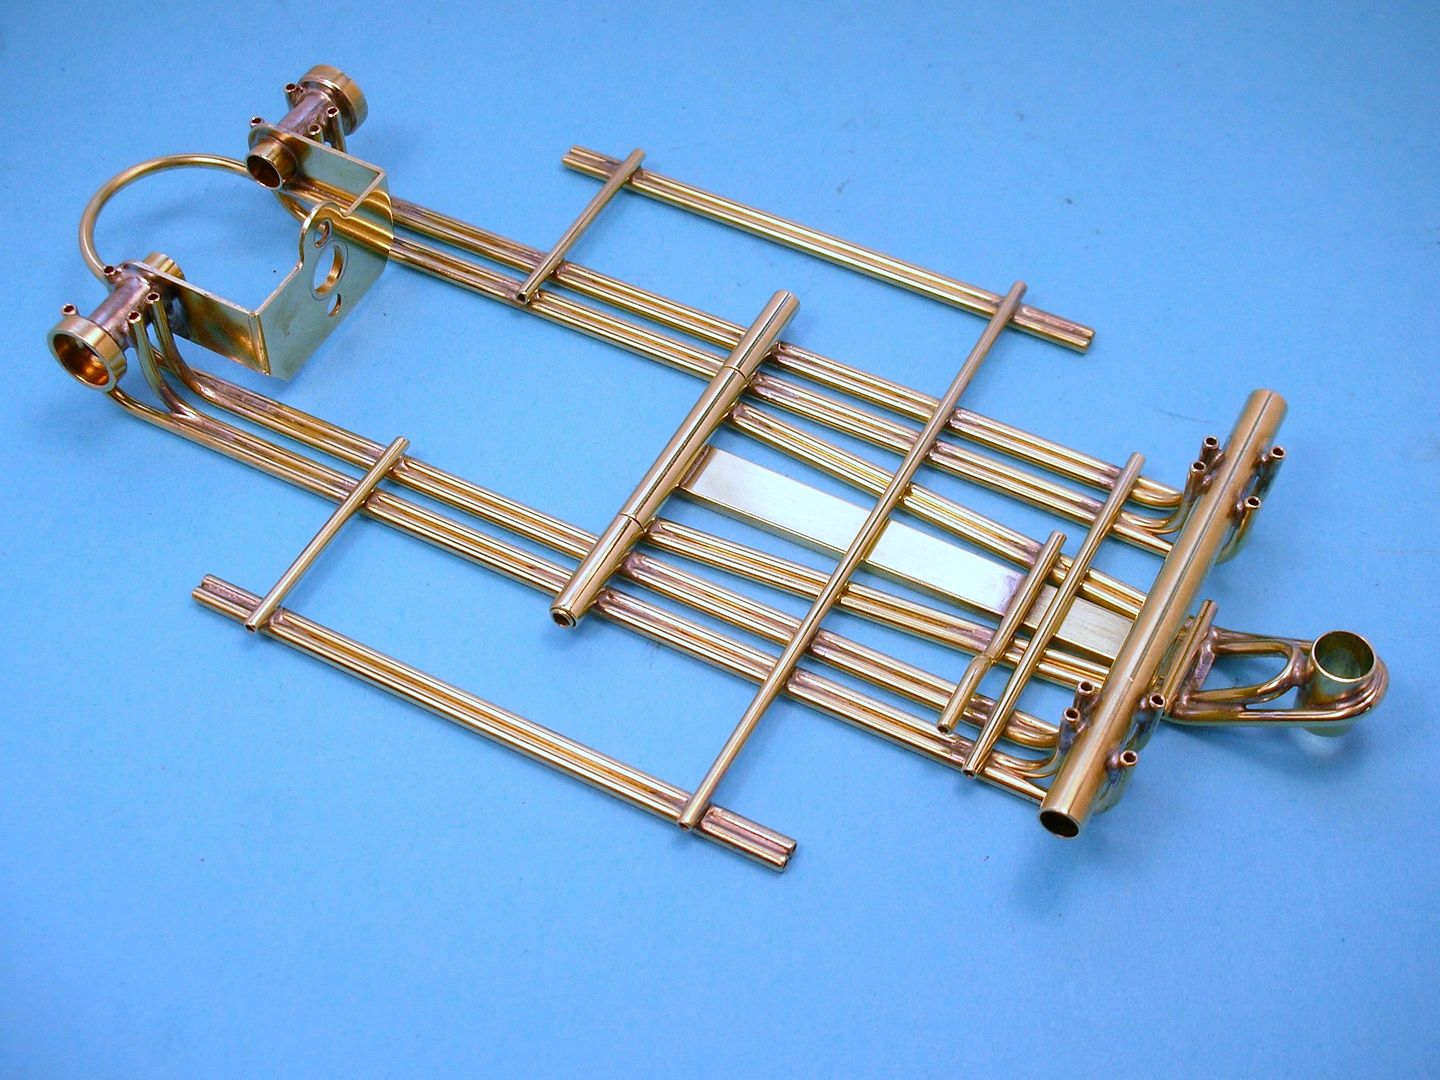
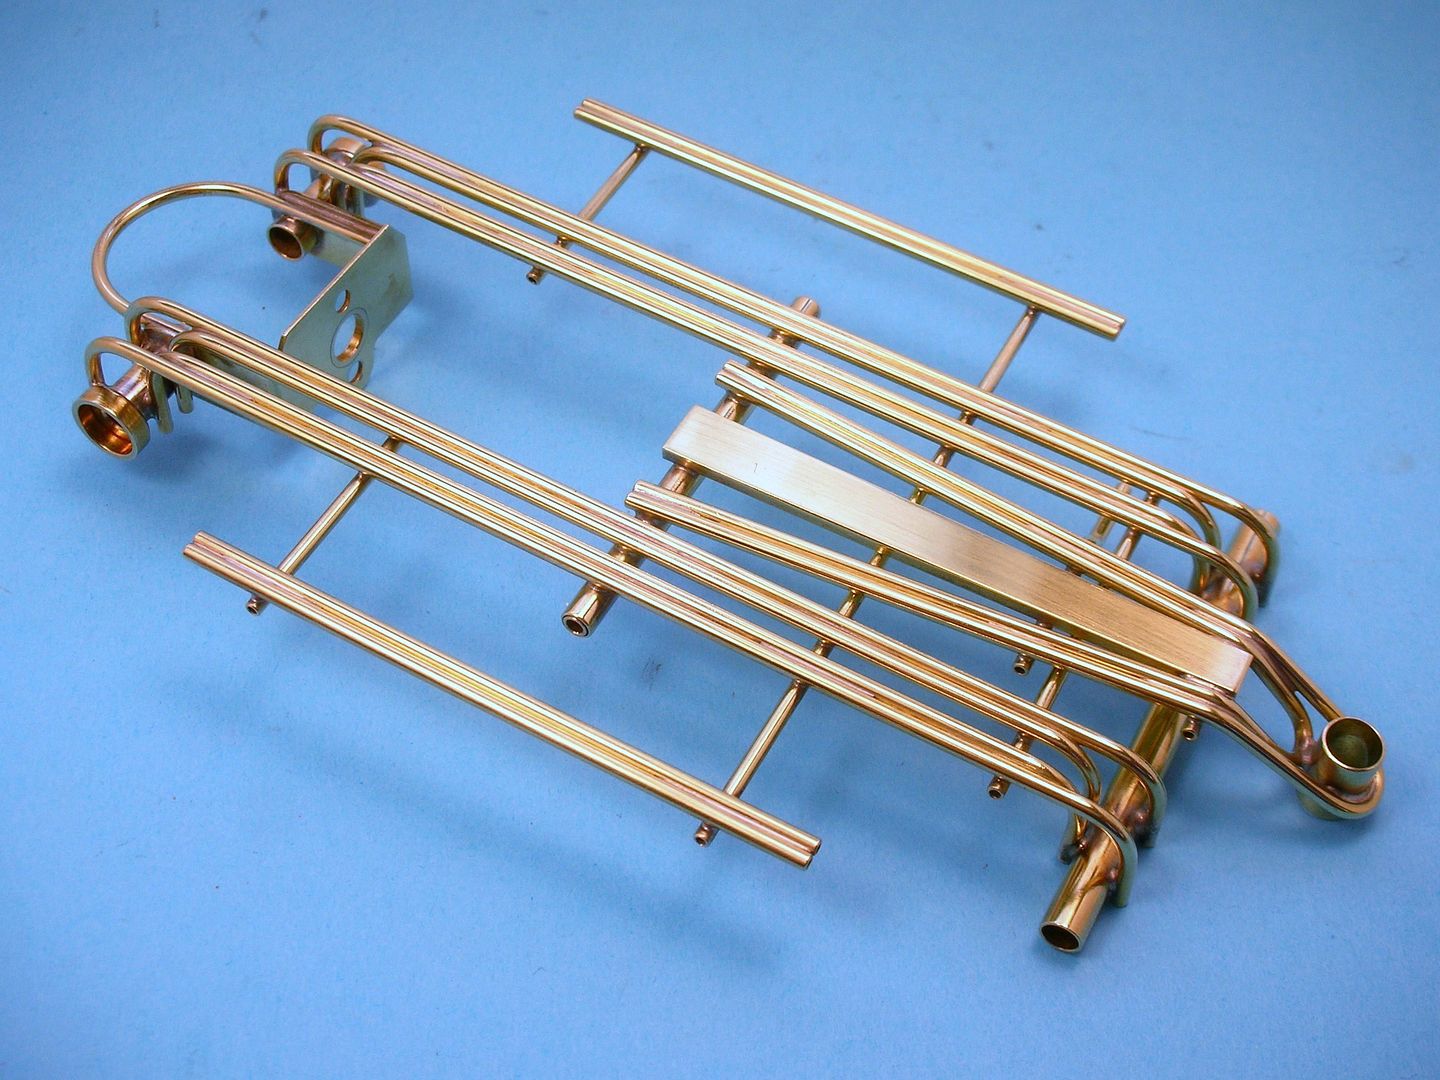
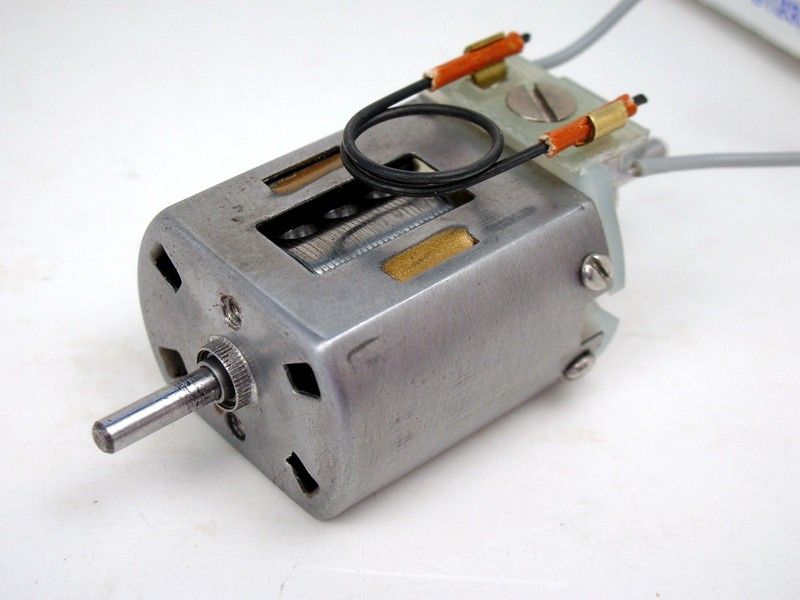
Time to paint and detail the might RAM mill:
Rick Thigpen
Check out Steve Okeefe's great web site at its new home here at Slotblog:
The Independent Scratchbuilder
There's much more to come...
Posted 23 February 2018 - 01:22 PM
Your moving right along now. Looking good !
Posted 24 February 2018 - 09:56 AM
Thanks for the hinge trick, Rick. Tricky Ricky ![]()
Paul Wolcott
Posted 24 February 2018 - 12:45 PM
I would think you could also do the same when using a 1/16" piano wire hinge pin. Rick, another top-notch chassis. Have you decided on a body to use, or did I miss something on page 1? ![]()
Posted 24 February 2018 - 01:39 PM
Hi Bill,
Yes I've done the same little bend in 1/16" pivot pins. Steve Okeefe often uses .065" SST tube to reduce drop arm slop.
Here's the body I'm using:
I settled on a Revell Lotus 30. It's got a nice long wheelbase and nose for guide lead and is almost 3" wide. It's a bit taller than the Russkit Lotus 40 but not much:
That little bit of extra height helps the body clear the brush spring. Here's a card stock mock-up of an interior plate with a hole cut for brush clearance:
I'll have to come up with a "hose house" to cover the hole up..................
Rick Thigpen
Check out Steve Okeefe's great web site at its new home here at Slotblog:
The Independent Scratchbuilder
There's much more to come...
Posted 25 February 2018 - 08:25 PM
I bought a new label maker and some cool colors of label tape:
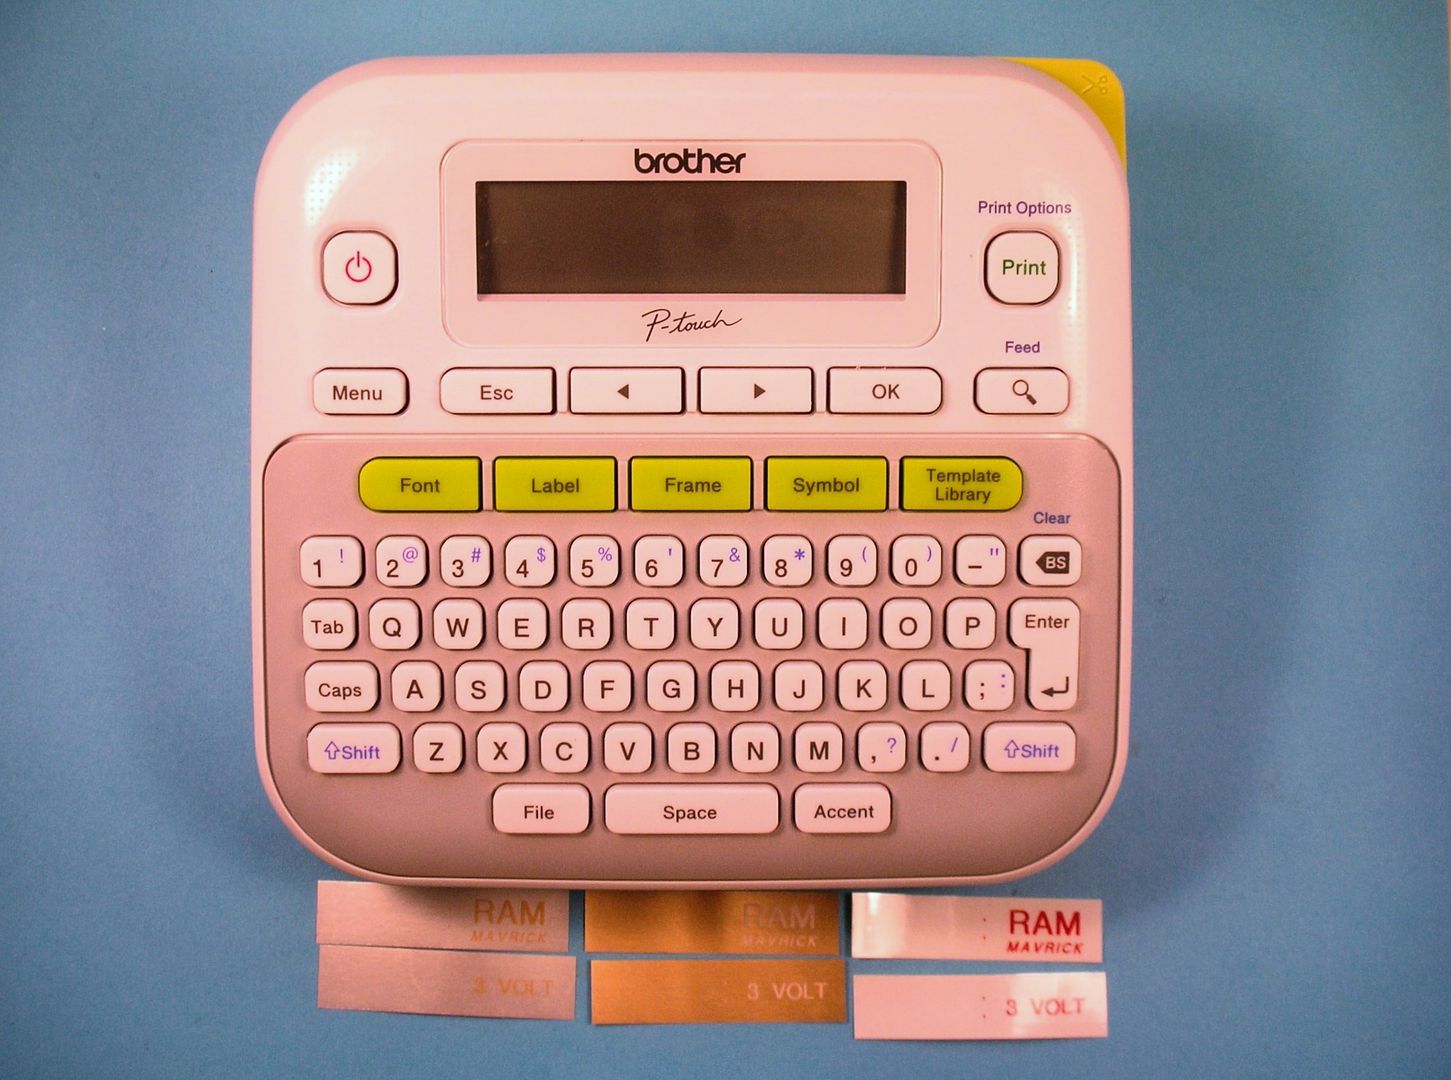
Some of these might look cool on the motor can depending on what color I paint it:
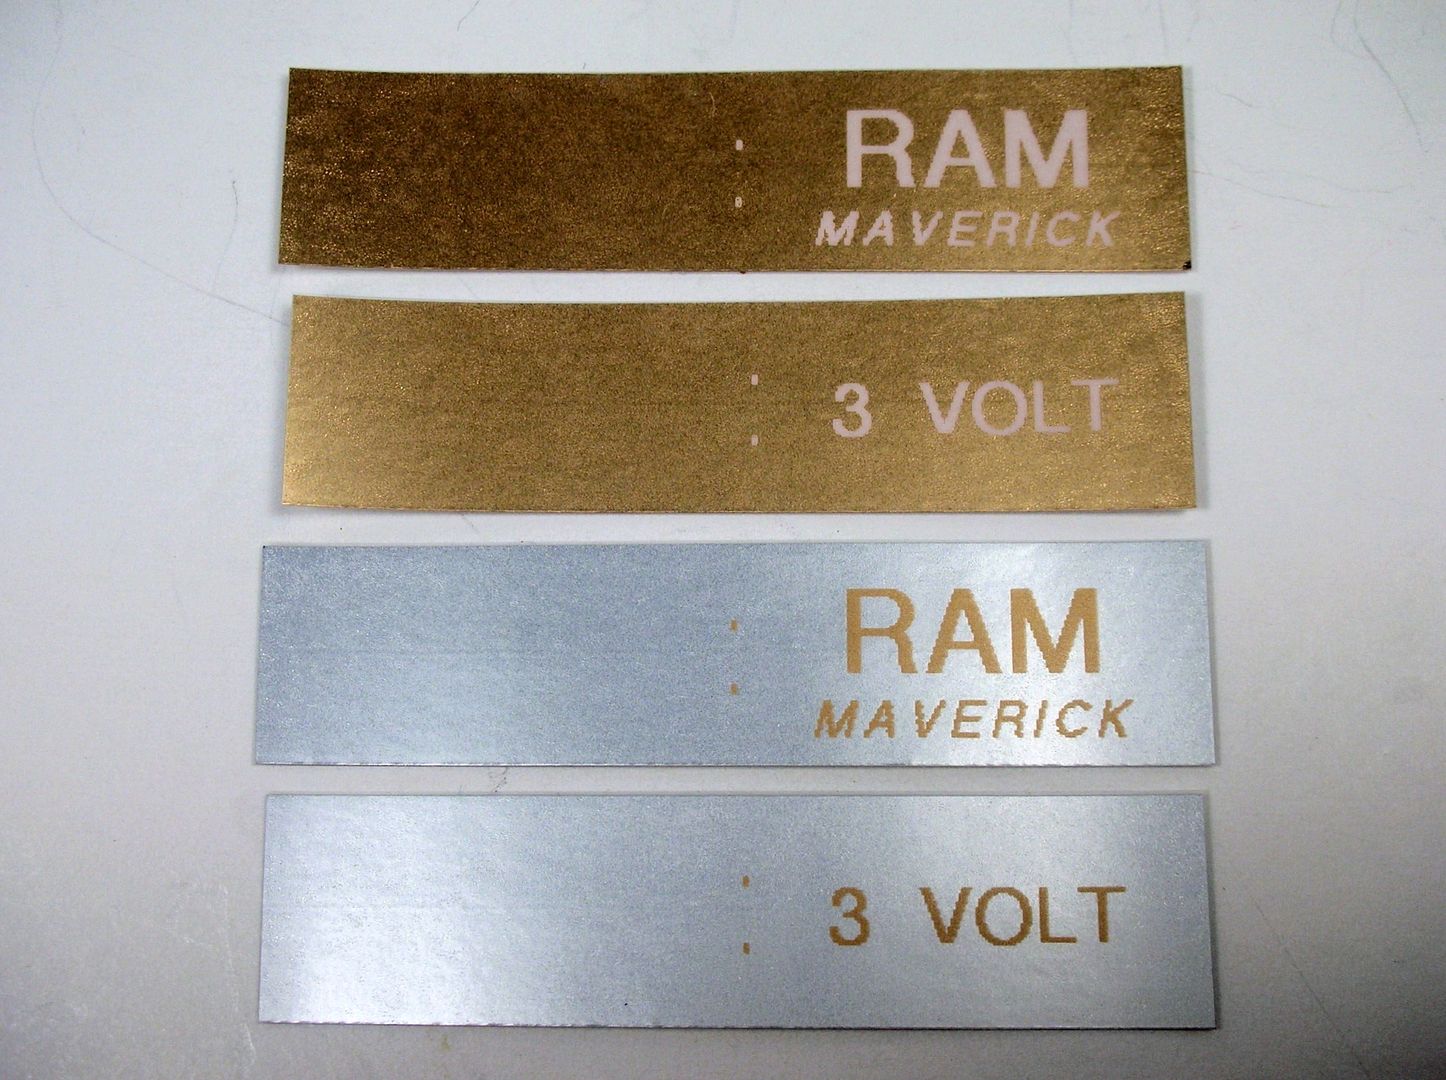
Now if it would just stop raining and snowing so I could open up my "trash dumpster spray booth" I could paint the motor can. ![]()
Rick Thigpen
Check out Steve Okeefe's great web site at its new home here at Slotblog:
The Independent Scratchbuilder
There's much more to come...
Posted 26 February 2018 - 10:15 AM
I'll be watching how you apply the labels ![]() Those look super
Those look super ![]()
Paul Wolcott
Posted 02 March 2018 - 11:43 AM
I don't know what's happening with my photos being hosted by Photo Bucket. I've paid them their new exorbitant fees for service. Now half of my photos won't show up properly. I guess all my threads are taking a pictorial dump. Random photos are gone.
Rick Thigpen
Check out Steve Okeefe's great web site at its new home here at Slotblog:
The Independent Scratchbuilder
There's much more to come...
Posted 02 March 2018 - 11:52 AM
Rick,
Photobucket is nothing anymore, but a bucket of SH*T.
You can load pictures from your own computer files using the "More Reply Options" button at the bottom right of each post.
As a community, virtually all Photobucket pictures have effectively disappeared, and even with a paid subscription, are a PAIN to recover. Simply not worth the hassle, and hundreds of valuable documents, lost.
There are also plenty of other FREE storage sites on the Net, but even your own provider likely offers a few gigs of free space where you can store pictures and post them on various forums.
Philippe de Lespinay
Posted 02 March 2018 - 12:02 PM
That's crazy that you've paid and the photos still disappear Rick. While Philppe's is the long term solution, try to contact them now and get this straightened out... They're doing everything possible to lose clients!
I just got an email from them wanting to introduce me to the "new" Photobucket.
Strangely enough, unless something happened in the last 24 hours, my photos are still showing up, even tho I only had a minimum plan with them (it was supposed to be good till end of this year (as a "favor" to "faithful clients") , but I've gotten other messages since then, implying that it could stop any minute!),
Don
Posted 02 March 2018 - 12:13 PM
But Don, your pictures remain invisible for the vast majority of viewers. And that's the major point.
Posting pictures directly from your laptop never causes any issues. I don't even know why ANYONE would want to pay Photobucket ANY ransom, when what they offer is free in many other places...
Another advantage of using your own files to upload, is that especially for text, you can post them at the same exact size as on print, so that people can actually read them without having to use a magnifying glass.
Philippe de Lespinay
Posted 02 March 2018 - 12:15 PM
Philippe,
My main problem is that a dozen years of threads will be lost. There is no way I'll be able to fix them.
Maybe I should just start over.
Rick Thigpen
Check out Steve Okeefe's great web site at its new home here at Slotblog:
The Independent Scratchbuilder
There's much more to come...
Posted 02 March 2018 - 03:52 PM
I found the Photobucket support email address, contacted them and they have hopefully fixed the problem. So here goes with more of this build.
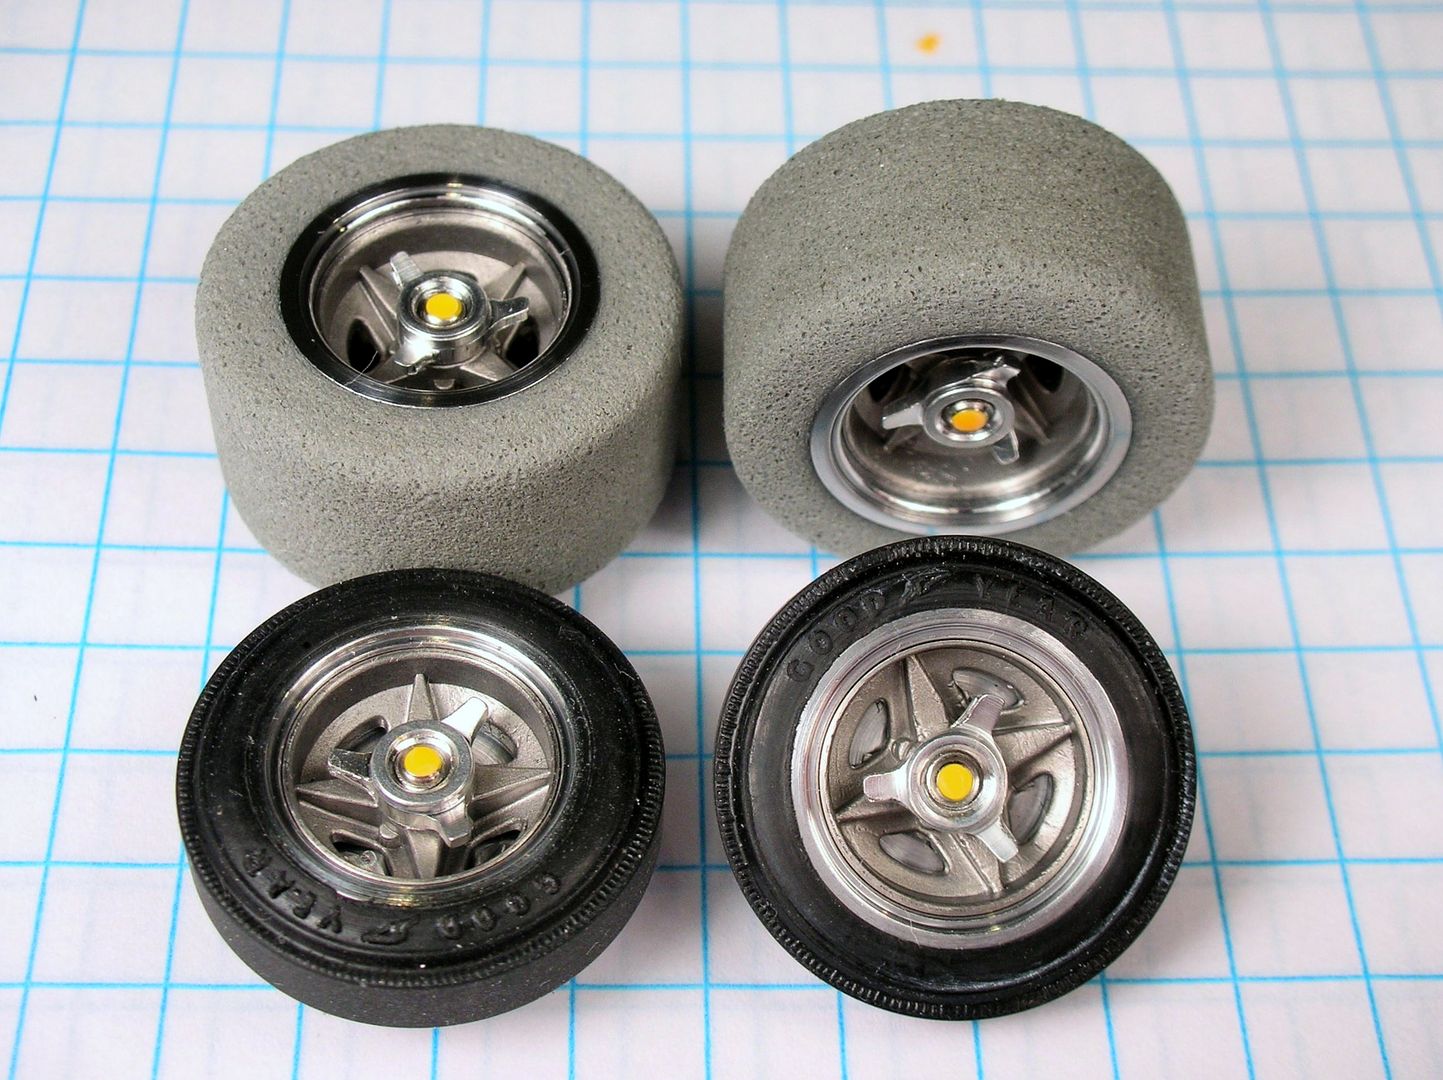
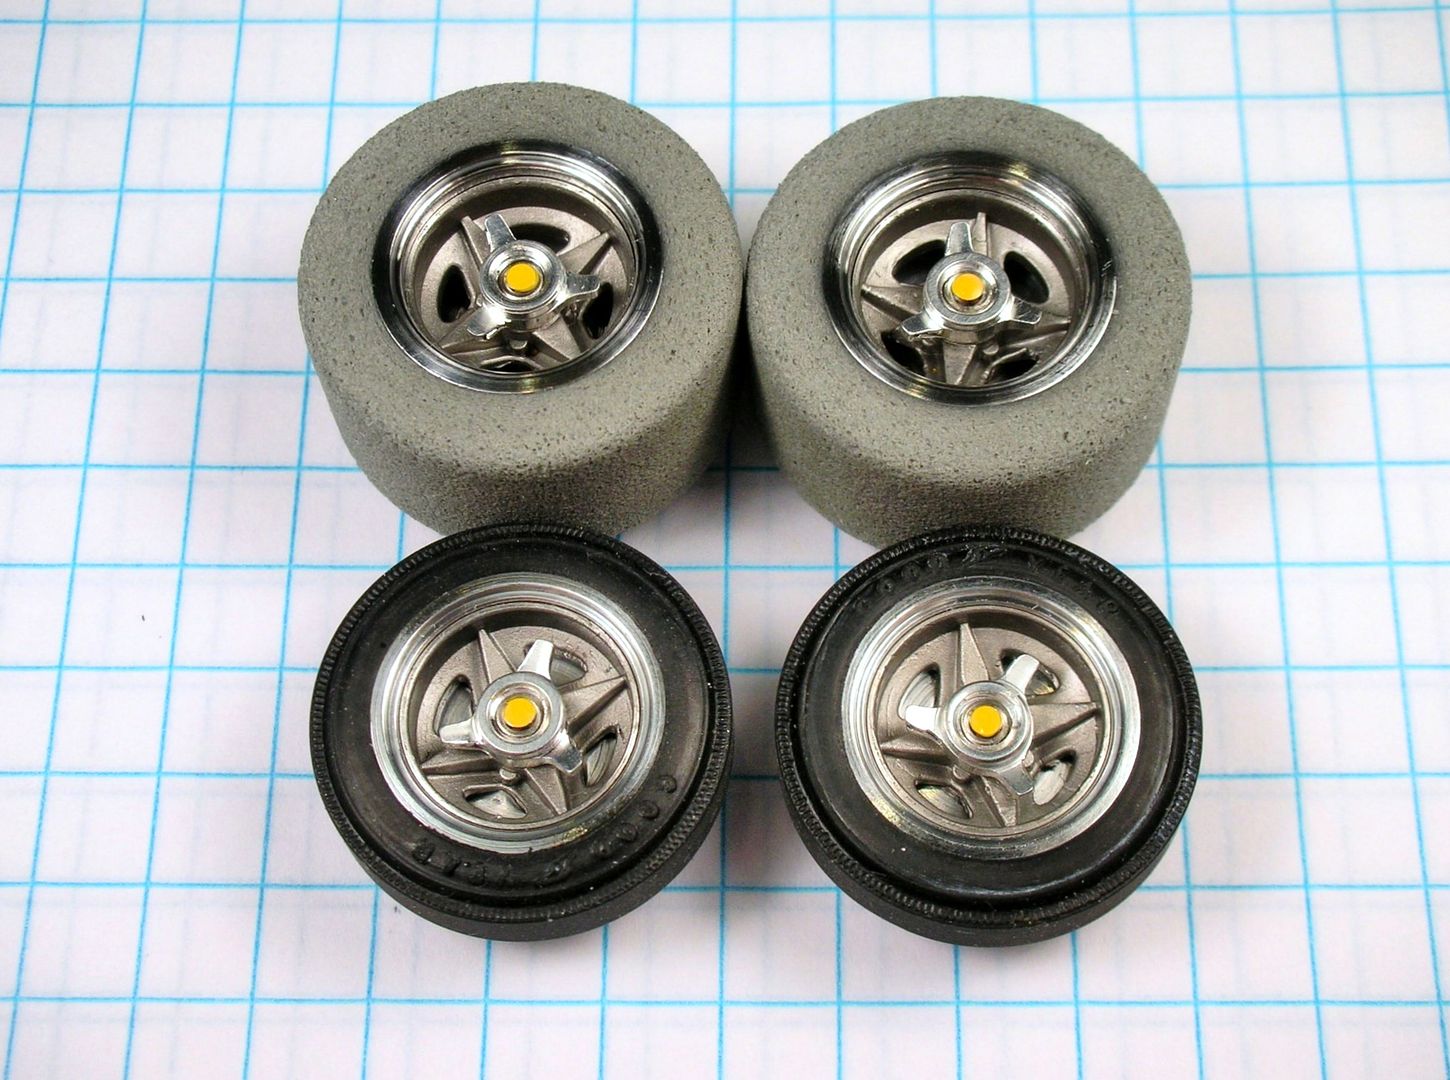
For front wheels I'm using our Russkit repops and the PRO favorite K&B vinyl front tires:
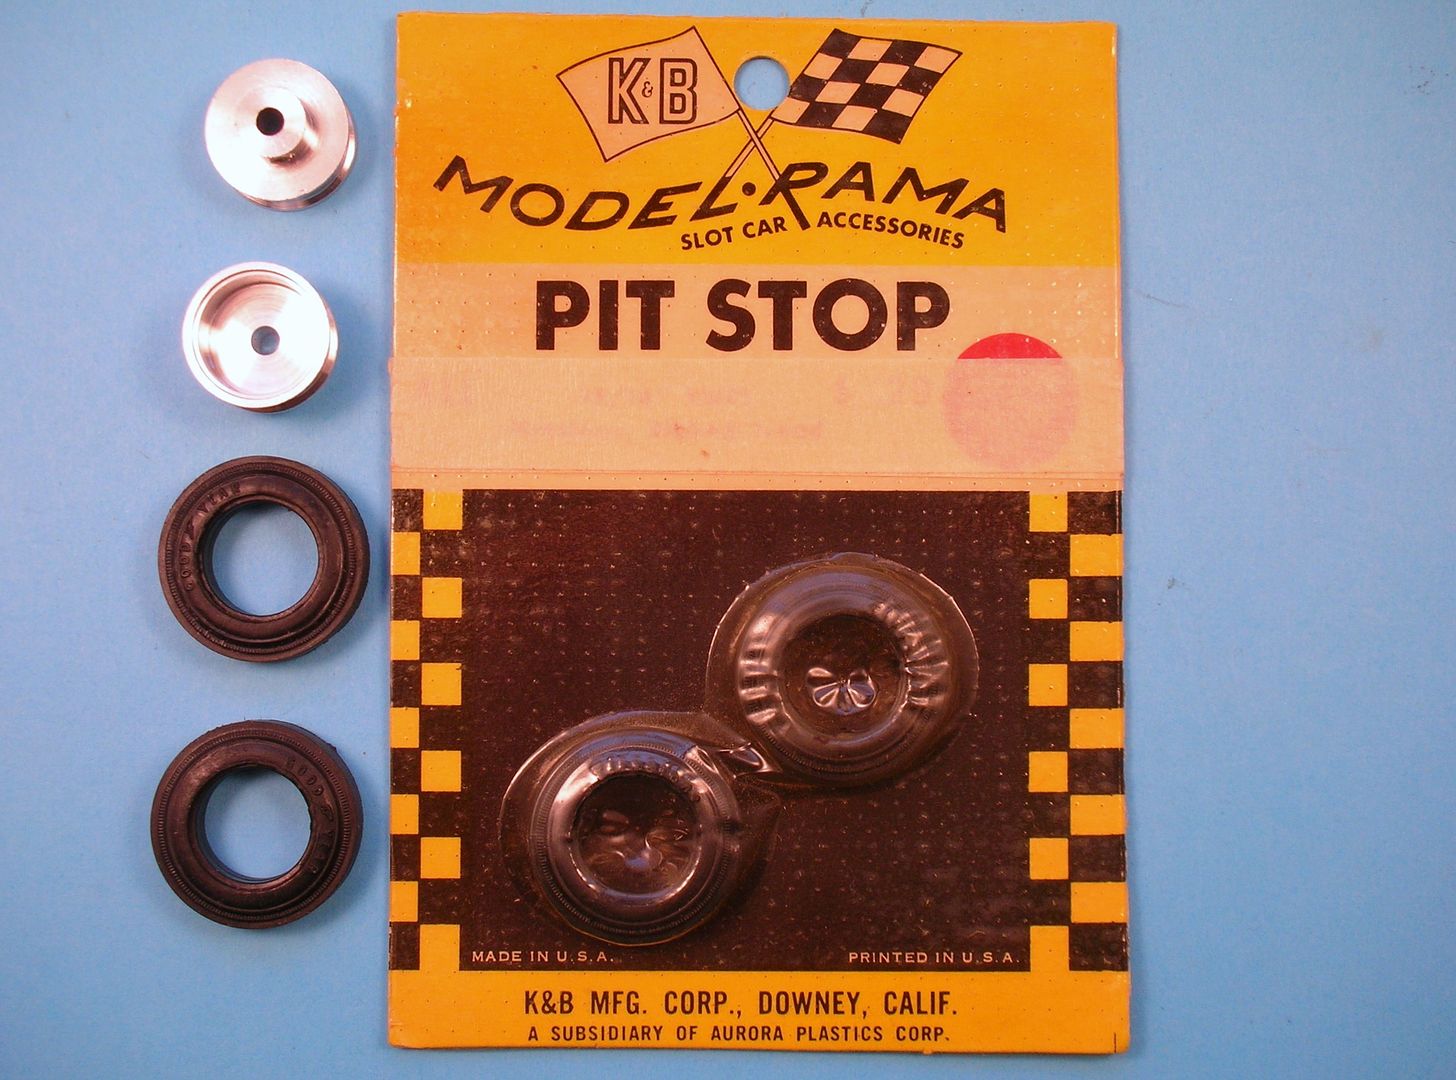
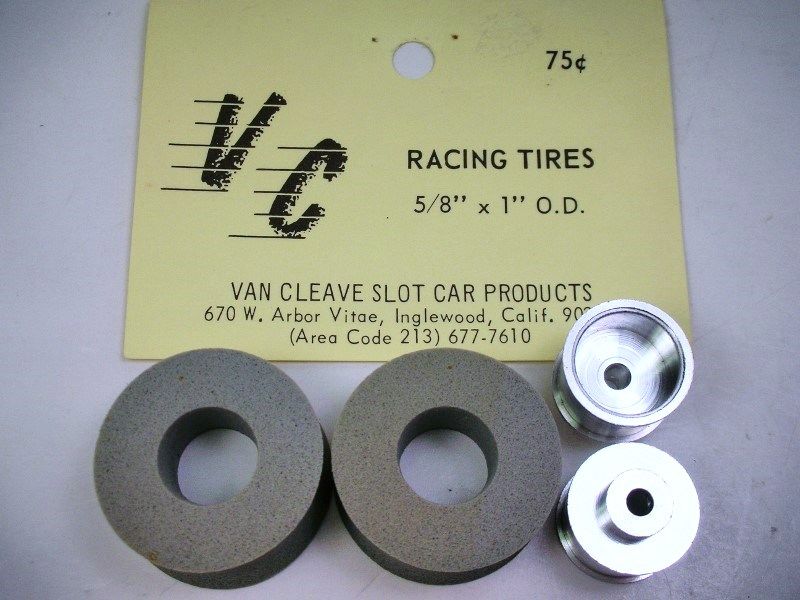
For the rear, more repop Russkit wheels and VC's period favorite grey tires for display. More on what I'm running with later:
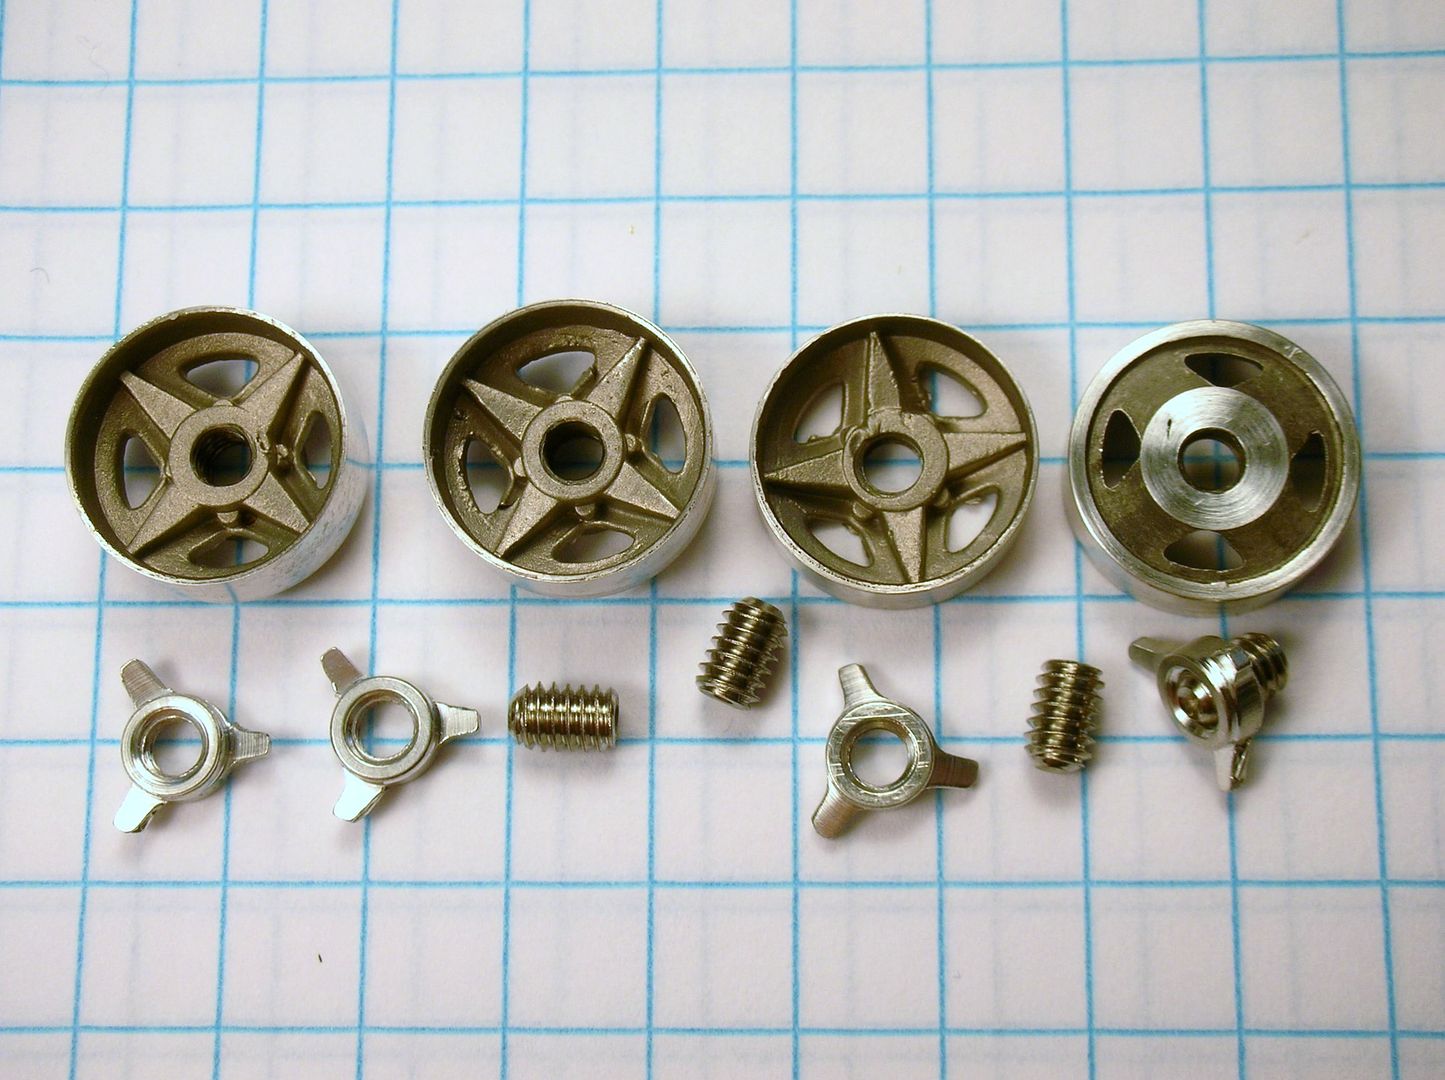
I'm going to give new life to some sorry Cox wheels:
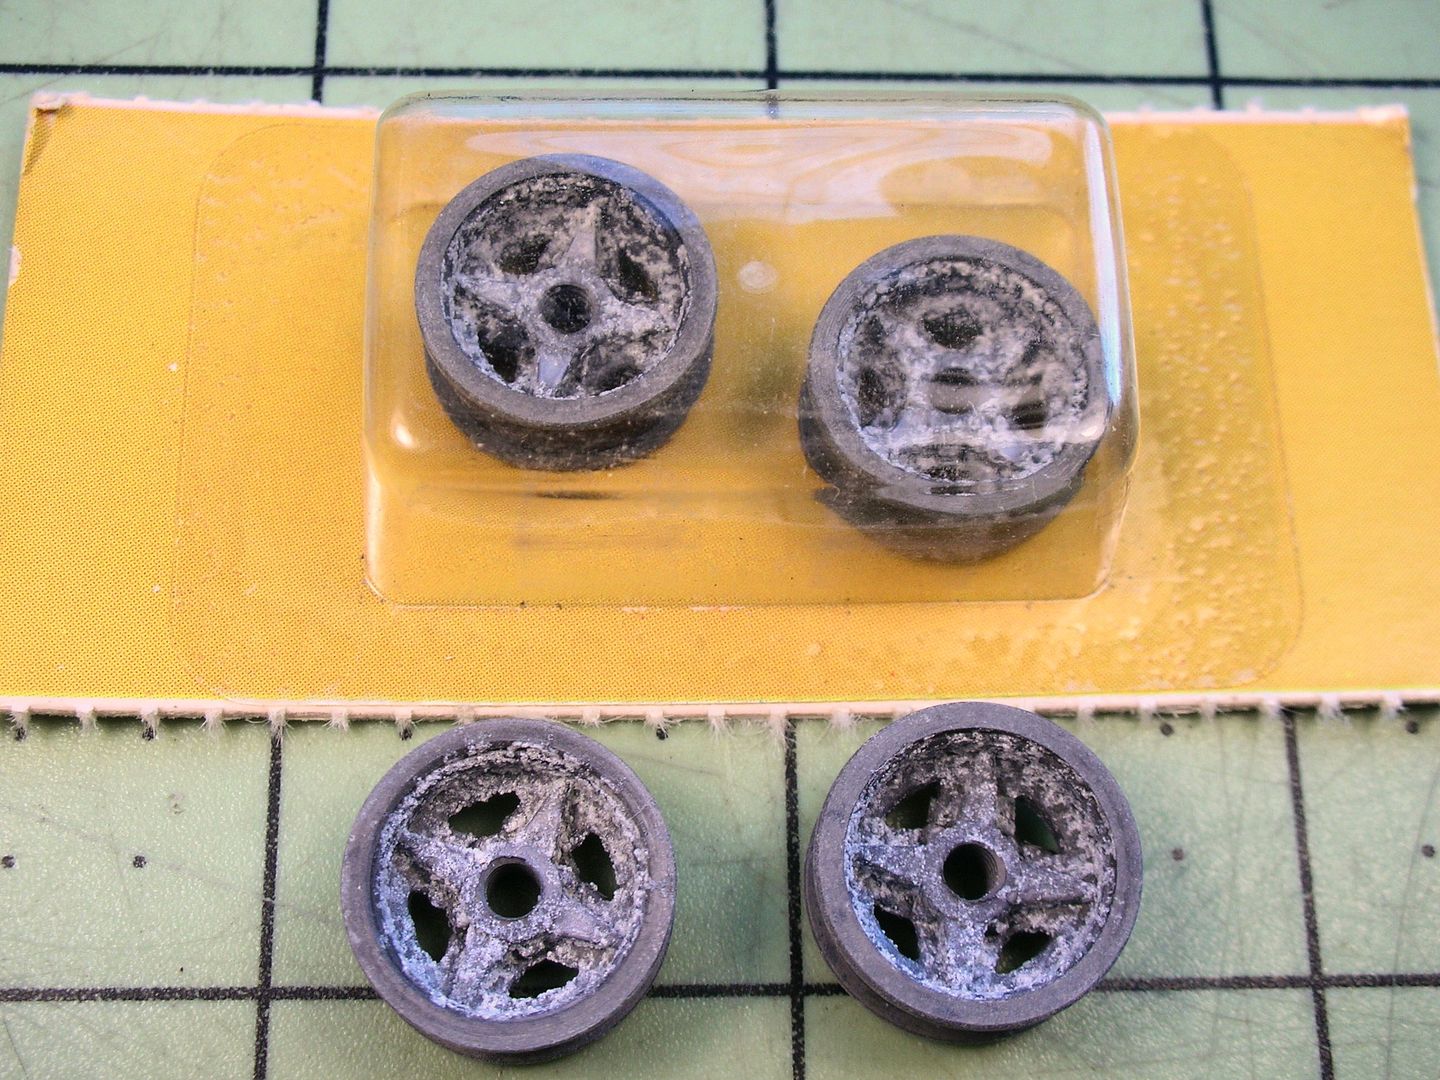
A quick trip to my micro-bead blaster and.............
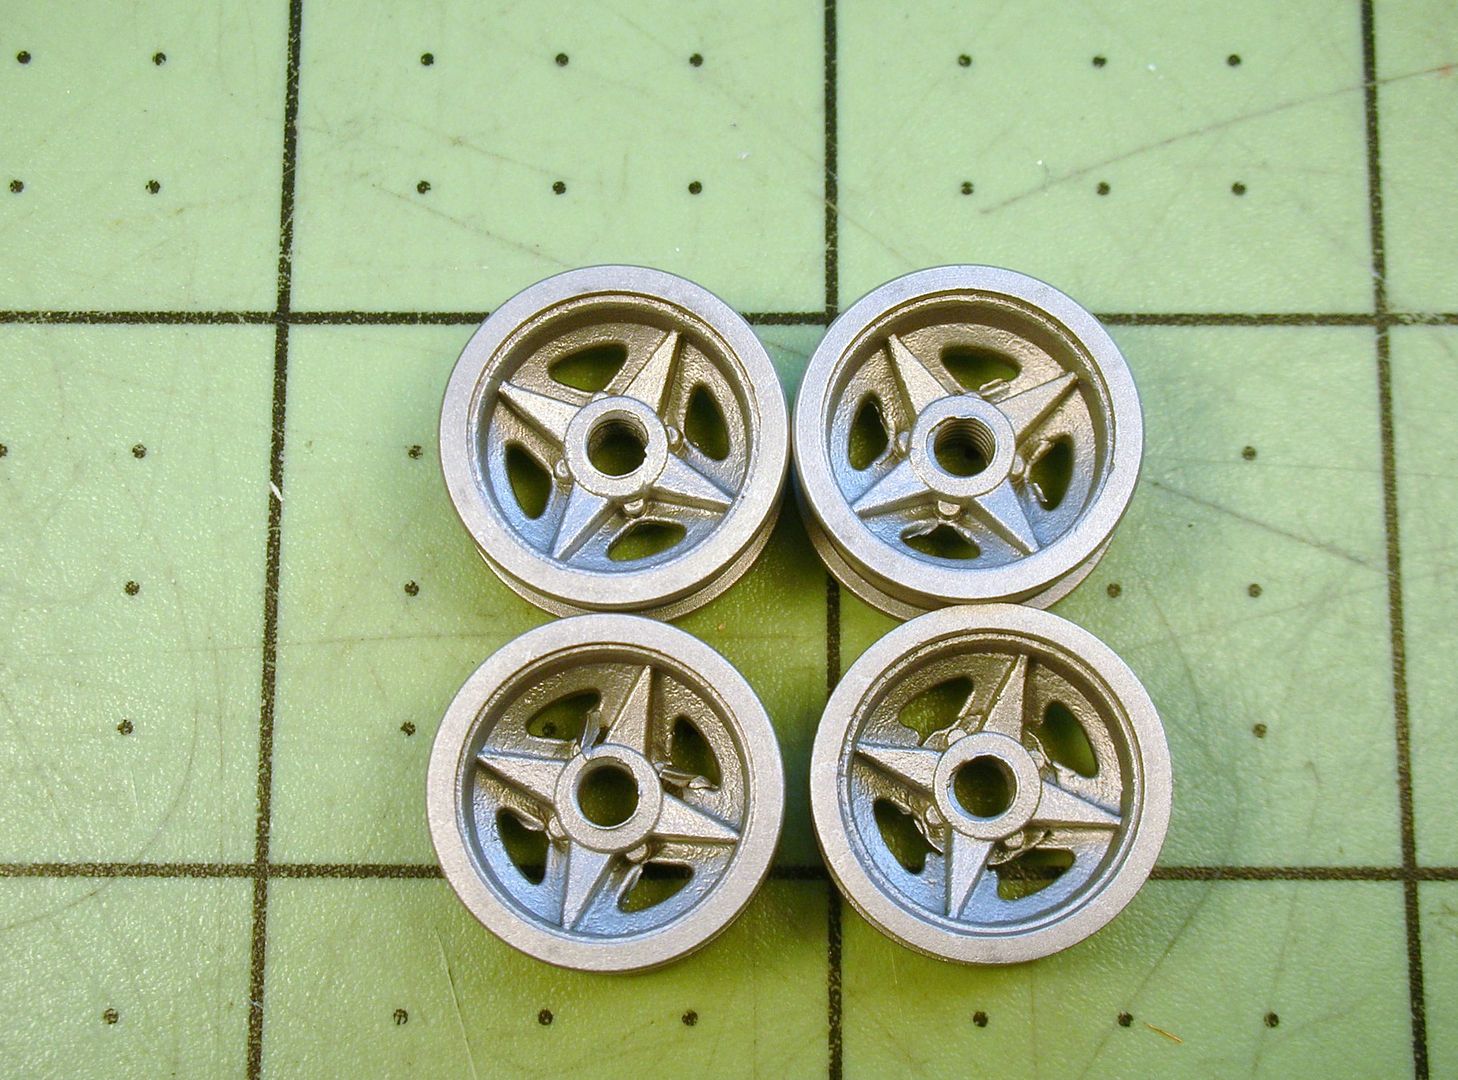
..............they look good as new. They still make terrible wheels but a bit of turning in my hobby lathe..........
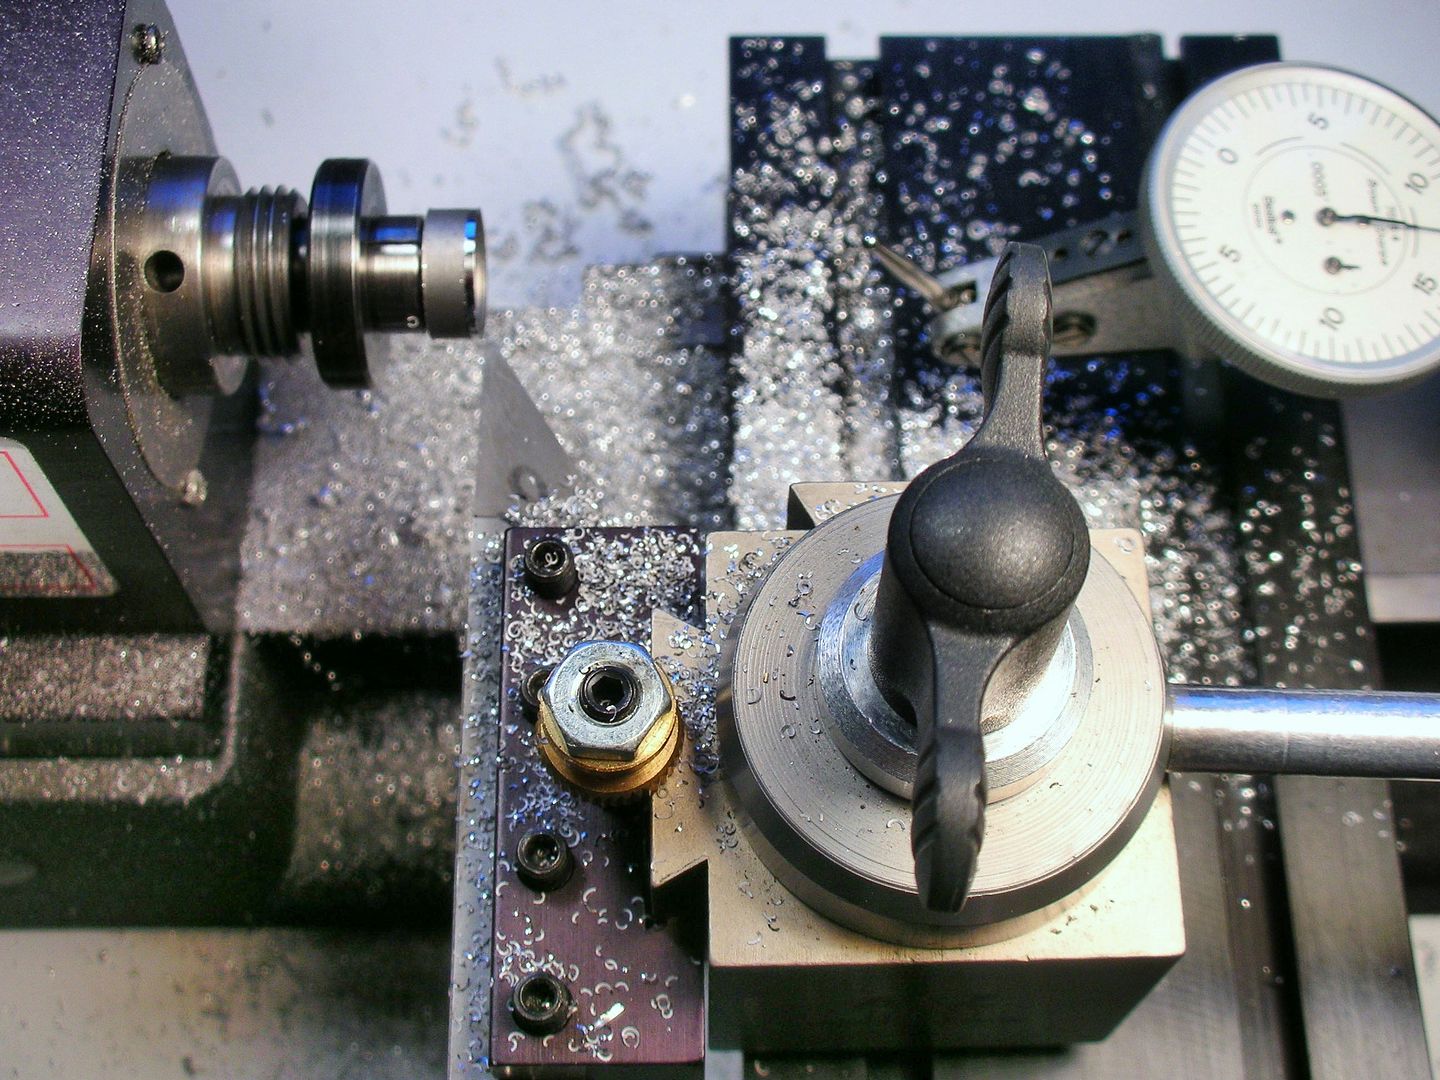
................they make great wheel inserts along with some Cox knock offs and a coat of Testors Clear Gloss Lacquer:
Finished:
Rick Thigpen
Check out Steve Okeefe's great web site at its new home here at Slotblog:
The Independent Scratchbuilder
There's much more to come...
Posted 02 March 2018 - 04:15 PM
Some mighty nice looking wheels Rick, and glad to hear that Photobucked fixed the problem - I can see all your photos now!
About those K&B fronts... what's the part number and official label on that? I've always wondered what the pros used when it just said K&B, and have never found anything that seemed to do the trick... are they turned to 7/8 or 15/16?
Don
Posted 02 March 2018 - 04:25 PM
Hi Don,
The part number is 411 for the K&B "15/16" Tires - Firestone Ribbed Tread" and 412 for the Goodyear versions. These were ground to 7/8" diameter per the 1966 R&C rules.
Rick Thigpen
Check out Steve Okeefe's great web site at its new home here at Slotblog:
The Independent Scratchbuilder
There's much more to come...
Posted 02 March 2018 - 04:27 PM
Stunning wheels ![]()
![]()
![]()
![]()
Paul Wolcott
Posted 02 March 2018 - 04:51 PM
Thanks Rick.
Don