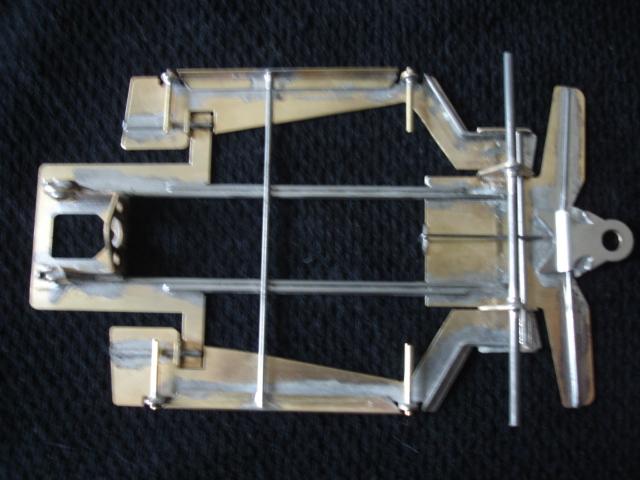
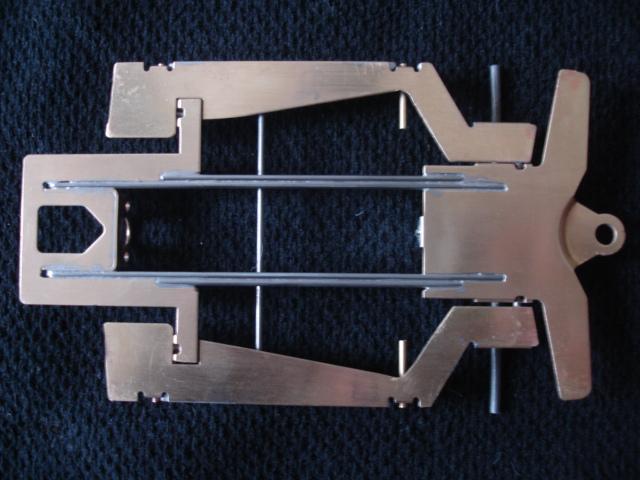
Scratchbuilt chassis gallery
#1326
Posted 09 February 2013 - 04:01 PM
I reach for my good Grobet parallel jaw pliers for just about anything I do in 1/16" and less:
These have a vee-groove right down the middle of one jaw that makes it a breeze to set up any bend in just the right spot and lay it over with a firm thumb, and parallel jaws are way more secure in gripping side-load jobs that'll pop out of a hinged plier with the slightest hint of offset pressure.
I am enormous fan of R-Geo products and own a couple of his bending jigs, and I use 'em for repeat & production work. It may be my own inability to "see" how to accomplish one-off bends as easily as my pliers. I dunno.
This subject really needs its own thread, that should certainly include some plier basics as well as THIS tutorial on the R-Geo bender - but also some techniques on laying out where & how a wire should bend, estimating bend-radius allowances, all manner of goodies. We should talk.
Duf
- macman, DCR and Jocke P like this
1950-2016
Requiescat in Pace
And I am awaiting
perpetually and forever
a renaissance of wonder
#1327
Posted 09 February 2013 - 04:21 PM
Nice tool... I have been considering a pair of Duckbill pliers for bending, since my 9" linemans pliers are just too big for a lot of stuff & needle-nose have too much skinny nose that tends to flex too much... I bend electrical conduit on a semi regular basis, so multiple bends are a matter of pride with me, but the lack of a decent bender with measured take-up is a pain when doing these builds...
I recently did do some back to back reverse 90 bending using the 1/8 pegs on my jig to make the front end on the above chassis, but the thought of pulling all the pegs out in order to do a few of bends then having to reconfigure everything to continue work on the chassis is somewhat daunting, to say the least... Rick's tutorial was helpful for this, wish he would add some more to it...
8/3/53-4/11/21
Requiescat in Pace
#1328
Posted 12 February 2013 - 10:43 PM
So with the weekly Stock car racing going on at Slots-A-Lot my first car just don't cut it with a best finish of 3rd place out of at least 7 or 8 that I raced in. So I decide to make a new one and I'm almost finished with it. the chassis has .062 main rails 4.5 in WB and a .750 guide lead and it is weighing in at 72 grams as pitched. I'm shooting for the 133 to 138 gram mark is that possible or is it to heave at 72 grams ? I'll post this picture and more when finished.
"Drive it like you're in it!!!"
"If everything feels under control... you are not going fast enough!"
Some people are like Slinkies... they're really good for nothing... but they still bring a smile to your face when you push them down a flight of stairs.
#1329
Posted 12 February 2013 - 11:18 PM
Looks good, Joe... stout. What kind of track will you be running it on?
- Joe Mig likes this
Remember, two wrongs don't make a right... but three lefts do! Only you're a block over and a block behind.
#1330
Posted 13 February 2013 - 02:25 AM
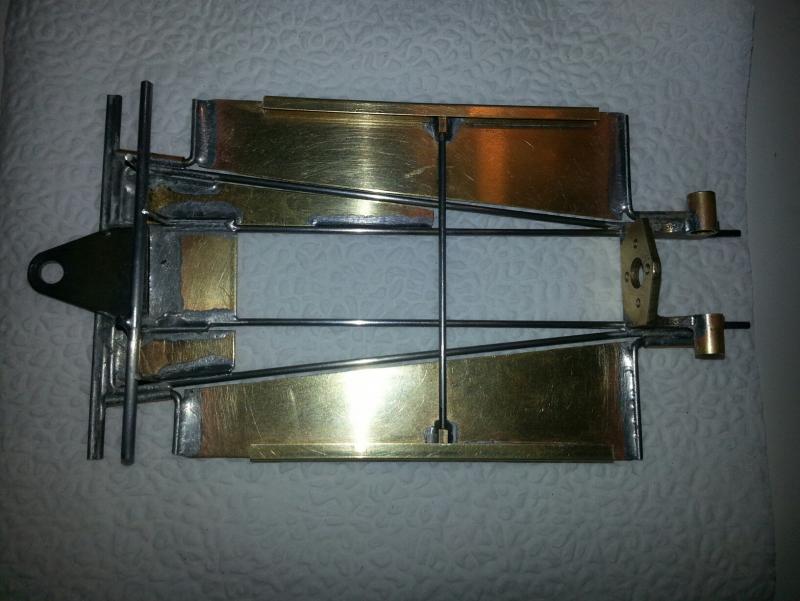
... Well, I'm getting faster. Built this in two long evenings. I built this chassis #5 a little heavier, it weighs 45.5 grams as it sits, should build a nice 93-94 gram car. This is the first one I've built with a steel tongue...
Take care everyone...
Don
- The Bugman, miko, Jim Lange and 1 other like this
"DCR Slot Cars" on FaceBook
#1331
Posted 13 February 2013 - 06:39 PM
What event track it works it works good on but mostly a kingalmen and a hill climb and onces in a while a king if it is better then my other stock car.
"Drive it like you're in it!!!"
"If everything feels under control... you are not going fast enough!"
Some people are like Slinkies... they're really good for nothing... but they still bring a smile to your face when you push them down a flight of stairs.
#1333
Posted 19 February 2013 - 02:23 PM
Please keep sharing photos with us,as it inspires others to try there hand at building.....Good Luck!
Thanks Don
"DCR Slot Cars" on FaceBook
#1334
Posted 19 February 2013 - 02:38 PM
Hey Casey,
Pretty niffty job on your first chassis. Looks like you'll be racing it soon.
Speedstar - Go fast, stay on, do laps!!
#1335
Posted 19 February 2013 - 02:41 PM
Casey,
Great start! I hope you enjoy the building. As Don says, it is fun and can get to be addicitve.
I would add a rail of .055 or .062 steel down each side next to the straight brass rails. i fear that the frame will be too weak to take a good hit as it is right now.
Also you will need some sort of stops to prevent the pans drooping at the rear., just a piece of wire soldered to the pan and resting on the "ears" of the rear end will work.
#1336
Posted 19 February 2013 - 02:49 PM
I have some .047 steel that I was thinking about running down the outside of the brass railand bend up to support the axle tube,that i just installed here at work lol. kinda slow so i get to play
#1337
Posted 19 February 2013 - 02:53 PM
Good idea - that will work well.
#1338
Posted 19 February 2013 - 03:07 PM
this one is my son's chassis, I'm building a r-geo dragon slayer for myself,when I'm done with his..
the only thing I can figure out is how do all of you get the solder to flow thru the bottom side also?
I'm using a SNAP-ON butane iron rated to 125w , rosin acid flux?
only seem to have that issue with just the chassis rails? I'm i loosing heat to the set up block?
#1339
Posted 19 February 2013 - 06:44 PM
what is the tumbler that every one seems to do to their chassis?
#1340
Posted 20 February 2013 - 11:05 AM
I am not 100% sure but I believe it is a tumbler/vibratory container used with a substance/media to help clean/shine brass and piano wire retro chassis after construction. Shooters use crushed/ground walnut shells and/or corn cob treated with a polishing substance to clean/shine brass before reloading. People who collect and work with non-precious stones will use a tumbler with a different type of media to smooth/polish stones before being used in jewelry.
Hope this helps,
Richard
#1341
Posted 20 February 2013 - 12:24 PM
Do a search on "tumbler" you will find lots of info.
The best thread is this one: http://slotblog.net/.../?hl=a-tumbling
#1342
Posted 20 February 2013 - 01:51 PM
These pliers are available from McMaster-Carr in case anybody is looking for a pairWire bending's a learnable skill, Ben; and you can plot out your build to pretty much do the TonyP "one wire, one bend" strategy, & do all your fiddly work with a Dremel at the end of things.
I reach for my good Grobet parallel jaw pliers for just about anything I do in 1/16" and less:
plier.jpg
These have a vee-groove right down the middle of one jaw that makes it a breeze to set up any bend in just the right spot and lay it over with a firm thumb, and parallel jaws are way more secure in gripping side-load jobs that'll pop out of a hinged plier with the slightest hint of offset pressure.
Duf
Tom Hansen
Our Gang Racing Team
Cukras Enterprises
Team Camen
Chassis By Hansen
I race and shop at Pacific Slot Car Raceway
#1344
Posted 21 February 2013 - 02:28 PM
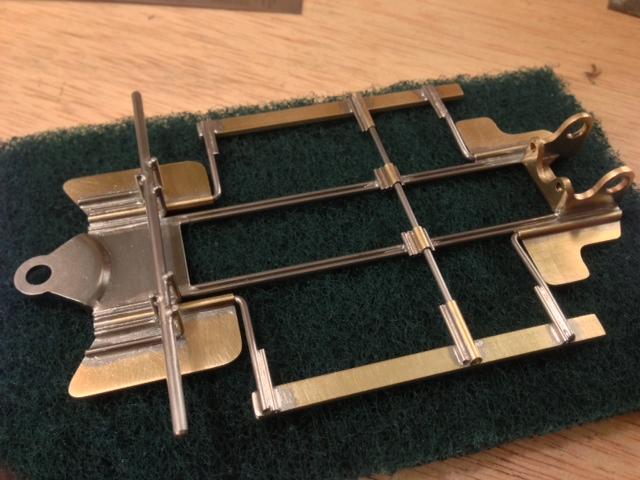
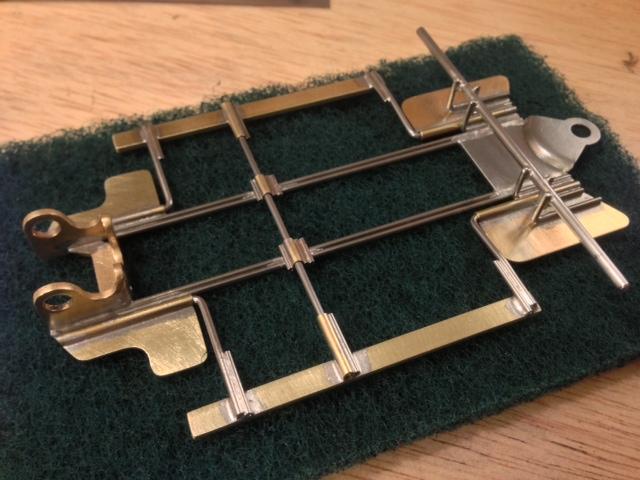
This is my completed version of the new RGEO Speedwagon Chassis Kit.
3 and 2 rails of .047 on each side.
Pans hung with .062
.047 bite bar.
Weighs 42.7 gm as pictured
Will be going to Rick for Him or Rick Jr. to try out.
- Noose, Jim Lange, Gator Bob and 1 other like this
11/4/49-1/23/15
Requiescat in Pace
#1345
Posted 21 February 2013 - 02:50 PM
Great build Ray! Pretty much how I pictured it in my head too. Will be looking forward to the test and tune. At 42 grams, leaves lots of room..............Nice job!!!
Rick Bennardo
"Professional Tinkerer"
scrgeo@comcast.net
R-Geo Products
LIKE my Facebook page for updates, new releases, and sales: Rgeo Slots...
Lead! The easy equalizer...
#1346
Posted 22 February 2013 - 04:36 PM
Here is an "Inside Out" JK X25.
I removed the "Inside" section of the pans and that weight went back on ont the "Outside" with the Angled Brass and bracing.
The Rails, Front Pan Tie and Rear Stops are .062.
The Rear Pan Tie Bar is .055....it worked well sitting on the anle brass over the .062 rails.
I added the .032 torsion wire to keep some tension on the pans. (Pretty sure the SpeedZone guys came up with that.)
Weighs 52.5 g as pictured.
OOOOPs....still need to add L brace to rear stops............
- Gator Bob likes this
11/4/49-1/23/15
Requiescat in Pace
#1347
Posted 22 February 2013 - 05:23 PM
#1348
Posted 27 February 2013 - 07:15 PM
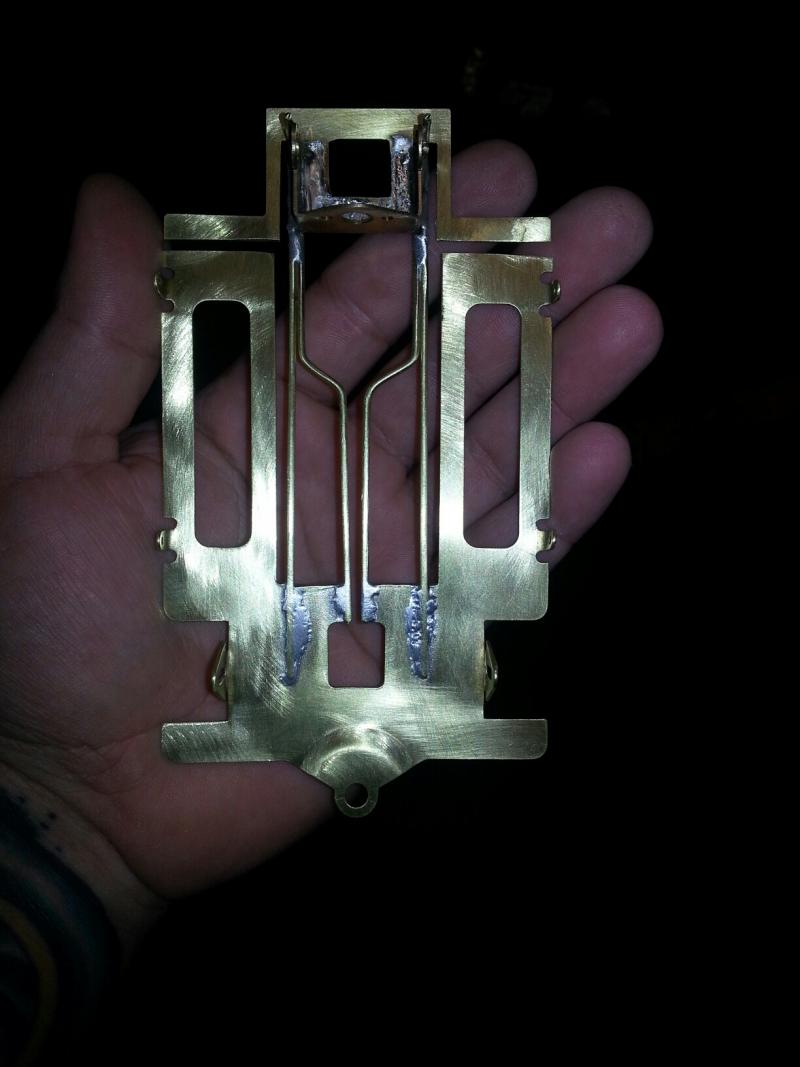
3D Racing Chassis #010
8-Rail Formula 1 Chassis
8 rails of 0.047" wire
4.125" wheelbase, 0.940" guide lead
Built from FSF 3/4" F1 Kit
- miko, blkdout76 and DCR like this
Gehrken Retro Chassis
2015-16 Retro East Overall Champion
2015-16 Retro East Constructor's Champion
2013-14 New England Retro Racing Overall Champion
#1349
Posted 28 February 2013 - 05:43 AM
Bud Bartos of BRP, famous for his threaded front axles, has been building Z-Rail chassis for me & our Retro Tokyo racers.
This is what he built for me very recently, Z-Rail Plumber Can-Am for my Gerding King in Tokyo.
He will also build another Can-Am, Z-Rail Torsion version.
Haruki
- One_Track_Mind, miko and DCR like this
Retro Tokyo
Retro Tokyo
Retro Tokyo on Facebook
Where do we go from here: chaos or community?
#1350
Posted 28 February 2013 - 07:54 AM
Nice lookin' chassis; good build, Bud!
Remember, two wrongs don't make a right... but three lefts do! Only you're a block over and a block behind.