

Preston, your work is just getting better and better. Awesome builds my friend.

Scratchbuilt chassis gallery
Started by
Cheater
, Apr 16 2008 12:18 PM
3139 replies to this topic
#1376

Tom Eatherly
-

- Full Member
-

- 2,166 posts Joined: 28-October 11
Posting Leader
- Gender:Male
- Location:SoCal
Posted 25 March 2013 - 10:42 PM
- ejgehrken likes this
Tom Eatherly
#1377
ejgehrken
-

- Full Member
-
- 345 posts Joined: 07-May 12
On The Lead Lap
- Gender:Male
- Location:Southington, CT
Posted 25 March 2013 - 11:00 PM
Great build Preston!
Eric Gehrken
Gehrken Retro Chassis
2015-16 Retro East Overall Champion
2015-16 Retro East Constructor's Champion
2013-14 New England Retro Racing Overall Champion
Gehrken Retro Chassis
2015-16 Retro East Overall Champion
2015-16 Retro East Constructor's Champion
2013-14 New England Retro Racing Overall Champion
#1378
Pablo
-

- Administrator
-
- 18,458 posts Joined: 20-February 06
Builder
- Gender:Male
- Location:Cleveland, Tennessee
Posted 28 March 2013 - 07:02 PM
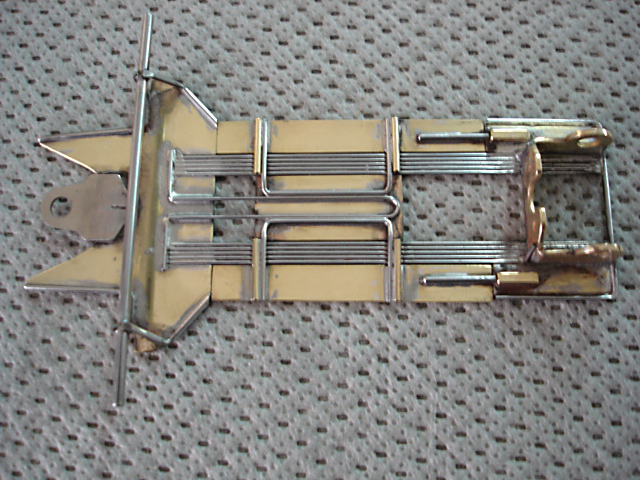
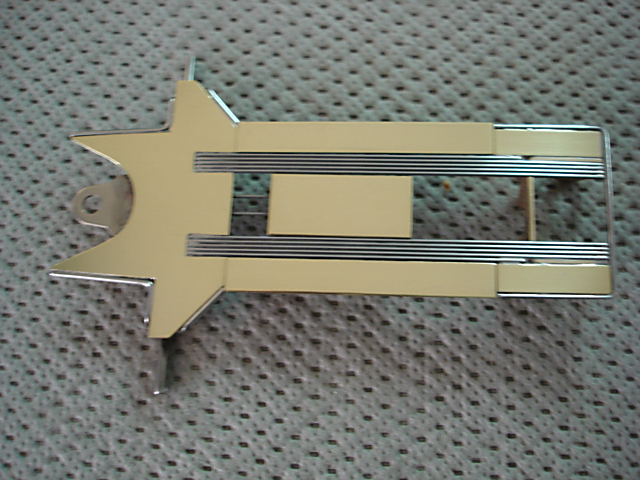
Anybody know who built this ?
It's pretty nice.......
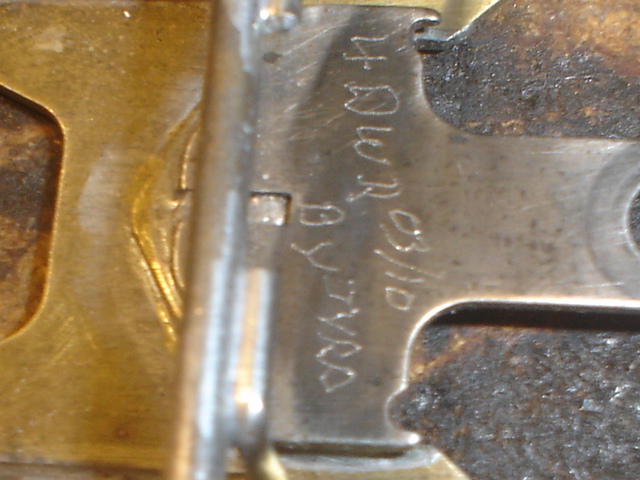


Paul Wolcott
#1379
JHMerriman
-

- Full Member
-
- 299 posts Joined: 28-July 07
On The Lead Lap
- Gender:Male
- Location:Sugar Hill, GA
Posted 28 March 2013 - 08:25 PM
Joe "Jobiwan" McIntosh
James "Merry Muffin" Merriman
Team RTR
Team RTR
#1380
Pablo
-
- Administrator
-
- 18,458 posts Joined: 20-February 06
Builder
- Gender:Male
- Location:Cleveland, Tennessee
Posted 28 March 2013 - 08:32 PM
Thanks James, but, how do you get "Joe McIntosh" from "JVRP" or JVRD" ?
Just askin' 
Paul Wolcott
#1381
John Streisguth
-

- Full Member
-
- 5,638 posts Joined: 20-November 08
Johnny VW
- Gender:Male
- Location:Bangor, PA
Posted 28 March 2013 - 09:48 PM
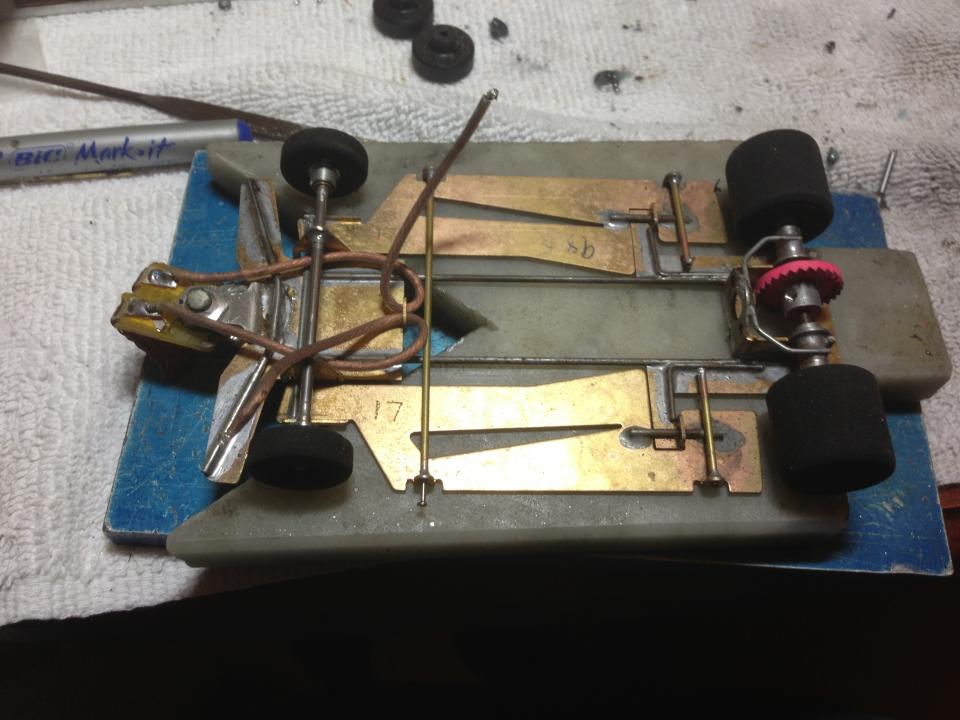
Here's an f1 I just finished. I started with an FSF kit with 1" motor bracket. The idea was multiple small rails (037) with a tuning fork of 047, to try and have it twisting around the center wishbone. I intended to use 4 037 rails on each side and narrow the stock pans a little, but ended up adding 2 rails per side, so I had to go with a single 063 wire for each "pan", with a set-up similar to Tony P's "Wallenda" design. The biggest PIA was the center rattle-pan set up with the 3 pieces. It will get tested at the next Retro East race on April 6th...I just hope it was worth all the trouble LOL
Attached Images


"Whatever..."
#1382
John Streisguth
-
- Full Member
-
- 5,638 posts Joined: 20-November 08
Johnny VW
- Gender:Male
- Location:Bangor, PA
Posted 28 March 2013 - 09:49 PM
deleted duplicate post
"Whatever..."
#1383
JHMerriman
-
- Full Member
-
- 299 posts Joined: 28-July 07
On The Lead Lap
- Gender:Male
- Location:Sugar Hill, GA
Posted 28 March 2013 - 09:55 PM
It's actually "TVRP", something Joe has used since I've known him.
The real reason I know this chassis is becasue I've been beat by it more times than I'd like to admit. Joe builds some of the best cars around, and I wished he would race more than he does.
James "Merry Muffin" Merriman
Team RTR
Team RTR
#1384
Pablo
-
- Administrator
-
- 18,458 posts Joined: 20-February 06
Builder
- Gender:Male
- Location:Cleveland, Tennessee
Posted 28 March 2013 - 10:06 PM
Thanks James !
I'm tumbling it, and installing BB fronts. The new owner is John Clow. It is a sweet chassis !
Paul Wolcott
#1385
Brian
-

- Full Member
-
- 1,659 posts Joined: 06-June 08
Checkered Flag in Hand
- Gender:Male
- Location:Mansfield, OH
Posted 28 March 2013 - 10:14 PM
I've never seen a build like this..... looks like I'll hit the bench & give it try!
Thanks guys, for using my products!!!!!!!
Professional Garage Guru
Brian Cox
#1386
Jim Lange
-

- Full Member
-
- 298 posts Joined: 08-February 09
On The Lead Lap
- Gender:Male
- Location:Simi Valley
Posted 29 March 2013 - 11:36 PM
Just finished my first F1. 10 rails of .039, torsion pans. I dig the flex this thing has. Kinda like a eurosport. Can't wait to try it at the Zimmerman. I piled all the components on the scale an it looks like it will weigh about 92g.
Attached Images
- DCR, Tim Wilkins and SlotStox#53 like this
#1387
DCR
-

- Full Member
-
- 366 posts Joined: 22-October 12
On The Lead Lap
- Gender:Male
- Location:Orange County, CA
Posted 29 March 2013 - 11:55 PM
.......Looks great Jim!.......you really have wire bending down to a art,you need to give me some tips some time.......Take care,,Don
Don Campbell
"DCR Slot Cars" on FaceBook
"DCR Slot Cars" on FaceBook
#1388
Tampabay racer
-

- Full Member
-
- 739 posts Joined: 07-January 18
Race Leader
- Gender:Male
- Location:Ruskin, FL
Posted 30 March 2013 - 12:31 AM
I took a idea from this blog and added my twist. " manta ray"
I used 8 rails of .47 and a .47 bite bar. I used a .78 front tie bar. HRV front BB fronts.
I used 8 rails of .47 and a .47 bite bar. I used a .78 front tie bar. HRV front BB fronts.
Brian Ambrose
#1389
Tampabay racer
-
- Full Member
-
- 739 posts Joined: 07-January 18
Race Leader
- Gender:Male
- Location:Ruskin, FL
Posted 30 March 2013 - 12:36 AM
Sorry about the double pic. I'm using my phone and thought I deleted the first pic.
Before & after..... Fun build. Then I took a brush on my dremel and some toothpaste and polished it up a bit.
Before & after..... Fun build. Then I took a brush on my dremel and some toothpaste and polished it up a bit.
Attached Images
Brian Ambrose
#1390
Tampabay racer
-
- Full Member
-
- 739 posts Joined: 07-January 18
Race Leader
- Gender:Male
- Location:Ruskin, FL
Posted 30 March 2013 - 12:44 AM
Race ready it weighs 102.3.
Brian Ambrose
#1391
zforce
-

- Member at Peace
-
- 128 posts Joined: 19-January 08
Mid-Pack Racer
- Gender:Male
- Location:Atlanta, GA
Posted 30 March 2013 - 02:09 AM
Terminal Velocity Racing Products
It's actually "TVRP", something Joe has used since I've known him.
The real reason I know this chassis is becasue I've been beat by it more times than I'd like to admit. Joe builds some of the best cars around, and I wished he would race more than he does.
Tommy Flythe
June 8, 1955-March 20, 2021
Requiescat in Pace
June 8, 1955-March 20, 2021
Requiescat in Pace
#1392
Pablo
-
- Administrator
-
- 18,458 posts Joined: 20-February 06
Builder
- Gender:Male
- Location:Cleveland, Tennessee
Posted 30 March 2013 - 08:13 AM
Thanks, Tommy, I will relay that info to the new owner....
Paul Wolcott
#1393
MantaRay
-

- Member at Peace
-
- 2,859 posts Joined: 05-March 06
a dearly-missed departed member
- Gender:Male
- Location:Chicagoland
Posted 30 March 2013 - 10:48 AM
Brian.......looks good.......you may want to brace the front of the pans. Its a lot weaker after cutting out the middle.
You did Agreat at the R4......
You did Agreat at the R4......
Ray Price
11/4/49-1/23/15
Requiescat in Pace
11/4/49-1/23/15
Requiescat in Pace
#1394
Dominator
-

- IRRA National Director
-
- 2,959 posts Joined: 19-September 07
Posting Leader
- Gender:Male
Posted 30 March 2013 - 02:22 PM
Love the look of the F-1 Jim
A motor is only as fast as the chassis it's in.
Dominic Luongo
Like Dominator Custom Chassis on Facebook
NERR photos from 2012-April 2016
NERR photos from 2016 to now
#1395
Tampabay racer
-
- Full Member
-
- 739 posts Joined: 07-January 18
Race Leader
- Gender:Male
- Location:Ruskin, FL
Posted 30 March 2013 - 03:09 PM
I have a question for all the builders out here.
How do I solder on my jig and not make it look like crap on the bottom of what I'm soldering? ( rails ) it always looks like ruff sand paper when I turn it over.
One more question... What can I use to clean up the chassis after I'm done soldering. I don't have a tumbler yet. I always use motor cleaner & lighter fluid durning and after building. But hours after the chassis look horrible.
Brian Ambrose
#1396
Pablo
-
- Administrator
-
- 18,458 posts Joined: 20-February 06
Builder
- Gender:Male
- Location:Cleveland, Tennessee
Posted 30 March 2013 - 04:32 PM
A toothbrush, a small hand brush, liquid soap, water, and Comet or Ajax. Works almost as good as a tumbler.
Then rinse well, dry completely, and soak in WD-40.
2,000 grit wet and dry sandpaper from the automotive section of Wal Mart shines brass sheet real well.
Paul Wolcott
#1397
slotcarone
-

- Full Member
-
- 3,997 posts Joined: 23-January 07
Posting Leader
- Gender:Male
- Location:Dutchess County, NY
Posted 30 March 2013 - 04:36 PM
A few suggestions. First make sure all of the parts you are soldering are cleaned and polished before you start building. Secong I suggest putting the solder on the tip of the iron and then on to the part you are soldering. This way you can control the amount of solder you put on and start with a small amount and after it flows evenly you can add a small amount more if necessary until the joint looks correct. Third I recommend bringing your work to the sink and using SOS pads during and after the build. This works great for removing the acid and shines the parts. Hope this helps.
Mike Katz
Scratchbuilts forever!!
#1398
Tampabay racer
-
- Full Member
-
- 739 posts Joined: 07-January 18
Race Leader
- Gender:Male
- Location:Ruskin, FL
Posted 30 March 2013 - 05:29 PM
What can I do about when I folder the rails to the brass? It always looks like crisp under while looking good on top. I've used 2 different surfaces. I have used my jig that's corian and I have a piece of marble.
Brian Ambrose
#1399
slotcarone
-
- Full Member
-
- 3,997 posts Joined: 23-January 07
Posting Leader
- Gender:Male
- Location:Dutchess County, NY
Posted 30 March 2013 - 06:27 PM
Sounds to me like you have too much solder on there. Use very little and if the bottom doesn't look right put some acid on the bottom and put it back on the jig and reheat the joint. Can you post a picture of what you are talking about?
Mike Katz
Scratchbuilts forever!!
#1400
NSwanberg
-

- Full Member
-
- 2,040 posts Joined: 01-April 09
Posting Leader
- Gender:Male
- Location:Canton, MI
Posted 31 March 2013 - 02:10 AM
I quit using cleansers with bleach. I find it tarnishes the solder and the piano wire. I use toothpaste. Crest seems to work the best with a stiff tooth brush. This gets the acid off. Then I use an SOS or Brillo pad to get that brass nice and shiny. My wife made the mistake of leaving a naptha soap bar on the wash sink and now I use that for a final wash. Rinse everything with as hot of water as you can get and then immediately towel and blow dry. Oil anything that moves with Tri Flow. My frames look nice and shiny now if I could only get them to handle better.
Remember the Steube bar! (ask Raisin)
SUPPORT YOUR LOCAL RACEWAY!!
"The denial of denial is the first sign of denial." Hank, from Corner Gas
"Death before disco!" Wanda from Corner Gas
Nelson Swanberg 5618
Peace be with all of us and good racing for the rest of us.
Have controller. Will travel. Slot Car Heaven


