Ditto! Very ballsy move using those Cox wheels as inserts.
I was at college and not racing in 71, so this is all new to me too!
Don

Posted 19 August 2017 - 03:06 AM
Ditto! Very ballsy move using those Cox wheels as inserts.
I was at college and not racing in 71, so this is all new to me too!
Don
Posted 19 August 2017 - 06:46 PM
I just finished up the engine detail. It's not super accurate like a real modeler could do. Rather, I hope it gives the car "the look" of detail while being simple, strong and weighing next to nothing. It will be taped into the body so it can be removed and installed in a new body should a racing incident occur.
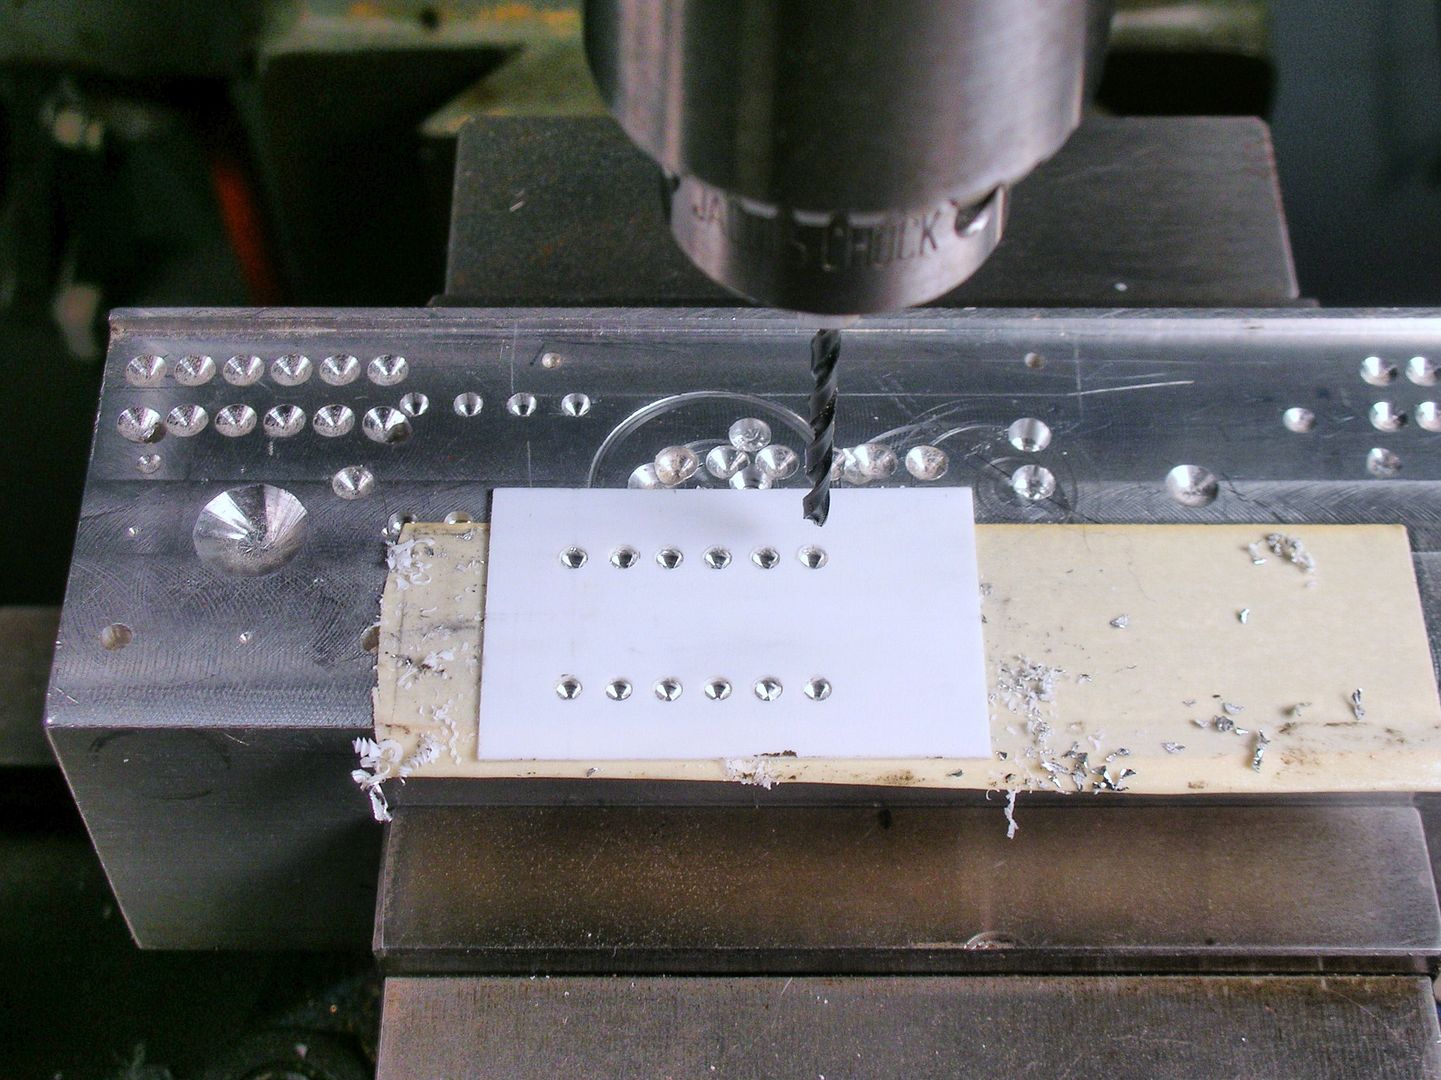
Here's a small piece of .015" plastic being drilled for the velocity stacks:
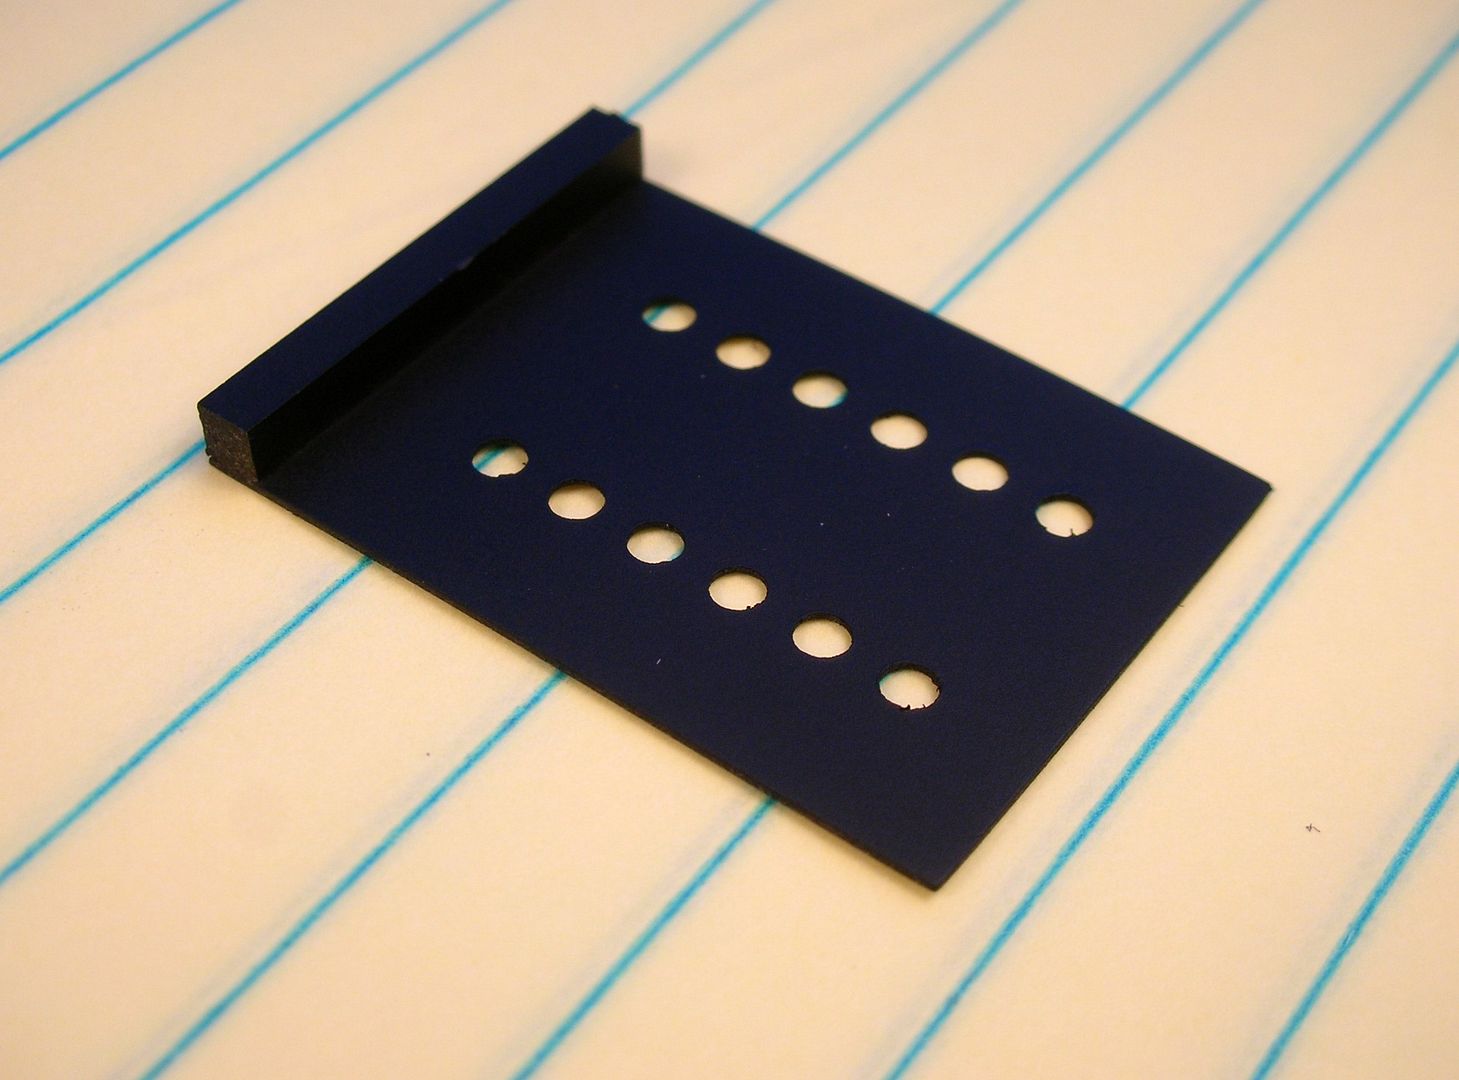
Here's the plastic base. The back of the body really kicks up at an angle so I glued on a .100" square piece to level the stacks:
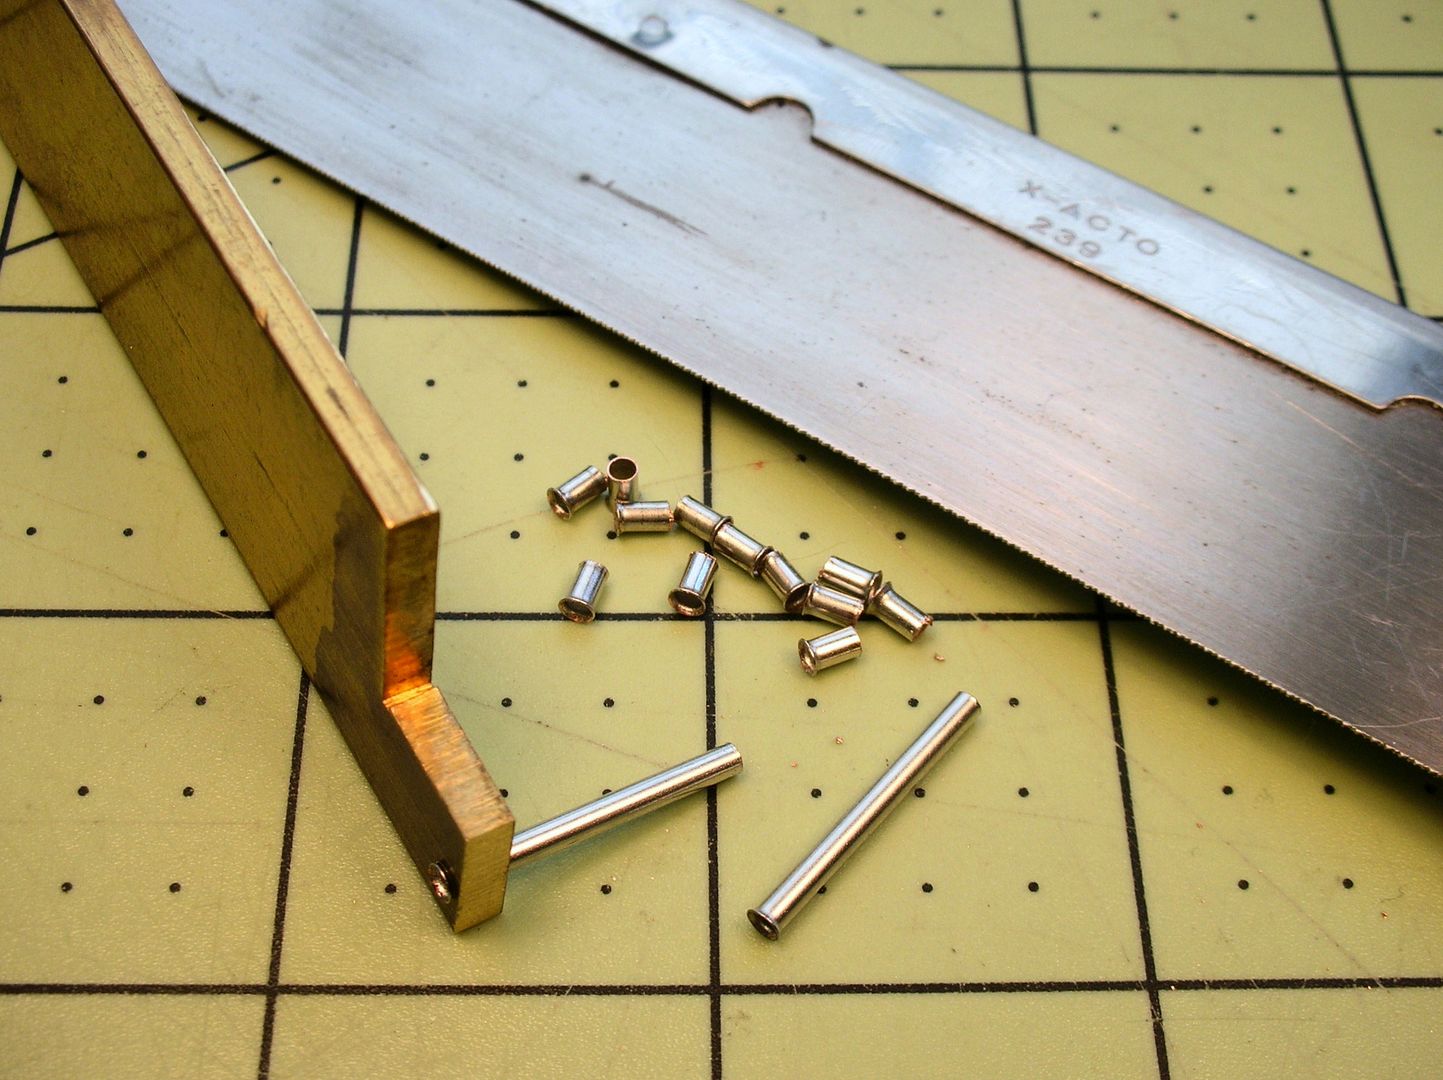
The velocity stacks came from eBay. 1/8" thick brass stock with a hole drilled in it served as a jig to cut the stacks to length:
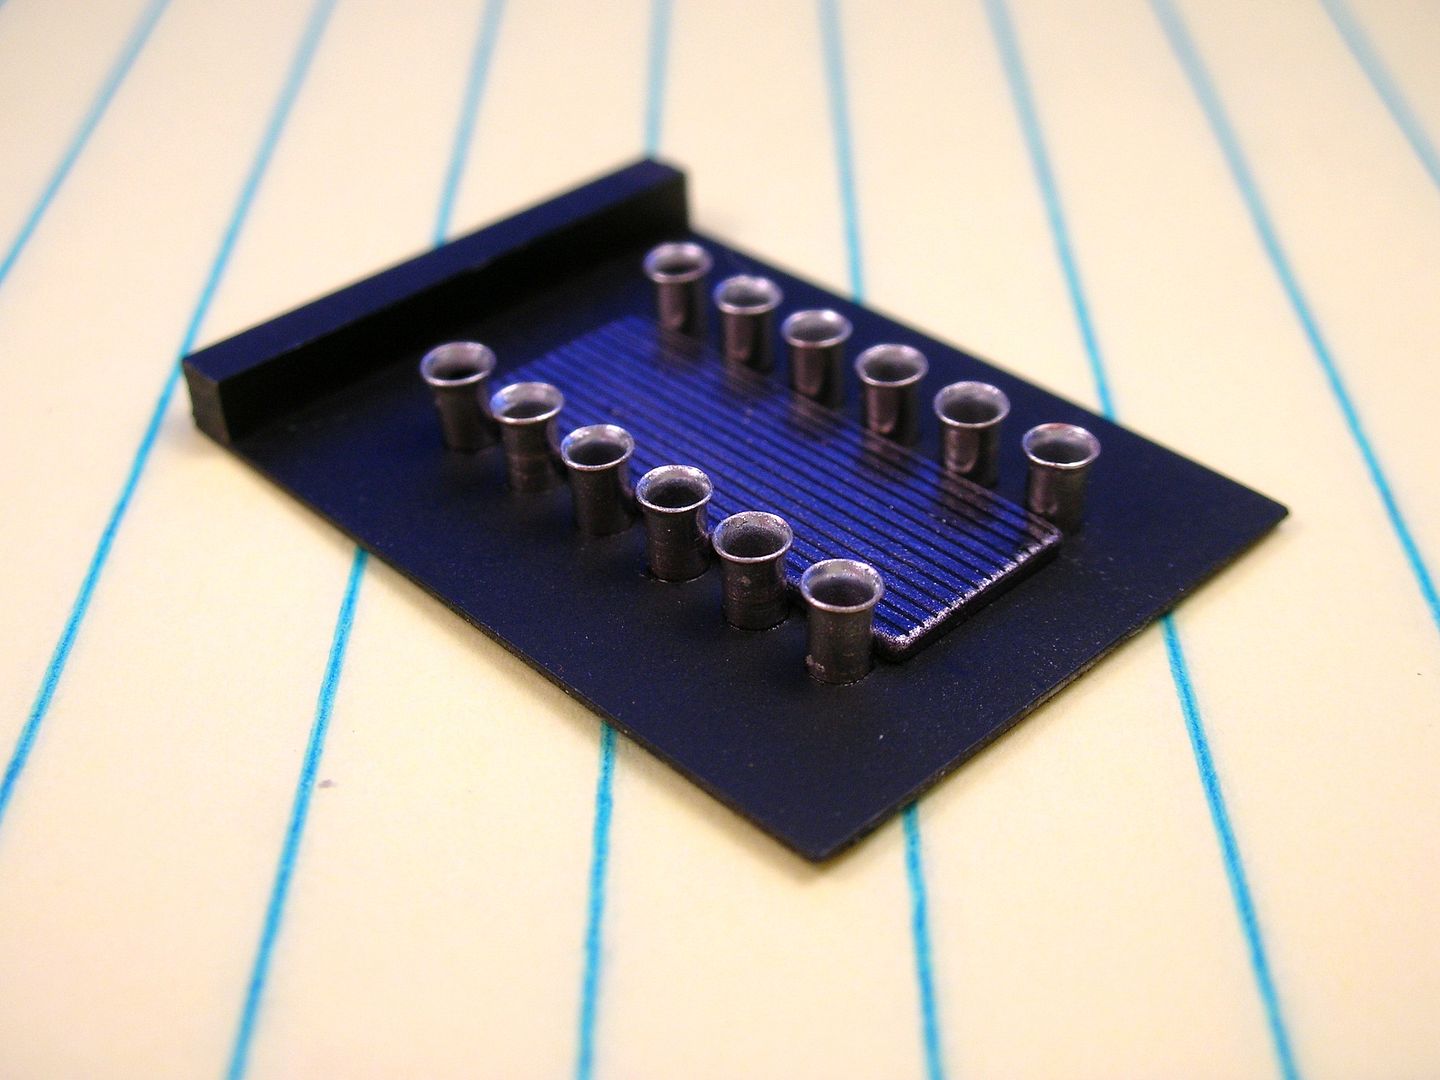
Lastly a piece of Evergreen styrene sheet "V-groove siding" adds a bit more to "the look":
Time for an interior..........
Rick Thigpen
Check out Steve Okeefe's great web site at its new home here at Slotblog:
The Independent Scratchbuilder
There's much more to come...
Posted 19 August 2017 - 09:05 PM
Posted 23 August 2017 - 06:57 PM
Thanks Paul. Here's the first generation Dynamic interior I'm using along with an aluminum rod roll bar and a Lancer drivers head:
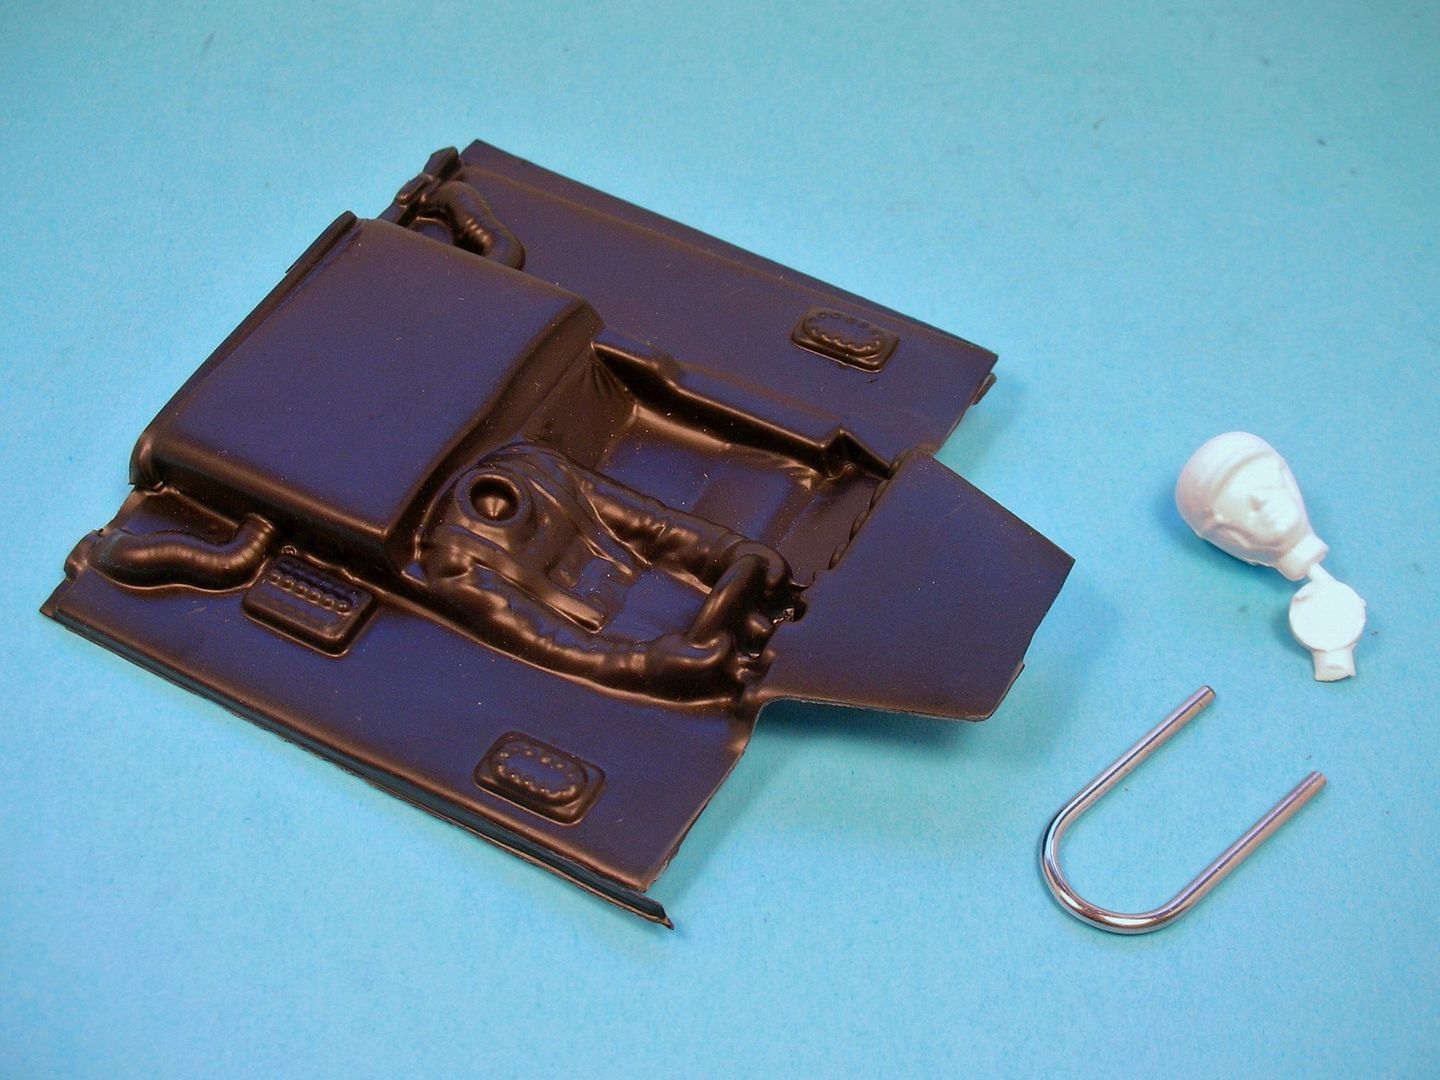
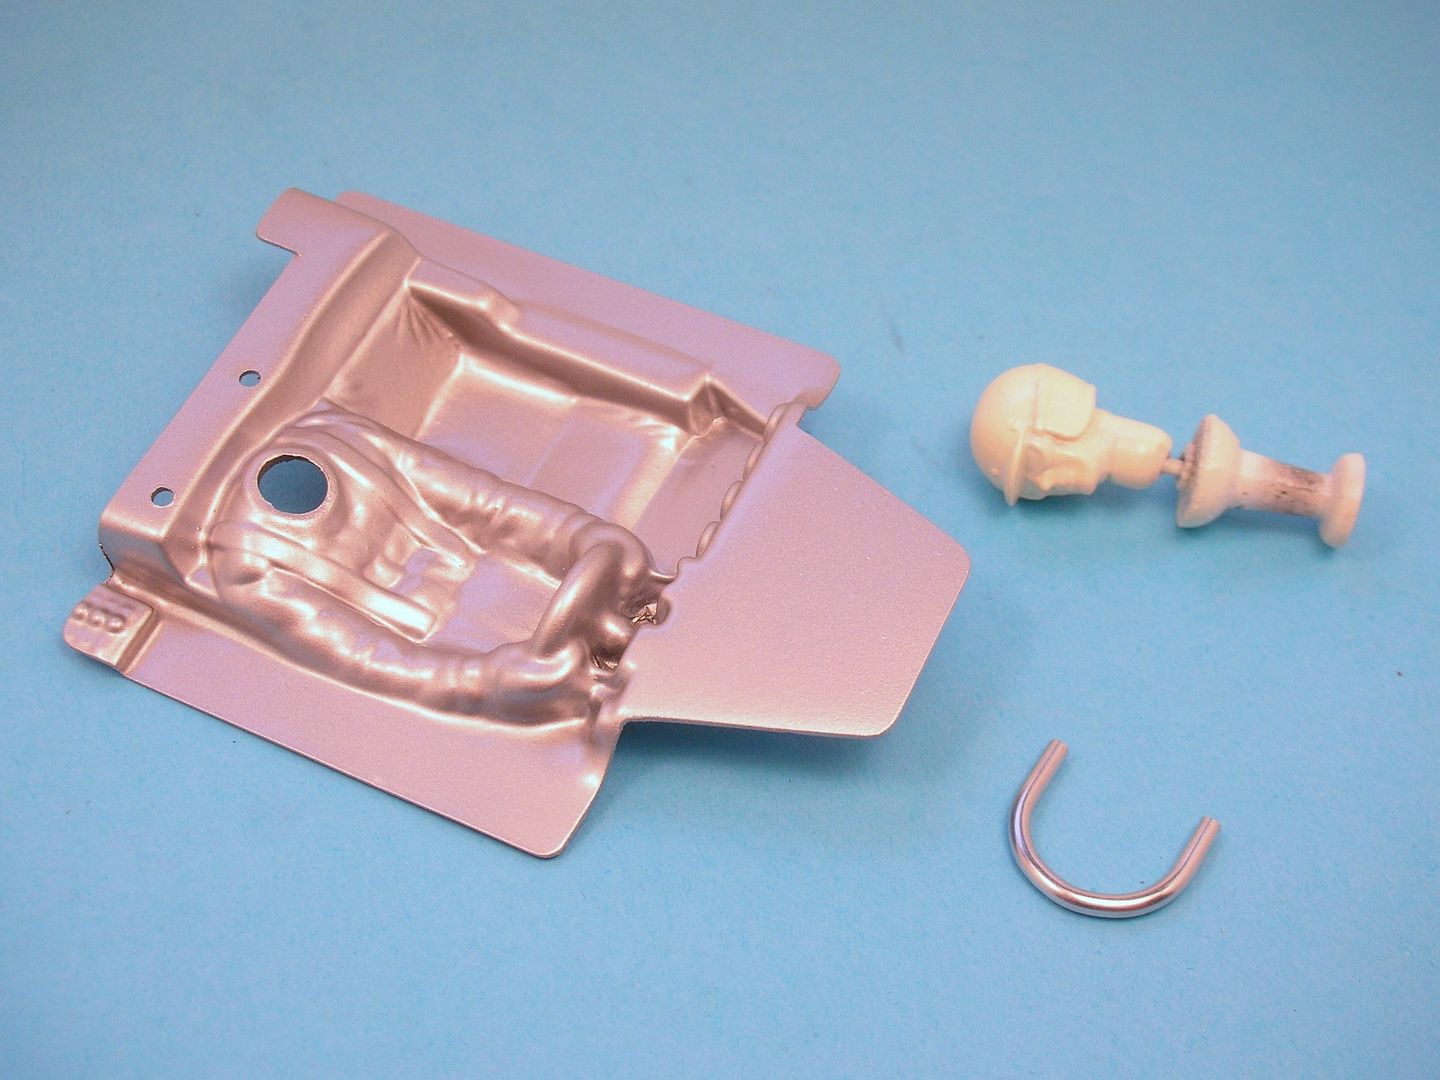
The interior was trimmed as much as possible and painted Tamiya gloss aluminum. I changed to a Russkit drivers head and painted it Tamiya gloss white:
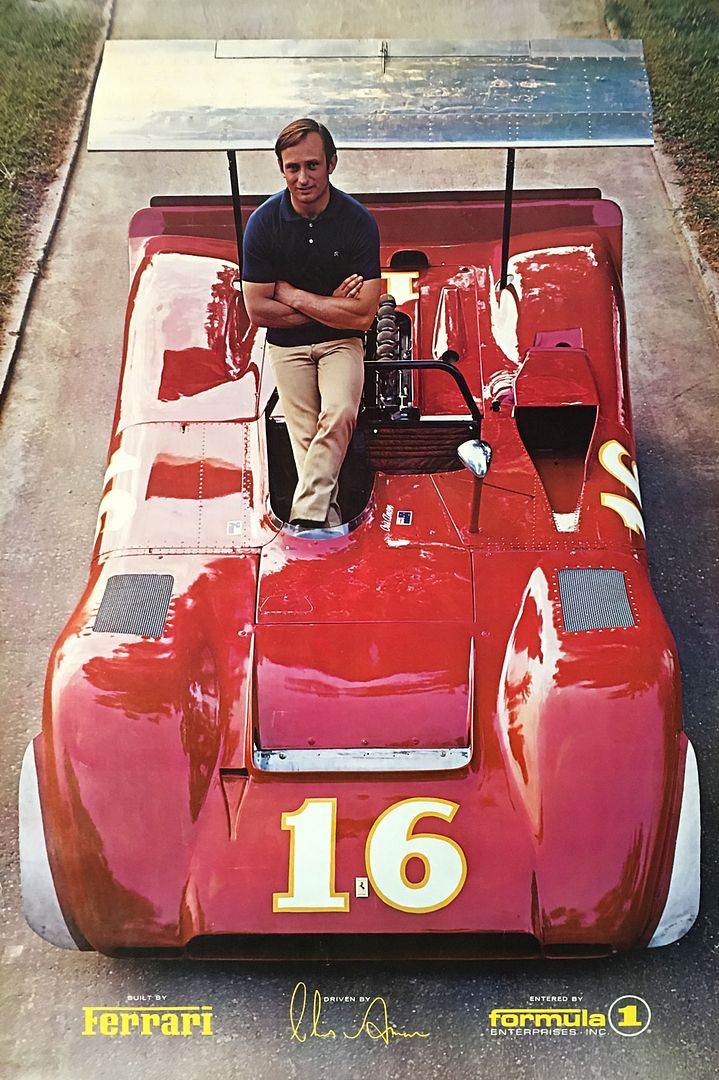
I wanted to add a mirror that looked at least a bit like the real car but it has to not get knocked off the first time I roll the car.... ![]()
I also wanted it to be removable and not just glued to the body. I decided to start with an 0-80 screw, nuts and a fiber armature washer:
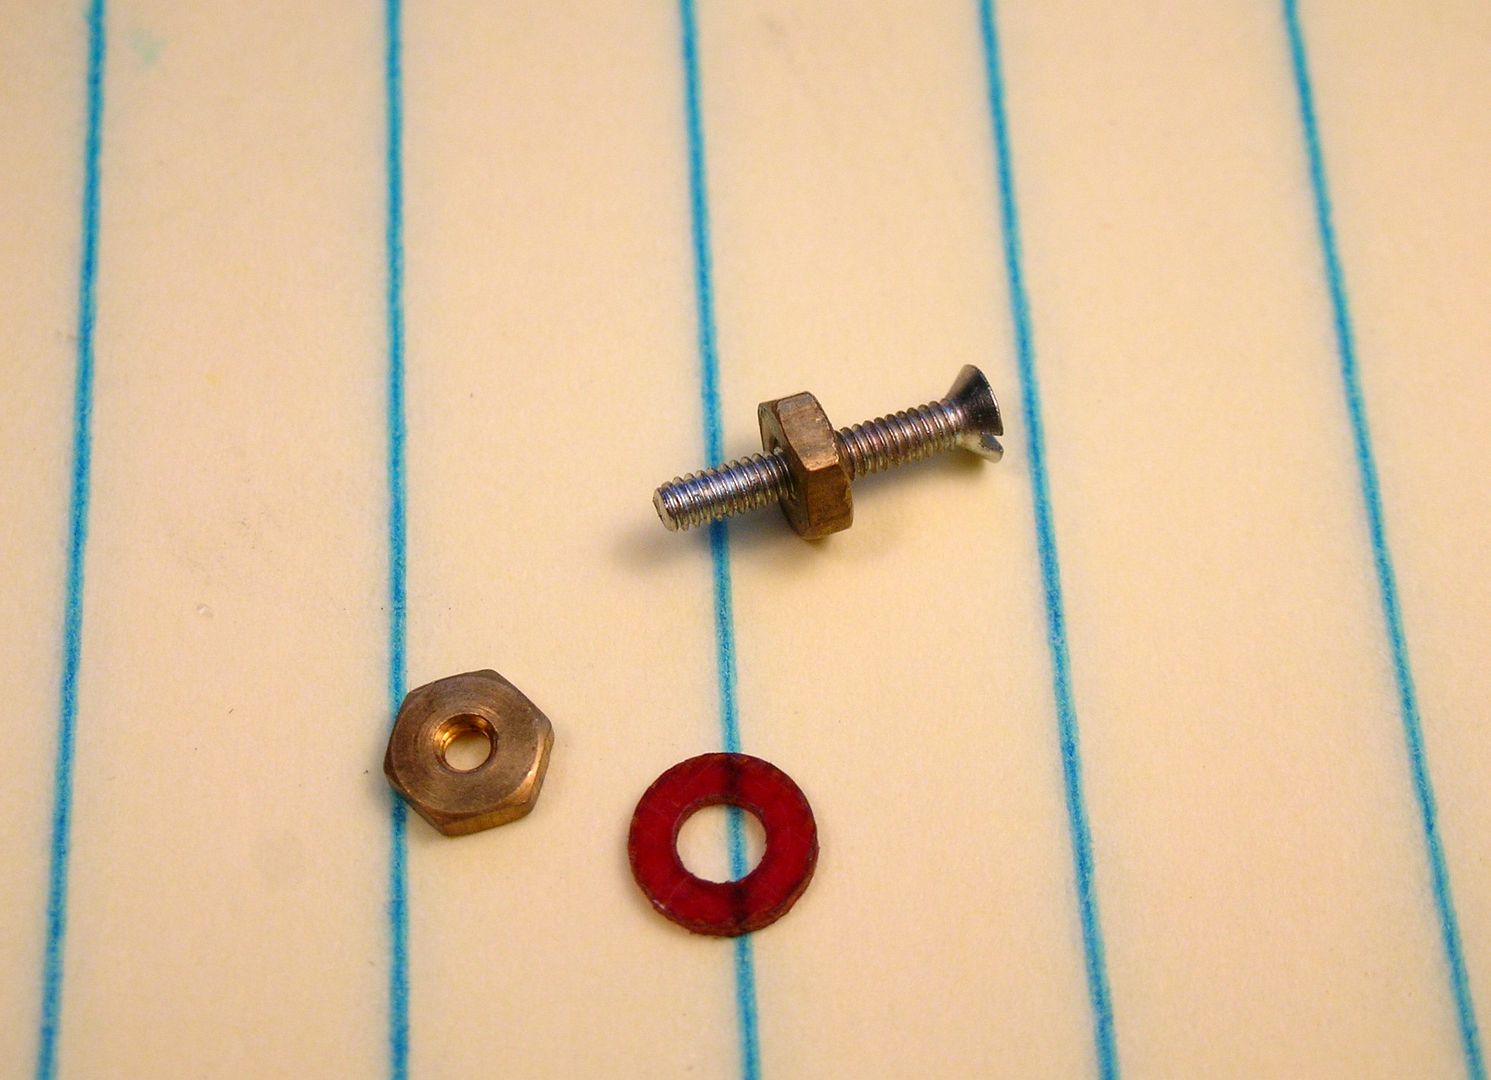
One nut was soldered to the screw and lathe turned to a small flange shape. The screw head was cut off and the threads cut off one side. I found a resin mirror and drilled it to fit the shaft:
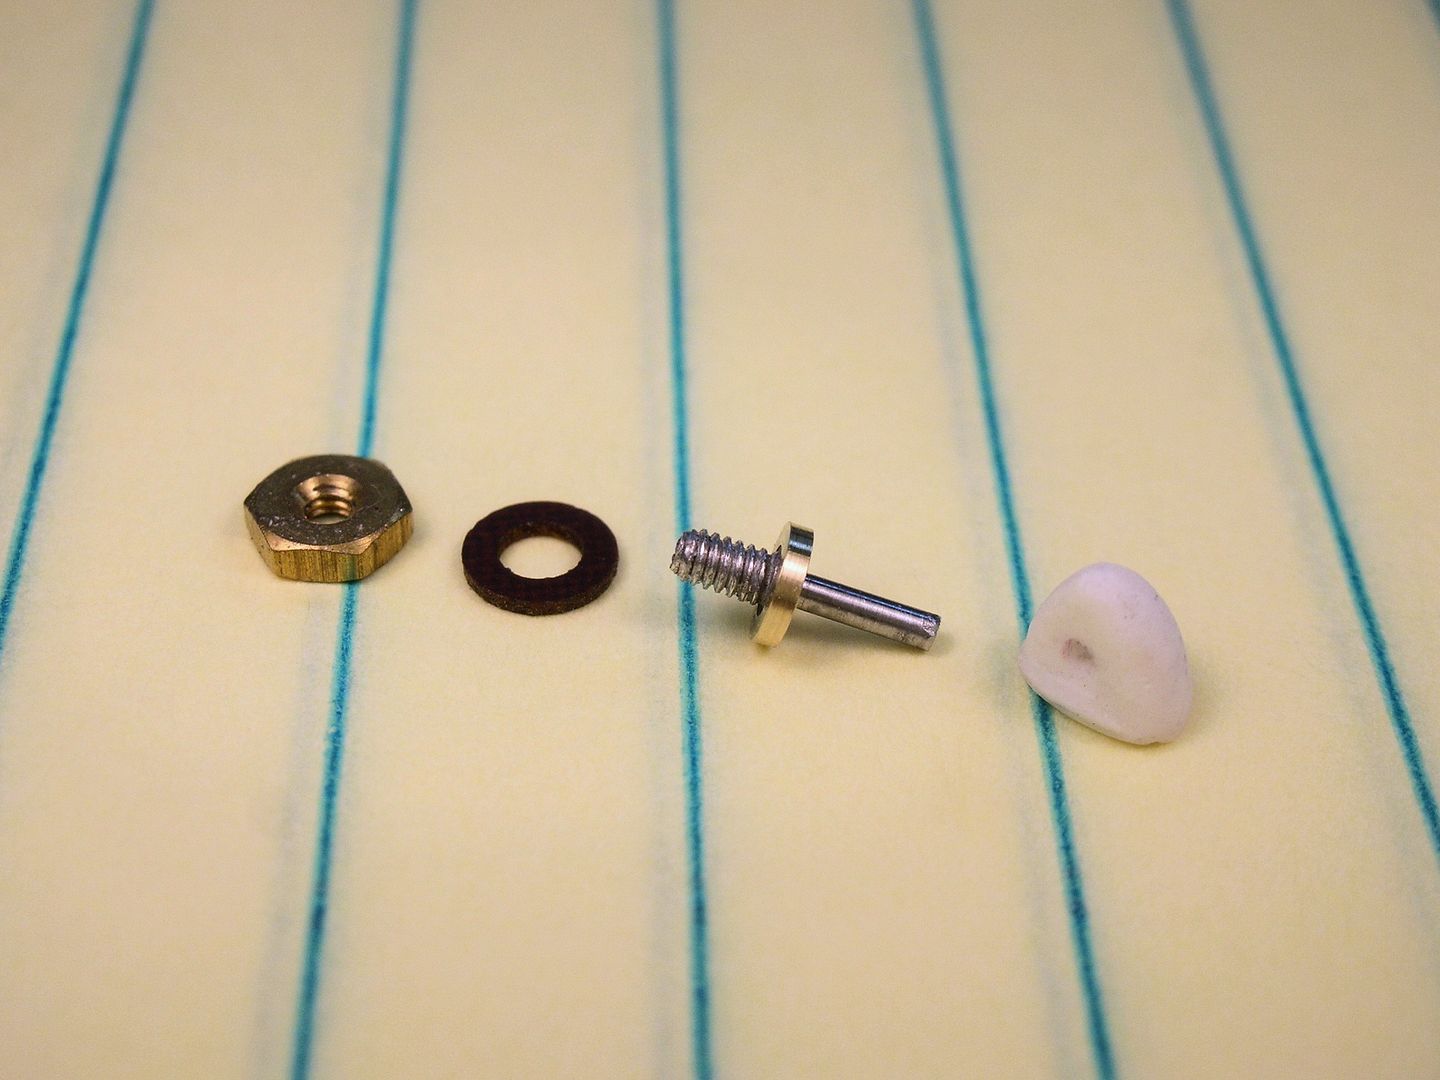
Here the mirror is glued on and painted Tamiya silver mica. The mirror has the fuzzy wuzzy's that I couldn't see even with my magnifying geezer goggles. ![]()
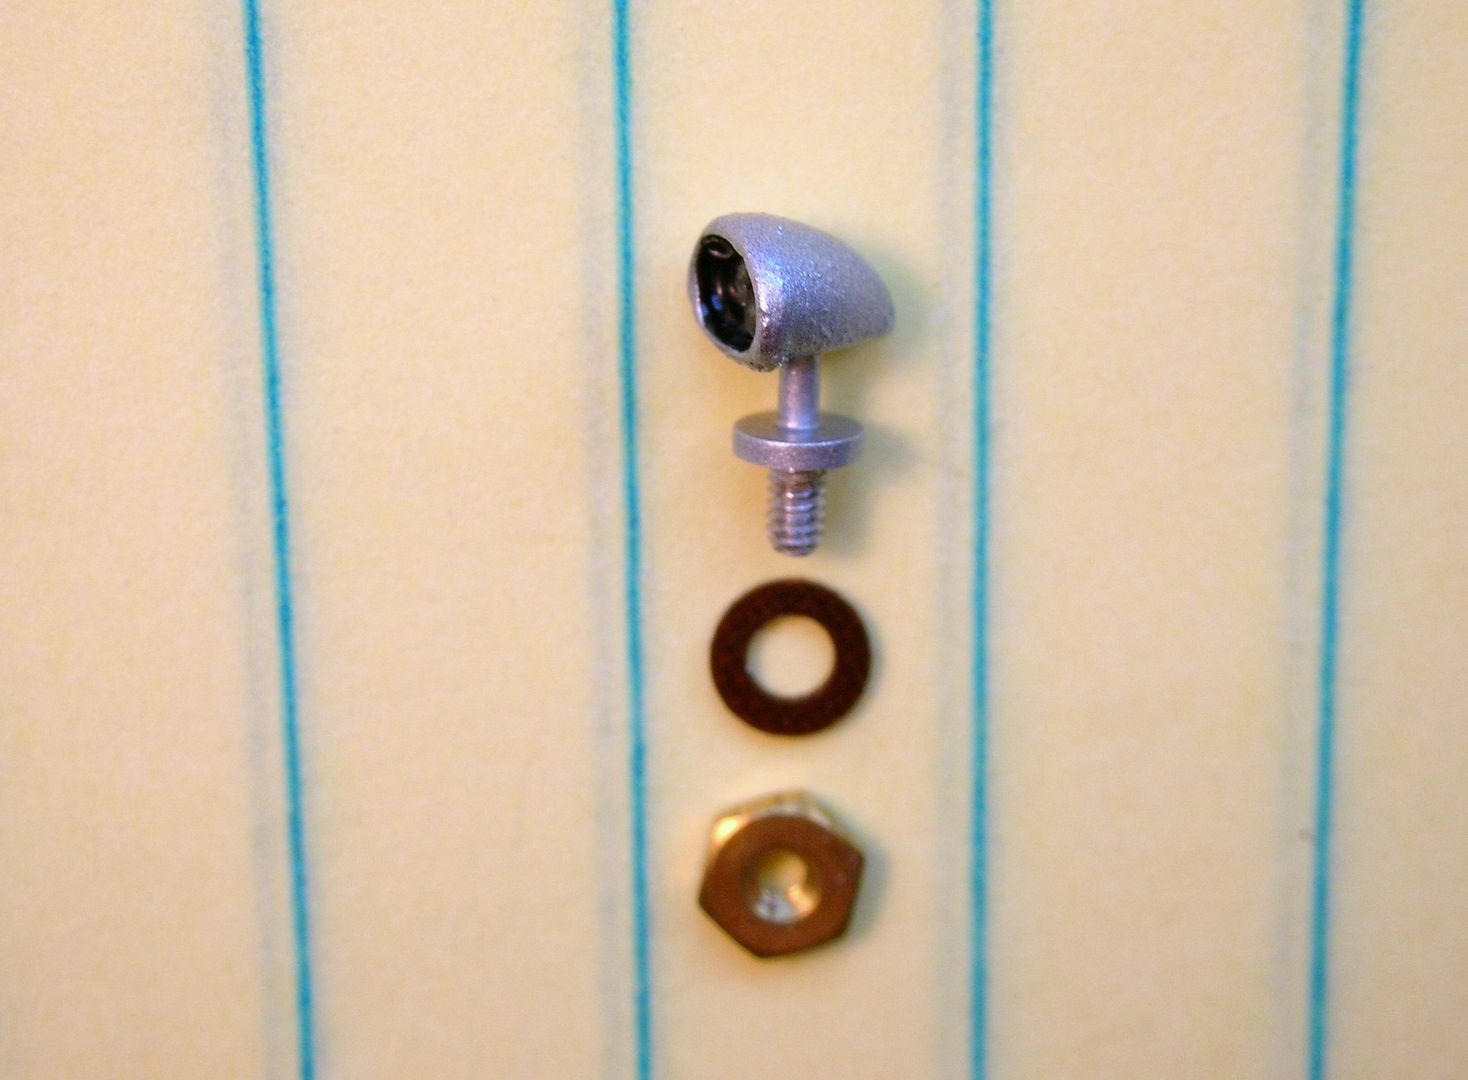
Here it's test fit to the body......
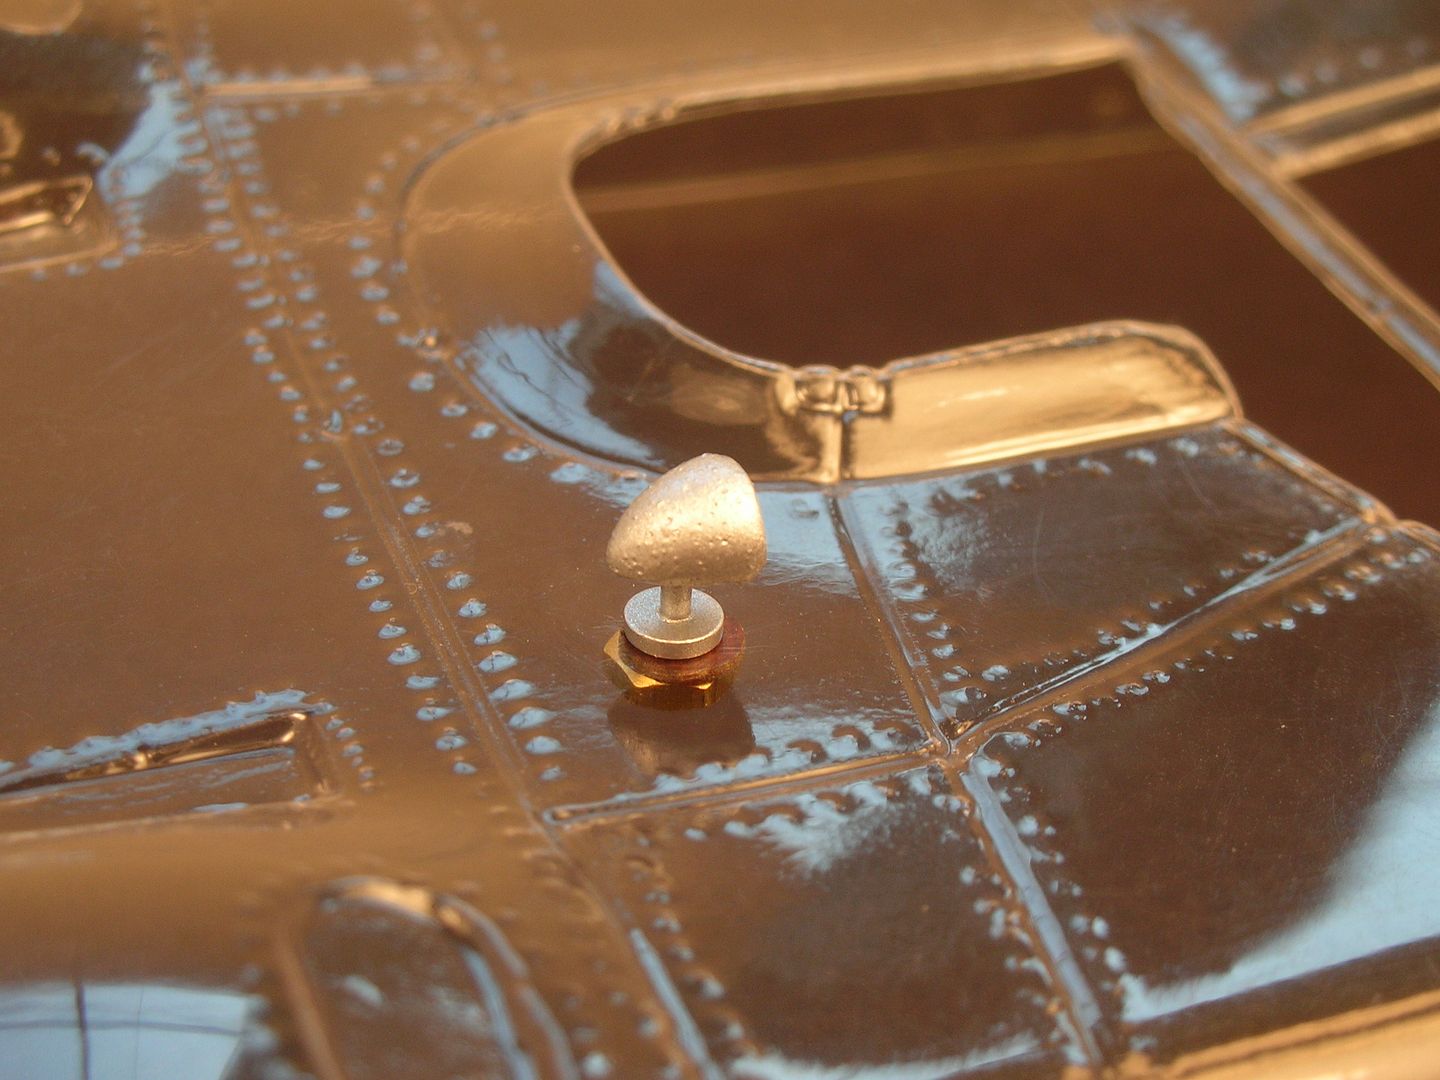
......by attaching it with the little nut and fiber washer:
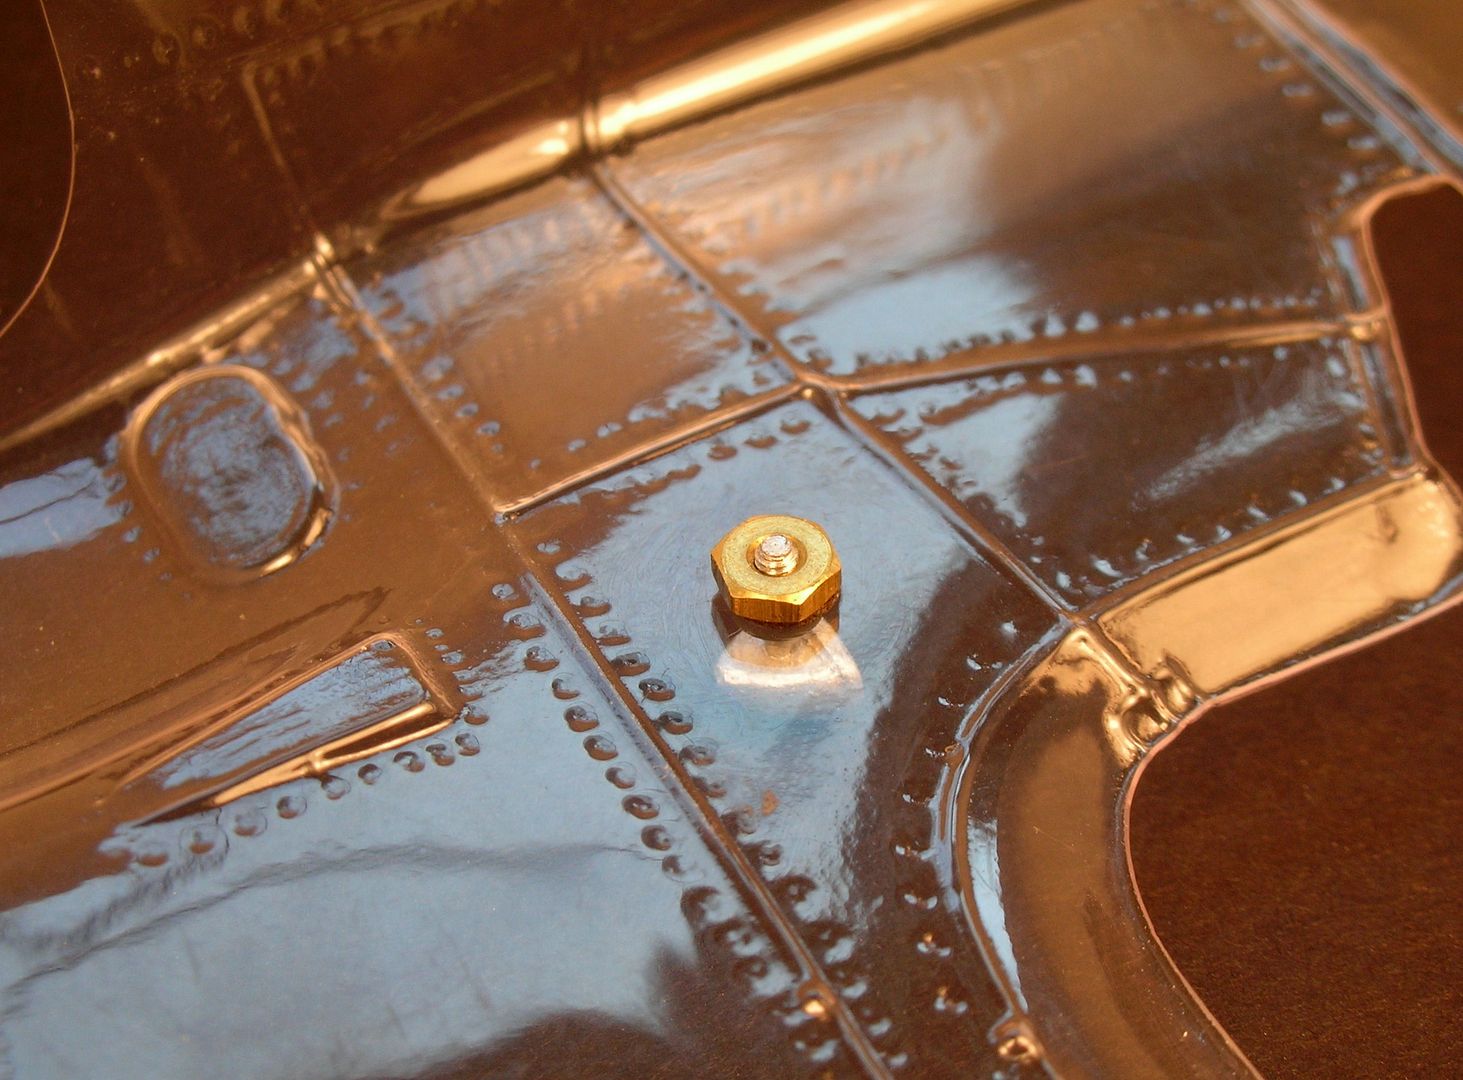
The bodies 4 fenders hold the mirror off the track in a roll over:
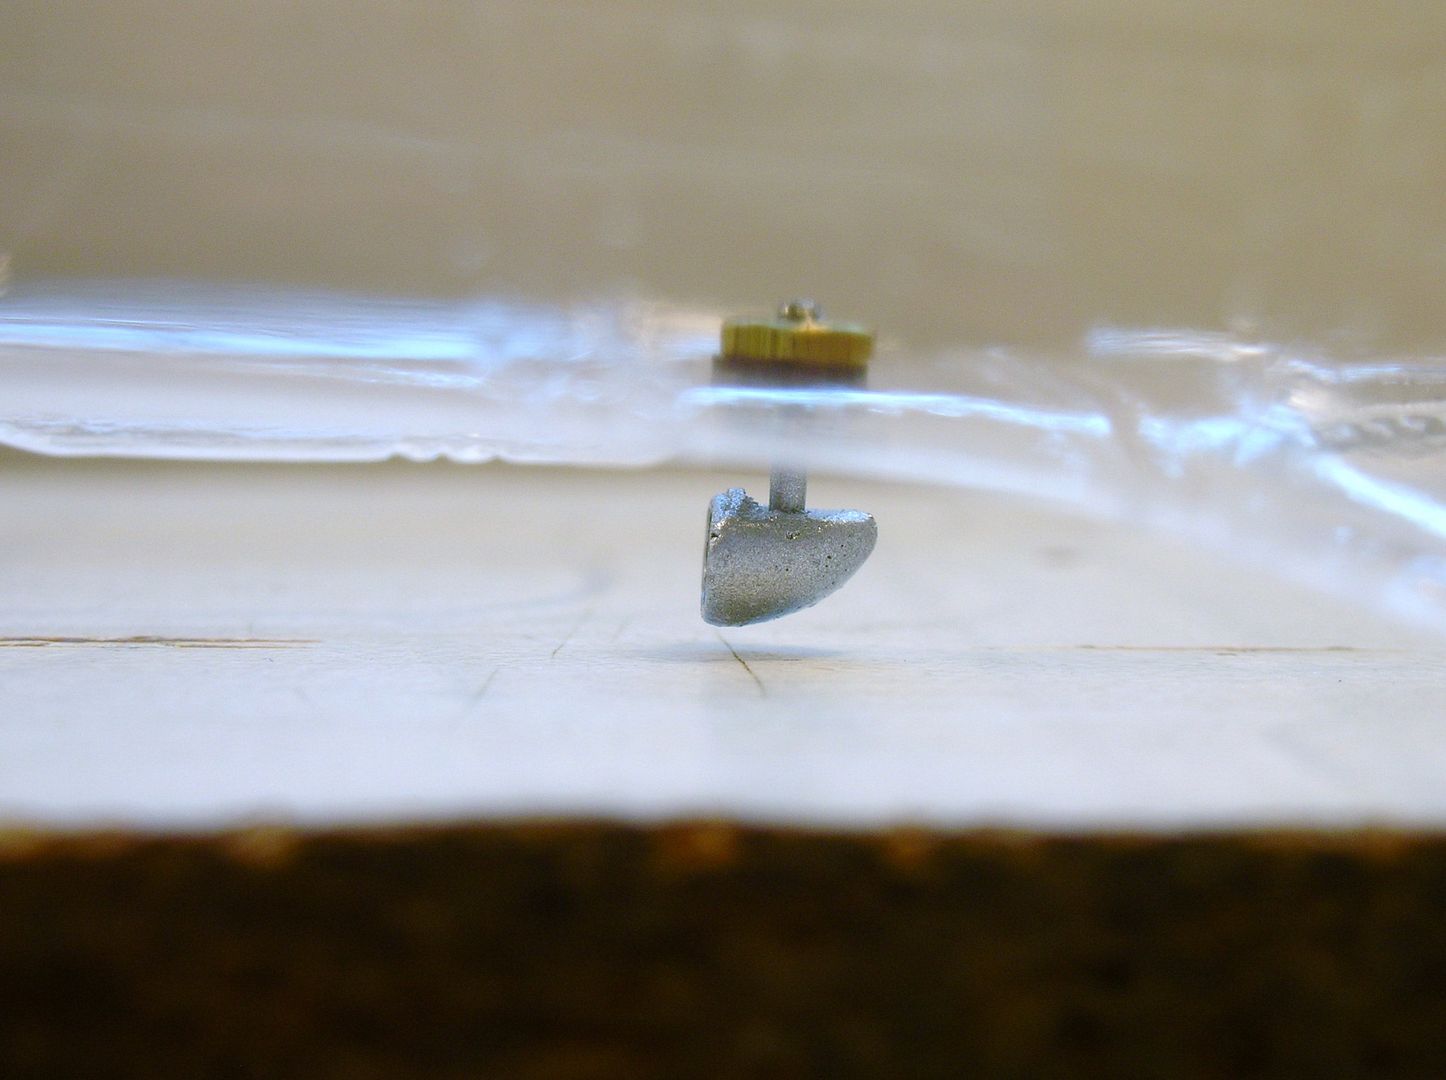
Maybe some clear coat will cover those fuzzies? ![]()
![]()
Rick Thigpen
Check out Steve Okeefe's great web site at its new home here at Slotblog:
The Independent Scratchbuilder
There's much more to come...
Posted 23 August 2017 - 07:41 PM
Awesome miniature engineering ![]()
Paul Wolcott
Posted 27 August 2017 - 03:06 PM
I hope to add a little bit of detail to the open rear of the car in the form of some exhaust pipes and perhaps a transaxle cover or something. I found this website:
I bought these three different gizmos:
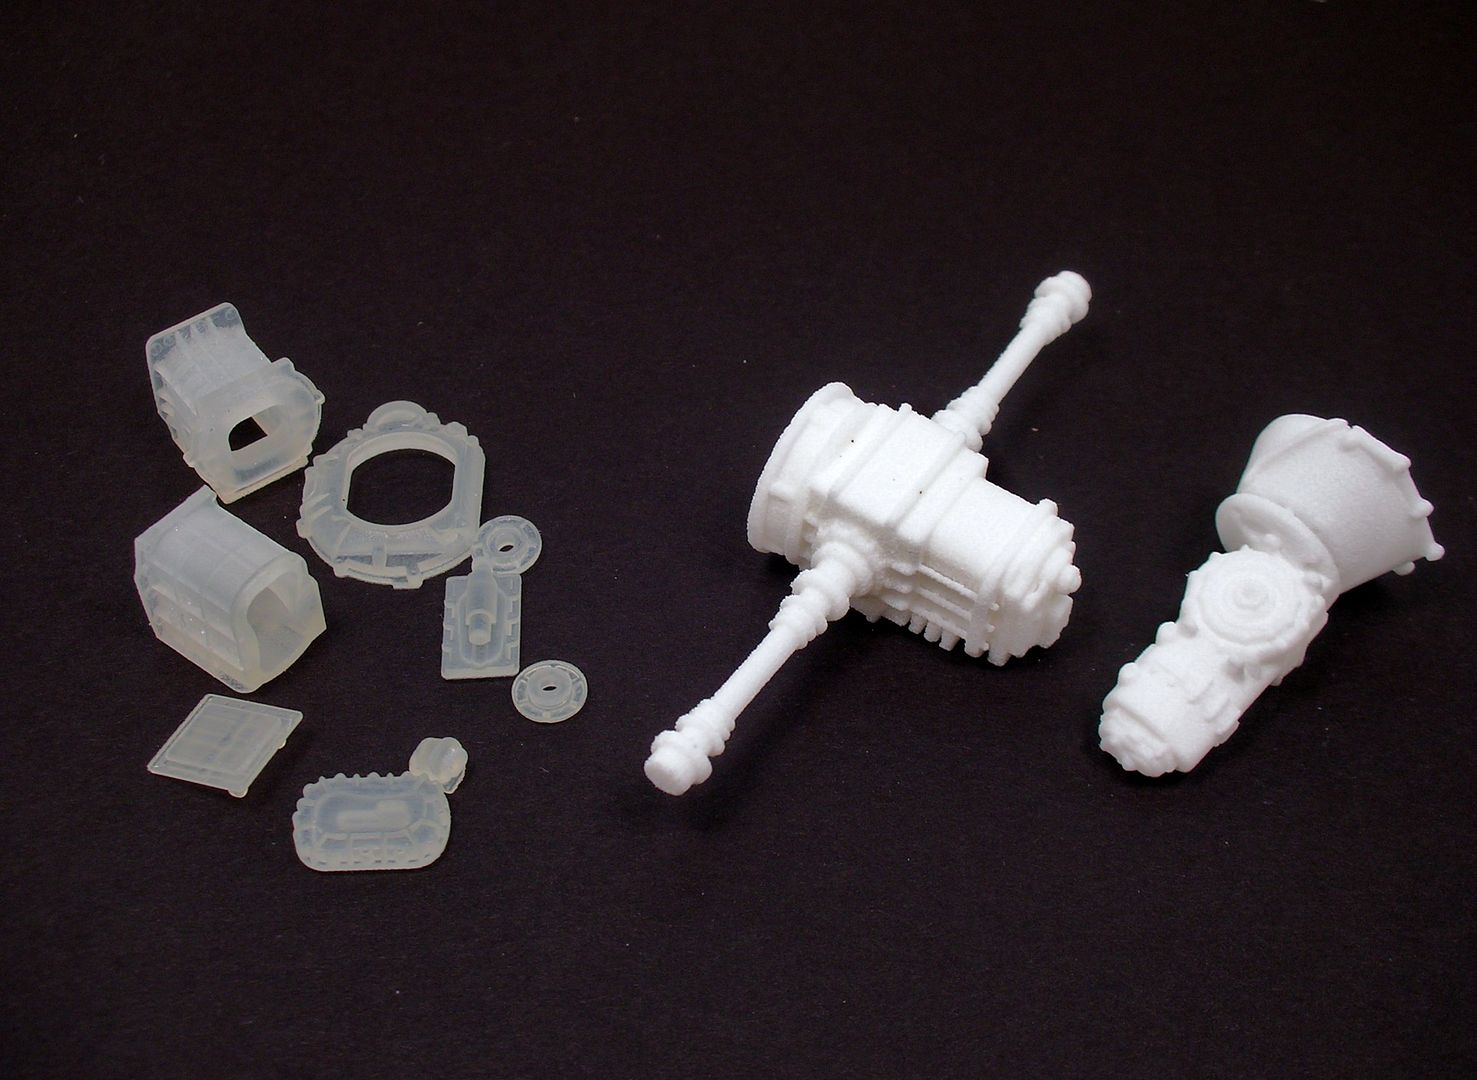
The one in all the pieces is a T-44 transaxle assembly like this one:
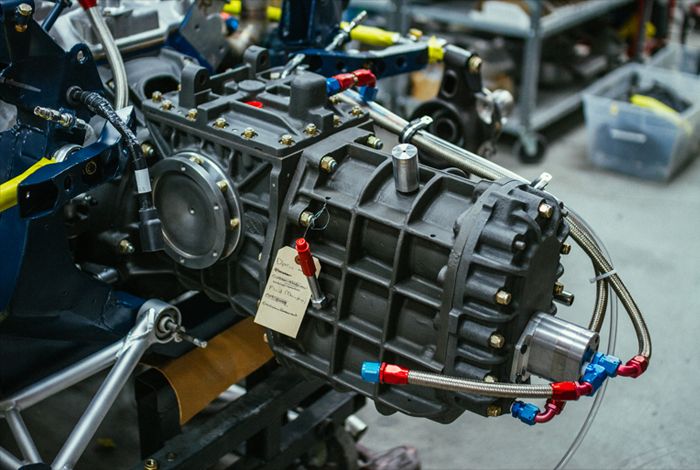
I'll see if I can come up with something...........
Rick Thigpen
Check out Steve Okeefe's great web site at its new home here at Slotblog:
The Independent Scratchbuilder
There's much more to come...
Posted 27 August 2017 - 04:34 PM
![]()
![]()
Paul Wolcott
Posted 28 August 2017 - 10:51 AM
I LIKE it! ![]()
Jairus H. Watson
3/12/59-5/19/25
Requiescat in Pace
Posted 28 August 2017 - 12:43 PM
Posted 28 August 2017 - 08:31 PM
Guys, I guess I should have spent the extra for the:
"3D printed in Frosted Ultra Detail: Matte translucent plastic that showcases fine and intricate details"
The standard plastic is pretty "grainy". I cut the rear cover plate off to use in this project and painted it with Tamiya light gunmetal metallic:
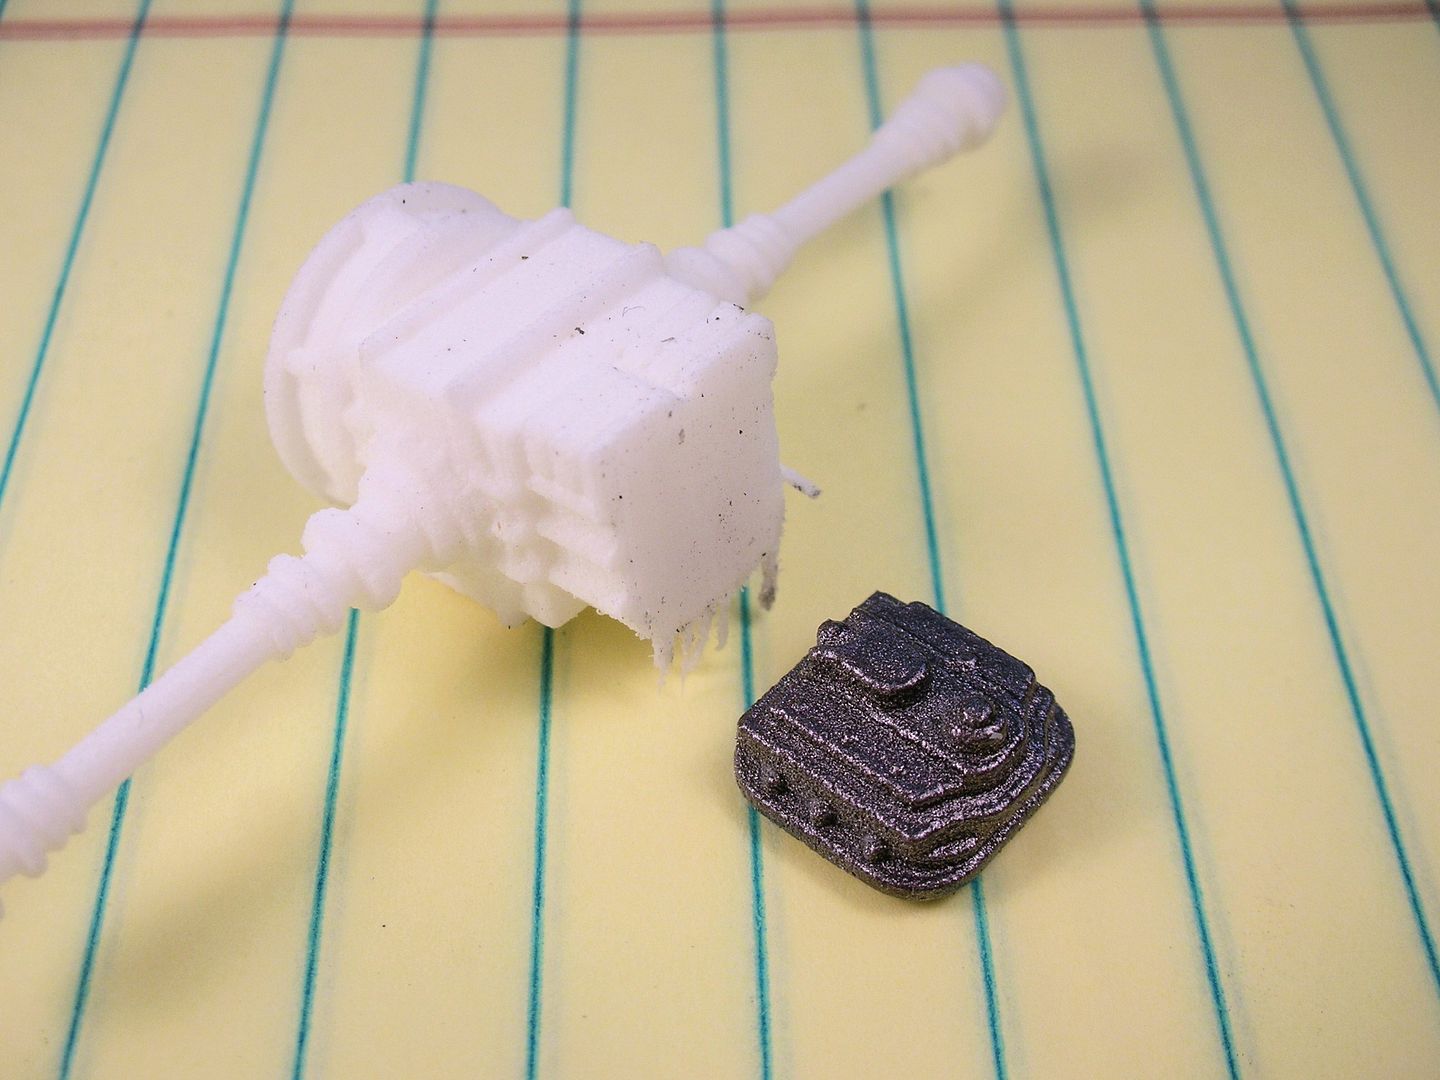
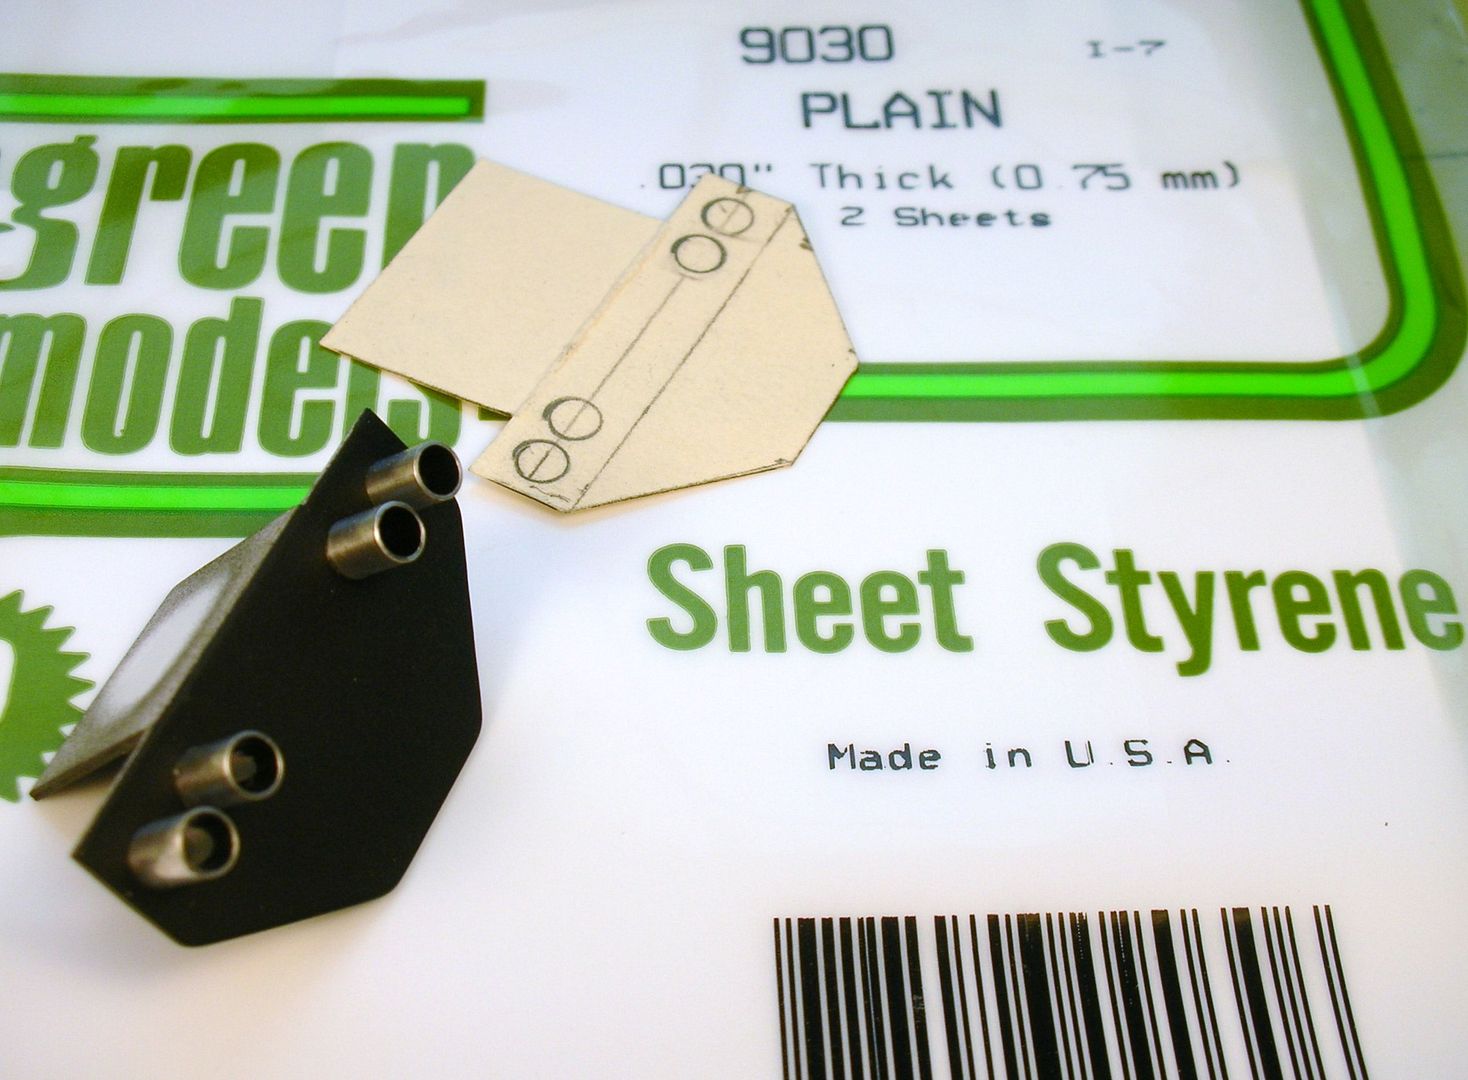
A card stock pattern was transferred to some thin sheet styrene, folded and reinforced with 1/8" styrene rod:
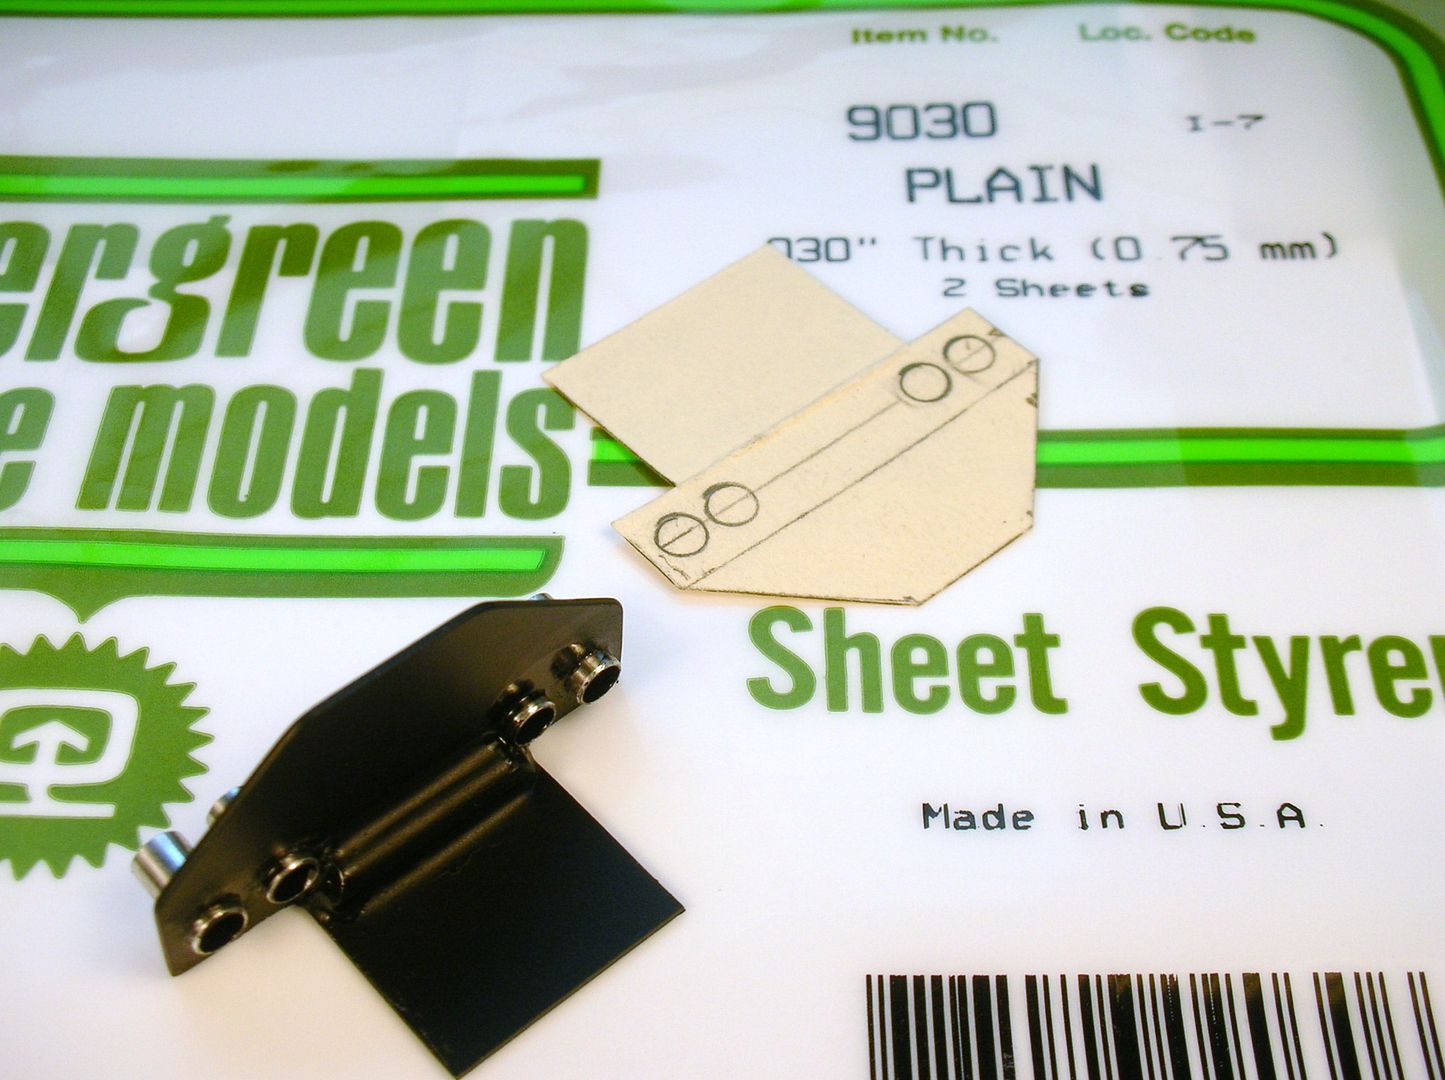
5/32" aluminum tube was added for exhaust pipes. OOPS......looks like I need some more black paint inside those pipes. :
Finally the transaxle cover was added:
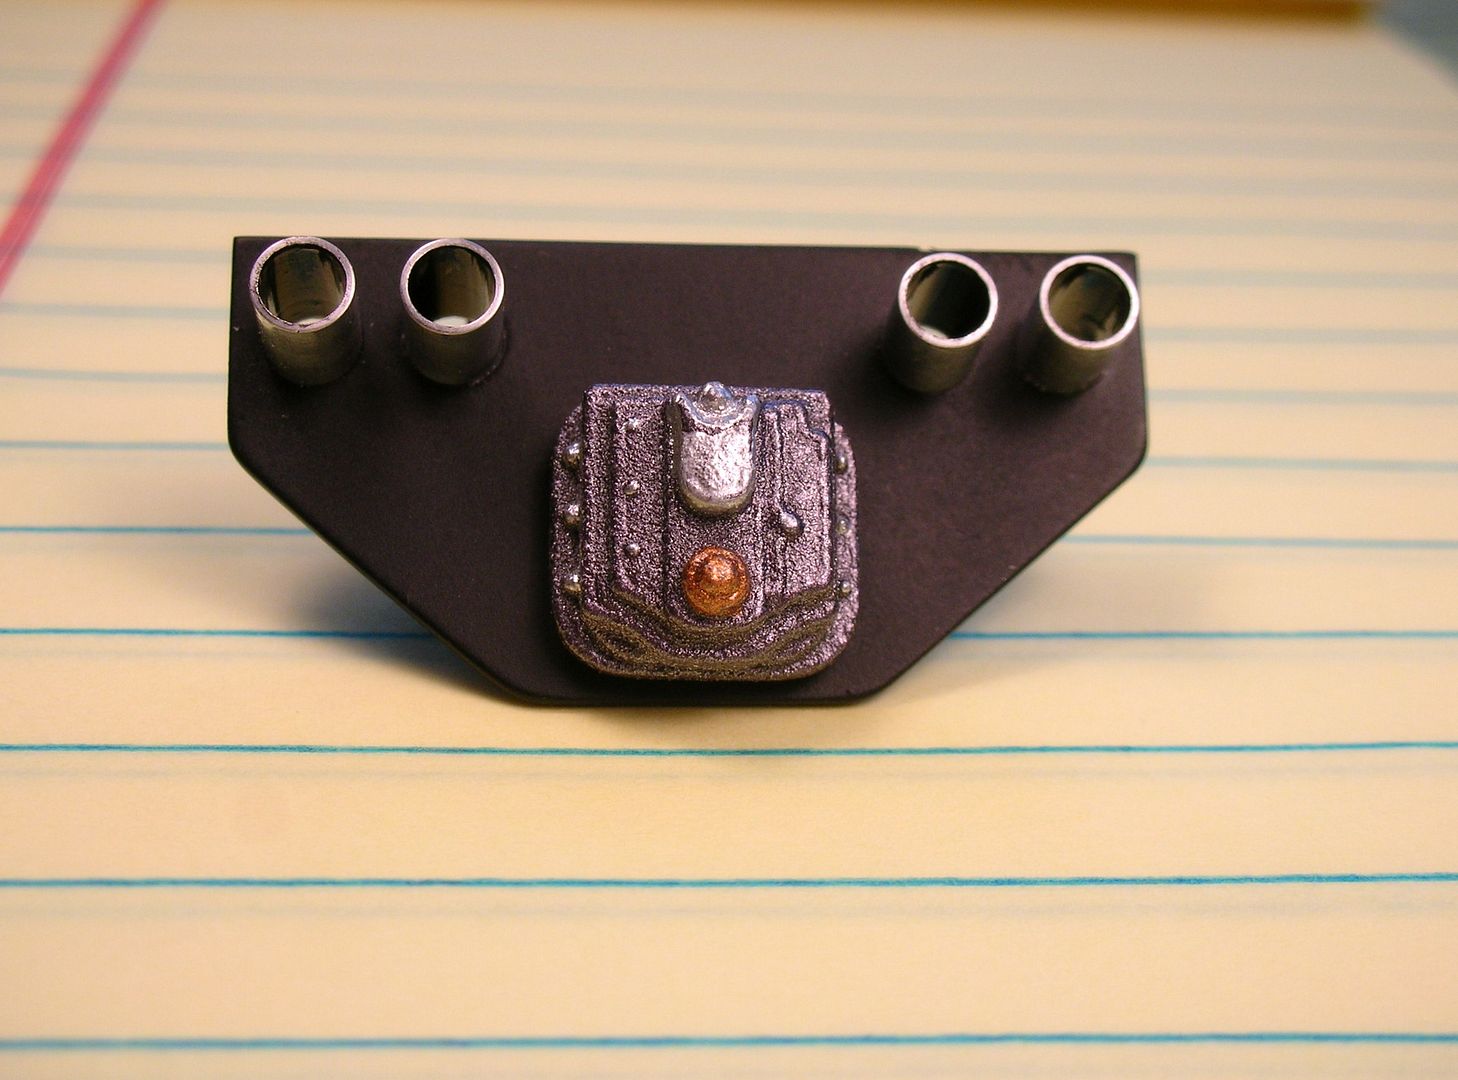
This is certainly not any kind of "super detailing". I think of it more like the simple lightweight detailing goodies Russkit used to include with their bodies.
Rick Thigpen
Check out Steve Okeefe's great web site at its new home here at Slotblog:
The Independent Scratchbuilder
There's much more to come...
Posted 28 August 2017 - 08:58 PM
Looks very nice Sir.
Now, get her painted!
Jairus H. Watson
3/12/59-5/19/25
Requiescat in Pace
Posted 17 September 2017 - 07:18 PM
..............Now, get her painted!
Okie Dokie Jairus, I finally got going. I didn't know that Pactra RC paint for Lexan is back on the market. ![]()
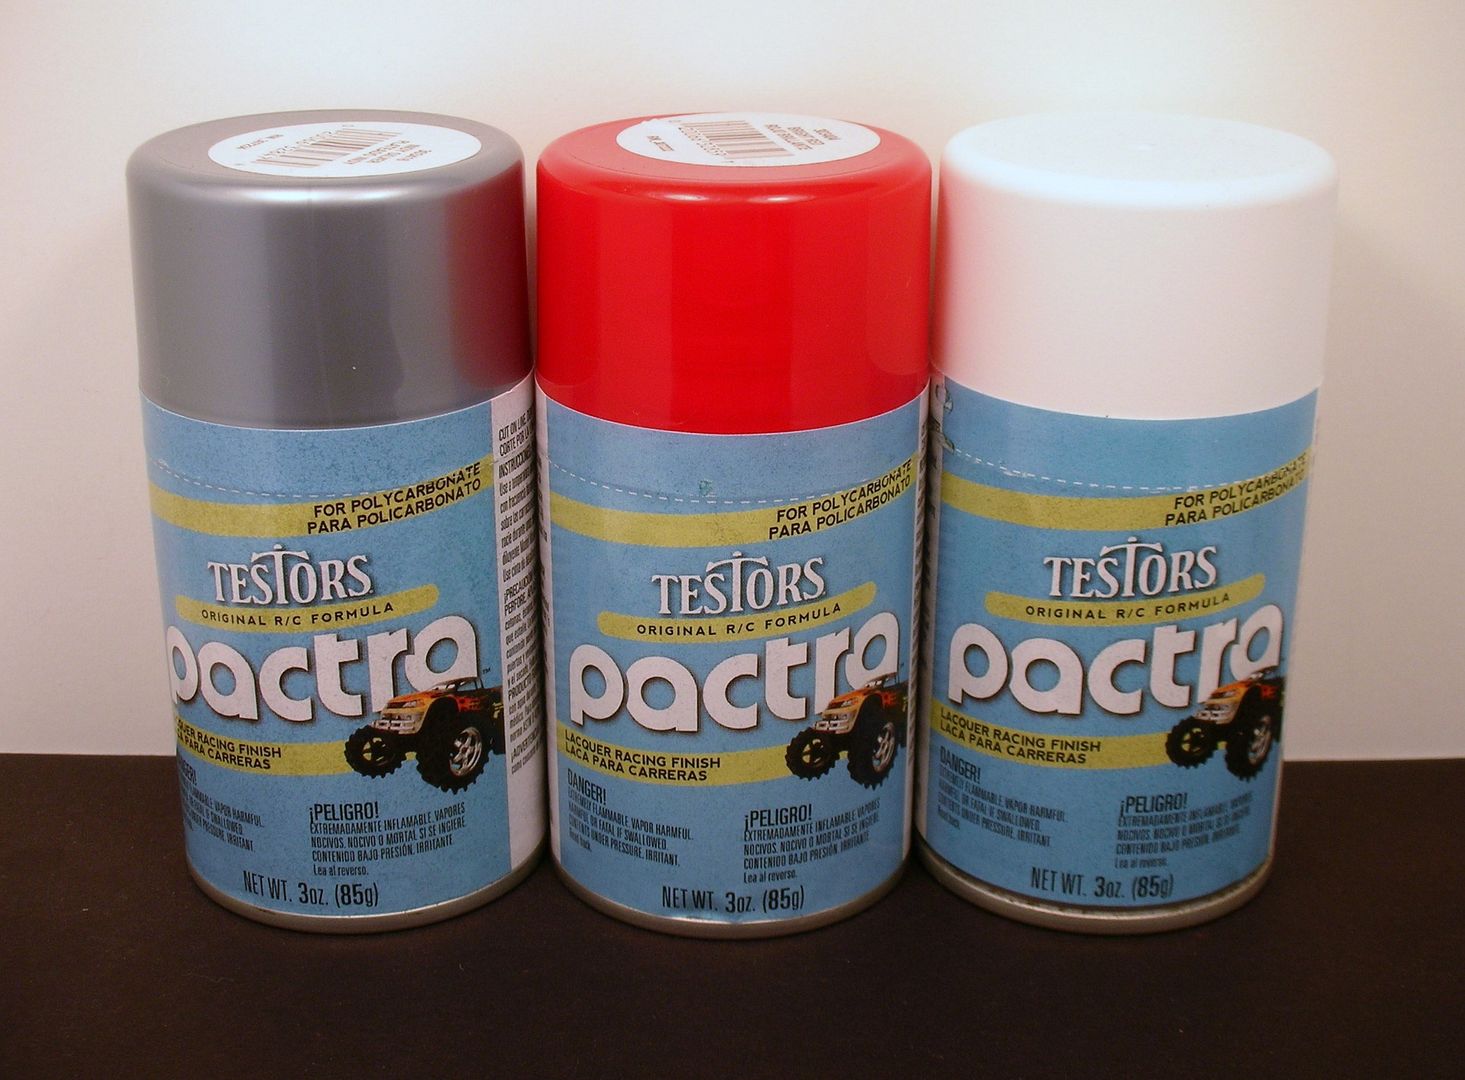
I ended up using the Bright Red and backed it with Indy Silver:
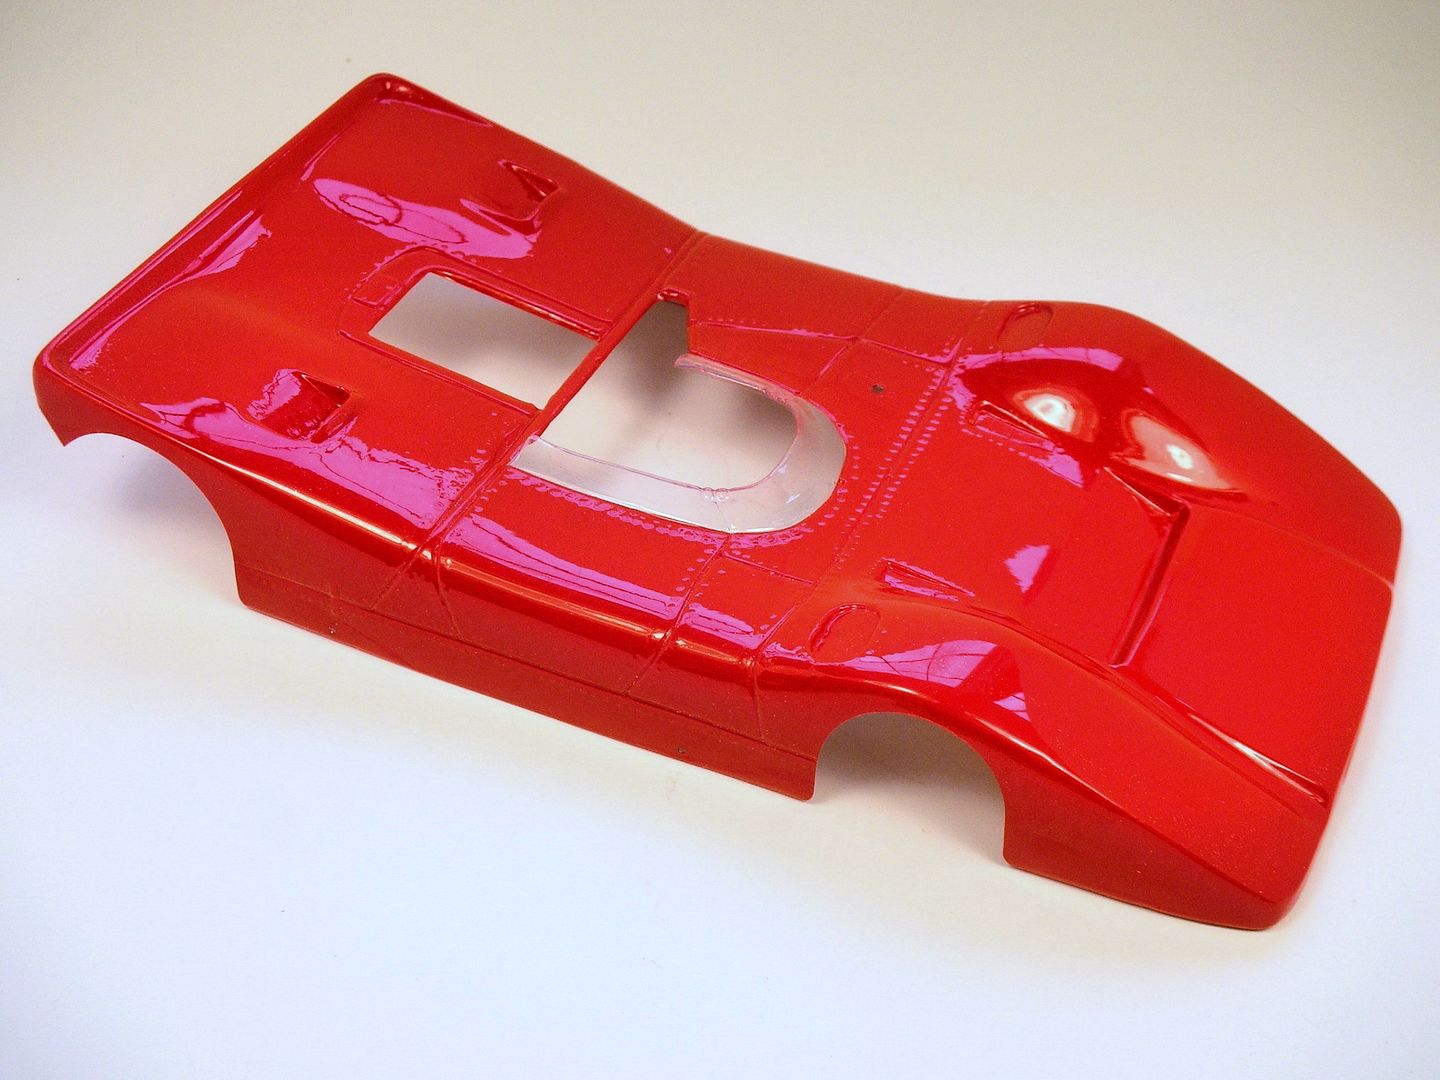
Rattle can goodness with no air brush to clean for this one. ![]()
Rick Thigpen
Check out Steve Okeefe's great web site at its new home here at Slotblog:
The Independent Scratchbuilder
There's much more to come...
Posted 25 September 2017 - 09:17 PM
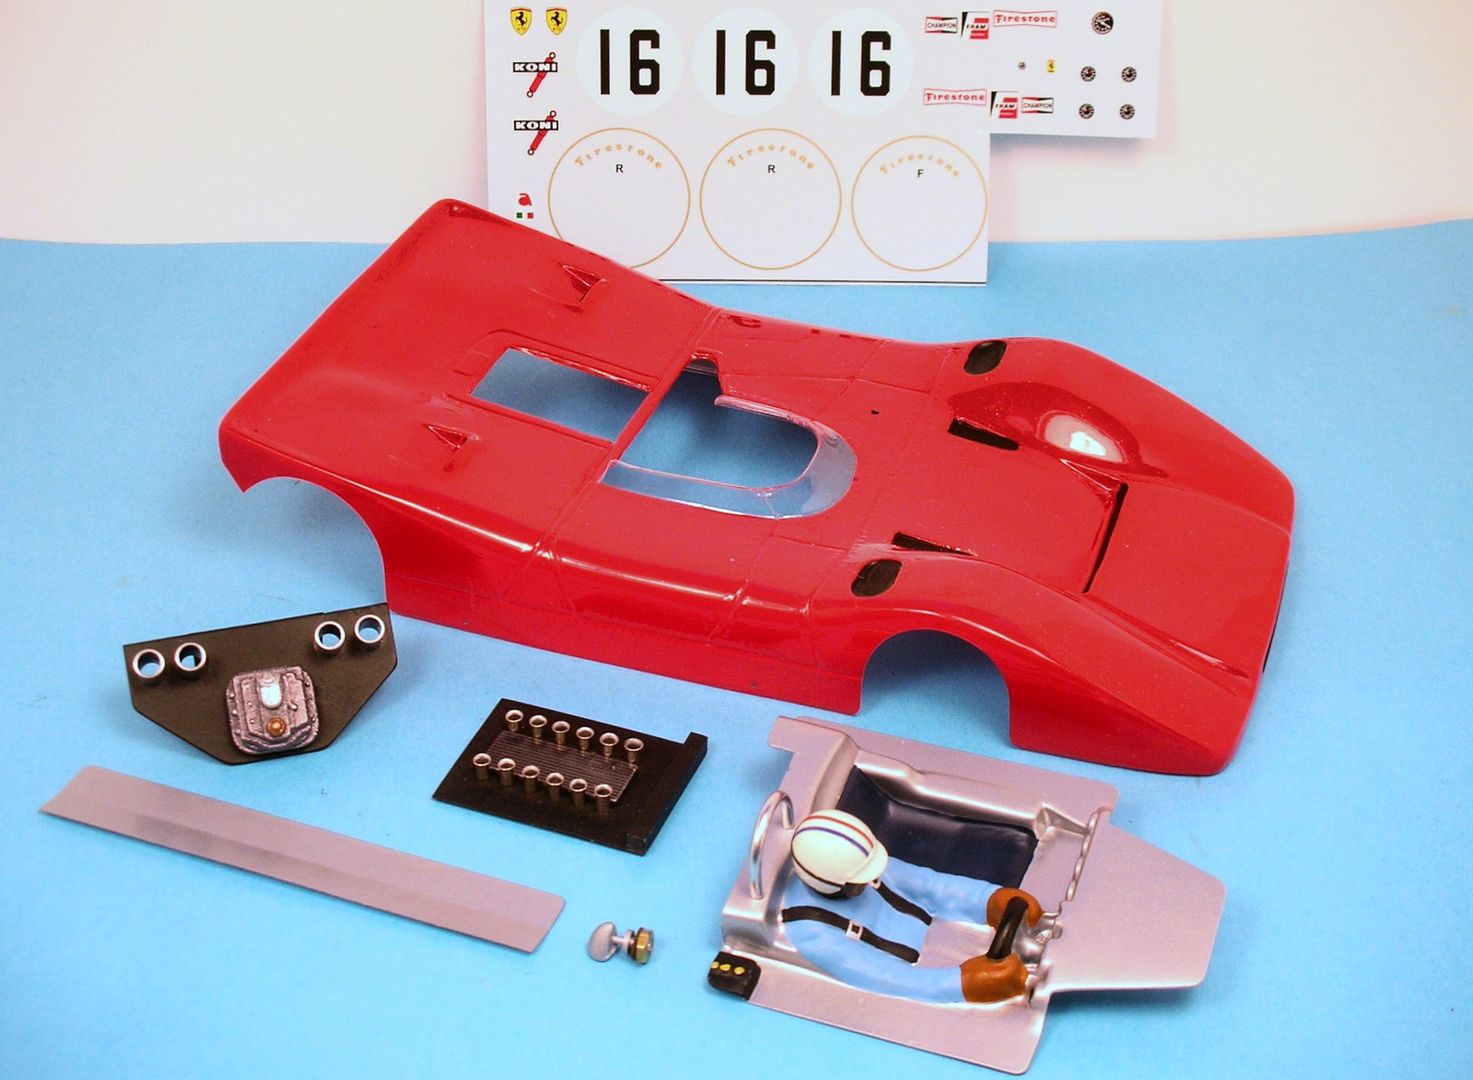
Time for the final assembly.........
Rick Thigpen
Check out Steve Okeefe's great web site at its new home here at Slotblog:
The Independent Scratchbuilder
There's much more to come...
Posted 25 September 2017 - 11:32 PM
Posted 26 September 2017 - 09:10 AM
Looking very good! ![]()
Jairus H. Watson
3/12/59-5/19/25
Requiescat in Pace
Posted 26 September 2017 - 05:17 PM
I do not have words, I'm astonished !
Posted 26 September 2017 - 06:39 PM
Thanks guys. I just got the decals on and hope to get it finished up soon......... ![]()
Rick Thigpen
Check out Steve Okeefe's great web site at its new home here at Slotblog:
The Independent Scratchbuilder
There's much more to come...
Posted 26 September 2017 - 08:09 PM
Love the Certus Arm. Last I saw Dave Cleary he was racing RC.
Posted 27 September 2017 - 07:47 PM
All the pieces all together in one lump:
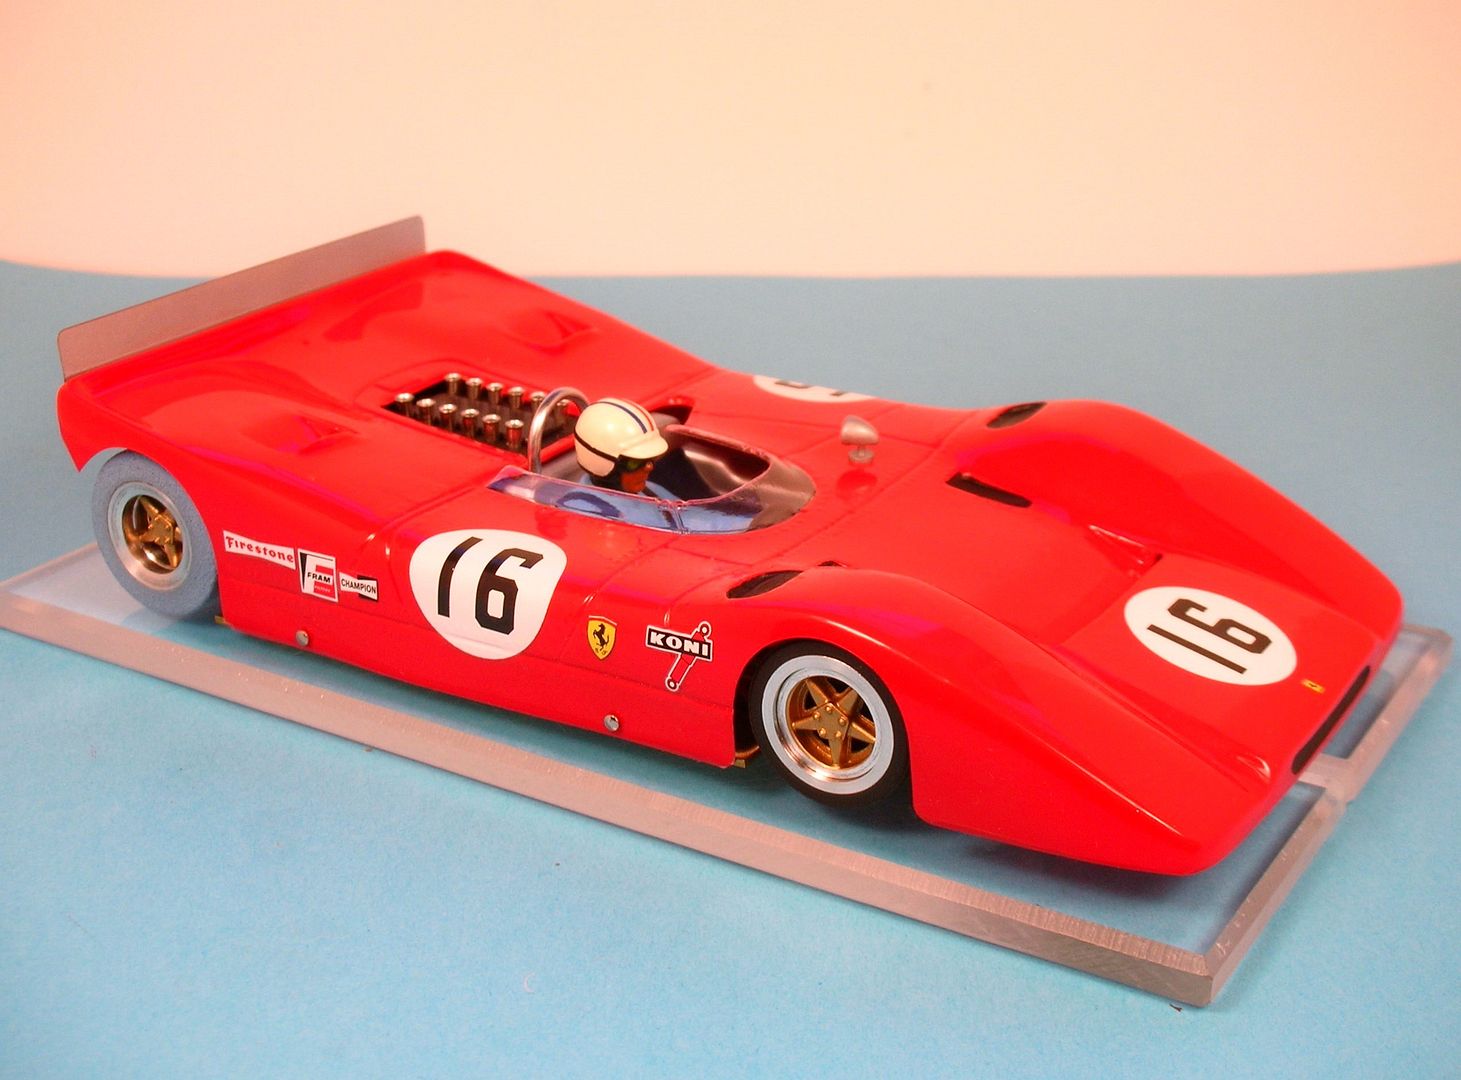
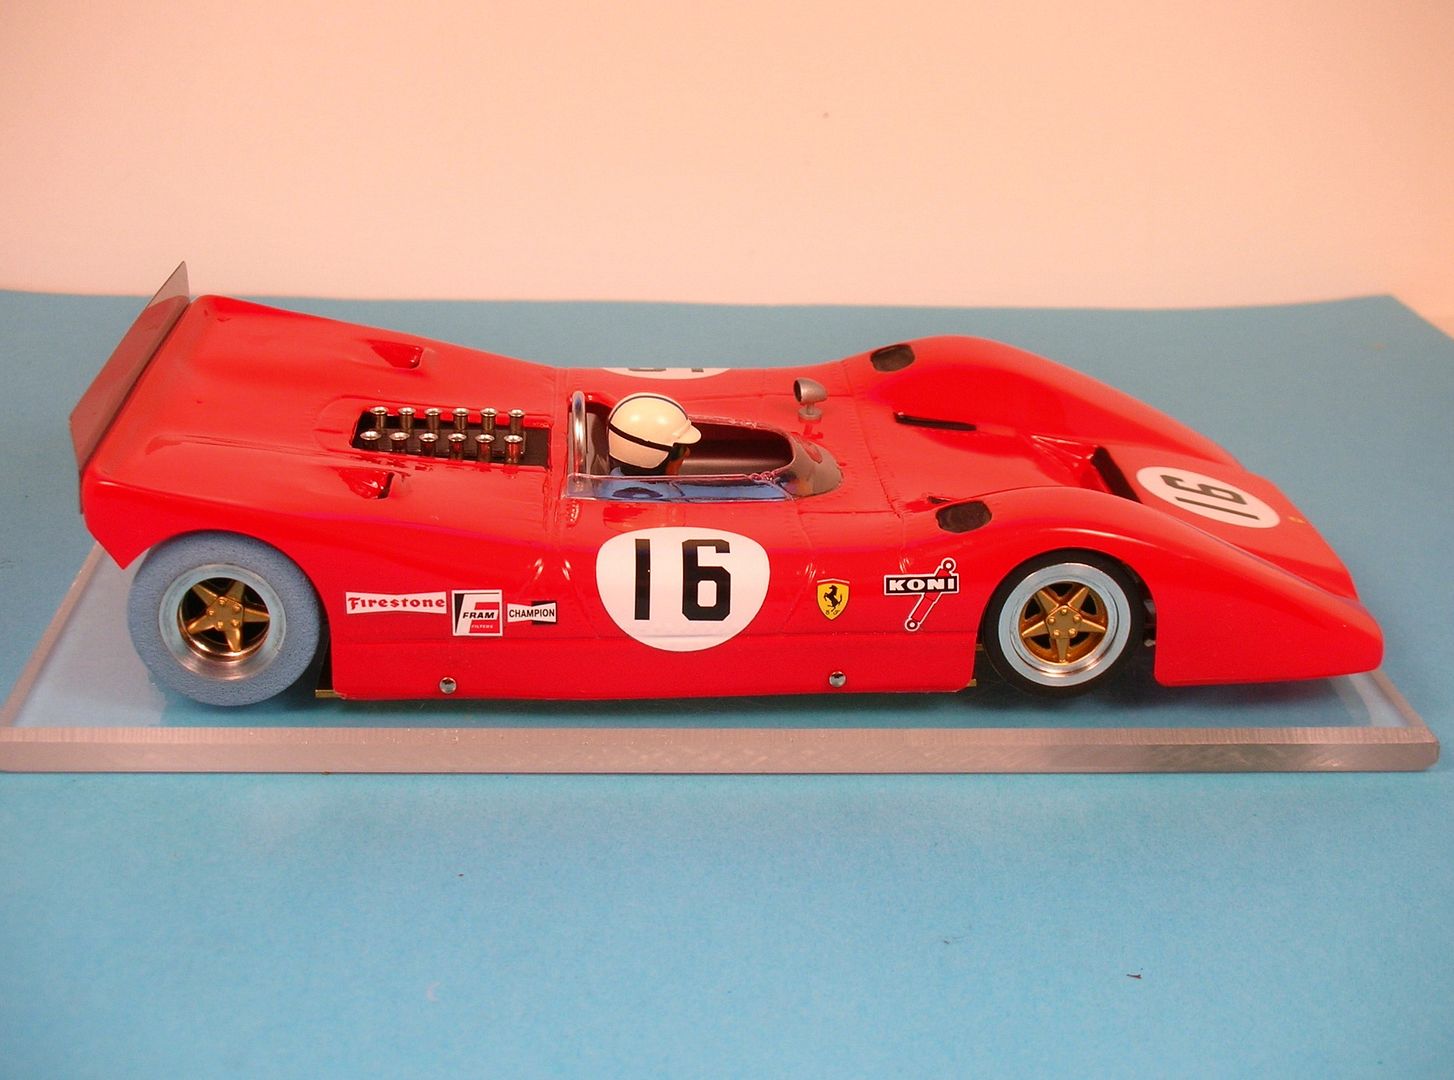
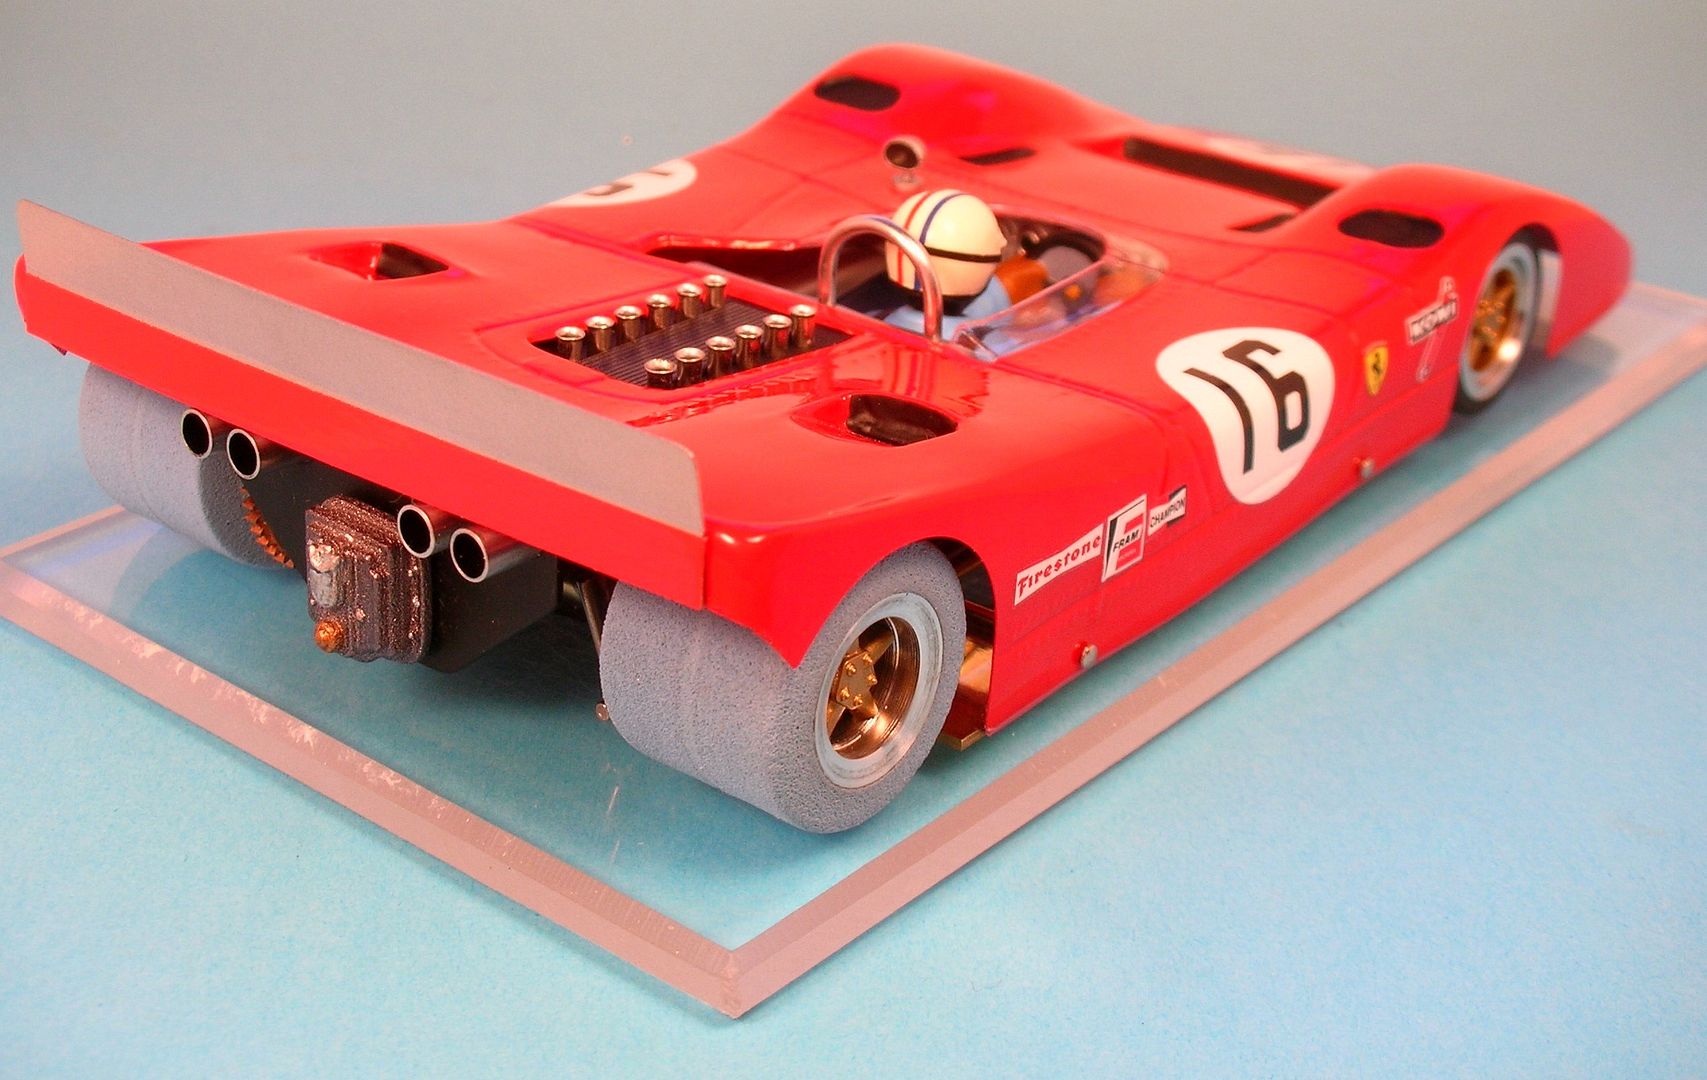
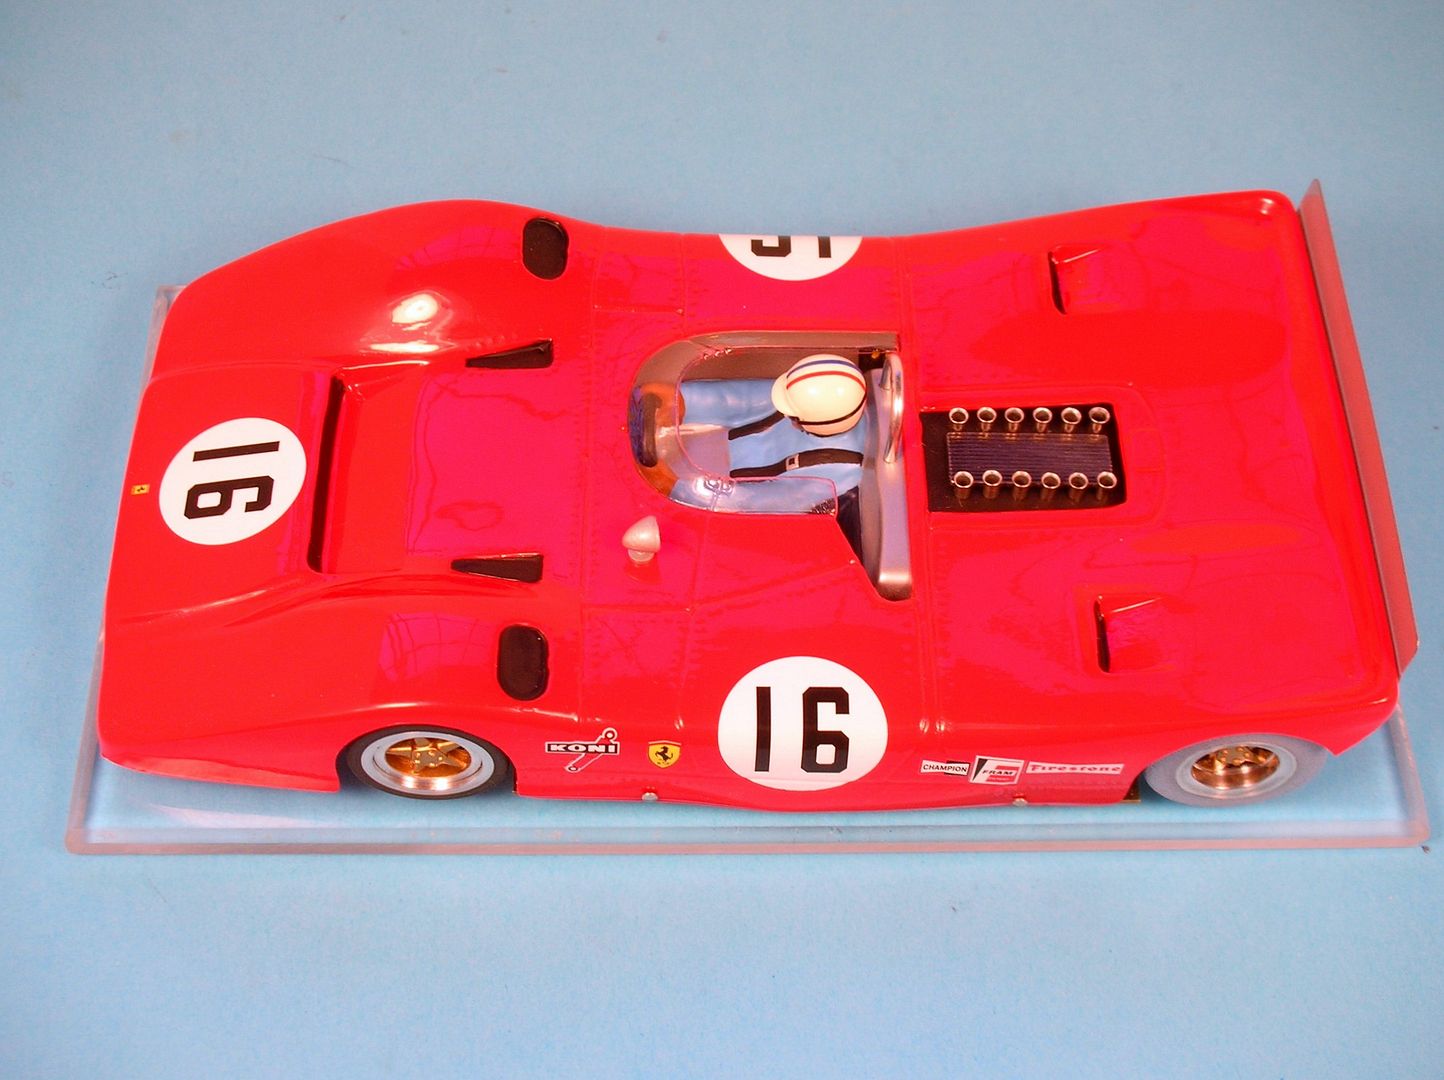
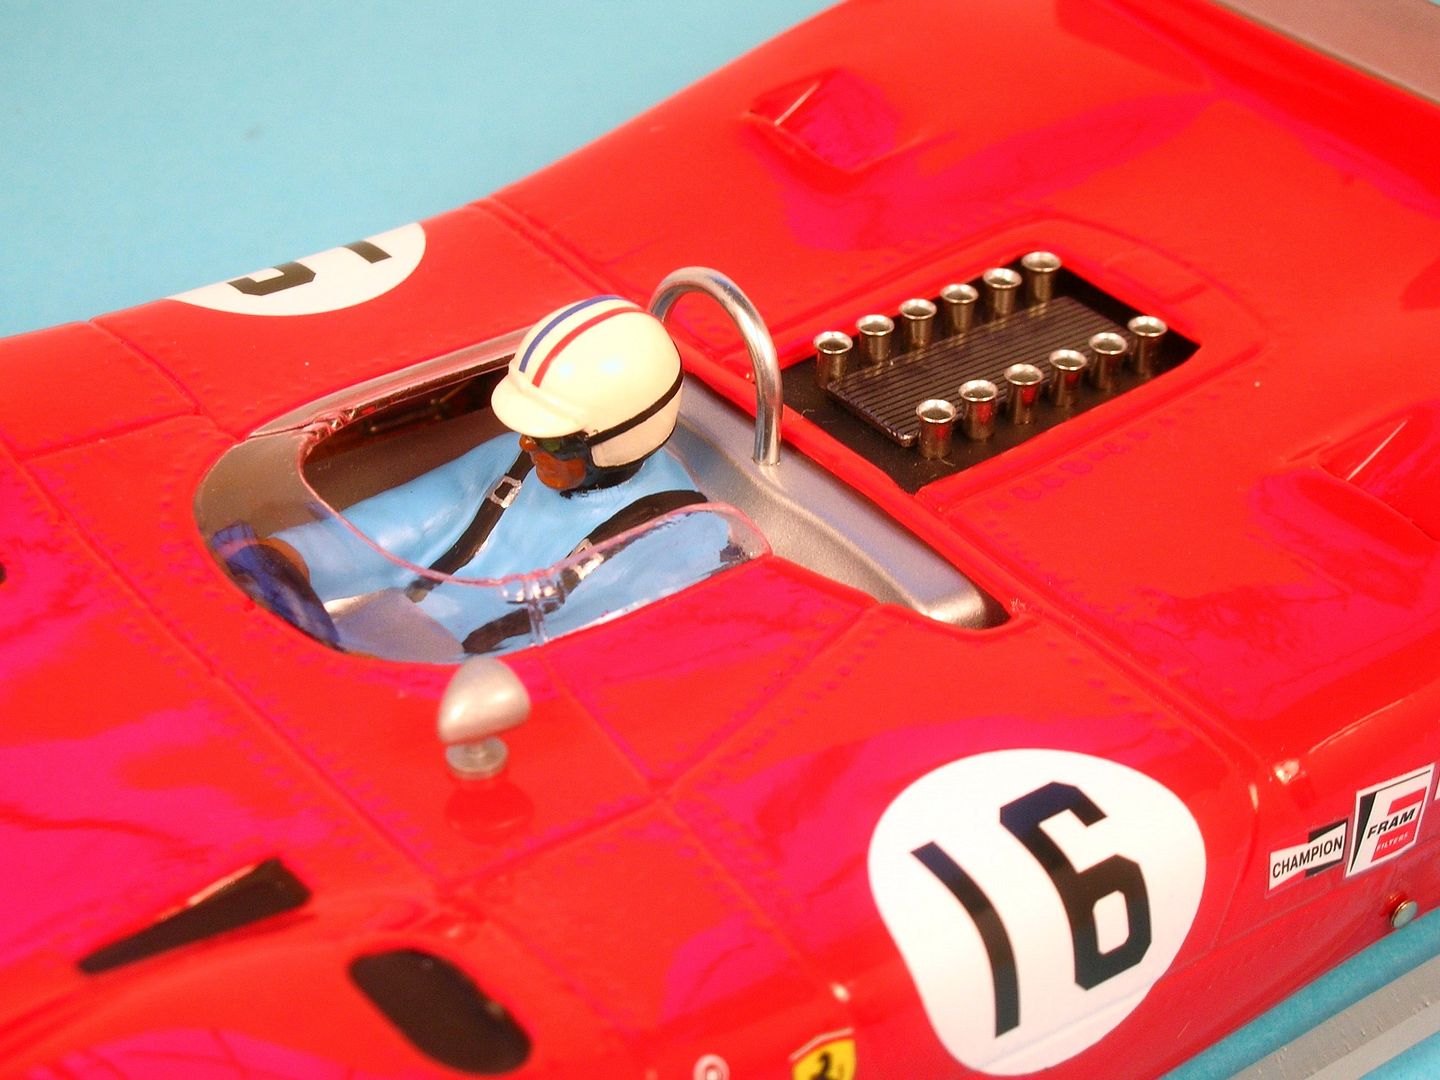
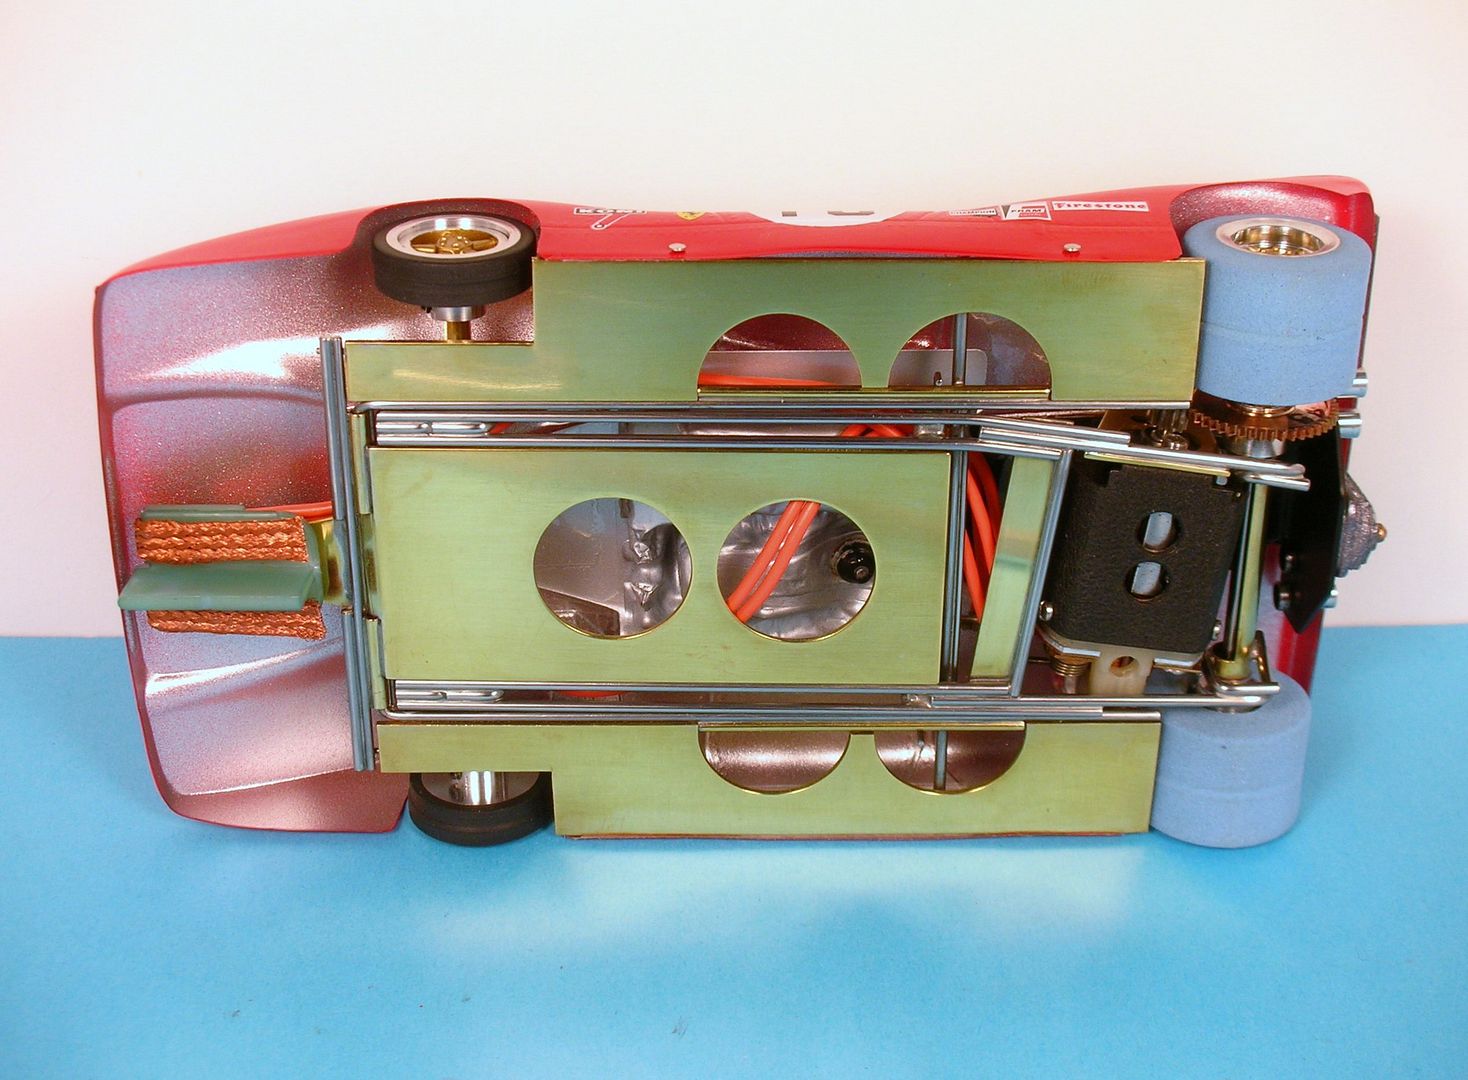
Onward! ![]()
Rick Thigpen
Check out Steve Okeefe's great web site at its new home here at Slotblog:
The Independent Scratchbuilder
There's much more to come...
Posted 27 September 2017 - 08:41 PM
Nice build Rick! ![]()
Posted 28 September 2017 - 07:17 AM
That car is SOOOO tough looking ! WAY BEYOND anything I ever dreamed of future building..... ![]() Pure ,fully functional artwork!
Pure ,fully functional artwork!
Michael J. Boruff
Posted 28 September 2017 - 07:50 AM
Watt'a LUMP! ![]()
She's got the "look"!
Jairus H. Watson
3/12/59-5/19/25
Requiescat in Pace
Posted 28 September 2017 - 08:16 AM
Beautiful car Rick,
Posted 28 September 2017 - 10:15 AM
Very smart. ![]()
Posted 28 September 2017 - 08:36 PM
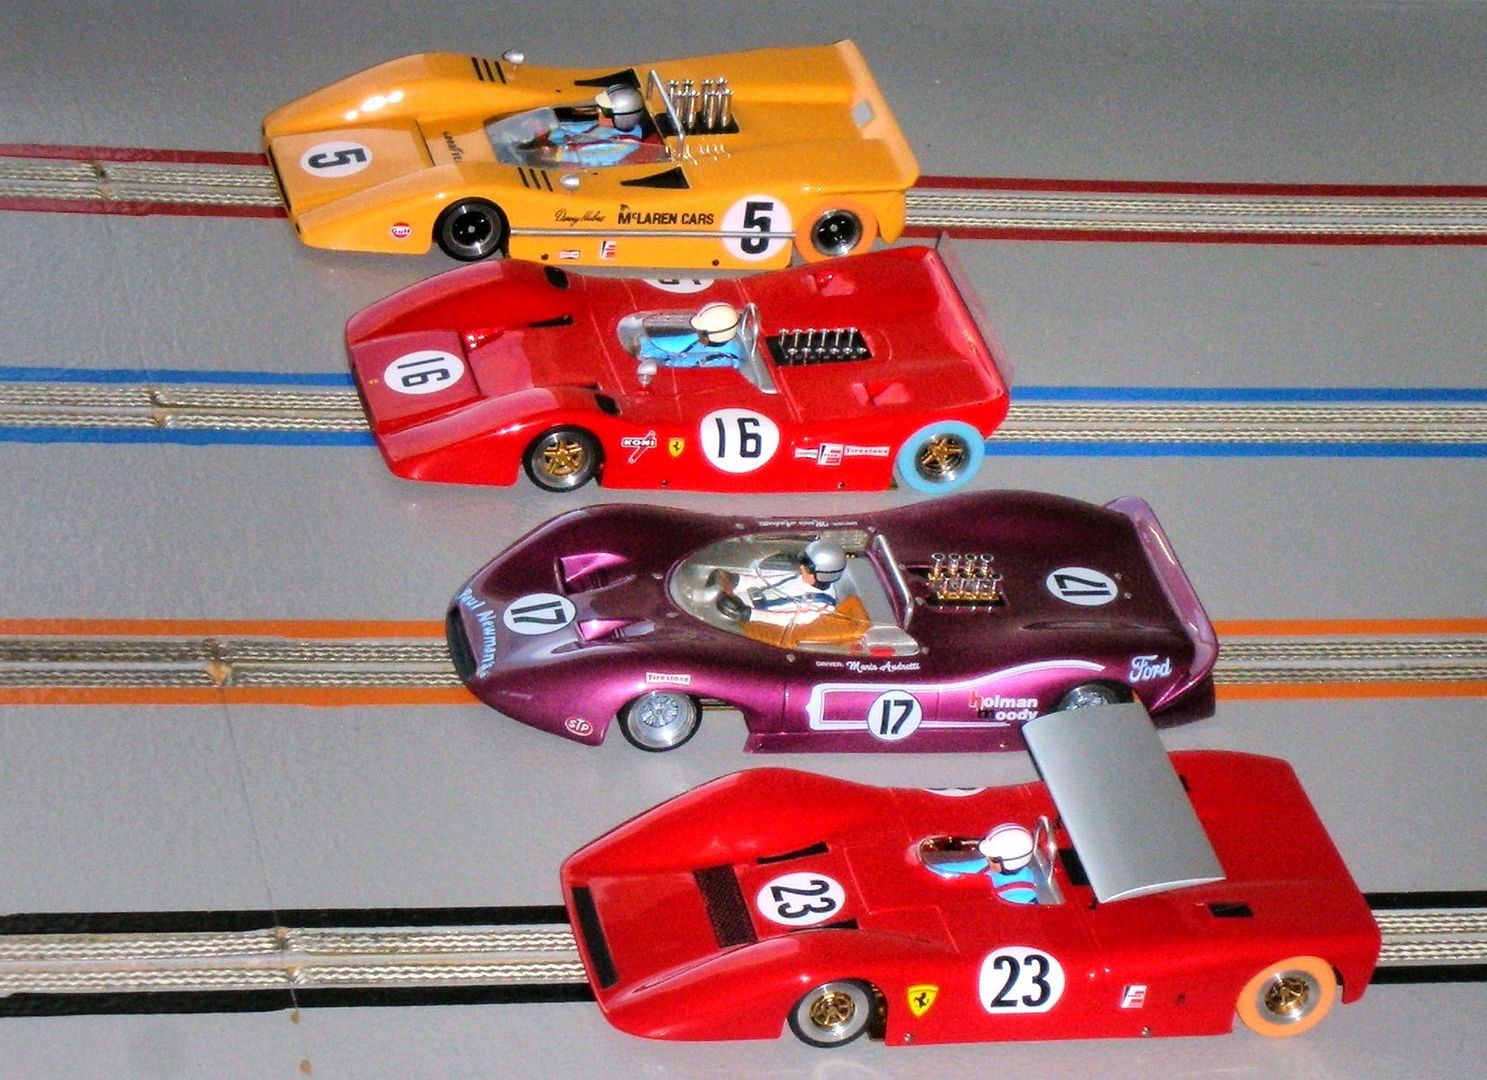
Thanks guys. I was pleasantly surprised when this car all came together. Even though this is a "low and wide" style handling body and running 3/4" front and 7/8" rear tires..........it still looks a lot like a real CanAm Ferrari, if a bit of a squished one! ![]()
Rick Thigpen
Check out Steve Okeefe's great web site at its new home here at Slotblog:
The Independent Scratchbuilder
There's much more to come...