Jump to content


Photo

1967 STP Indy turbine car build


  • Please log in to reply
134 replies to this topic

#101 Ecurie Martini

Ecurie Martini

    Ecurie Martini

  • Full Member
  • PipPipPipPipPipPip
  • 1,118 posts
  • Joined: 19-February 06
  • Gender:Male
  • Location:Baltimore MD

Posted 08 June 2018 - 09:33 PM

Isn't there some risk that the front axle torsion members, sized to have some flex but made of relatively soft brass (which might have been further softened by soldering) could bend in an accident?  My impulse would have been to use steel (probably a slightly smaller diameter) in this application.


EM


Alan Schwartz


#102 munter

munter

    Checkered Flag in Hand

  • Full Member
  • PipPipPipPipPipPip
  • 1,049 posts
  • Joined: 11-April 08
  • Gender:Male
  • Location:Napier, New Zealand

Posted 09 June 2018 - 01:06 AM

Think I agree with EM...I have moved to a mix of music wire and brass rod in my recent chassis.

Because those front wheels are exposed there could be a biff and those fronts could be pointing skyward.


Brass rod and torsion vs steel music wire and torsion?


John Warren
Slot cars are my preferred reality


#103 Ecurie Martini

Ecurie Martini

    Ecurie Martini

  • Full Member
  • PipPipPipPipPipPip
  • 1,118 posts
  • Joined: 19-February 06
  • Gender:Male
  • Location:Baltimore MD

Posted 09 June 2018 - 01:30 AM

My basic stock for perhaps 80% of builds is 0.055", 0.039" and 0.031" spring tempered stainless steel wire and 1/16, 3/32 and 1/8" stainless tubing.  There is a bit of a trick to soldering SS but once learned, it is routine  and, as a bonus, it stays bright and clean. 


EM


  • munter likes this
Alan Schwartz

#104 Don Weaver

Don Weaver

    Checkered Flag in Hand

  • Subscriber
  • PipPipPipPipPipPip
  • 1,852 posts
  • Joined: 26-October 07
  • Gender:Male
  • Location:Lexington. SC

Posted 09 June 2018 - 06:01 AM

Alan,


Care to share your secret for soldering SS?  Inquiring minds need to know.....


Don


Don Weaver

​A slot car racer who never grew up!


The supply of government exceeds demand.
L.H. Lapham
 
If the brain-eating amoeba invades Washington
it will starve to death...


#105 Pablo

Pablo

    Builder

  • Administrator
  • PipPipPipPipPipPipPipPip
  • 18,437 posts
  • Joined: 20-February 06
  • Gender:Male
  • Location:Cleveland, Tennessee

Posted 09 June 2018 - 08:06 AM

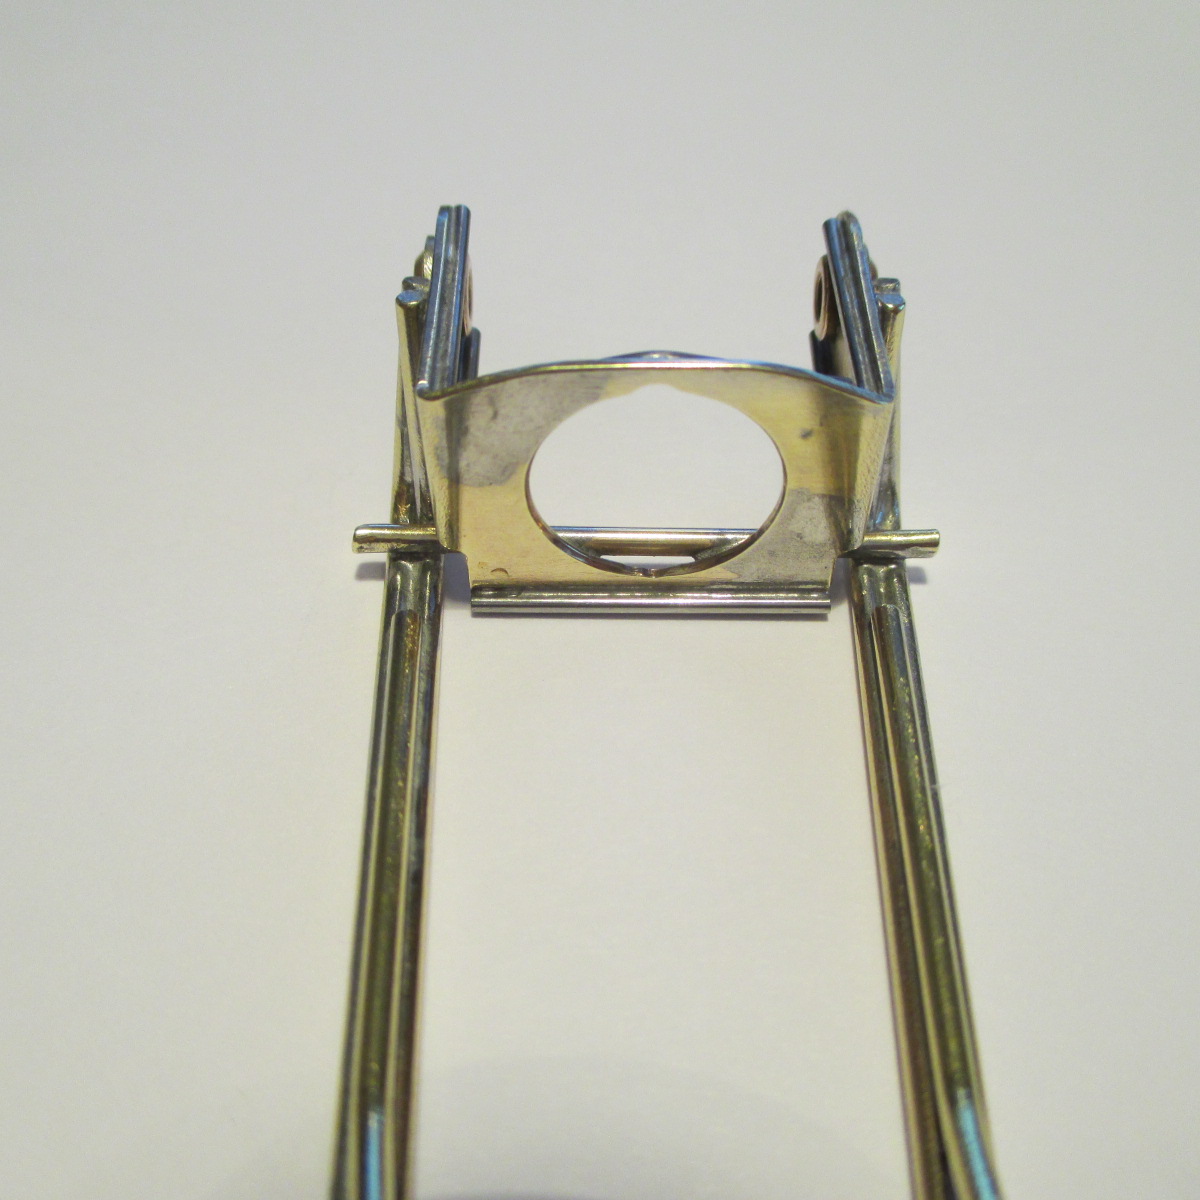
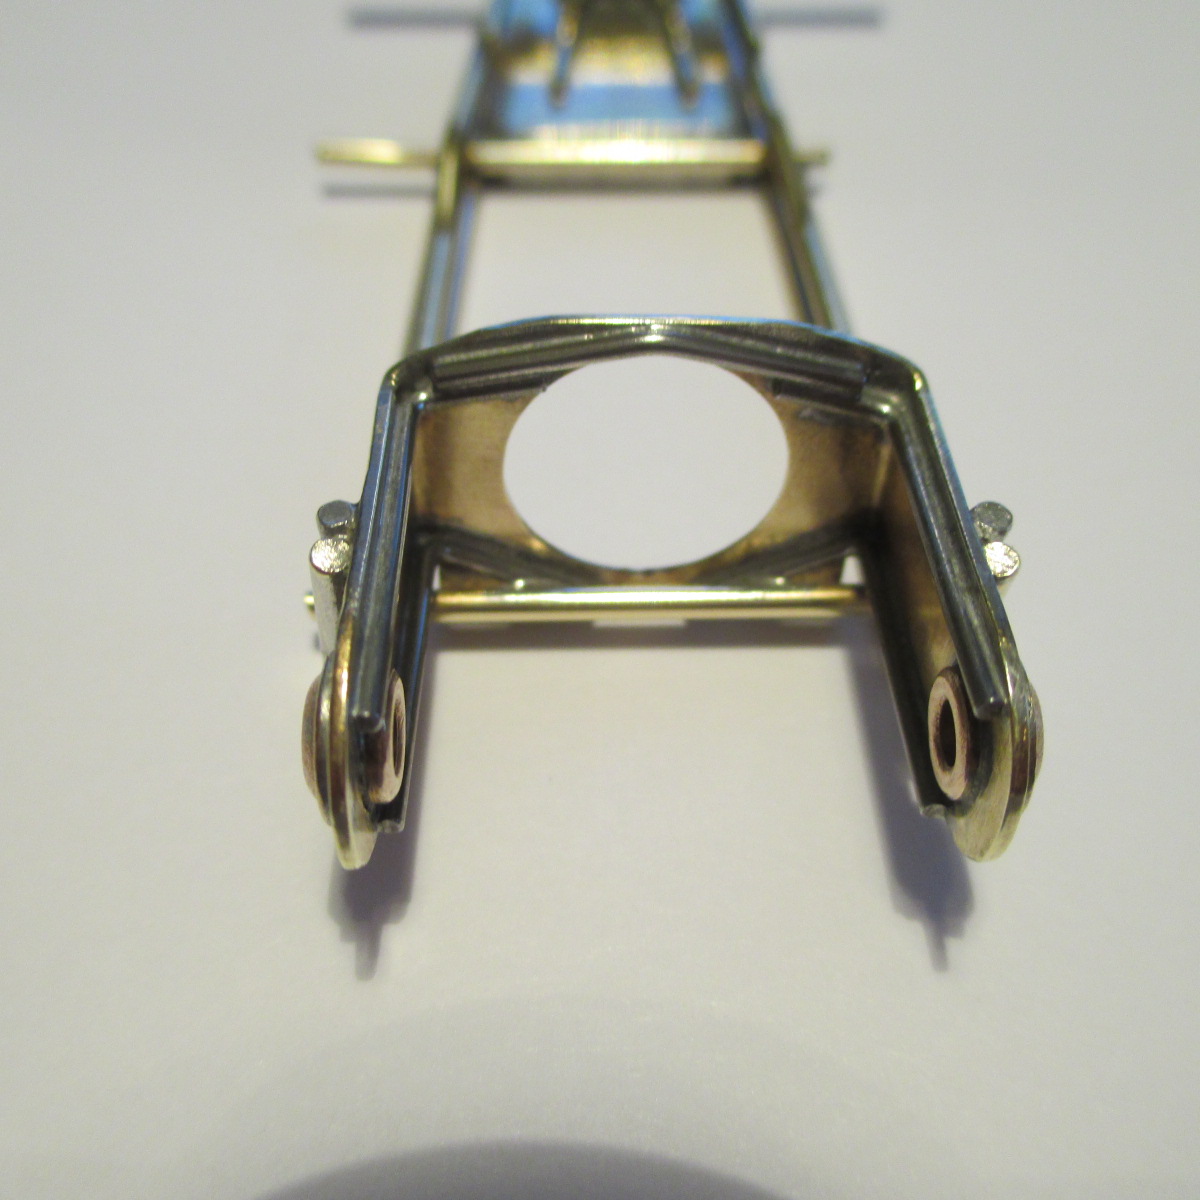
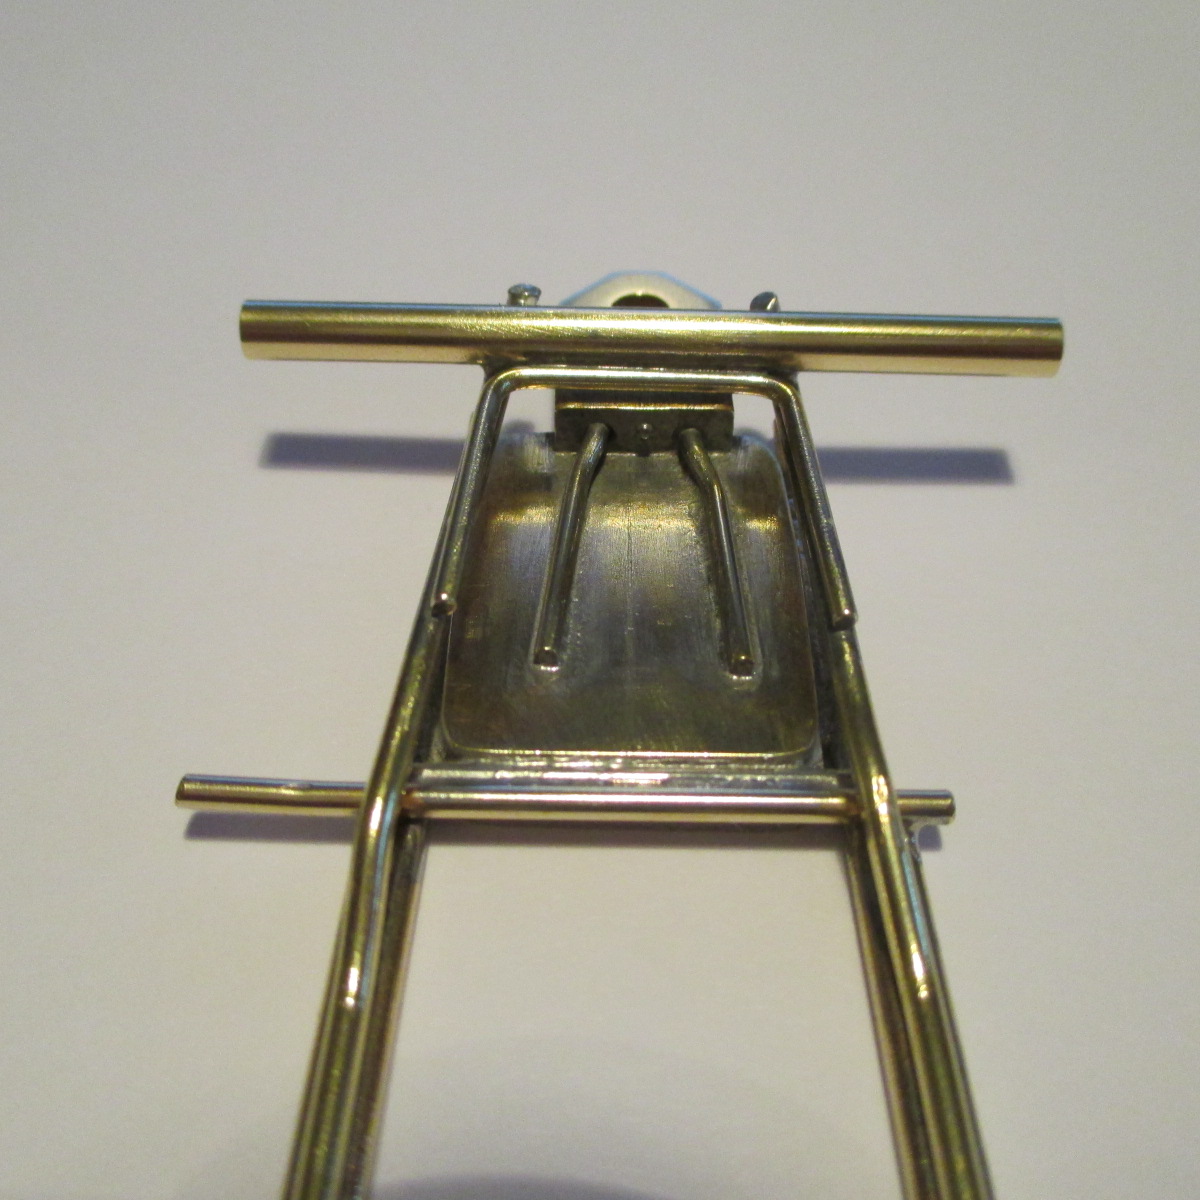
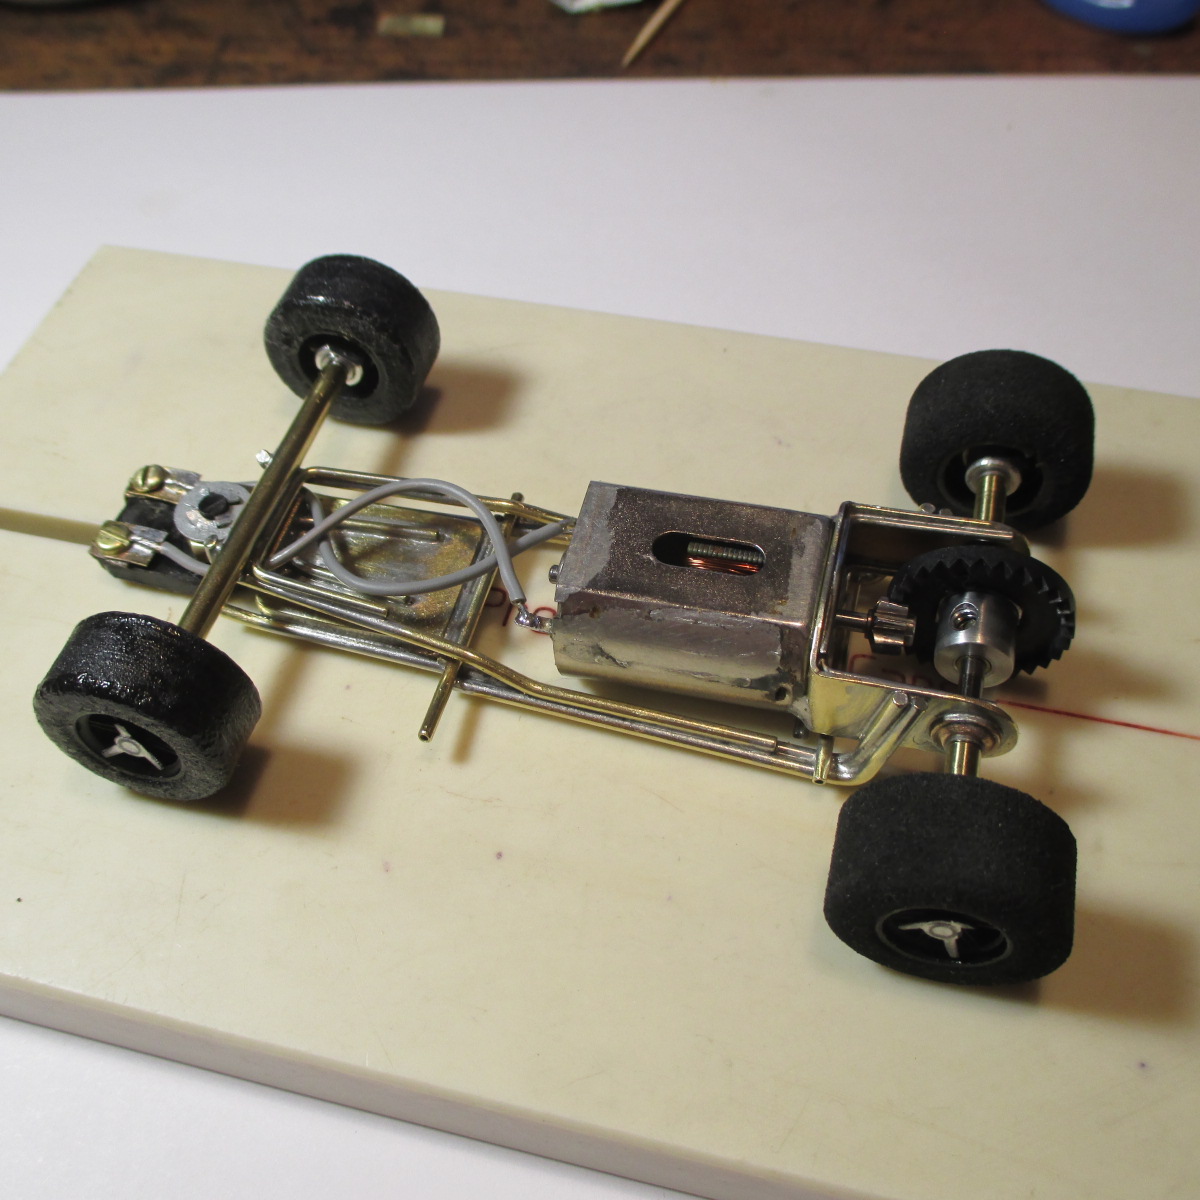
I'm sitting here looking at it, and I respectfully disagree with the brass rod torsion connectors being easy to destroy in a crash.


-it's a very small chassis, so the pieces you refer to are <2.5", meaning, not a lot of leverage

-the forward portion is reinforced with .047 about 3/4" long

-the rear portions are nested in double main rails and soldered solid for 1/2"

-in order for the front axle tubes to be "bent skyward" in a crash, either the tube would have to rip free of the nest (which ain't gonna happen - look at the way it's nested and triangulated) - or BOTH torsion rods would have to bend right at the EB - AND the very thick body would have to rip free of the pin tube mounts, or break them, to allow it - and it can only go downwards about 1/16" because the top of the Dynamic gizmo prevents it

-we are not talking high speed wing car crashes here folks - the motor will be a 13uo. I doubt even a highly modified one would cause a crash like that

-if you've ever soldered wire to brass along a length of more than about 5/8", it will curl the rails like a potato chip

-in high school shop, remember that putting a bend in metals strengthens it? My bends are at the only non-reinforced areas - right at the EB

-all cars are thoroughly track tested before departing The Wolcott Ranch, and I will make an extra effort with your comments in mind to use the strongest test motor I can fit in there - if it fails during a crash you will have proved me wrong :)

-for a 1966 "look" I chose brass :curtsey:


Don, Alan is welcome to give his answer about SS here, and I'll tell you what I have found in a PM.


  • munter likes this

Paul Wolcott


#106 Ecurie Martini

Ecurie Martini

    Ecurie Martini

  • Full Member
  • PipPipPipPipPipPip
  • 1,118 posts
  • Joined: 19-February 06
  • Gender:Male
  • Location:Baltimore MD

Posted 09 June 2018 - 08:08 AM

Alan,


Care to share your secret for soldering SS?  Inquiring minds need to know.....


Don


 It's really simple:  I use StaBrite solder and StaClean flux - I'm sure that other strong acid fluxes will work as well  I clean the area to be soldered with an abrasive and then immediately tin with the StaBrite  then proceed as required.  With exception of solder and flux choice, nothing other than normal good practice.


Two other benefits:  Steel, unlike brass or copper, is a poor heat conductor thus the heat stays more concentrated in the work area and the solder flows very smoothly.  Joints, carefully made and cleaned up, can be polished leaving the solder almost invisible against the SS.


EM


  • munter likes this
Alan Schwartz

#107 Ecurie Martini

Ecurie Martini

    Ecurie Martini

  • Full Member
  • PipPipPipPipPipPip
  • 1,118 posts
  • Joined: 19-February 06
  • Gender:Male
  • Location:Baltimore MD

Posted 09 June 2018 - 08:23 AM

Pablo:


Got it.  It was just a question based on my "If it can break. it will" approach.  Sometimes the outcome of an accident has more to do with venue and other cars than the speed of the car in question - experience has led to my iron clad rule: "Do not practice on a King when 1/24 rockets are also running.


EM


PS - I was not thinking about a catastrophic "wheels pointing to the sky" accident but just enough of a bump (or rough marshaling) to push things a bit, say 0.010" - just enough to induce a wobble.


Alan Schwartz

#108 munter

munter

    Checkered Flag in Hand

  • Full Member
  • PipPipPipPipPipPip
  • 1,049 posts
  • Joined: 11-April 08
  • Gender:Male
  • Location:Napier, New Zealand

Posted 09 June 2018 - 02:50 PM

Pablo, please do your thing. I know you will anyway. Just give me the cold shoulder.


John Warren
Slot cars are my preferred reality


#109 Pablo

Pablo

    Builder

  • Administrator
  • PipPipPipPipPipPipPipPip
  • 18,437 posts
  • Joined: 20-February 06
  • Gender:Male
  • Location:Cleveland, Tennessee

Posted 09 June 2018 - 05:50 PM

John, I'm sure if you were here and could feel it in your hands, you'd say "oh yeah, that will work".

Sorry, I can't give you the "cold shoulder" because you are my only hope for more Hildebrand style wheel inserts for STP cars :crazy: :friends:


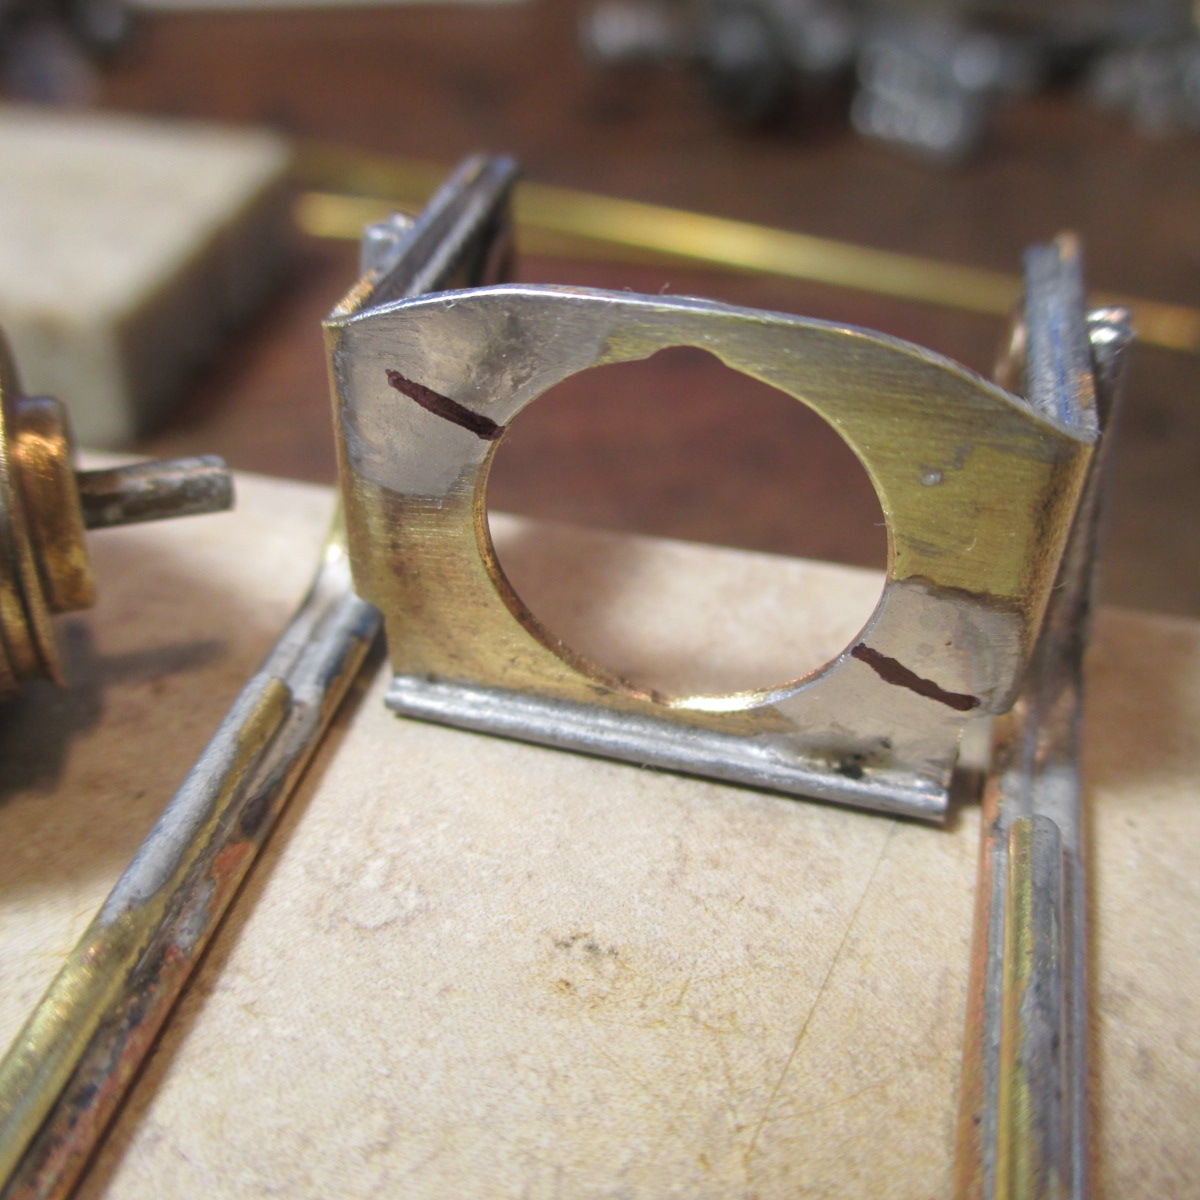
My original recommendation for the owner of the car was to solder motor to bracket along the top.

Now that it's built, I'd like to change that. I'd solder it in two places, right where my Sharpie marks are.

Those areas are pre-acid tinned so all you'd have to do is use paste flux to attach your motor


IMG_9678.JPG


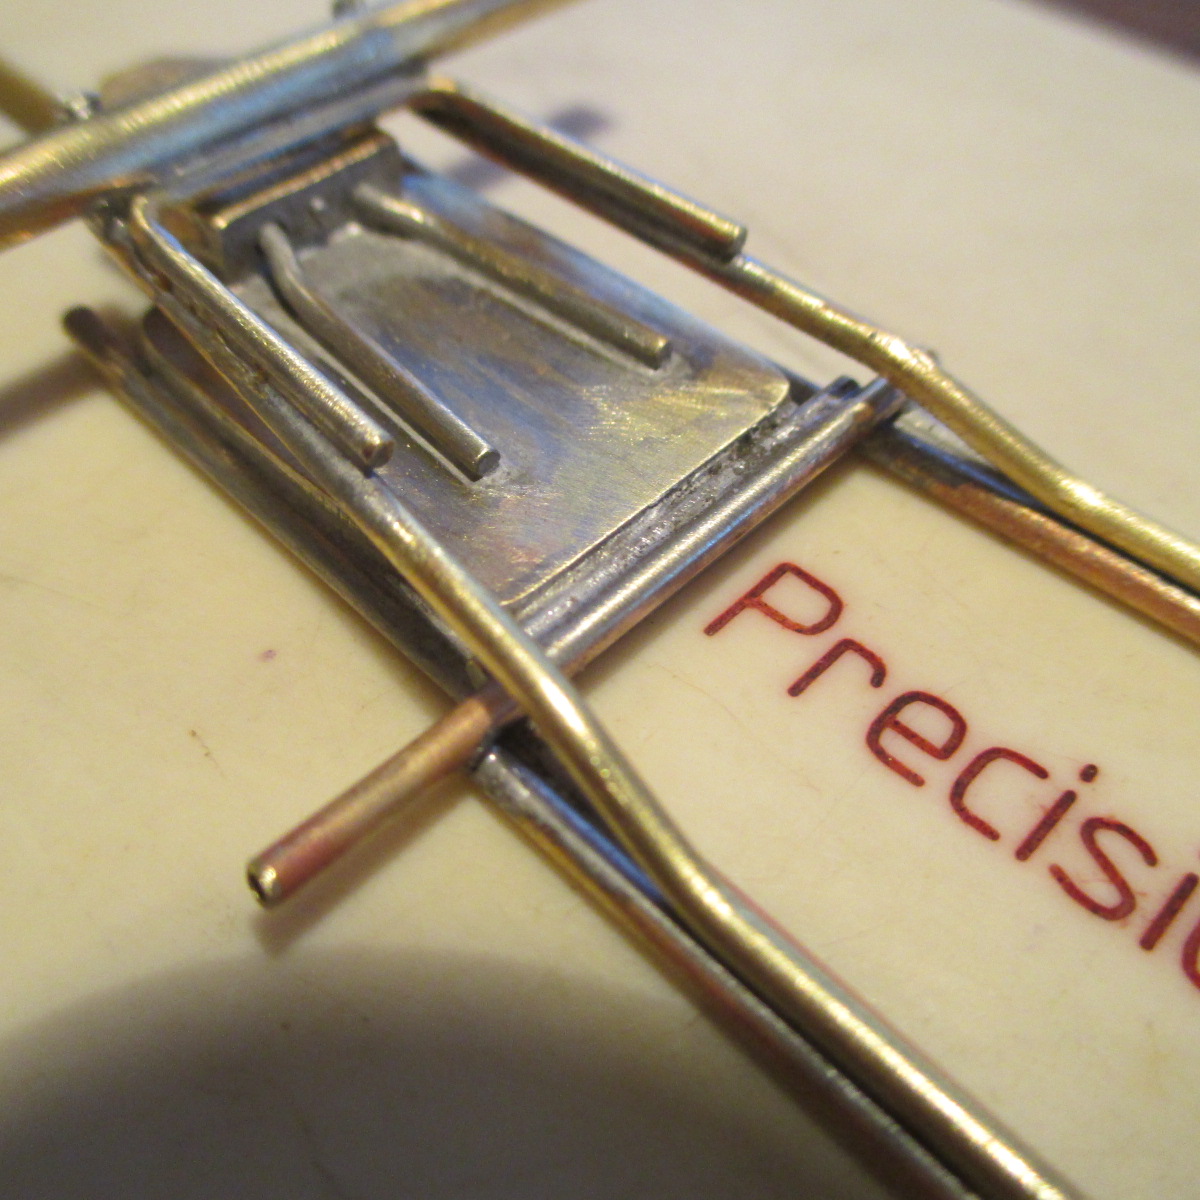
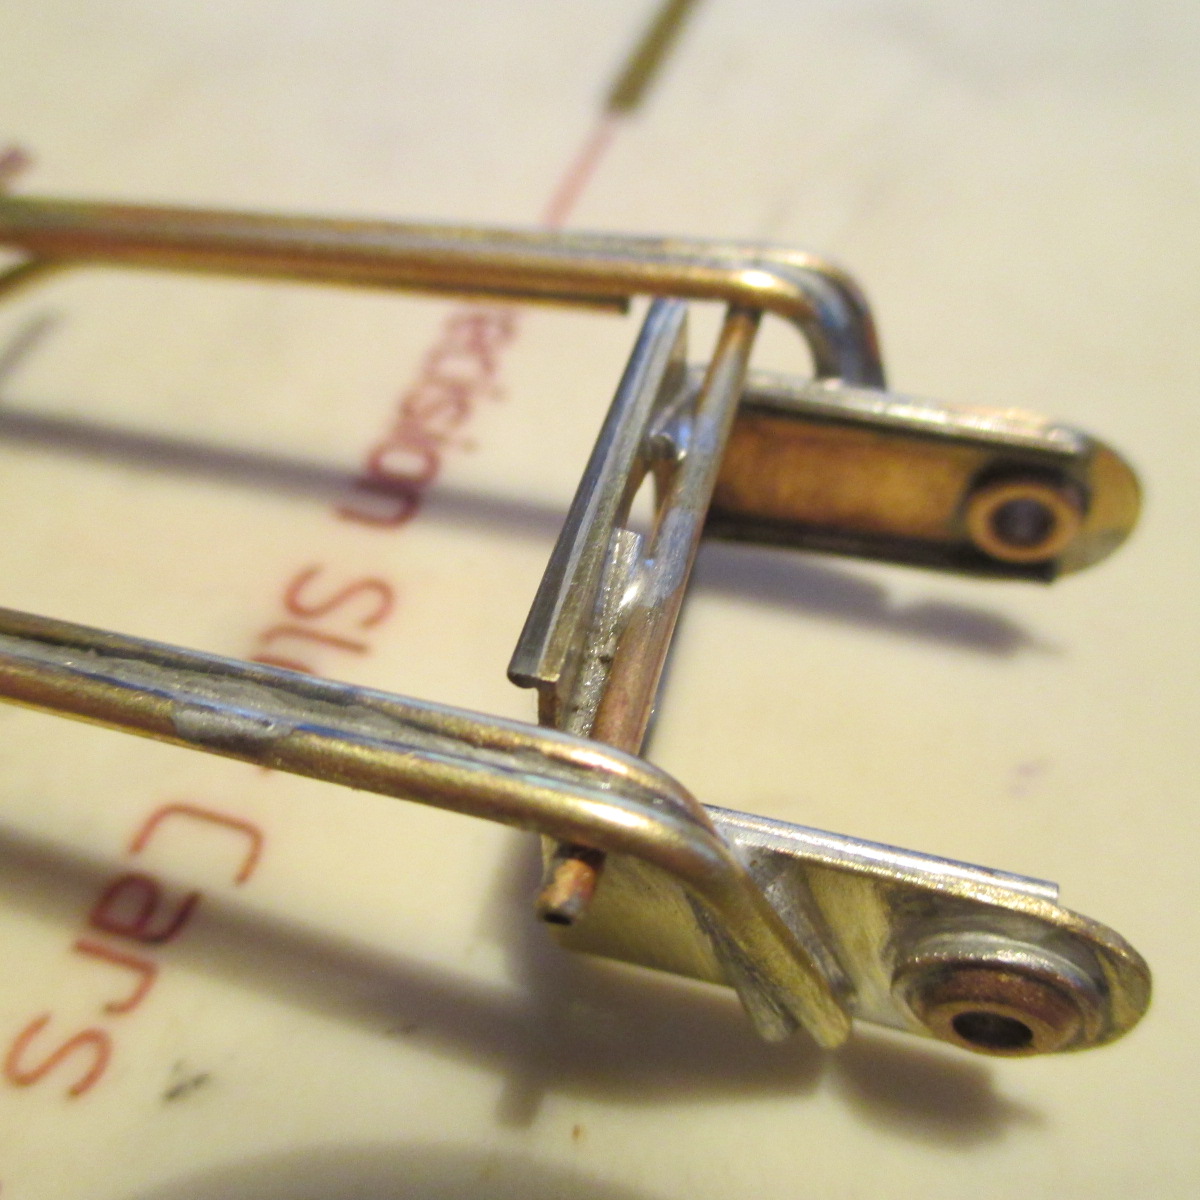
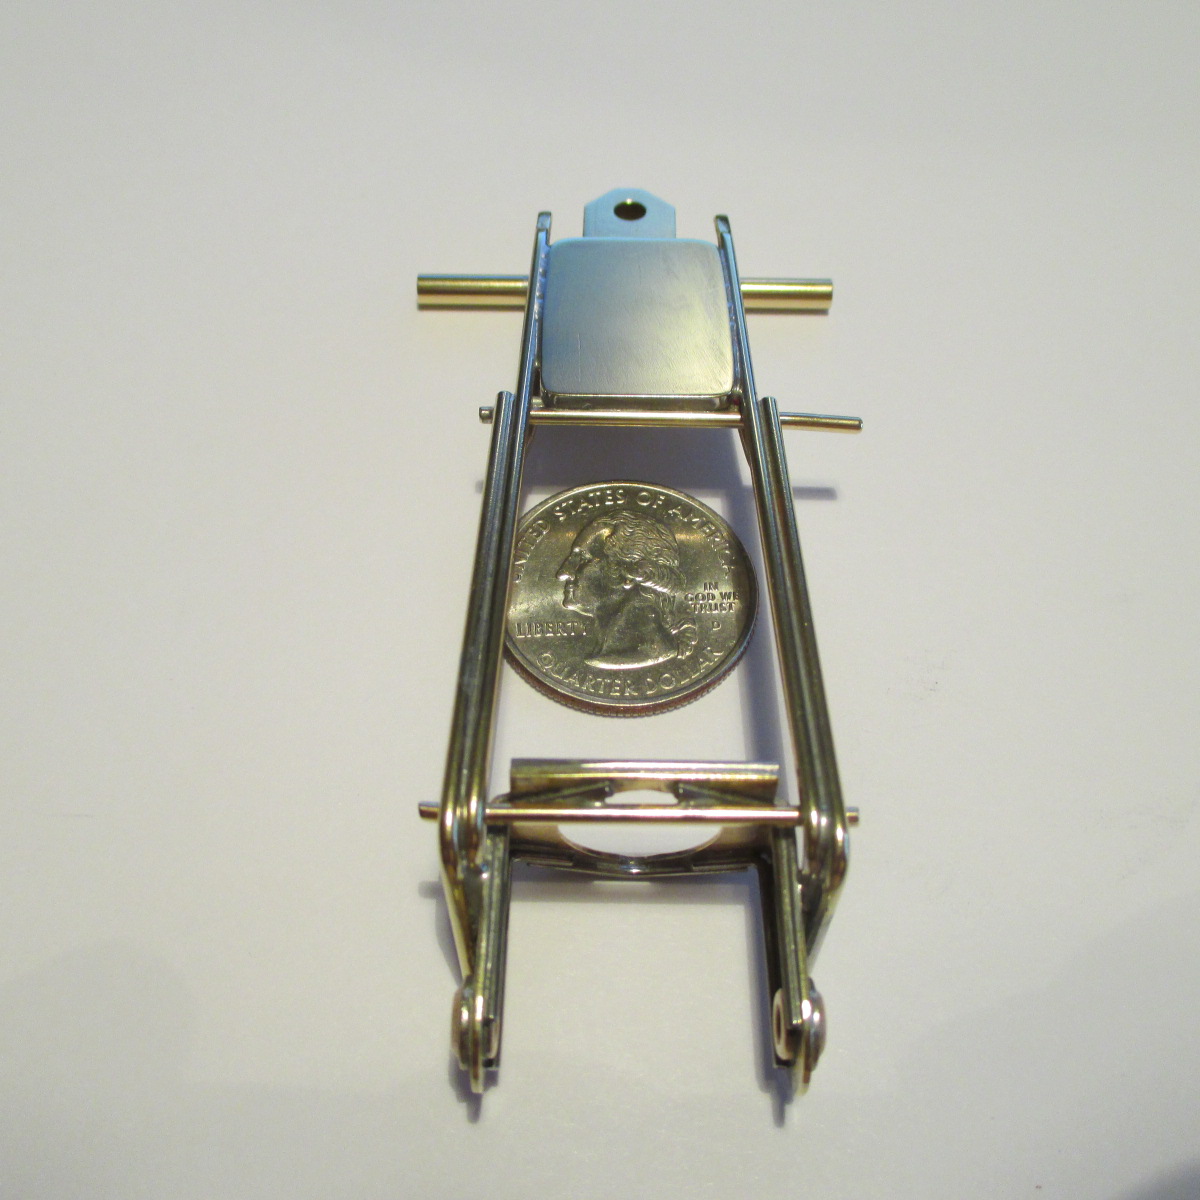
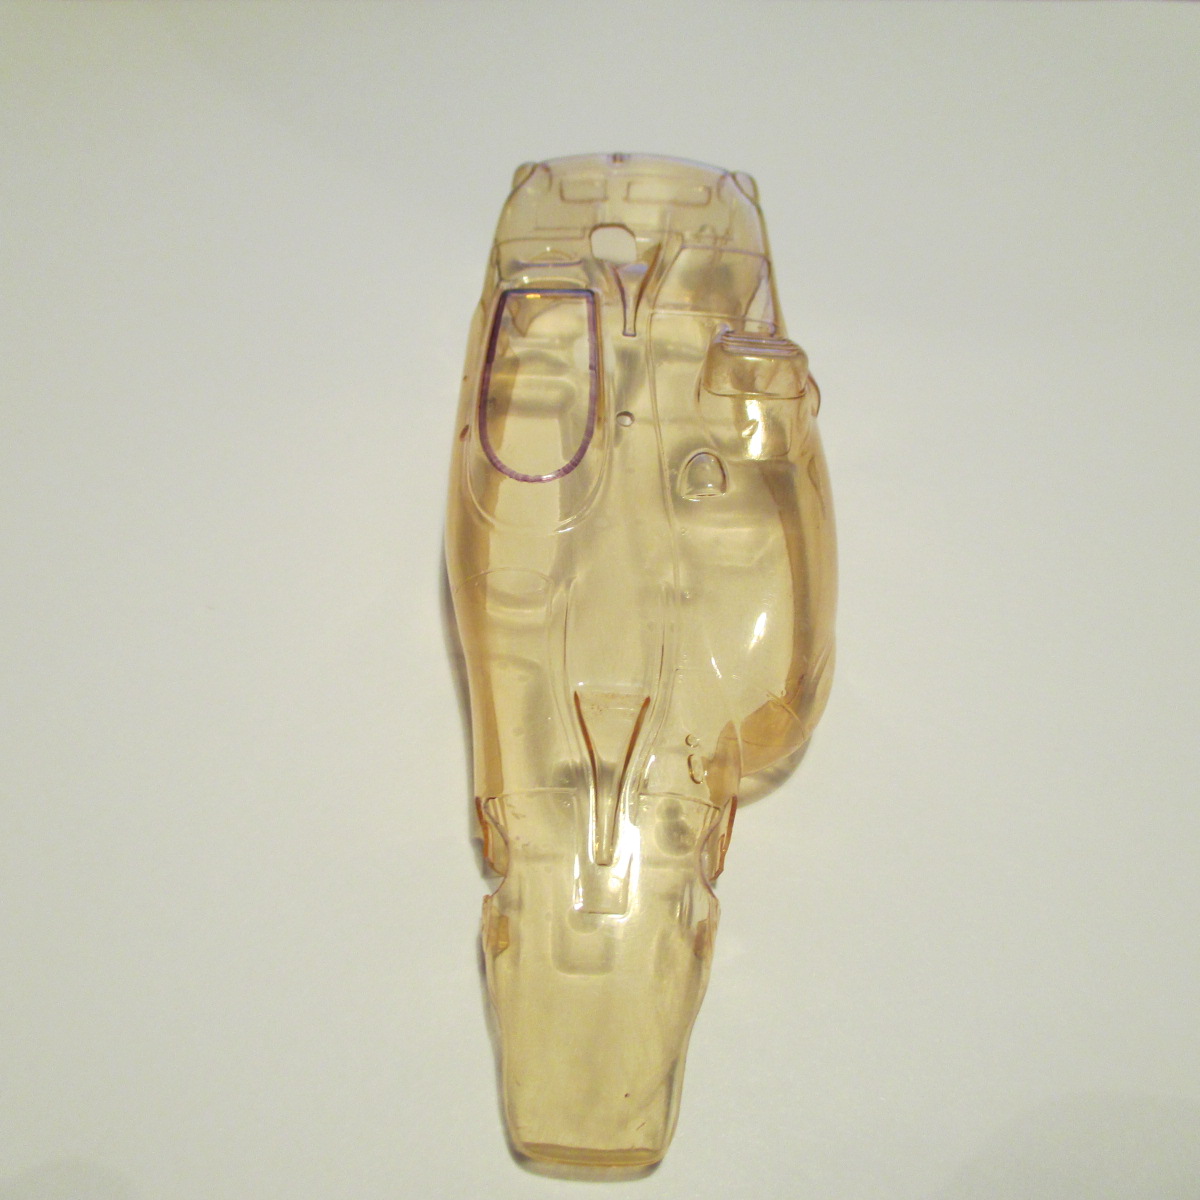
Body mounts are rigid 1/16 brass tubes, custom sized to fit the curved body


IMG_9680.JPG


IMG_9681.JPG


Time for an overnight tumble......


  • Jencar17 and munter like this

Paul Wolcott


#110 Pablo

Pablo

    Builder

  • Administrator
  • PipPipPipPipPipPipPipPip
  • 18,437 posts
  • Joined: 20-February 06
  • Gender:Male
  • Location:Cleveland, Tennessee

Posted 10 June 2018 - 07:56 AM

IMG_9682.JPG


IMG_9686.JPG


IMG_9687.JPG


IMG_9690.JPG


  • slotbaker, Jencar17, Tex and 4 others like this

Paul Wolcott


#111 Ecurie Martini

Ecurie Martini

    Ecurie Martini

  • Full Member
  • PipPipPipPipPipPip
  • 1,118 posts
  • Joined: 19-February 06
  • Gender:Male
  • Location:Baltimore MD

Posted 10 June 2018 - 12:44 PM

Looking good - what do you use for a tumbling medium?  Do you block the bushings to avoid any internal abrasion?


EM


Alan Schwartz

#112 Pablo

Pablo

    Builder

  • Administrator
  • PipPipPipPipPipPipPipPip
  • 18,437 posts
  • Joined: 20-February 06
  • Gender:Male
  • Location:Cleveland, Tennessee

Posted 10 June 2018 - 01:24 PM

Buffalo Arms ceramic pellets. They don't fit into the bushings. They don't abrade, just polish.


  • Pete L. and tonyp like this

Paul Wolcott


#113 Pablo

Pablo

    Builder

  • Administrator
  • PipPipPipPipPipPipPipPip
  • 18,437 posts
  • Joined: 20-February 06
  • Gender:Male
  • Location:Cleveland, Tennessee

Posted 11 June 2018 - 05:27 PM

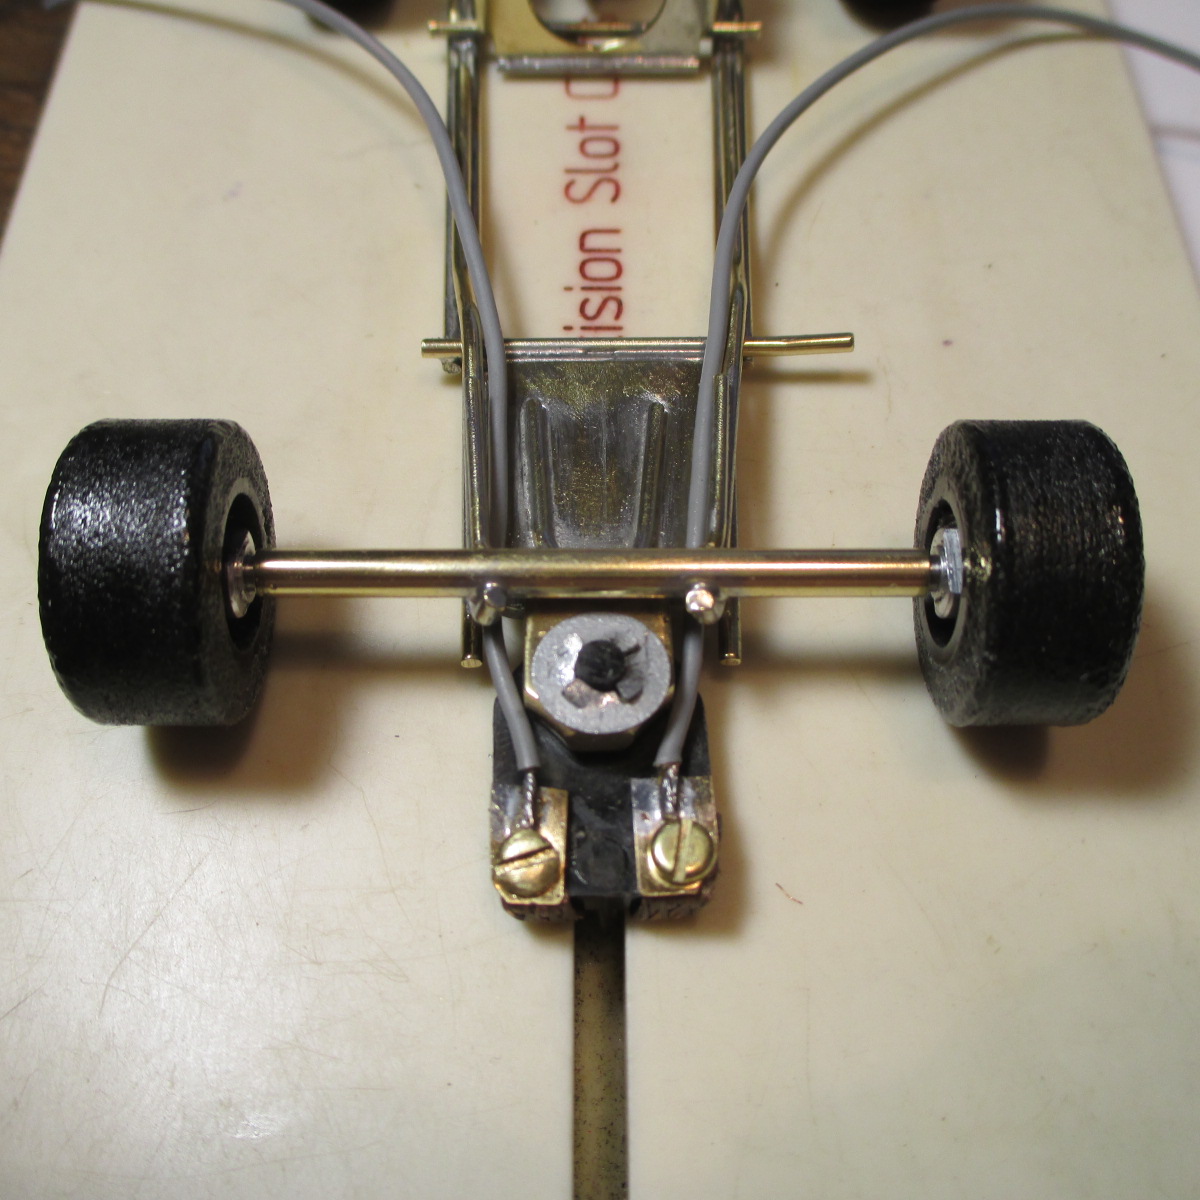
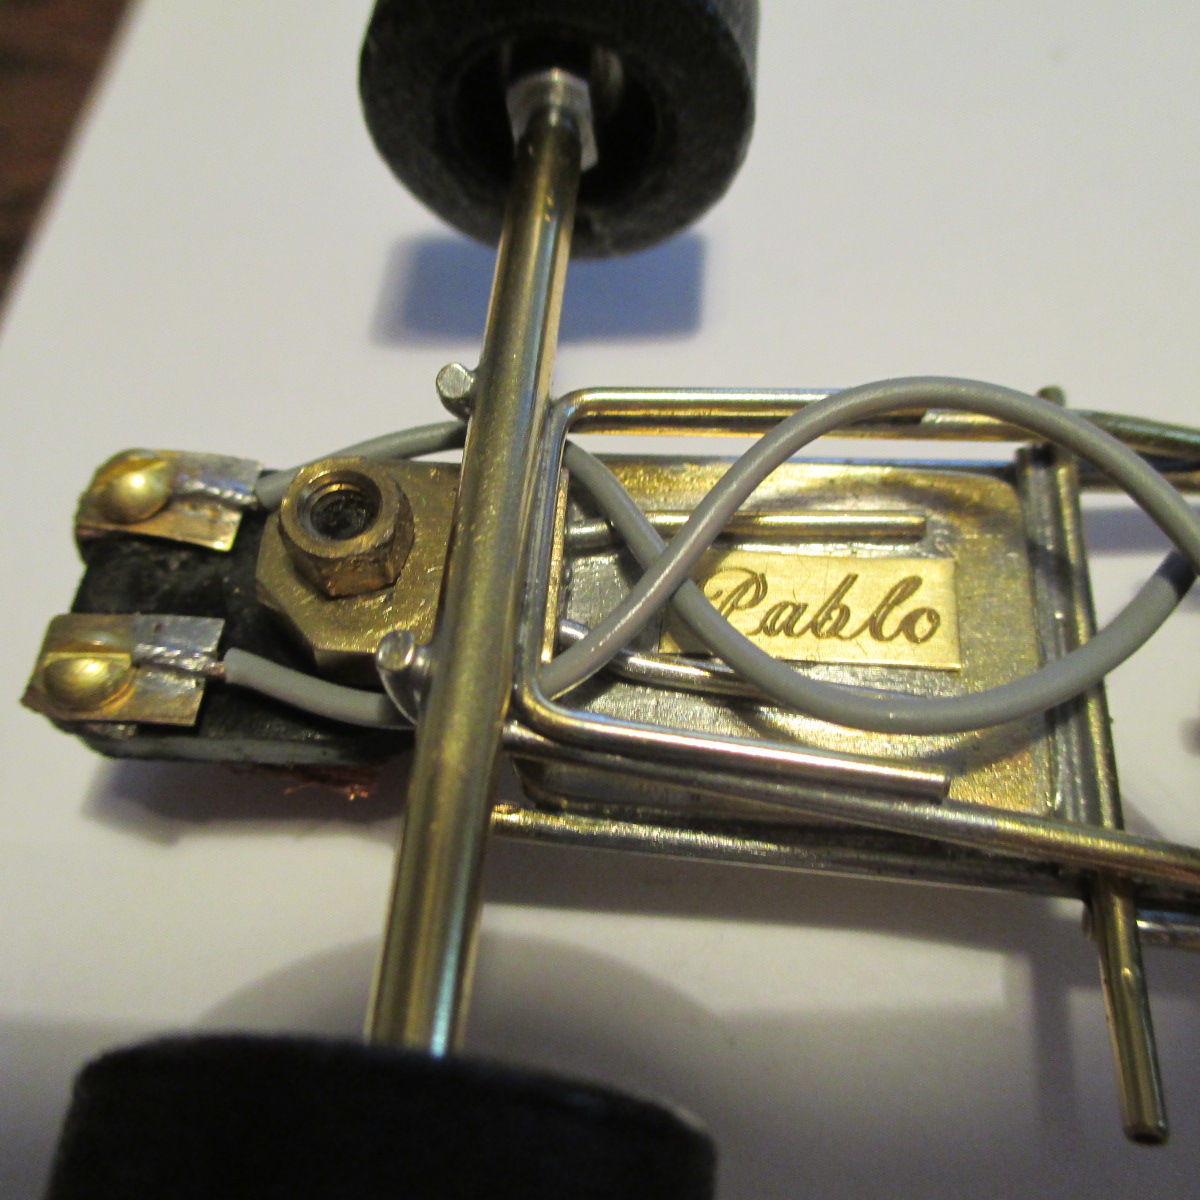
Assembly time. I made a pair of Marlin train wire connector gizmos by drilling holes in braid clips.

Flag is spaced with a Slick 7 20 thou steel axle spacer.


Used a pushnut gizmo to secure the 1/8 flag shaft. They work great where space is at a premium.

Price: 11 cents :dance3:


IMG_9696.JPG


  • Jencar17 likes this

Paul Wolcott


#114 Pablo

Pablo

    Builder

  • Administrator
  • PipPipPipPipPipPipPipPip
  • 18,437 posts
  • Joined: 20-February 06
  • Gender:Male
  • Location:Cleveland, Tennessee

Posted 11 June 2018 - 08:44 PM

Falcon 7 motor tacked in for the track test, geared 8/28.

If she handles well with that motor, she'll handle any hot 13uo :blush:


IMG_9698.JPG


  • Jencar17, miko and Bud Greene like this

Paul Wolcott


#115 miko

miko

    X Speed & Sport Racer

  • Full Member
  • PipPipPipPip
  • 355 posts
  • Joined: 01-September 08
  • Gender:Male
  • Location:Lincoln City, OR

Posted 11 June 2018 - 08:57 PM

Nice plumbing on that chassis Pablo ! 


Marinko Mueller

#116 slotbaker

slotbaker

    Dan Gurney Fan

  • Subscriber
  • PipPipPipPipPipPipPip
  • 2,694 posts
  • Joined: 16-February 06
  • Gender:Male
  • Location:Sydney, Australia.

Posted 11 June 2018 - 10:17 PM

I've tried those speednuts on guides in the past, but found they keep coming loose (and/or pop off if the post has been shortened a fair bit) in rough and tumble racing.

The best solution I've had where space is at a premium, is to drill small hole through centre of post and use screw like the Cox Cuc guides.

Just a thought... :huh:


Steve King


#117 Pablo

Pablo

    Builder

  • Administrator
  • PipPipPipPipPipPipPipPip
  • 18,437 posts
  • Joined: 20-February 06
  • Gender:Male
  • Location:Cleveland, Tennessee

Posted 12 June 2018 - 06:44 AM

Thanks Steve, I may end up doing that instead :good:


Paul Wolcott


#118 Bill from NH

Bill from NH

    Age scrubs away speed!

  • Full Member
  • PipPipPipPipPipPipPipPip
  • 14,702 posts
  • Joined: 02-August 07
  • Gender:Male
  • Location:New Boston, NH

Posted 12 June 2018 - 07:45 AM

A small drop of CA glue  or silicone caulk will keep things from loosening up too.


  • bluecars likes this
Bill Fernald
 
I intend to live forever!  So far, so good.  :laugh2:  :laugh2: 

#119 Pablo

Pablo

    Builder

  • Administrator
  • PipPipPipPipPipPipPipPip
  • 18,437 posts
  • Joined: 20-February 06
  • Gender:Male
  • Location:Cleveland, Tennessee

Posted 12 June 2018 - 04:14 PM

A small drop of CA glue  or silicone caulk will keep things from loosening up too.

True, but every time you remove the gizmo to adjust spacing, you break that bond - lost a proxy race that way once.

If you are there to re-glue it every time, that's fine, but....


So, Steve was right, the pushnut didn't prove strong enough.

I remember using one on a 3/16 shaft once and it was fine.

This one, not so much. So I found a vintage brass nut and force-threaded it.

Mucho better :)


IMG_9700.JPG


And my traditional computer-engraved signature fits perfect in the chunk :dance3:

Now, where did I put those doggone dressmakers pins? :laugh2:


  • slotbaker and Jencar17 like this

Paul Wolcott


#120 zipper

zipper

    Checkered Flag in Hand

  • Full Member
  • PipPipPipPipPipPip
  • 1,079 posts
  • Joined: 11-August 10
  • Gender:Male
  • Location:Finland

Posted 12 June 2018 - 04:53 PM

One of those Norwegian brass nuts that Jukka Vatanen did send in early 70's to Jan Limpach. Later sold by Parma afair when we found shallower ones.


Pekka Sippola

#121 Pablo

Pablo

    Builder

  • Administrator
  • PipPipPipPipPipPipPipPip
  • 18,437 posts
  • Joined: 20-February 06
  • Gender:Male
  • Location:Cleveland, Tennessee

Posted 12 June 2018 - 05:19 PM

Cool :)


Body mounting problem #1:

Crown OD too big, contacts body. Switched to a 27. Still too big. 26, still too big :dash2:

That's as far as I'll go. Time for some butyrate removal :yes3: It's a race car, not art.


Bunky said "just let the gear chew the hole". I said "get a haircut and a job" :laugh2:


post-91-0-26404900-1409619211.jpg


Paul Wolcott


#122 Bud Greene

Bud Greene

    On The Lead Lap

  • Full Member
  • PipPipPipPip
  • 469 posts
  • Joined: 12-February 11
  • Gender:Male
  • Location:Saraland, AL

Posted 12 June 2018 - 06:07 PM

Try one of these 72 pitch crown gear

JK 30 tooth 72 pitch crown gear, 3/32 Axle - JK5030

#123 Pablo

Pablo

    Builder

  • Administrator
  • PipPipPipPipPipPipPipPip
  • 18,437 posts
  • Joined: 20-February 06
  • Gender:Male
  • Location:Cleveland, Tennessee

Posted 12 June 2018 - 07:41 PM

From a mechanical standpoint, that's a good idea, Bud. But look at the big picture.

Putting a 72P pinion on a vintage 13uo motor is something you'll never see me do :prankster2:


This little body has been trimmed, harpooned, bored, carved, and sanded so much, it's amazing anything remains.

Even the .063 holes for the 1/32 Warmack mirrors have been punched. Ready or not, here come the Indycals :dance3:


IMG_9707.JPG


  • Bud Greene likes this

Paul Wolcott


#124 Ecurie Martini

Ecurie Martini

    Ecurie Martini

  • Full Member
  • PipPipPipPipPipPip
  • 1,118 posts
  • Joined: 19-February 06
  • Gender:Male
  • Location:Baltimore MD

Posted 12 June 2018 - 11:12 PM

"Putting a 72P pinion on a vintage 13uo motor is something you'll never see me do"


?


EM


Alan Schwartz

#125 Pablo

Pablo

    Builder

  • Administrator
  • PipPipPipPipPipPipPipPip
  • 18,437 posts
  • Joined: 20-February 06
  • Gender:Male
  • Location:Cleveland, Tennessee

Posted 13 June 2018 - 07:37 PM

Alan, in the end, the owner can use any gears he wants. A 72P, I'd consider to be a mistake on a 13uo.

As a reasonable alternative compromise, maybe a Slot-It gearset would work fine.


A question for vintage body experts, how much is a 1/32 scale Lancer #358 worth, never used, untouched?


Paul Wolcott


Electric Dreams Online Shop