Hi all,.. Whilst often enjoying looking at the various 'builds' of cars of the earlier Era 'posted' on here by 'Rick' and other members, I WAS (in this particular instance), quite amazed to see some pictures of the Real car that I knew and had actually seen racing myself, when much younger.
It belonged to a reasonably successful and prominent Melbourne racer and owner of "Porsche Cars Australia" (a company started by his father and importers of Porsche cars), Alan Hamilton.
As a slight 'Aside', (with particular reference to one of the photos 'posted' by Rick), I was actually a spectator at the actual event the photo was taken at (as a Keen 12 year old motor sport fan) and may even have a very Bad photo of the car myself, (taken with my trusty Kodak Instamatic,..lol).

This photo is from the (Sadly No longer existing) Warwick Farm circuit in western Sydney and I would have been spectating from somewhere to the right of this 'shot',.. 
Alan Hamilton whilst perhaps obviously often and usually racing Porsche's of varying types and models, also had a quite successful and varied racing history in Sedans and open wheel cars particularly F5000. An overview/interview can be found here; https://www.speedcaf...amilton-part-1/
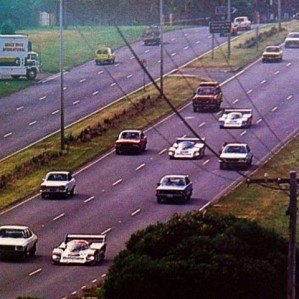
Whilst Not particularly 'relevant' to This Car or build, in the above link, there is a wonderful photo taken when the WEC came to race at Sandown in Melbourne in 1984, (for which Alan provided Housing and Workshop space for Many of the teams in His Factory space nearby the circuit), showing a few of the 956's making their way along 'Dandenong Rd' heading to the Track, from the Workshops nearby, that I thought you all might like,..
I have also found some Other Local 'Time-Warp' pics of that 'Particular' 906 of Alan's that may be of interest, which I can 'post' if you are interested, but don't want to 'De-Rail' the 'Thread'.
Apologies for This slight 'Diversion',.. ,.. Nice build btw.
Cheers,
Stewart


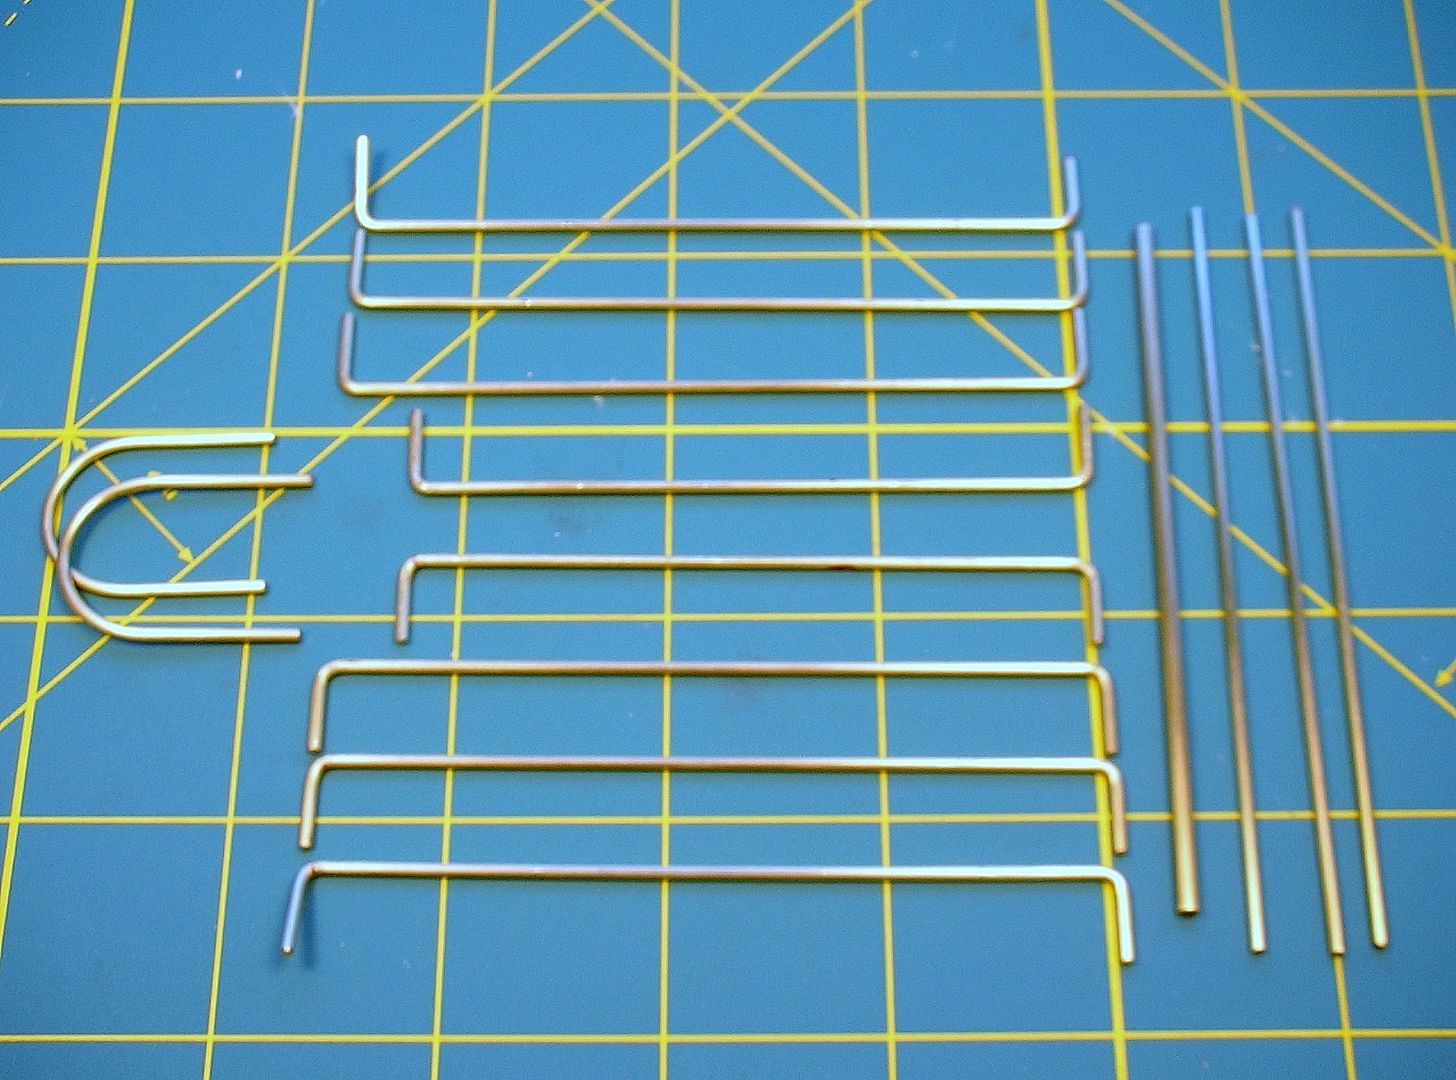
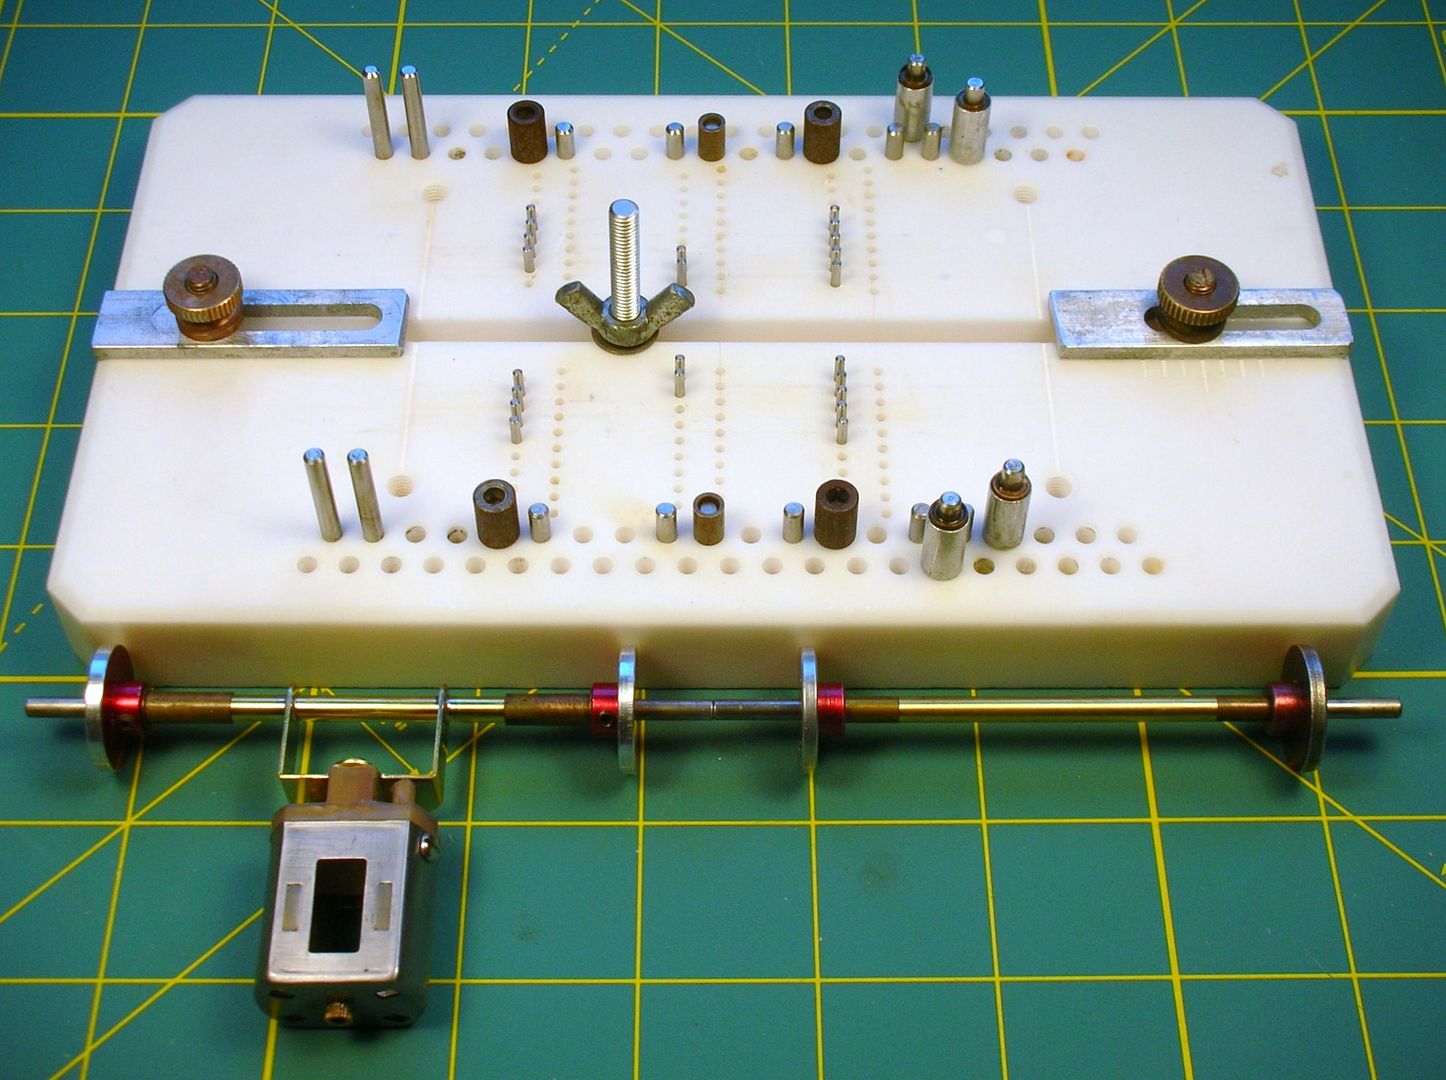
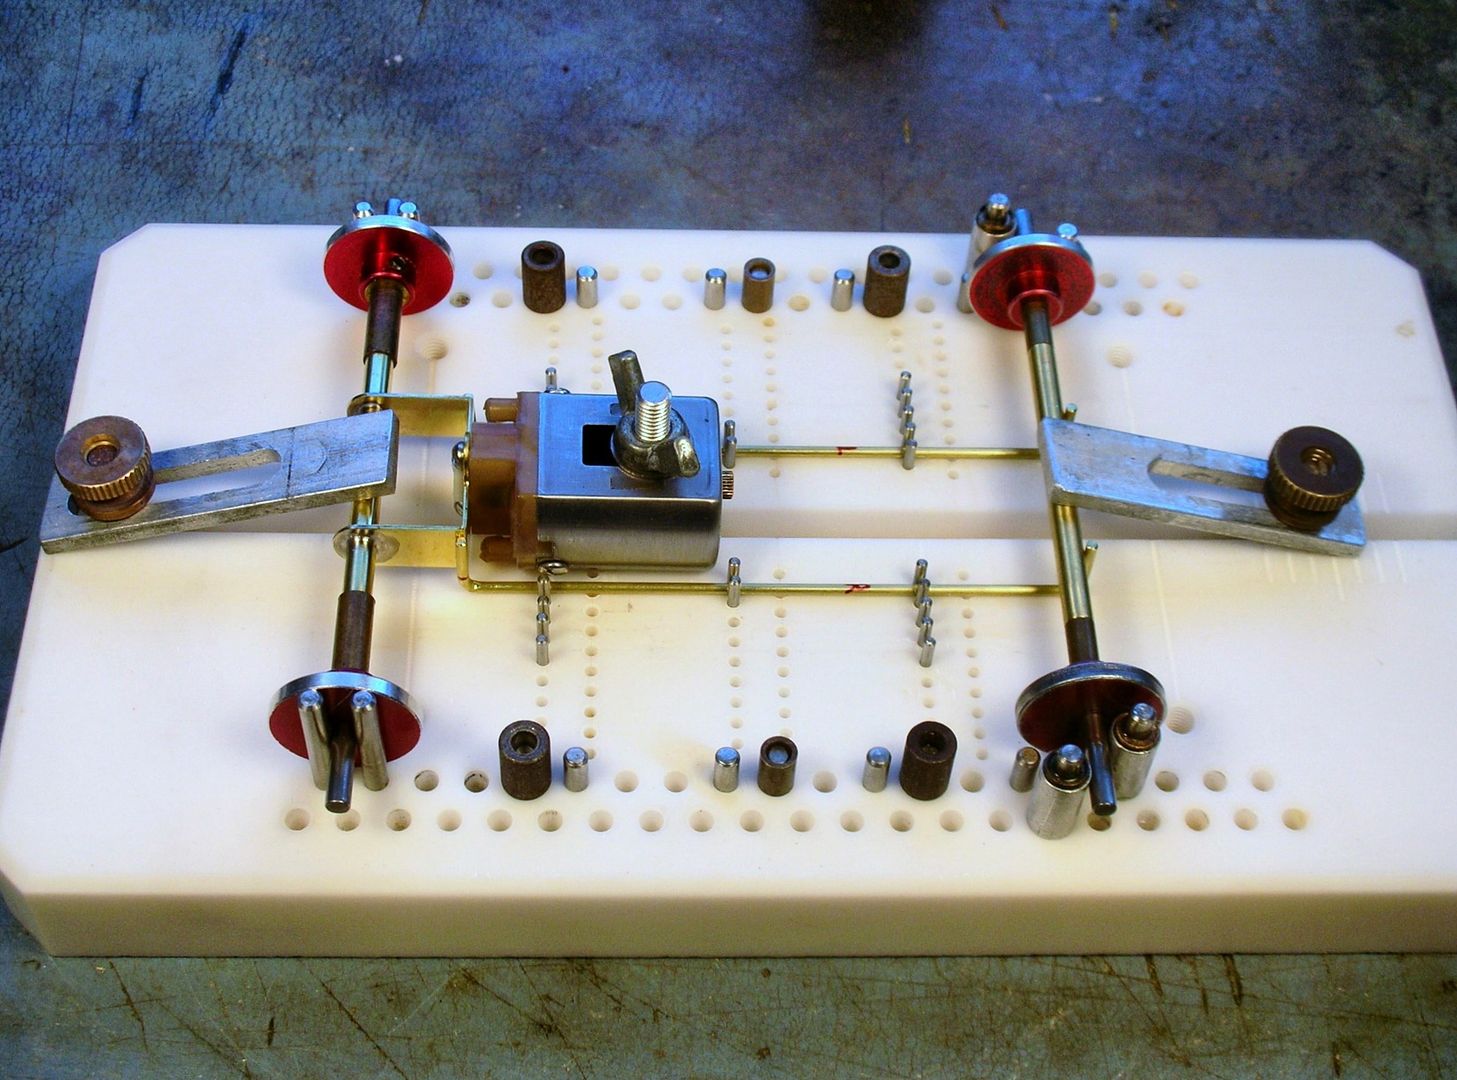


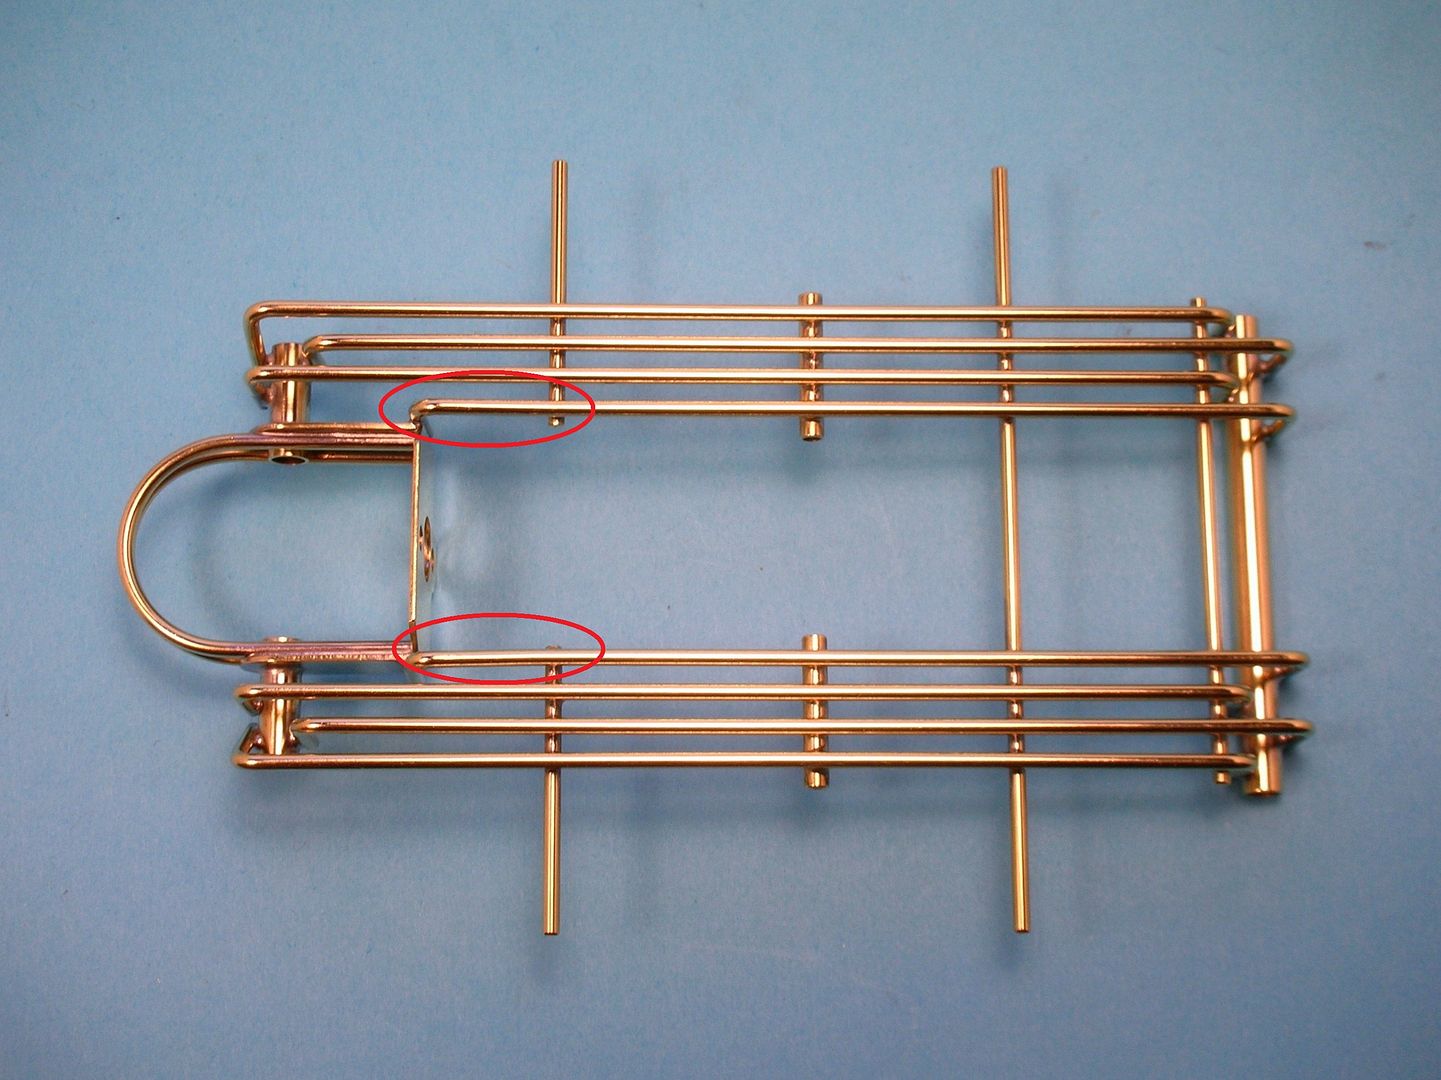
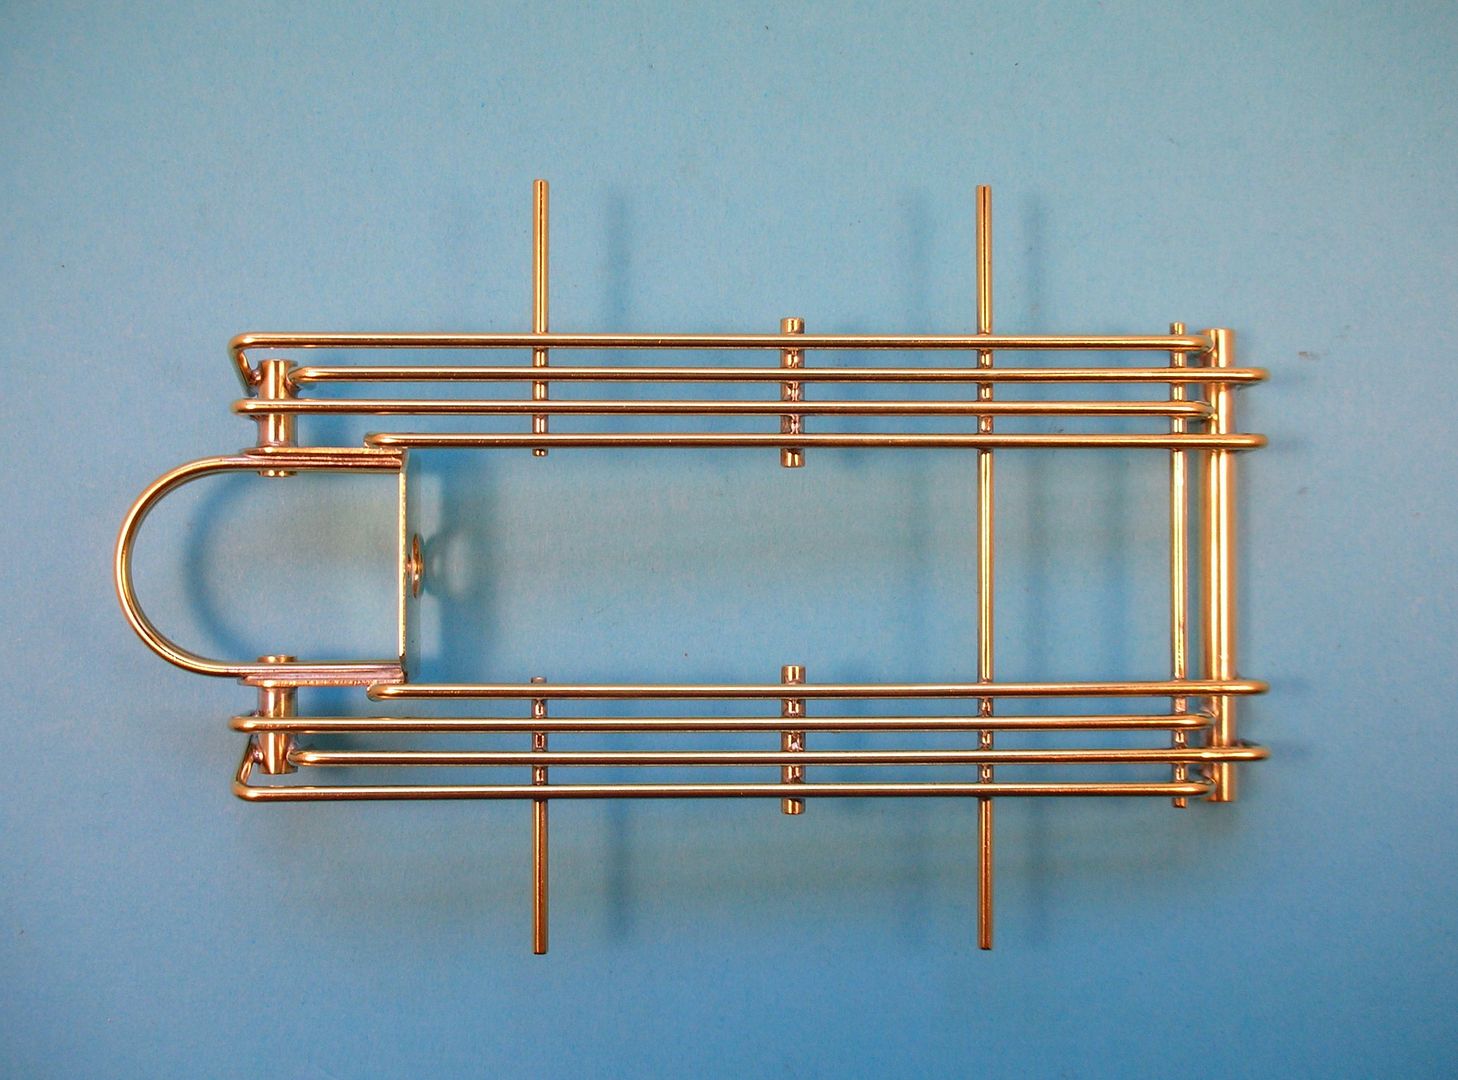
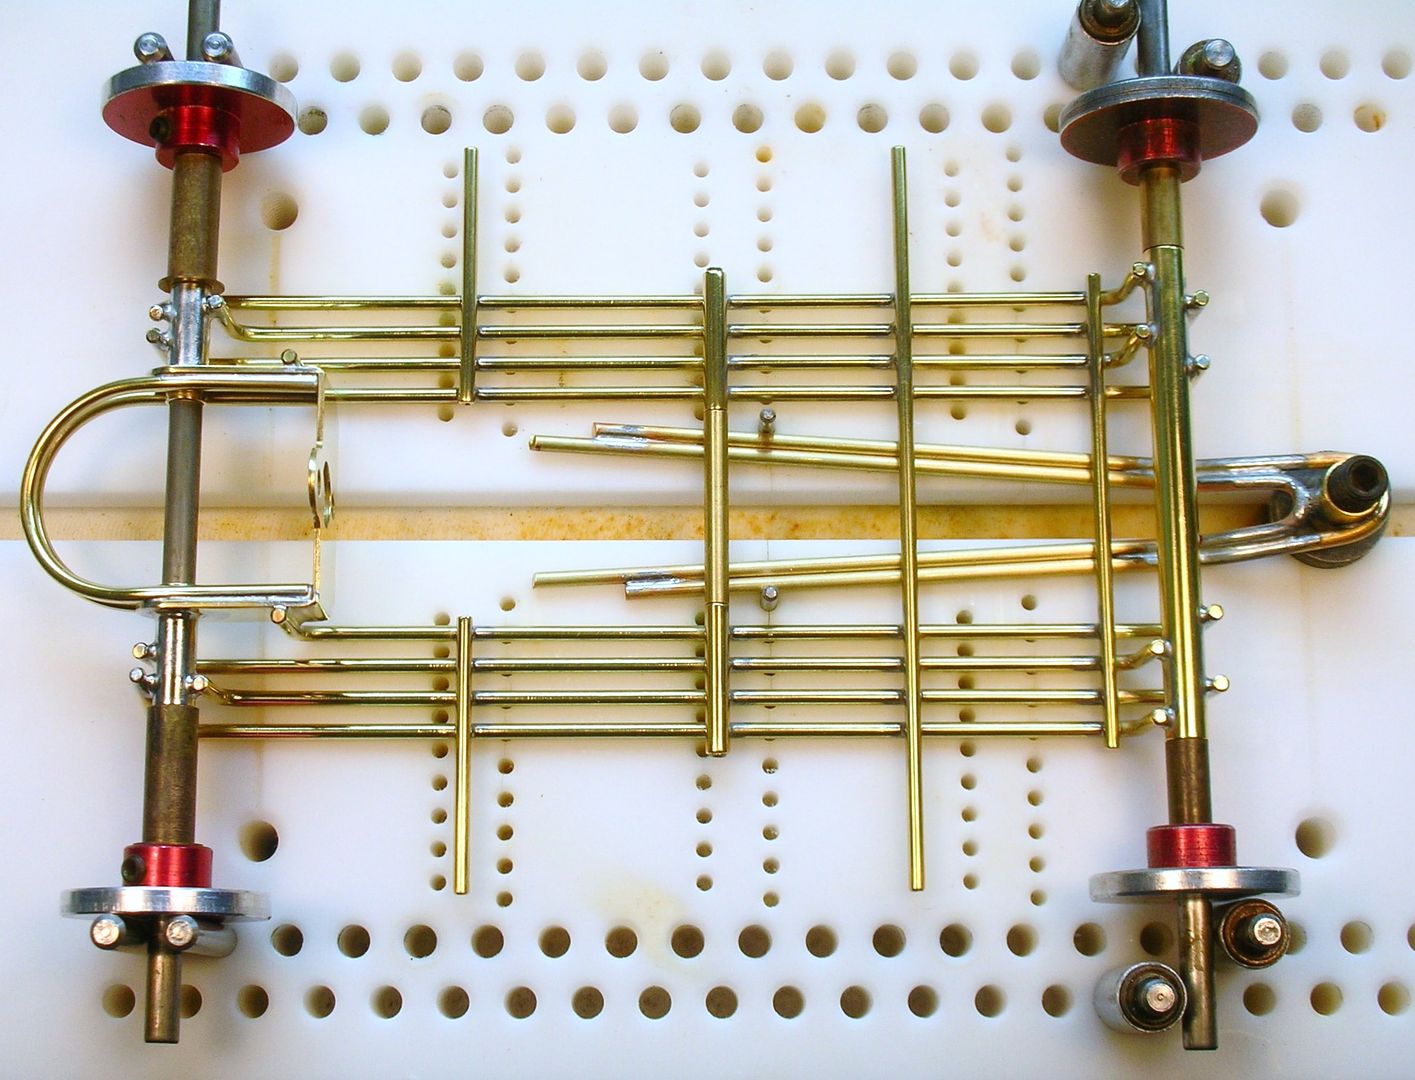
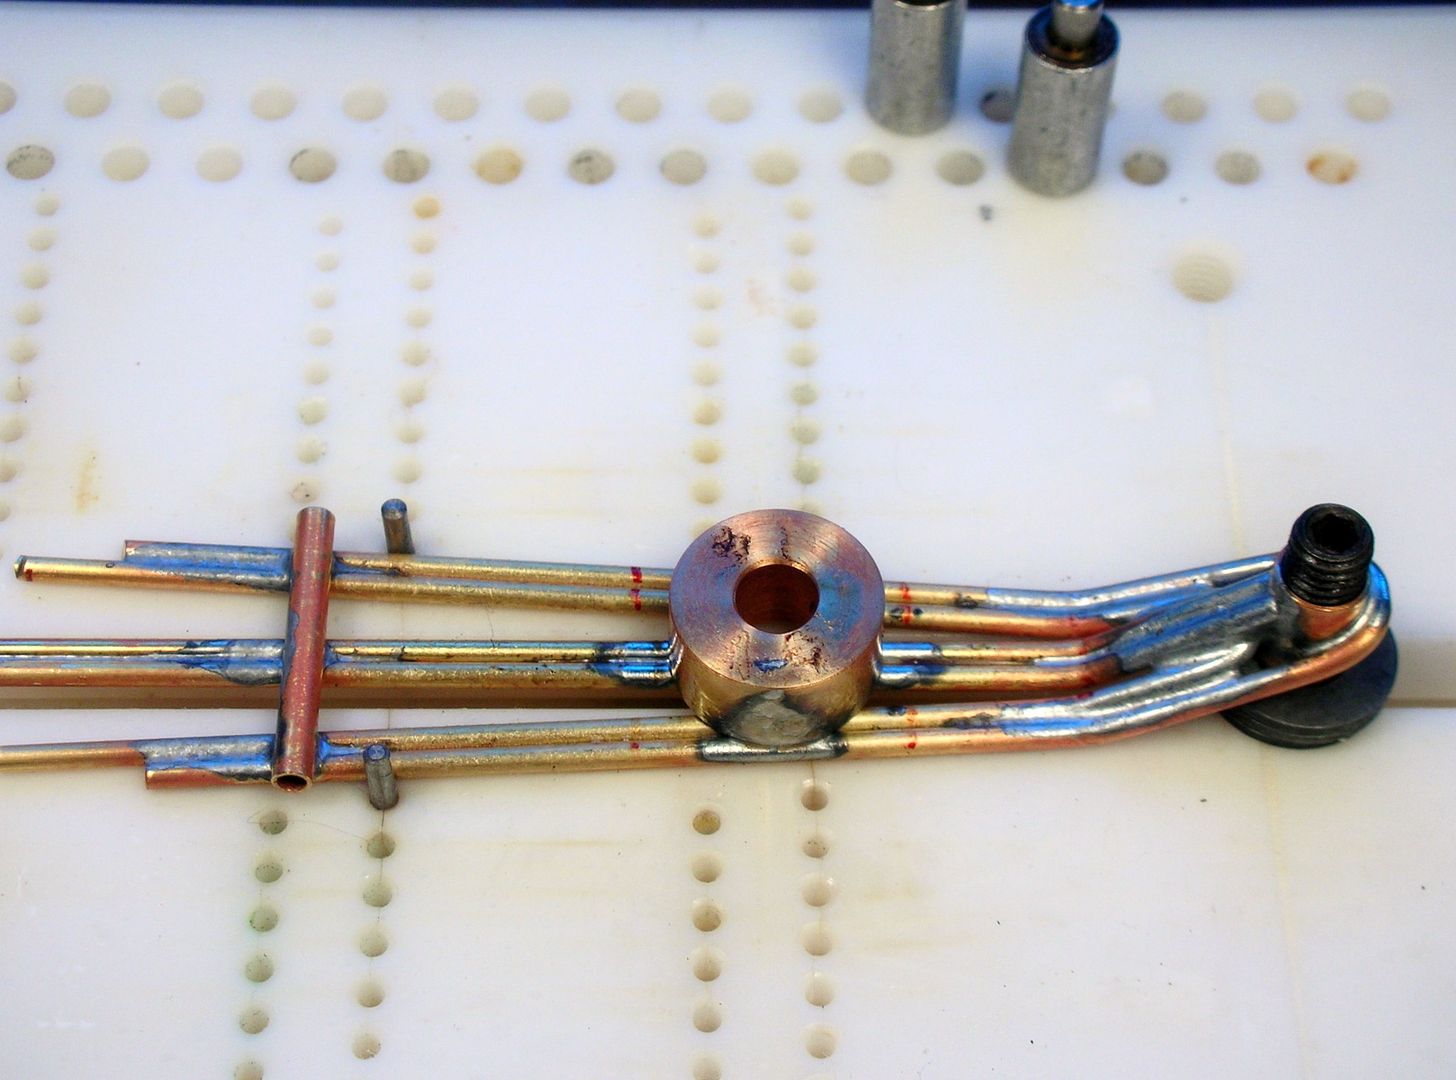
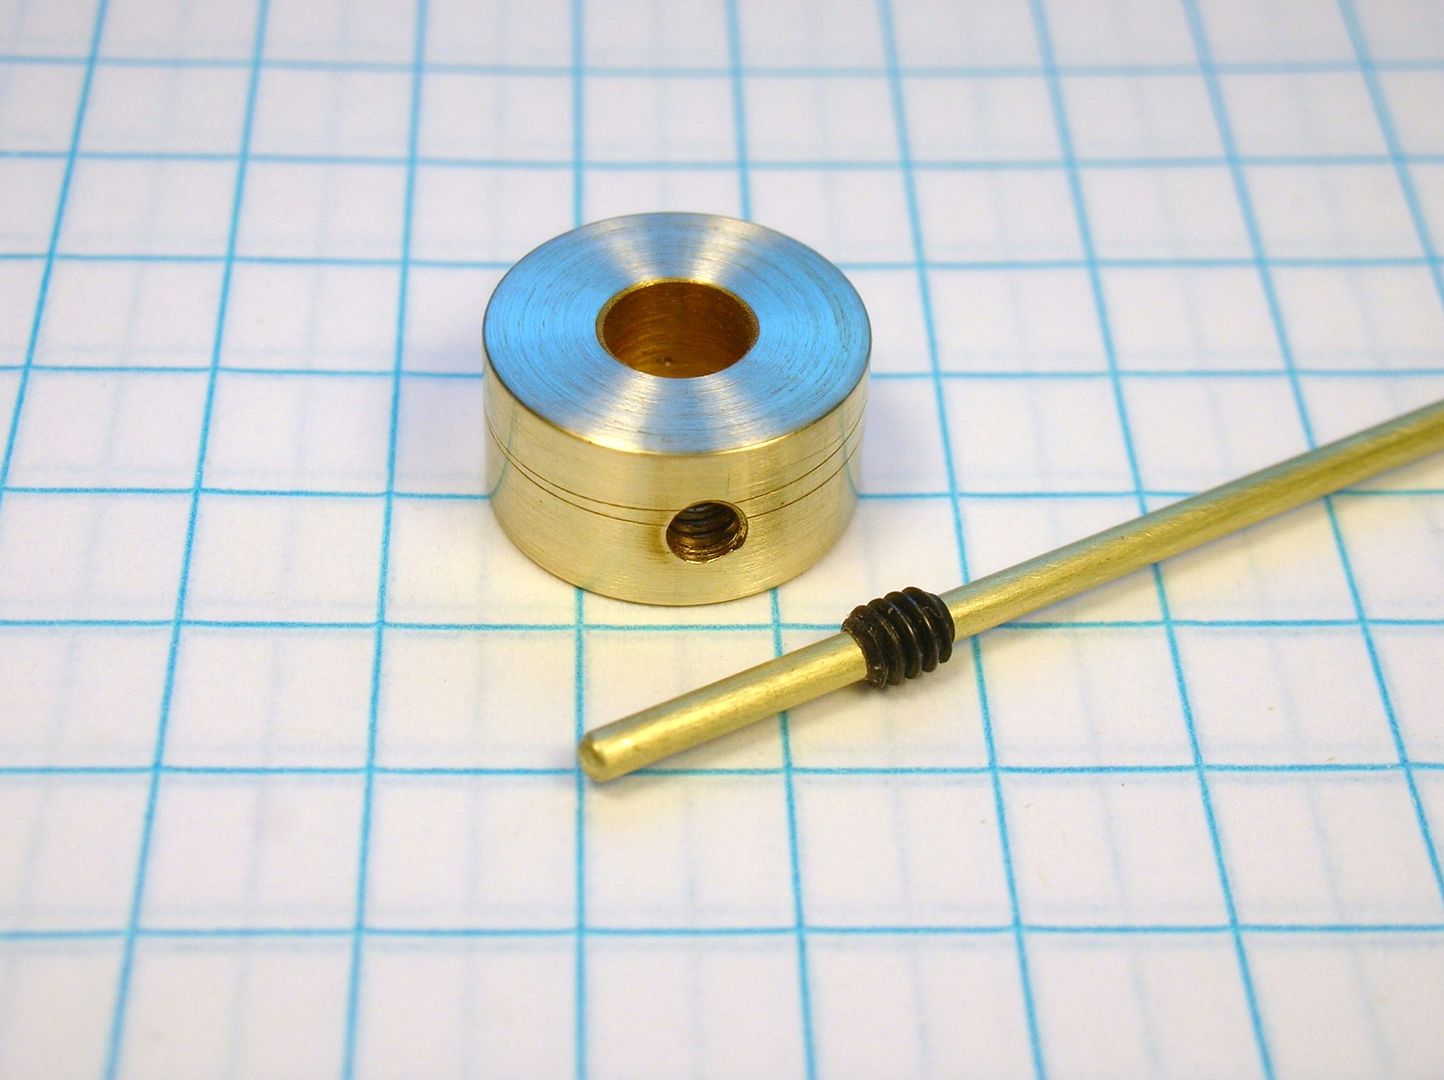
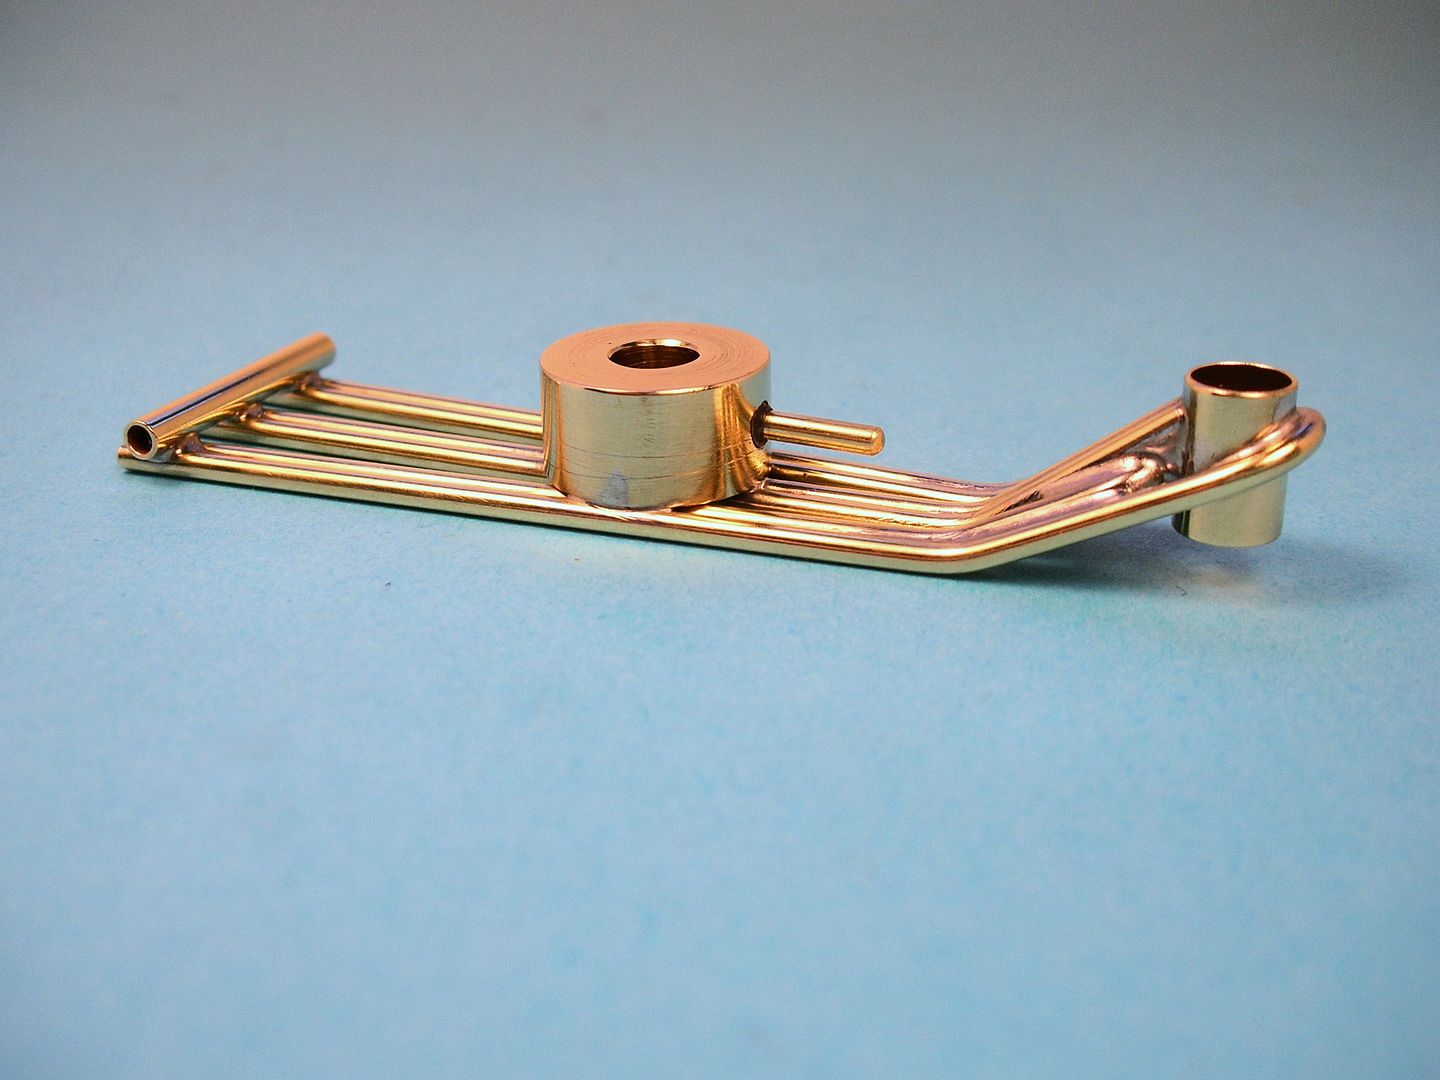
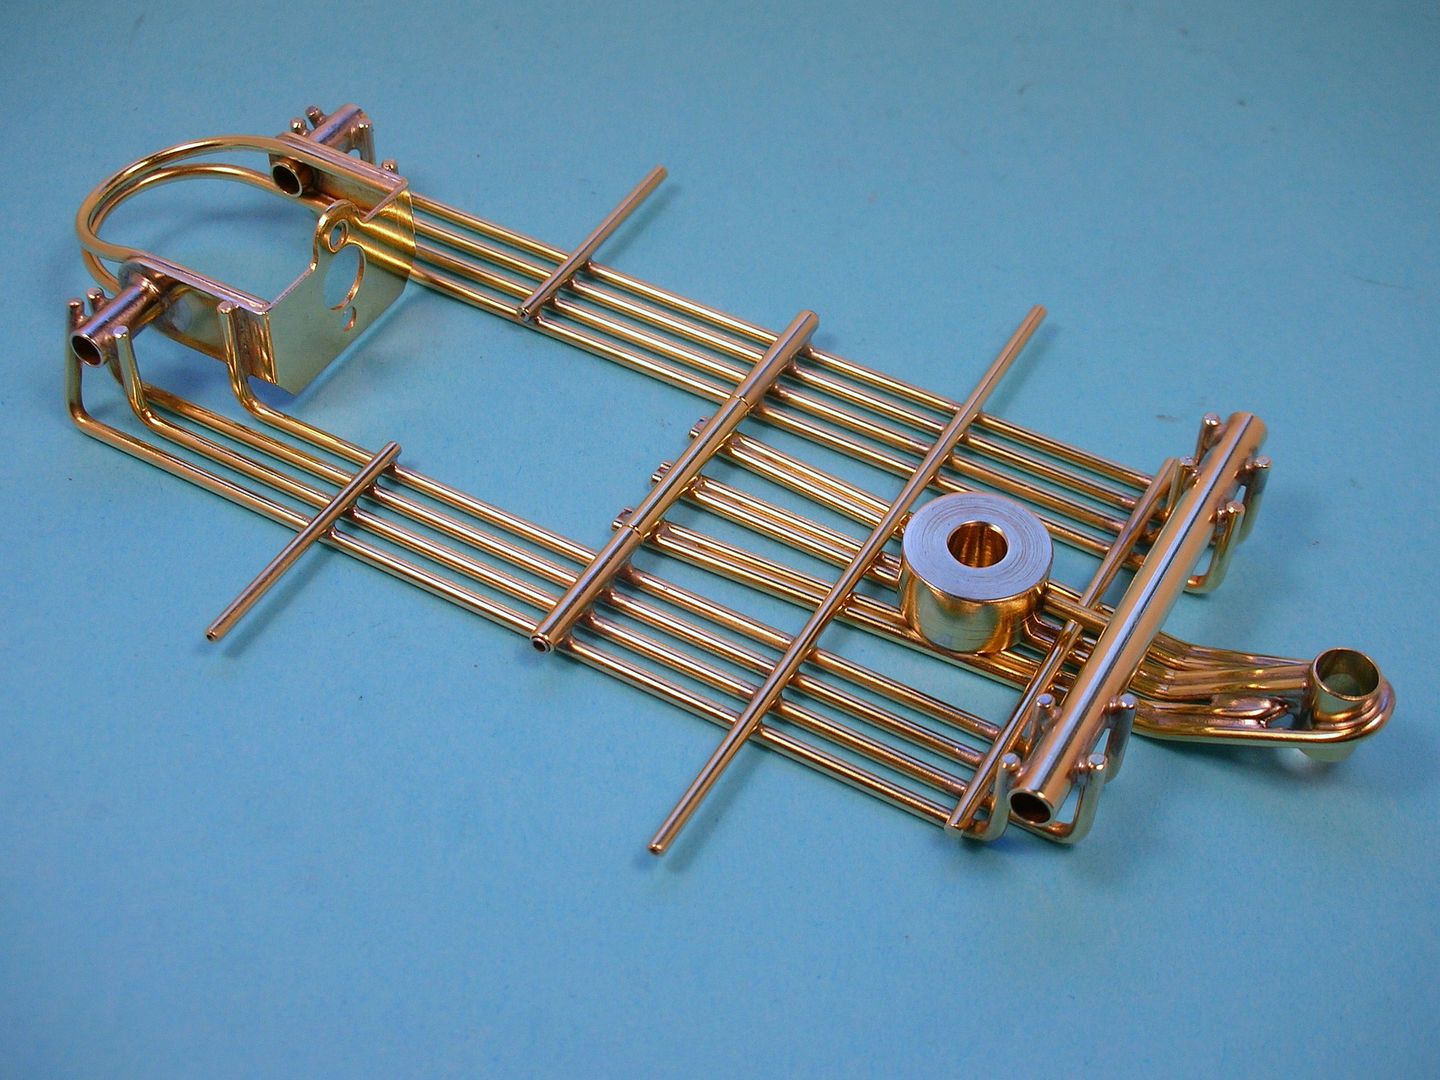
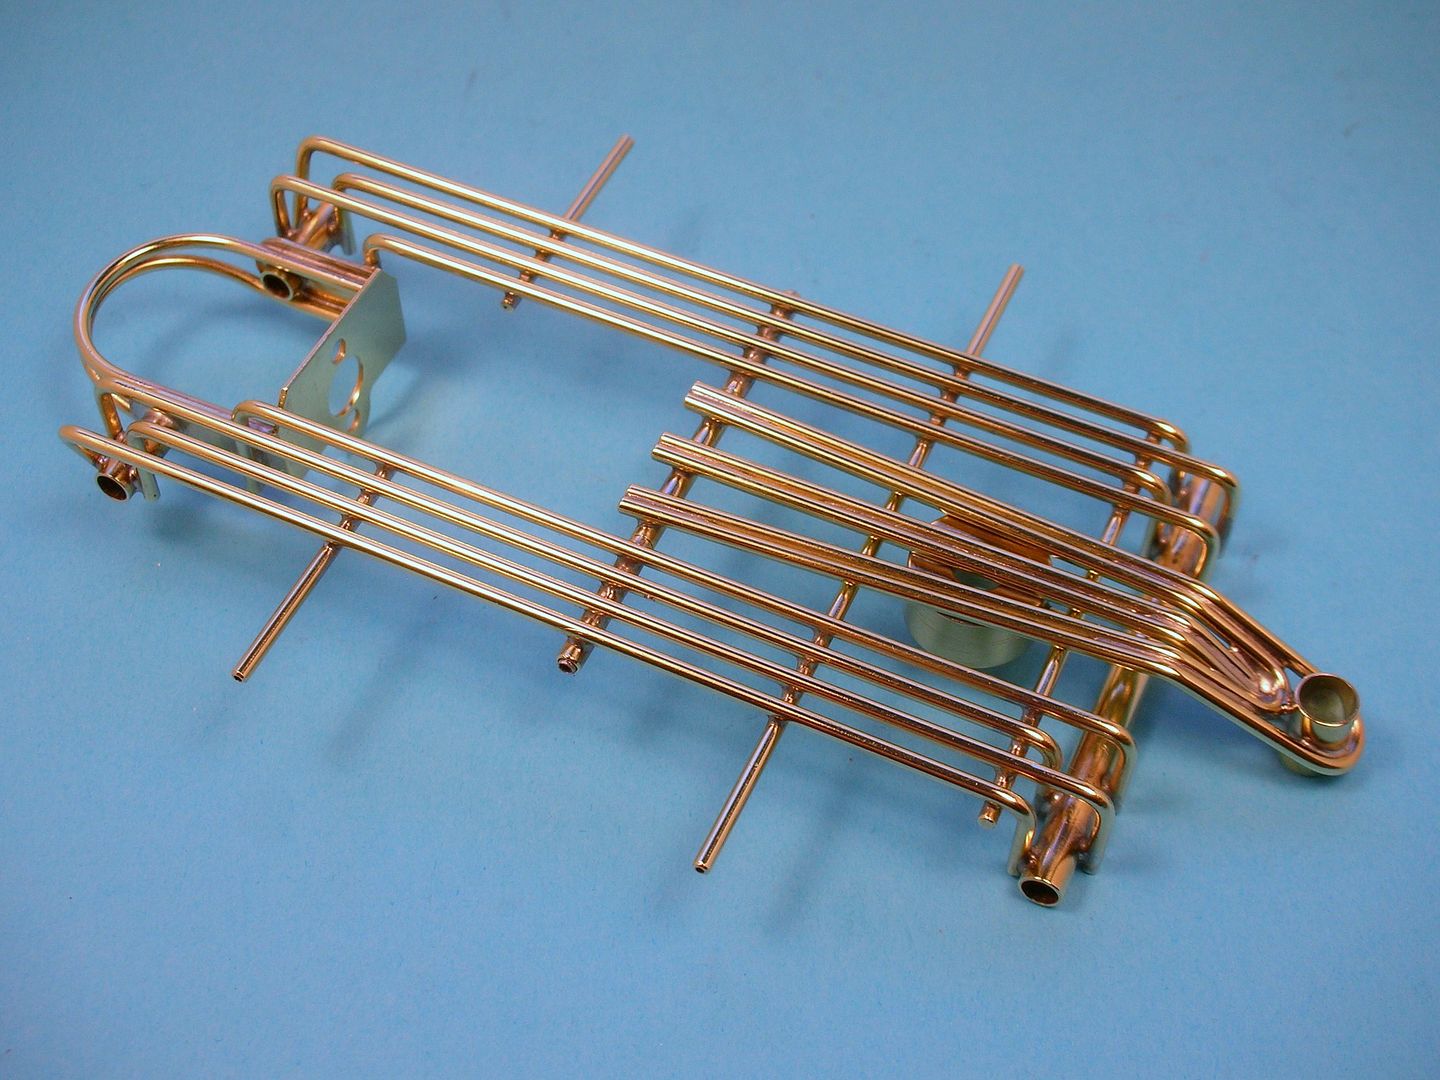
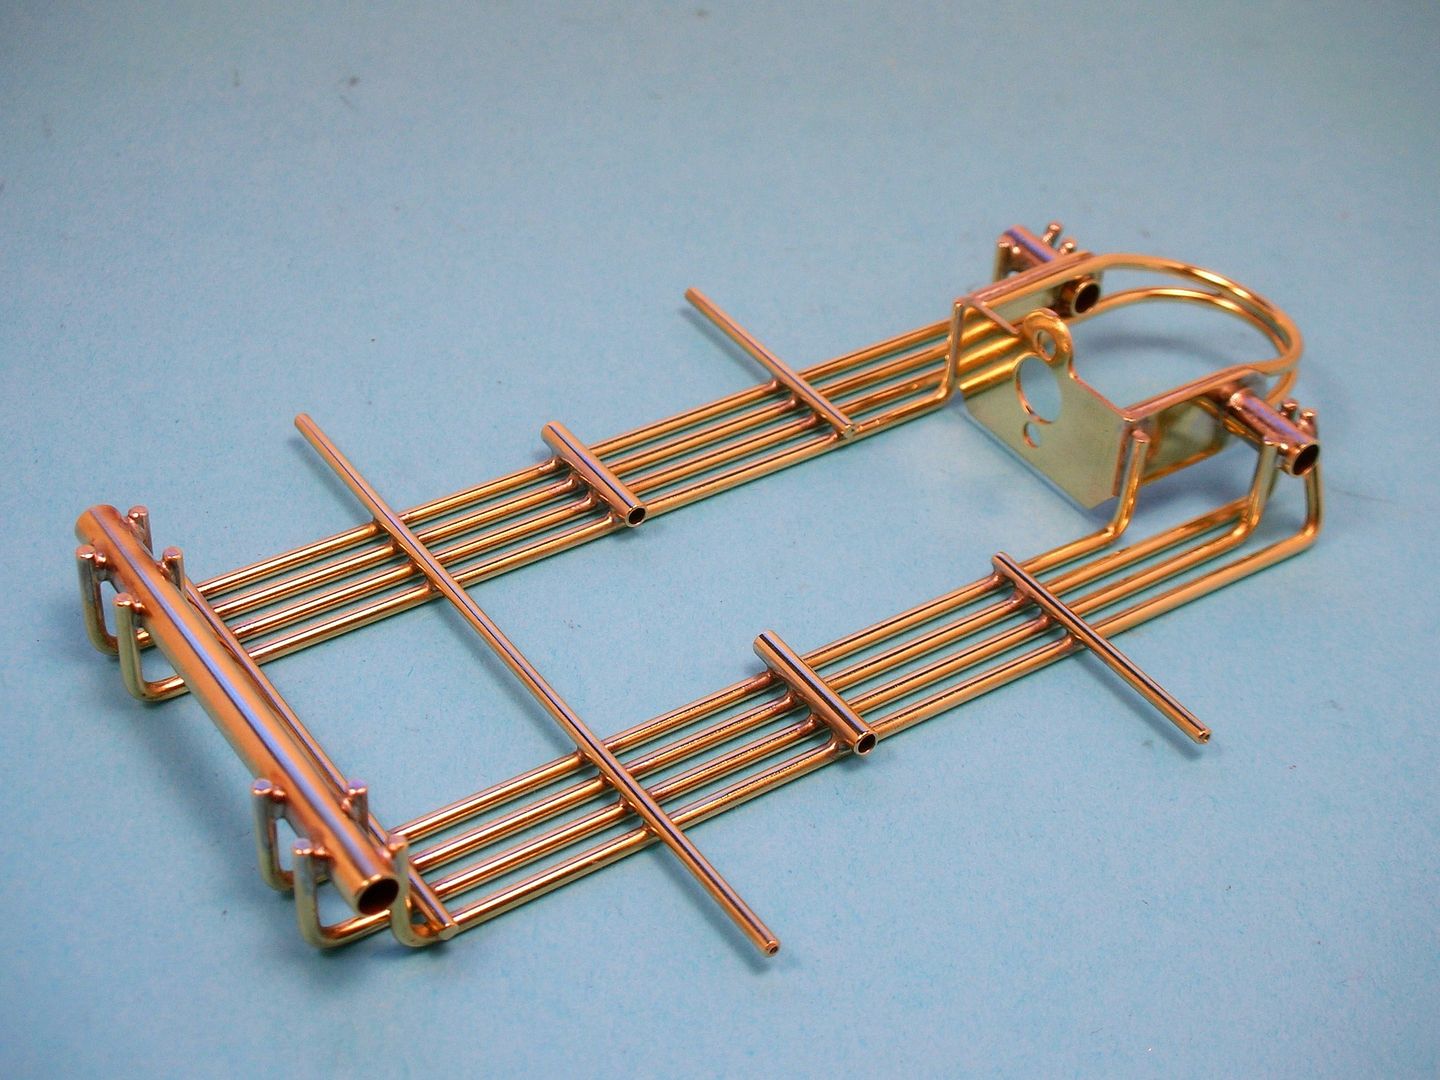
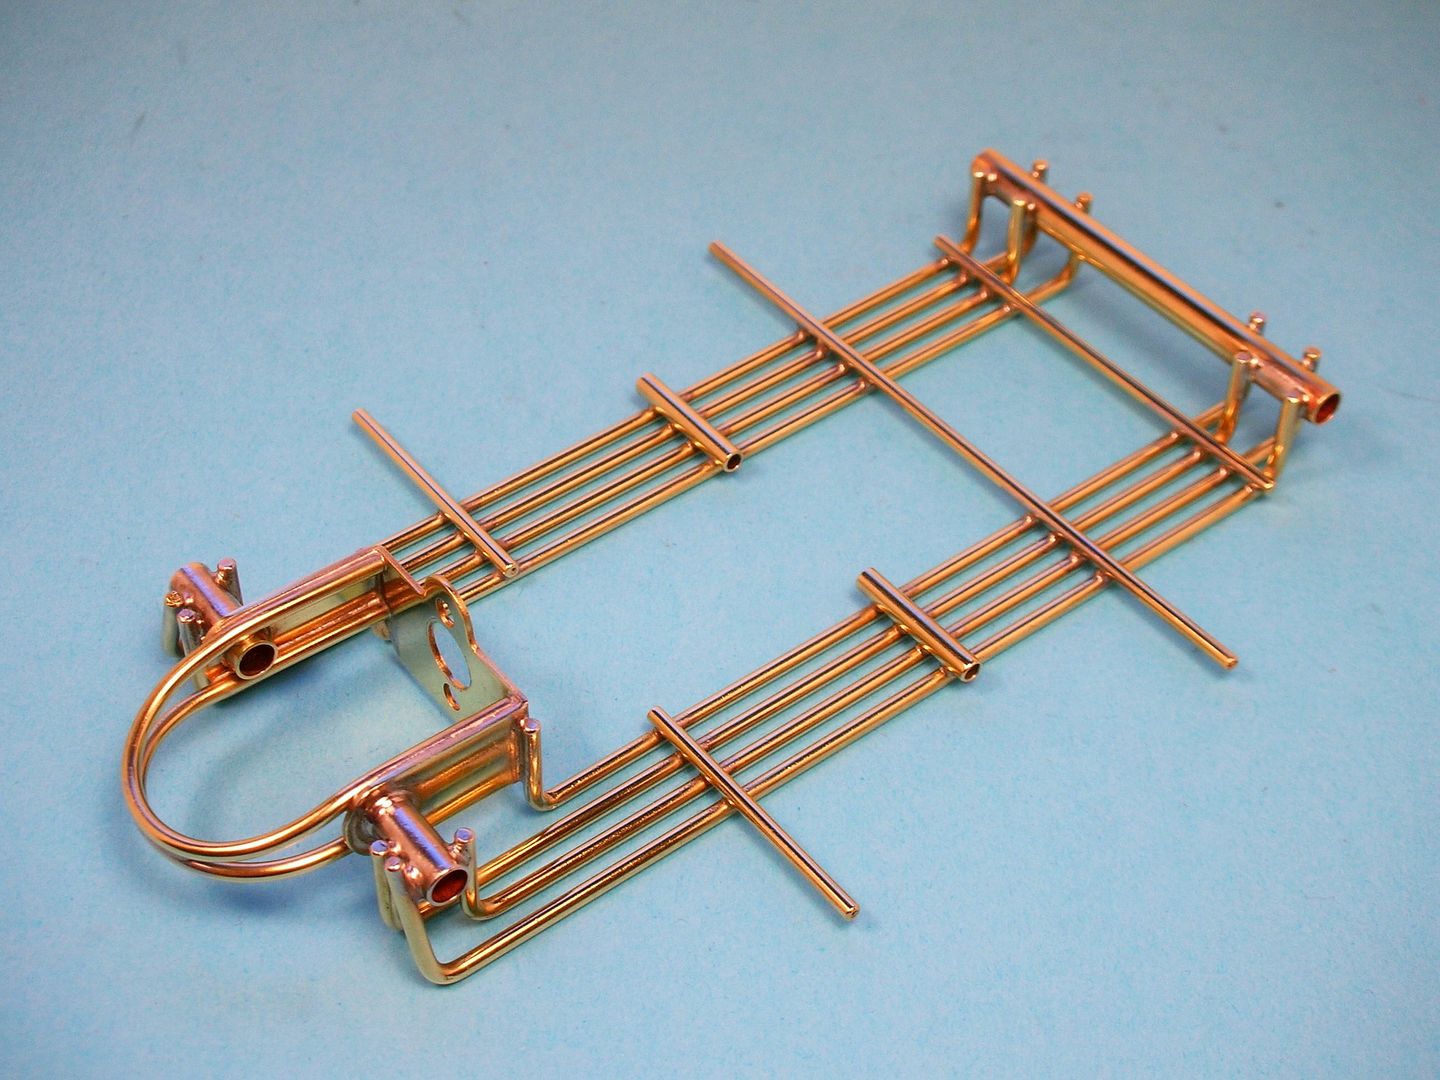
 BTW, I used Bryan Warmack's frame as a guide back in the day. Steve Okeefe did a schematic of the Warmack frame awhile back.
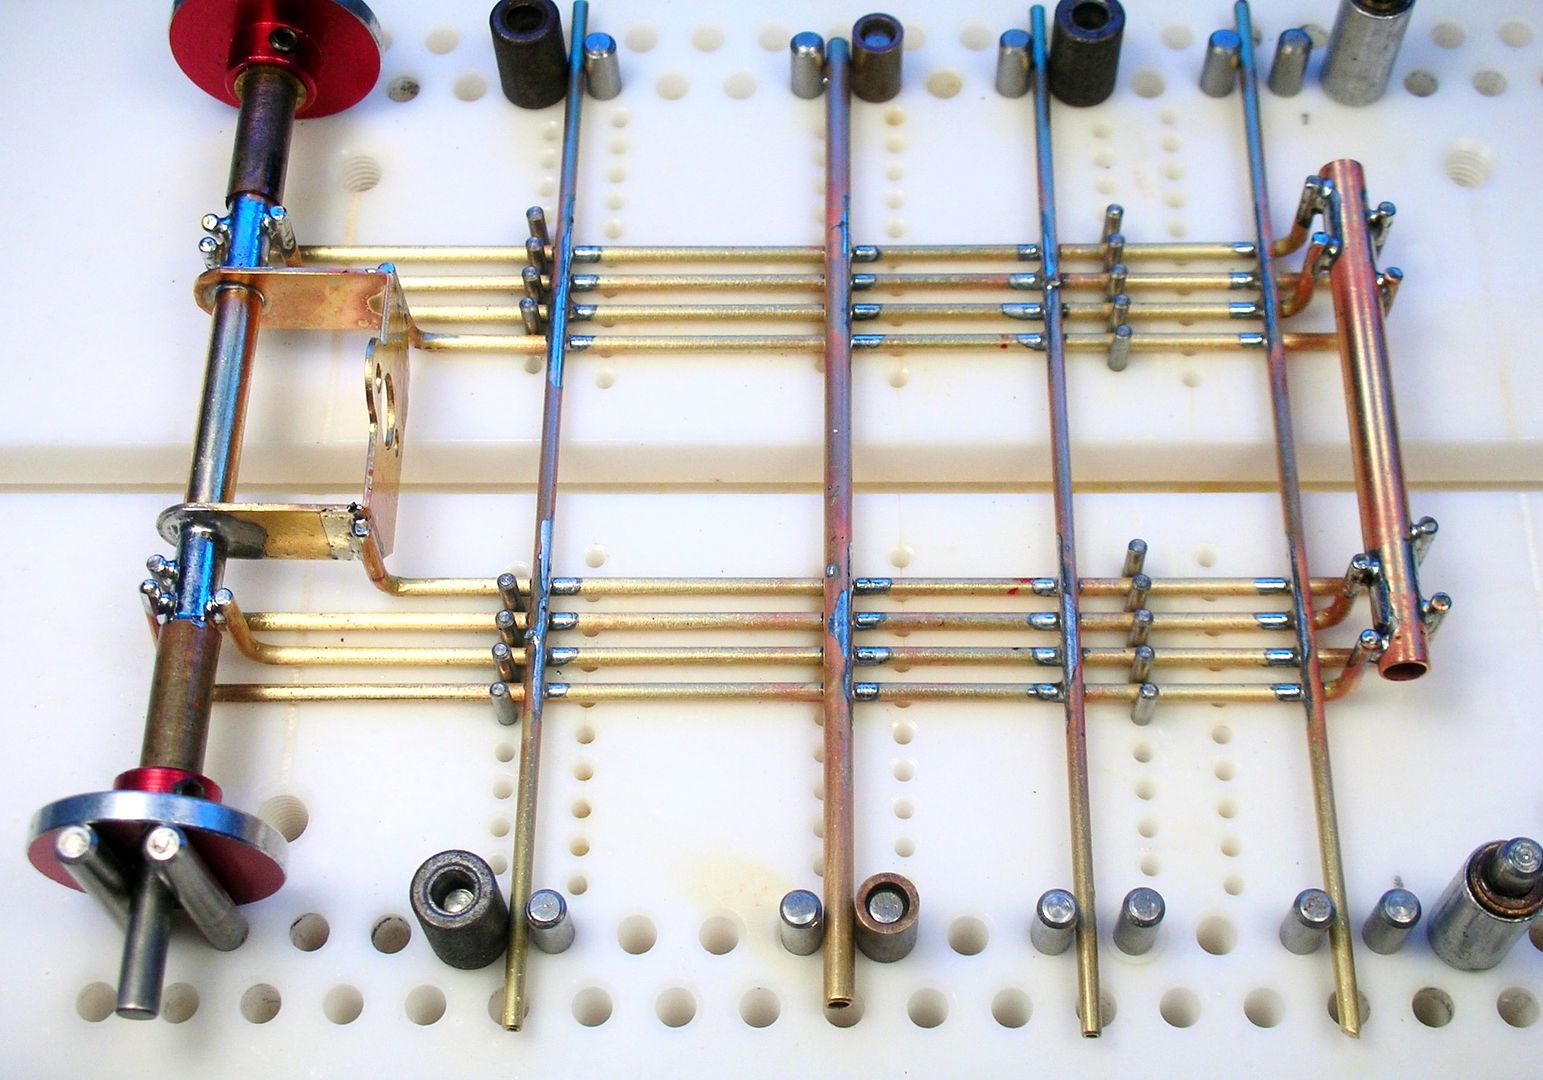
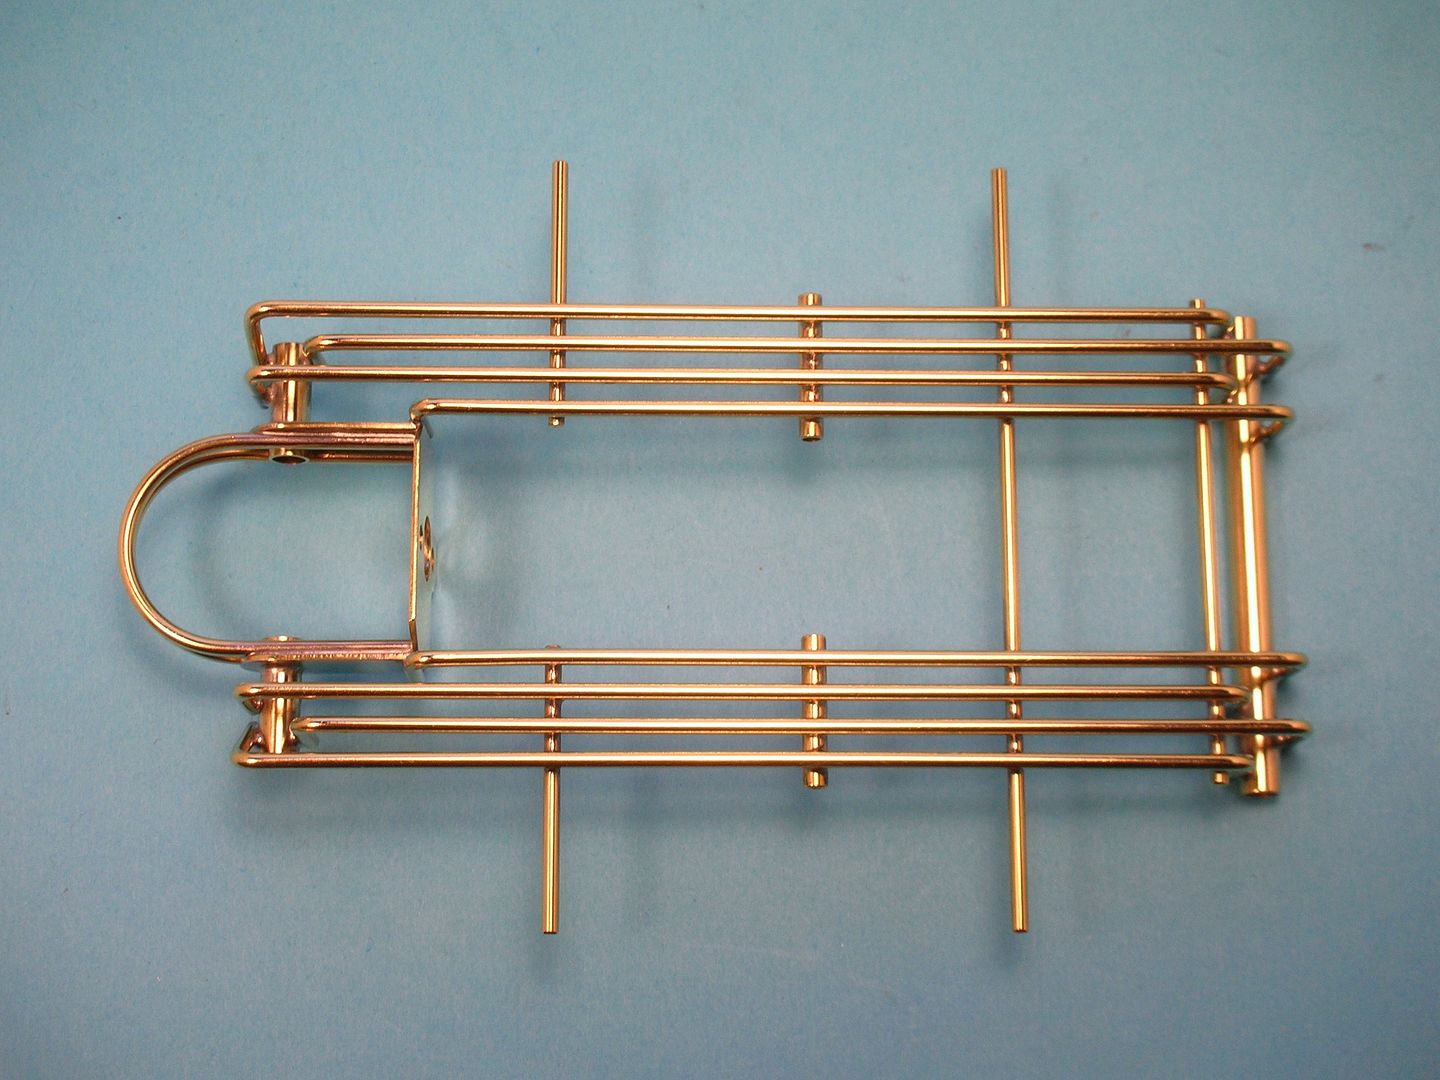


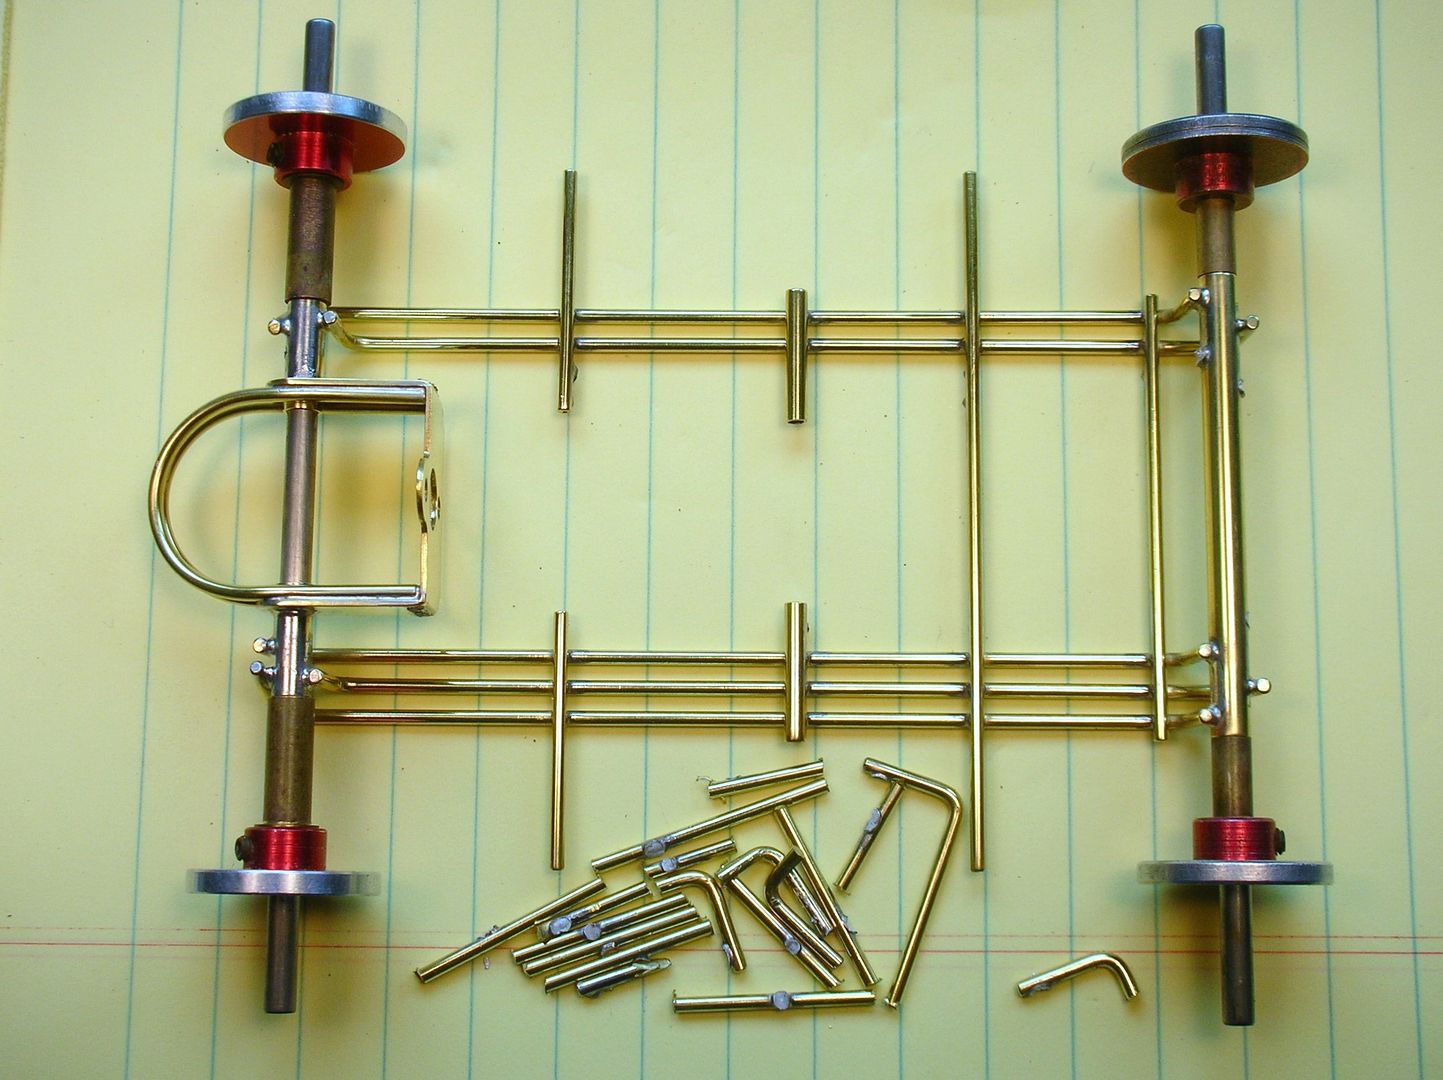
 Well sort of.