...and here they are.
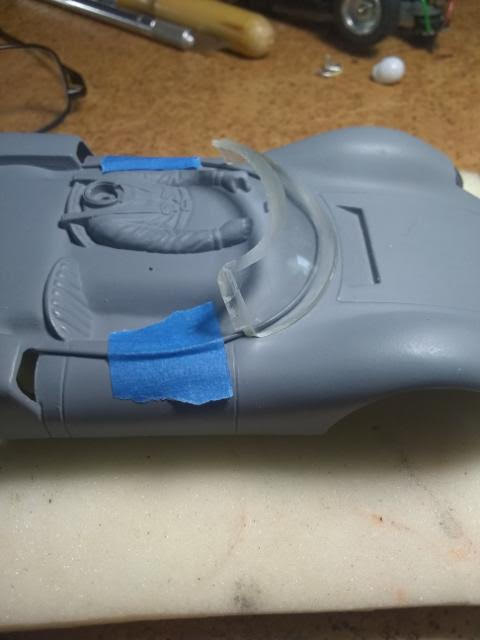
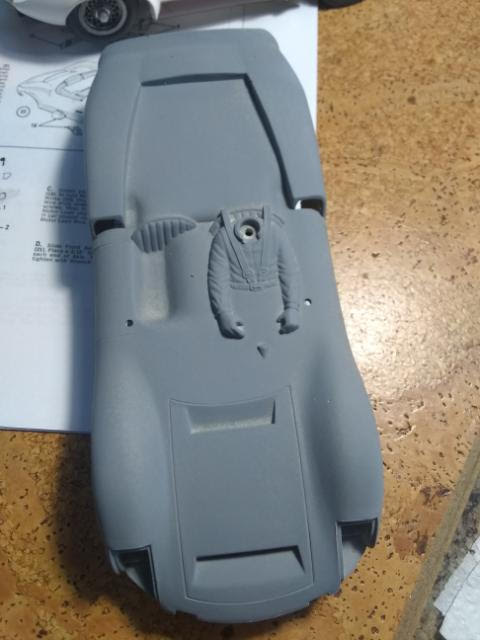
I think remember in Mr. Piot's Chaparral thread he did some scribing in the body shell to add or emphasizes detail. I thought I might try that here, to establish some sort of cockpit parameter.
But before I try anything as irreversible as that, I thought I would attempt something similar with a length of "craft wire". Instead of the "border" being lower than the surface of the shell (scribed) this would be above the shell surface. (In looking at the cockpit "border" on my Cox Chaparral, I noticed that is a raised detail.)
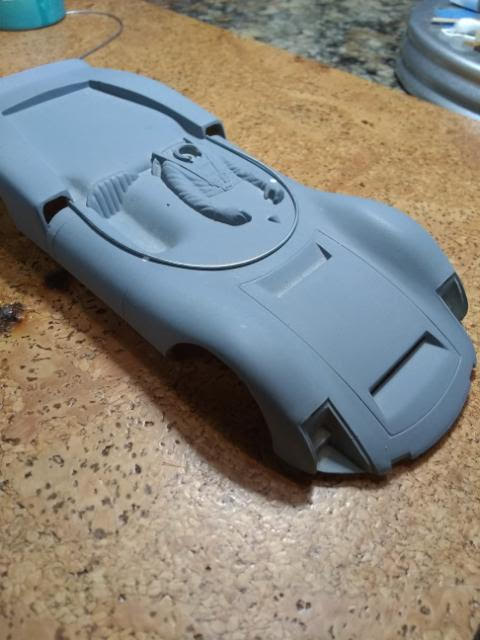
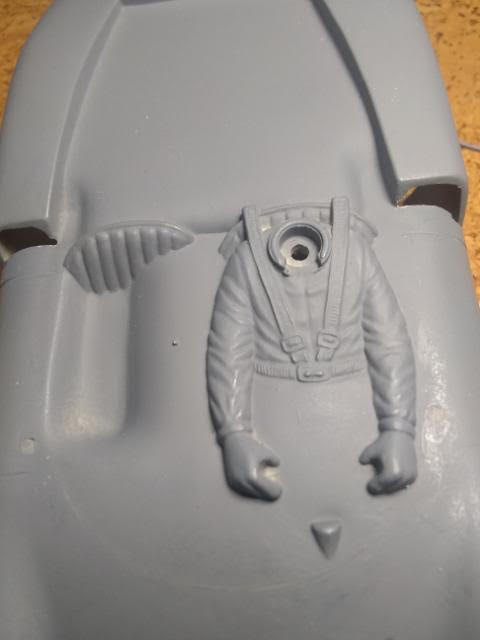
Those little white dots are filled holes where the original roof mounts were.
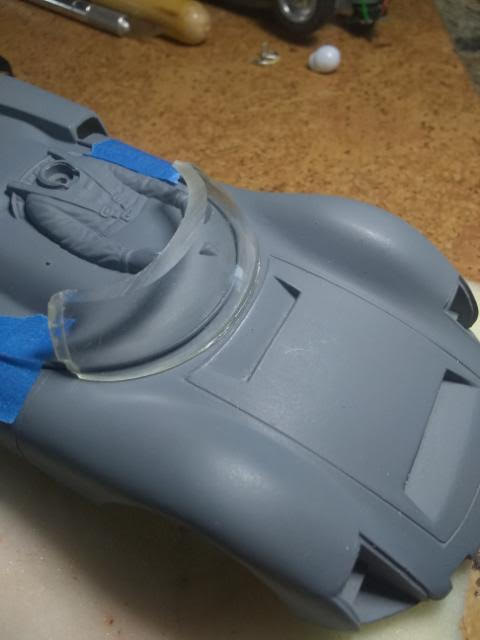
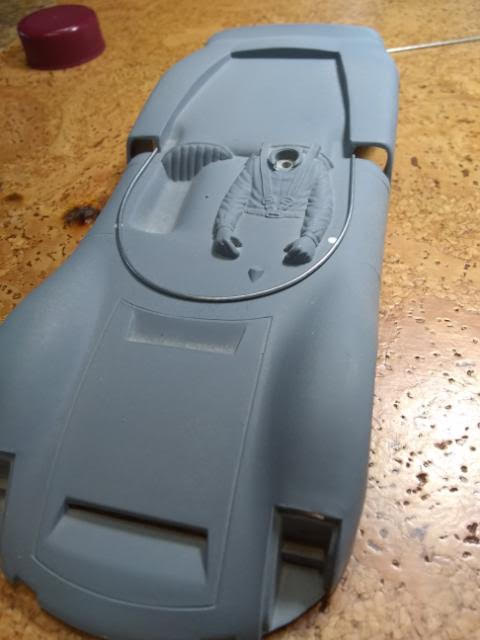
I laid this out so that it would line up with the top of where the doors end, and kind of follow the "flow" of where it seems the cockpit would likely be. This allows for a "dashboard" area, and would serve as a definitive "demarcation" for final painting, etc.
What do you think? Should I just give up and walk away now? 
Mark in Oregon
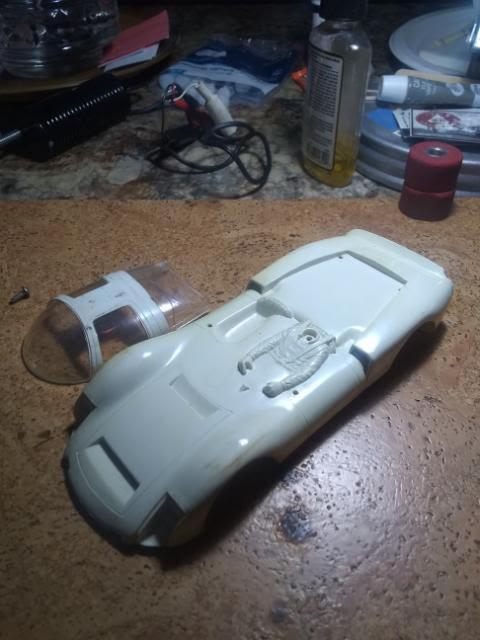
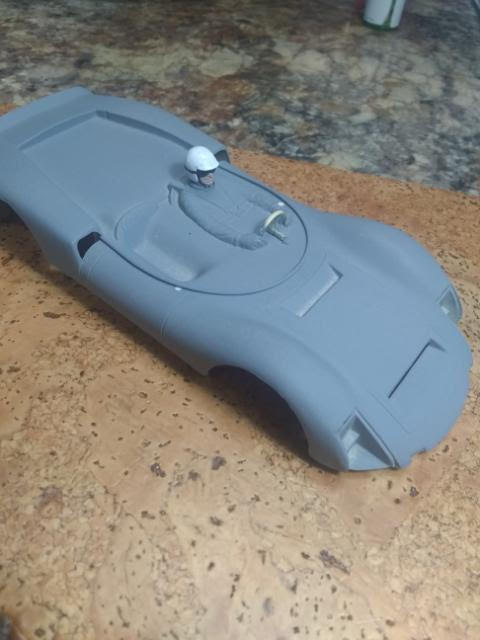
EDIT:
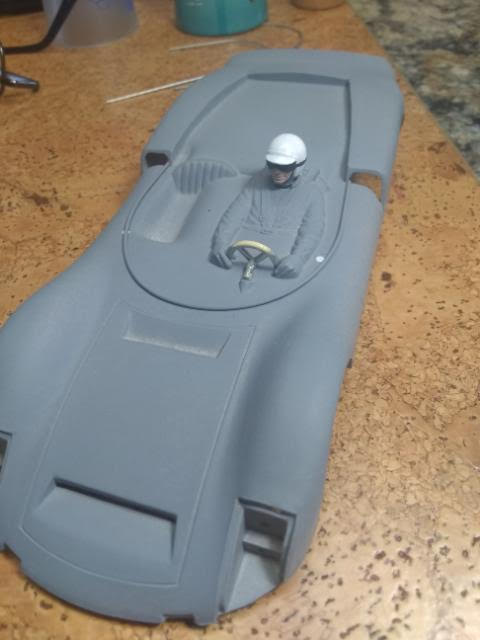
I shot some primer on the wire, added the driver's head and steering wheel: hopefully this will help you in making your verdict! 


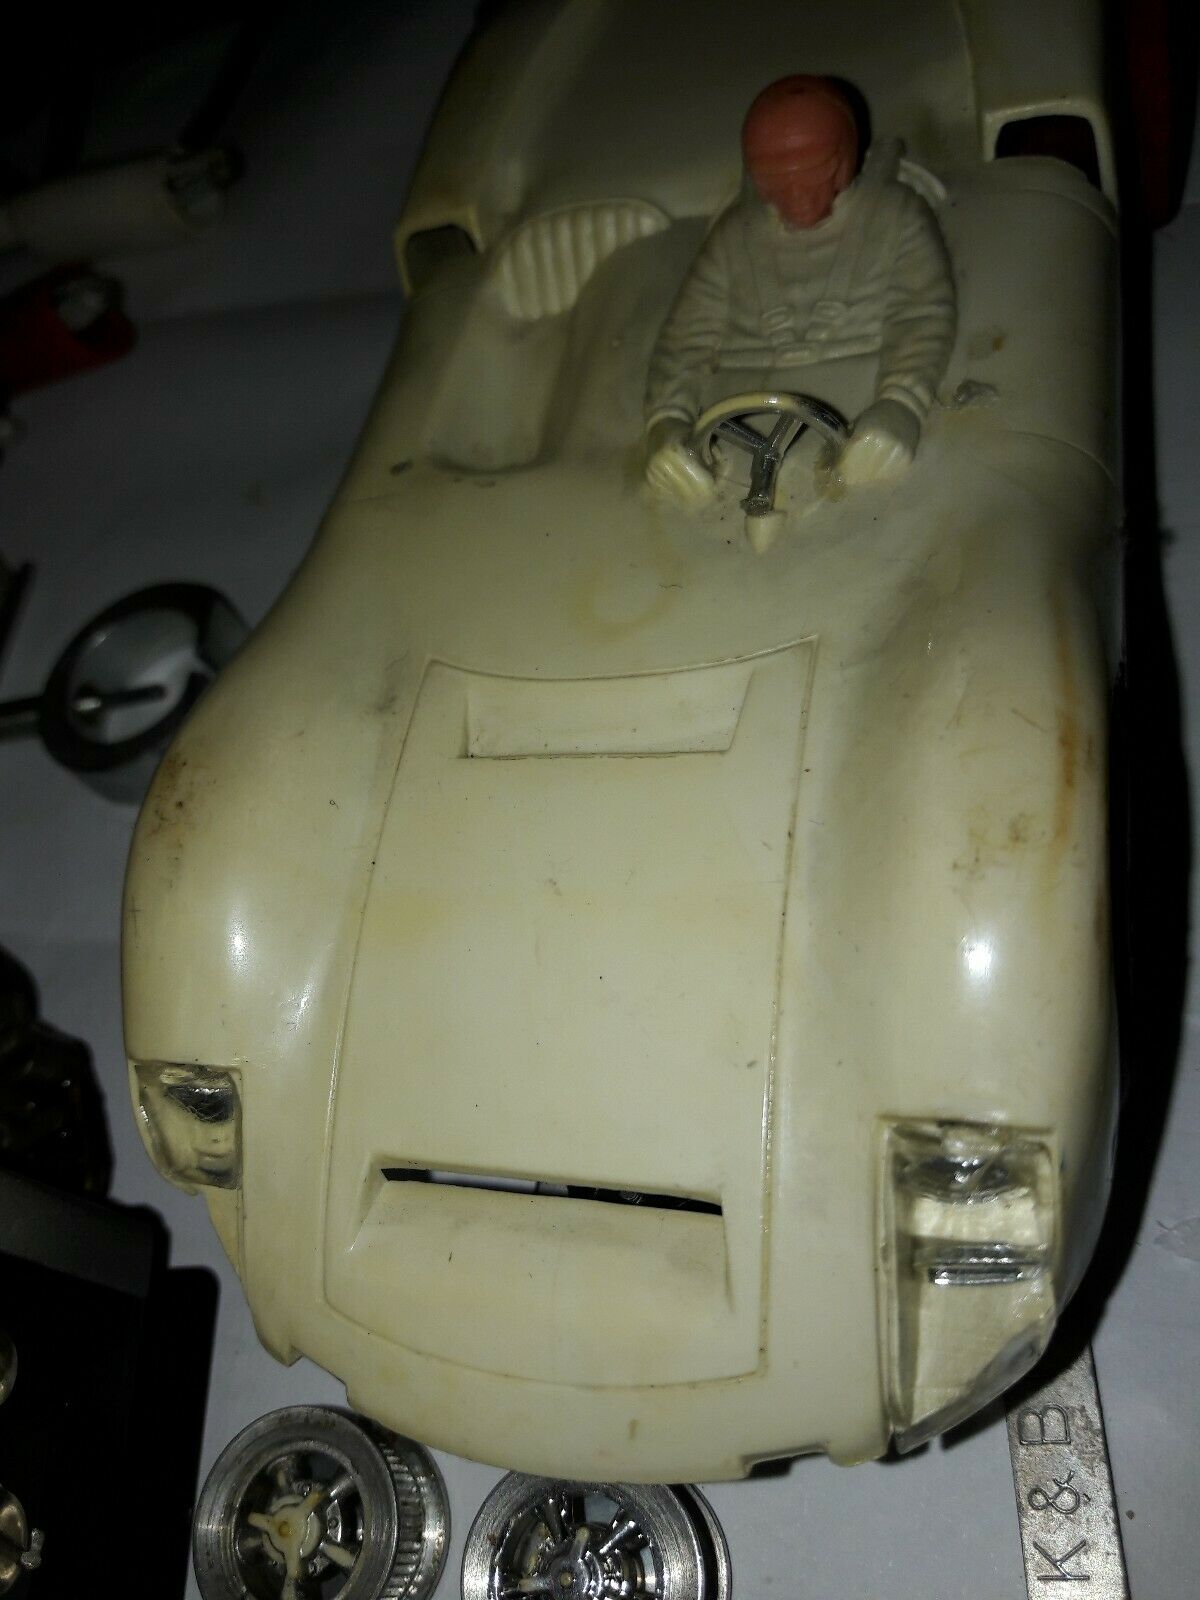


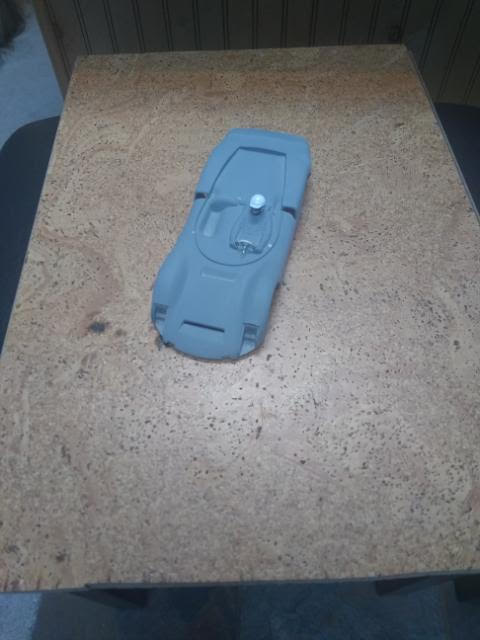


 See, this is why I need your guys' input!!