Since this works for you, by all means continue using it. It's probably not a proprietary solder. Any idea of its contents, or how it compares to the Harris Product's 4% Stay Brite? Are you using Koford M333 silver solder, or one of the others they sell?

Dynamic Batwinder
#51

Posted 30 October 2021 - 02:39 PM
I intend to live forever! So far, so good.
#53

Posted 31 October 2021 - 08:18 AM
There is no documentation on this product. It's labeled 5% silver & 82% more shear strength than other silver solders. No question, it's probably good, (I haven't used any), but is it really better?.
I intend to live forever! So far, so good.
#54

Posted 31 October 2021 - 09:50 AM
I never said it was "better" than Harris. You could PM Stu Koford and ask him. I'll welcome it if you post the response right here in Pablolandia ![]()
Paul Wolcott
#55

Posted 31 October 2021 - 11:41 AM
Wow, really nice precision build.
- Pablo likes this
#56

Posted 31 October 2021 - 01:03 PM
Thanks Rodney ![]()
Trying to invent a better method of bracing the duffies to the bracket than dc-65x was time wasted. In the end I made mine almost exactly the same. Wrapped a pair of 1/16 rods around a (.31" OD) socket
Cranked up the Hakko 601 to full temp, brushed on a healthy dollop of acid, and fed it a bunch of 60/40. It's a strong rear end and it's in perfect alignment. I'll pretty it up later ![]()
- Slot Car Rod, Peter Horvath, Tom Katsanis and 1 other like this
Paul Wolcott
#57

Posted 31 October 2021 - 05:33 PM
Looks über strong to me Pablo. Some of your solder joints on this project are phenomenal and you haven't even started detailing yet. I'm loving this ride!
- Pablo likes this
#58

Posted 01 November 2021 - 11:17 PM
Thanks Larry, I love your avatar ![]()
Moving forward, this build is a blend of copying dc-65x, perhaps a little pro-era influence, and as per the kit instructions/illustrations with some variations.
Every time I make a new solder joint, this chassis moves. I don't know if it's the metals or the design, but precise flatness just isn't going to happen. She's going to end up as true as I can make it ![]()
I made my own front axle tube wire struts. GL 3/4". Drop arm tubes trimmed and smoothed
- Slot Car Rod, Peter Horvath and Larry Horner like this
Paul Wolcott
#59

Posted 02 November 2021 - 01:31 PM
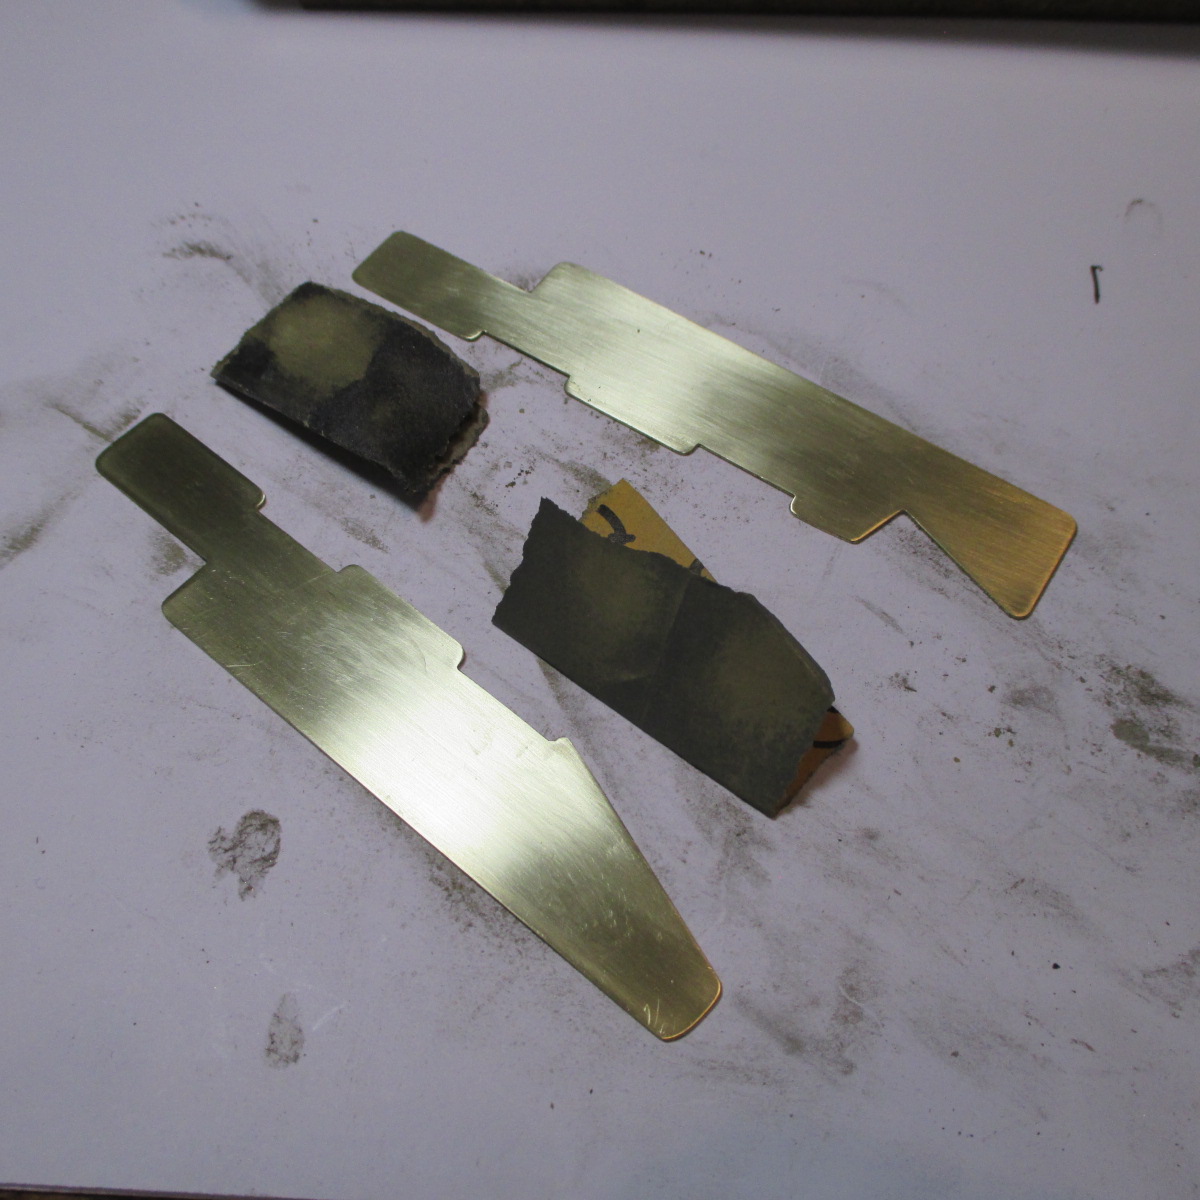
Tongue soldered to .065" drop arm with silver solder and Hakko 455. Bat pans need 1/16" per side narrowing to meet the body width of 3.0". This time I got smart and taped the bottoms so they won't get scratched in the disc sander ![]()
- Slot Car Rod, Peter Horvath and Larry Horner like this
Paul Wolcott
#60

Posted 02 November 2021 - 05:09 PM
Rick told me he also narrowed the pans.
#61

Posted 03 November 2021 - 12:13 AM
Yup. He posted that in his thread, so I wasn't surprised mine was the same way.
Drop arm/tongue in progress .....
Paul Wolcott
#63

Posted 05 November 2021 - 12:39 PM
Pans trimmed to proper width, surfaces and edges rough filed/sanded
Wet sanded with 2,000 grit and made flat on my best block. Gap about 20 thou per side, width 3.0"
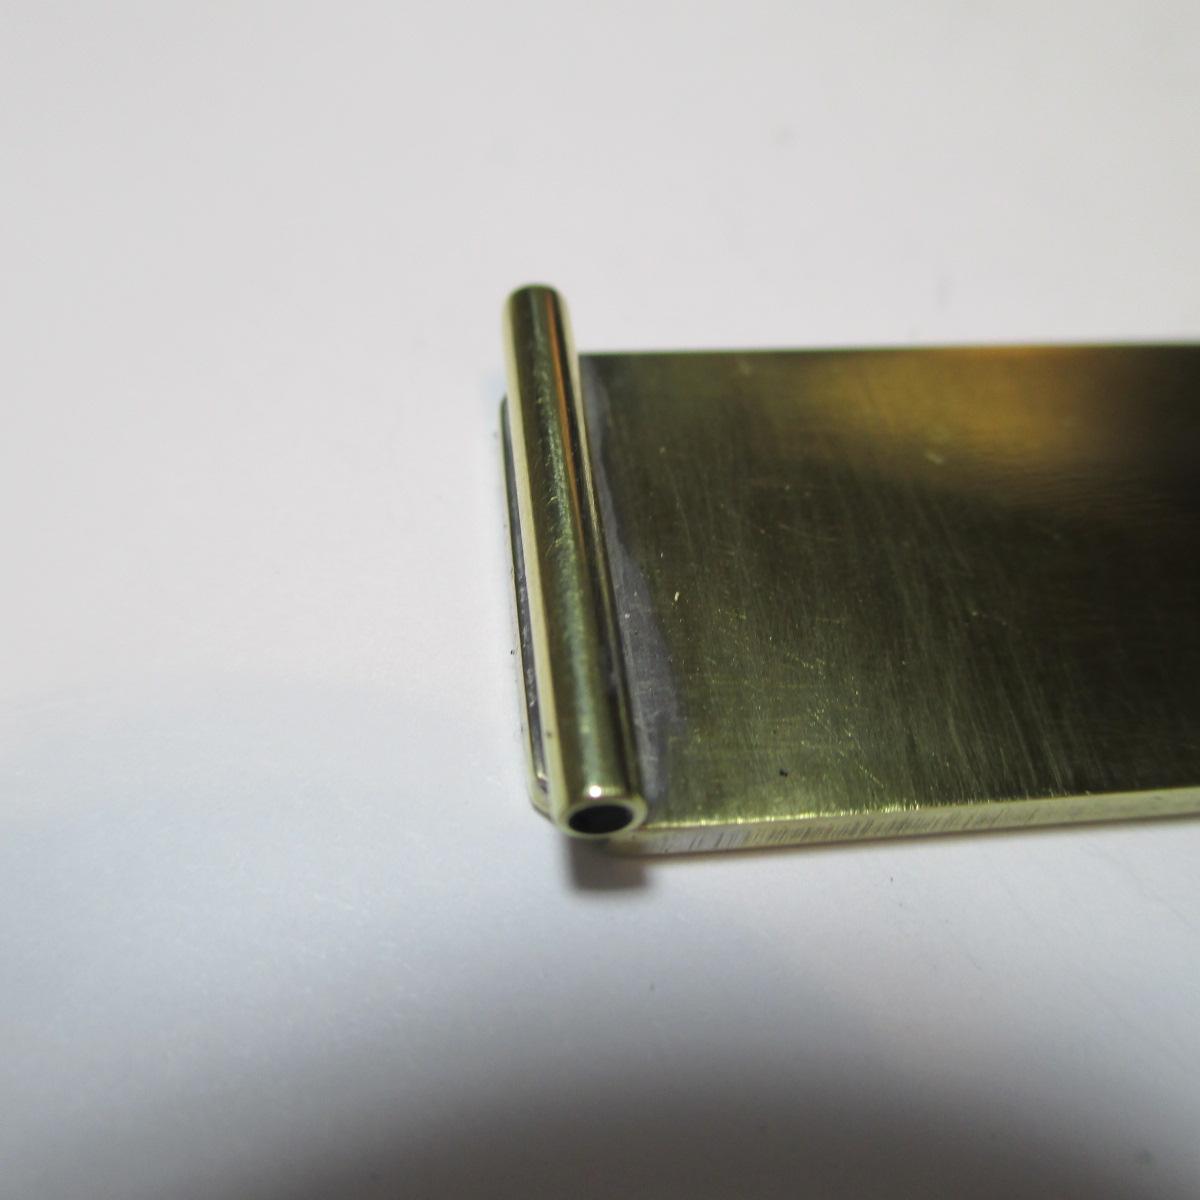
Hinge prep - tubes shortened from .5 to .44" and polished. Rod pins shortened appropriately. Still more work to do, outer ends need trimming and a "kink" to lay flat. Then pin tubes
- Peter Horvath likes this
Paul Wolcott
#64

Posted 06 November 2021 - 10:16 PM
I like to experiment, always searching for a better way to build. Vintage pan hinges are always a challenge for me. I'm real picky about them - amount of lift, droop, slop, movement are very important to a car's handling.
Usually I solder the tubes at ground zero and follow with the pins to pans. This time I tacked the pins to the pans first, then soldered the tubes wherever they sat. Does that make sense? We shall see if it works better for me
And it did work better. So I'll probably do it this way in future builds. Tack the pins to the pans first, then solder the tubes to the rails second. Not saying it's right, but it worked for me
Pan hinge tubes had a conflict with installation of the drop arm hinge pin. No wonder many of these kits were discarded in frustration as Tony P. said. I chucked up a 1/16 bit to my Commando mini-twist drill set and reamed a pathway gouge into the tubes
- Slot Car Rod, Peter Horvath and Larry Horner like this
Paul Wolcott
#66

Posted 09 November 2021 - 12:28 AM
#67

Posted 09 November 2021 - 08:57 AM
Wouldn't be that bad if you didn't try to make them so sano or precise. But I like to think mine will behave well, and do the exact same things lap after lap.
Paul Wolcott
#68

Posted 10 November 2021 - 01:19 PM
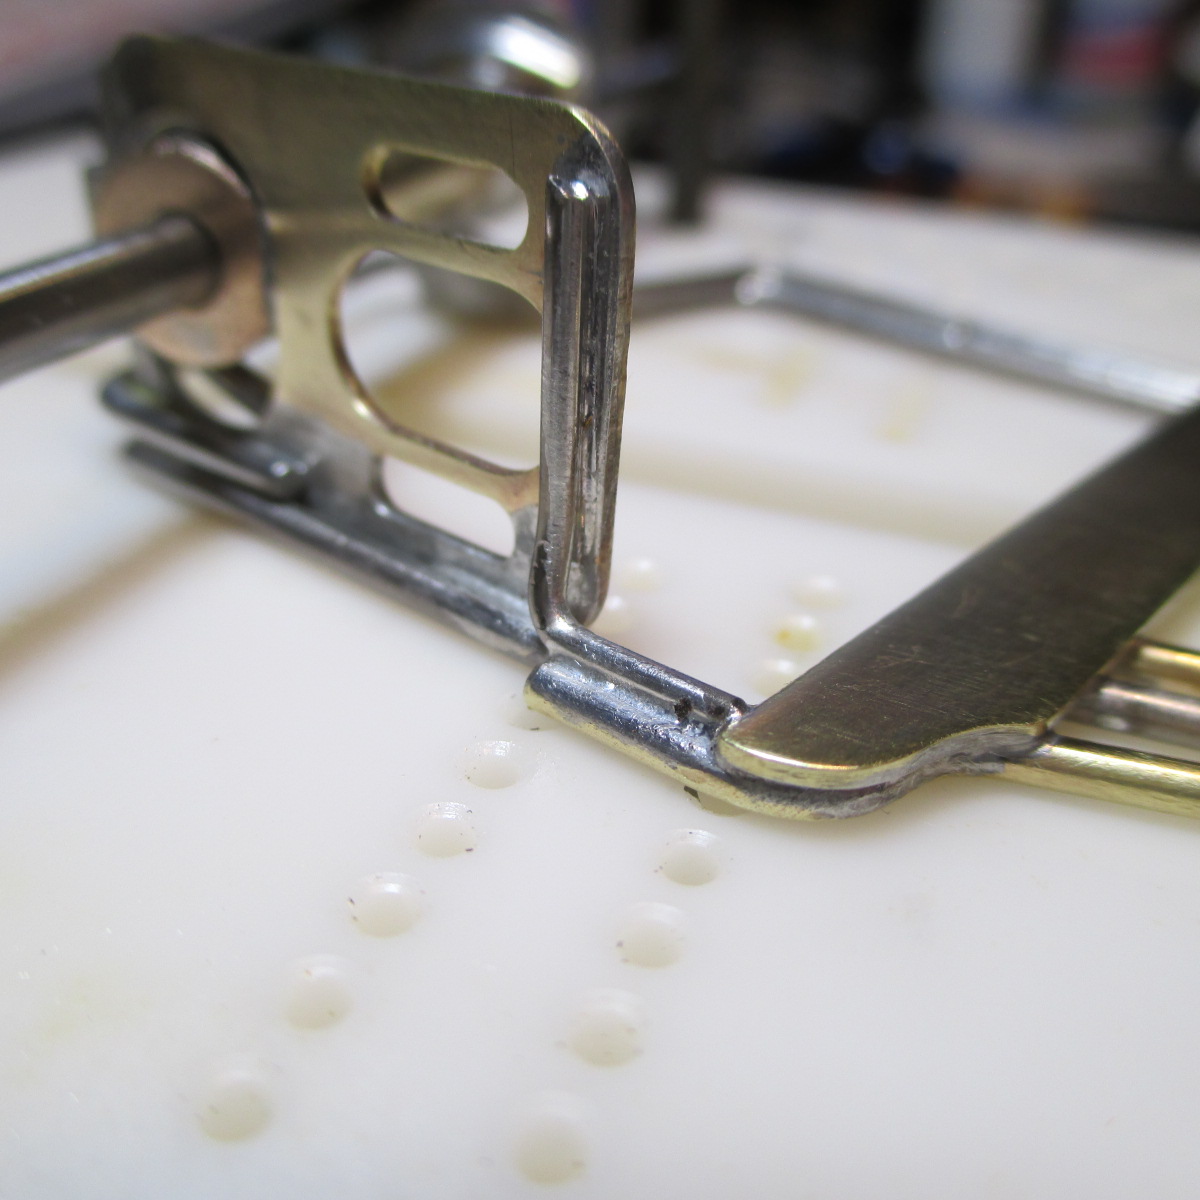
The 5/32" OD bite bar tube pieces supplied in the kit are way too big. Lift and droop would be way too much for my liking. Back in the day they liked lots of lift to "forgive" track surface irregularities, and I get that. My method of compromise will be, use the stock tube pieces, but solder short 3/32 tube pieces to lessen the movements.
So it will have "The Look" but not be freaky sloppy. That is the plan for now, anyway. Did I explain that right? ![]() Bunky says he's onboard with it
Bunky says he's onboard with it
- Slot Car Rod and Peter Horvath like this
Paul Wolcott
#69

Posted 10 November 2021 - 09:23 PM
Bite bar with mini-sleeves is ready but I haven't decided exactly how I'll situate it regarding lift/droop ![]() Somewhat distracted today (home buying) and I'm not going to rush it. I'm sure the plan will come to me at 2 AM - it usually does
Somewhat distracted today (home buying) and I'm not going to rush it. I'm sure the plan will come to me at 2 AM - it usually does ![]()
- Peter Horvath likes this
Paul Wolcott
#70

Posted 11 November 2021 - 02:04 PM
Very simple and slight upward bends of the bite bar made the pan movement(s) exactly as I wanted - a hair of droop and about 1/32 of tilt. Drop arm slid right into place like a glove and hinge pin soldered in. Piece of cake
Scrubbed up with Dawn liquid soap, baking soda, and Ajax cleanser for a pre-clean. Now she tumbles .......
- Slot Car Rod, Peter Horvath and Larry Horner like this
Paul Wolcott
#71

Posted 11 November 2021 - 02:21 PM
She's lookin mighty fine Pablo .. I can hardly wait for for the roller! ![]()
- Pablo likes this
#73

Posted 11 November 2021 - 11:00 PM
The money shots ![]()
![]()
![]()
- Pablo likes this
#74

Posted 12 November 2021 - 02:00 PM
First step on this assembly will be installing axles, wheels, and flag to mock up and nail down clearances etc. Rear axle is a brand new modern Koford right out of the bag, trimmed to size and polished. Steel 20 thou spacers. Customer-supplied new Dynamic spur and Dynamic flag. Should be a piece of cake ![]()
- Peter Horvath likes this
Paul Wolcott
#75

Posted 12 November 2021 - 03:04 PM


