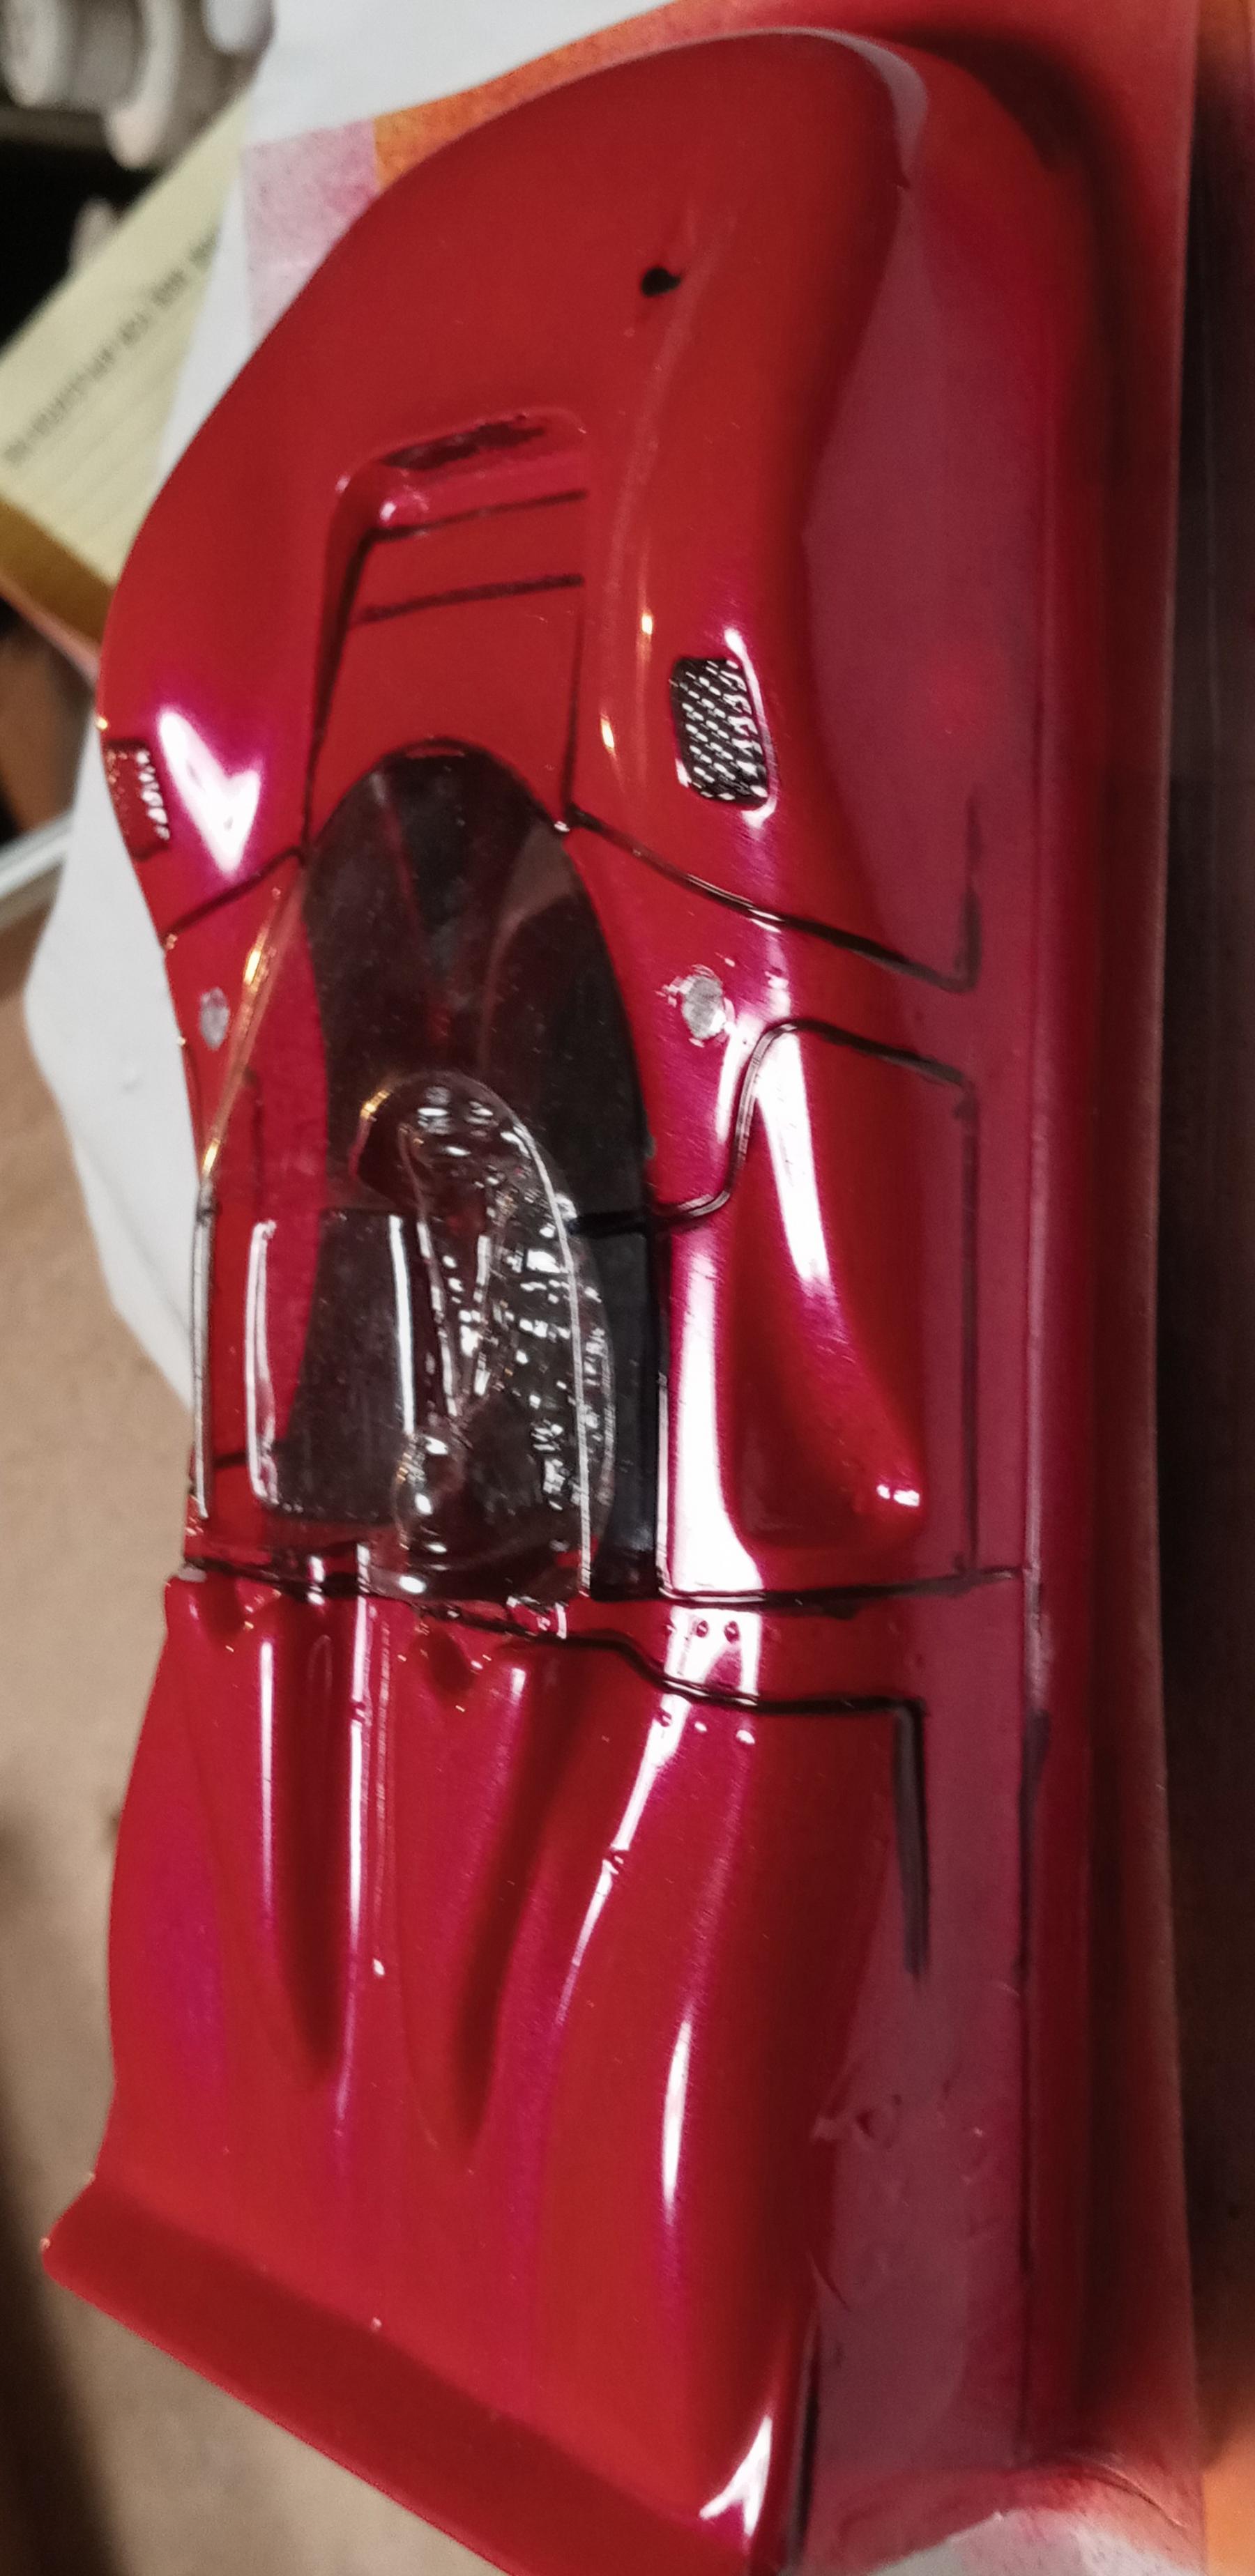
Tribute to dc65-x tribute to Jose's 330-P Ferrari
#1

Posted 13 February 2022 - 05:09 AM
don't bother
to try one of these builds.
They think well,
What can I do,
What can a person
like myself do,
To make one of these.
Well the answer is simple my friends,
Just log into slot blog and we'll tell you how.
- boxerdog likes this
#2

Posted 13 February 2022 - 05:16 AM
1) not enough time
2) not enough skills
3) low on U.S.$$$$$$
Don't let that stop you. I fall into the first catagory and, this build took longer to post than build.
Second, you really don't have to be a rocket scientist or, have a lot of tools to do this. I'll show you how.
Third, looking at some of the prices on Evil Bay, you'd think it would take all of you allowance,ummm, paycheck? Ummm, All of your cash. Not so. If you're frivolous and have patience, you can do this for under $125 in US currency .
#6

Posted 13 February 2022 - 05:32 AM
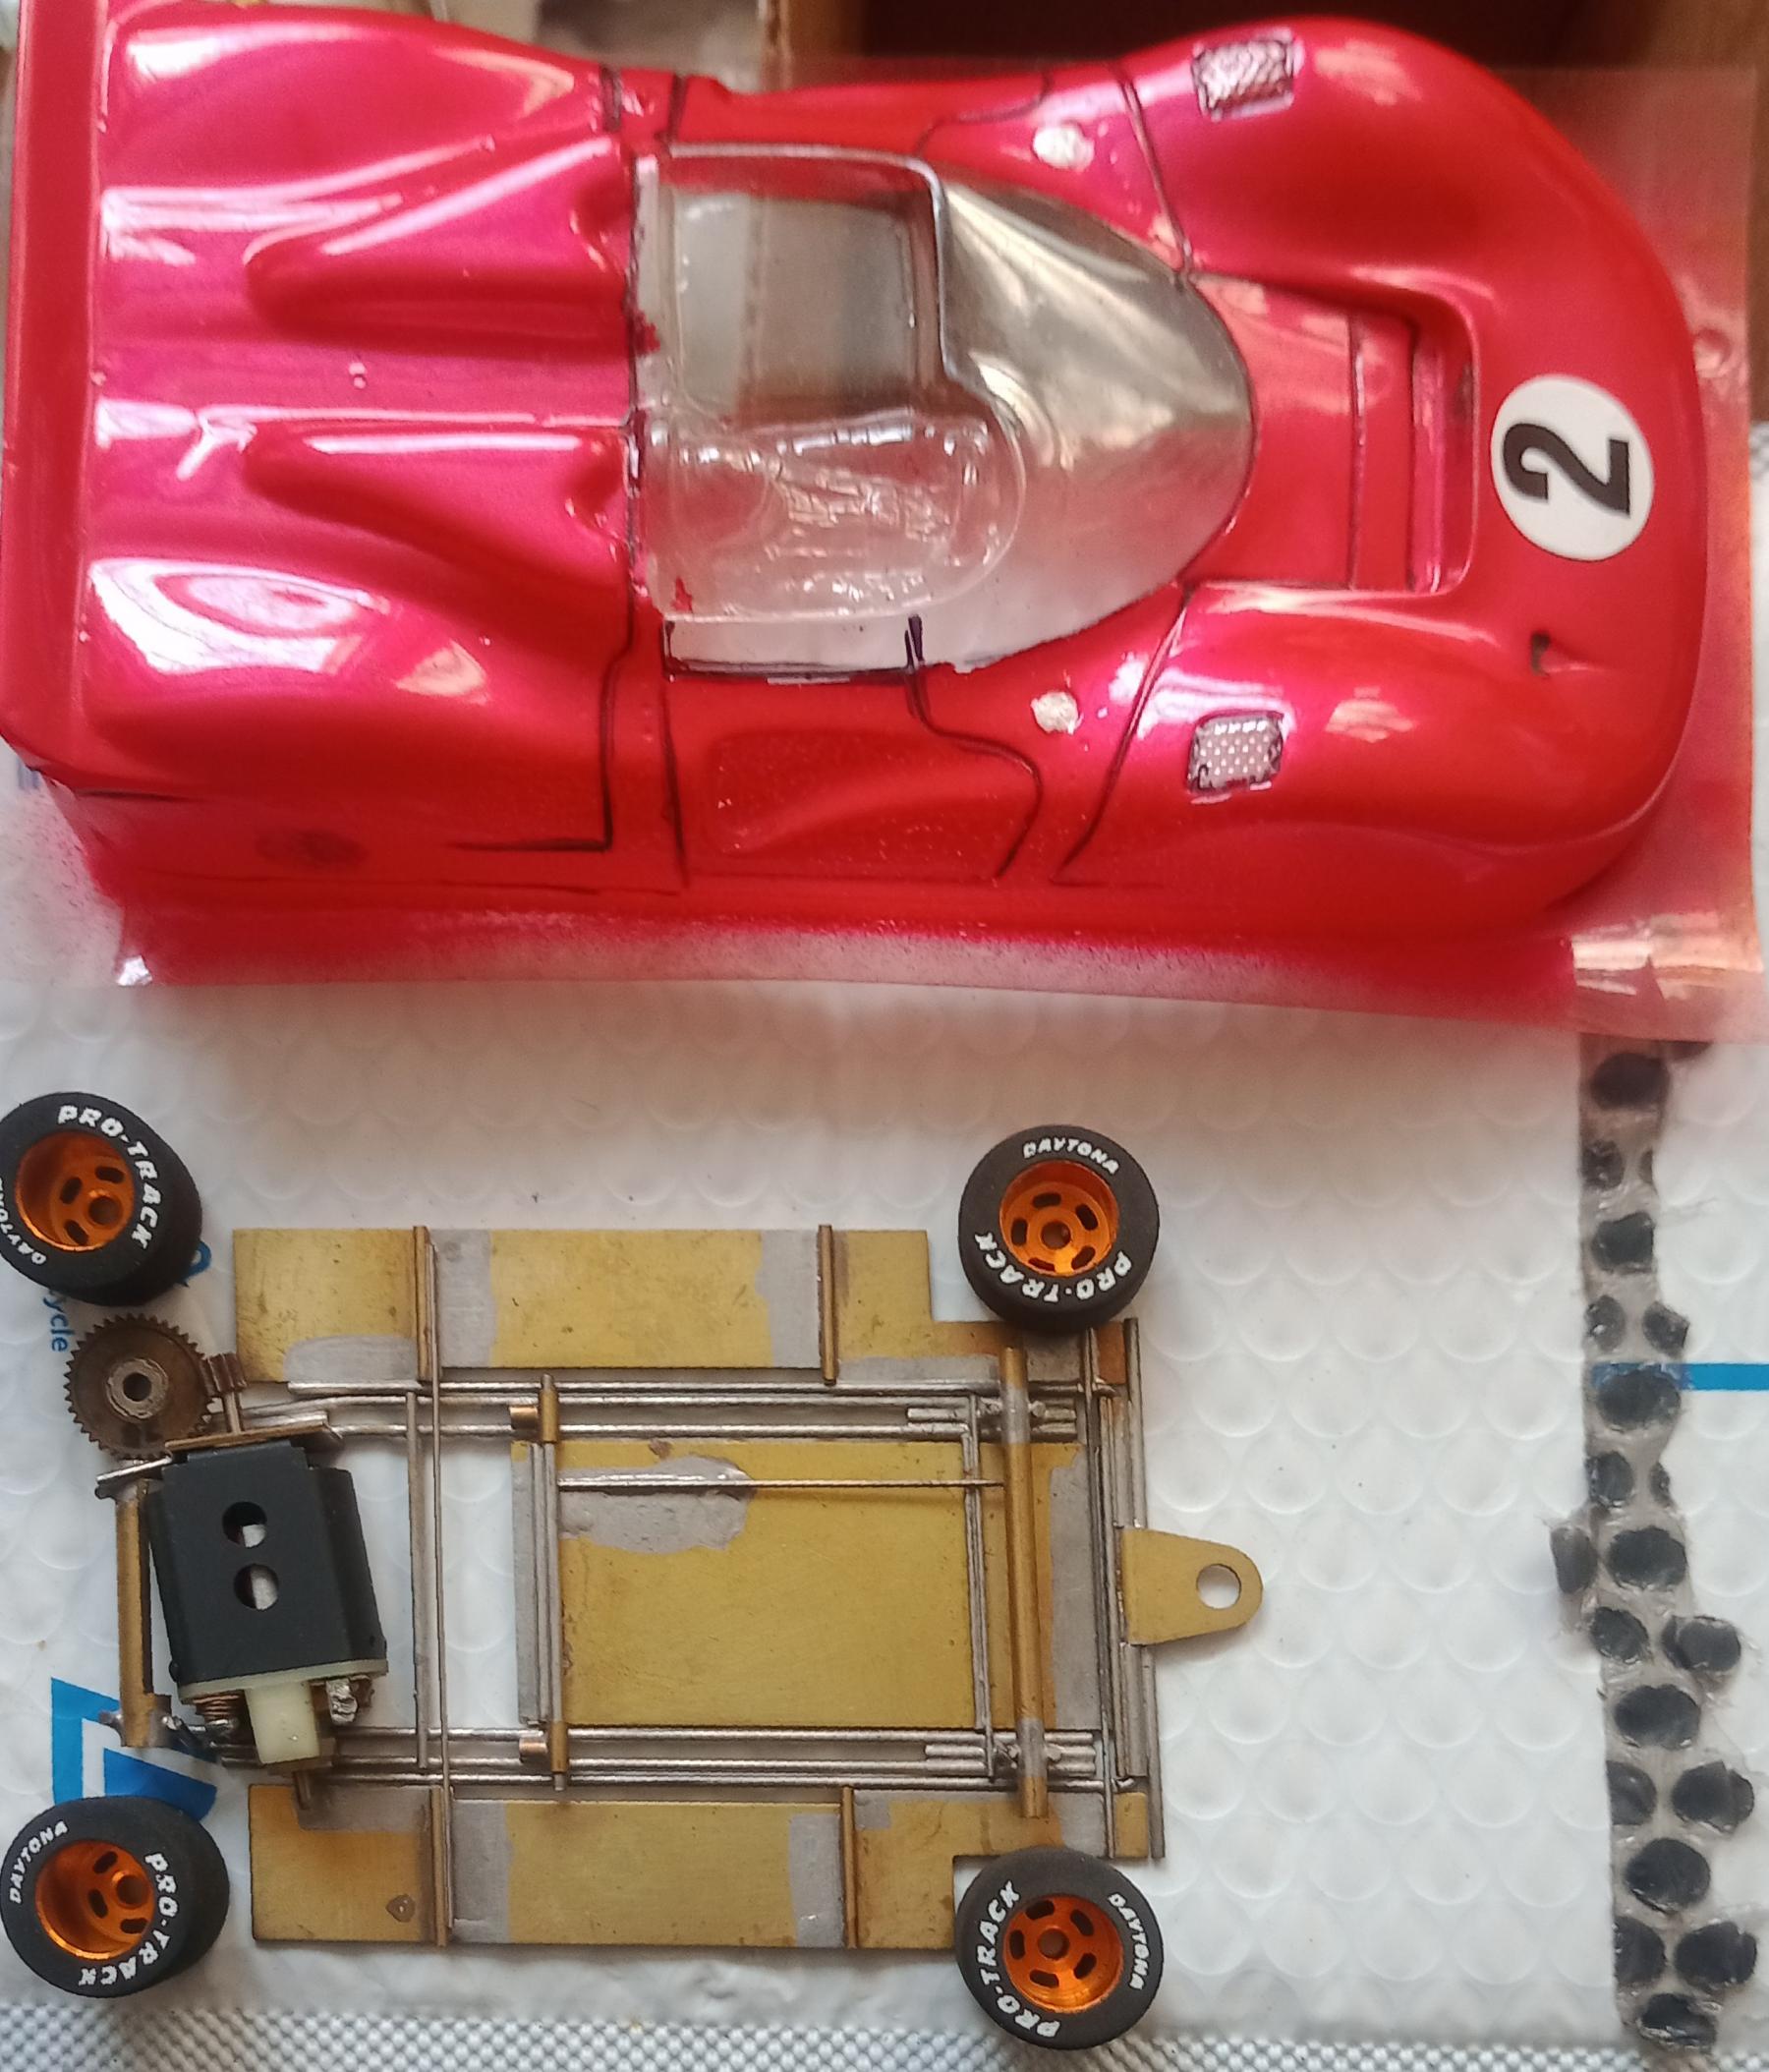
1) a 1/8" axel
2) front & rear tyres
I'm not going to get fancy but, I'll show you how to make'em cheep.
#7

Posted 13 February 2022 - 05:39 AM
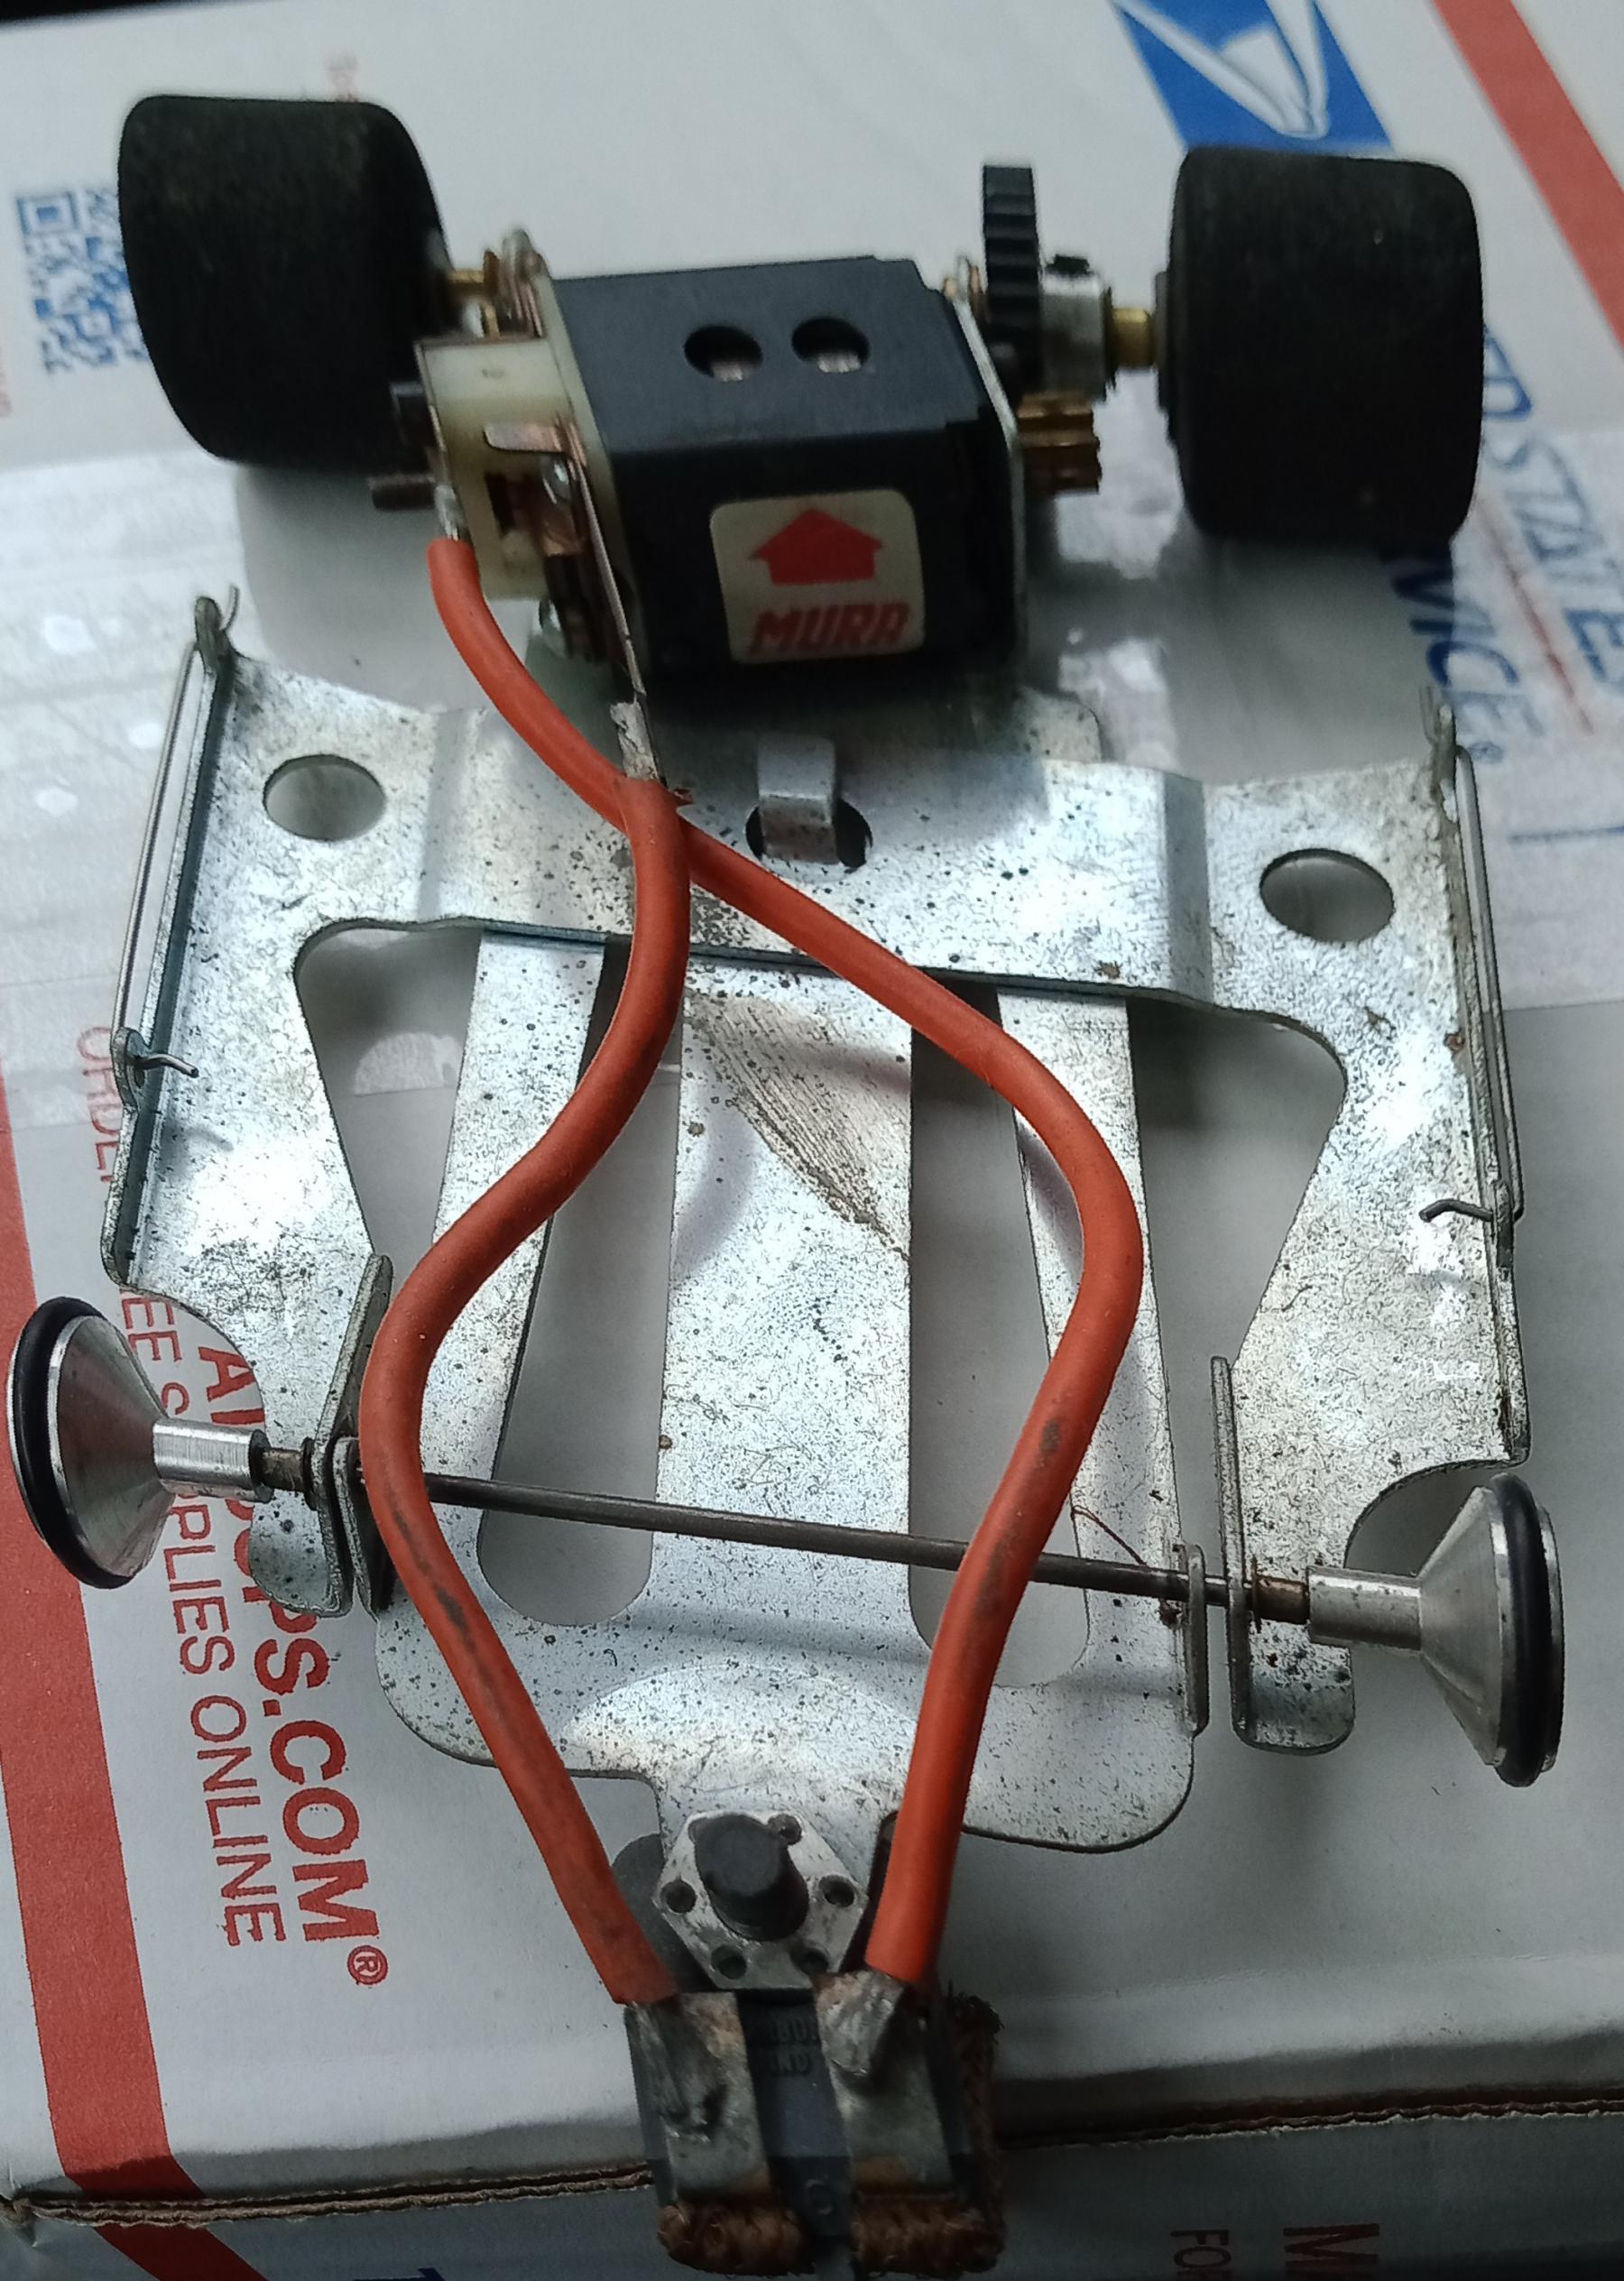
That's where the organ donor came in. Now, I don't even have to solder the leed wires!
Remember, this is for people who don't think they have skills,or don't have equipment.
#8

Posted 13 February 2022 - 05:41 AM
But, there Oro coloured!
#9

Posted 13 February 2022 - 05:42 AM
#11

Posted 13 February 2022 - 05:48 AM
#12

Posted 13 February 2022 - 08:21 AM
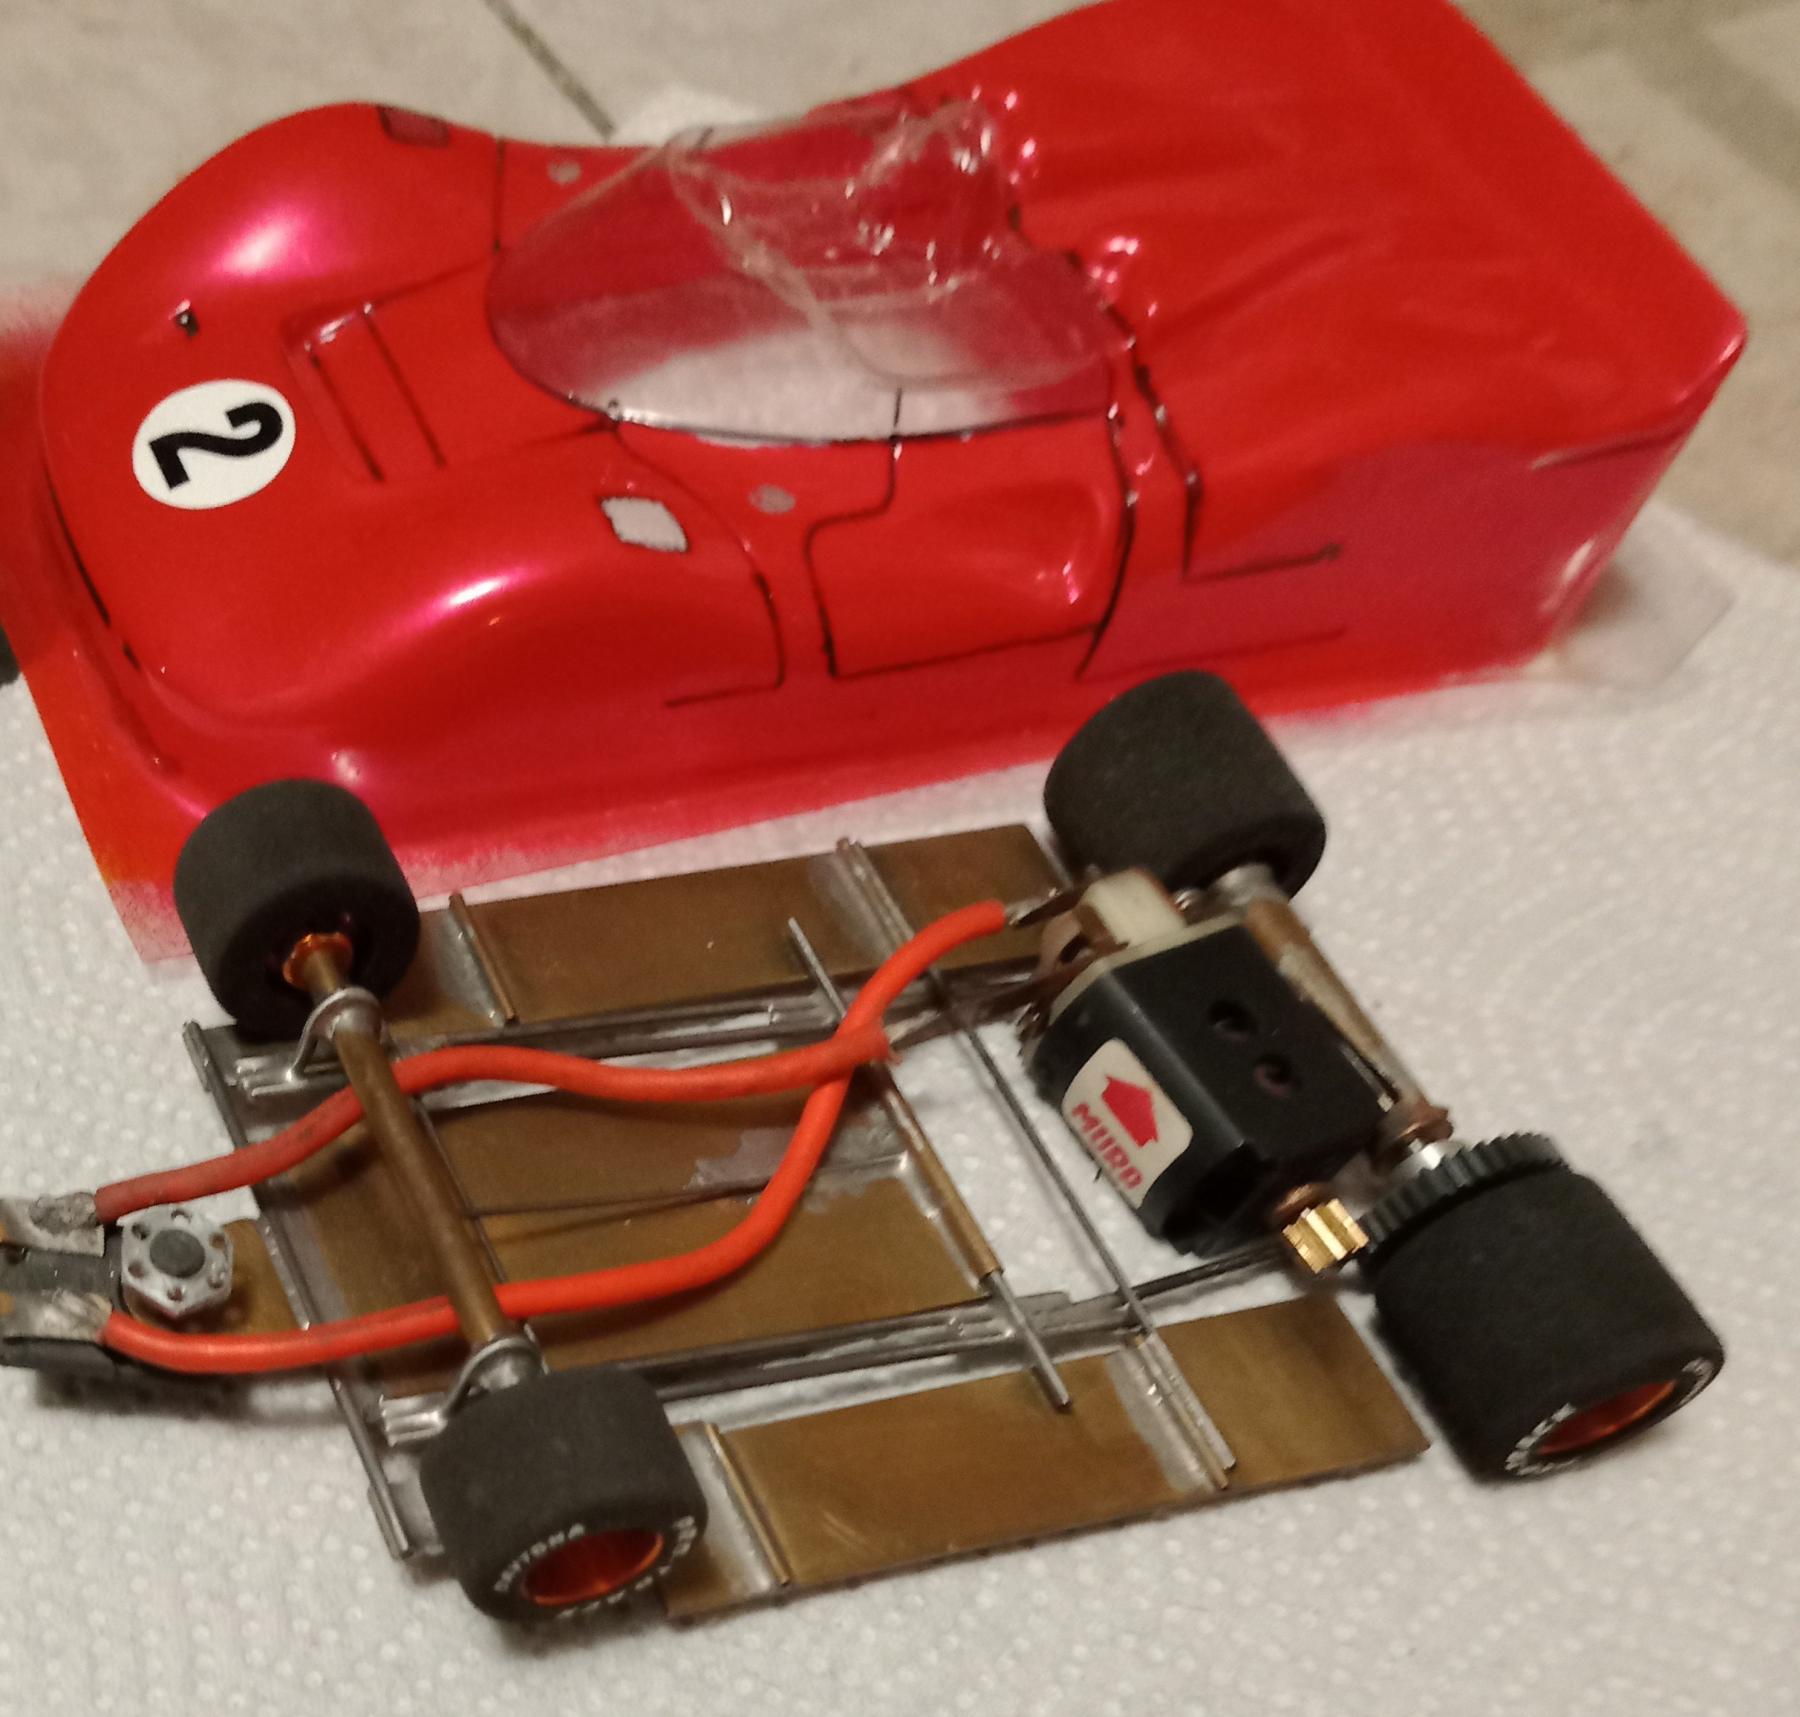
You show two different chassis. Which one did you use? The Parma or the Rehco?
- boxerdog likes this
I intend to live forever! So far, so good.
#13

Posted 13 February 2022 - 08:26 AM
#14

Posted 13 February 2022 - 08:30 AM
#15

Posted 13 February 2022 - 09:28 AM
He cannibalized the Mura motor off the flexi chassis and installed it in the REHCO. I like it. He's going to end up with a nice vintage style car for relatively low bucks ![]()
Paul Wolcott
#16

Posted 13 February 2022 - 11:20 AM
Both your motors look virtually unused. Very cool build Mark. ![]()
Rick Thigpen
Check out Steve Okeefe's great web site at its new home here at Slotblog:
The Independent Scratchbuilder
There's much more to come...
#17

Posted 13 February 2022 - 02:27 PM
I'm time limited. I can't give a build article all day. Besides, a picture is worth a thousand words. ![]()
I intend to live forever! So far, so good.
#18

Posted 13 February 2022 - 04:40 PM
#19

Posted 13 February 2022 - 04:50 PM
#20

Posted 13 February 2022 - 05:54 PM
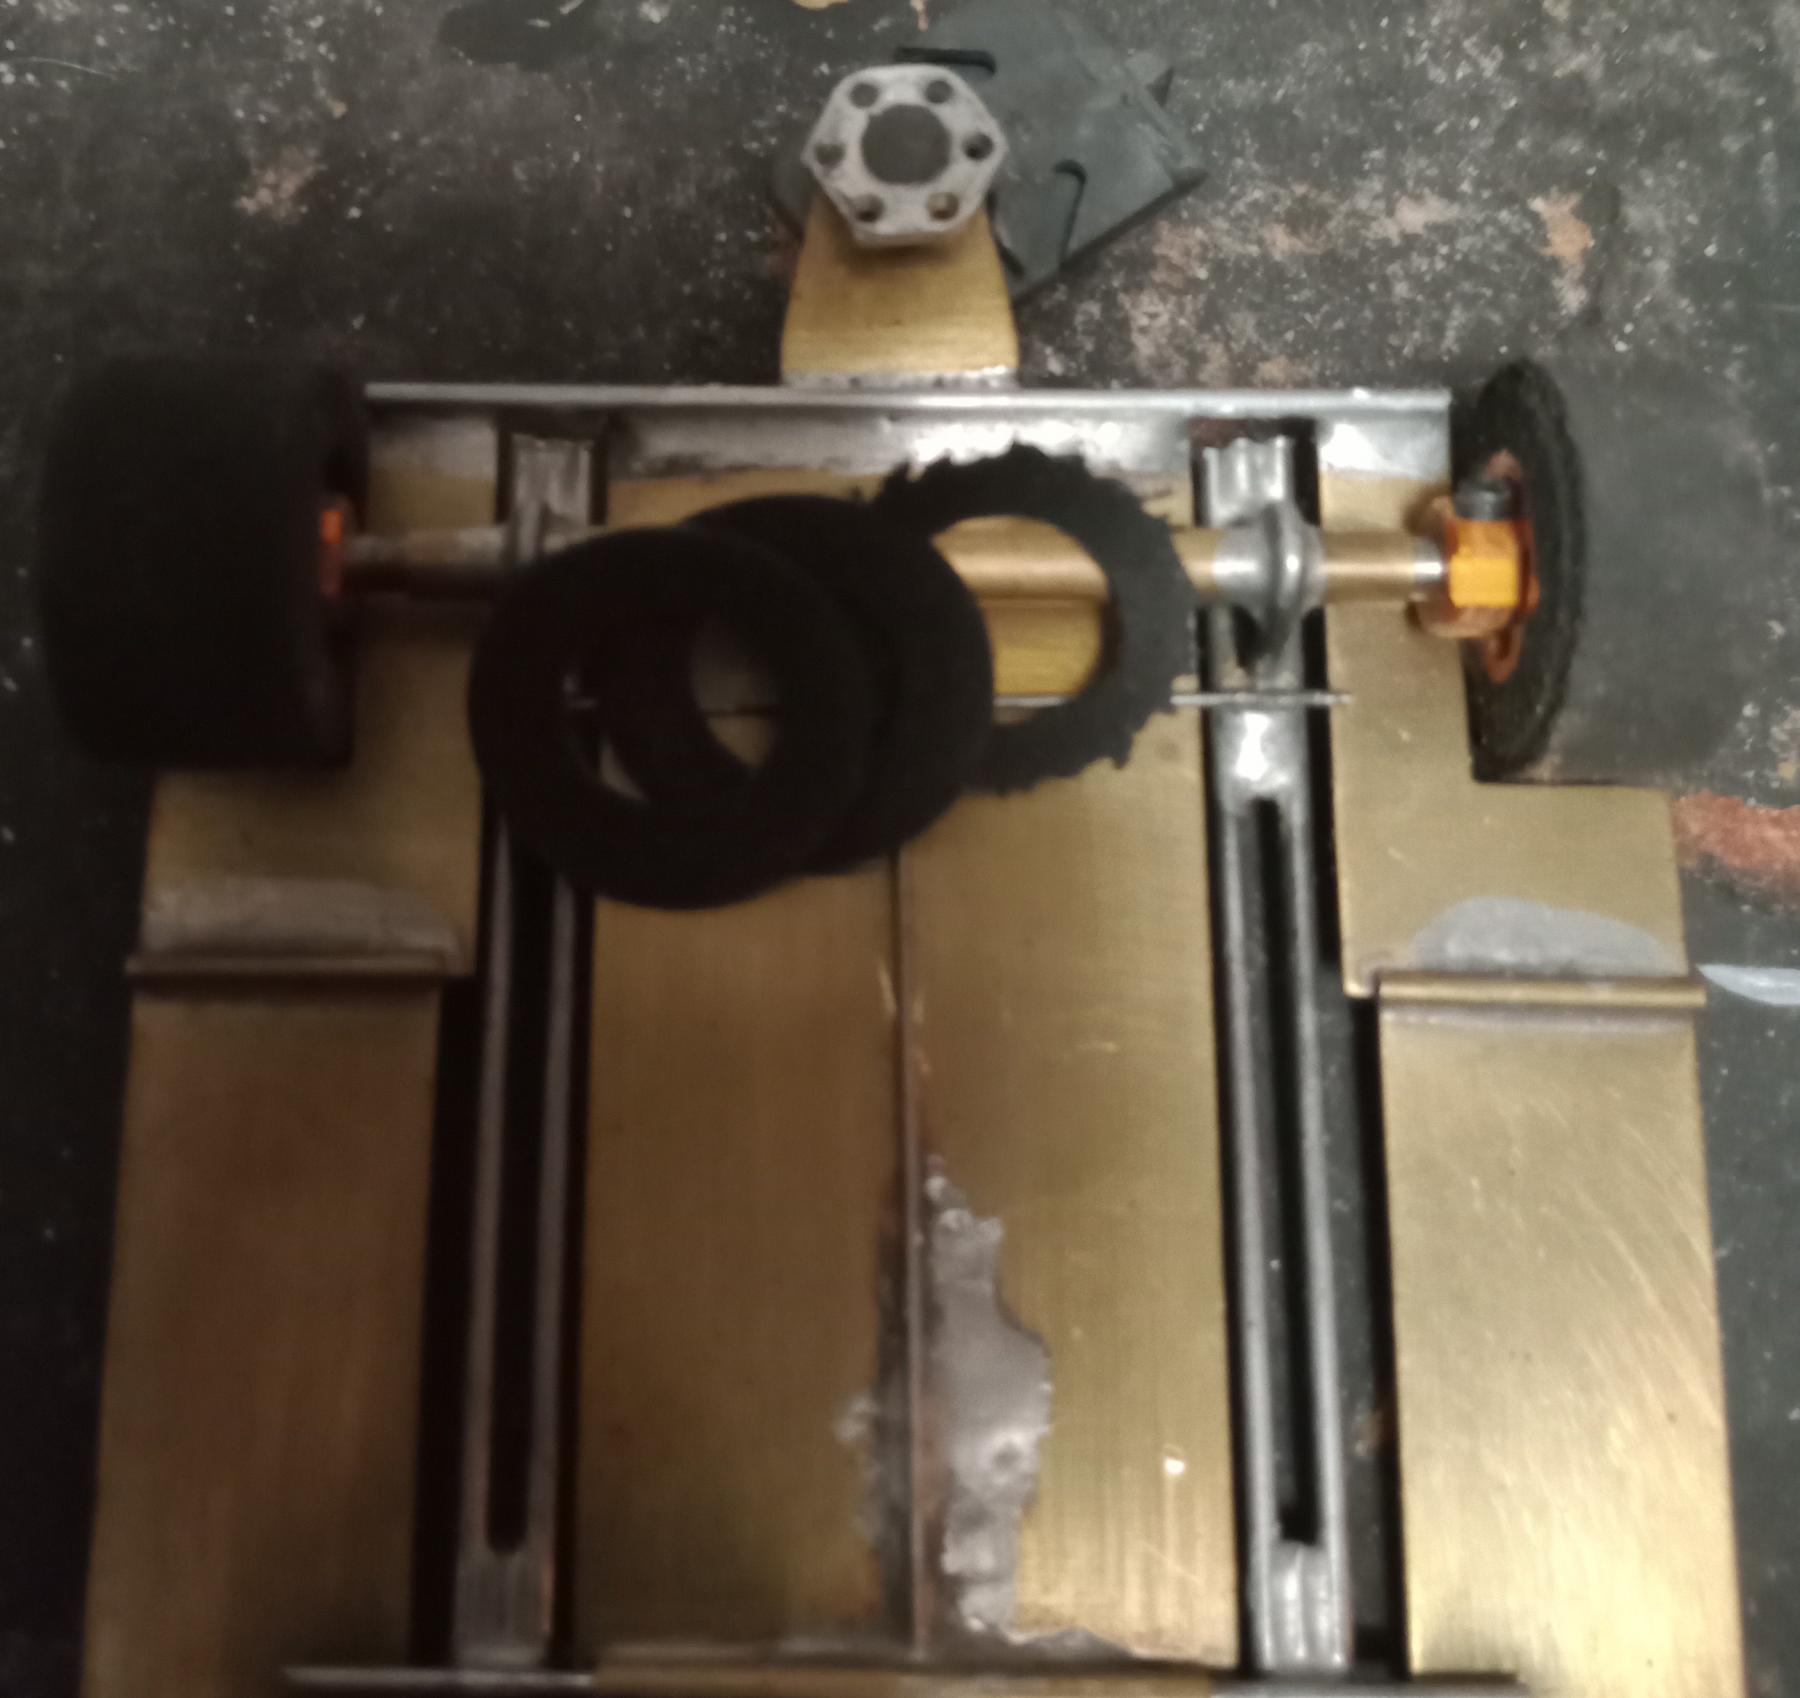
Here's how I did it. I've trashed a bunch of tyers in my day. So this time I did it in small increments. Also, the diameter was~=.830 so I turned it down to ~=.750.
#21

Posted 13 February 2022 - 06:04 PM
Ps how the ***k could you tell a Parma from a REH? The spring location? Or mental telepathy?
#22

Posted 13 February 2022 - 07:53 PM
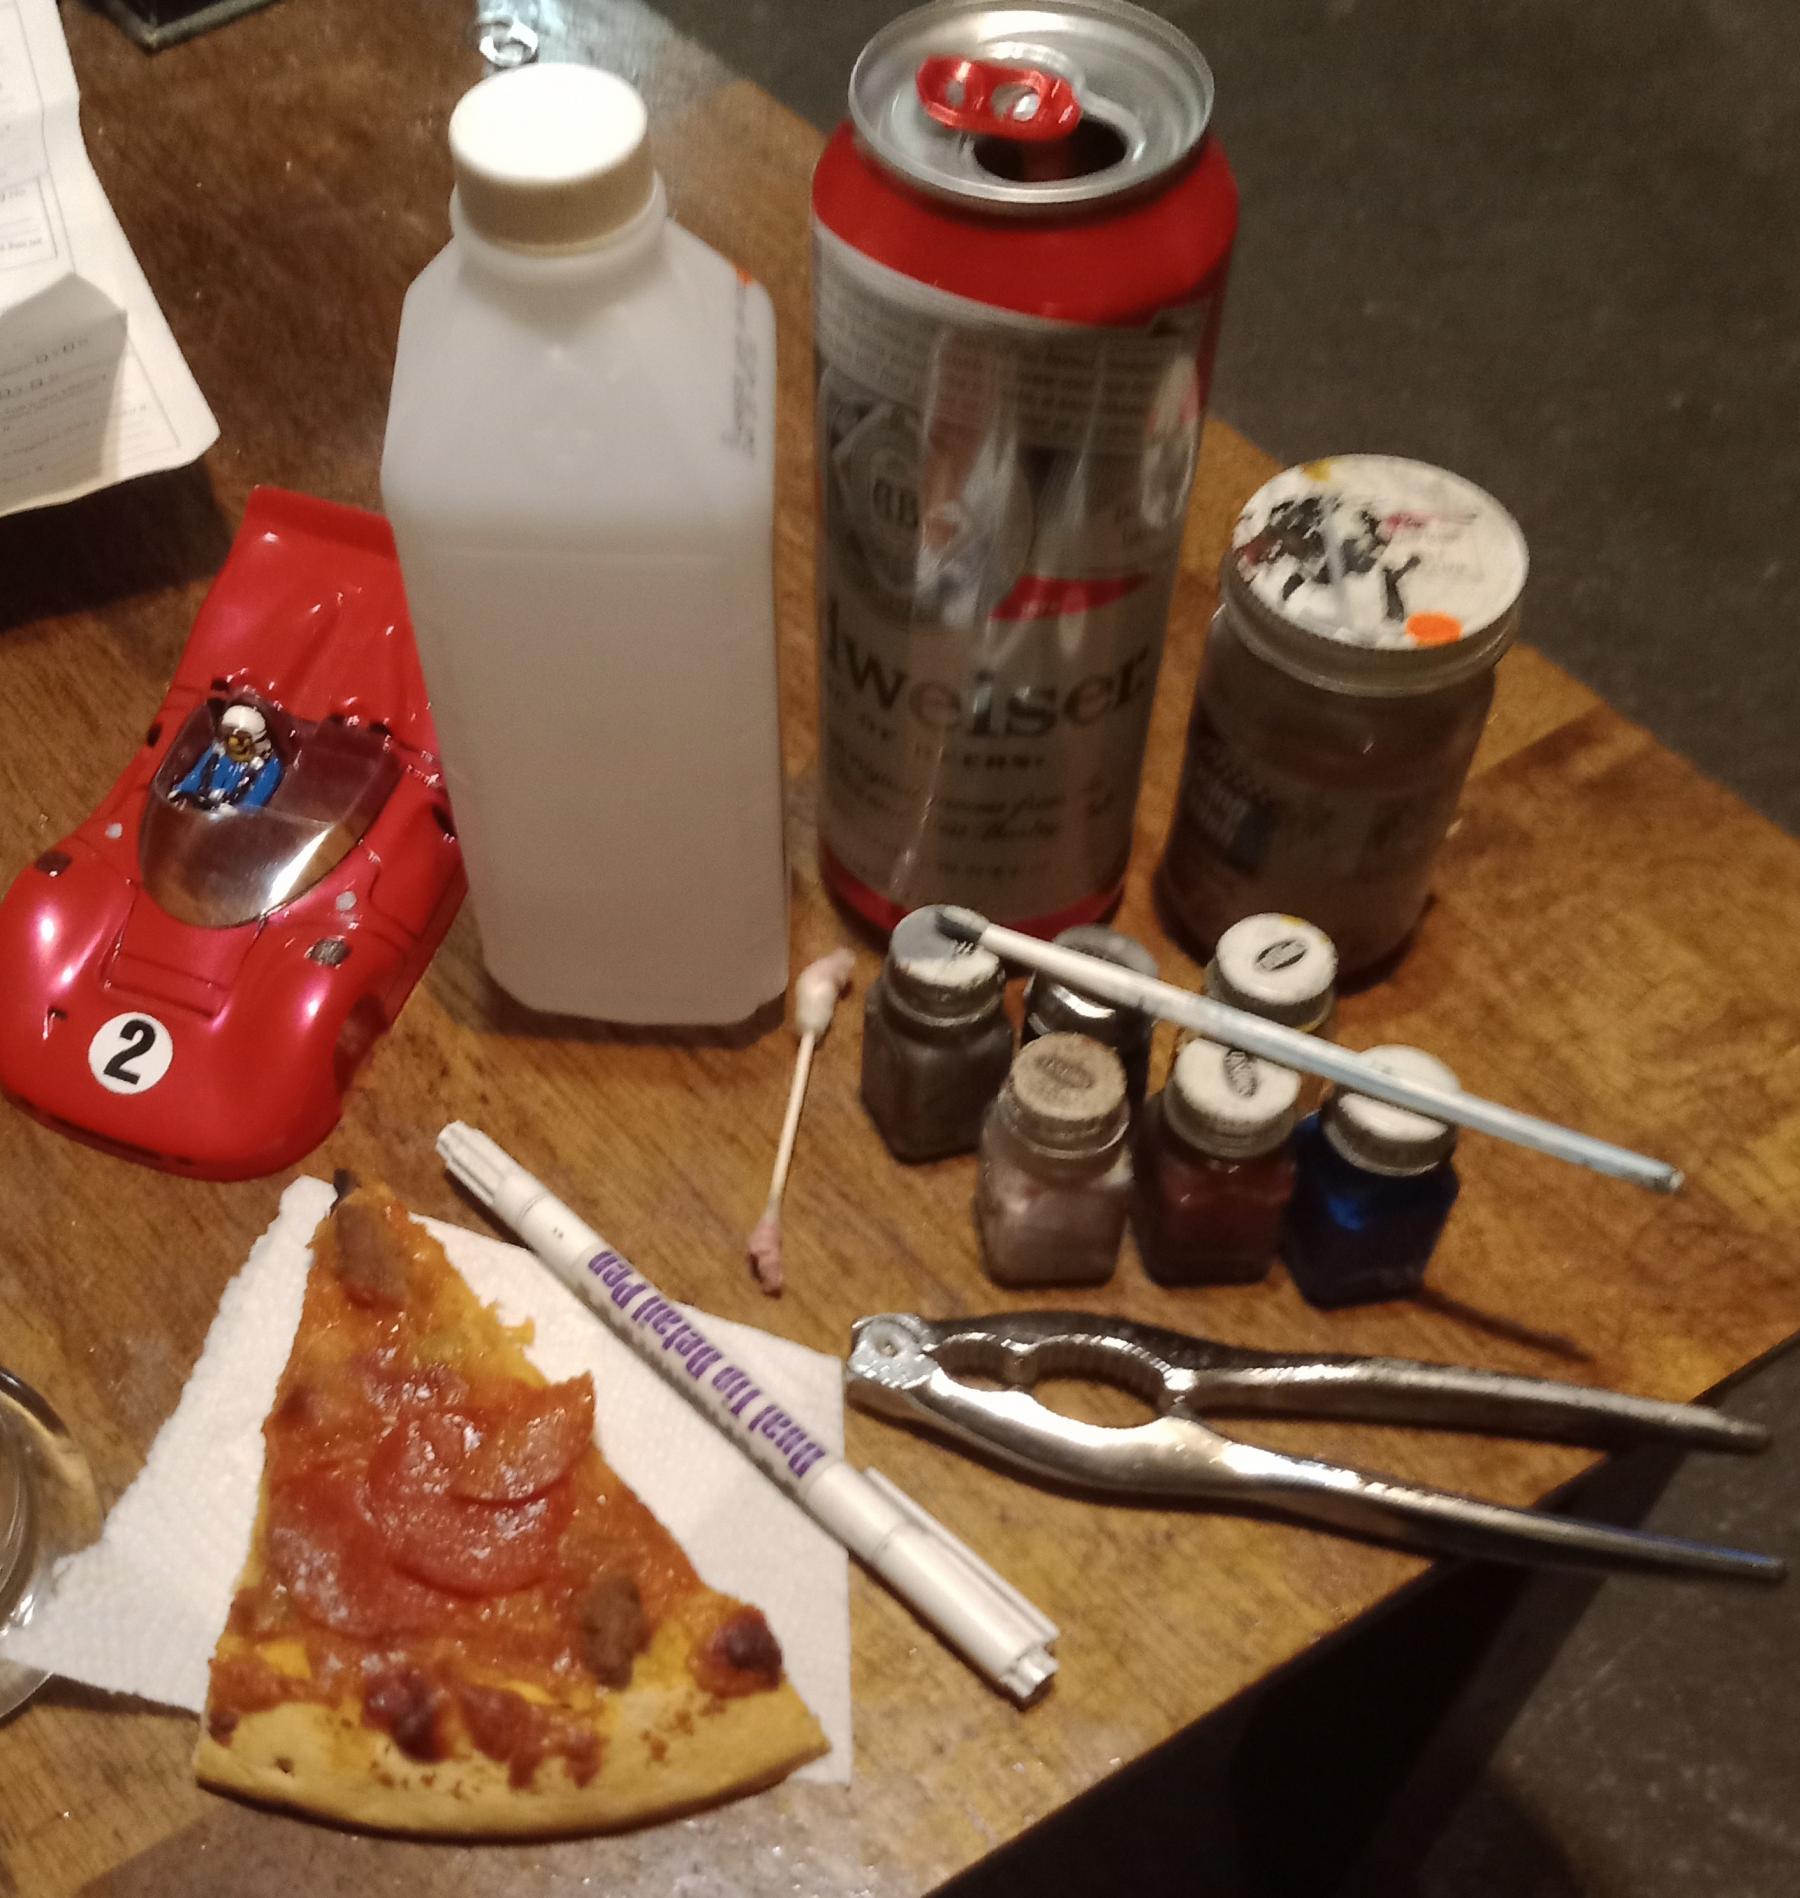
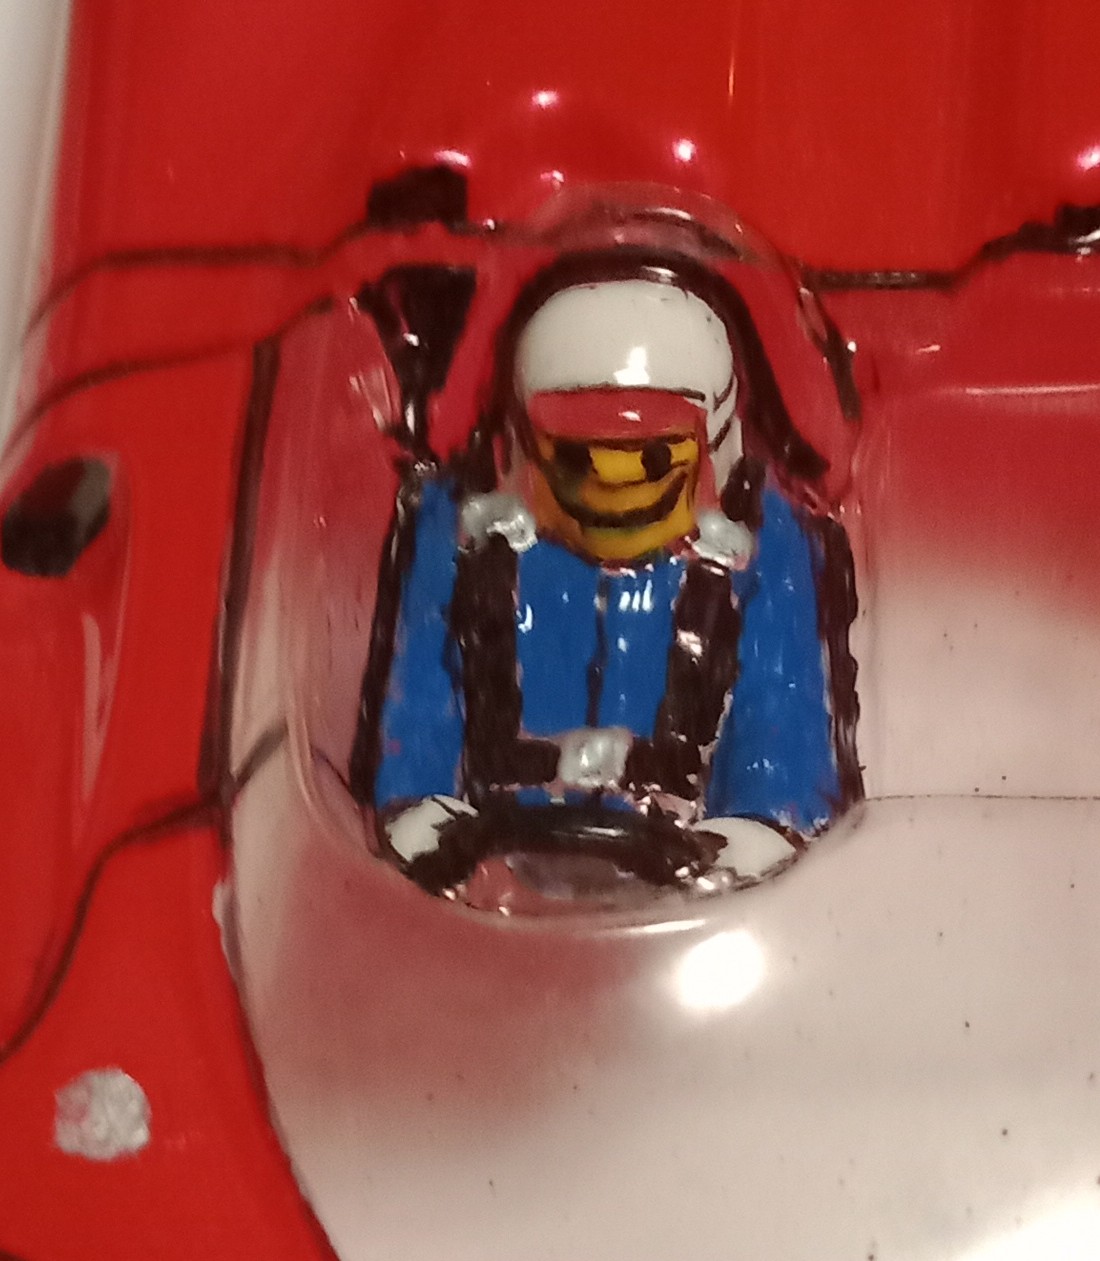
Well, I'm not as proficient a painter as some. But, with some basic supplies, it's ok.
I did this at the start of the 2ond quarter.
#24

Posted 13 February 2022 - 08:35 PM
Well detailed driver Mark. ![]() I saved some of my wing car drivers from the '70s because my hands worked better then.
I saved some of my wing car drivers from the '70s because my hands worked better then.
- old & gray likes this
I intend to live forever! So far, so good.
#25

Posted 13 February 2022 - 09:11 PM
You need to get a Parma & a Rehco chassis & put them side-by-side. I've seen many of each type & the difference will jump out at you. Spring location is one, the front axle uprights is another. The one-piece upright that goes up & over the axle tube. then back down is a Parma piece. The chassis with them is Parma. Parma sold those pieces separately, but in my opinion, they look like crap. The other chassis uses two "L" uprights per side. That's a Rehco.
The chassis with a missing motor plate is easily converted into a solder-in motor chassis. Here is what I would do. Bend a piece of .063 piano wire into an "L". Make the bottom of the "L" about 5/8" long. Place that bottom inside the chassis half rail & the vertical part of the "L" against the front side of the rear axle tube. Solder both spots & cut off any extra wire. I like to use silver solder for soldering in this piece so soldering a motor in & out won't cause this piece to come unsoldered. Put your motor up against your installed "L" & solder. Also put a rear brace on the motor.
I intend to live forever! So far, so good.


