Jump to content


Photo

Merit Alfa Romeo GP Type 158


  • Please log in to reply
172 replies to this topic

#51 Martin

Martin

    Posting Leader

  • Full Member
  • PipPipPipPipPipPipPip
  • 4,198 posts
  • Joined: 22-February 09
  • Gender:Male
  • Location:US

Posted 27 January 2024 - 11:00 AM

Hi Ed, 


I use those nail sanding sticks of different grits. Or a popsicle stick with some various grits wrapped over it until it's ready to go to metal polish. 


The intent is to keep it flat and take off just enough surface to remove any corrosion.


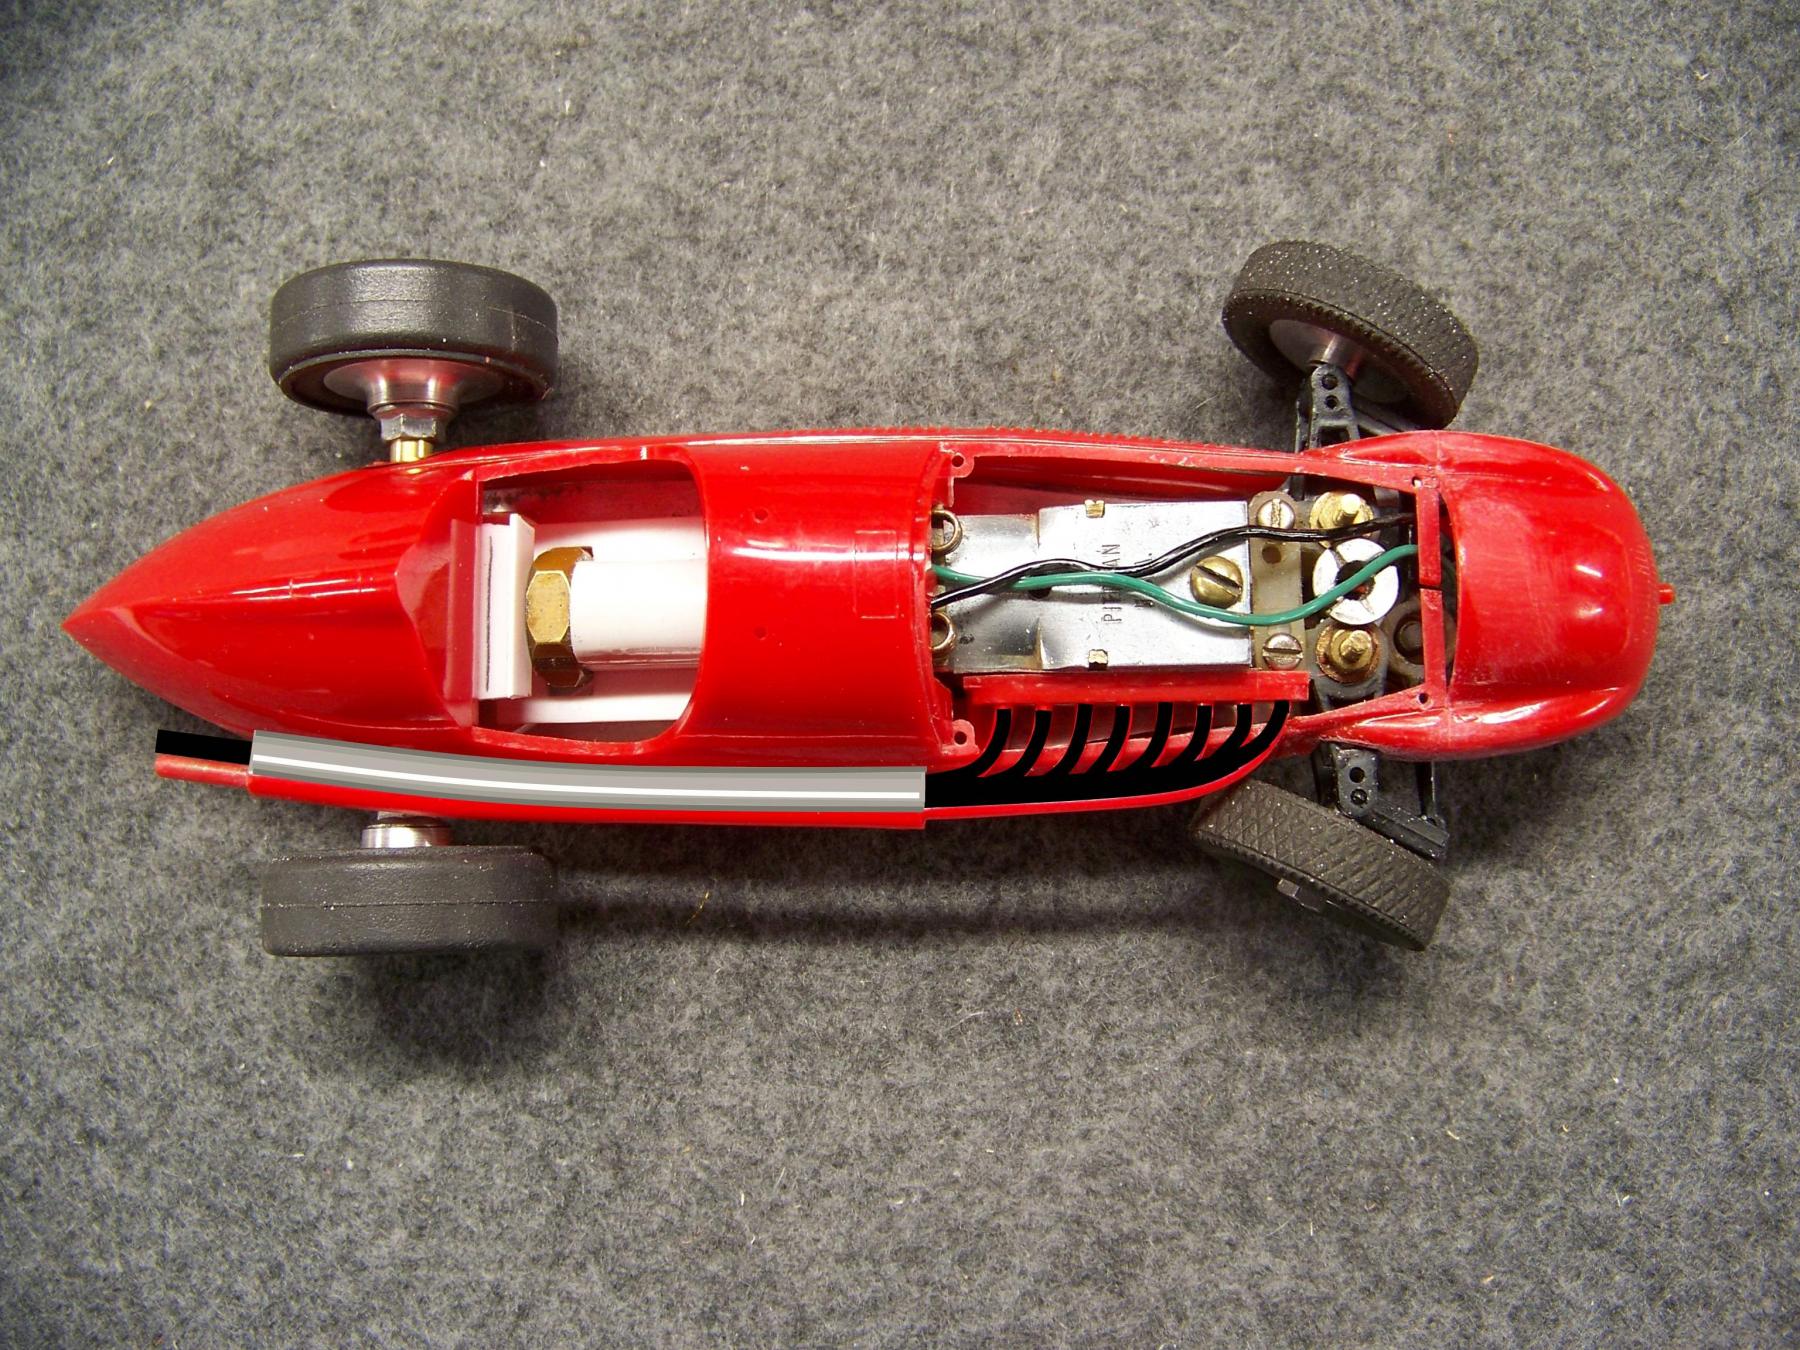
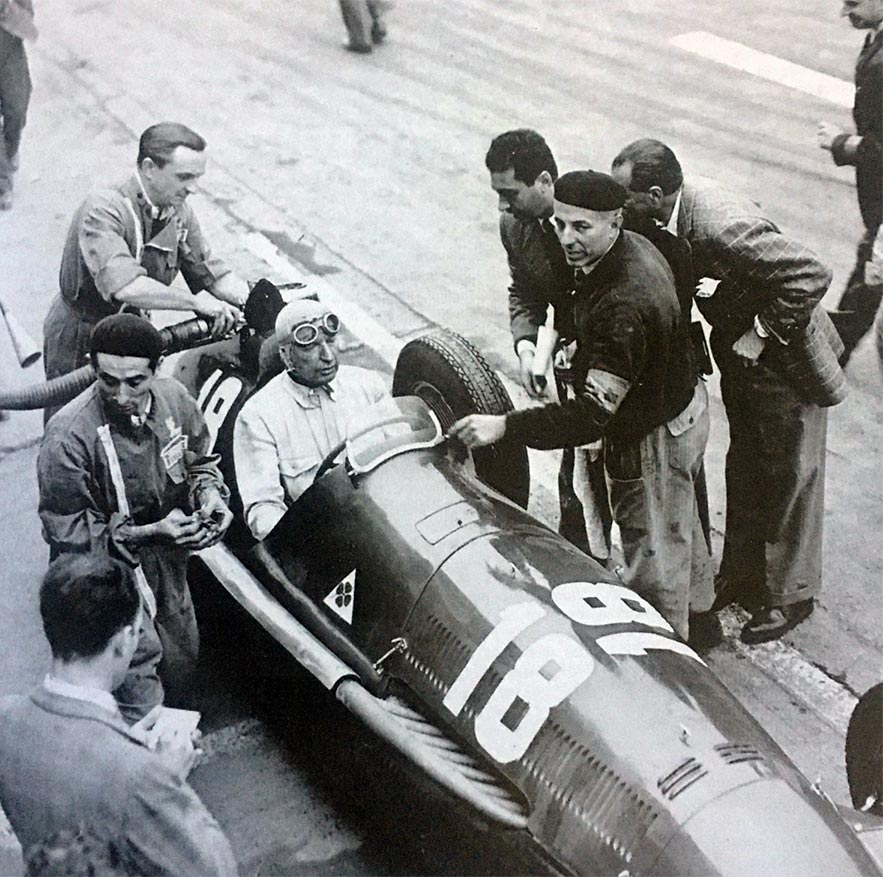
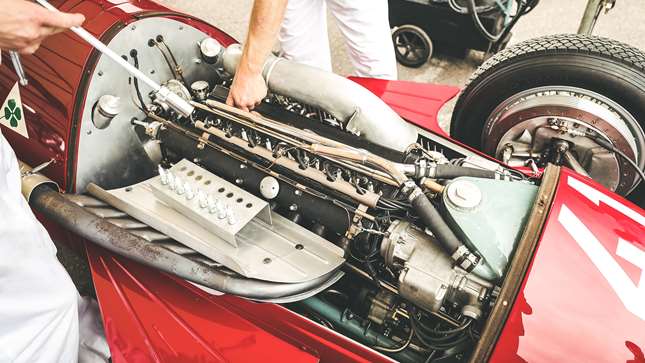
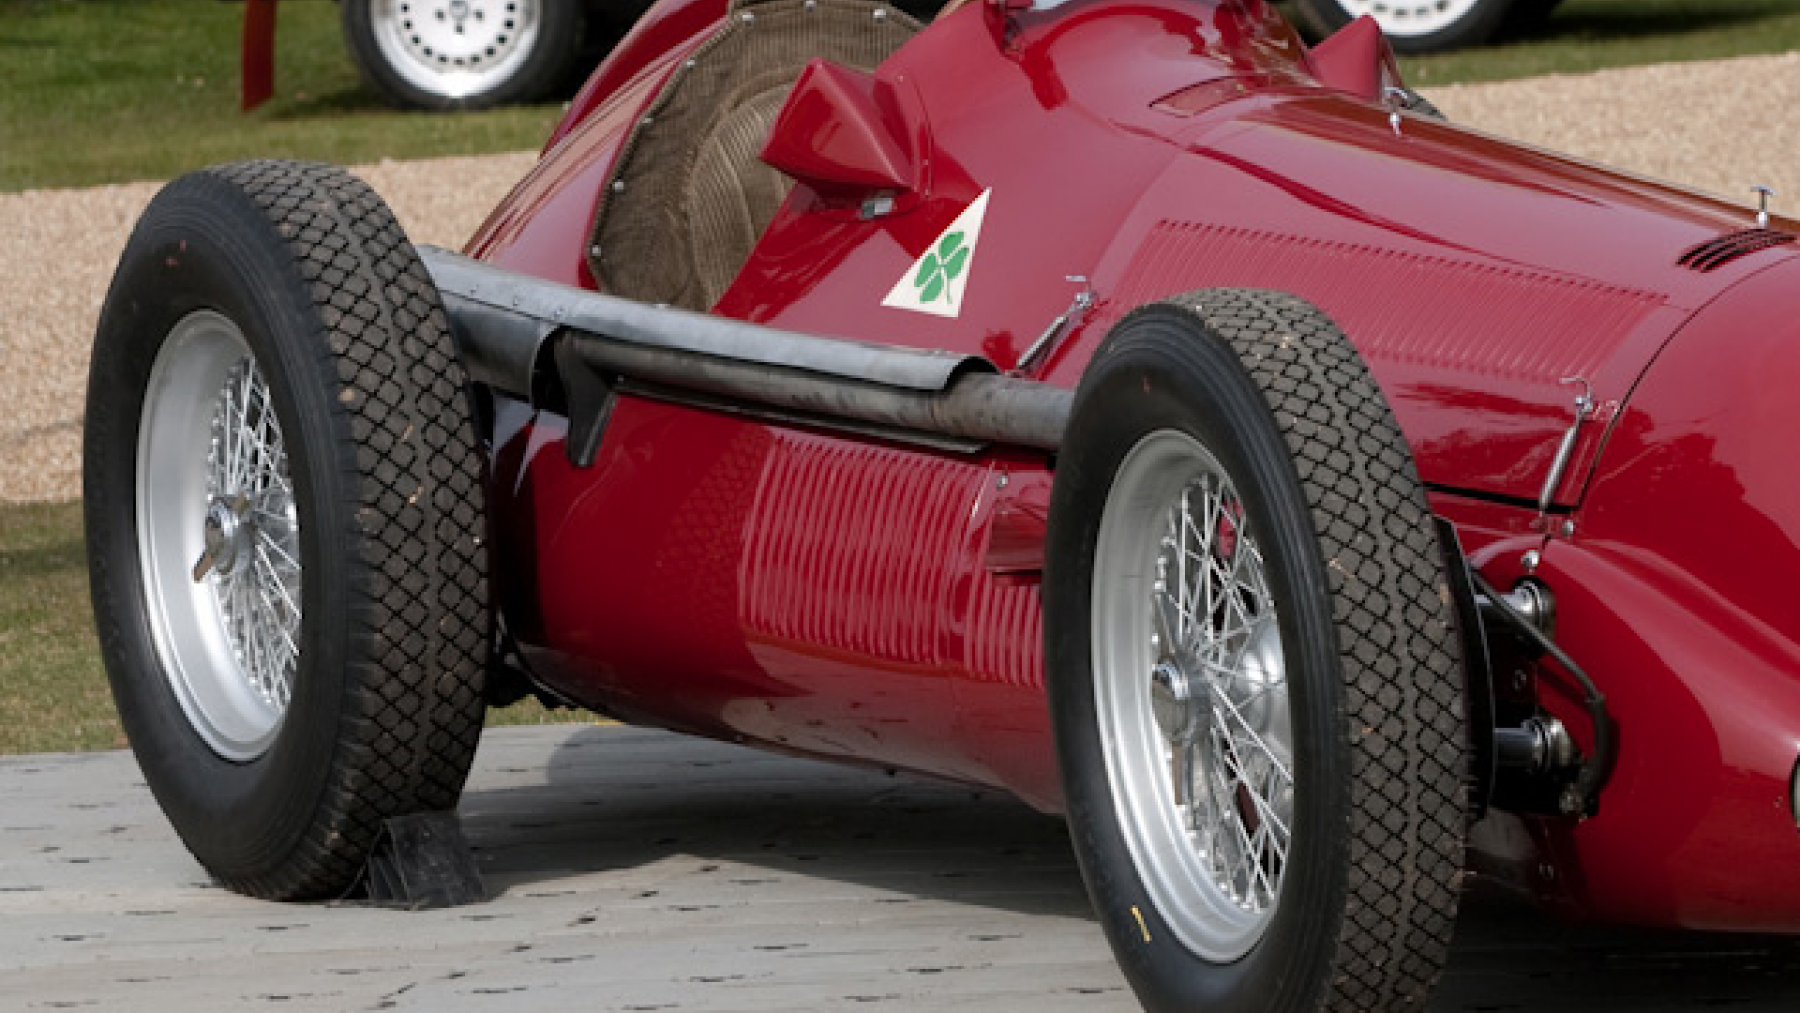
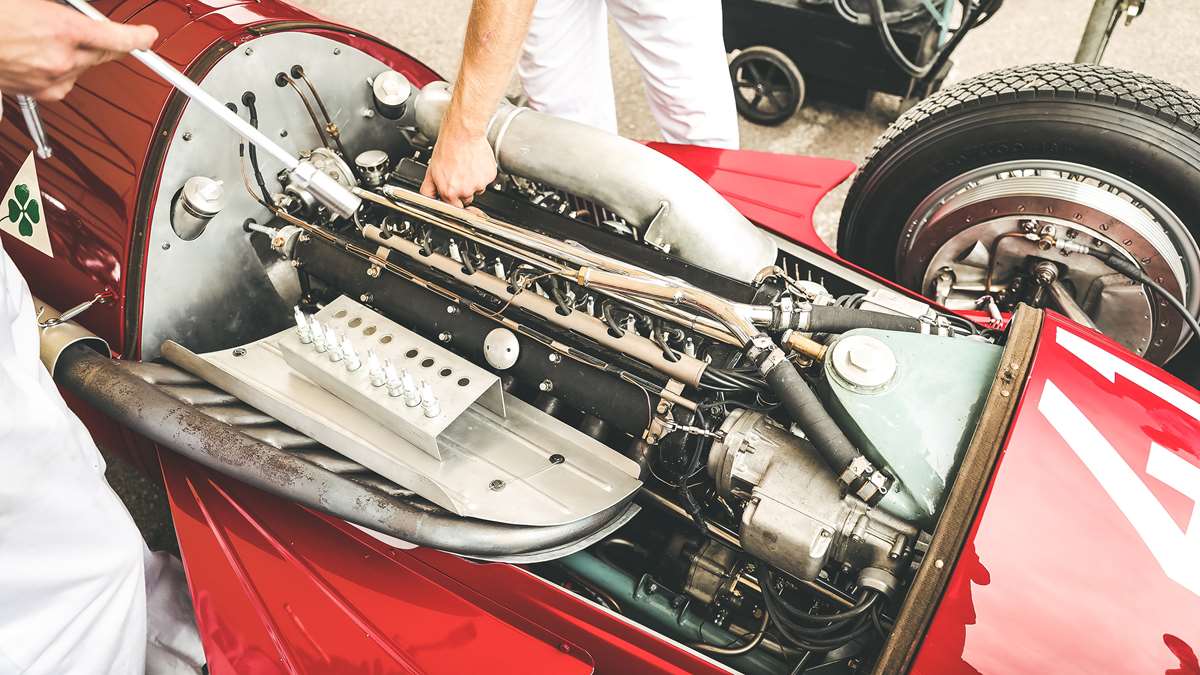
I will not have time today (other than this mod in photo shop)but I want to re-shape the header pipes to fit the body tighter. Thinking about remaking in brass tubing, but I may come to my senses and just massage the plastic that came with the kit.


158 pipe 60.jpg


monza-1948-trossi.jpg


alfa-romeo-158-alfetta-joe-harding-goodwood-17092121.jpg


  • don.siegel and edscars like this
Martin Windmill


#52 Martin

Martin

    Posting Leader

  • Full Member
  • PipPipPipPipPipPipPip
  • 4,198 posts
  • Joined: 22-February 09
  • Gender:Male
  • Location:US

Posted 27 January 2024 - 02:02 PM

Did get a chance to see if I could get the pipes a little closer, and I did.


Maybe I can make the heat shield from aluminum tube (shown mocked-up) to add a little more realism? Then just use the plastic eight pipes from the kit?


102_8003.JPG


102_8005.JPG


Screenshot (1915)best.png


  • milmilhas likes this
Martin Windmill

#53 Martin

Martin

    Posting Leader

  • Full Member
  • PipPipPipPipPipPipPip
  • 4,198 posts
  • Joined: 22-February 09
  • Gender:Male
  • Location:US

Posted 28 January 2024 - 09:46 PM

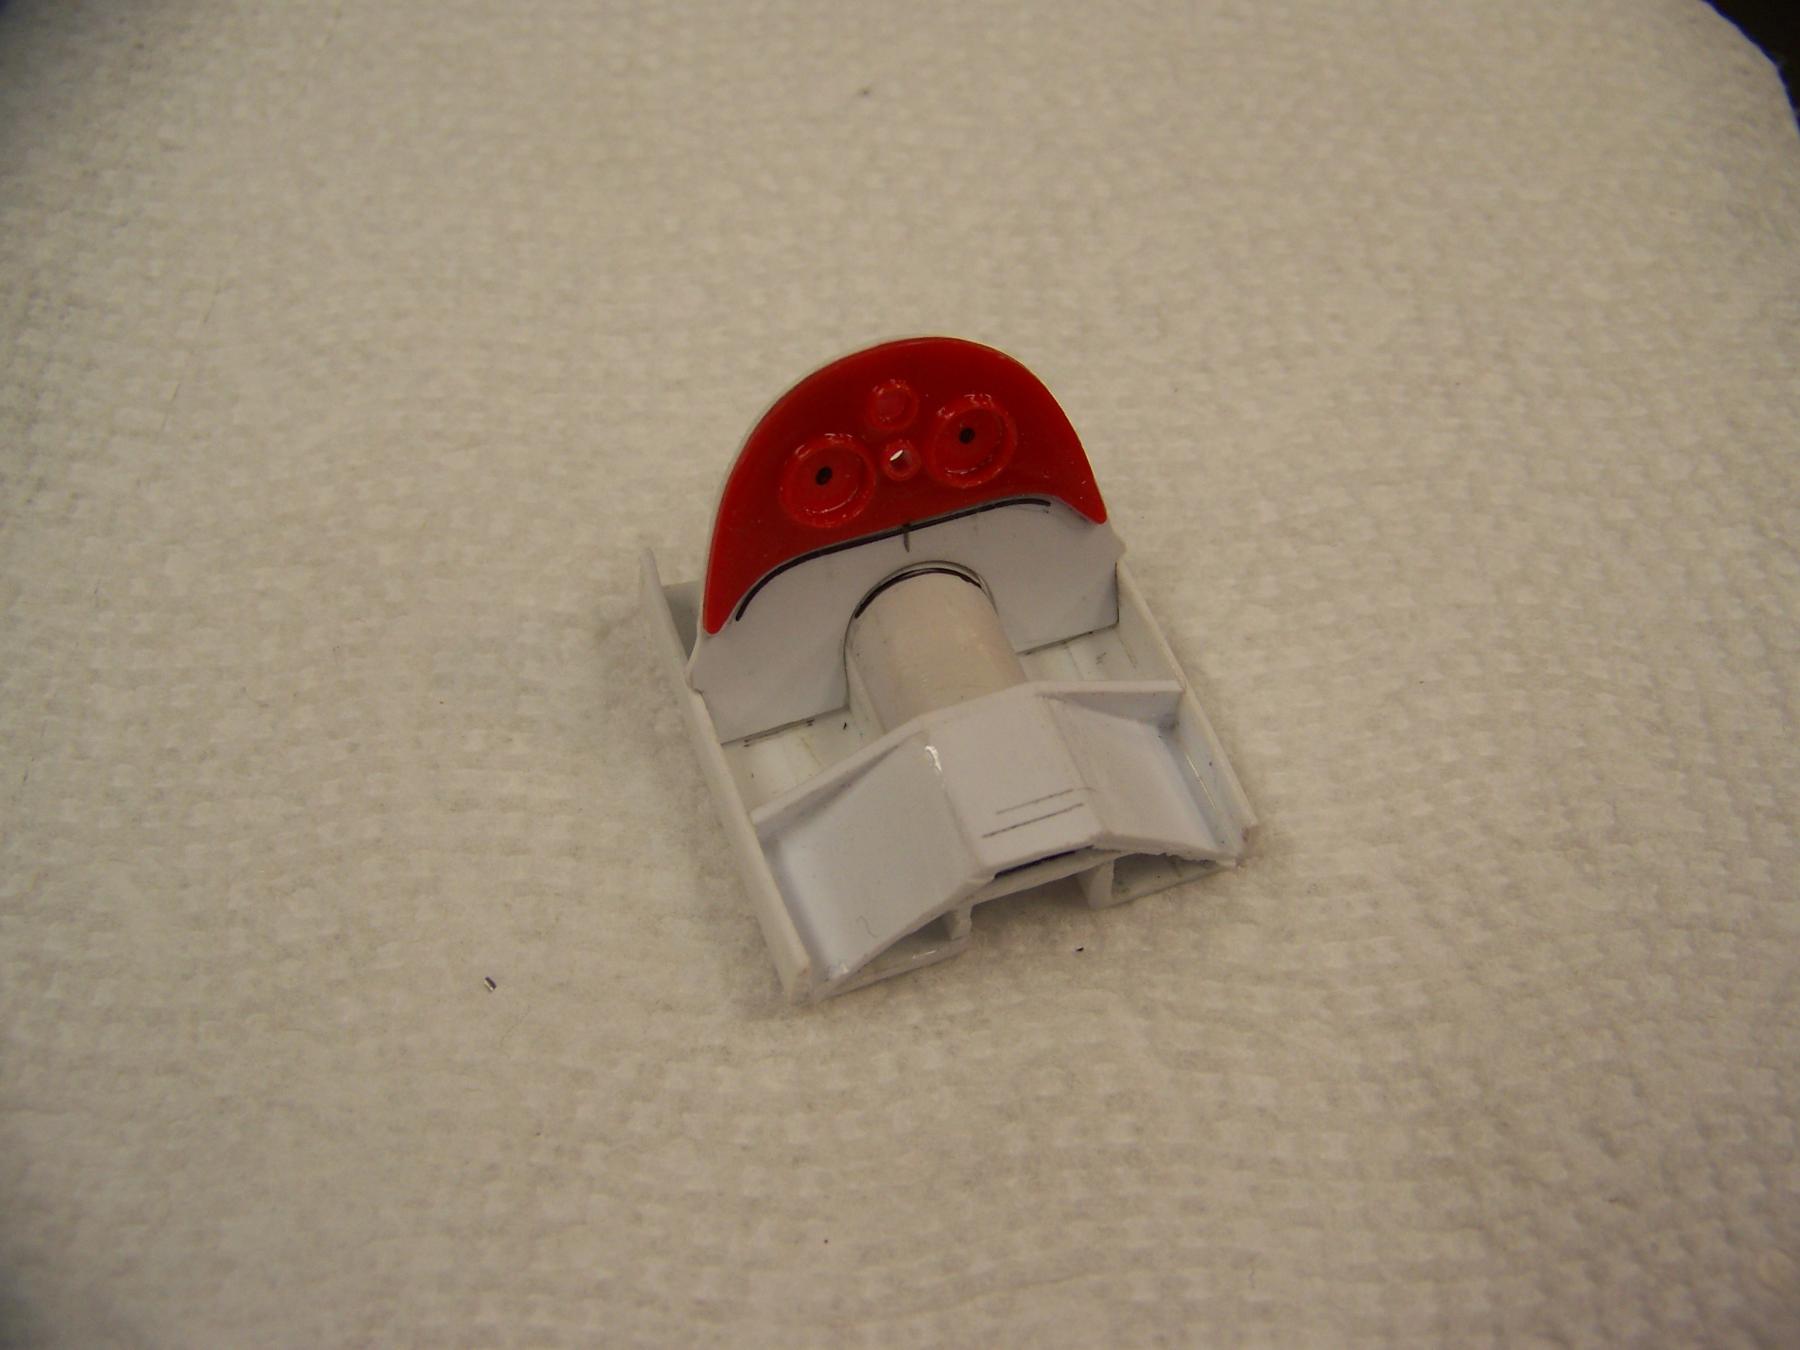
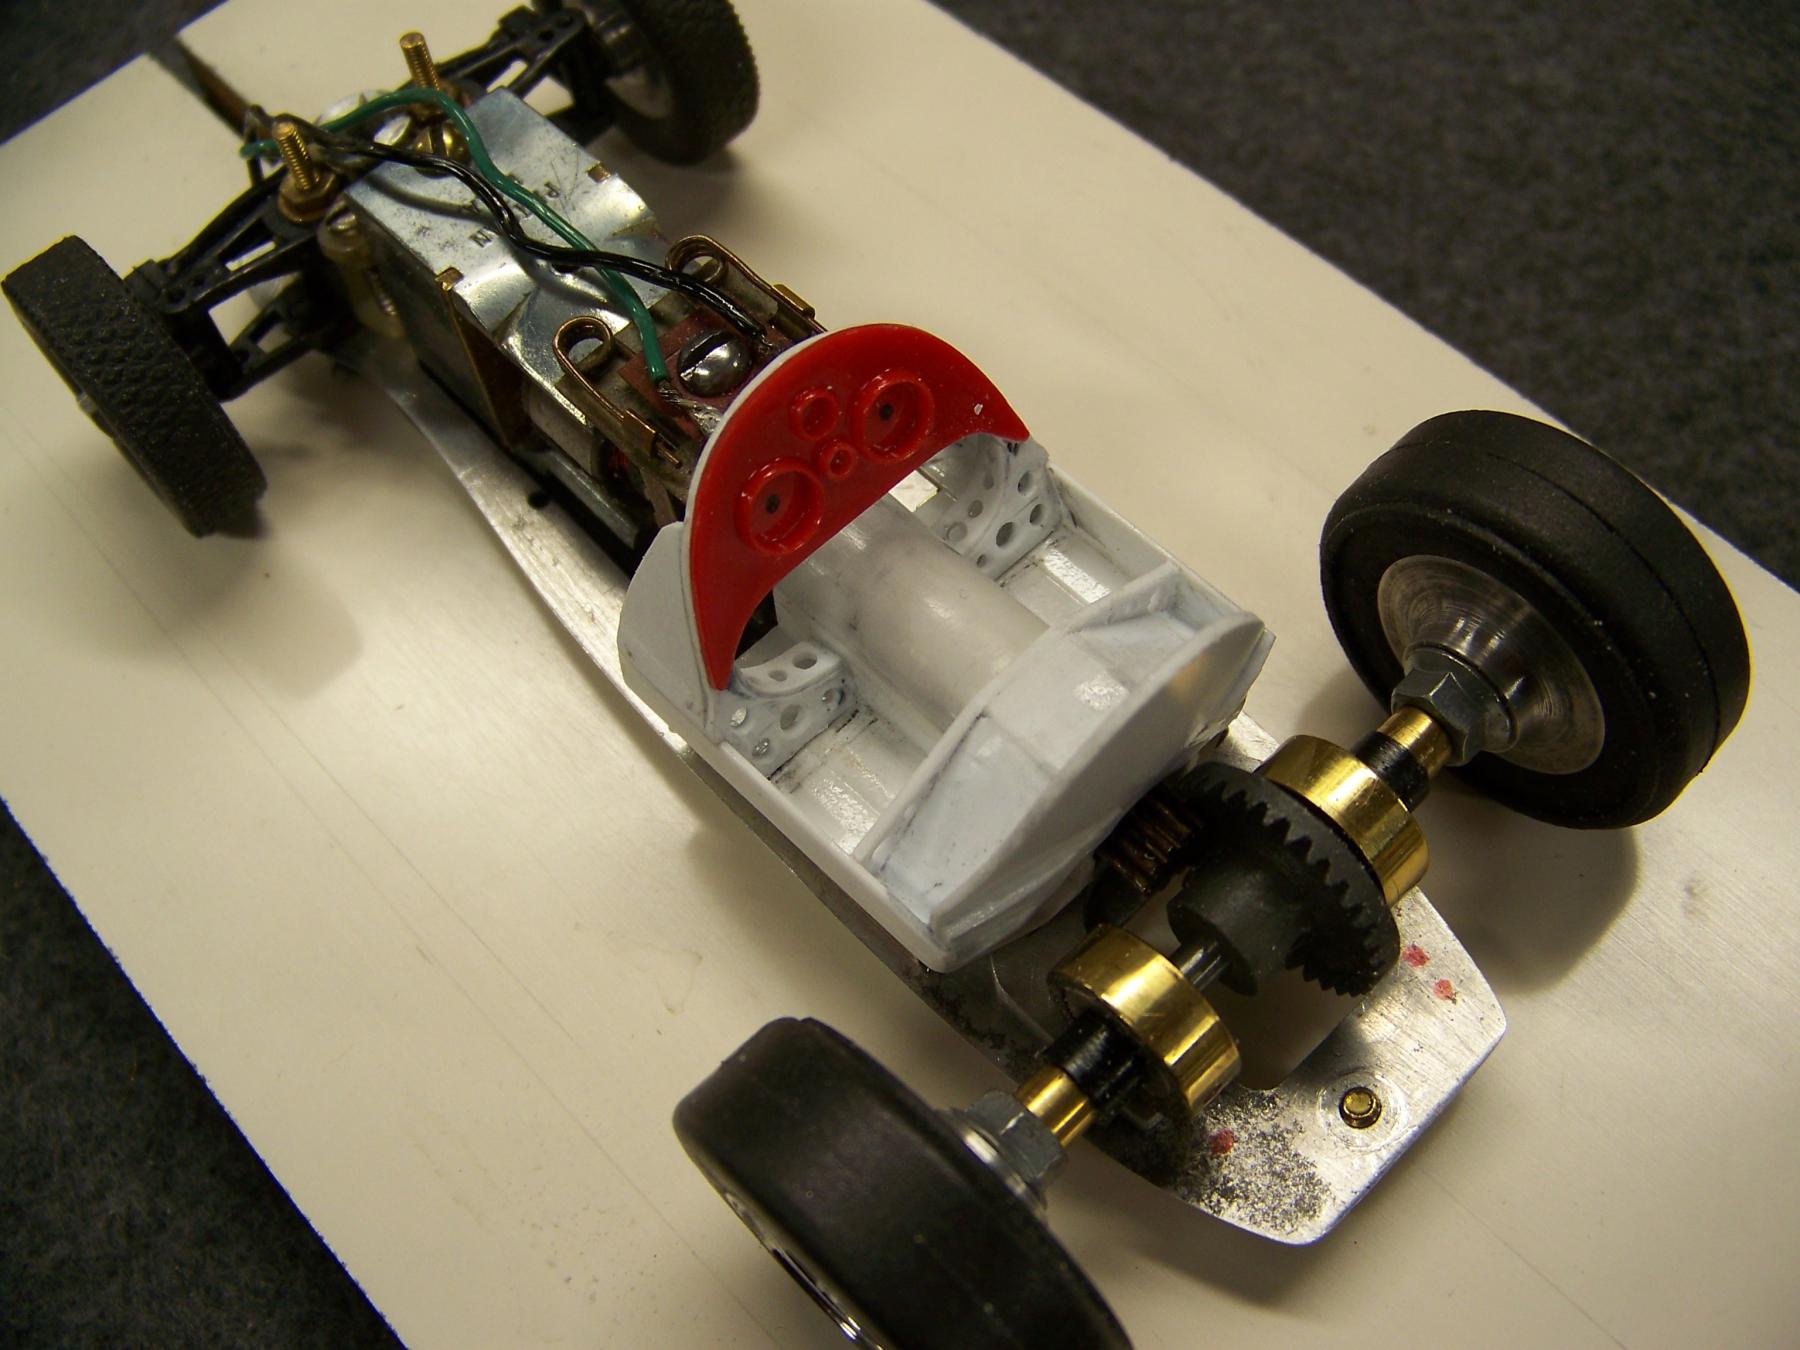
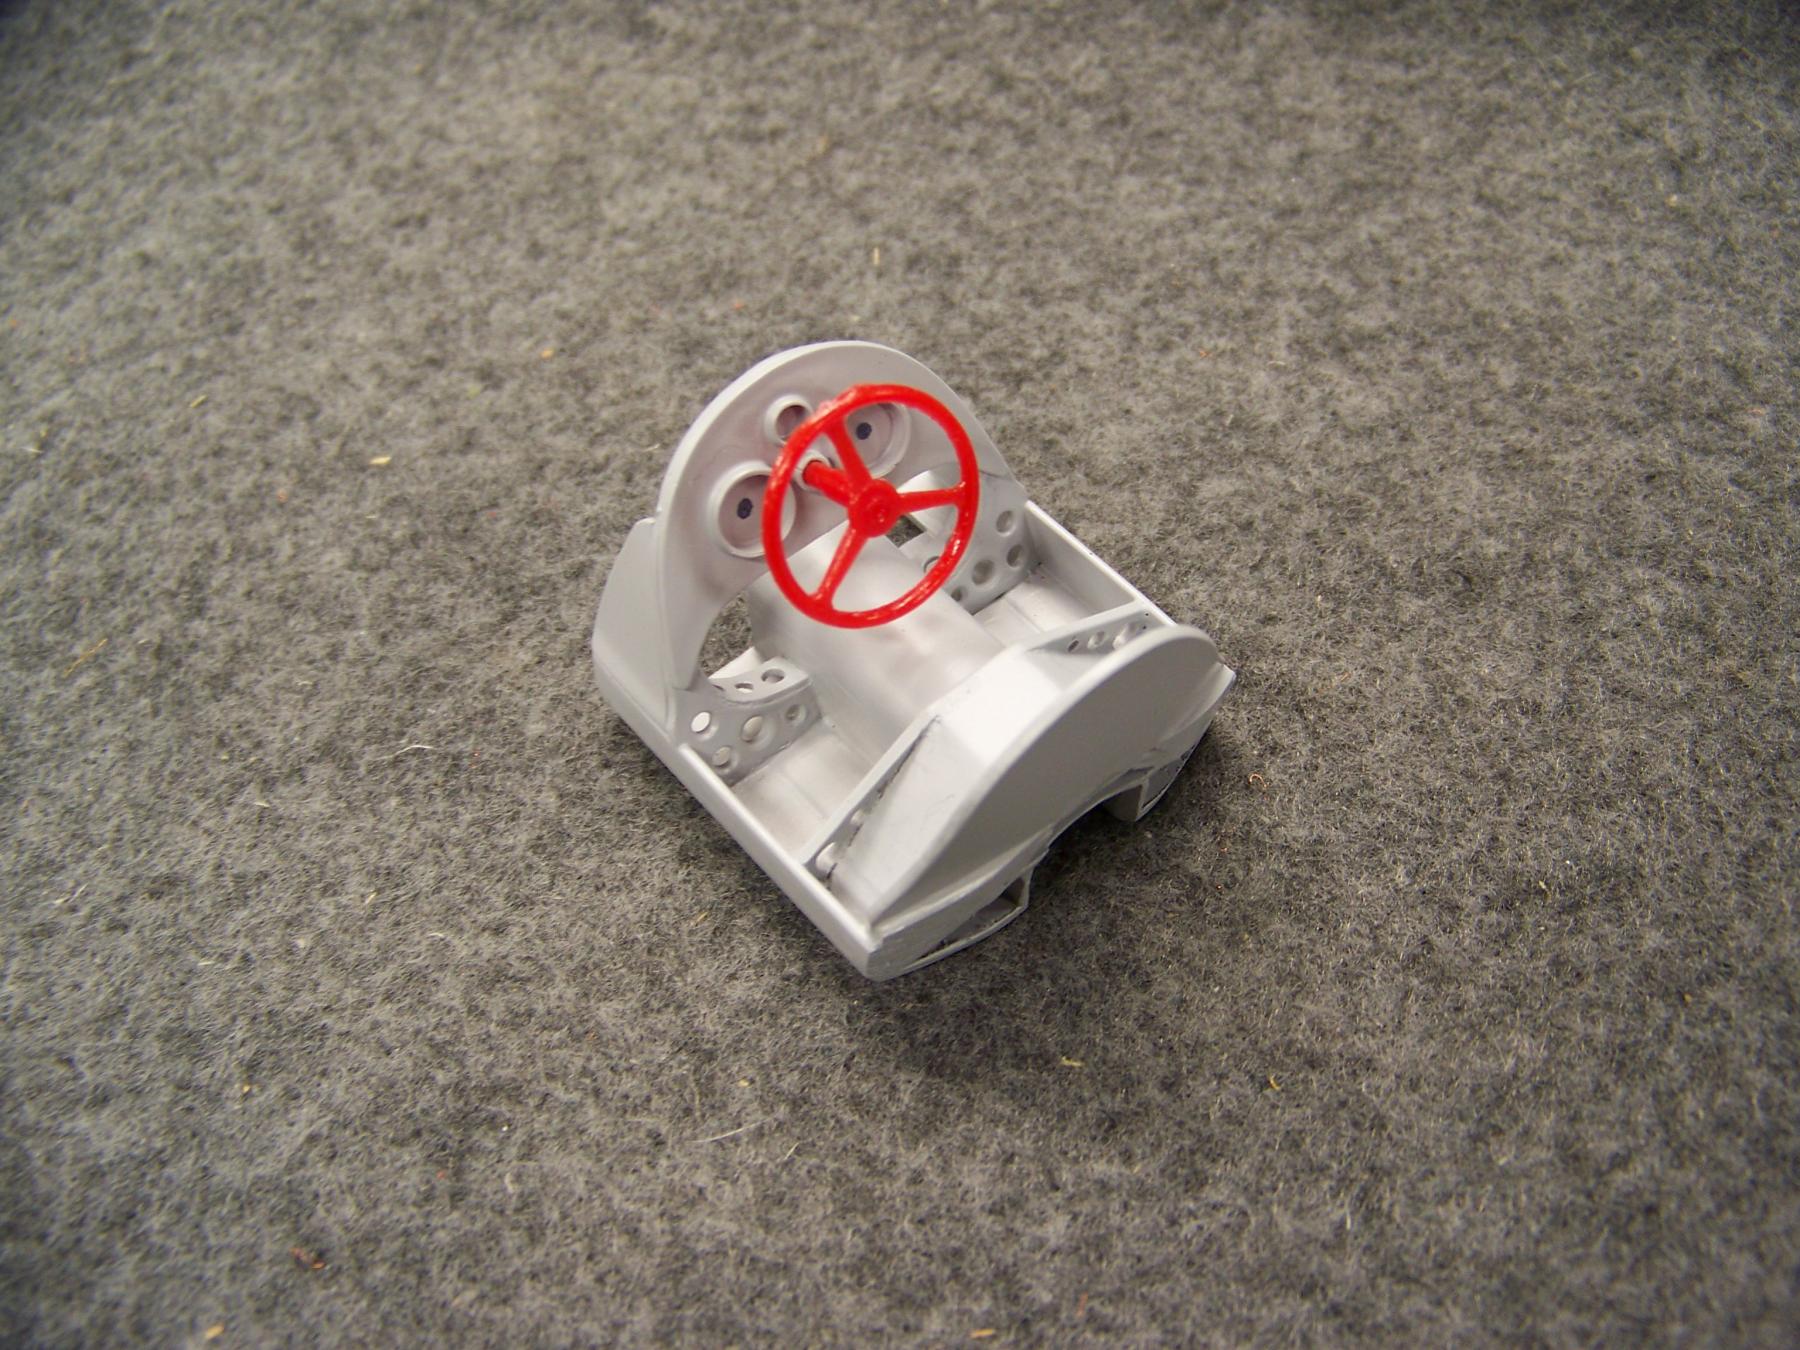
Dash is in place, next will be the seat back.


102_8012.JPG


102_8016.JPG


  • Cheater, milmilhas and Jencar17 like this
Martin Windmill

#54 don.siegel

don.siegel

    Grand Champion Poster

  • Subscriber
  • PipPipPipPipPipPipPipPip
  • 5,829 posts
  • Joined: 17-February 06
  • Gender:Male
  • Location:Paris, France

Posted 29 January 2024 - 04:22 AM

It's really coming together, Martin. Very much enjoying this thread. 


Don 


#55 Martin

Martin

    Posting Leader

  • Full Member
  • PipPipPipPipPipPipPip
  • 4,198 posts
  • Joined: 22-February 09
  • Gender:Male
  • Location:US

Posted 29 January 2024 - 10:27 AM

Thanks Don, for the help with motor parts, too.


When it's time, I will rewire the motor and add the new brushes and brass widget you sent.


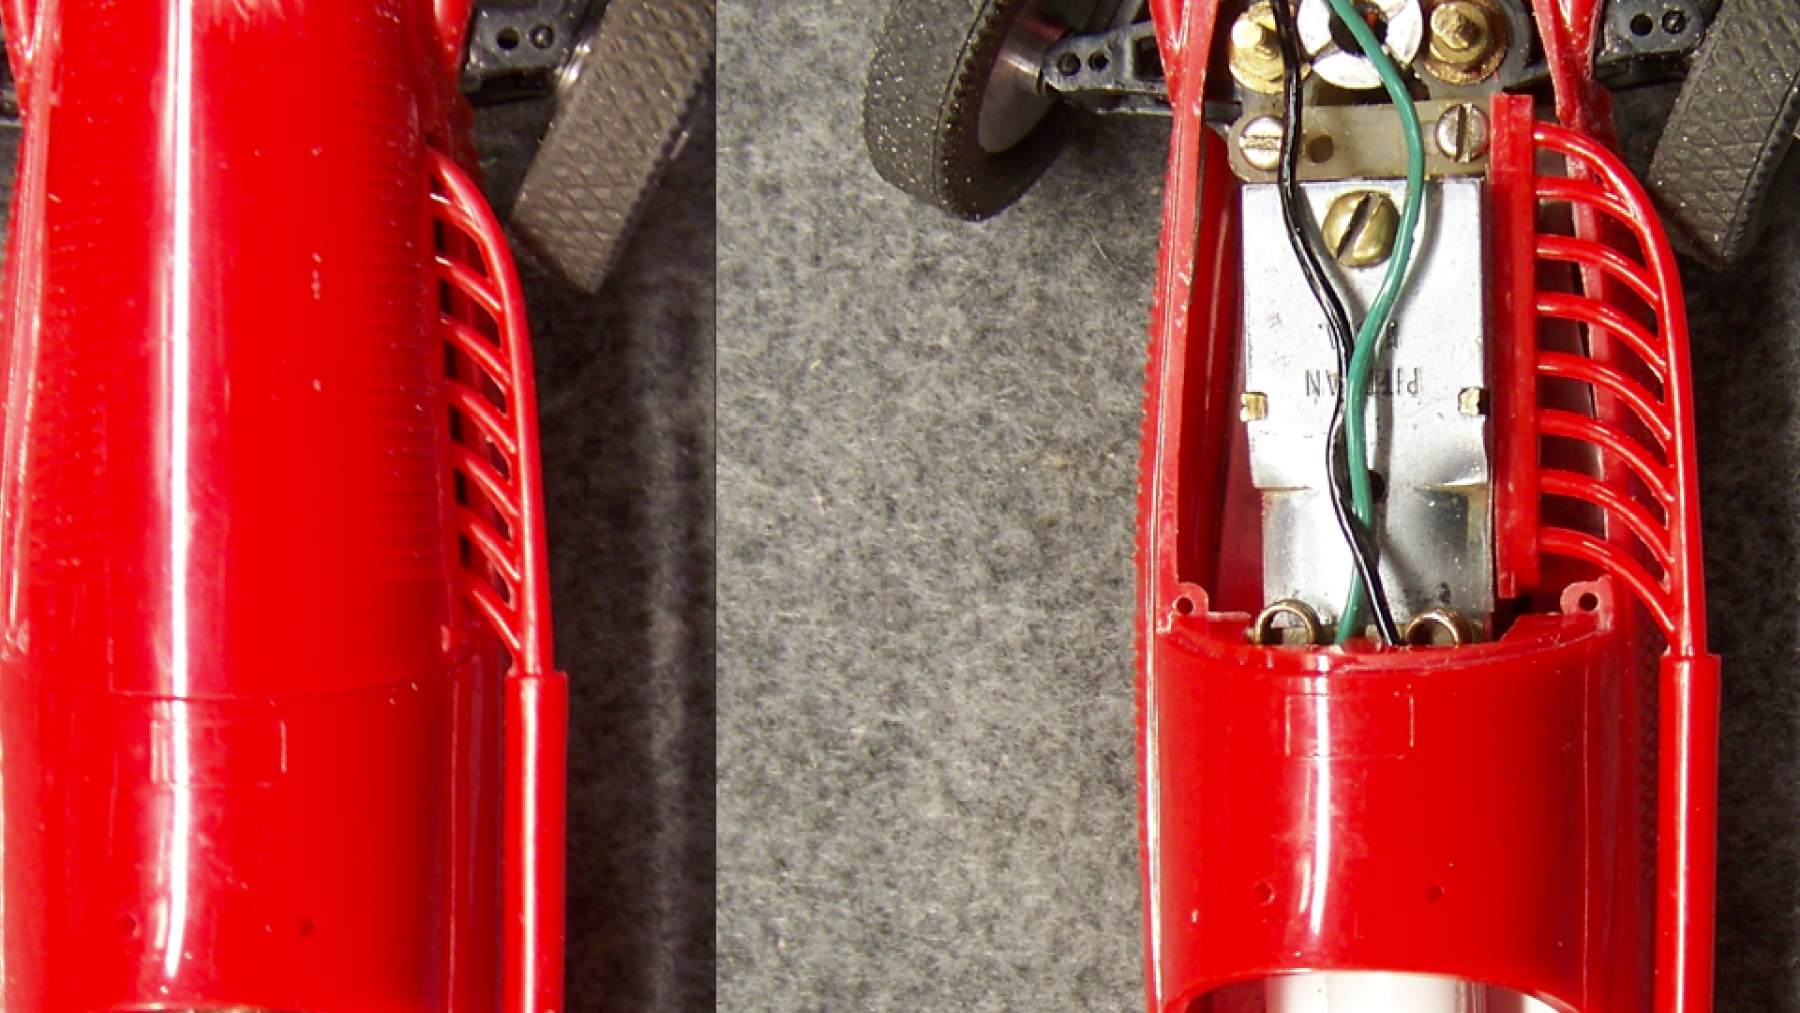
I am thinking I will run solid copper wire, neatly on the top of the motor held on with some kind of isolator blocks. This will add motor detail and look like some kind of plumbing. Then the last 1'' of wire will transition into flex wire as it attaches to the guide.


Martin Windmill

#56 Martin

Martin

    Posting Leader

  • Full Member
  • PipPipPipPipPipPipPip
  • 4,198 posts
  • Joined: 22-February 09
  • Gender:Male
  • Location:US

Posted 29 January 2024 - 07:23 PM

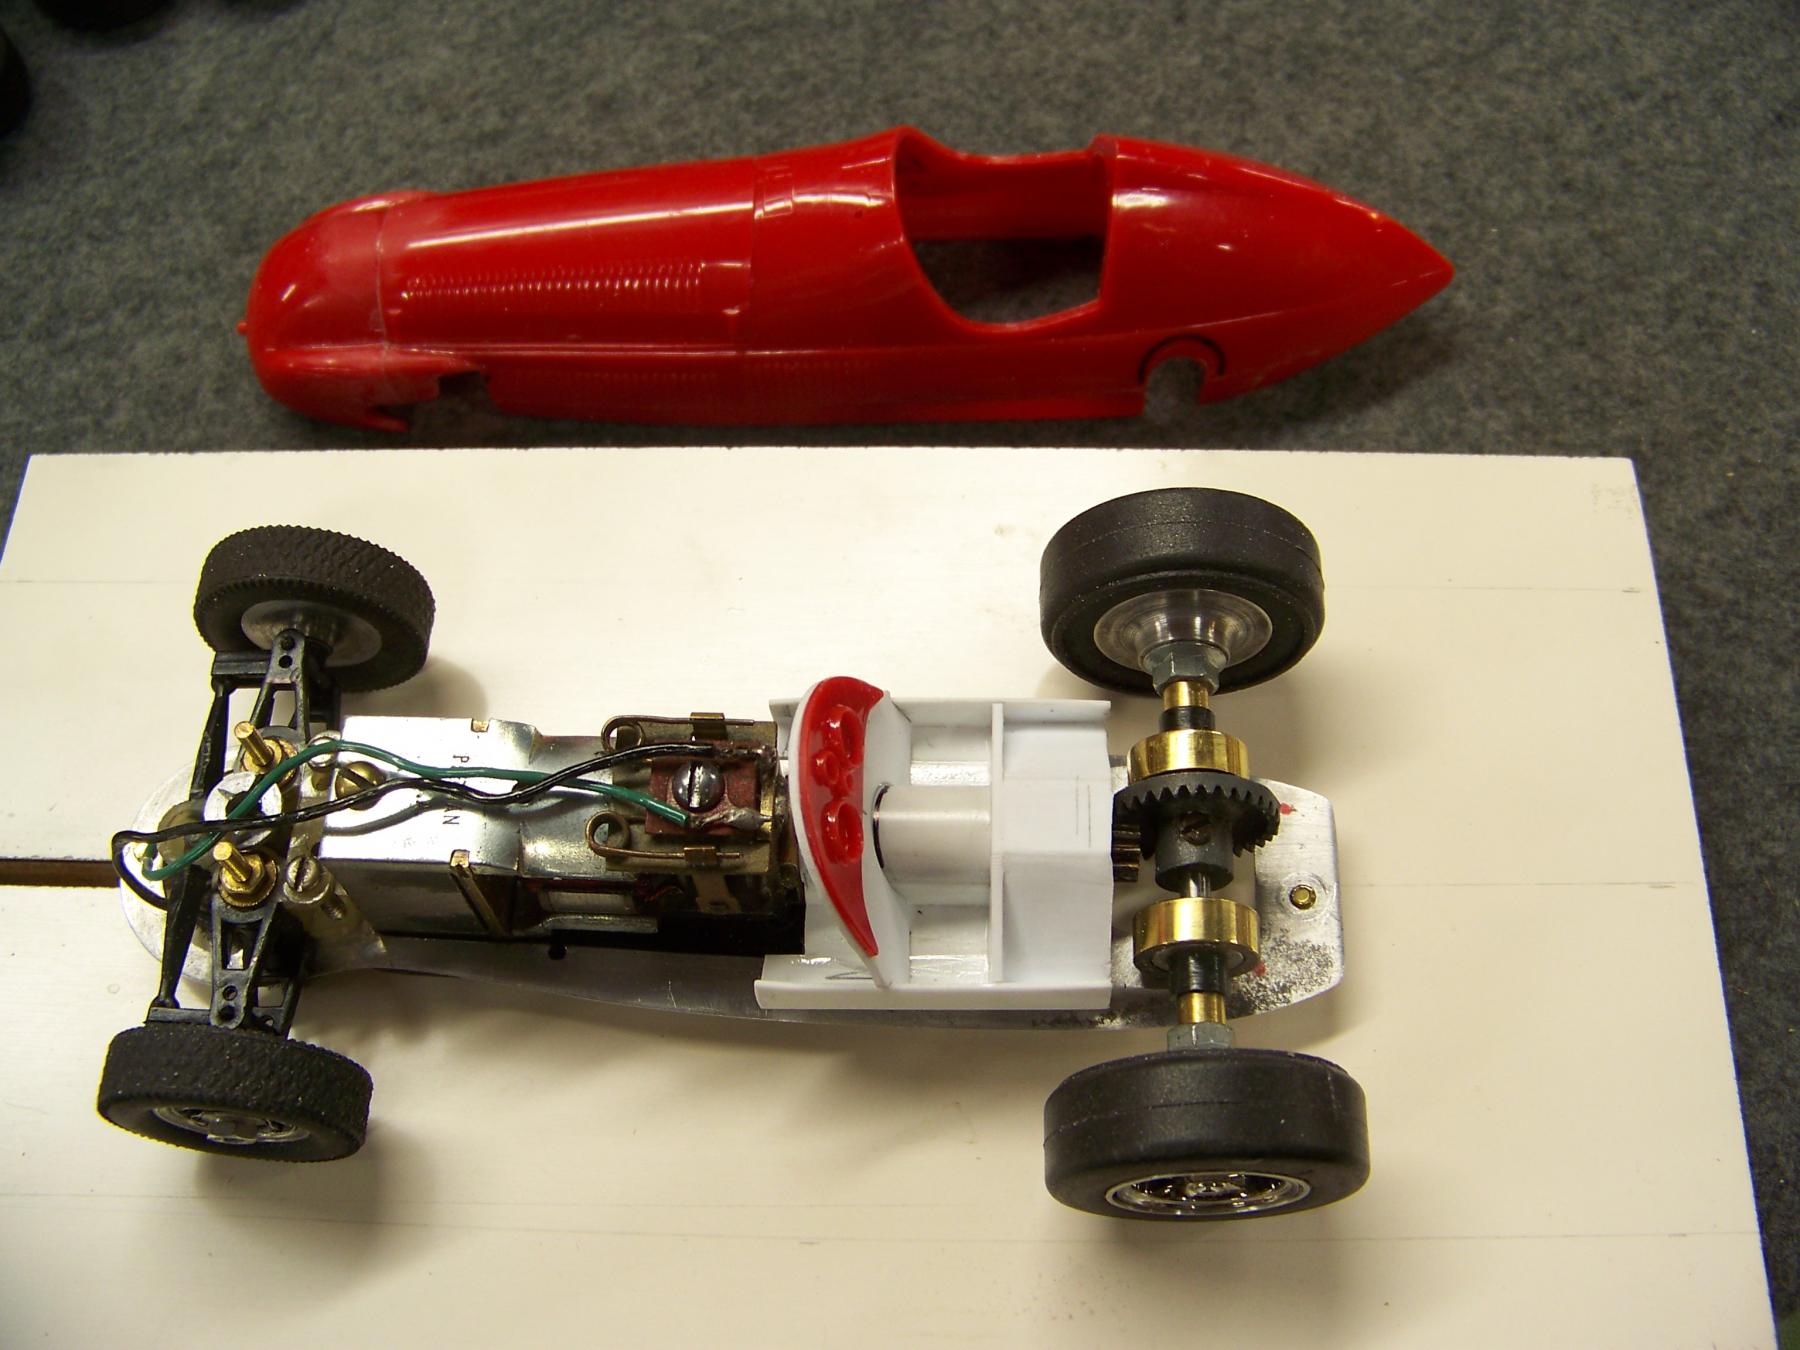
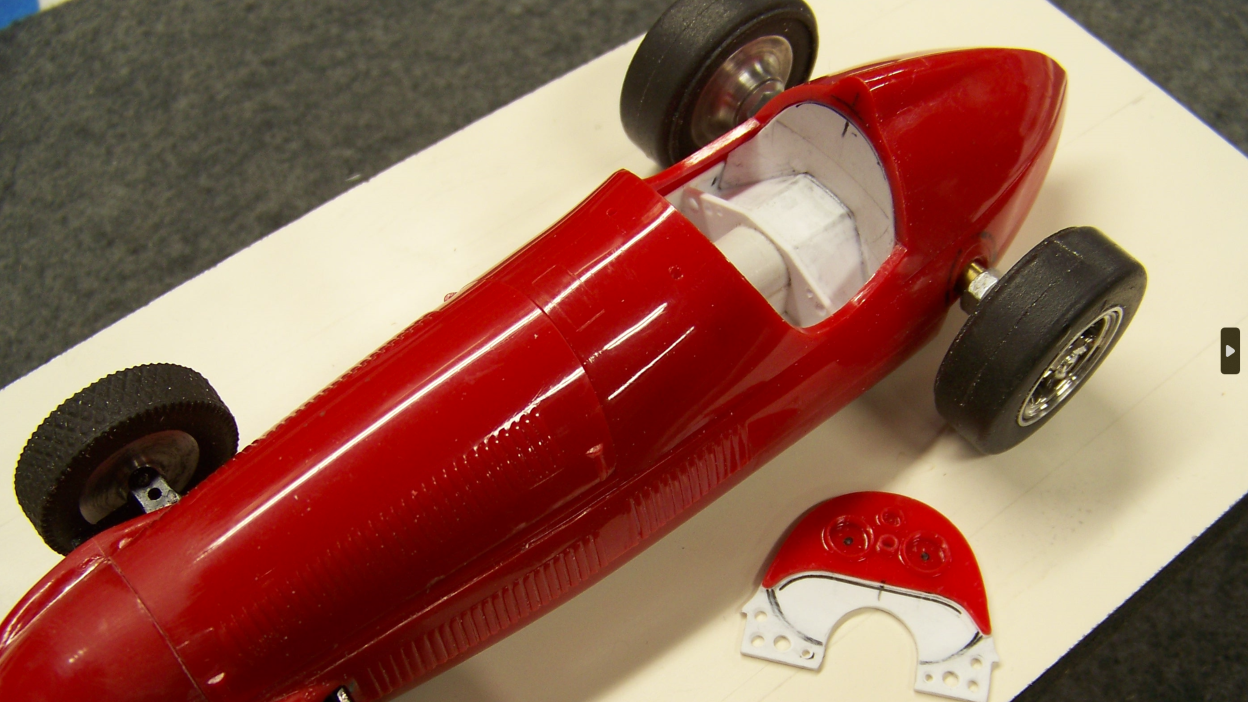
Seat back is fit and glued in place. But only to the custom base. Remember the body will lift off and the seat and driver including dash will stay with the chassis.

I cut the flat back from the Merit kit. This will give the driver a bit more room. To that end my added seat back has a curve in it.

Under the dash gets cut away for drivers legs. But first It has to braced on the back side for placement then I can remove and cut that part out.


Have to think about the order in which this all happens as it is strong now and is a good fit. But cutting while in place maybe the best (safest ) way? 


Screenshot 65 per.png


Martin Windmill

#57 Martin

Martin

    Posting Leader

  • Full Member
  • PipPipPipPipPipPipPip
  • 4,198 posts
  • Joined: 22-February 09
  • Gender:Male
  • Location:US

Posted 30 January 2024 - 03:49 PM

A couple more details of things you will never see. :wacko2:  But the challenge of adding these drives me on.


It will be time to fit a driver next, it is coming from the U.K. so it might take awhile?


102_8023.JPG


102_8028.JPG


  • Jencar17 and edscars like this
Martin Windmill

#58 Martin

Martin

    Posting Leader

  • Full Member
  • PipPipPipPipPipPipPip
  • 4,198 posts
  • Joined: 22-February 09
  • Gender:Male
  • Location:US

Posted 30 January 2024 - 10:38 PM

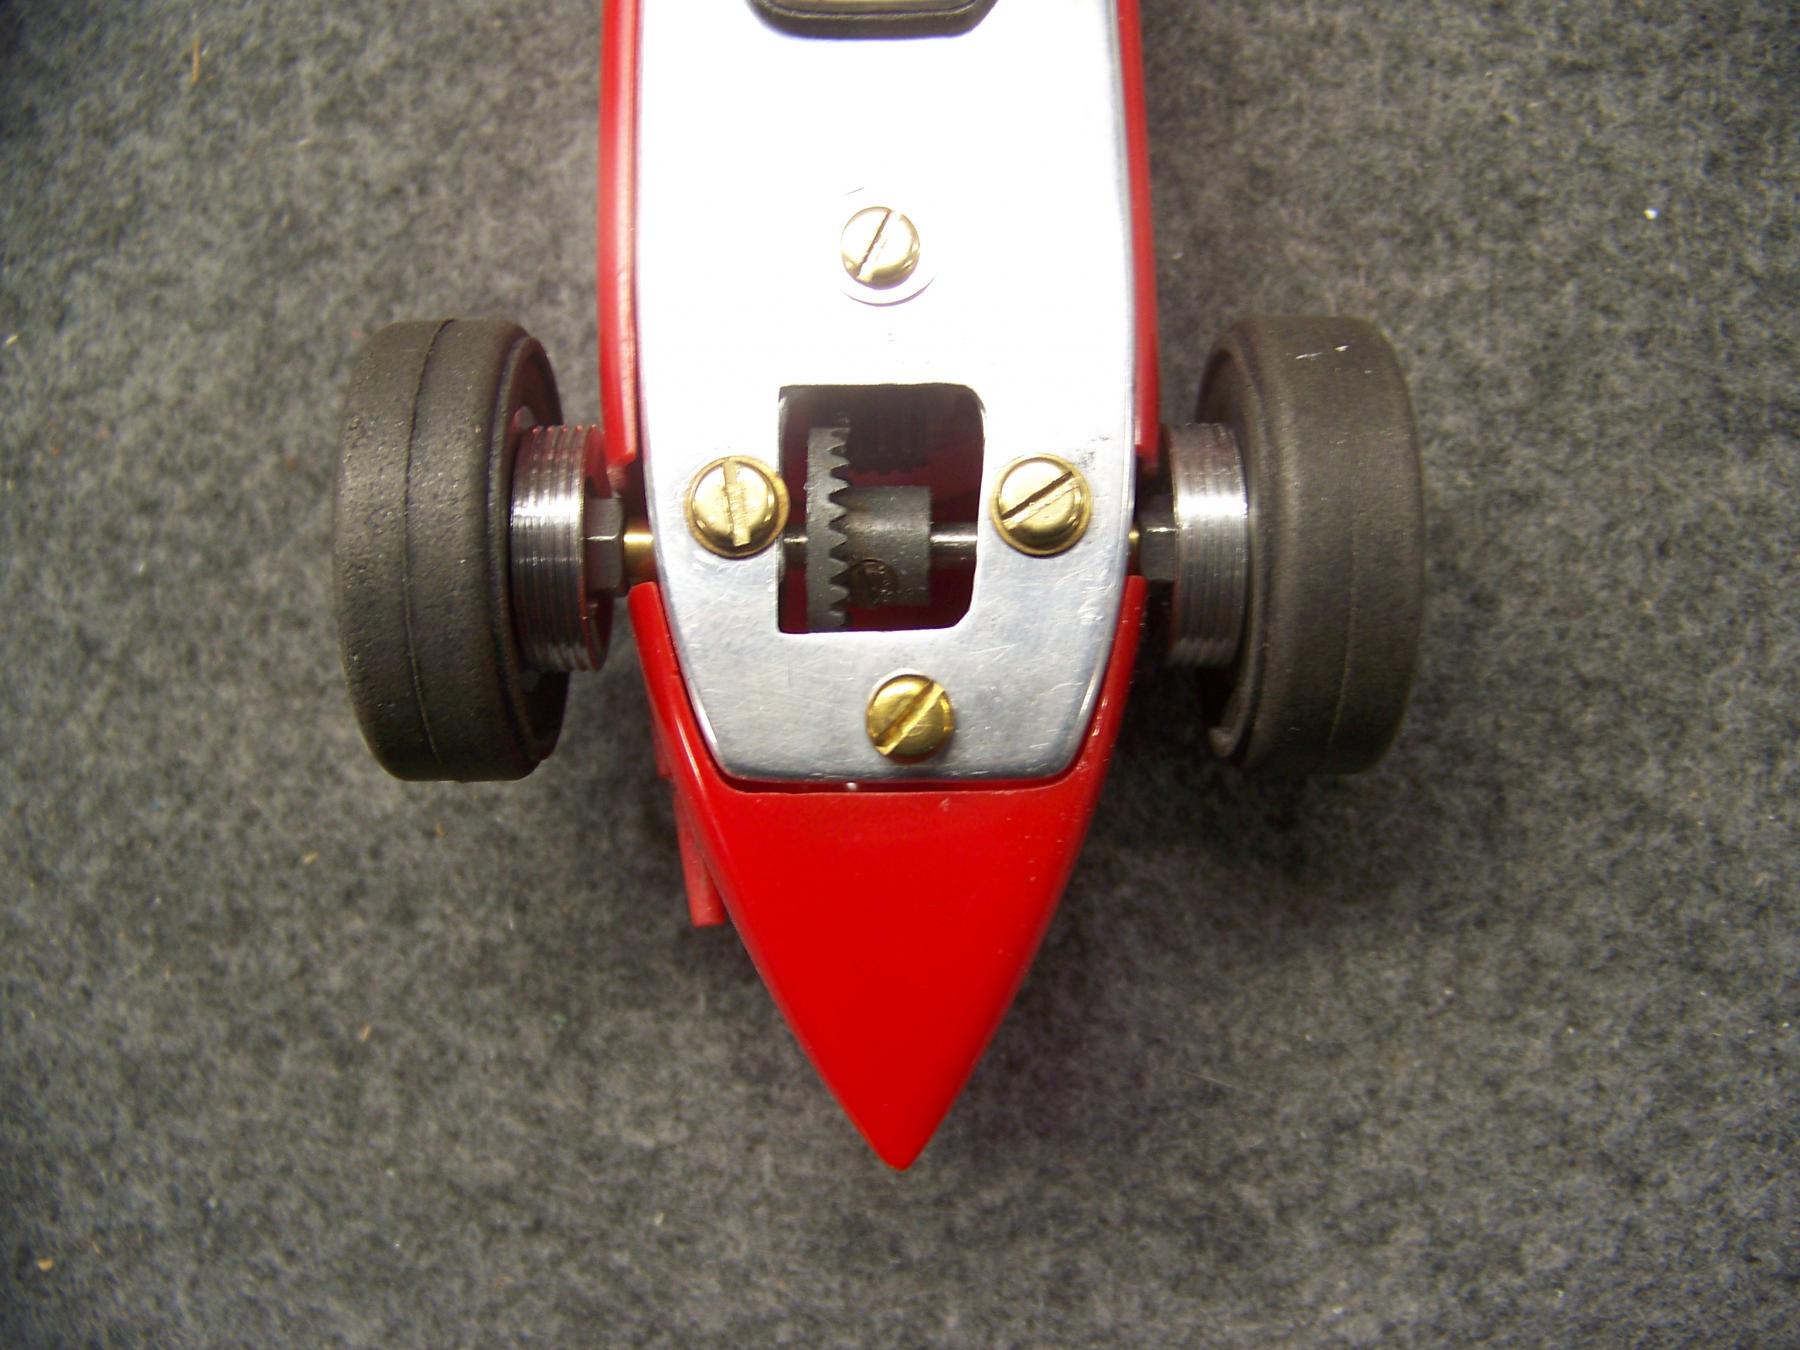
So to get a break from all that plastic I decided I wanted to see what some finned aluminum brake drums would look like?


They fit  over the inside of the wheels as I turned a .075" straight boss of .375"D. to except the drum.

They are bigger than stock, maybe that's because I do not have front brakes.


102_8034.JPG


Keep em or dump em ? 


Martin Windmill

#59 Dave Crevie

Dave Crevie

    Posting Leader

  • Full Member
  • PipPipPipPipPipPipPip
  • 4,484 posts
  • Joined: 16-February 09

Posted 31 January 2024 - 09:09 AM

You are really putting the hours in on this one, and it shows it.


#60 Martin

Martin

    Posting Leader

  • Full Member
  • PipPipPipPipPipPipPip
  • 4,198 posts
  • Joined: 22-February 09
  • Gender:Male
  • Location:US

Posted 31 January 2024 - 10:17 AM

Thanks Dave. Got to hit a project while it inspires me. So easy for the next shinny object to present itself  :sun_bespectacled:

I actually picked this one up and got stuck into it while I was waiting for paint to dry on some other restorations I am working on.


I won't have time today but I feel I need to make these brake drums over. This time smaller O.D. and thinner and make them more groovy man :victory:

I have a really novel (for me) way to cut the grooves, any guesses ?


They should fit tighter (closer) to the wheel, and I should check for pipe clearance too. Which I did not do here.


I think I can make a super thin set for the fronts too, not much room but some? 


Martin Windmill

#61 Martin

Martin

    Posting Leader

  • Full Member
  • PipPipPipPipPipPipPip
  • 4,198 posts
  • Joined: 22-February 09
  • Gender:Male
  • Location:US

Posted 31 January 2024 - 10:29 PM

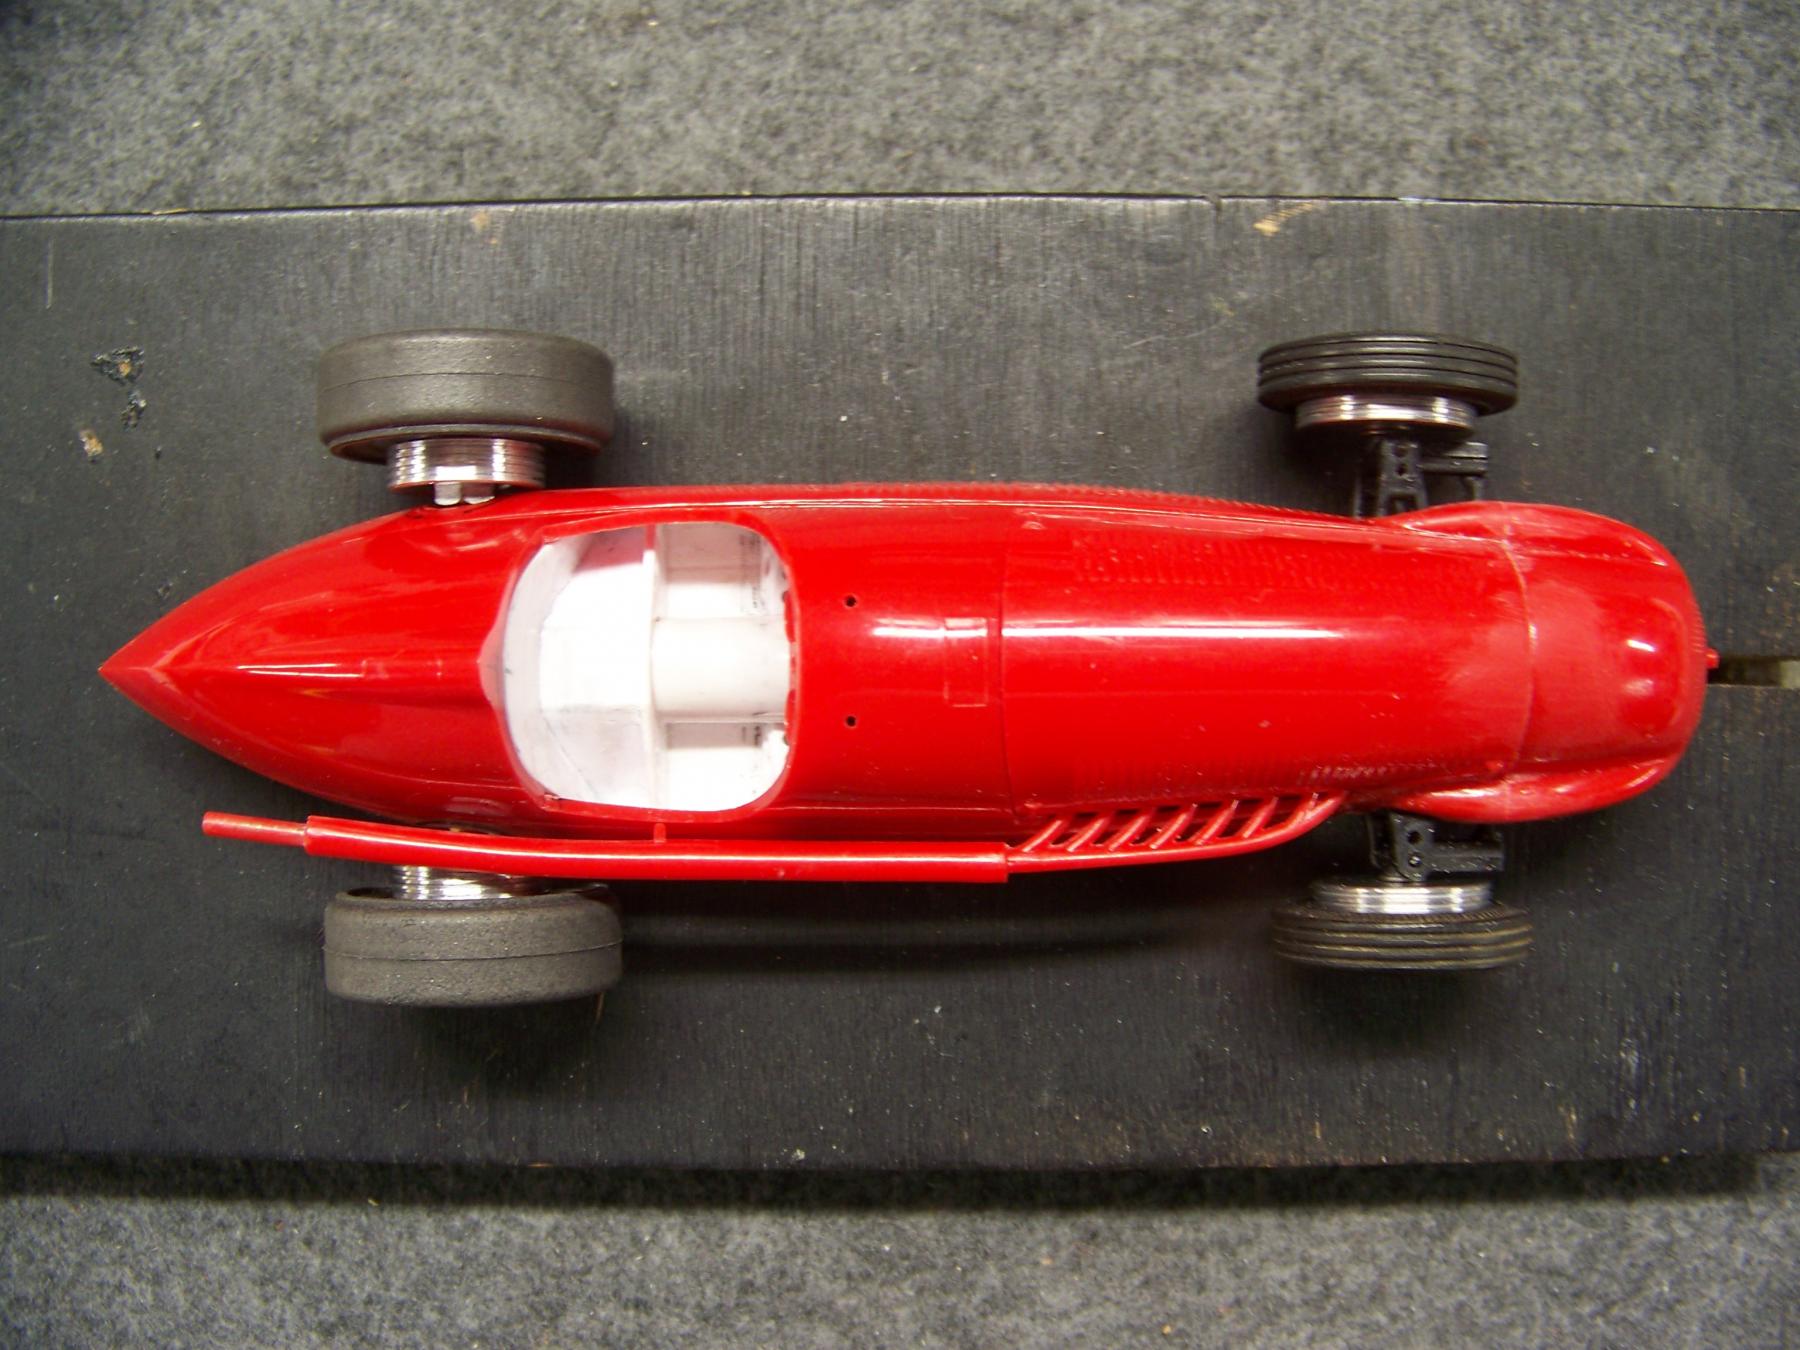
I did get a chance to make a smaller pair of brake drums. I think these look better and clear the pipe  :good:

They are now heated and pressed on so they are permanent, but easy enough to cut a fin off if I decide they are too fat?


 102_8041.JPG


102_8038.JPG


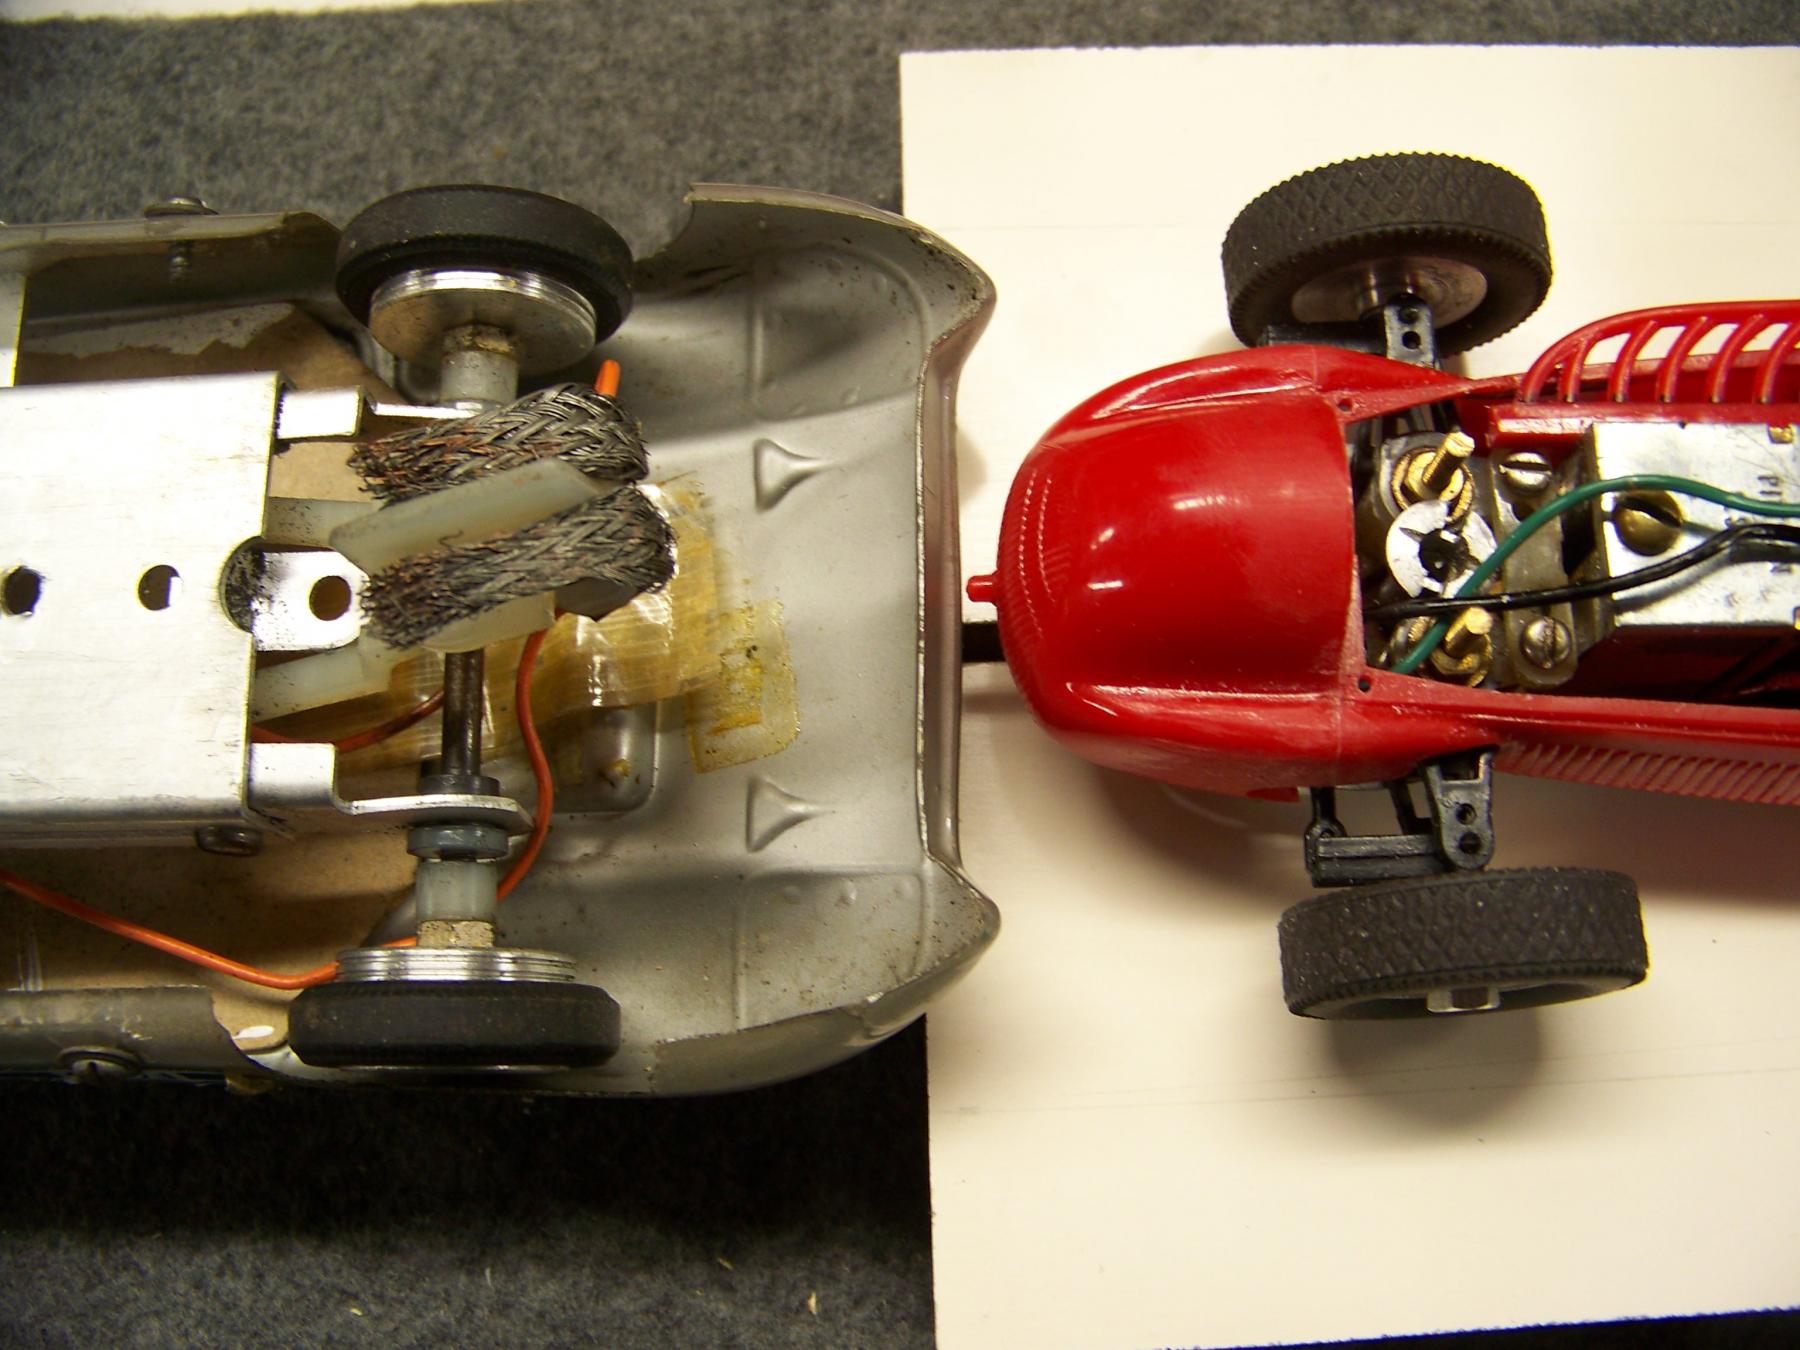
For the fronts I started looking for those MPC fronts, Could not find any that were not on a car, but I will keep looking. Or I will

make some add-on's.


102_8039.JPG


Martin Windmill

#62 Mad Mark

Mad Mark

    Race Leader

  • Full Member
  • PipPipPipPipPip
  • 759 posts
  • Joined: 03-February 19
  • Gender:Male
  • Location:SoCal

Posted 31 January 2024 - 11:24 PM

Beautiful work Martin I’m glad I didn’t win that car now haha.
Mark Haas

#63 Martin

Martin

    Posting Leader

  • Full Member
  • PipPipPipPipPipPipPip
  • 4,198 posts
  • Joined: 22-February 09
  • Gender:Male
  • Location:US

Posted 01 February 2024 - 01:52 AM

Thanks' Mark for the support.

It only sold for US $26.27 with 10 bidEnded11/30, 10:00 PM so I am super glad I did not miss it. I almost did.


I think what got my attention was the features.  Front engine with drive shaft and custom pillow blocks all riding in ball bearings. It also had steering which I think is so cool. 


The paper trail, in the form of a note taped on the bottom of the motor plate was interesting also. It came with a painted clear body but it was intended to get the Merit body, as noted.

So I always like the story, was it an unfinished project, did it ever see the track, the brushes suggests some run time.

But I think the original owner indented it to get the hard Alfa Merit body at a later date.

This is that date.

Come to find out it came from a south Californian home of a MESAC member, which does explain the craftsmanship in the chassis. 
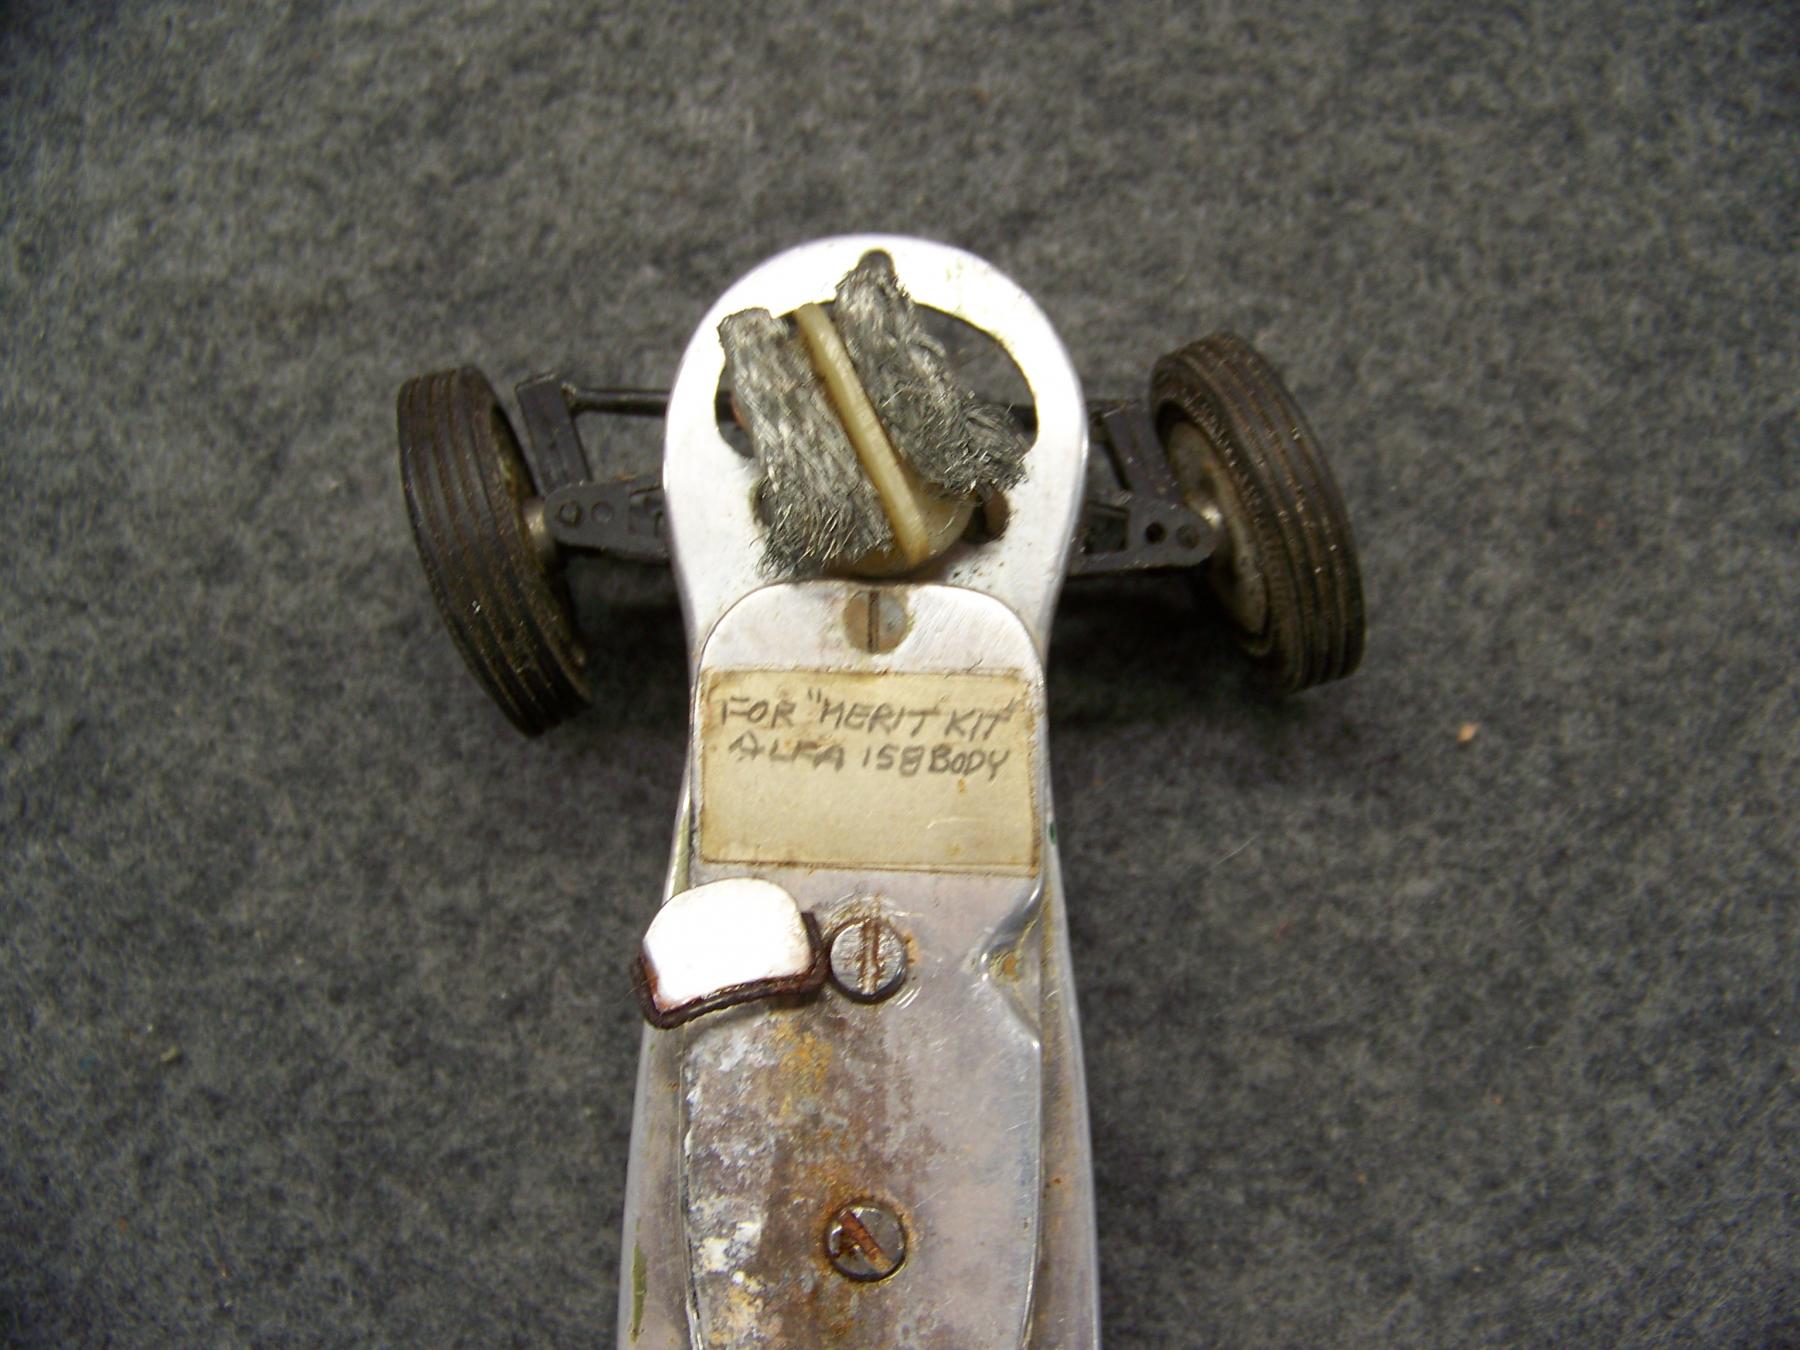
 

102_7758.JPG


Amazingly the windshield and custom metal frame was still stuck to side of the motor magnet. 


I found the history of the real car also interesting, it was winning pre WW 2 and then again post war after being hidden in a cheese factory during the war. Won almost all the races it entered. 


Martin Windmill

#64 don.siegel

don.siegel

    Grand Champion Poster

  • Subscriber
  • PipPipPipPipPipPipPipPip
  • 5,829 posts
  • Joined: 17-February 06
  • Gender:Male
  • Location:Paris, France

Posted 01 February 2024 - 04:45 AM

The brake fins look better like that, Martin - I'd take off one row to make it a little more discreet... 


Hmm, usually the kind of thing I would have gone for, but must have missed it, or taken a look at my pile of projects and gotten discouraged. Anyway, like Mark, I'm glad I didn't win it – it's in very good hands! 


Don 


#65 Martin

Martin

    Posting Leader

  • Full Member
  • PipPipPipPipPipPipPip
  • 4,198 posts
  • Joined: 22-February 09
  • Gender:Male
  • Location:US

Posted 01 February 2024 - 11:16 AM

Thanks, Don,


Yes, I will take your advice and trim off a fin. Then I can move the track in a bit. Each fin is less than a 1mm but then the wheel will be same with width as was without the drum. Makes them a similar size to the plastic parts that came with the kit. I almost used those, but they had a mold divot that you can hide on the static model.


Now the hunt for MPC fronts. I must have a loose pair? PS: found a pair that will work, I think? Just have ream out the threads then cut a spoked insert to fit;  Then find a tire that will give me the same OD as the guide height is set.


Martin Windmill

#66 Martin

Martin

    Posting Leader

  • Full Member
  • PipPipPipPipPipPipPip
  • 4,198 posts
  • Joined: 22-February 09
  • Gender:Male
  • Location:US

Posted 01 February 2024 - 02:37 PM

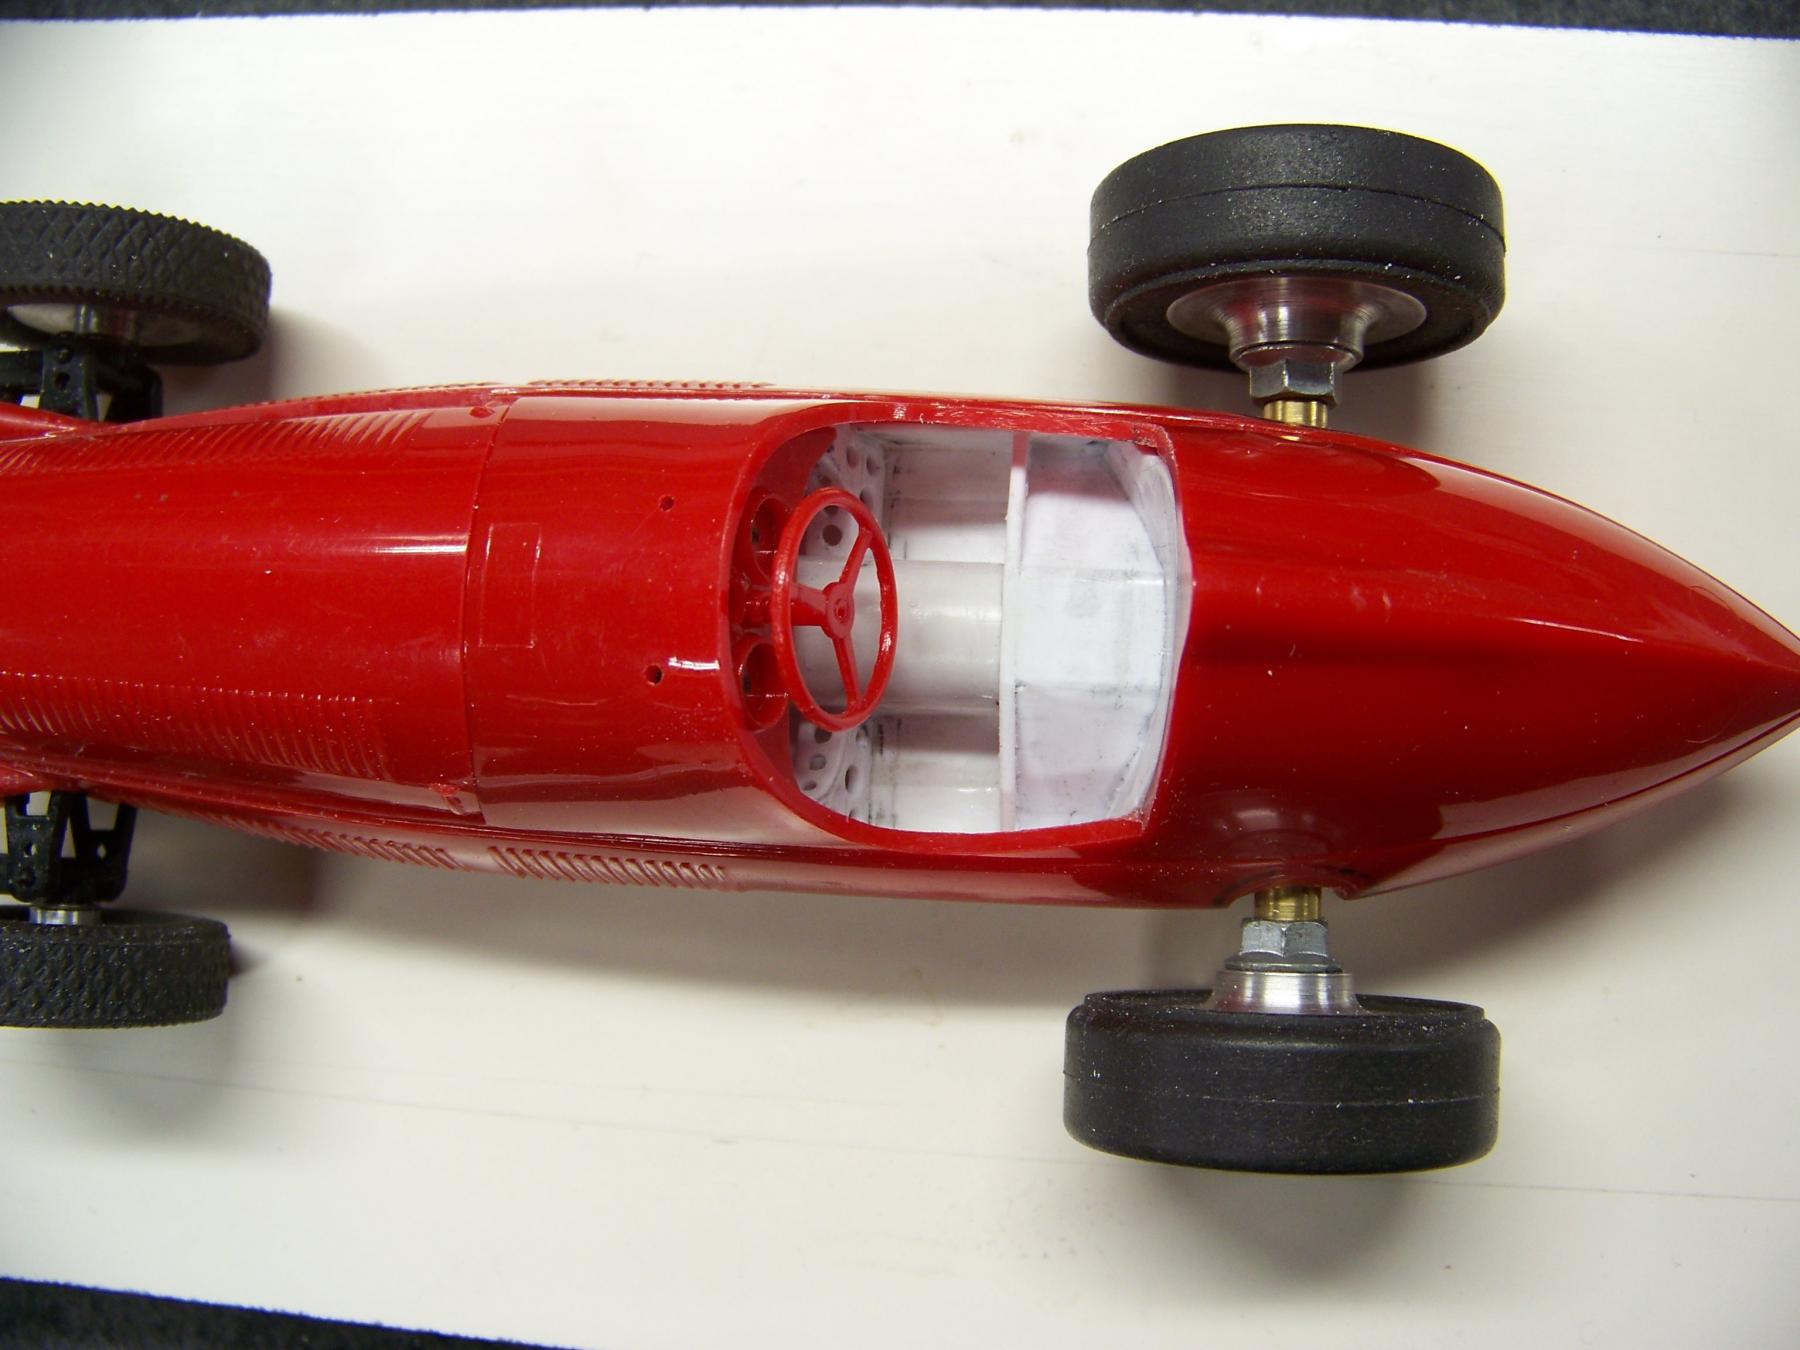
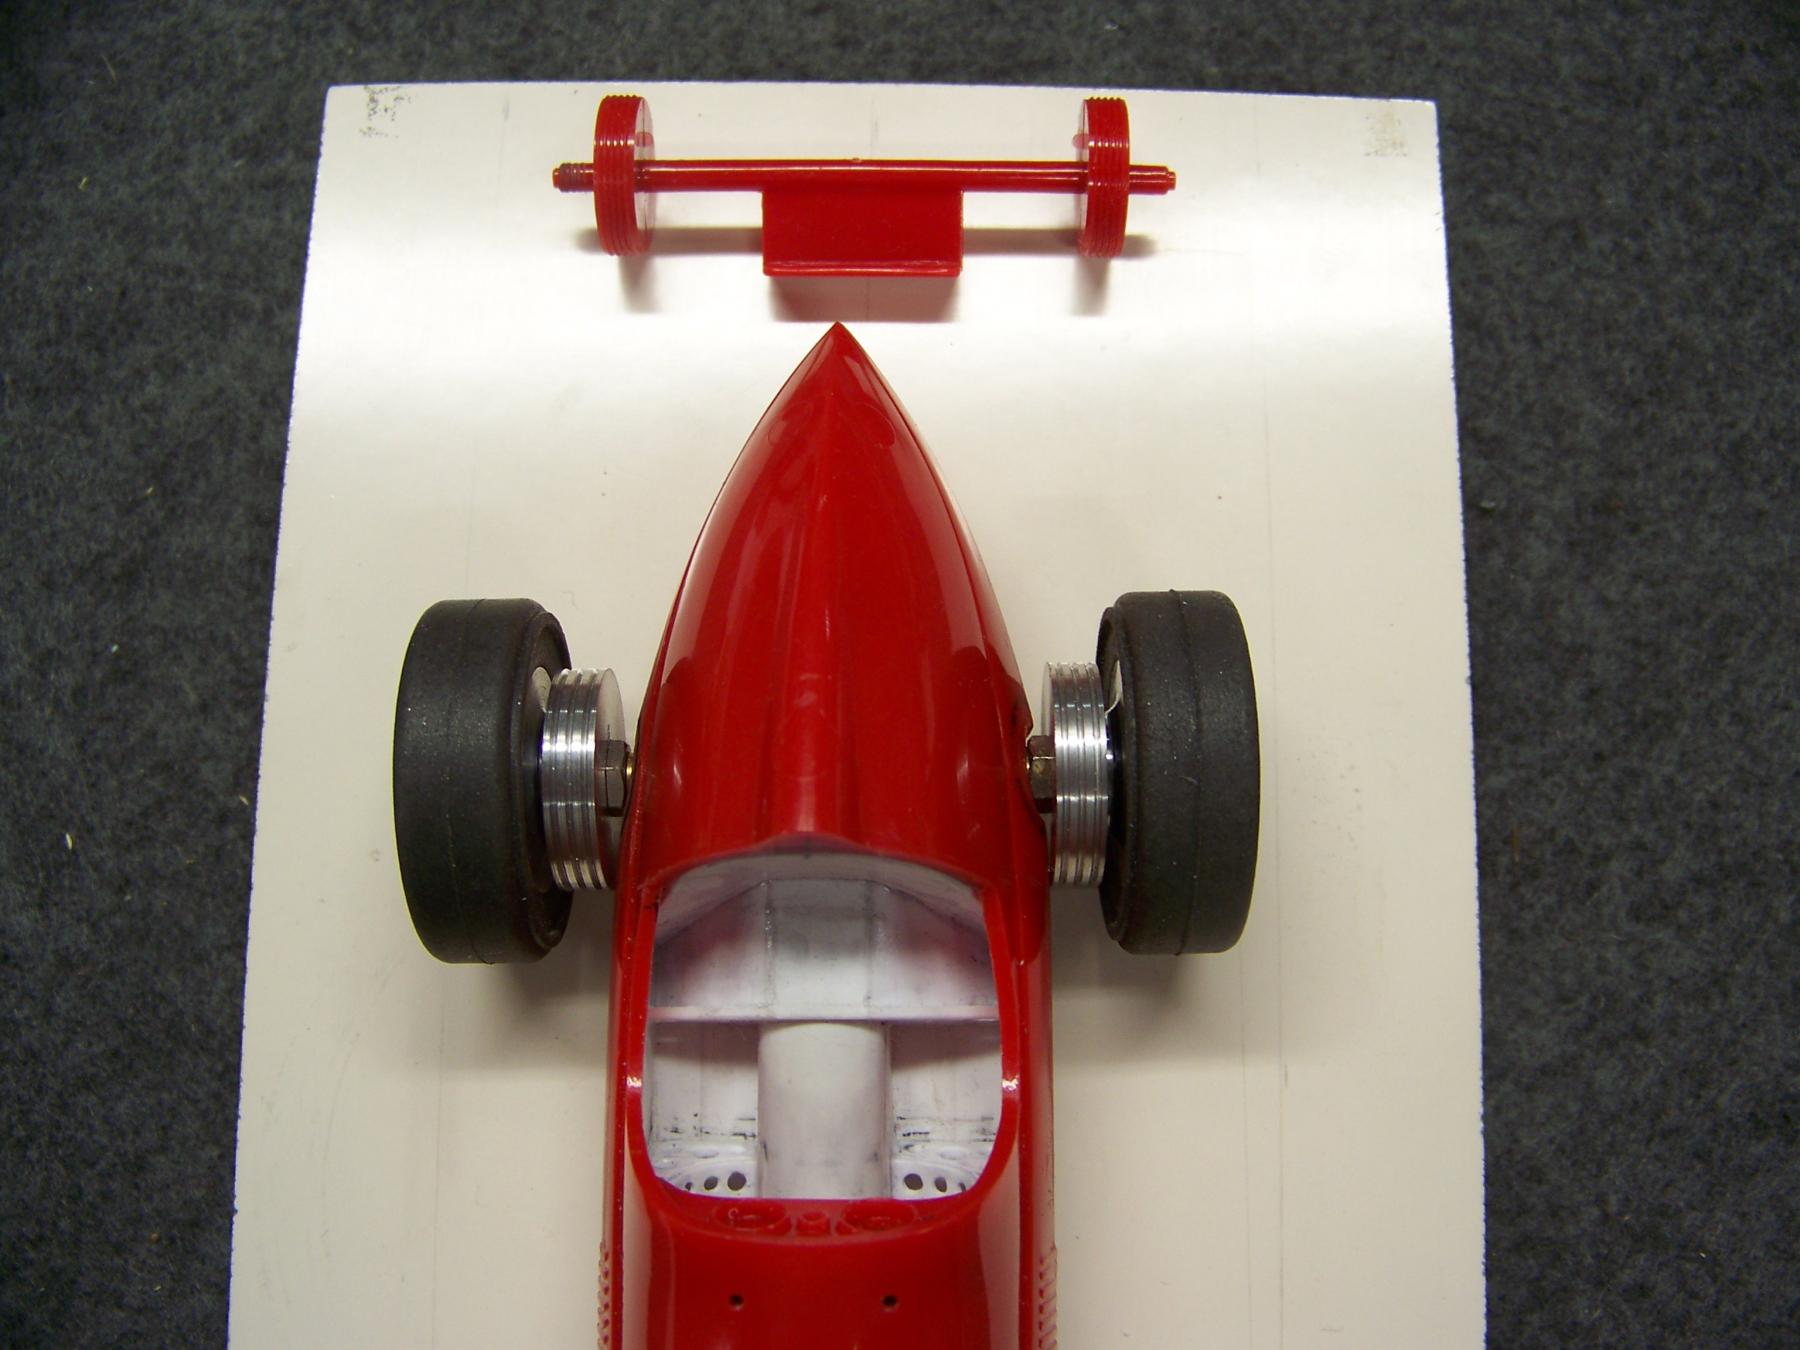
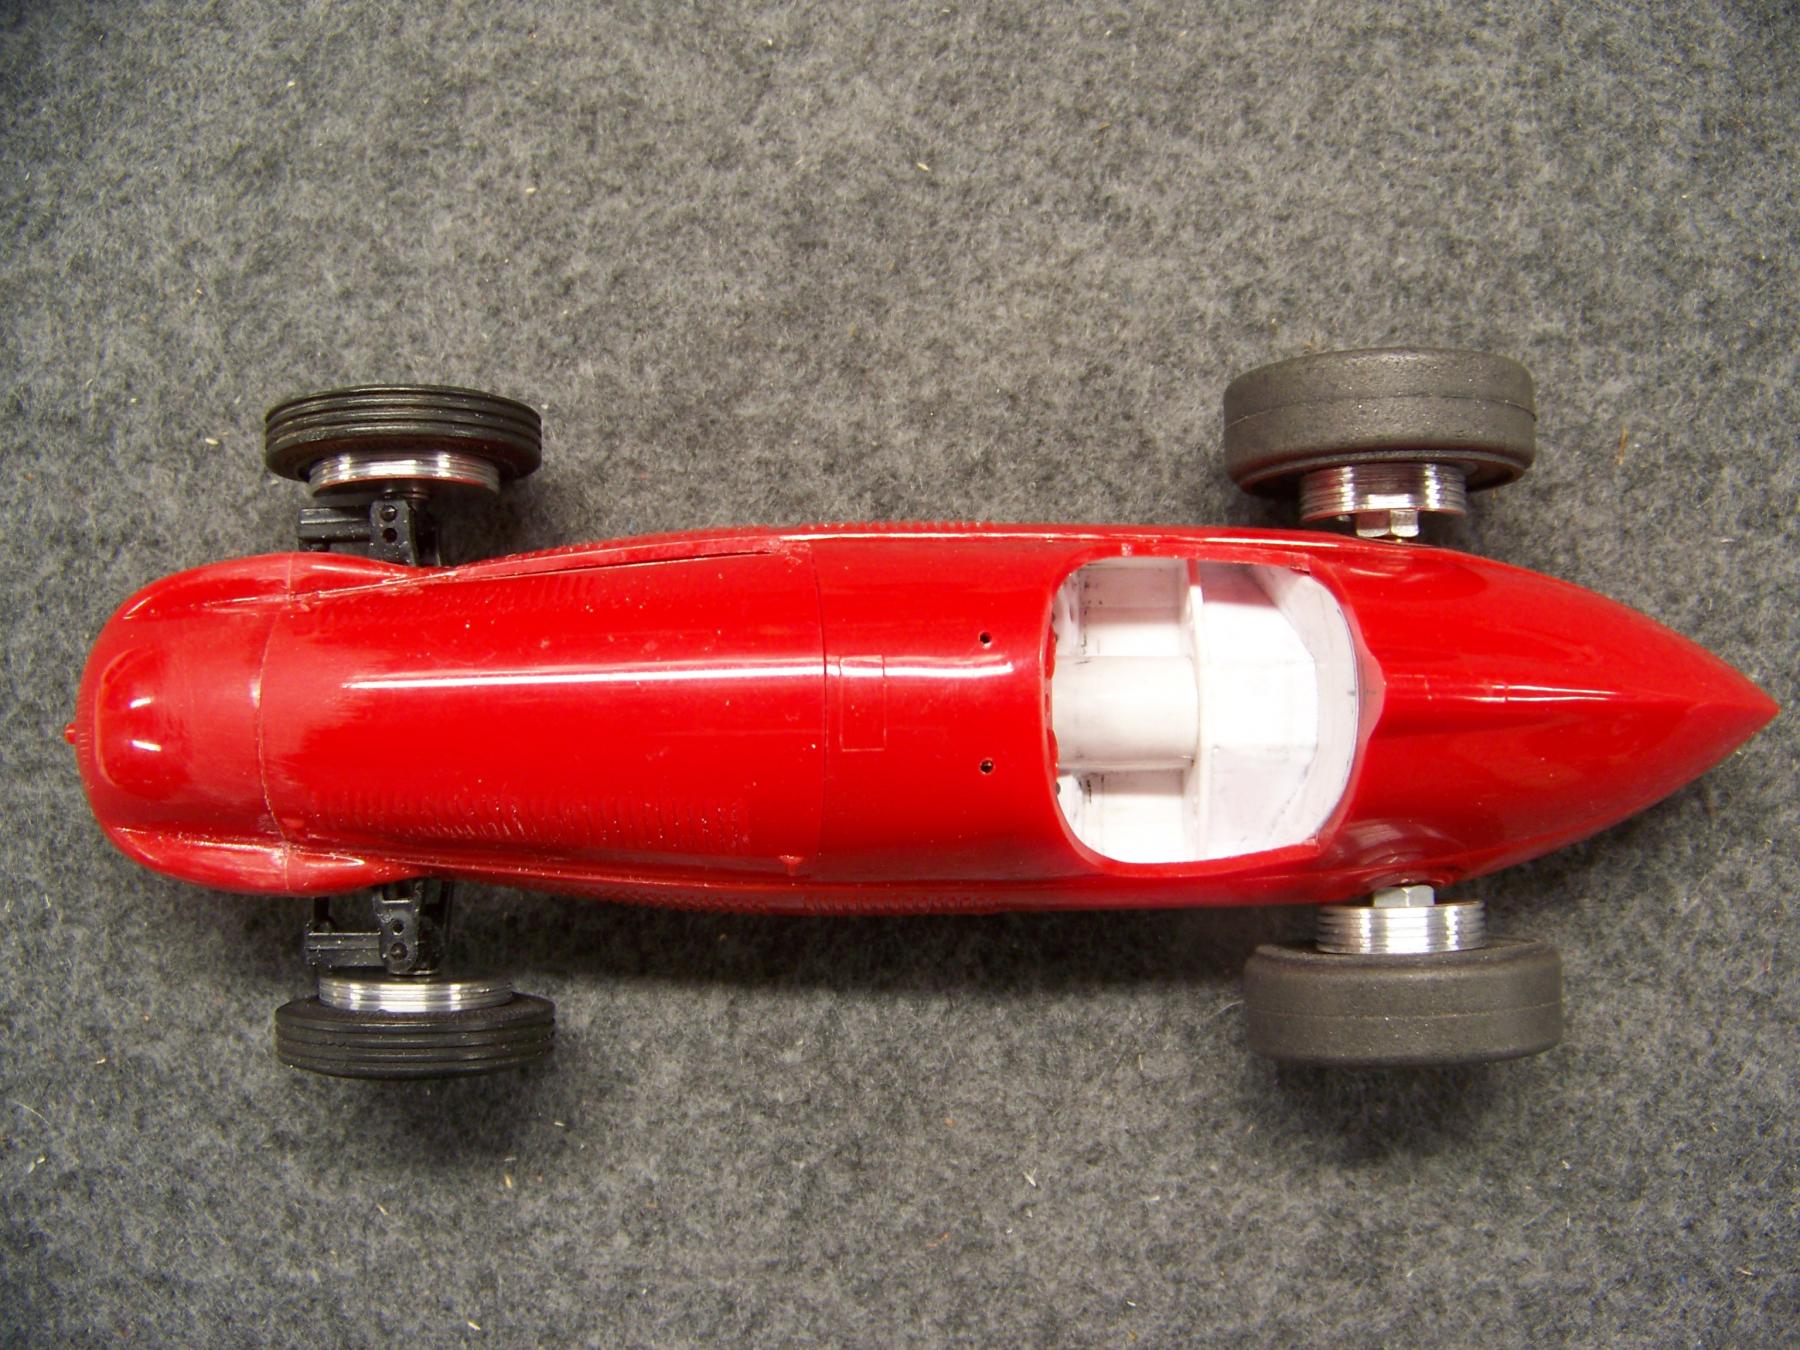
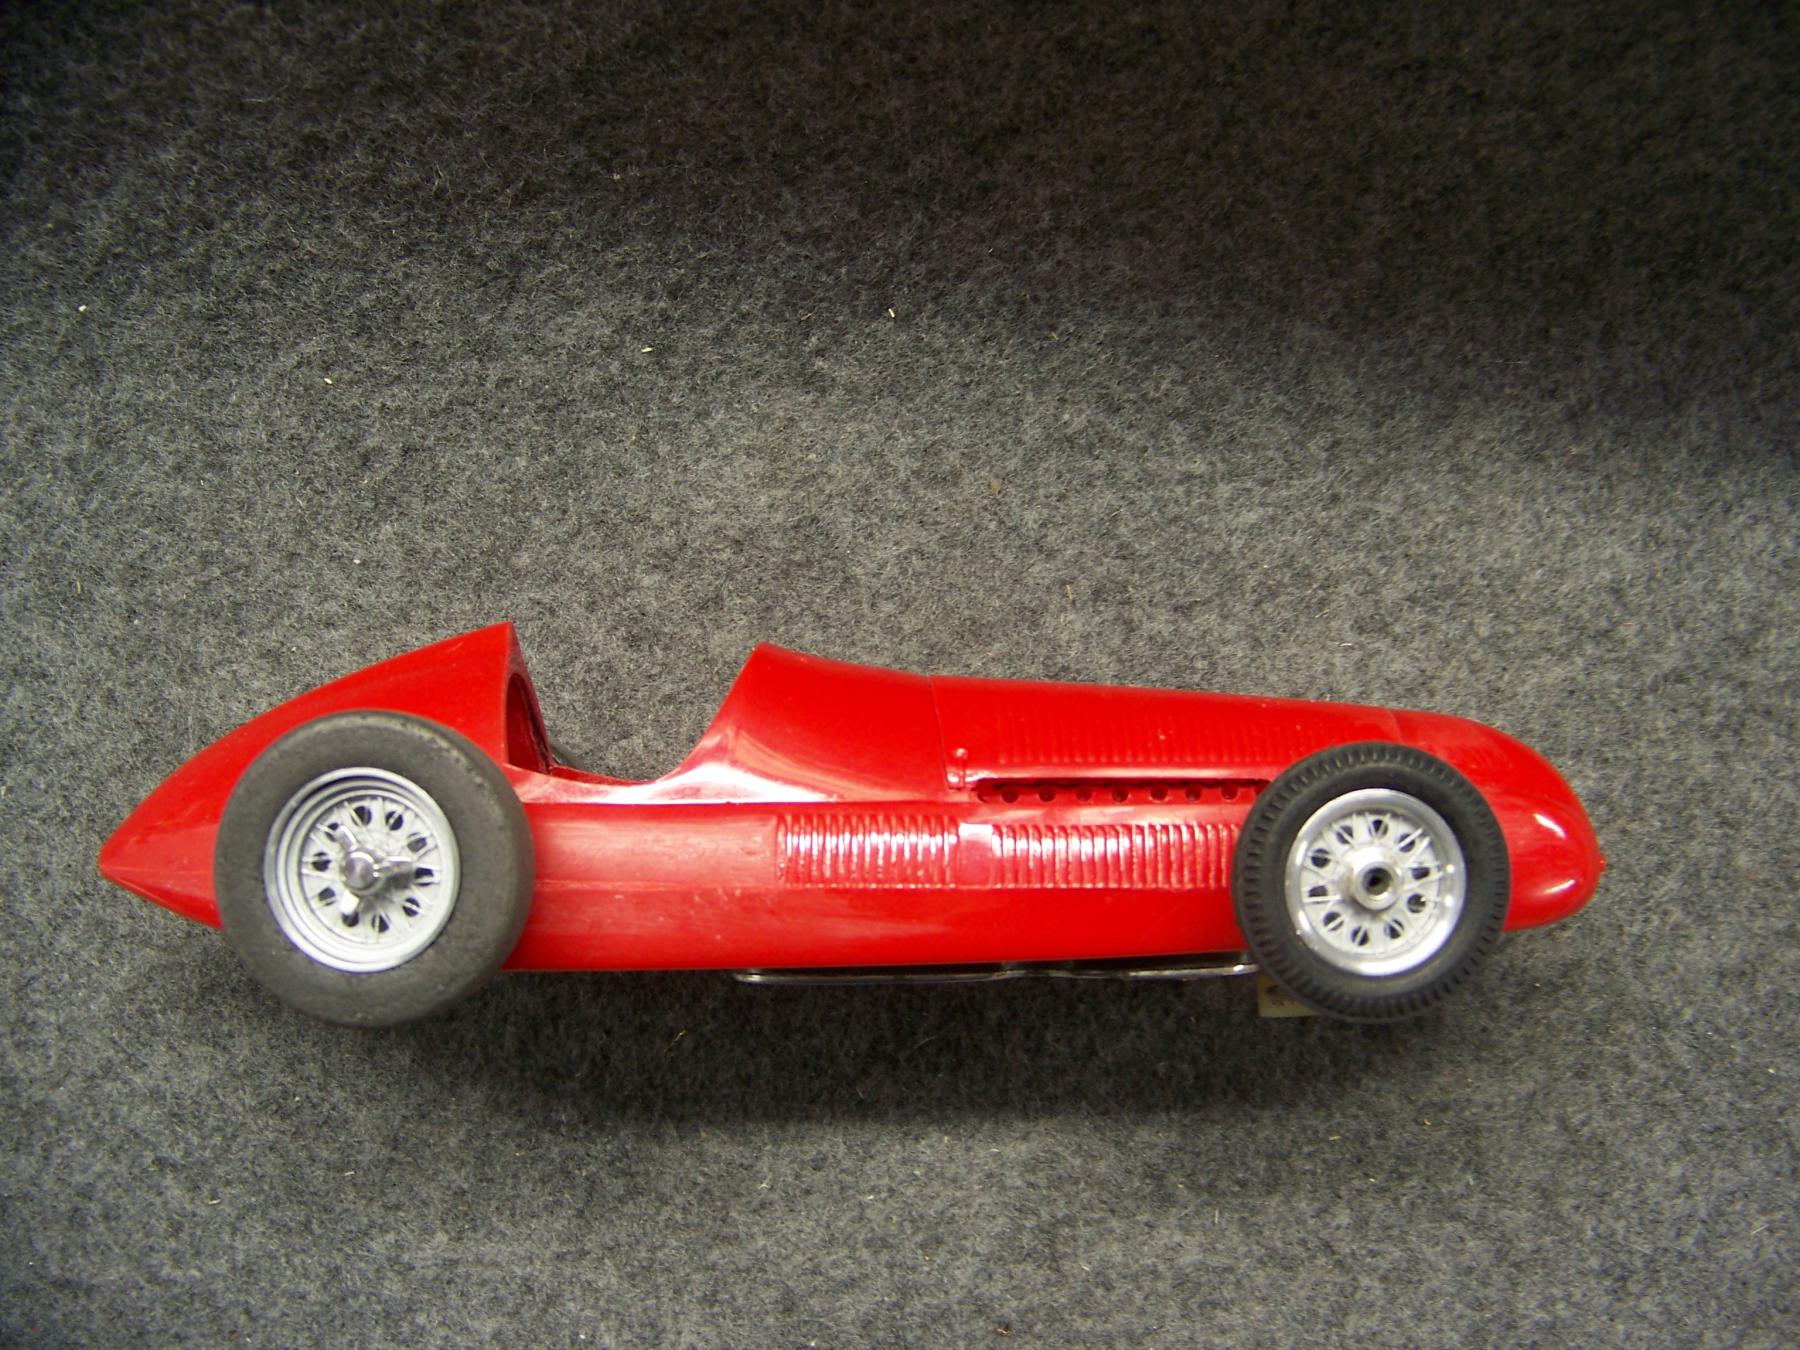
MPC front wheels are on, I like 'em.


102_8045.JPG


102_8044.JPG


  • don.siegel, Jencar17 and olescratch like this
Martin Windmill

#67 Martin

Martin

    Posting Leader

  • Full Member
  • PipPipPipPipPipPipPip
  • 4,198 posts
  • Joined: 22-February 09
  • Gender:Male
  • Location:US

Posted 04 February 2024 - 07:53 PM

Baby steps, got a bit of primer on the cockpit to clearly see what I have. This interior is now on hold, waiting for the driver coming from the U.K.


102_8047.JPG


After looking at several spoke inserts I decided to use the the Merit wheel inserts from the kit.

It was tricky to cut them down on the lathe but I took my time and got it done. The  MPC front wheels were .05" on the I.D. and the clear spokes are .0560" O.D. Not wanting to cut down the clear spoke part as they are really delicate. I decided to open up the I.D. of the stock MPC wheels. That created a nice step for the insert to sit on.

Also the rear drums are also one fin less and look better now. (good advice Don)


102_8055.JPG


102_8051.JPG


  • Jencar17, munter, Regis4446 and 2 others like this
Martin Windmill

#68 Dave Crevie

Dave Crevie

    Posting Leader

  • Full Member
  • PipPipPipPipPipPipPip
  • 4,484 posts
  • Joined: 16-February 09

Posted 05 February 2024 - 09:21 AM

Cheesus! You not only put the lightening holes in the interior bulkheads, but also the cooling holes in the Alfin brake drums. You must really love the 158/159 Alfa. 


#69 Dave Crevie

Dave Crevie

    Posting Leader

  • Full Member
  • PipPipPipPipPipPipPip
  • 4,484 posts
  • Joined: 16-February 09

Posted 06 February 2024 - 11:12 AM

Some video of a 158 being driven by Phil Hill. Towards the end there is footage of the race with Fangio driving.


https://youtu.be/xlK...SAkj72at_&t=442


Then there is my favorite, at the Goodwood Festival of Speed hill climb, with dual rears.


https://youtu.be/skX...bjHLS2OrPrIQdQF


Nick Mason of Pink Floyd owns one;


https://youtu.be/VCc...CEm0dvqJ7RoE4vC


#70 Martin

Martin

    Posting Leader

  • Full Member
  • PipPipPipPipPipPipPip
  • 4,198 posts
  • Joined: 22-February 09
  • Gender:Male
  • Location:US

Posted 06 February 2024 - 06:40 PM

Thanks Dave, loved all the videos'  Fangio and Hill driving the Alfa  :good: 1985 glad we have that footage.


Vintage driver is on its way to from RS in the U.K. 

When it arrives it will give me a lot of work in the seat and cockpit area. 


Martin Windmill

#71 Martin

Martin

    Posting Leader

  • Full Member
  • PipPipPipPipPipPipPip
  • 4,198 posts
  • Joined: 22-February 09
  • Gender:Male
  • Location:US

Posted 08 February 2024 - 12:56 PM

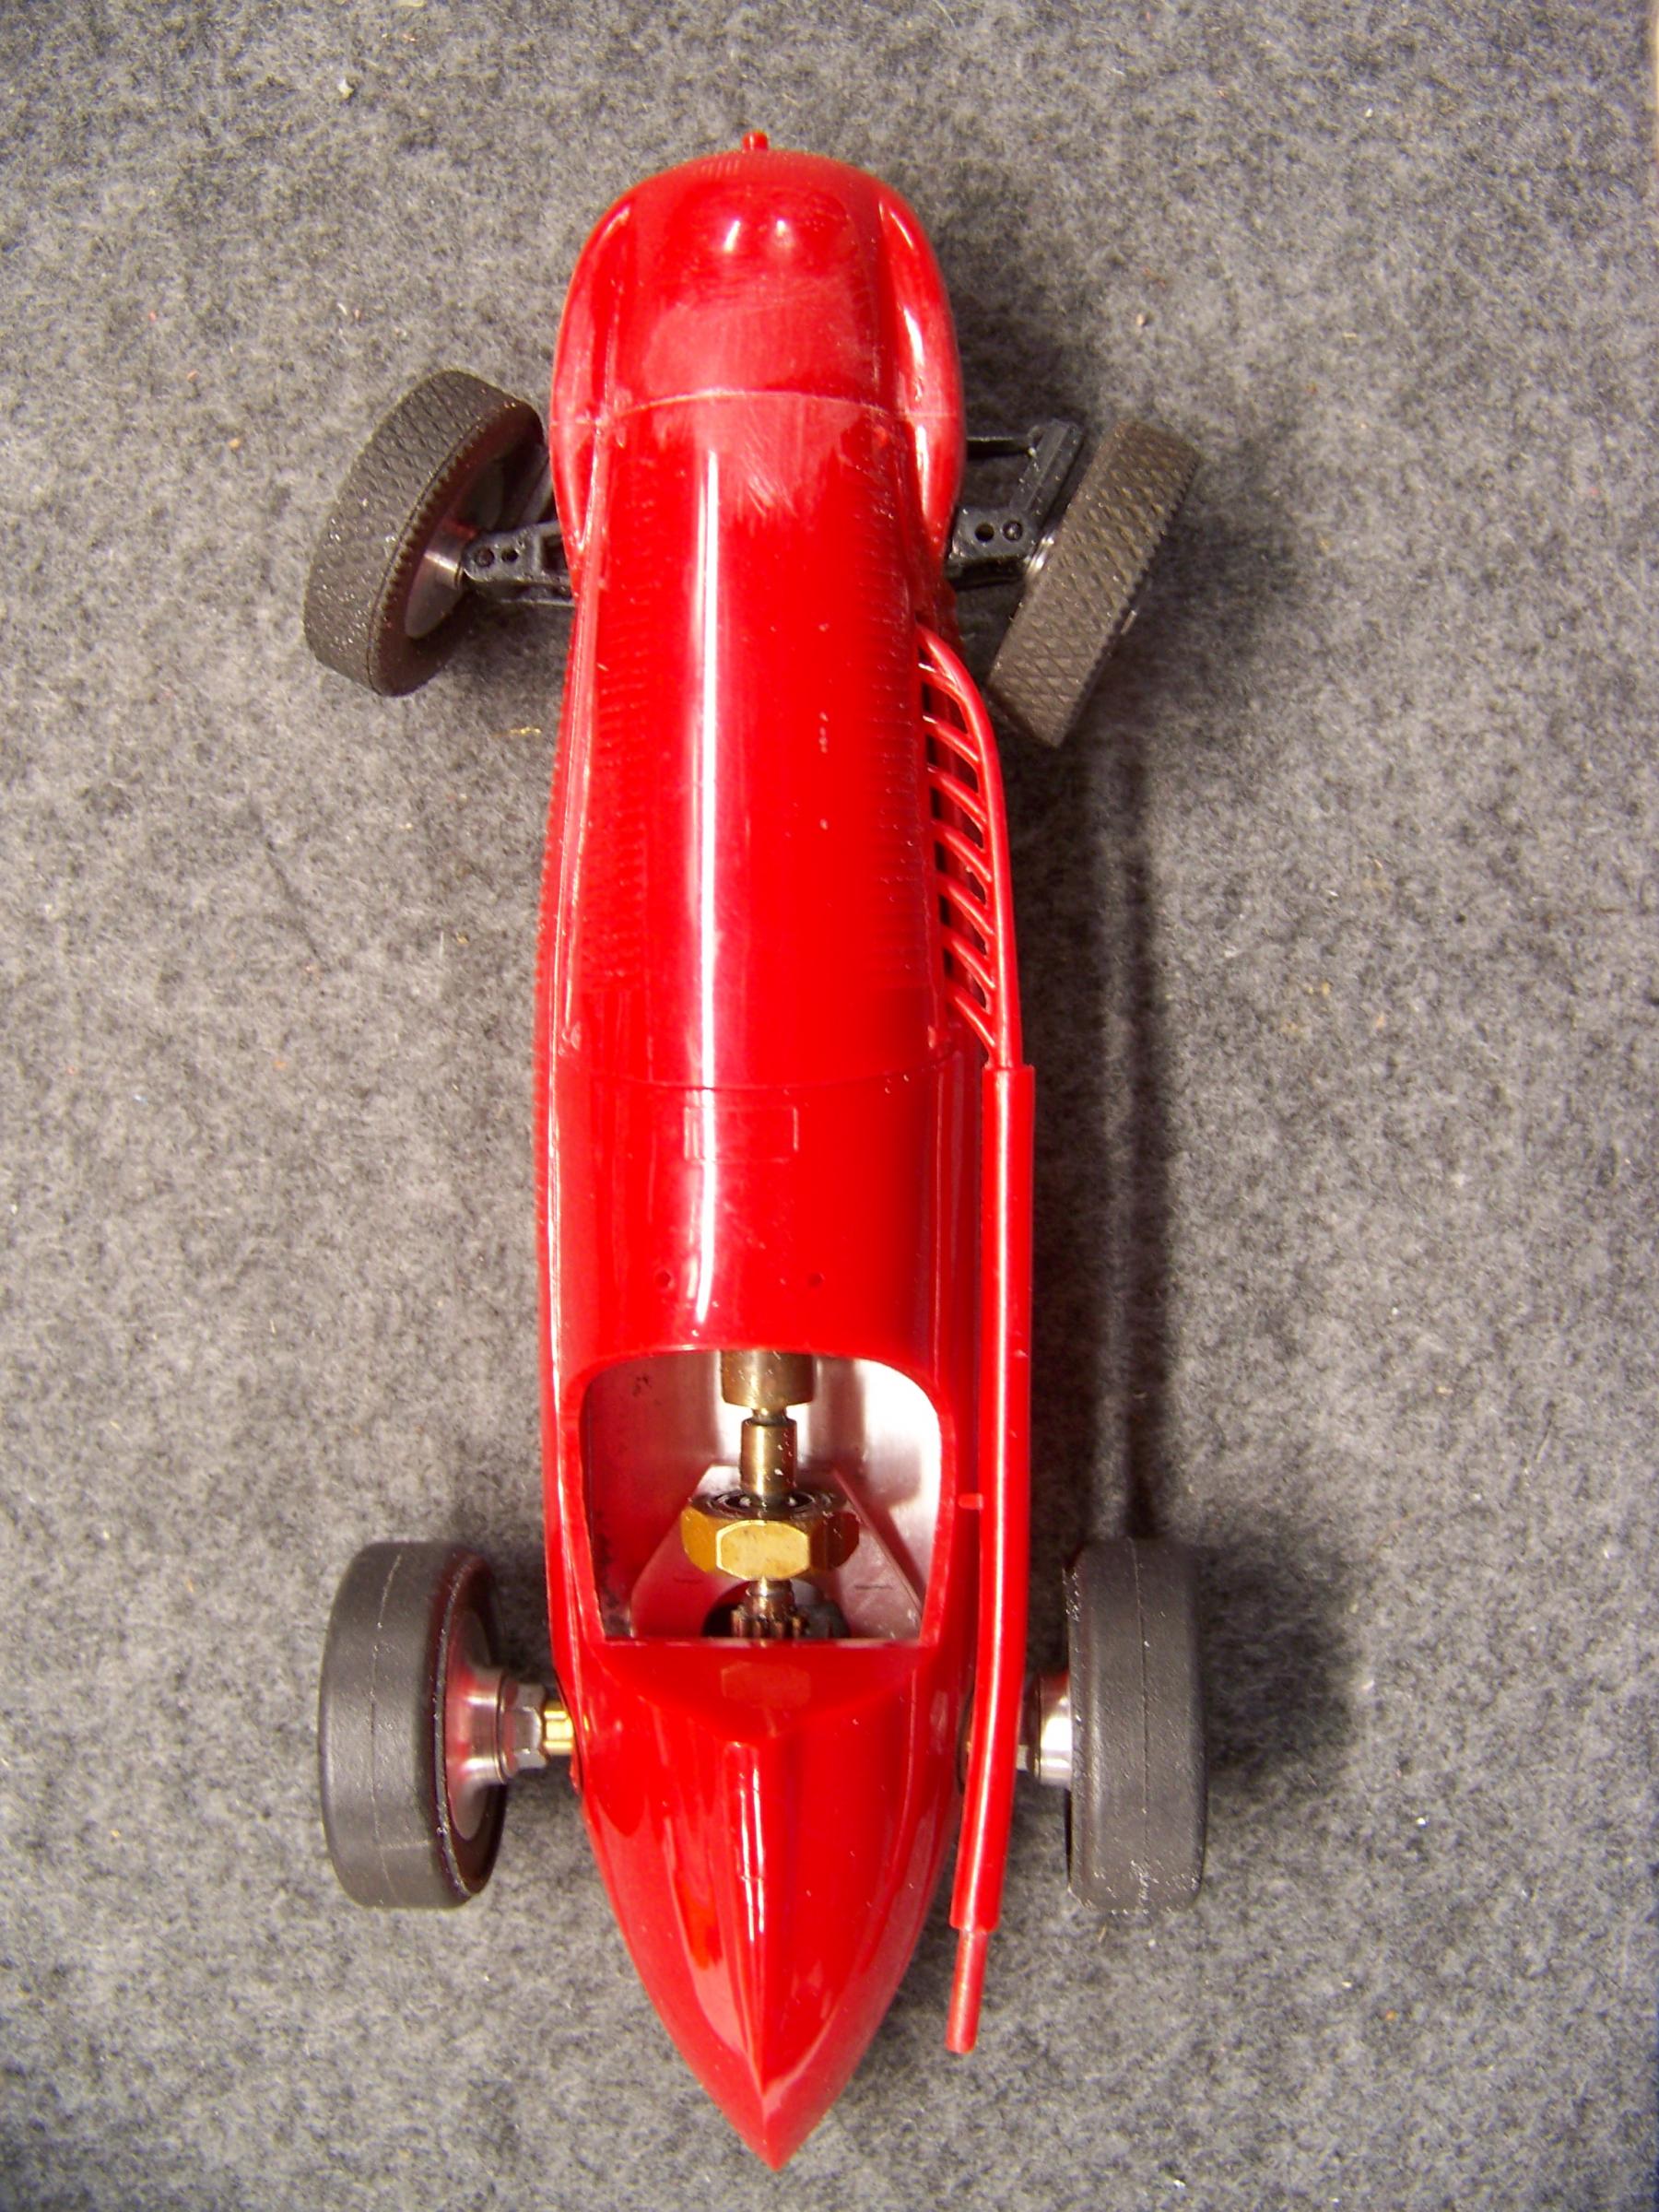
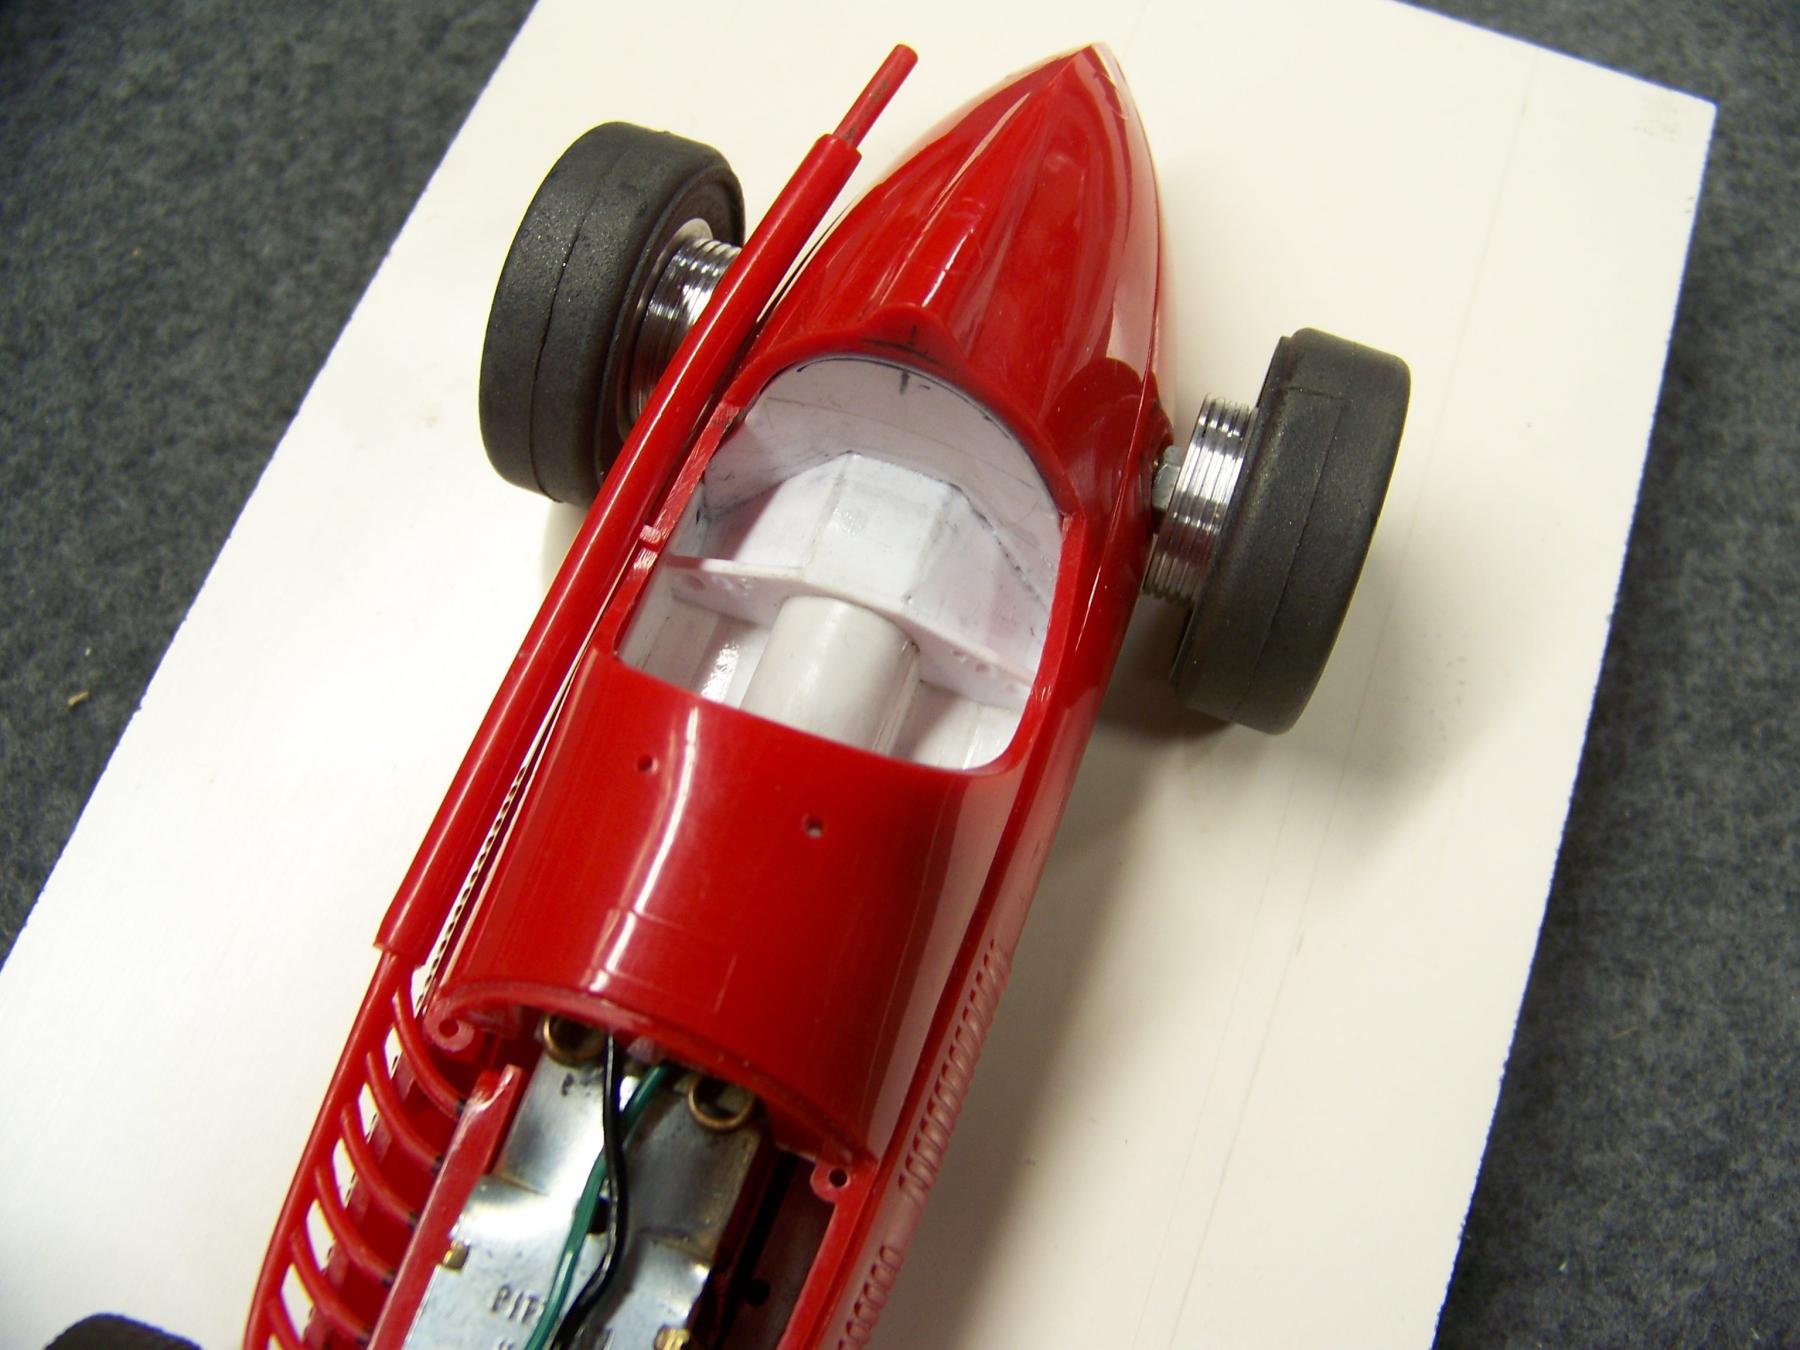
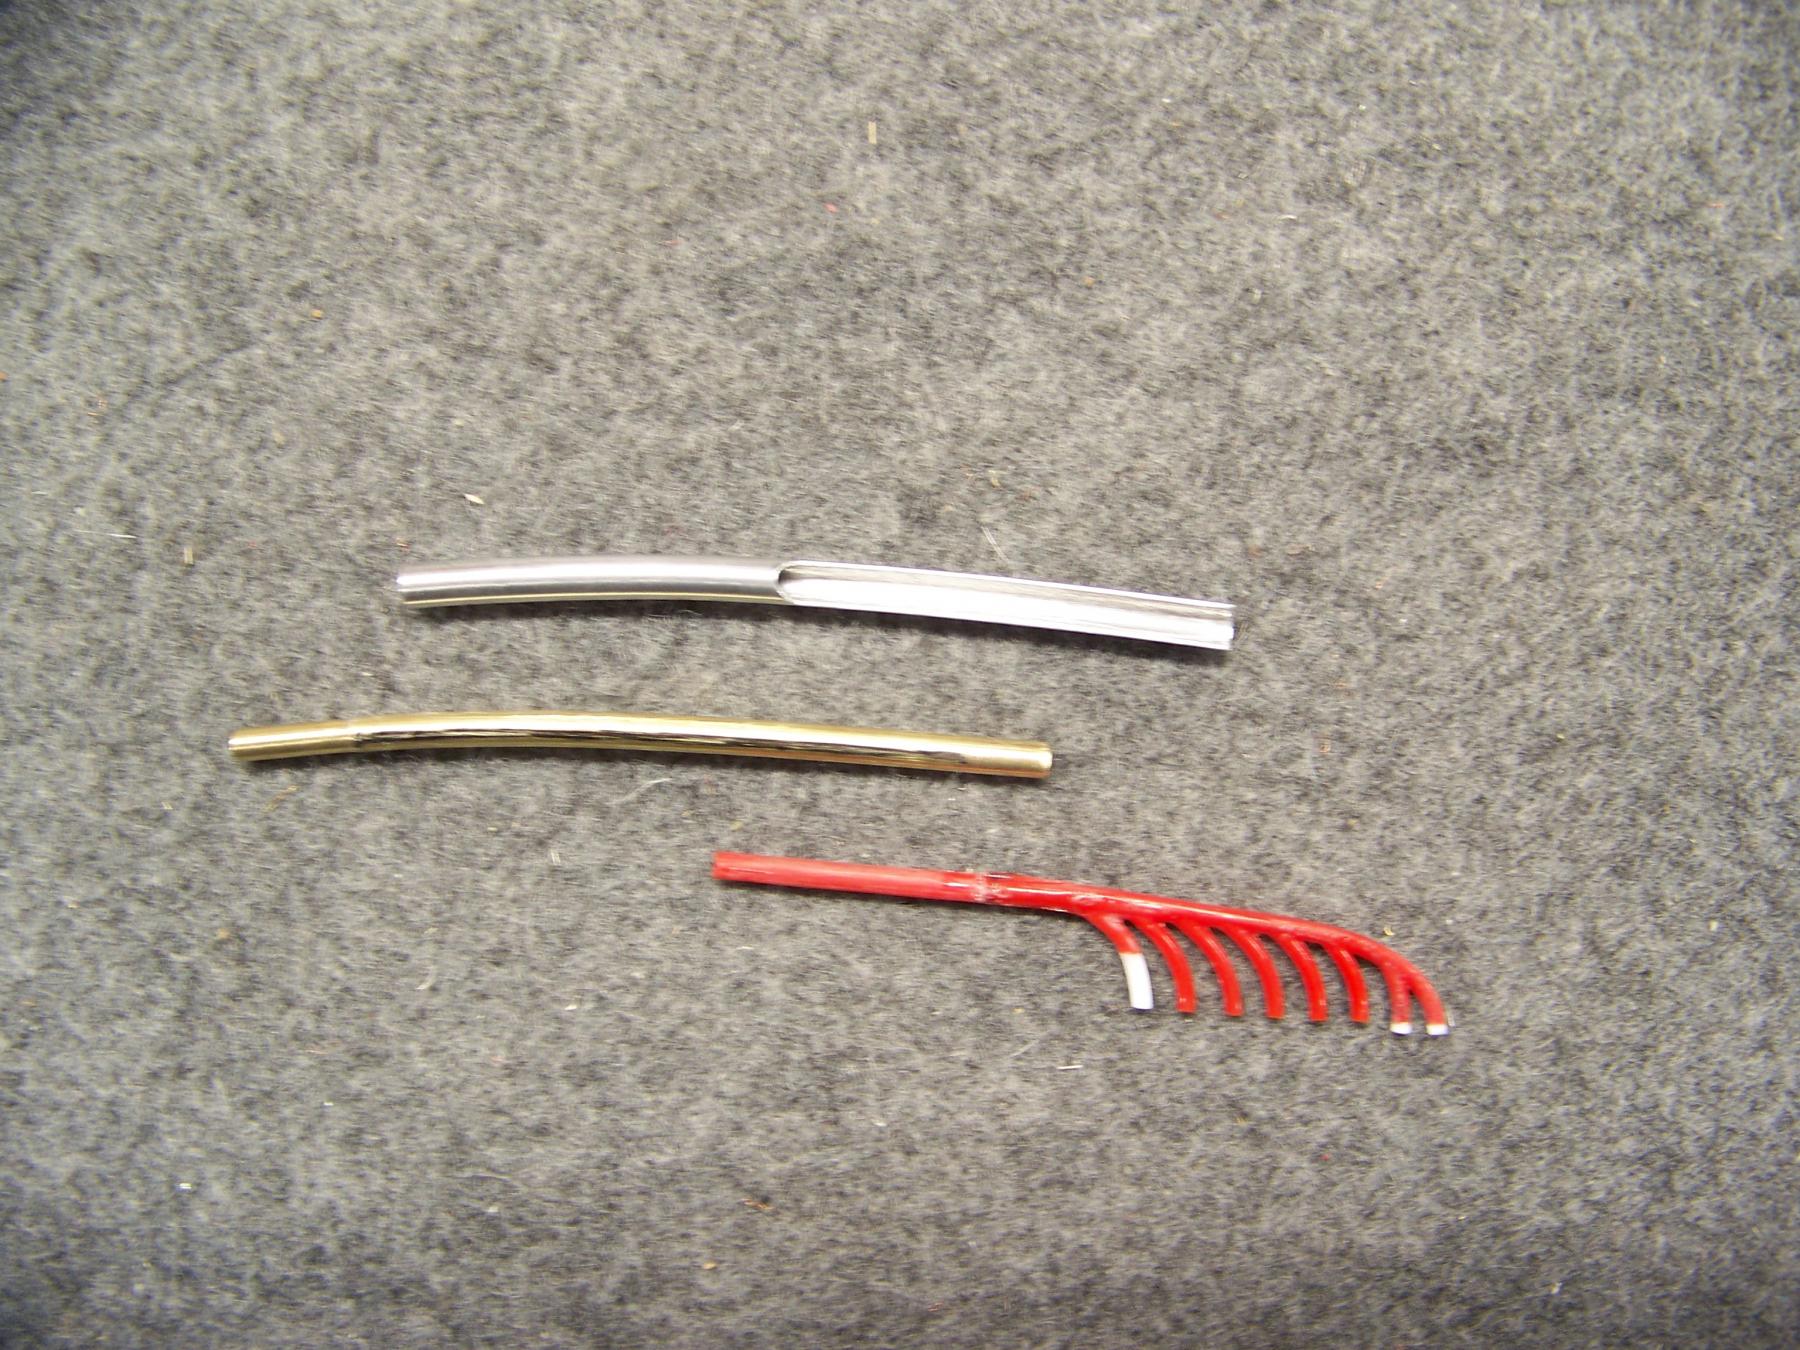
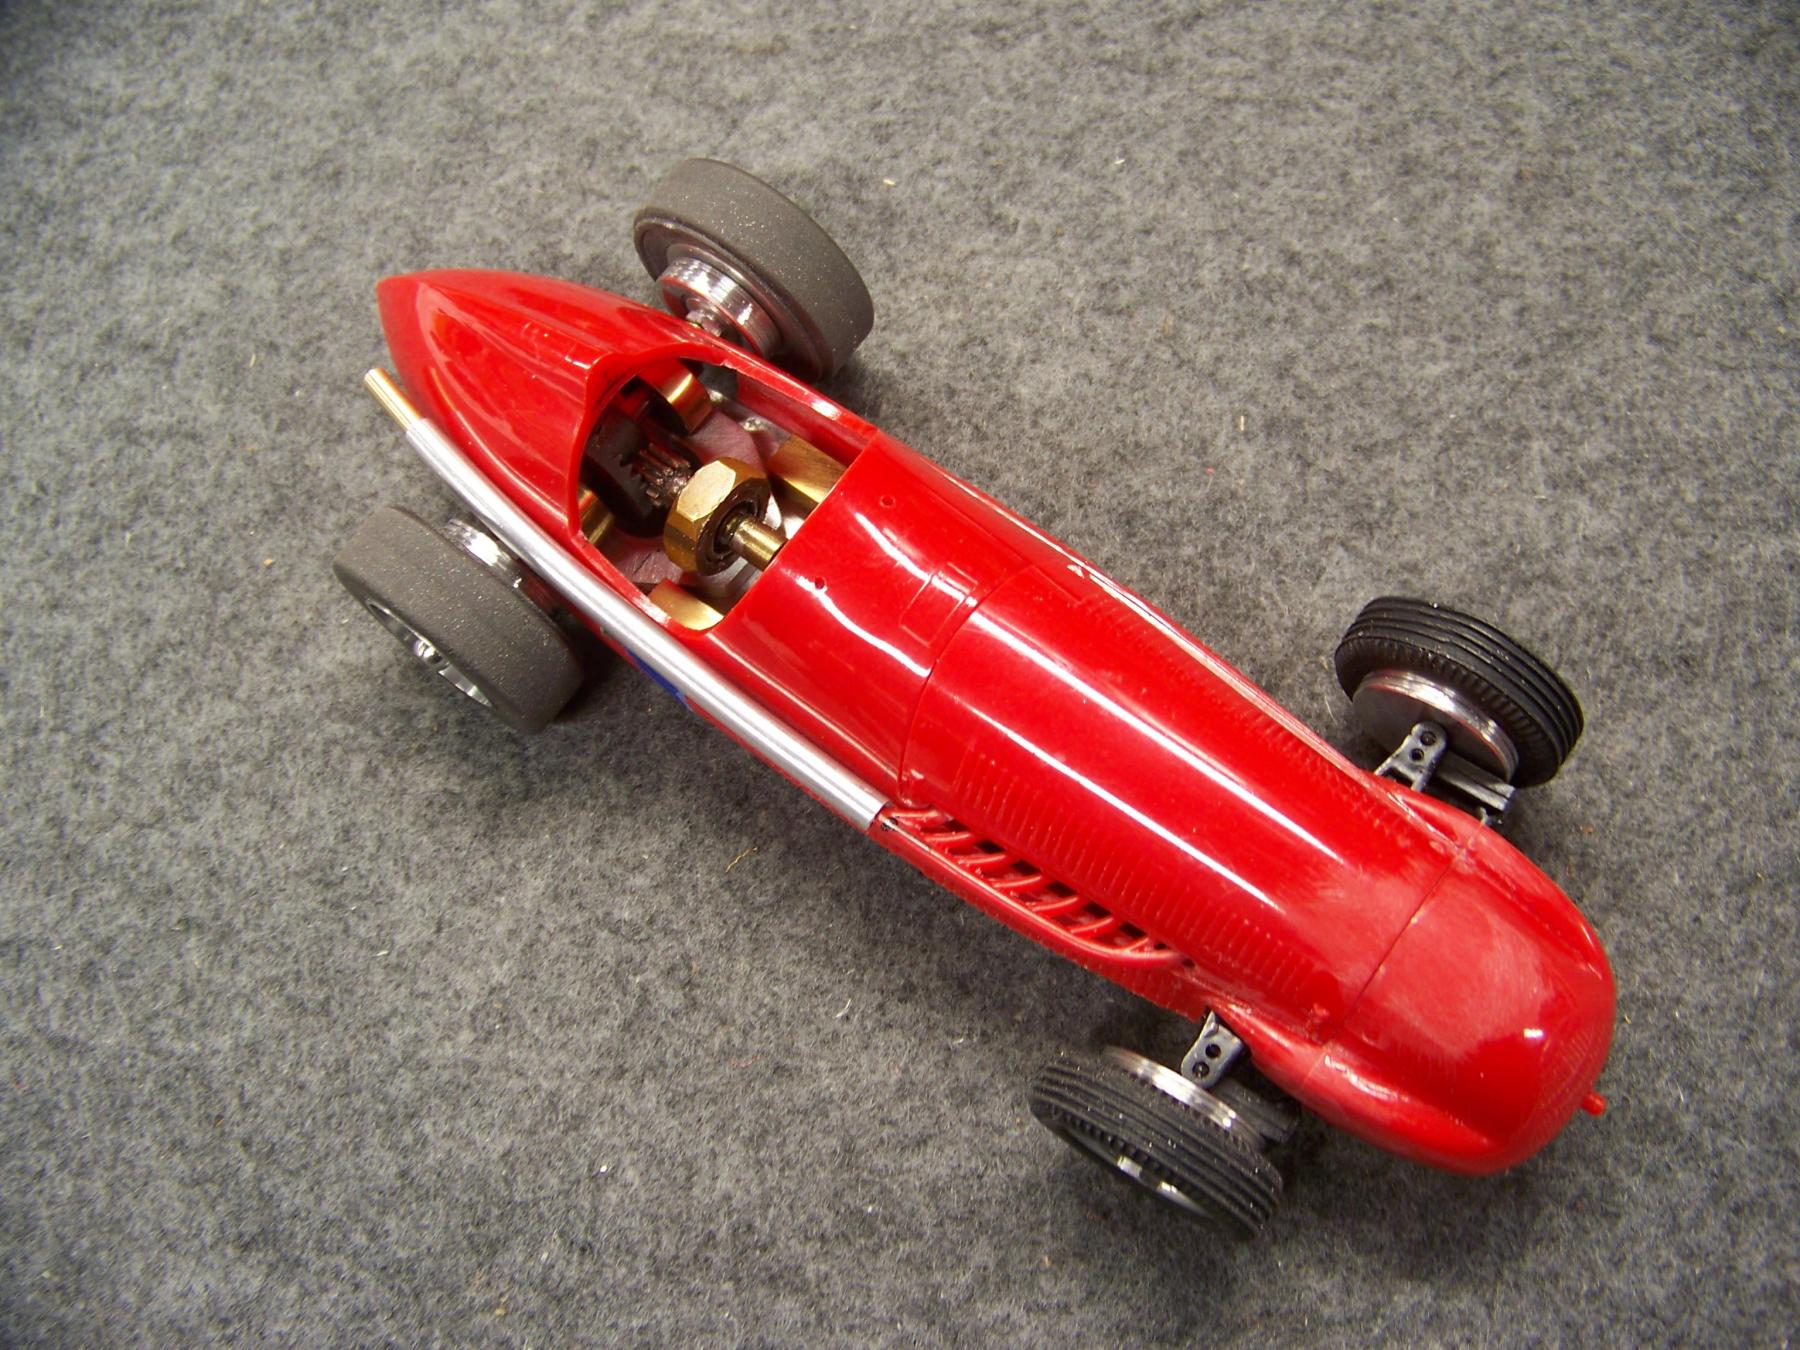
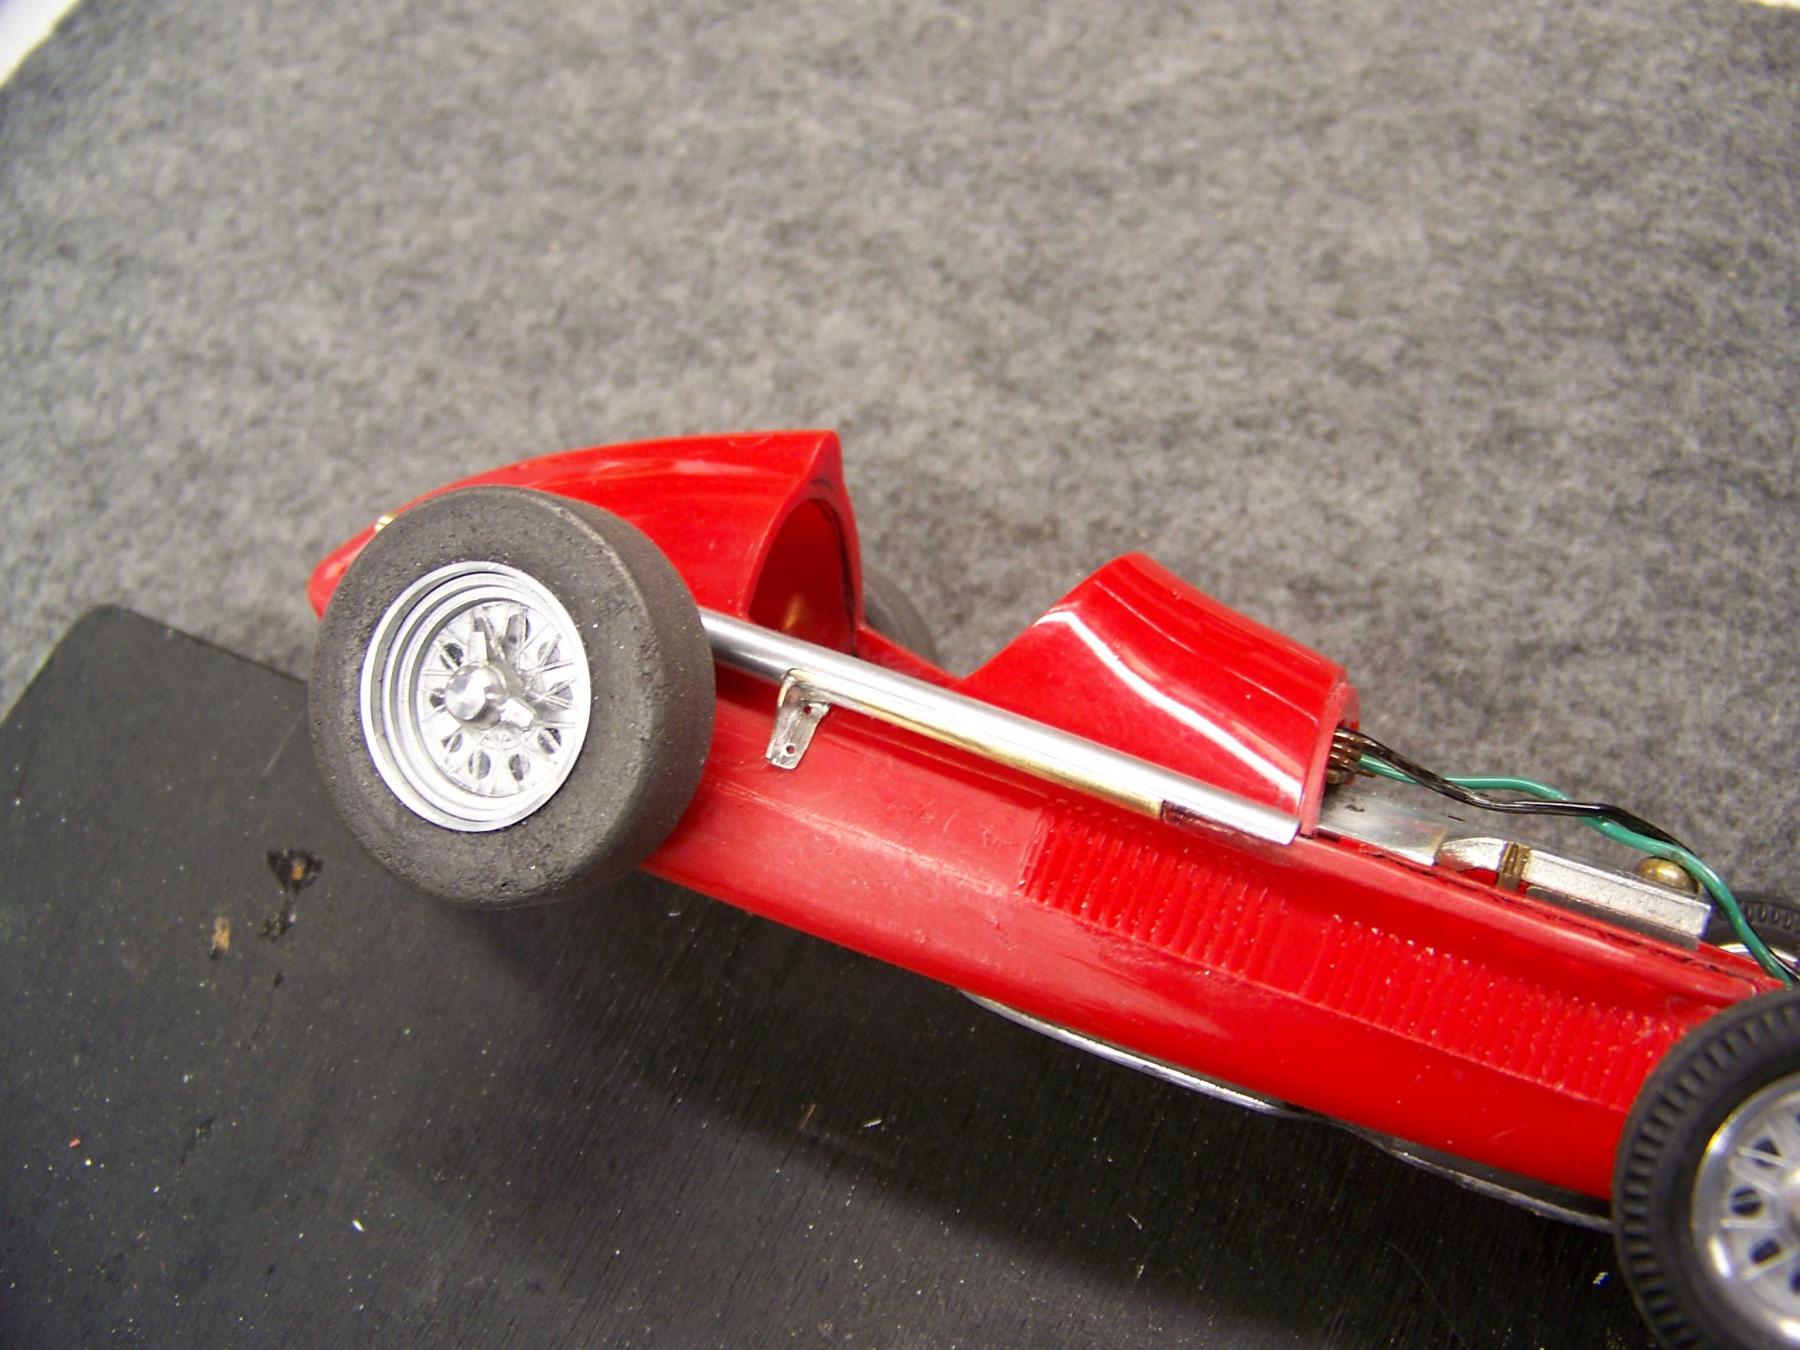
Taking the opportunity to upgrade the exhaust pipes but not wanting to redo the whole hole system, I decided to just do the single pipe and leave the 8 into 1 in plastic.


102_8063.JPG


I had the metal tubing on hand and just needed to put a subtle bend to conform to the body. The brass will be painted black and the aluminum left raw as was on the real car.


102_8066.JPG


Looking for pics of how Alfa mounted the pipe. I found this one and adapted it so I can mount with 2 pins, this make it removable too. 


Screenshot (1925).png


102_8069 mount 50.jpg


  • munter and Carter like this
Martin Windmill

#72 Martin

Martin

    Posting Leader

  • Full Member
  • PipPipPipPipPipPipPip
  • 4,198 posts
  • Joined: 22-February 09
  • Gender:Male
  • Location:US

Posted 08 February 2024 - 09:08 PM

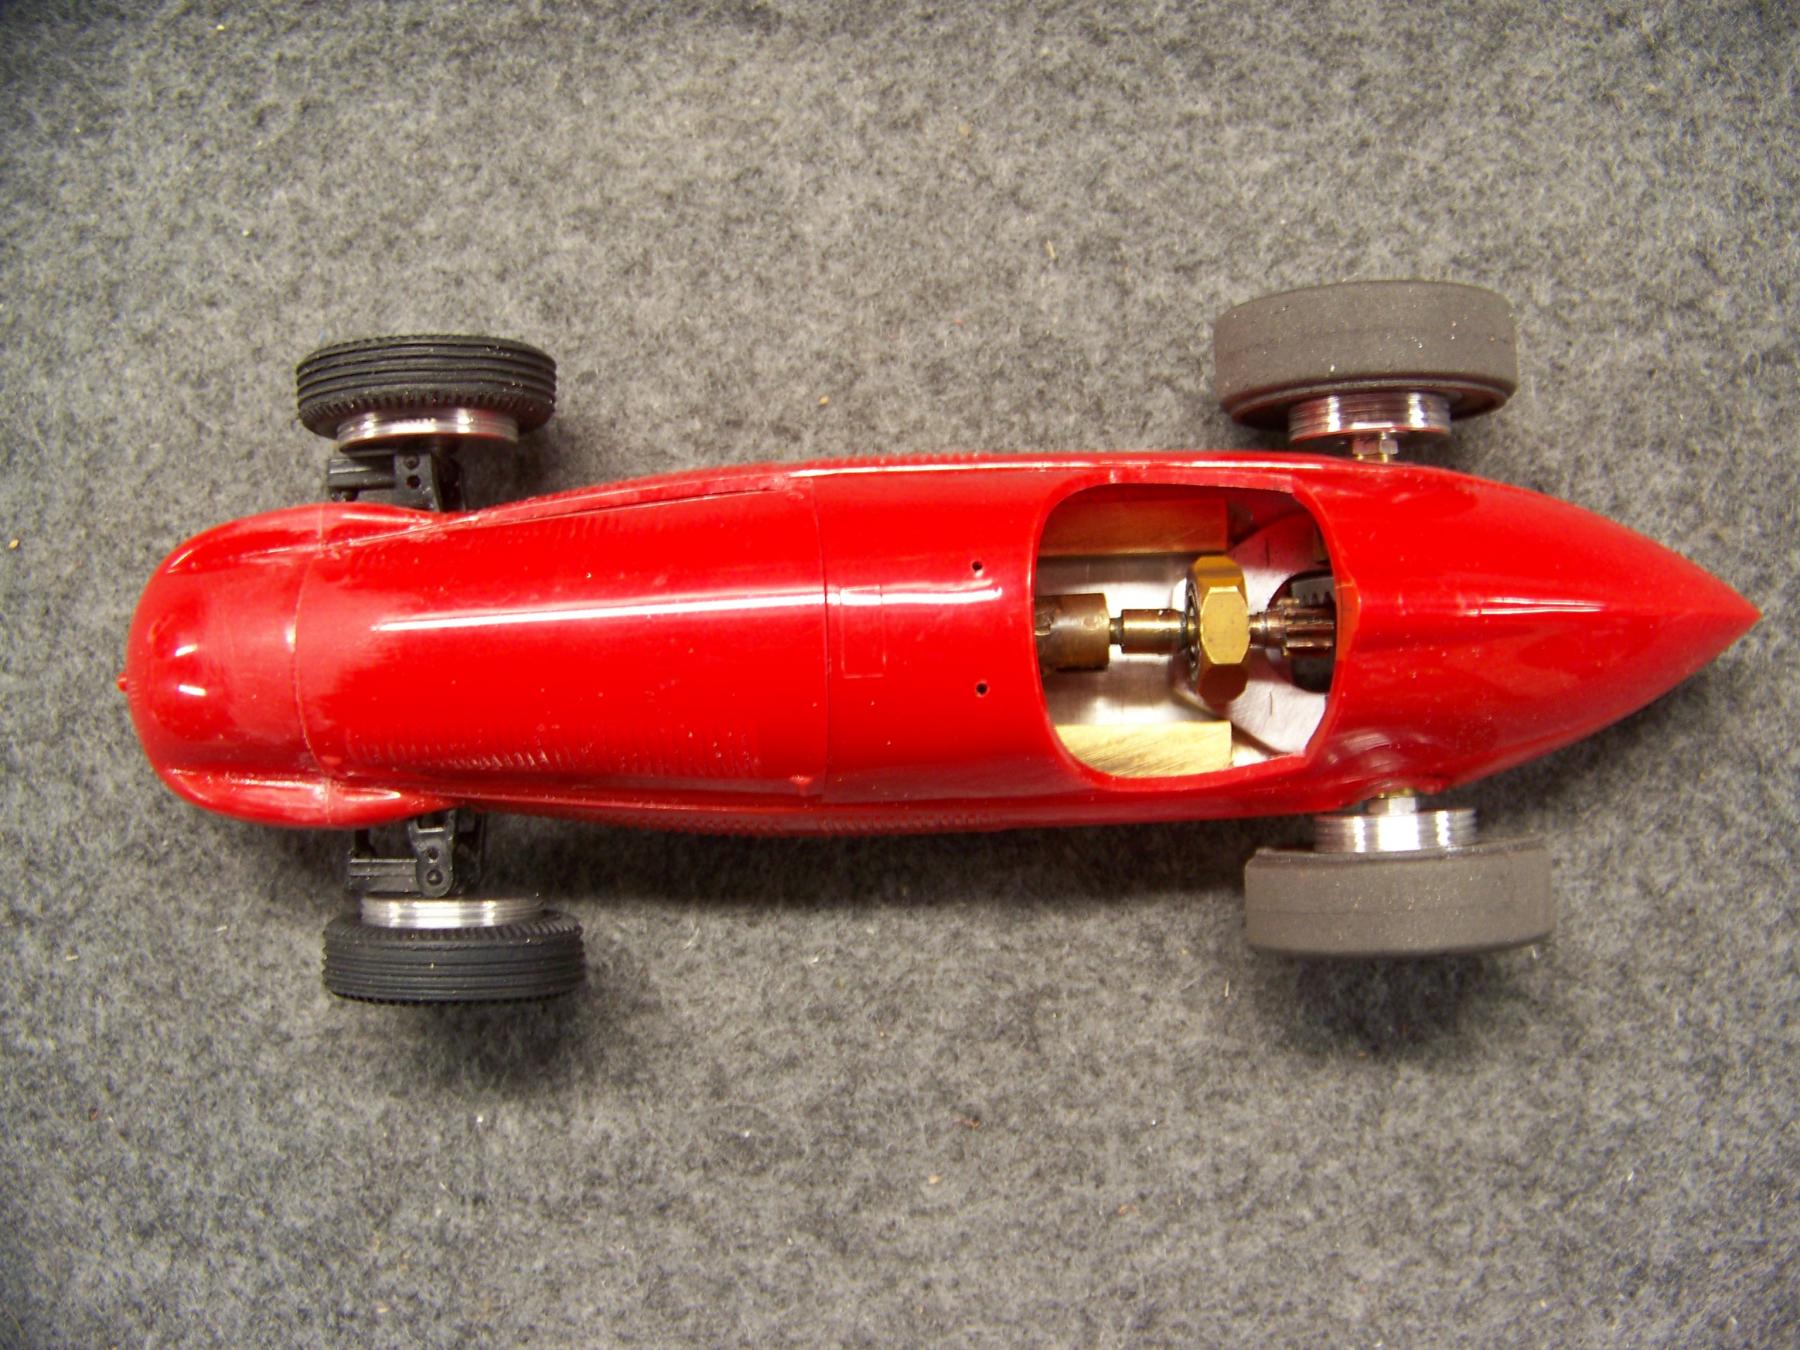
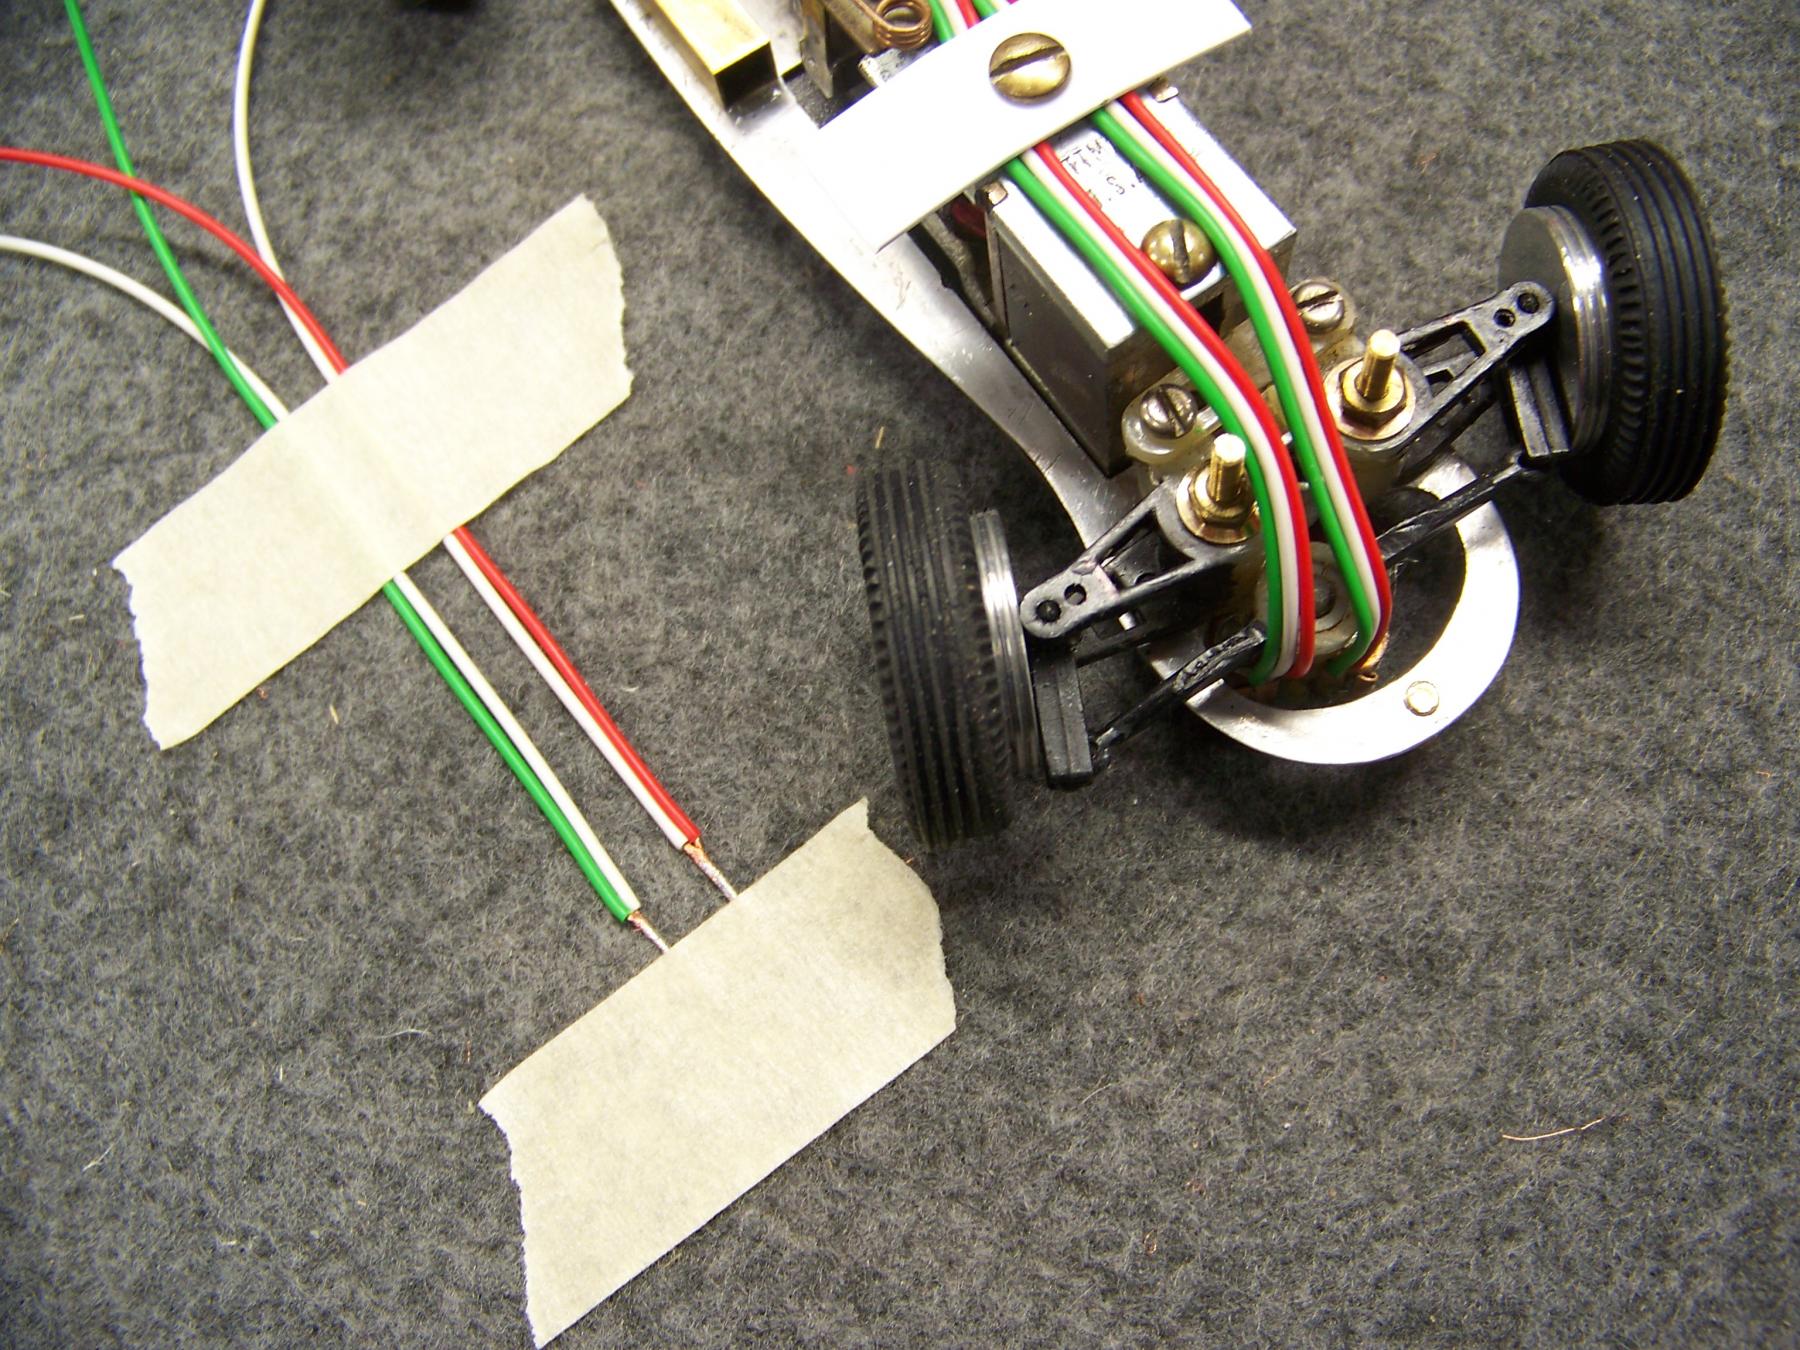
I put new brushes and springs in the motor, and put the little brass widget in place ( thanks again Don).

Then I figured it was time to ditch the original non-flexible wires and replace it with some skinny flexible wires. I did the Italian flag colors of green white red.

Once I had done that I thought it a tad busy, so I laid out an alternative with 2 wires per side. What do you think will looks best?


102_8075.JPG


  • munter likes this
Martin Windmill

#73 Bill from NH

Bill from NH

    Age scrubs away speed!

  • Full Member
  • PipPipPipPipPipPipPipPip
  • 14,731 posts
  • Joined: 02-August 07
  • Gender:Male
  • Location:New Boston, NH

Posted 08 February 2024 - 10:37 PM

I prefer the red, white, & green each side.


Bill Fernald
 
I intend to live forever!  So far, so good.  :laugh2:  :laugh2: 

#74 don.siegel

don.siegel

    Grand Champion Poster

  • Subscriber
  • PipPipPipPipPipPipPipPip
  • 5,829 posts
  • Joined: 17-February 06
  • Gender:Male
  • Location:Paris, France

Posted 09 February 2024 - 05:10 AM

I like the minimalist look: 2 per side. 


I'm afraid you'll have to make an Executive Decision on this one, Martin. 


Don 


#75 Martin

Martin

    Posting Leader

  • Full Member
  • PipPipPipPipPipPipPip
  • 4,198 posts
  • Joined: 22-February 09
  • Gender:Male
  • Location:US

Posted 10 February 2024 - 02:46 PM

Thanks for weighing in guys, but no Executive Decision needed. 


In turns out I can fit a lot of the Merit motor detail on top of the Pittman. Not without trimming all the parts to get the hood to close. :heat: 

But now I am considering re routing the wires in a manor that looks like water pipes and or electrical.


So I think the wires will now be a more neutral color, as you would find on a real motor. :) 


alfa-romeo-158-alfetta-joe-harding-goodwood-17092121 (1).jpg


Martin Windmill


Electric Dreams Online Shop